
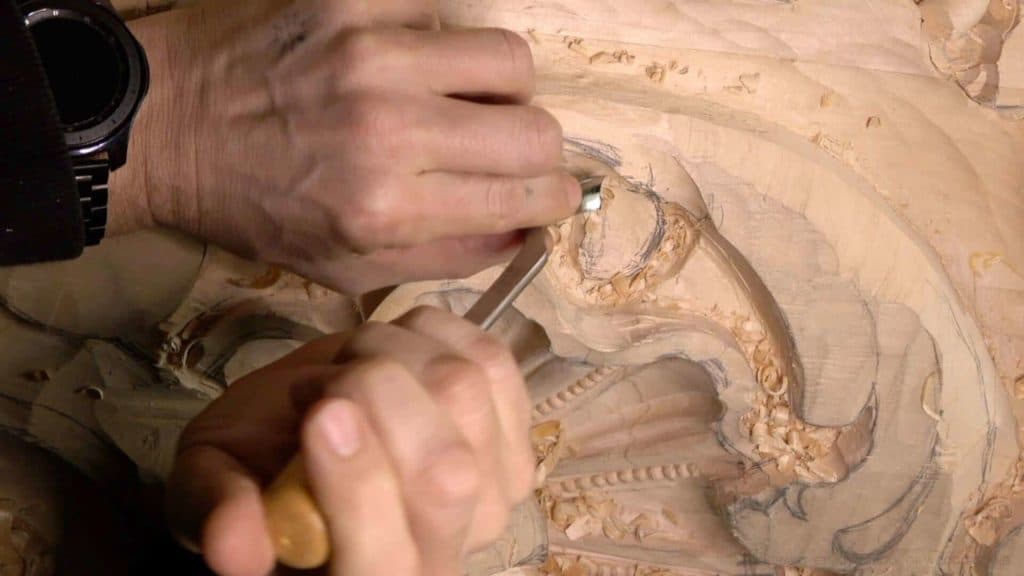
Alexander Grabovetskiy, woodcarver, School of Woodcarving · Published 2020
How do you know when to switch to a deeper gouge sweep?
Quick answer: A deeper sweep is the next, rounder curve on the steel. I go up a number when my hollow still looks flat and gives almost no dark line. On the Venice panel a half-inch #7 was not enough, the #8 still was not, and the #9 finally gave the shadow.
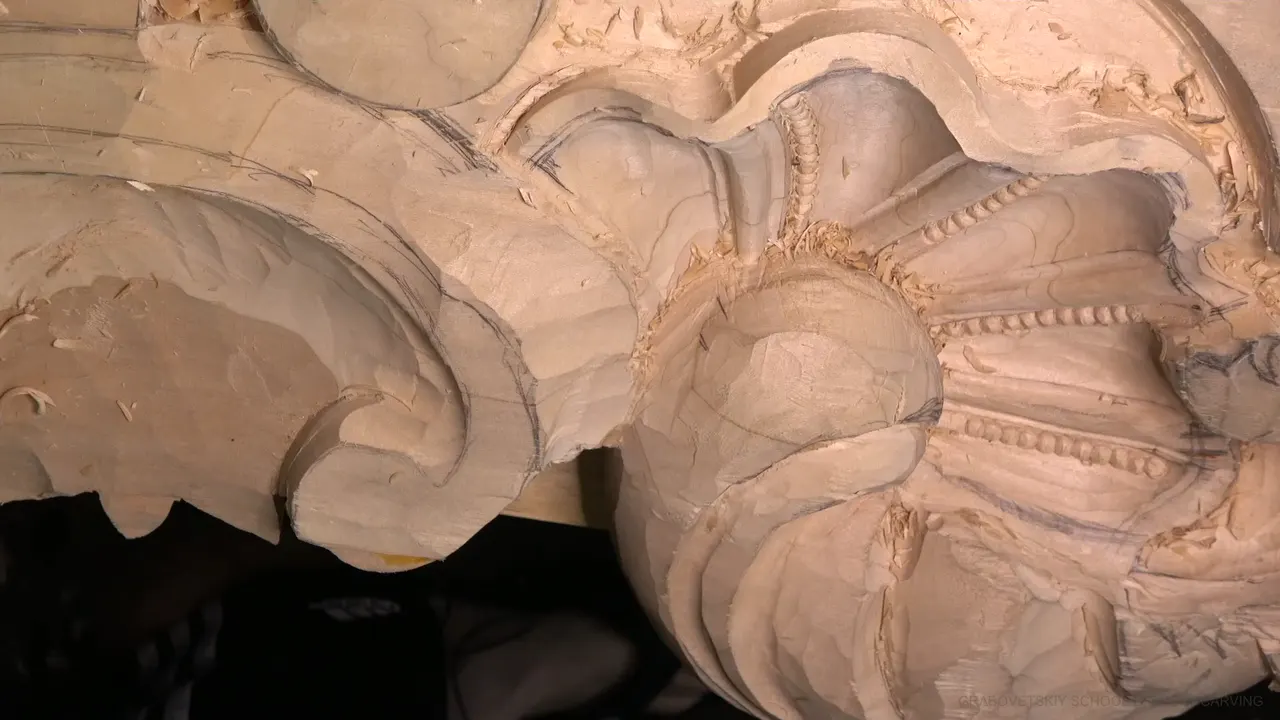
A deeper gouge sweep is the next number up on the steel, a curve that comes closer to a half circle, and I switch to one when the hollow I just carved still looks flat and throws almost no shadow. In workshop 7 of this Venice room commission I went from a #7 to an #8 and then to a #9 inside one hollow beside a row of beads. The #9 stayed.
Do you have a #7, an #8 and a #9 in your roll? Can you see three different curves when you hold them side by side? Then you already own the whole test. In this workshop I run it on a real client's panel and change my mind out loud, more than once.
Picking a sweep starts as a guess, even after more than forty years. So I'll show you the one sign I trust, which is the shadow, and the two places where the deeper tool turned out to be the wrong one.
What three sweeps in one hollow taught me
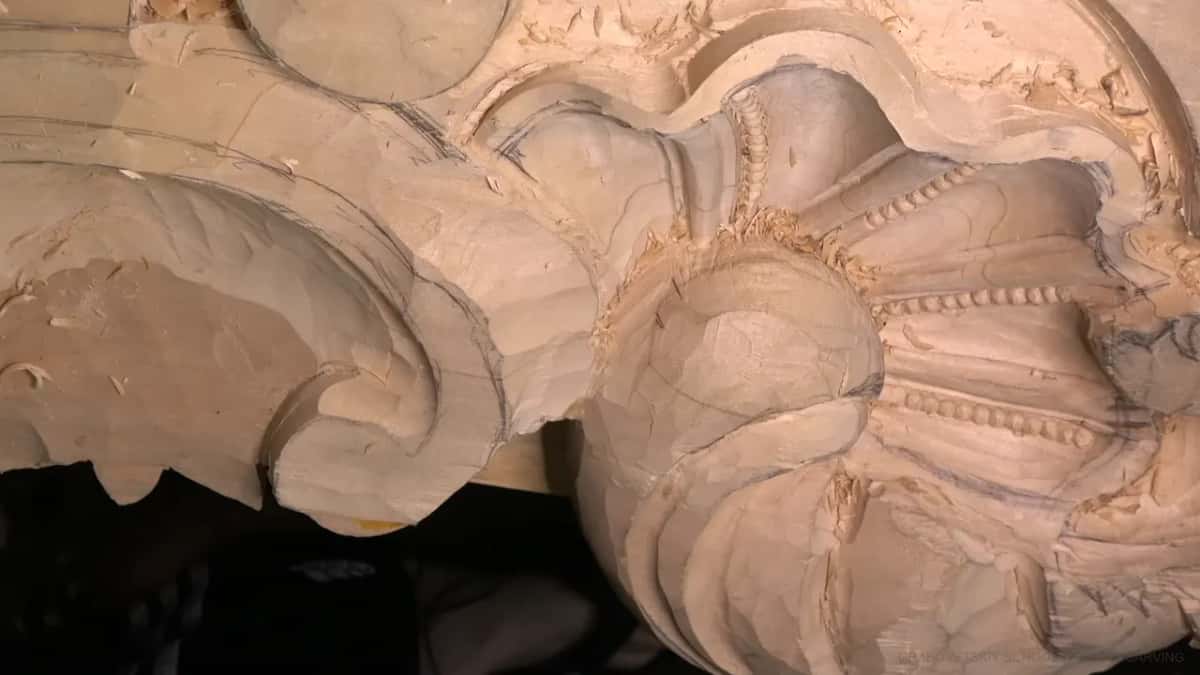
I opened the double hollow with a #7, half an inch wide (13 mm), about 14 mm by my own count.
The #8 scared me.
Then the #9 made the dark line I wanted.
Once a hollow narrowed toward its corners, I kept the curve and took a thinner gouge.
One edge of the tool must reach the beads and leave them whole.
On the acanthus a smaller #9 beat an #11.

When is a gouge sweep too shallow?
A sweep is too shallow when the hollow reads as a soft dent instead of a clear line of shadow. That's my test. I don't measure it and I don't calculate it. I carve a few passes, step back, and look.
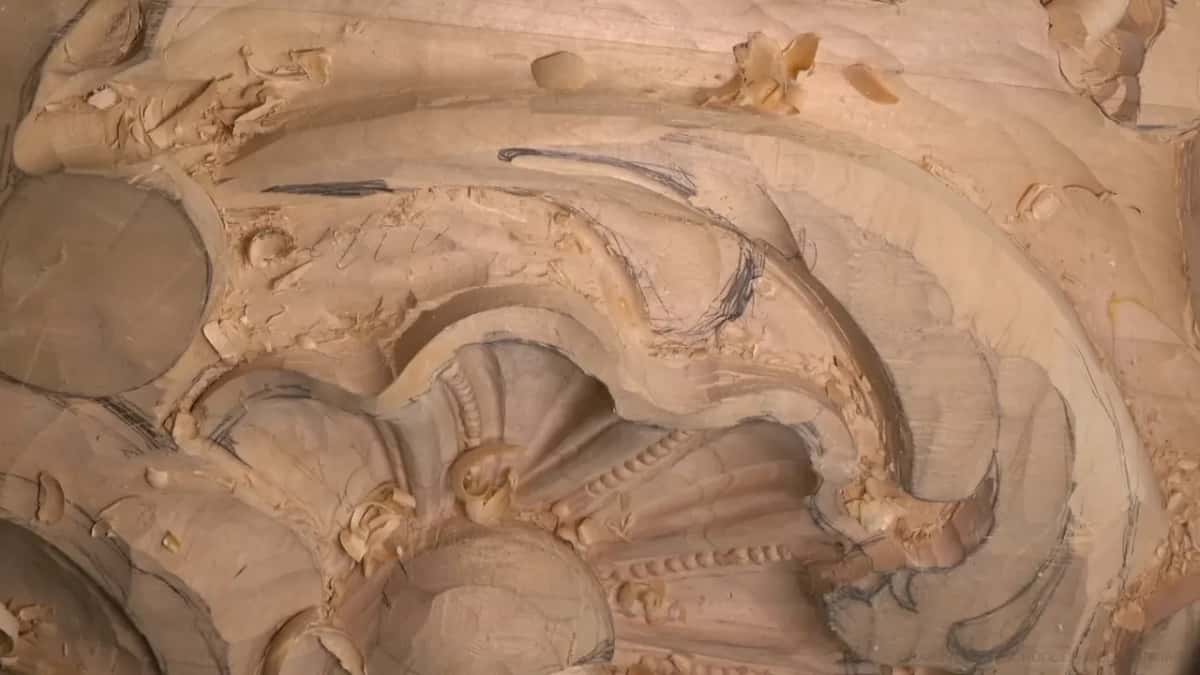
On this panel the beads run along the inside of the big shell, and I carved the beads themselves one workshop earlier, in the bead molding lesson. Workshop 7 is about what sits beside them. I did not want one plain concave there. I wanted a concave next to the bead and another concave on the far side, extra hollows inside the big ones, which was a really common thing on this kind of work.

So I started with a #7, half an inch. It was kind of enough at the top, but I didn't like what I saw. Maybe the #7 was not enough, I said on camera, and then I said it again, because I really didn't want to take the next step.
The next step was a #8. It is scary to use a number eight there. Every line at that stage is almost a final line. But I needed the shape to look more distinguishable, so I stopped and sharpened the #8 first.

What does distinguishable mean on a carving?
Distinguishable is my word for a shape you can read without walking up to it. A relief panel like this goes into a room. Much of it will be seen from a distance, some of it from below, and a hollow that does not make dark simply is not there for the people looking up at it.
I'll be honest with you. The half-inch #8 did not solve it. It was really good for the beginning of each cut and too big once the hollow narrowed. The narrower #8, ten millimeters (3/8 in), a little bigger than that when I checked it, maybe eleven, was still not distinguishable to me. I thought number eight would be enough. It wasn't.

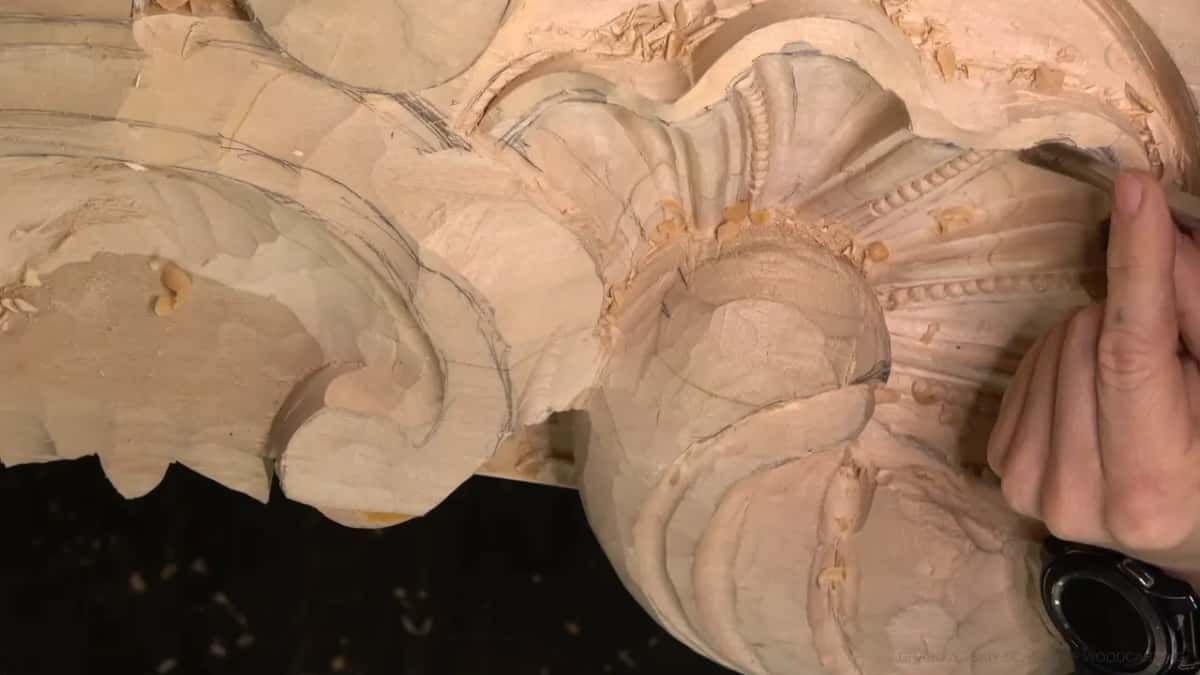
So I removed some of the waste with the #8 anyway. That made the next tool's job much easier. Then I turned to a #9 and made the hollow a little deeper, and it gave me a much nicer result. Not perfect yet. It still left a trail mark in the bottom, and the answer to that was a better edge, not another tool.
A few minutes later, working in a different spot, I looked at the hollow and said what I had been waiting to say. Oh yeah, that gives me a really good shadow, and that's what I'm after.
How is this different from fitting a sweep to a drawn curve?
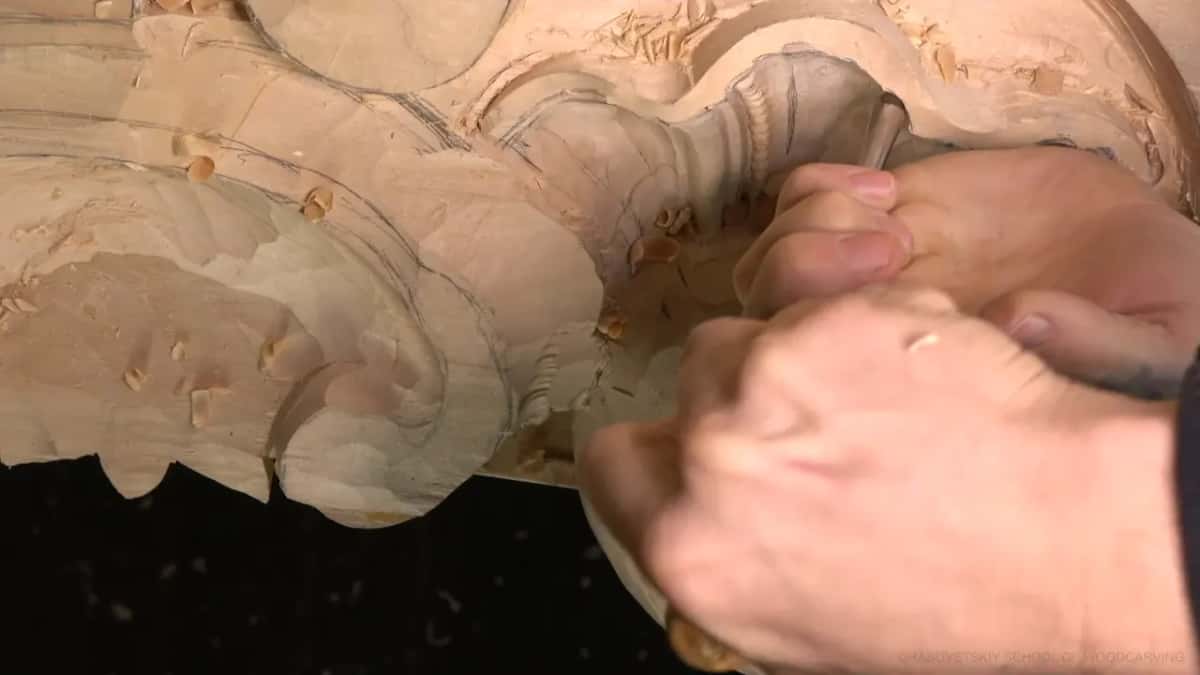
Fitting a sweep to a curve you drew on the board happens before you carve, by holding the tool on the line and looking at the gap, while this choice happens after the first passes, by looking at the shadow the hollow throws. Both matter. The drawing tells you the width. The shadow tells you the depth of the curve.
Here I was not matching a line on the board. I was looking for a shadow, and the beads only told me where each hollow had to stop.
Why go narrower past the middle of a hollow?
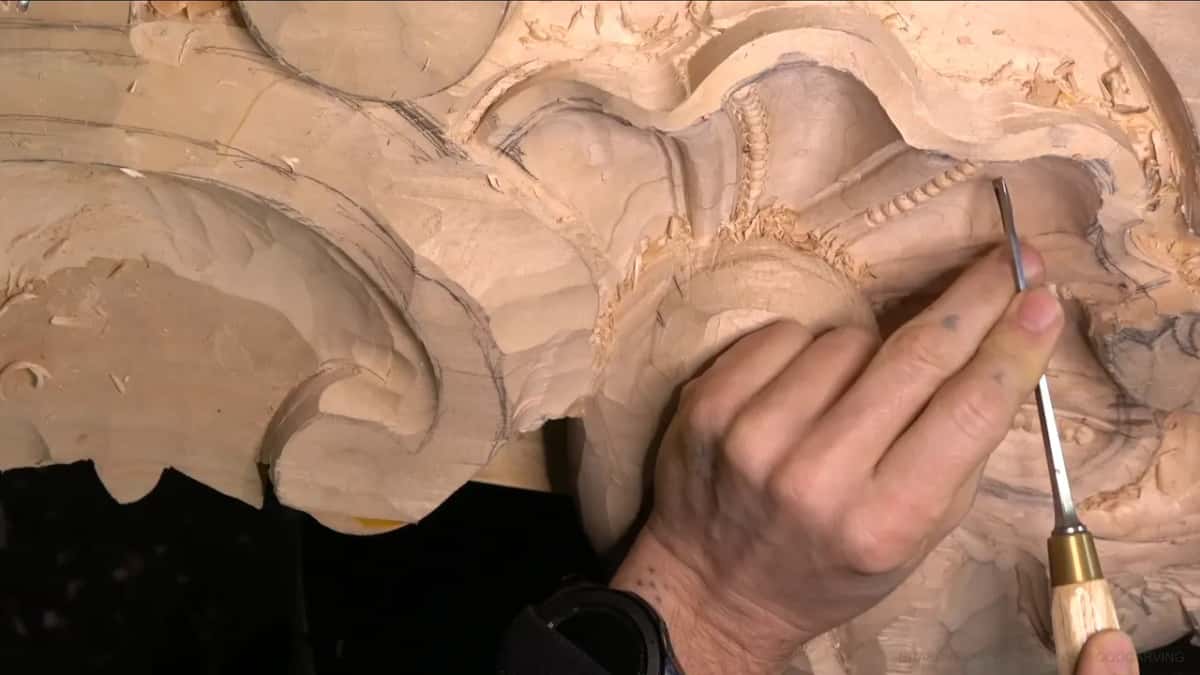
A hollow beside a row of beads gets tight toward its ends. Toward the ends, the half-inch #8 simply had nowhere to go, so I switched to a smaller tool and kept working toward the corners. Later the same thing happened with the #9. After a certain point it was a little too big, and I went to a quarter-inch #9 (6 mm) from there on.
The sweep stays the same, and only the width comes down, so the hollow keeps the curve I already chose.
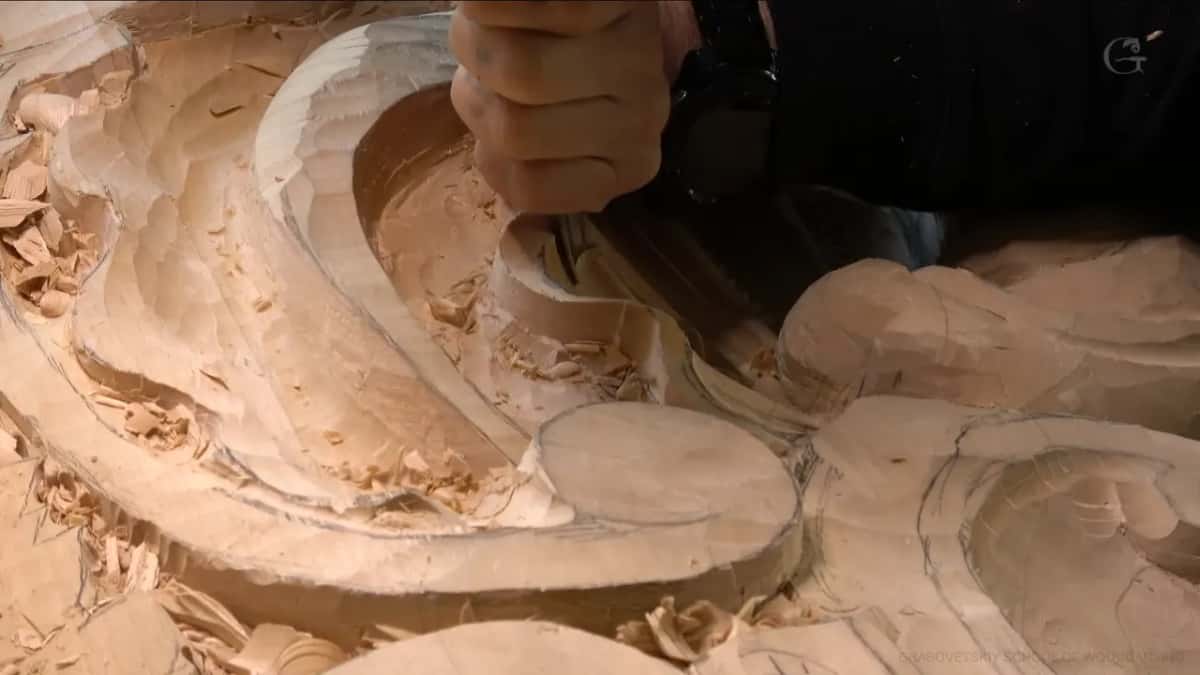
And here is the part that decides everything. One of the edges of my tool has to go all the way to the beads. It has to reach them, and it can't hurt them. Those beads came from the workshop before, and I don't want to destroy them. So near the beads I used just the side of the tool.
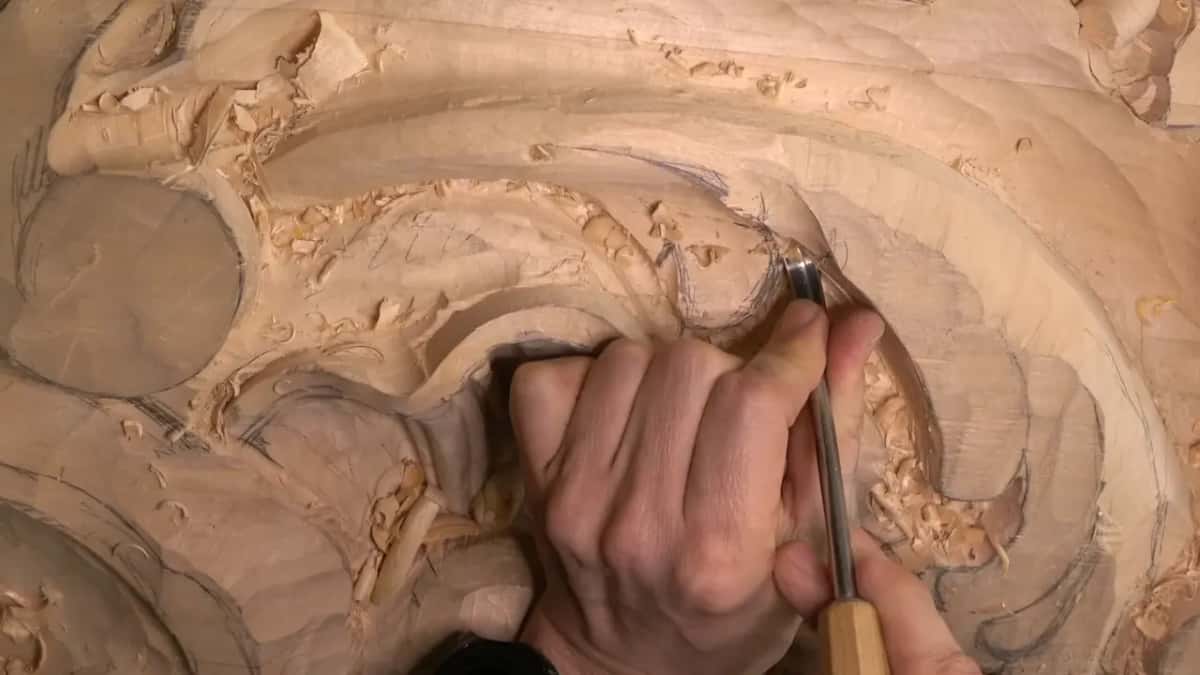
With the quarter-inch #9 I was after a really consistent long cut along the whole hollow. Small chips that don't fly out can wait. I can clean those with a different tool. I just slide the gouge along and let it catch on the high spots.
| Tool | Where | Verdict | Why |
|---|---|---|---|
| #7, half inch | started the double hollow beside the beads | not enough | kind of enough at the top |
| Half-inch #8 gouge | good for the beginning of each cut | too big | hollow narrows later, so go smaller |
| Ten millimeter #8 | narrower eight, still not distinguishable to me | not happy | I thought eight would be enough |
| First #9 tried | a much nicer result, after more sharpening | the keeper | gave a really good shadow there |
| Quarter-inch #9 gouge | the narrow end, riding close to beads | slightly big | slides long, catches the high spots |
| Smaller #9, eye | excavating the acanthus eye for deep shadow | right choice | an 11 would be mistake there |
Six rows, one workshop. Read the Verdict column and you can see how often I changed my mind.
When is a deeper sweep the wrong tool?
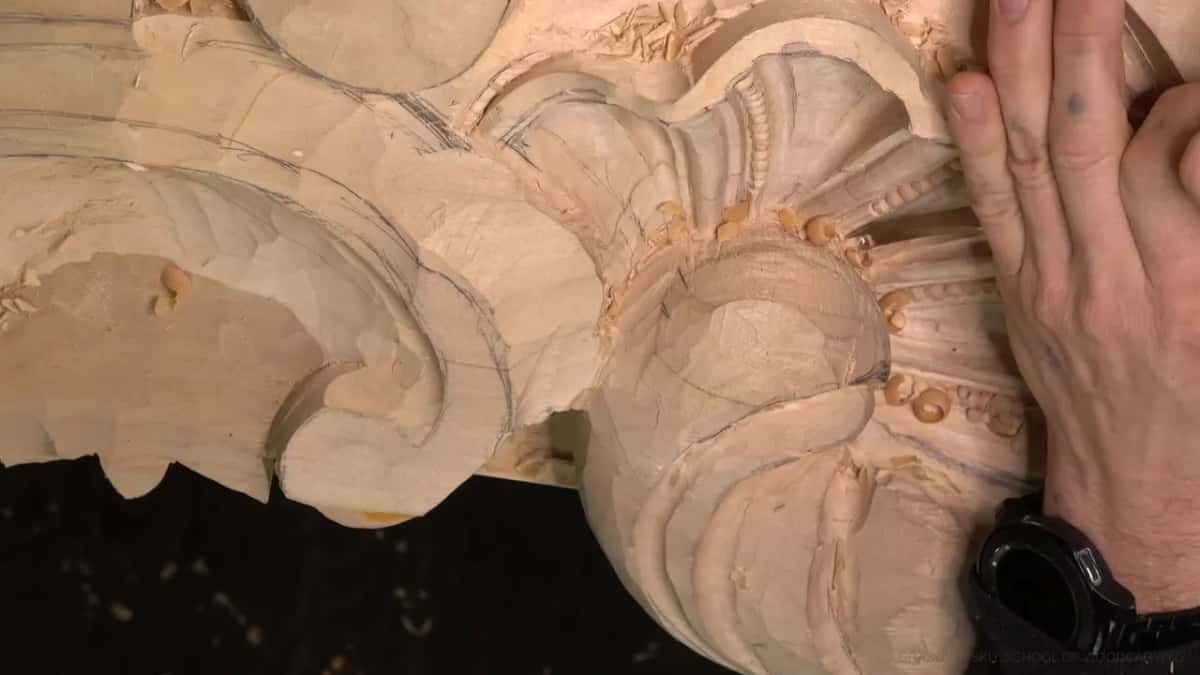
Deeper is not always better, and workshop 7 shows two places where I went the other way. The first one is at the acanthus leaf that starts beside the shell. When I excavated its eye, I used a smaller #9 and said out loud that an #11 would be a mistake right there. Right before that I had been checking the tangency of the whole curve, because it has to flow really nicely.
The second place was a transition between two cuts on the same leaf. I needed a spoon, thought about a #7, said no, number seven would be too big, and tried a #6. Even the six felt a little too big. I tried it first anyway, and it was fine.
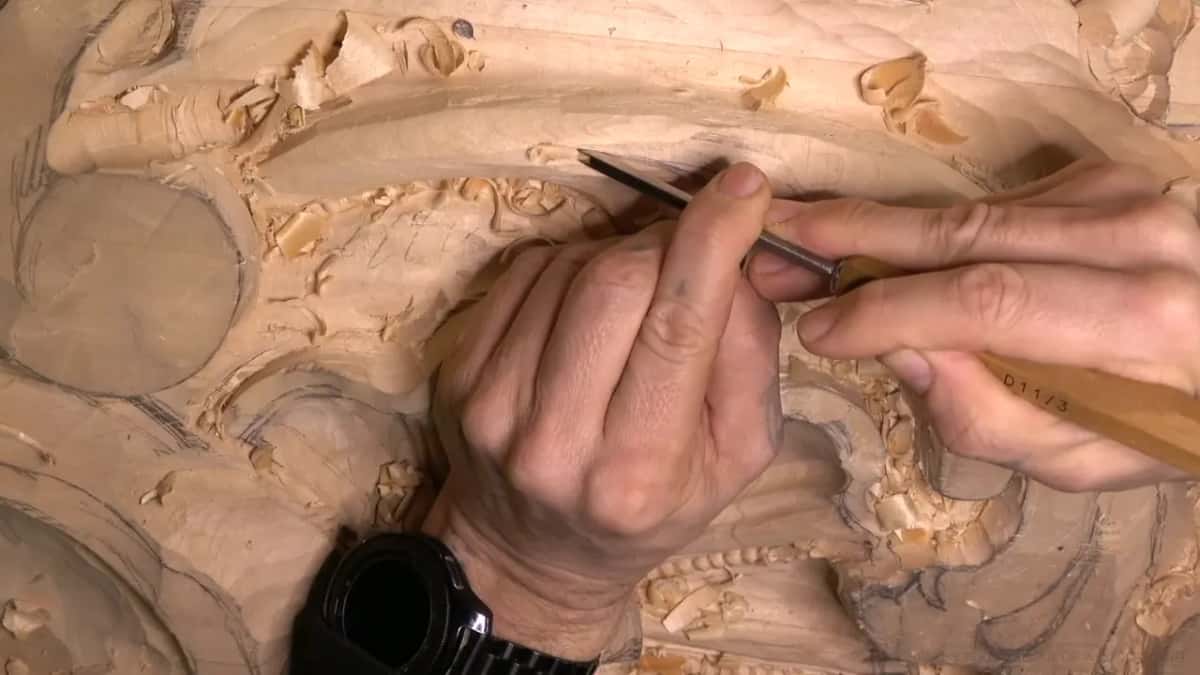
And sometimes the sweep hardly matters. While I cleaned the inside of the hollows at the start of the workshop I used a #3 spoon gouge, 3 mm or 1/8 inch, and said it didn't have to be a number three. A five would do, even a seven, and I would still get the same result. That job was about reach, not about shadow.

Does sharpening change which sweep you need?
Before you reach for a deeper number, check the edge you already hold. Twice in this workshop the tool was not the problem. The #8 needed sharpening before its first cut, and the first #9 left a trail mark until I sharpened it better. After that it was good.
With the edge right, I'm almost not creating any pressure, even in a deep hollow with an #11 of one millimeter (about 3/64 in). So my tool is really sharp, I said, and that is why it goes in so easily. A dull edge can make a good sweep look like the wrong one. The sharpening course is where I show that part properly.

One more thing about pressure. Early in this workshop I pushed a #7 deep into the wood and it opened a real gap along the cut. It looks scary. You shouldn't be scared, because it will close back in a day or so and you won't see that gap at all. I talk about that same spring back in the wood in the beginner course.
Why not undercut everything once the shadow looks good?
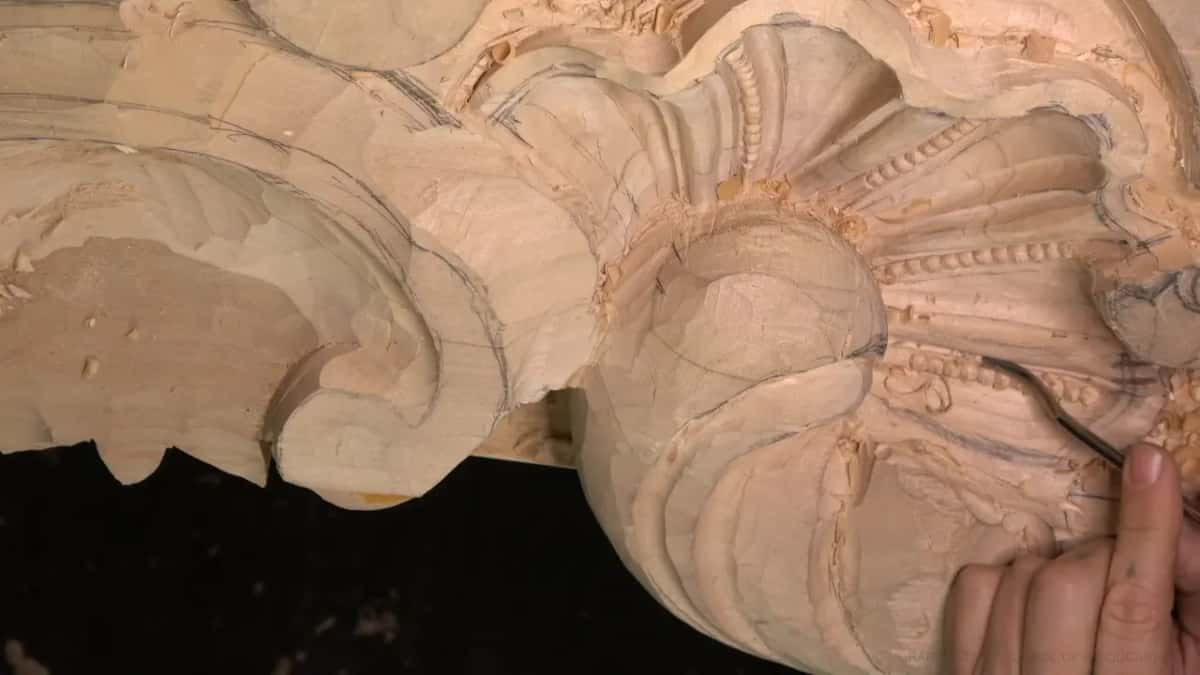
A good shadow tempts you to keep going. After the #9, I undercut under part of the beads, first using a 2 mm (5/64 in) #11 spoon and then a #3 spoon, so some of the beads actually hang over the hollow. That gives an even deeper shadow.
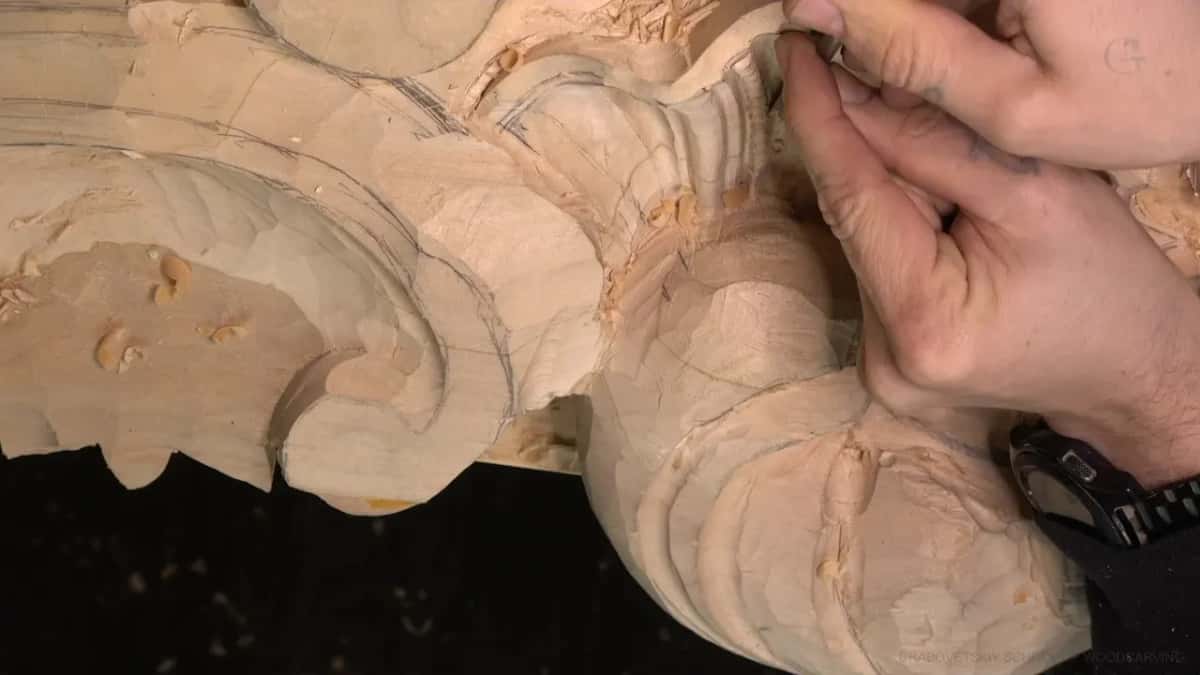
I didn't have to do that, by the way. It's only because I like the idea of shadow, deep shadow. And I still had to control how deep I went, because I didn't want to pop the beads out. At one point I tried the one millimeter #11 to go even deeper, stopped, and decided to leave it.
I can spend so much time just overdoing it, and I really don't need to. That is a skill too. Workshop 4 talks about how the steel itself stresses the fibers, and the same caution applies here. Every pass near a finished bead is a risk you chose.
Does the same test work on an acanthus leaf?
It does, and the second half of workshop 7 proves it on a leaf that was only a big chunk at the start. I first cut the outline and then went all the way down, looking at it from all the positions, because it has to look organic to the rest of the design.
For the slope I took a #7 one inch wide (25 mm) and let it transition gradually. Then a #9 at 5/8 inch, 16 mm, to lower one part so the part above it feels like it's flipping over. Once the high parts got in my way I switched to a spoon of about the same size, 15 mm, and then to a long bend. The upper part of that leaf runs against the grain and the lower part with it, so the sweep was not the only thing I watched.
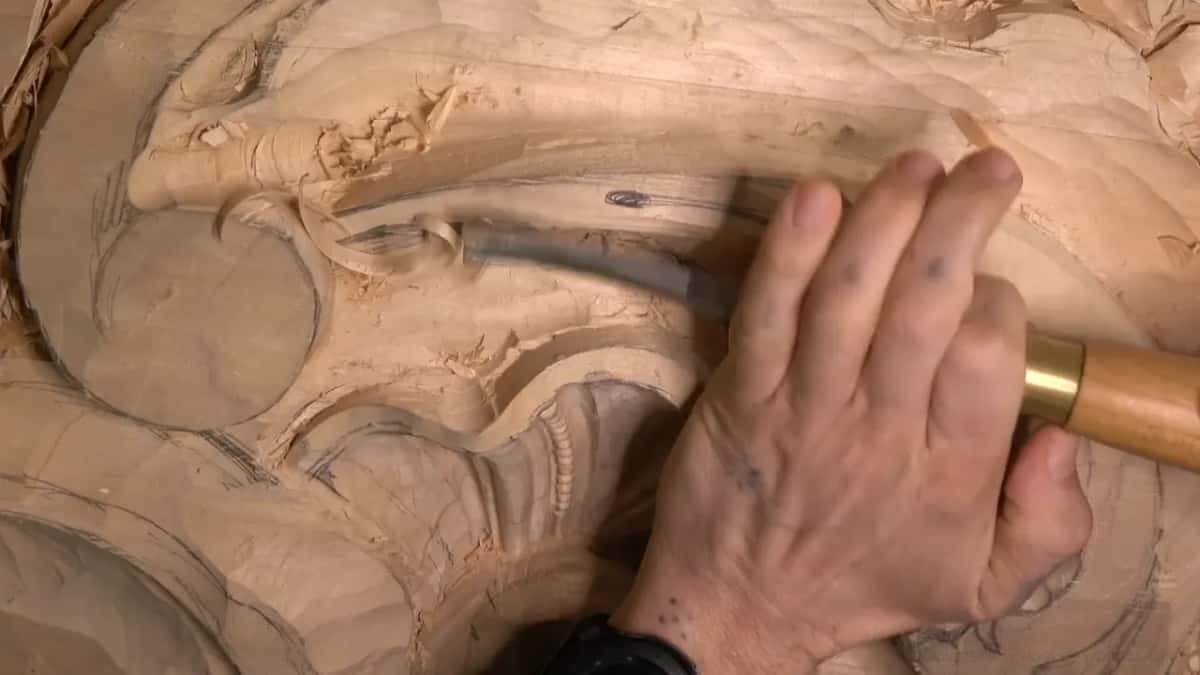
I also stayed away from one side of it. The head of the acanthus will sit there, and that head decides the final depth, so I kept moving gradually downhill toward it. At one point I went right through to another layer and could see a glue line. That is why the blank was glued up so thick in the first workshop.
Finer work on that leaf comes later. Here I only want you to see that my habit on the leaf stayed exactly what it was in the hollow beside the beads, all through the workshop. Carve, step back, look for the dark, then decide.
How do you practice reading shadow at home?
Grab one scrap board and carve a hollow in it with the shallowest gouge you think could work. Look at it from a few feet away. No clear dark line? Go up one number and carve the same hollow right beside the first. Painters have their own word for that play of light and dark, and we chase the same thing with steel.
Hold your working hand close to the blade while you do it. I didn't always, in this workshop, because I was trying to keep my hands out of the camera, and I said so. The closer you get, the more control you get. With a gouge that is half a circle deep, control is what keeps the bead next door alive.
Want the tools themselves explained, numbers and all? The tools course walks through them. If you have never carved a hollow at all, pick a first project and come back to this room later. It will wait for you.
Everything in this workshop, all twelve parts of it, is inside the tuition, along with the architectural panel it belongs to and every workshop before and after it.
Get a #7, an #8 and a #9 of about the same width, and carve three hollows side by side on a scrap of carving stock. The one that throws the dark line is your answer.
How it's done
- Carve a few passes first. Start with the shallowest sweep you think could work, and take enough passes that the hollow has a real shape.
- Step back and read the dark. Look from a distance, with light from one side. A hollow that makes no clear line of dark needs more curve.
- Sharpen before you switch. A trail mark or a tool that needs force is often the edge talking. Put it on the stone, then judge the sweep again.
- Go up one number. Take out some waste with the tool in your hand, then move from a #7 to an #8, or from an #8 to a #9.
- Come down in width, not in sweep. Where a hollow gets tight, keep the curve and pick a narrower gouge, so one edge still reaches the bead.
- Stop before you overdo it. When the shadow reads, leave it, because one extra undercut can pop a finished bead right out of the wood.
Frequently asked questions
Is a deeper sweep the same as a bigger gouge?
No, width and curve are two different numbers. My half-inch #7 and half-inch #8 were the same width with different curves. When a hollow looked flat I changed the curve, and when the tool got cramped near the corners I kept the curve and went narrower.
What made the number eight feel risky on that panel?
Every line at that stage was almost final, right next to beads I had already carved. One slip and a finished bead is gone, so I sharpened first and started carefully.
Can a dull edge make you pick the wrong sweep?
Yes, and it happened twice in workshop 7. My first #9 kept marking the bottom of the hollow, and that looked like a shape problem. A better edge fixed it. Sharpen before you decide the curve is wrong.
What to carve next