
Alexander Grabovetskiy, woodcarver, School of Woodcarving · Published 2020
How do you know if a carved detail looks right?
Quick answer: Judging a carved detail is a matter of viewing it the way its owner will, from below if it hangs high and under more than one light, then waiting, checking the old work it follows, and shaving off with a gouge whatever still fails.
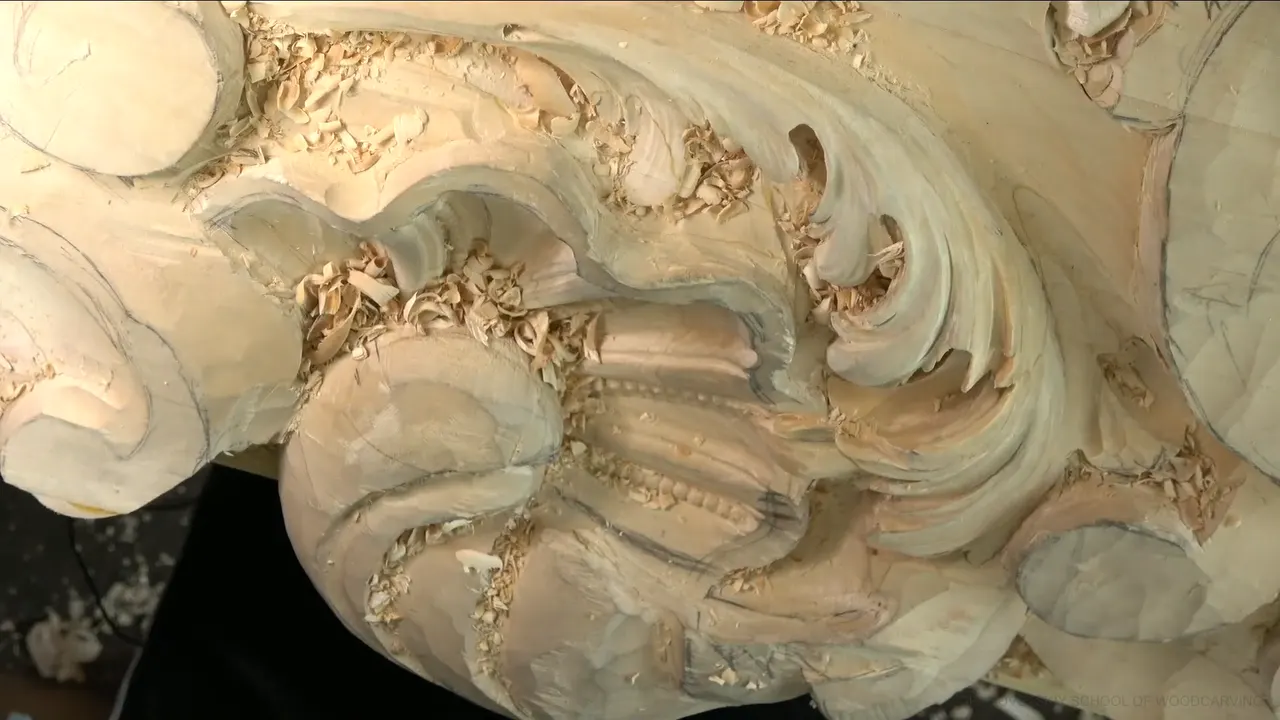
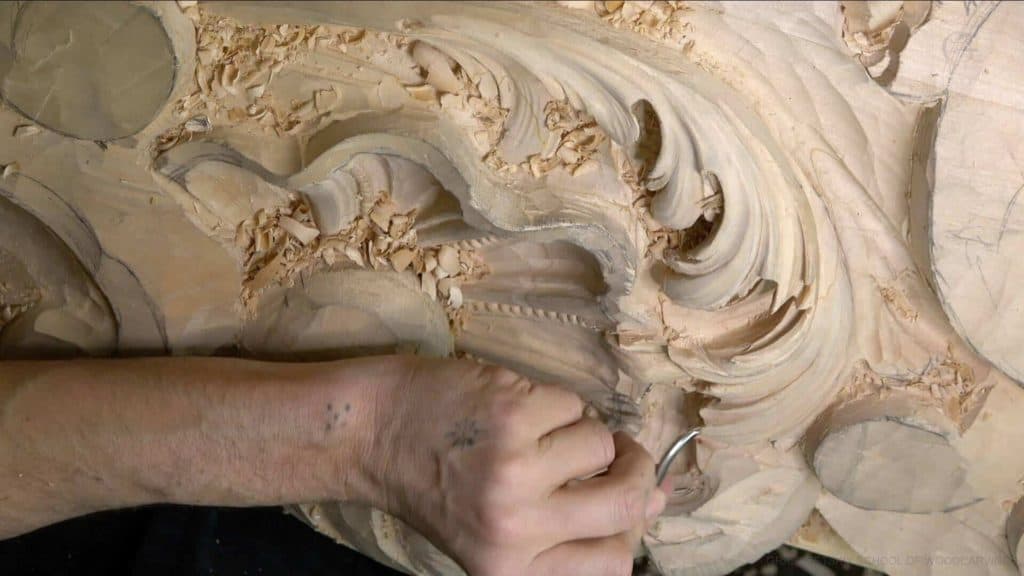
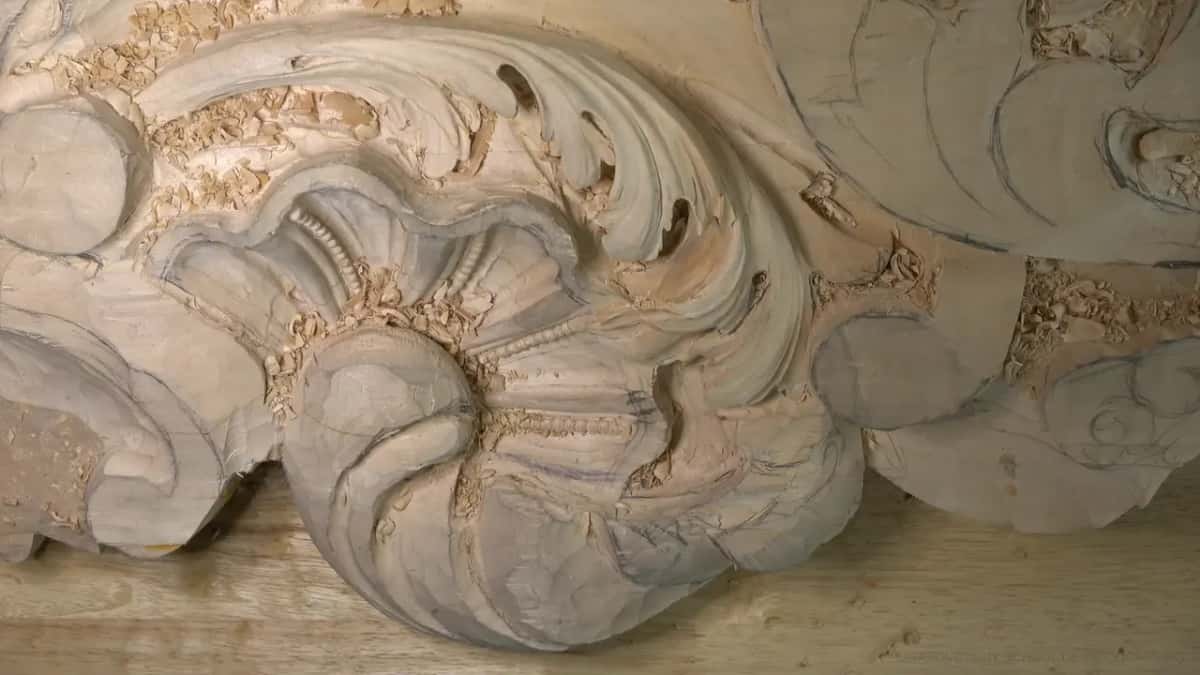
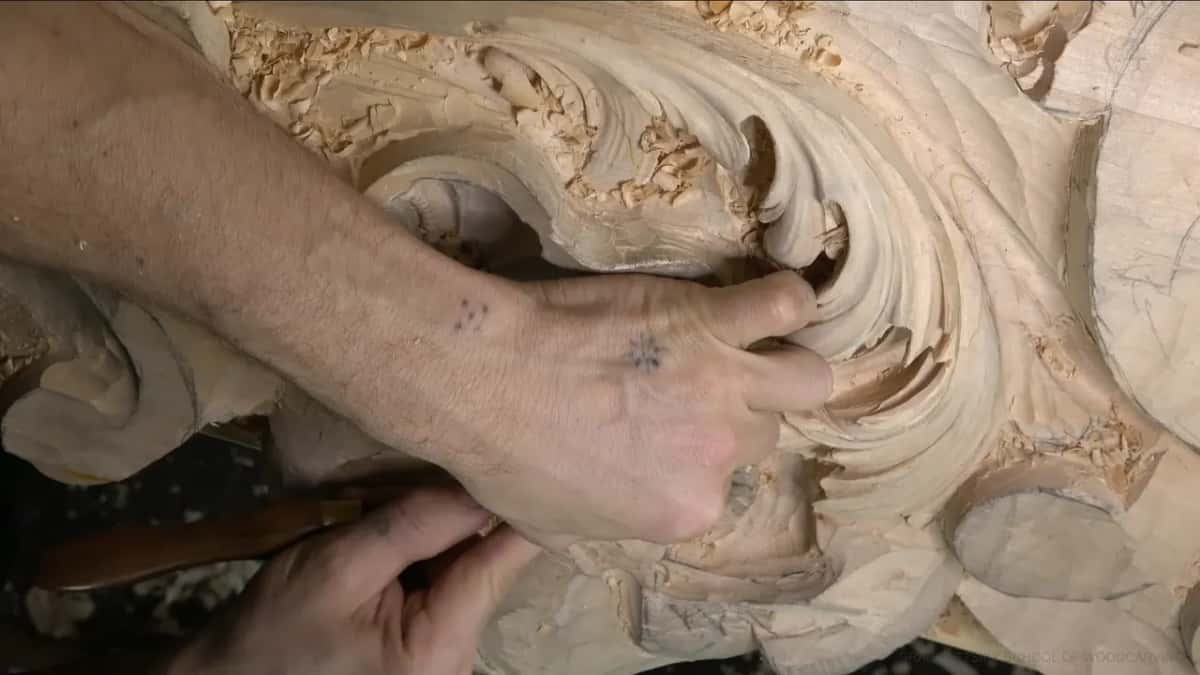
Judging a carved detail is viewing it from where people will stand, in more than one light, and being ready to remove it when it fails. It's how I worked through workshop 12 of this Venice room commission, a whole lesson of acanthus leaf carving on one big wood carving panel. Nothing in it is scripted. You hear me ask myself "should I or should not?" with a gouge in my hand, and sometimes I answer wrong.
Have you ever put a small hollow into a leaf and then stood there, not sure about it? Did you wish somebody would just tell you to keep it or lose it? Would it help to watch a carver who has done this for over forty years stand in that same spot? Then come and sit at my bench for the last workshop of the first block, where I work one side of an acanthus beside the big shell.
I'm going to be honest with you. Nobody wrote a rule sheet for this part. What I can give you is the handful of checks I really used on camera, the details I carved and then shaved away, and a couple of marks I made myself by going too fast.

Six habits for checking detail in acanthus leaf carving
Look at the work from where people will really stand, and for this panel that means from the floor below.
Move the light before you decide anything.
Leave a doubtful spot alone and come back to it later.
Check the old Venetian work when a size bothers you. I did that for the eyes.
If a detail fails, shave it off, and keep a faint trace only where it helps the leaf read.
Slow down. My worst marks here came from rushing, and from pressing too hard.
Where should you stand to judge a carved detail?
Stand where its owner will stand. This panel goes up high in a room, so people will see it from underneath, like a worm's eye view, and that changed my mind more than once in this lesson.
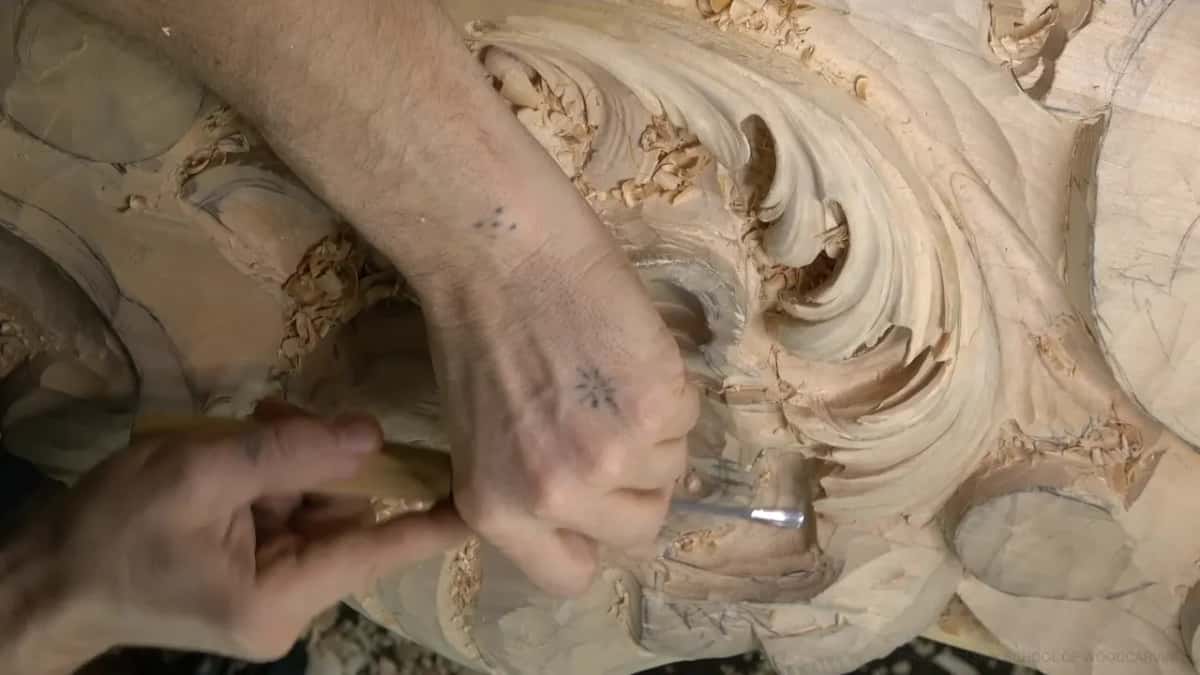
Here is one. Along a middle line I put a row of very small hollows with a little number 5, 3 mm (1/8 in) wide, to make the line flow instead of running straight. Head on, they did not look appealing to me. Then I looked from the bottom, and from down there they were really good. So the bottom view was kind to them. It still told me they were a little too sharp, and that mattered more.
The same view settled an argument about two leaves. I had drawn one lobe lying over its neighbor and I couldn't decide if I wanted it that way or the other way round. Then it hit me. We look at this from down on the floor, and nobody down there will ever see that overlap. I just took that one down and moved on. How one leaf grows out from under another is the job of Venice room part 2, and I leave it to them.
Being seen from below also let me keep one detail a little stronger. I say that once and leave it, because the strength of a thin edge is a lesson on its own.
| Check | Result | Action |
|---|---|---|
| Looking from below | The row of tiny hollows read fine there | Shaved anyway |
| Moving the lamp | Line work the camera missed showed up plainly | Kept it |
| Checking old work | Venetian carvers gave their acanthus pretty big eyes | Allowed bigger |
| Waiting a while | A rounded pipe stayed exactly as it was | Decided later |
| Trying sandpaper first | I stopped halfway and picked up a gouge | Cleaned completely |
Why move the light before you decide?
A shallow cut can vanish under one lamp and jump out under another, and most of what I did in this workshop was shallow. Once the row of hollows was gone, I tried other lights. I moved around the board too, and only then did I say it looked good.
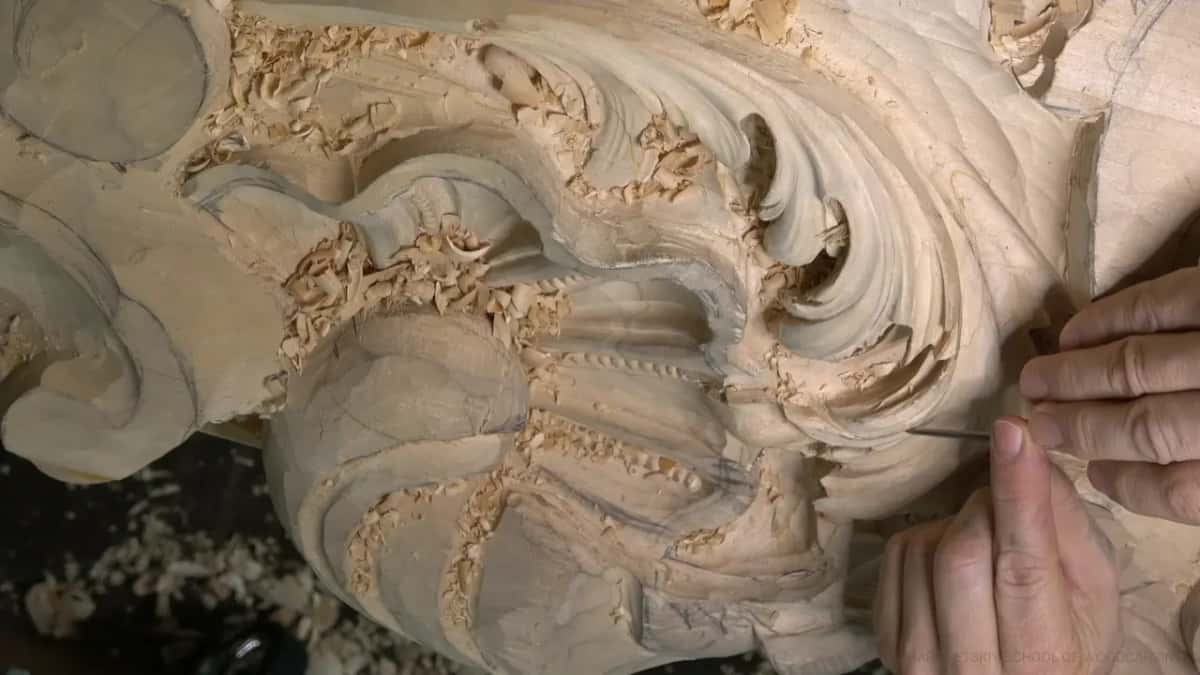
Some of these marks are so faint that I told the viewers straight out: on camera you probably can't see this, it's almost impossible. In a different lighting condition you will. A few of them I call eye candy. One cut about 1 mm wide, about a thirty second of an inch, just to pull your attention to a spot. Another small separation inside a lobe is almost invisible, and I still say you will feel it once you see the whole leaf.
When I say eye in this lesson, I mean two things, so let me be clear. There is the eye of the acanthus, the little hollow between lobes. And there is your eye, the human one belonging to whoever stands in that room, and it follows a small concave wherever the concave leads. A lot of my small hollows are only there to give your eye a direction. I judge them with the light moving, not with a ruler.
Is it all right to leave a detail undecided?
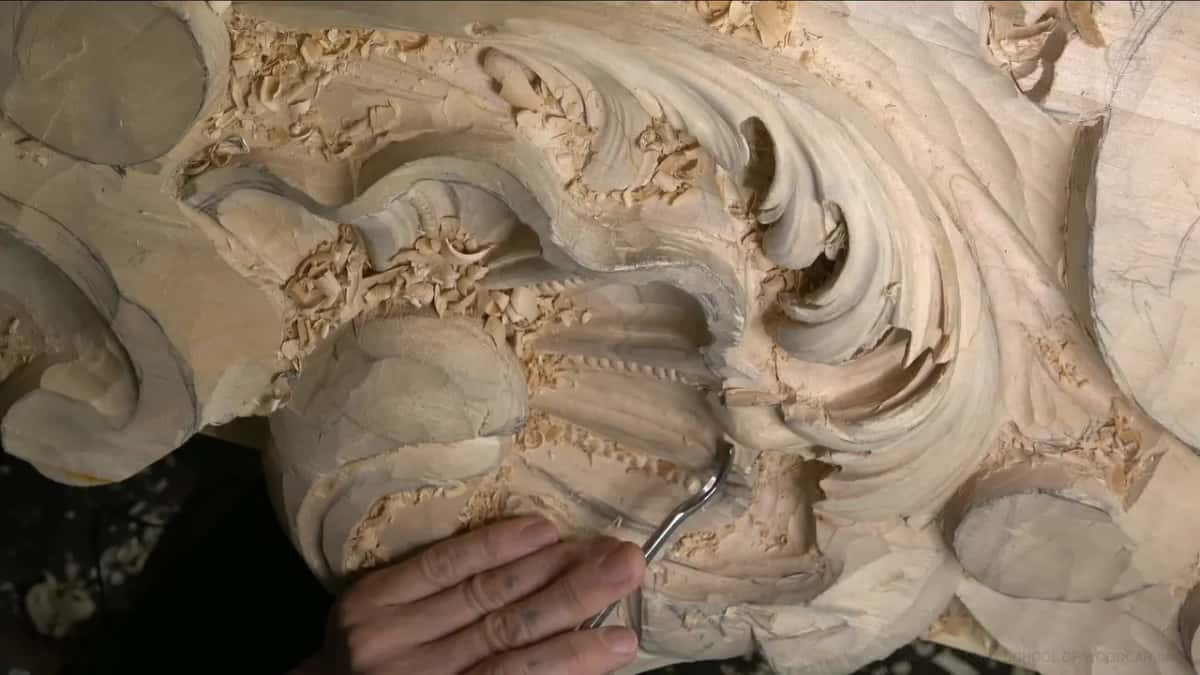
Waiting is allowed. I rounded a pipe with a back bent and wondered if I should push it even rounder. Should I or should not? I told myself to wait a little and see if I still liked it later. Another spot bugged me and I couldn't say why, so I left it as it was for now and went to work somewhere else.
Waiting like that isn't laziness. Most of this workshop is preliminary on purpose. I say "It's not clean yet, but it is exactly what I want to see" about one of the pipes, and I mean both halves of that sentence.
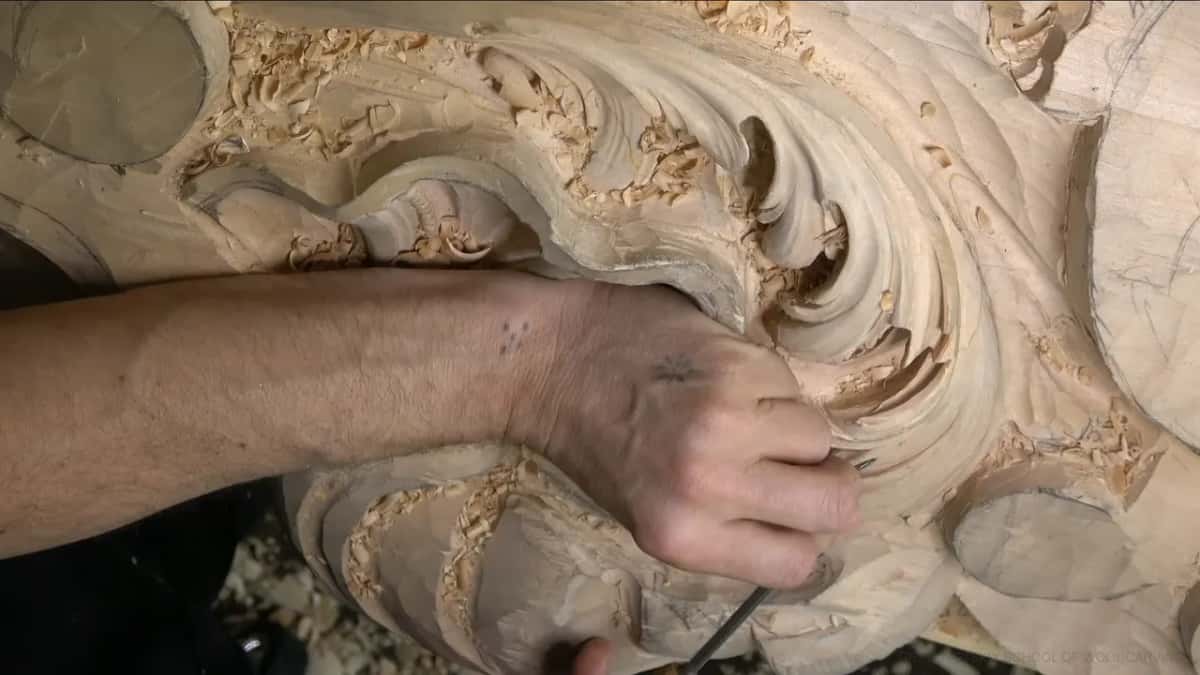
One habit helps the waiting a lot. Once in a while I clean up the next area before I go on. When it's too messy you can't see what is going on, and a clean surface is easier to draw on and easier to think about.
What do you check a shape against?
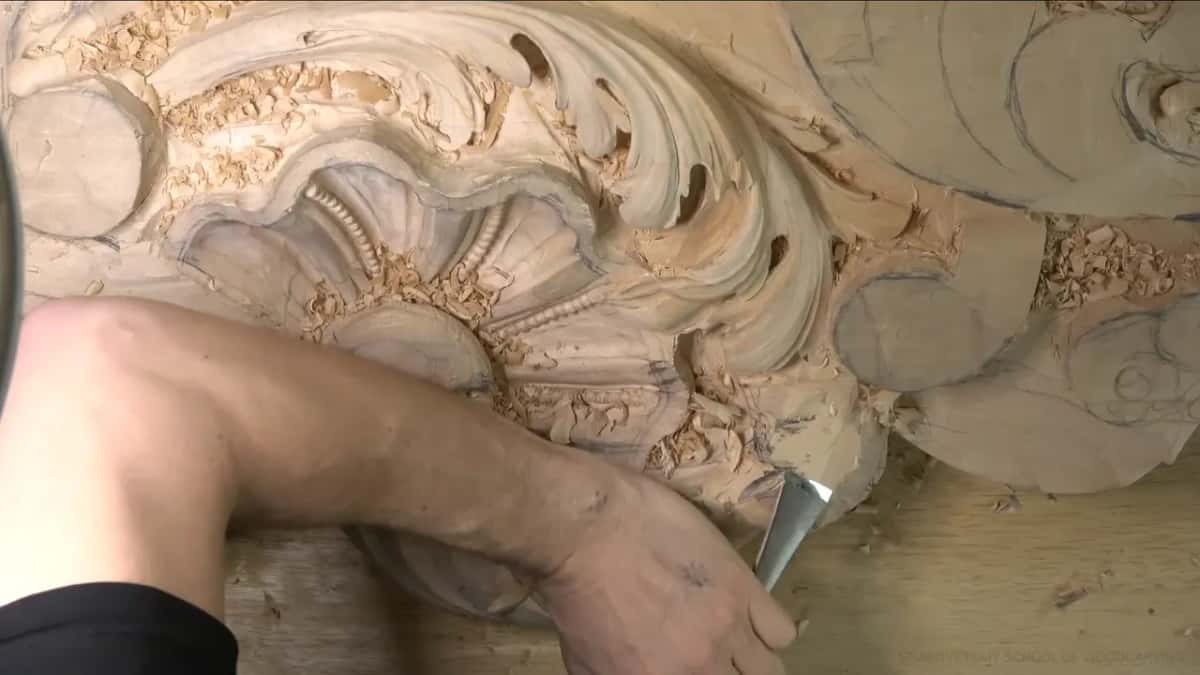
Check it against the old work first and your own taste second. I was about to make an acanthus eye bigger, so I went back to the original Venetian work again. They made pretty big eyes. Fine, I was safe, and I knew I could go a little bigger if I needed to.
Sometimes the check is inside your own board. I wanted a little flipping movement on one lobe and almost talked myself out of it, afraid I would lose the overall feel. But I saw that the flip would repeat the shell movements right next to it. That decided it.

And sometimes it's only taste, and I say so. You will find books on the acanthus leaf with deep lines carved all along the lobes. Some people do that. That's my personal thing: I don't want to see them deep, just little ones.
There are so many kinds of acanthus, Roman, Corinthian and more, that a lot of people, even professional furniture makers, have no idea there is a difference. Most of the time you can mix them and nobody gets it. Even big, famous architects I have worked with don't know. But now and then you meet somebody smart who really understands, and then you can get in trouble. So I'm picky. It has to be accurate, even though I like to combine styles when I have a reason, because every style has some beauty in it.
What if you carve it and still don't like it?
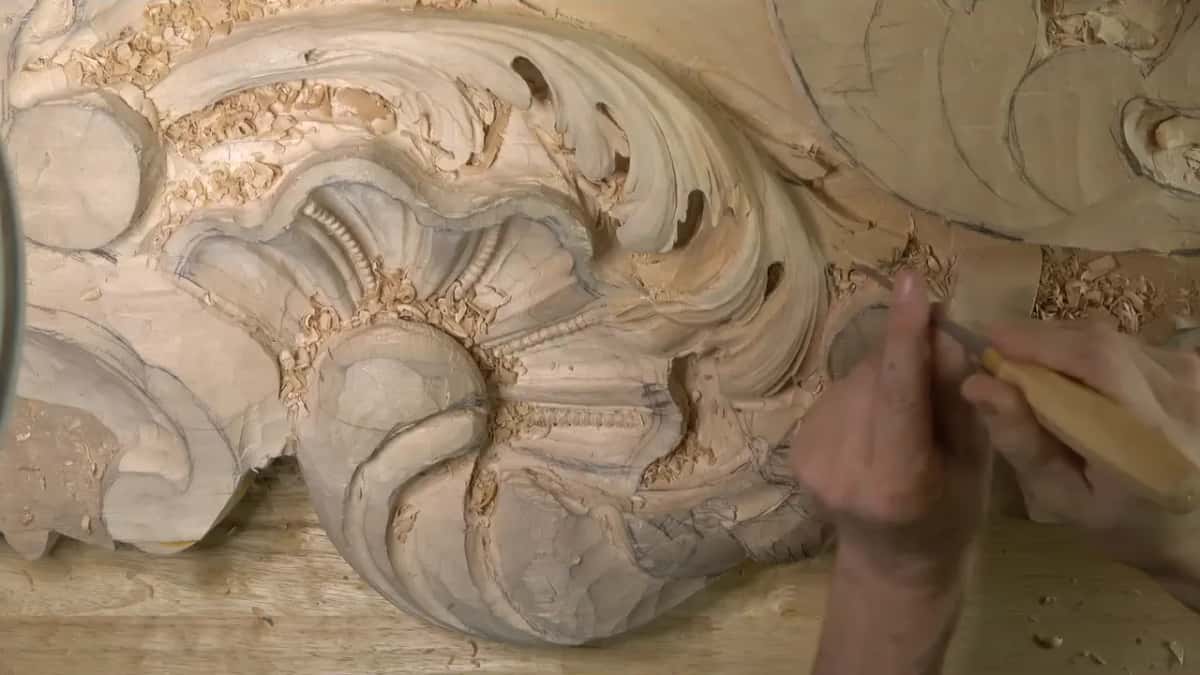
Take it off, and use a gouge to do it. That row of little hollows along the middle line is the best example I have. From below it passed, but it was too sharp, even though it came from a small number 5. I said I didn't like it at all. The way I carve those hollows is in workshop 9, so I won't teach it again here.
My first idea was to soften them with sandpaper. I even started talking about it. Halfway through that sentence I stopped myself. Why use the sandpaper? A gouge could clean them away completely. So that is what I did, and I left only a small indication in a couple of places, just a few tool marks that still catch the eye.

Here is the part I like to show students. On another lobe I carved a deep little flip from almost nothing, looked at it, and said out loud that I still wasn't sure I liked it, but it was too late anyway. A minute later I cleaned it and decided it didn't look too bad at all. You don't always get to know first, and sometimes you have to commit to it and judge it only once it's done.
One more trick for a spot you don't like. An edge on one lobe looked bad in a tricky area, and my first thought was a knife or a skew chisel to clean it. I went the other way instead. Sometimes it's a good idea to add an extra detail to reinforce an edge, so I gave it a small convex, and that was enough to hold the thing. Afterwards I said I kind of liked that small detail we created. I corrected myself right away: I created it. You were only watching.
When you are still unsure, carve it shallow. A light hollow can be shaved off. My words about the second row of marks were exactly that: if I don't like it, I can always shave it.

How do you know when a detail is enough?
Ask whether the leaf still needs it. Over and over in this workshop I talk myself out of work. Around one eye I could have gone deeper with a 1 mm spoon number 11, and I said I really didn't need to, it was already casting a shadow, and I didn't want to be too extreme there.
Another time I wanted to raise the edge of a pipe with a shallow hollow all the way around. I don't have to, and leaving it would be fine. It's not a big deal, but I thought it would look nicer, so I did it, not deep, only enough to draw the eye. On a middle part I said I don't really want a big concave there. I could, but I don't need to.
I said it plainly on camera: I don't want to overdo what I don't have to overdo. So when you catch yourself reaching for a fourth hollow on a lobe that already reads, put the tool down, step back and look from below again, the way the client will, and ask the same question once more.
Which mistakes did the camera catch?
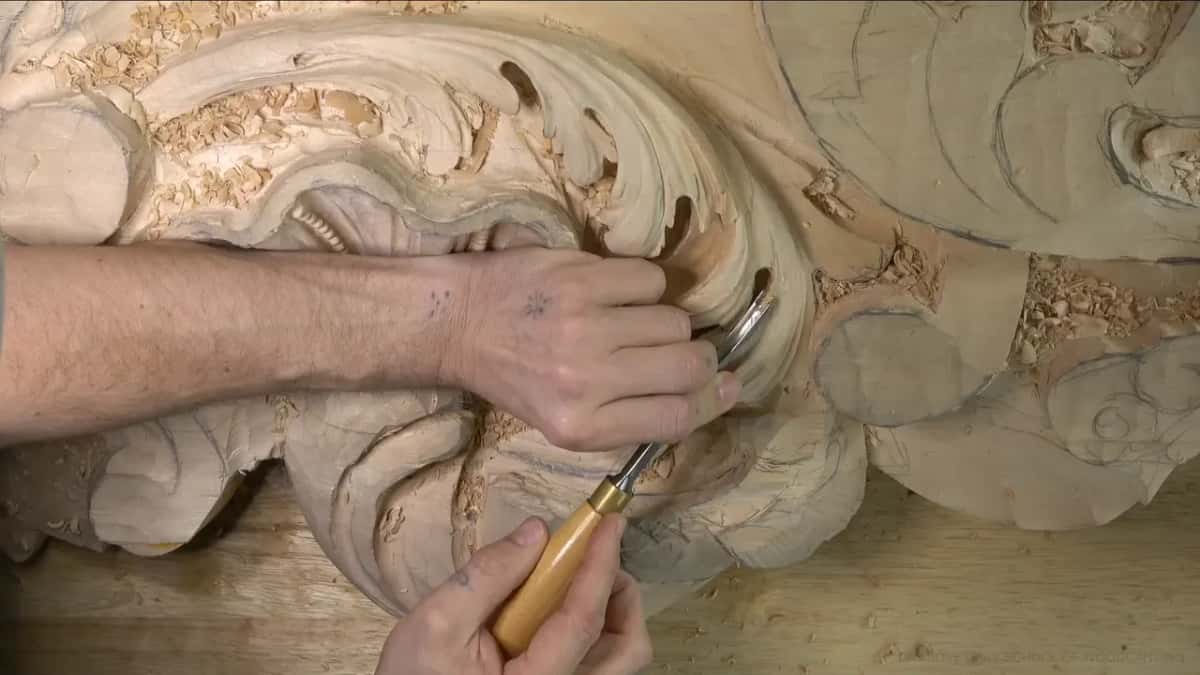
Three of them, and I left every one in the video. The first came from rushing. I grabbed a number 6 that was too big for a round movement and it spread too much material. Sometimes that happens, usually when I'm trying to rush, which I shouldn't. I could lower that part, and it would be okay.
The second was worse. Earlier I had pressed too hard with a big tool and opened a small crack inside one hollow. It didn't look good. I thought about keeping it and decided no, I would rather carve that bit away completely than keep a crack in a client's relief.

The third one scared me for a second. In the last part of the lesson I found a line I had set really deep, and I said it was probably a mistake. I checked how deep it went, and it was fine, not nearly as deep as I feared and not the end of the world. The whole lesson sits in that moment: look before you panic, and look again before you carve.
Do you need a back bent gouge for rounding a pipe?
You can get by without one for everyday carving, no problem. I still love them. In this lesson a back bent rounds one pipe. A number 3 back bend, 6 mm (1/4 in), and then a number 7 push a shadow deeper, and a number 5 rounds the outside of a detail where everything was in my way and there was no way to use a straight tool. Different brands mark those back bends slightly differently, so don't trust the number too much.

Years ago you almost couldn't buy one in the United States. I ordered mine from Europe and paid extra for shipping, and I don't regret it. Now you can find some here, not all. If you are choosing tools, the tools course walks through what a beginner really needs, and the sharpening course keeps whatever you buy cutting.
Where the Venice room goes next
Workshop 12 ends in the middle of a thought. I am placing a center line on the next leaf and worrying about how it will sit with the overall movement. I give no speech and no wrap up, because a real bench day ends like this.

The room carries on in workshops 13 to 25, where the acanthus head gets carved. Before that you can see the jigsaw in workshop 1, gouge thickness in workshop 4 and the rasp in workshop 10. If you want the thinking behind a layout, Principles of Design is the place.
Every workshop here is part of the tuition. You need two gouges or so and a mallet. Add a lamp you can move and the patience to look up at your own carving from the floor like a stranger would. The carvers of mid 1400s Venice worked for buildings like the Ca d'Oro, and my panel is new work in their language.
How it's done
- Put it in shallow. Start a new detail lightly, because a shallow hollow shaves off and a deep one stays.
- Look from the owner's spot. For a panel mounted high, crouch down and look up at it before you judge anything.
- Change the light. Move the lamp or walk around the board, since fine line work hides under a single fixed light.
- Compare with the source. Check the old work you follow, the size of the eyes especially.
- Wait if unsure. Work another area for a while and return later with a clear head.
- Remove what fails. Shave off a failed detail, leaving a trace only where one helps the leaf read.
Frequently asked questions
Should a carving be judged at eye level?
Hang or hold it where it will live. My Venice board goes high on a wall, so every hollow on it will be read from underneath. A lobe that seems dull when you face it may read well from down there, and the reverse happens too.
Why can't I see my small cuts in photos?
Your camera flattens shallow work. While filming this panel I told viewers the fine line work was almost impossible to see on screen. Under a different lamp angle it shows plainly, so walk around the piece or shift your lamp before you carve those lines any deeper.
Is sanding a bad way to soften a sharp detail?
On this piece I reached for paper to soften a row of tiny hollows, then changed my mind and picked up a gouge. A gouge took them off cleanly, and I could still leave a faint trace in one or two places where a mark helped.
What to carve next