
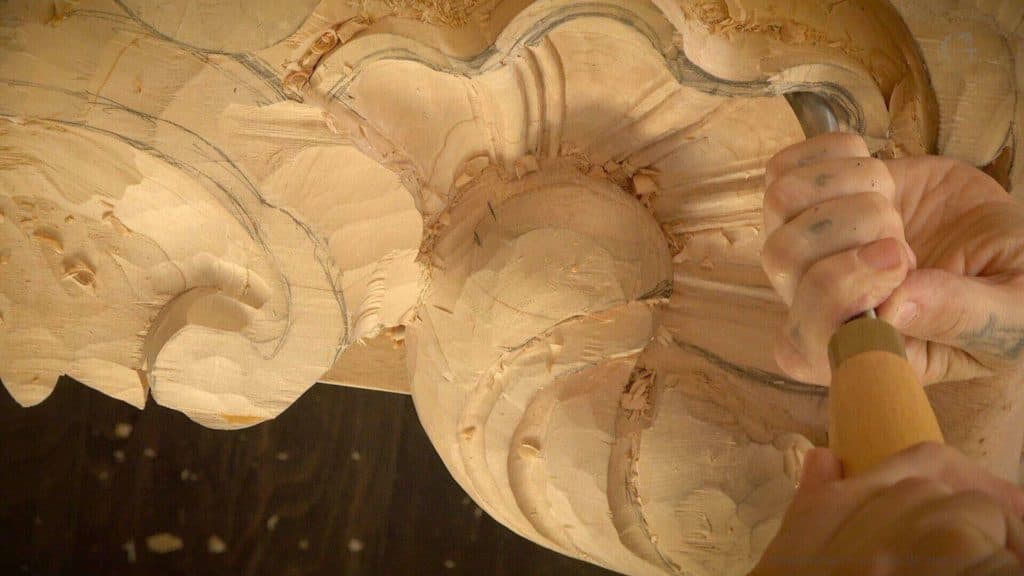
Alexander Grabovetskiy, woodcarver, School of Woodcarving · Published 2020
How do you carve a bead molding along a curve?
Quick answer: A bead molding is a string of small rounded beads carved side by side in a groove. On a curve I tick them off by eye every quarter inch (6 mm), let them shrink a little near the end, notch the gaps, round each bead with a #7 and a back bent, and keep the pressure light.
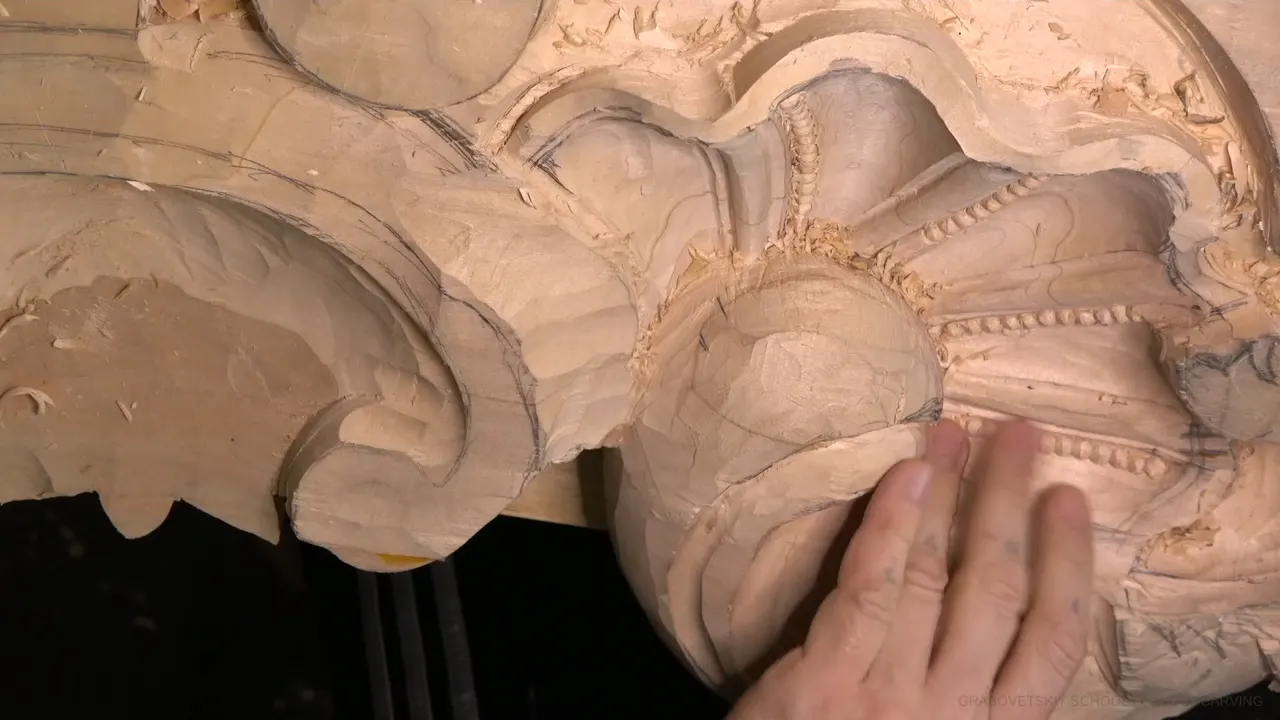
A bead molding is a row of small round beads carved one after another inside a narrow channel, and on a curve every bead has to follow the line while the grain keeps changing direction under it. On this Venice room commission I laid the rows out by eye at quarter inch spacing, roughly 6 mm, and let the beads get a little smaller toward the end. Notches came next and the rounding after them, all of it by hand.
Would you like to watch a row of beads carved on a curve, bead by bead, at the real speed of the job? Do you want to see what comes before any bead looks round? Workshop 6 shows both, on the inside of a big carved shell, with my corrections left in.
I'm going to be honest with you. For most of this workshop the beads don't look like beads at all. You see grooves, pencil marks and chips, and I apologize more than once for covering the work with my hands. I even watched my own footage the day before one recording and could hardly see the real shape, because of where the camera sat. When I say something looks good, I mean good for that stage, not finished.
What a curved bead molding takes
A step down and a smooth hollow come first, so the beads get a clean channel to sit in.
Each bead is at most six millimeters wide, a quarter inch, and the last ones come out a little smaller than that.
The marks go on by eye, since measuring each one would take too long.
A tiny #11 veiner sinks the groove that keeps them apart.
Gaps open with a straight chisel or a V tool, and then a skew relieves each one.
A #7 does the first rounding and the back bent finishes it.
Press lightly, because a bead can pop right out wherever the grain crosses it.

What is a bead molding?
Beads carved in a line, each one a small round bump standing up out of its channel, make a bead molding. The same shape shows up in bead and reel, an old molding where the beads alternate with little cylinders.
I love that element myself, and I use it a lot. It's a really good detail, and you can put it pretty much anywhere, on a picture frame or almost any architectural design, which I talk about in the border lesson on the butterfly plate.
A single raised bead standing alone in relief is a different job, and the Hashemi flowers beads lesson covers that one.
Plenty of shell designs stop at the carved lines and leave them plain. Mine gets beads. In this room they sit on one side of each inner hollow of the shell, a detail you can still find on original carvings if you travel to Venice.
What gets carved before the first bead?
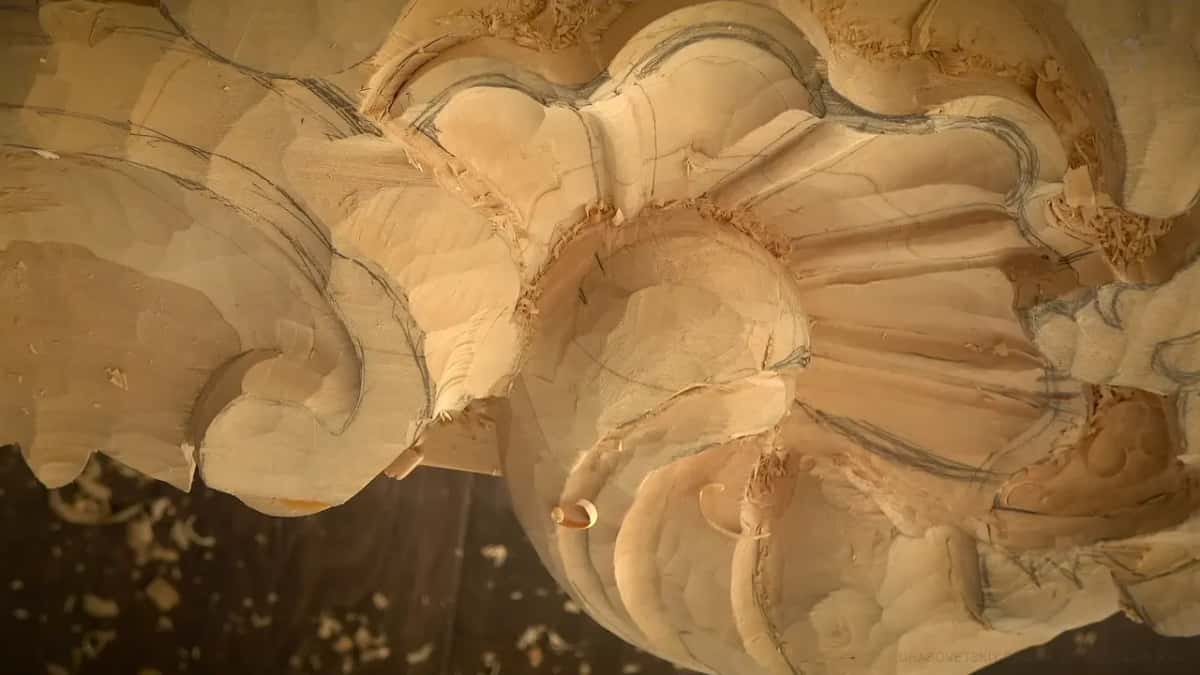
Two things come first, a step down along the edge and a smooth hollow beside it, so the beads have somewhere clean to sit.
The step starts as a line drawn a few millimeters inside the carved detail, about 5 mm (3/16 in) away in one spot and 3 mm (1/8 in) in another, measured from the inner part. I eyeball it. Then I carve straight down along the line with a quarter inch #9 (6 mm), about 3 mm (1/8 in) deep.
That shallow step still casts a shadow, so the edge gets an extra line, and it leaves plenty of wood for the beads that follow. I'm carving to the original 15th century design here, and that style of shell was a really common thing, all the way into the 17th century.
Deeper in, a straight gouge stops reaching. A spoon #9, five millimeters or 3/16 of an inch, takes over there, a little at a time.

Beside the step runs a long hollow I call the mid-molding. I open it with a #8 back bent and clear a chunk out of the middle with a #7. Where the grain turns, a 10 mm (3/8 in) skew #7 is much easier to control, and after it comes its twin, skewed the other way.
A one inch (25 mm) #7 was a little too big for that hollow at first, so a #8 carried it up to the edge of the future beads. I check it for high spots. What I want there is a really gradual movement.

A flat #3, used the normal way rather than upside down, smooths the top until it looks semi-final.

How big should each bead be?
Mine are a quarter inch (6 mm) at the top of the row and 3/16 in (5 mm) near the end, so every bead comes out a hair smaller than the one before it.
Before a single mark went on, I decided they would not go over six millimeters, a quarter inch. My starting point for the first bead sits the same distance down. I had picked about half an inch (13 mm) at first, looked at it again, changed my mind and went higher.
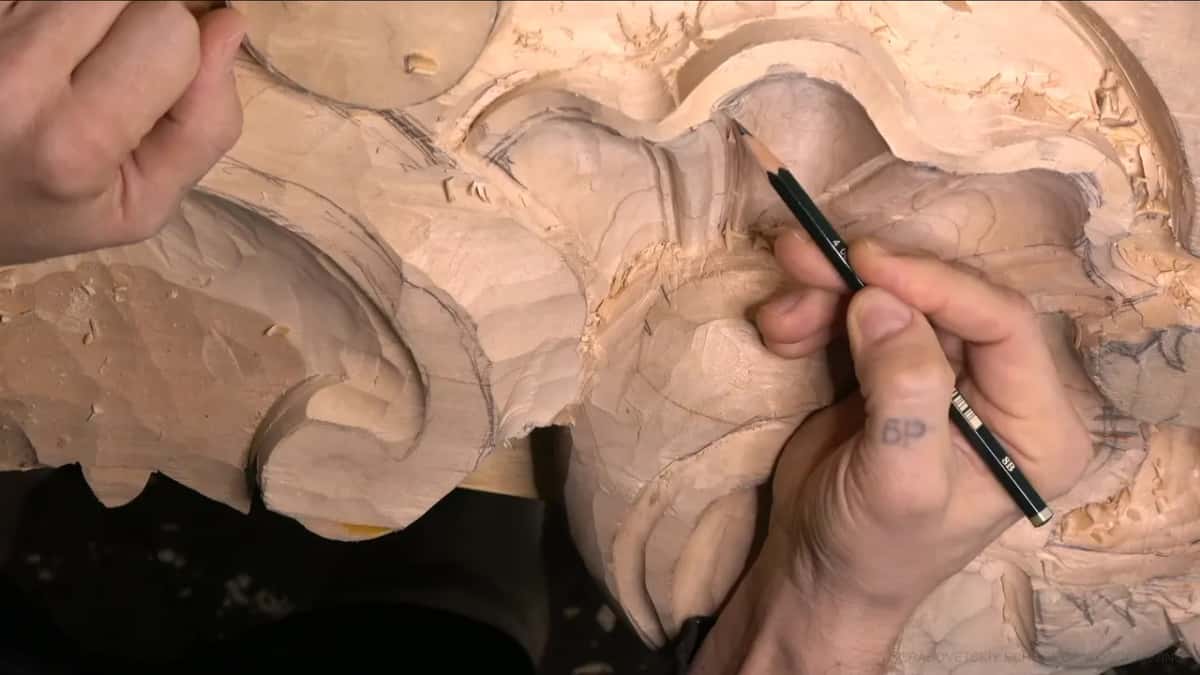
Then the marks go on every 6 mm or so, a quarter inch, by eye. If I measured every one, it would take far too long. I don't really have to.
A curved row and a ring of beads part ways right here. On my chamomile and bow rosette the beads go all the way round an oval. There I set calipers to about 6 mm (1/4 in), stepped the size around, and still ended up half a millimeter (about 1/50 in) out by the last bead.
My row has an open end. It gets smaller as it travels, and its lines only need to repeat the way I said on camera, "Repeat, but kind of repeat."
So I eyeball first and double-check after. In one spot I forgot the marks altogether and had to put them in, because that section needs the same idea as the rest.
The bottom of each row stays untouched for now. It waits until I develop the acanthus head, which comes in the next block of the room, and then those last beads get finished to match.
Which tool separates one bead from the next?
A #11 veiner does it, first at an eighth of an inch (3 mm) and then at 1 mm (about 3/64 in) for an even deeper and tinier groove.
That first 3 mm pass decides the side of every bead, and one side goes much deeper than the other. For the hardest one, carving against the grain, I switch to a 2 mm (5/64 in) spoon #11. Even then it's a double challenge.
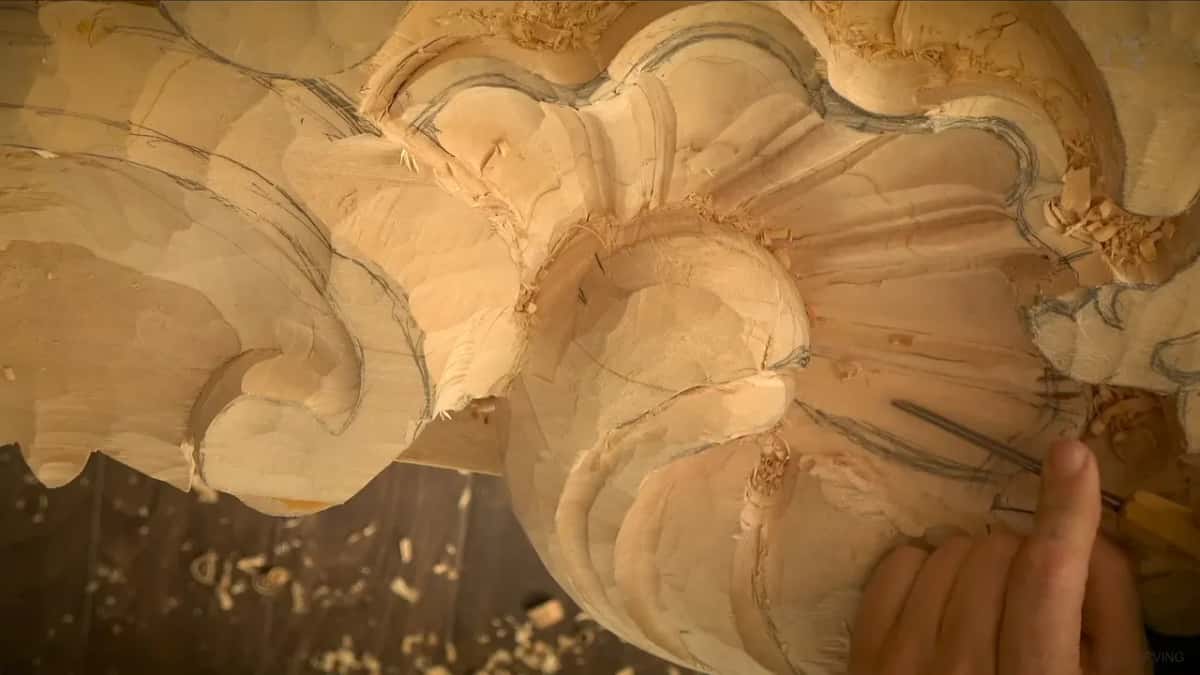
The 1 mm groove gives the beads real separation. After it comes a concave three millimeters wide, an eighth of an inch, along the side of each line, which traces the future molding. I could have gone bigger there, but three millimeters gave me a nice outline, so I kept it.
Partway along that concave I didn't like what I saw at all. Just a little off, I thought, and then I looked closer and it was a lot. A small spoon #11 fixed it, and I double-checked before I believed I was safe.
Then the 1 mm veiner again, closer to the line, though I wasn't sure I could manage it everywhere.
All of this is what I call preparing the canvas. I also have a tendency to overdo things, and I say so right on camera.

Should you notch beads with a straight chisel or a V tool?
Either one works, and I reach for the straight chisel when the grain allows it.
A #1 is a plain straight chisel. Pushed into the gap, it makes a preliminary notch fast, and that is the quickest way, a little more dangerous too. It worked here only because the grain ran in the right direction and let the edge go straight inside.
Keep in mind it stresses the wood. Pushing spreads the fibers apart, and pushed fibers go back the next day, a subject of its own in my V tool lesson.
The V tool is the other way. You come at it from the sides with the same preliminary cuts. The quick way is not always the best way, as I say on camera, and the V tool is the slower of the two.
In one place the grain ran one way and my notch went the other. That's resistance. Push too deep there and the wood breaks, and the bead just pops out.
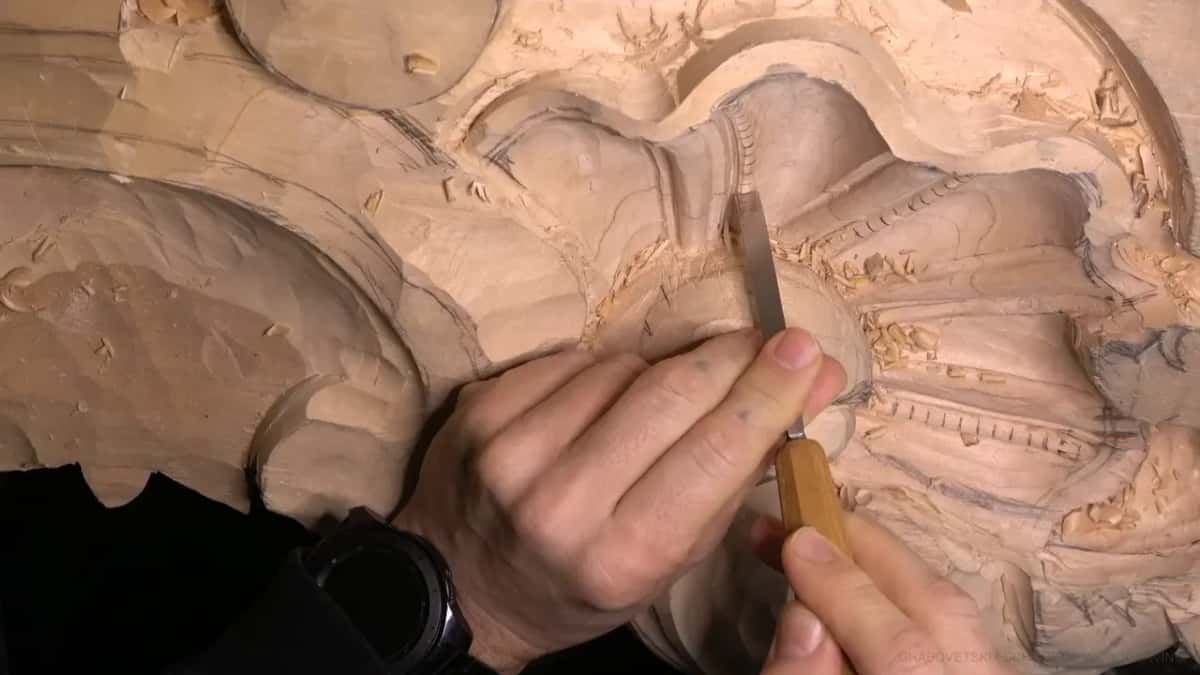
Next comes the relieving. I take a skew #1, which in England would be a number two, and make small notches toward the gap from both sides, one side first, then the other.
On camera I called that gap the center cut, then corrected myself. It's really the cut between the future beads.

Stop before the middle of the bead. Carry the notch right to its center and it looks bad, because the bead still has to come out "round-y," as I put it.
Where something stands in the way, a small spoon #1 reaches in. All of that is step one, a relieving cut, and on camera it's nearly invisible.

| Tool | Job | Stage |
|---|---|---|
| #11 veiner, 3 mm or 1/8 inch | Sets the deep side of every bead in turn | Separating grooves |
| #11 veiner, 1 mm or about 3/64 inch | Sinks an even deeper and tinier groove between beads | Final separation |
| Straight #1 chisel | Pushes quick notches in where the grain allows it | Opening notches |
| Skew #1, English #2 | Relieves the wood toward each gap from both sides | Relief notches |
| #7 gouge, 6 mm or 1/4 inch | Starts the roundness once the notches and relief exist | Early rounding |
| #8 back bent, same width | Reaches close to almost everywhere along the whole row | Final rounding |
| Bent corner tools, left and right | Clean the last triangles where the gouge cannot reach | Corner cleanup |
When do the beads start to look round?
Step two brings the roundness, and it starts with a 1/4 in (6 mm) #7. The #8 would fit, but at that point it's a little too big.
After that the back bent comes out again, a #8 of the same width, and it lets me get really close to almost everywhere on the row. Probably I could have used it from the beginning.
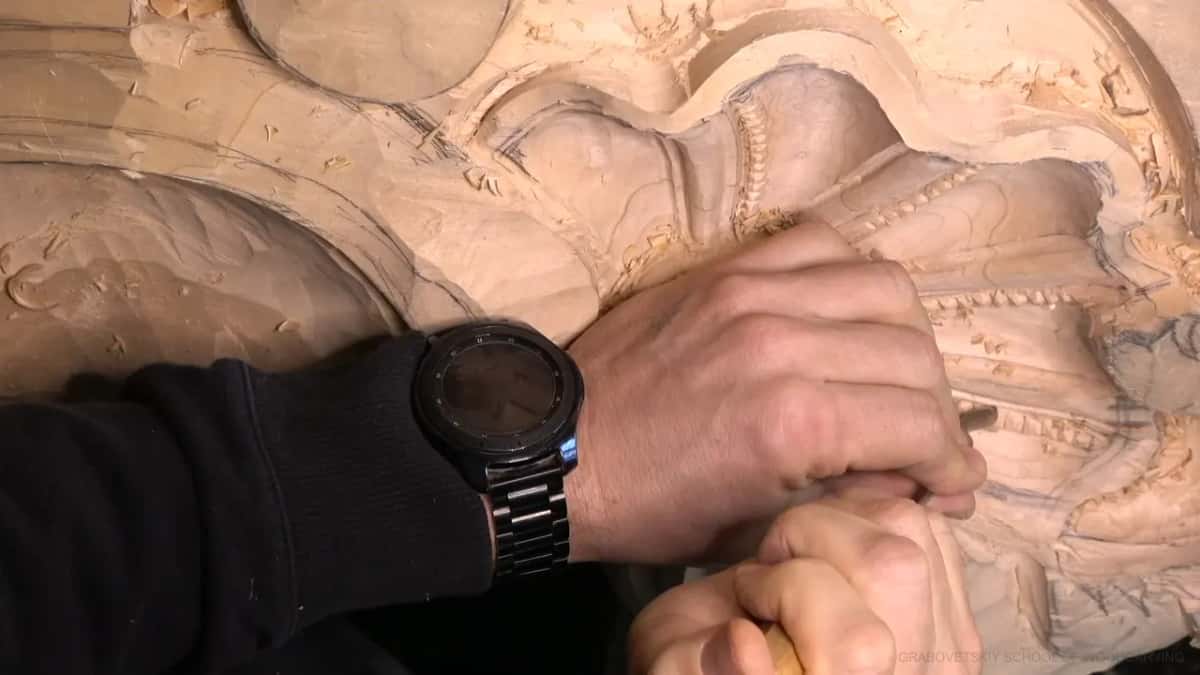
Every bead gets shaped from one side first. Then I flip to the other side and do exactly the same thing in the opposite direction. The first bead outline has to be really, really nice.
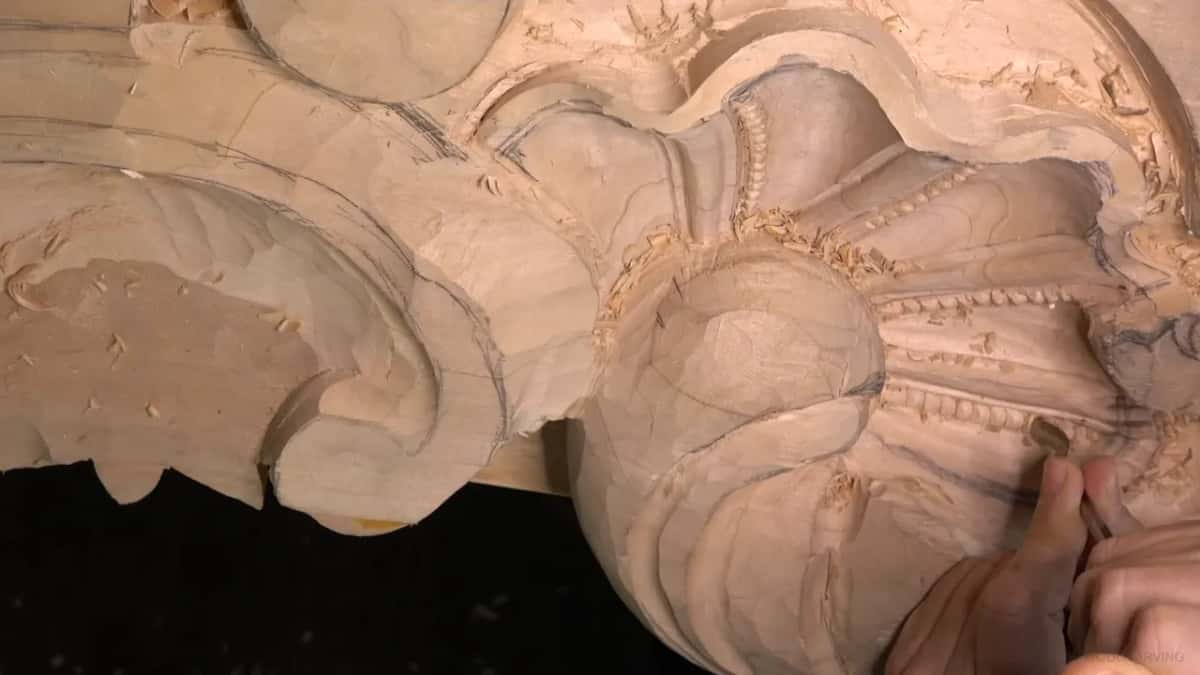
My tool has to be really sharp, really, really, really sharp, and at one point in the rounding I stopped and said maybe I need to sharpen.
By the eleventh video the row finally starts to look like beads. Before that it's grooves and patience.

Why do carved beads pop out?
Beads pop out when a pass goes too deep or you press too hard on the tool, and the risk is worst where your notch runs across the grain.
It looks like an easy operation, and it is a kind of easy operation. But if I'm not careful I make too deep a pass, and one of those beads is gone.
You can glue it back. Better to stop the pop out from the beginning, if you can, and I say that as someone who has made this mistake many times.
It happens when you just press too hard on your tool. So I take time instead. Little by little, careful, careful, careful, because of the grain direction, and I don't rush it, since rushing here would be a big mistake.
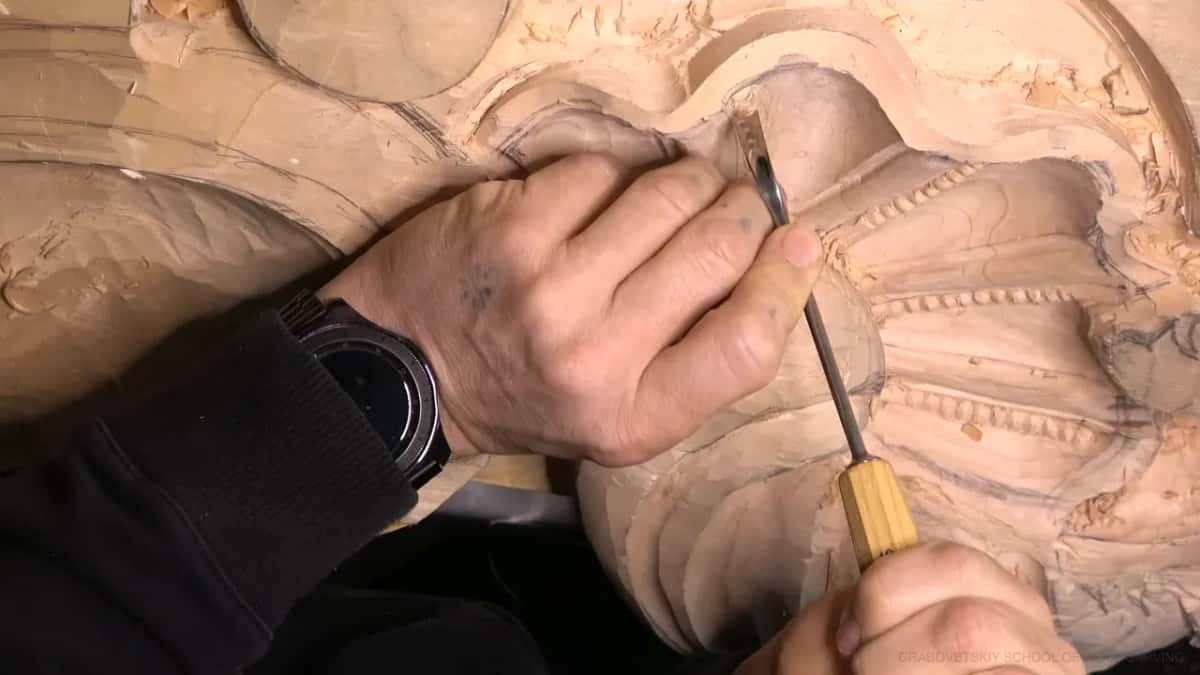
How do you clean the little triangles between beads?
With the same #7 from the rounding, working only the edge of my tool, plus a small bent corner tool where the gouge won't reach.
There are two ways to take the sides. The #7 carves along the side of the row, or a smaller tool goes straight at the triangles without going too deep. This time the #7 worked just fine.
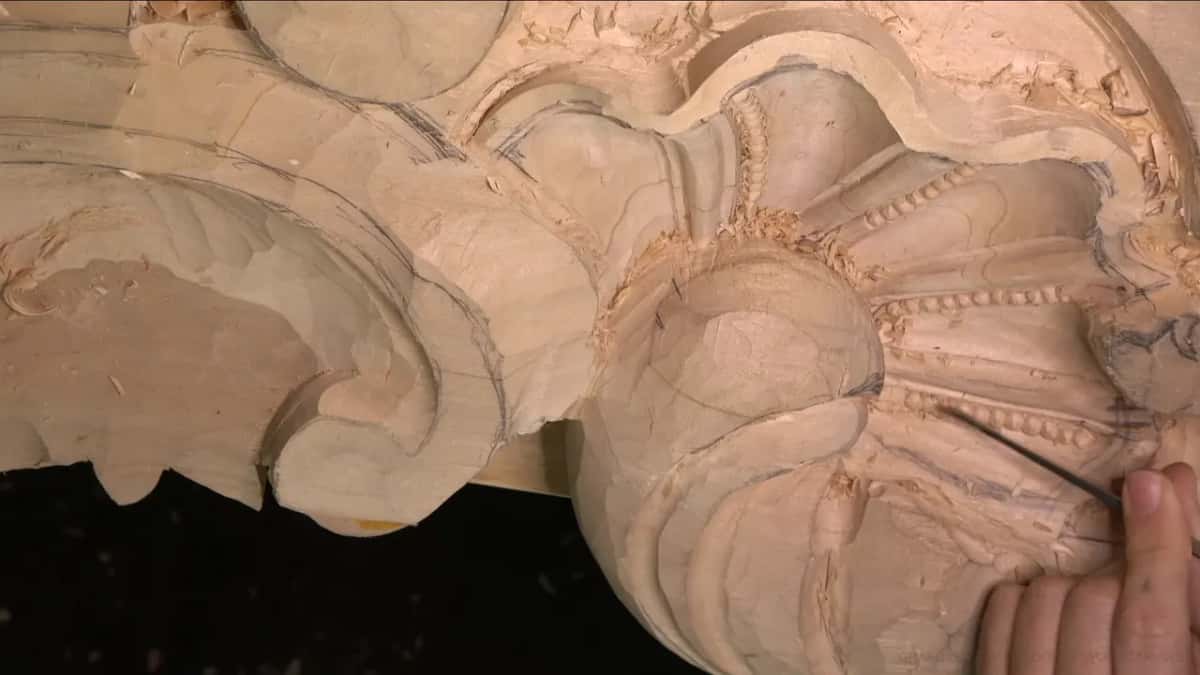
For the last corners I keep a few little tools, one bent to the right, one bent to the left and one straight. They're good for undercutting too. I just really love that tool.
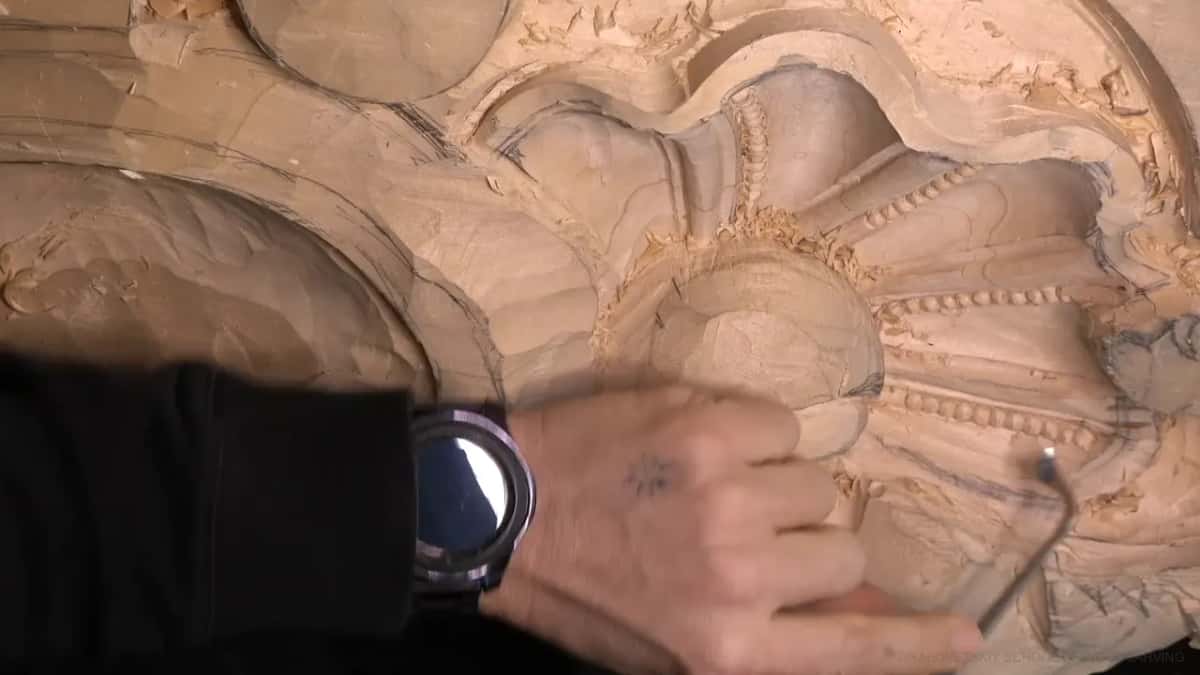
It would help if the chips flew out on their own. They don't always. Once I stop to blow them off and tell the camera that is the sound of a woodcarving shop.
This piece will sit high above the floor. Nobody is going to climb a ladder to check every cut I made. But still, I want it to look as nice as I can make it.
Can a beginner carve beads like these?
On a smaller piece you can, and this row still gives you the whole idea.
When I started this project I said I wasn't expecting anybody to follow it step for step. It's huge. What you take from it is the overall idea, and details like this bead row that work in small wood carving as well as big.
Maybe some of you will carve something like it, for yourself or for a client. You may carve beads faster than I do, too. I've always done this operation this way, and it works for me.
Never carved a bead? Pick a first project, get a sharp #7 and a small veiner in your hand, and come back to this room when a short straight row feels easy.
Everything above is inside the tuition. The next workshop goes underneath these beads, and workshop 7 is where that starts.
Would you like a row of your own? Start short, keep the edge sharp, and let the row shrink a little as it goes.
How it's done
- Drop a step beside the detail. Draw a line just inside the carved edge, then chop straight down along it, about one eighth inch (3 mm), so the edge picks up a second shadow.
- Smooth the hollow next to it. Clear its middle, sweep it with a #8 and look for high spots until the curve runs gradually.
- Sink the separating grooves. Run the larger #11 down the row with one side deeper, then follow with the smallest one.
- Tick off the beads by eye. Begin a quarter inch down, which is 6 mm, space the ticks the same, and let the last few come out smaller.
- Open every gap. Press a flat chisel in where the fibers allow it. Anywhere else, come in from each side with a V tool.
- Relieve toward each gap. Angle a skew in toward the gap, left and right, and stop well before the middle of the bead.
- Round, then reverse. Shape each bead with the narrow #7, then the back bent gouge, and repeat the same strokes from the opposite direction.
- Clean the corners last. Work only the corner of the gouge, and bring in a bent corner tool where it cannot get.
Frequently asked questions
Do you need a V tool to carve beads?
A V tool gives you one of two ways to open the gaps between them. On my Venice shell a plain straight #1 chisel did that job, because the fibers ran the right way there. Where they run against you, reach for the V tool, since a pushed chisel stresses the wood.
How far apart should carved beads be?
Mine sit roughly a quarter of an inch apart, six millimeters, ticked off by eye along the row instead of with a ruler. Toward the far end they shrink to about five millimeters, roughly 3/16 of an inch, so each one comes out a touch smaller than its neighbor.
Can you glue a carved bead back on?
Glue will hold one that has popped out, and over the years I have lost more than a few. Far better to keep every bead attached from the start, with shallow passes, a sharp edge and a light hand wherever the fibers cross the row.
What to carve next