
Alexander Grabovetskiy, woodcarver, School of Woodcarving · Published 2020
How do you undercut an acanthus leaf without making it weak?
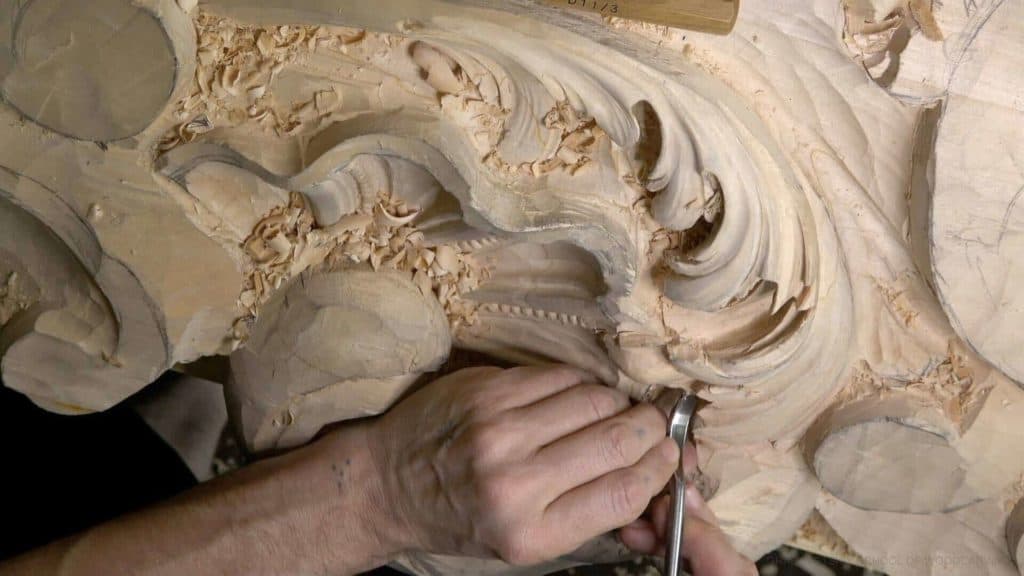
Quick answer: Undercutting a lobe safely is a matter of hollowing a concave inside it so it looks thin, rounding its side rather than chopping it, and digging in from each side with a small #11 spoon veiner. I stop once the view from below already shows shadow, and I leave the wood the shell still needs.
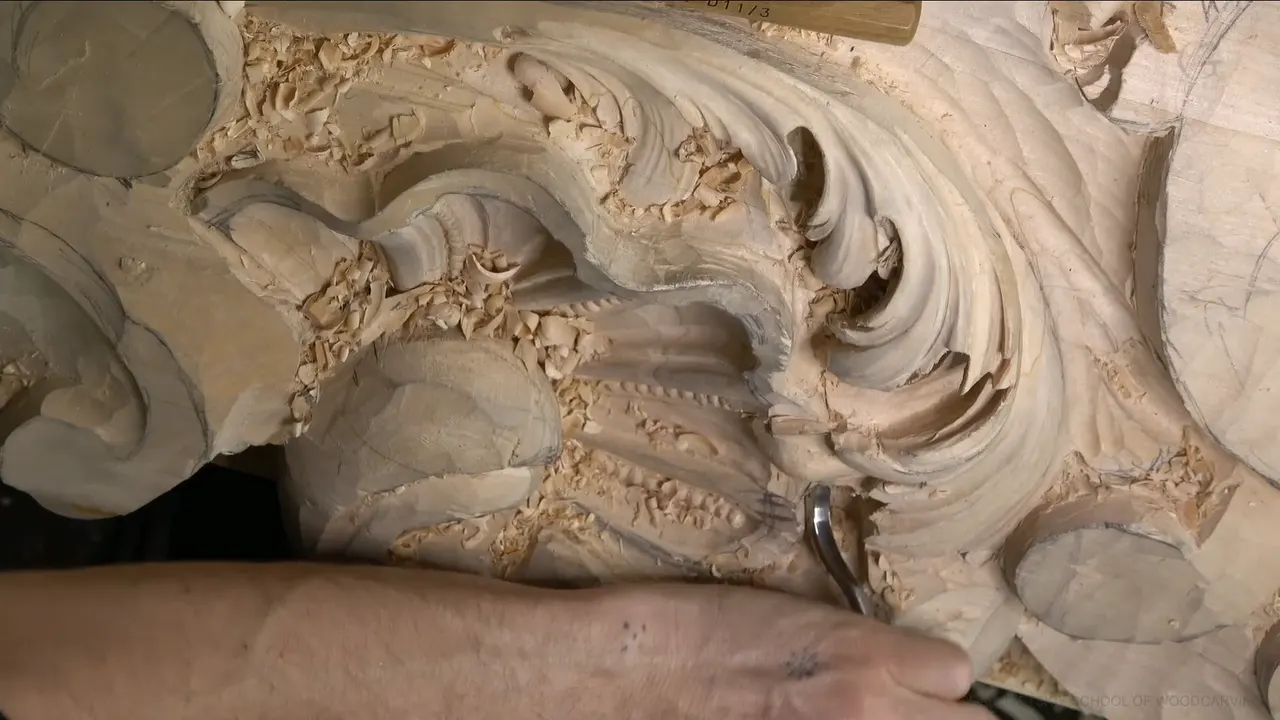
Undercutting in acanthus leaf carving, without weakening the leaf, is mostly a question of where the wood comes out. I hollow a concave inside the lobe so it reads thin, round its side instead of chopping it, and dig in from both sides with a small #11 spoon veiner. In workshop 11 of this Venice room commission, one lobe hangs over a shell I haven't carved yet, and it had to stay strong.
Do you like a leaf that throws a dark shadow underneath? Would you like that same leaf to survive the next pass of your tool? Then stay with this one lobe for a few minutes, because it gets both.
Every carver wants that shadow. The trouble is that you get it by taking wood out from under a part, and every chip you take leaves the part thinner. By the end of this page you'll know where I took wood out on this lobe, where I left it alone, and the moment I put the tool down.

Five habits that kept this lobe strong
A concave hollowed inside the part makes it read thin while the wood behind it stays.
Round a weak side instead of chopping it straight down.
Work in from each flank with a spoon veiner, starting small, then bigger, then small again to clean.
Stop as soon as the view from below already has its shadow.
Keep any wood the next element still needs, here the shell.
Clean the inside you can't see, so the transition is smooth when someone looks up at it.
Why does an undercut make a carved leaf fragile?
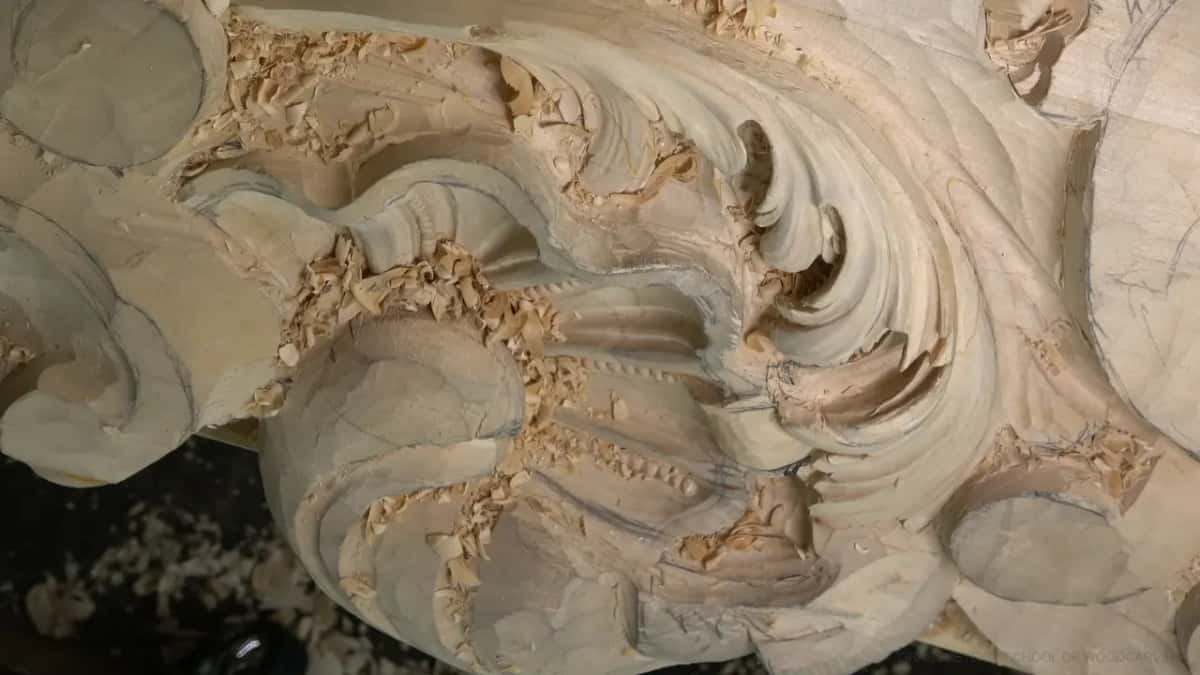
My part in this workshop is an overlapping one. It's a lobe of the acanthus that flips above the shell, and the shell below it is roughed in but still not developed. To make that lobe float, I have to take wood out underneath. There is no other way to get the shadow.
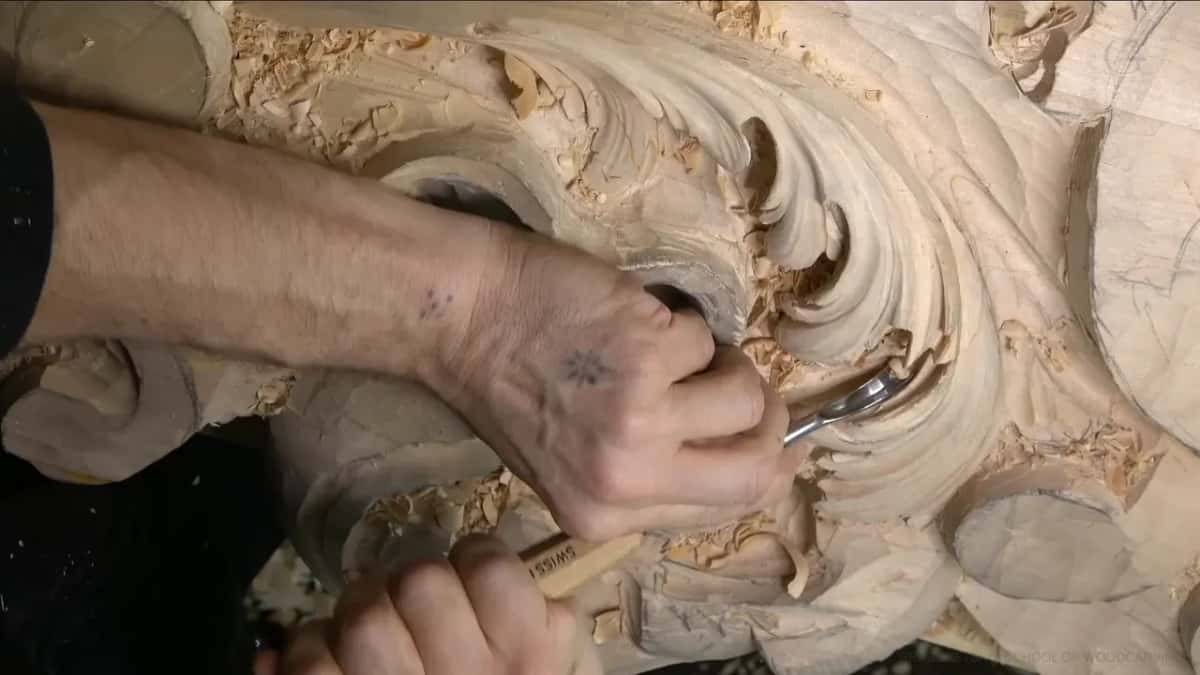
And it bites. Early in part 6 I was cleaning with a #11, getting close to the part that goes above, and I just destroyed the edge of one movement. I had to stop and take care of it before I went on.
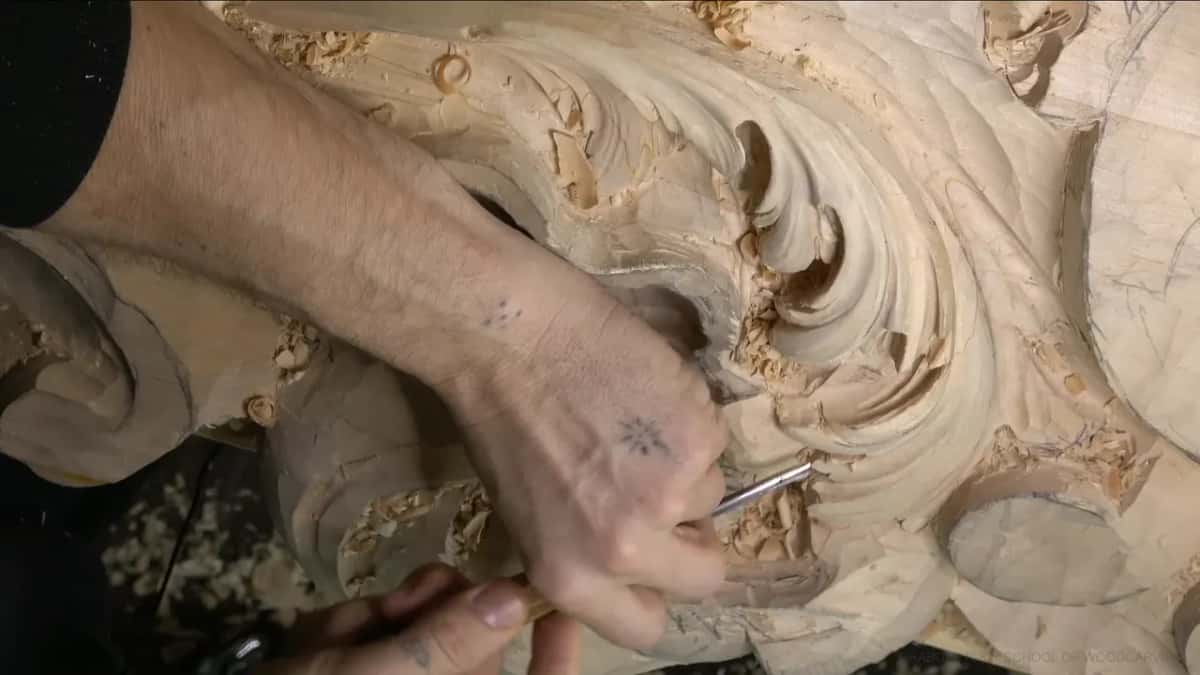
A few minutes later I switched to a smaller, flatter gouge to get a little on the side of one spot, and I told you plainly what I was trying to do there. Try not to break it. Because right now it is fragile.
Undercutting itself is never in doubt on this Venetian panel, since the shadow is the whole point of the carving. What I keep asking is how much of the part I can take and still have a part left.
How can a leaf look thin without being thin?
A concave on the inside does it. This was the moment in part 7 that decided the lobe, and I said it in almost one breath.
I don't want to make this element too weak, but I also don't want to look at it and see how thick it is. Two wishes pulling in opposite directions. I didn't shave the part from the outside to make it thinner. I hollowed a concave on its inside, and that hollow gave me extra shadow underneath the element.
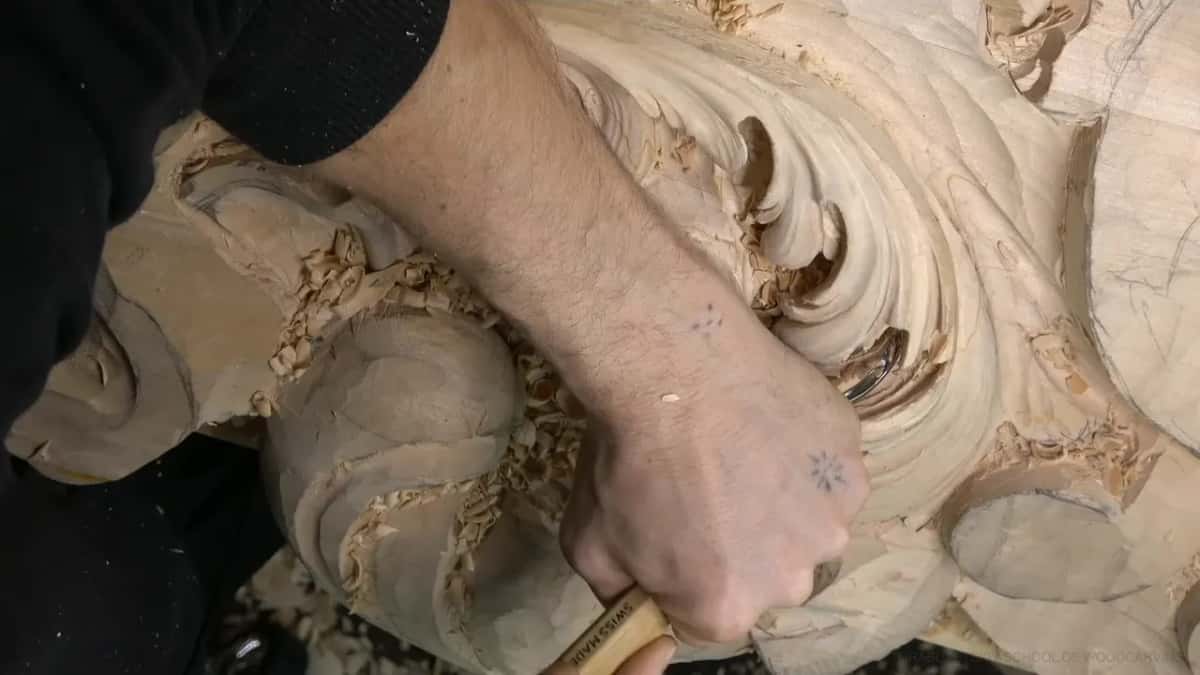
The next part opens with three words from me: and it's still strong. Only then did I go deeper, with the spoon veiner, excavating right underneath, and I kept saying the same thing while I did it. Still keep that one really strong.
The same move shaped the ridge. I wanted the outer edge of that lobe to look raised up, and I said it was really important to me. That's why I carved a concave beside it, to make sure the ridge would look a little raised. Otherwise, in my opinion, it doesn't look organic.

If you have carved a Roman acanthus with me, you've seen hollows used for shade before. What's different on this lobe is the reason for the hollow. Here it is doing the job of thinness, so the solid wood can stay where the strength lives.
Should you chop the side of a weak edge or round it?
Round it. Halfway through part 8 I had one element that needed shaping, and I saw two ways to do it. I could just chop from the side, straight down, quick and clean.
Too weak was the worry. So I made it a little more roundy instead, rounding it a little this way and then carving it like that until the shape I wanted was sitting there.

And yes, I destroyed my eye on that element while I did it. That's the eye of the element, the small opening I wanted to keep. I recreated it little by little. Then I went a touch deeper for extra shadow and needed something small to hook the loose bit out.
There's a gentle version of the same idea too. At the edges of one piece I only chipped a little, to keep that detail. Small bites near an edge. Big bites only where there is wood to spare.
Which tool reaches under an overhanging lobe?
A spoon veiner, a #11, and I used it in more sizes than I expected on one lobe. I call it a spoon gouge by habit, and in part 11 I caught myself on camera. Not spoon gouge, I'm sorry. Spoon veiner. It would be a mistake to call it the gouge, because it is not the gouge. If yours needs an edge, here is how I sharpen a spoon tool.
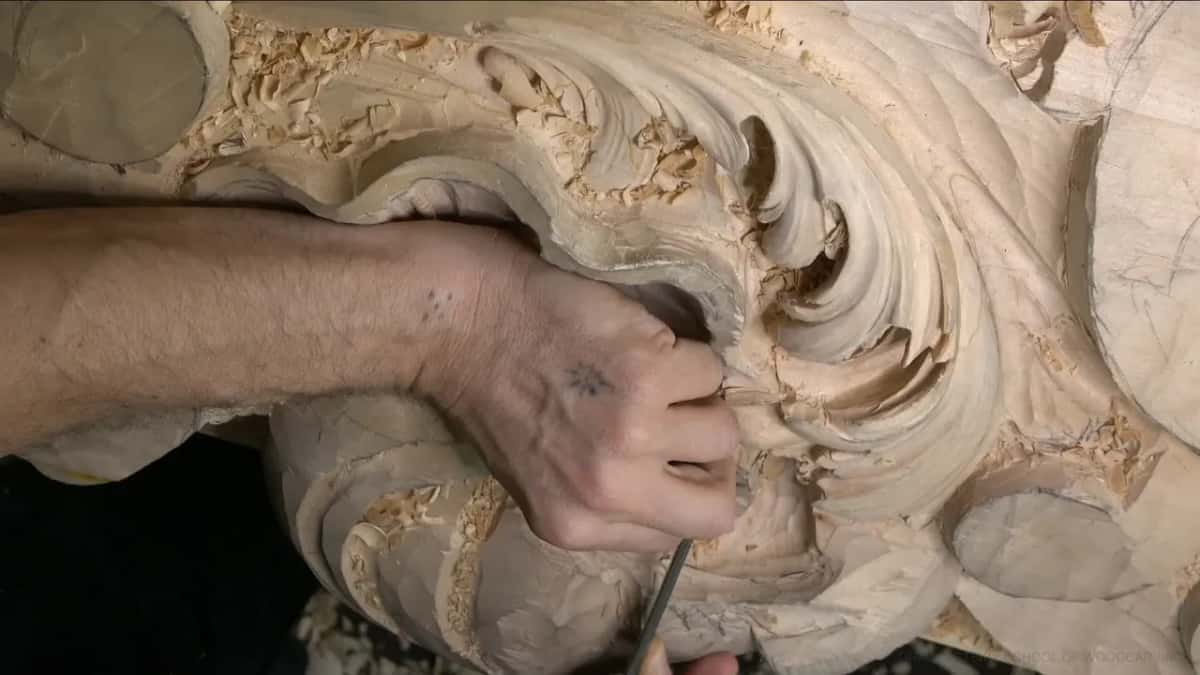
I never guessed the size once and got it right. For a really interesting area I picked 5 mm (3/16 in), and I said out loud that one too small or one too big would both be wrong there. Once it was in, it looked a little too big for the spot, so I went down to 2 mm (5/64 in).
The next part went the other way. I started with the 2 mm to take some waste, then saw I could easily use a bigger one, maybe 4 mm (5/32 in). Carefully in, taking my time, from both sides. Each side got its own small bites.
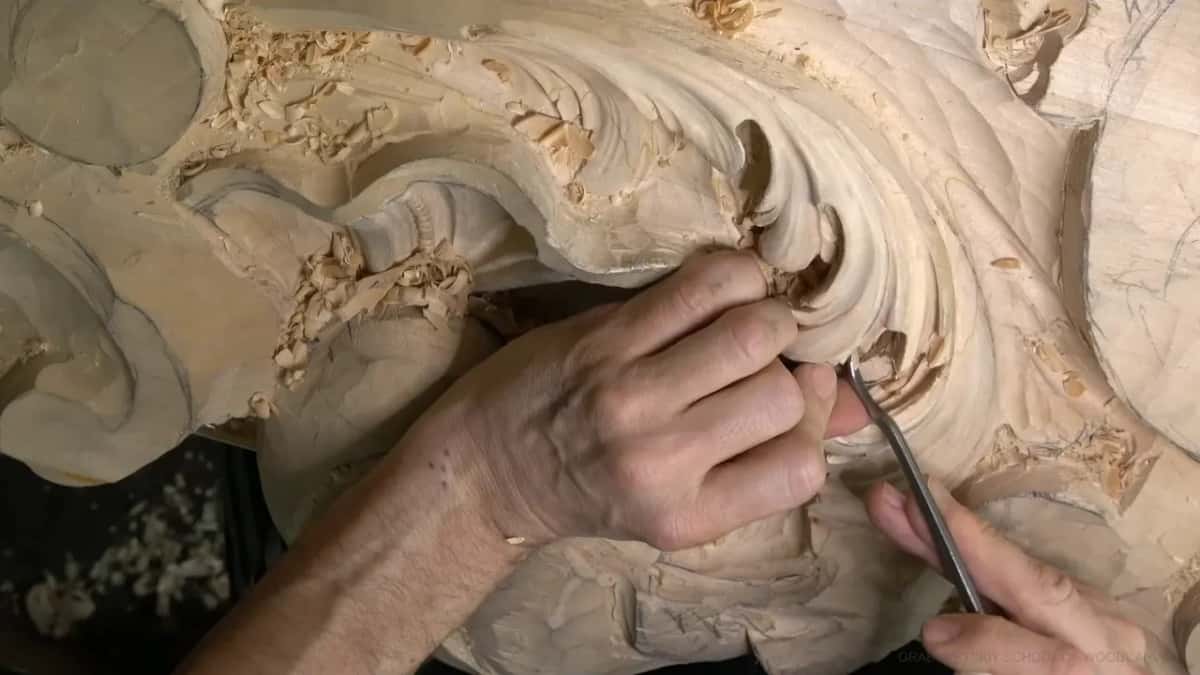
My deep shadow came later, and for it I took a 7 mm (9/32 in), the biggest #11 in this workshop, and I said a mallet would help if I needed it. The last part shows the opposite lesson. The 7 mm looked a little too big for that separation, but I started with it anyway, then switched to the 5 mm and carried on under the upper part of the acanthus. And for one small notch in part 11 the 1 mm (3/64 in) went in to make it deeper.
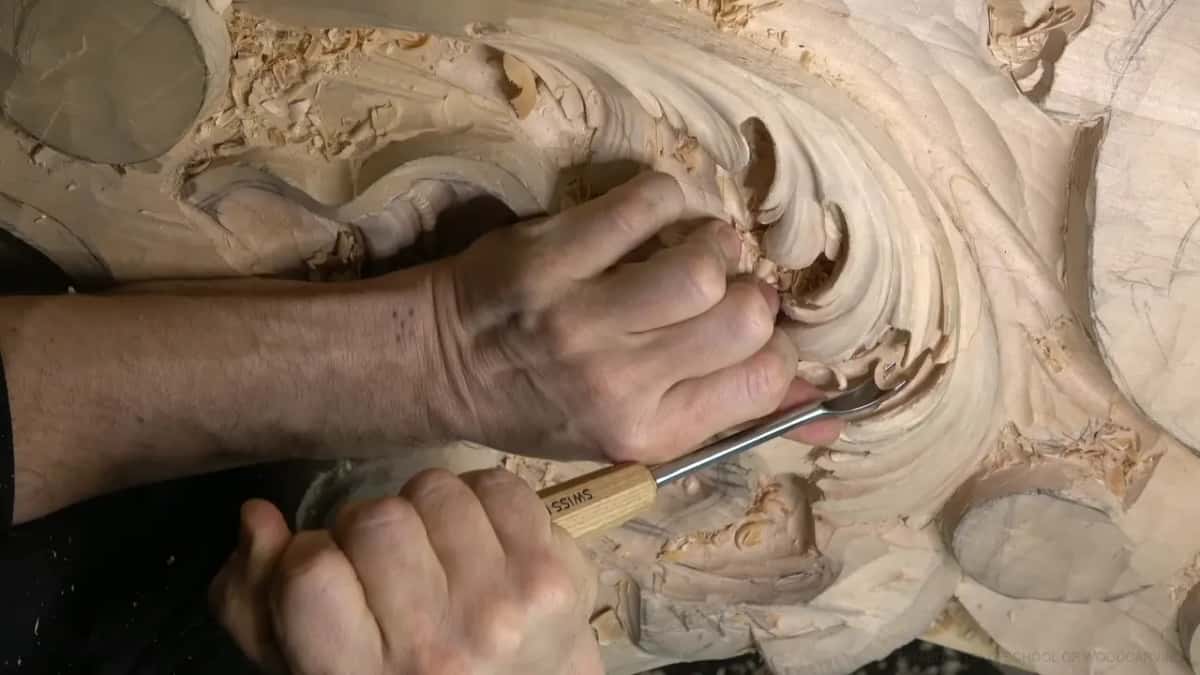
There's a lot of wiggling in these videos, and I told you why in part 12 in four words. It helps me. Sharpening came up twice as well. In part 8 I said maybe I should sharpen this one, it will help, I think, and in part 11 I stopped because I needed to sharpen that again. Watch the grain as well. I admitted I was carving against the grain at that spot, and instead of cranking against those fibers I came at them with the tool from the opposite direction.
With a #9 in part 9 I worked from what I knew was the wrong position. I said it was all right, then said it's not all right, then said it's not the end of the world either. All three were true.
What each tool did under this lobe
| Tool | Job | Where |
|---|---|---|
| Spoon veiner, 2 mm | Took waste where the 5 mm was simply too big | Tight spots under the overlap |
| Veiner #11, 4 mm | Went in carefully left and right, one small pass each | Under the main detail |
| Big spoon, 7 mm | Dug the deepest shadow, with a mallet close at hand | Below the upper part |
| Gouge #7 alone | Hollowed the concave that raised the outer ridge edge | Beside the lobe ridge |
| Flatter small gouge | Nibbled the side of a spot that was already fragile | One thin corner |
How deep should undercutting go in wood carving?
Only as deep as the shadow needs, and I judge that from where people will stand. This panel goes up high in a room, so nobody sees it straight on. I told you I didn't really need to go too deep right there, because it's going to be visible from below, and that's already giving me a lot of shadow.
And then the sentence that stopped the tool. This upper part is going to be still really strong and nice, so I probably should be happy with that depth and not go deeper. I looked from below once more at the end of that part, got a really good shadow, and said I was happy with it.
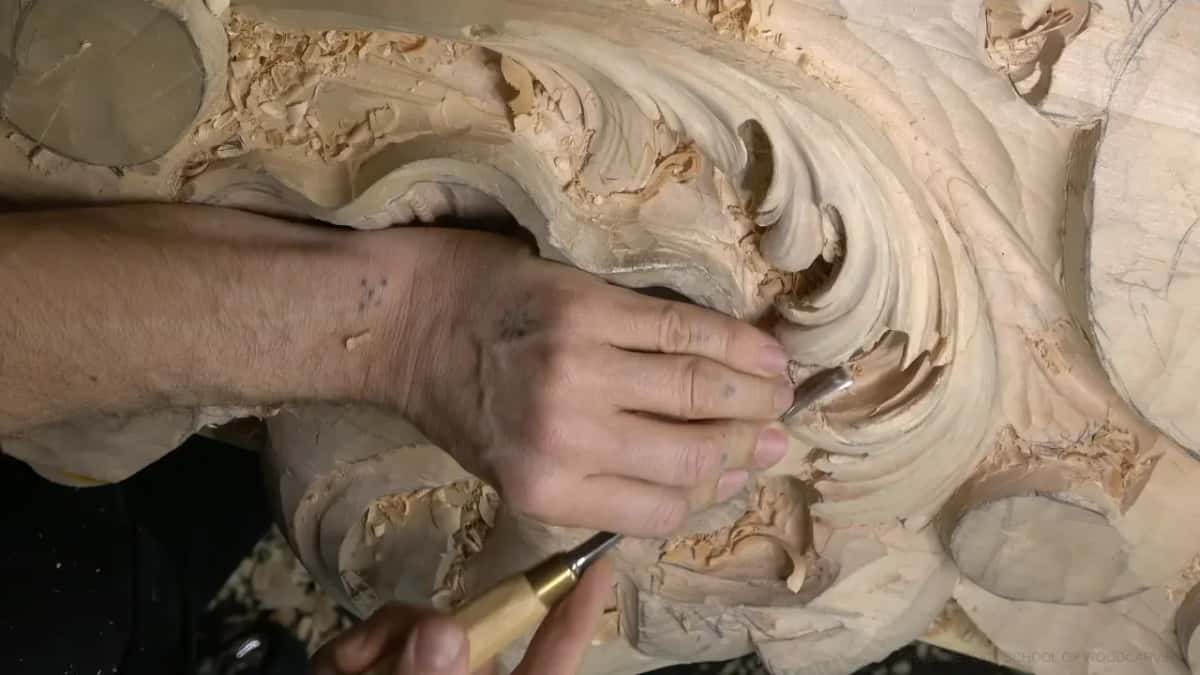
One earlier stop sounds the same. I thought it's enough shadow, looked again, and said it a second time. It is enough shadow. On another spot I set myself a number, no deeper than about a quarter inch (6 mm), then allowed a little more where a concave side gave me room.
How much undercutting a whole panel deserves is a different question, counted in hours and in gold leaf, and I took that one on near the end of this room. This page is about one lobe and one rule. Take what the shadow needs and keep the rest.
Paint sets a limit too. Midway through part 6 I stopped myself from making a big carve in there and asked, how am I going to paint that? I said it again in part 12, for the same reason I have said too many times. What paint does to a carving belongs to workshop 8.
Why leave wood you could carve away today?
The shell isn't carved yet. That lobe flips above my future shell, so I held back early, in part 6, and said I would not go too low. I still had plenty of space with my shell and could lower it down later, but I didn't want to be too crazy about it. The shell in workshop 5 shows what that space is for.
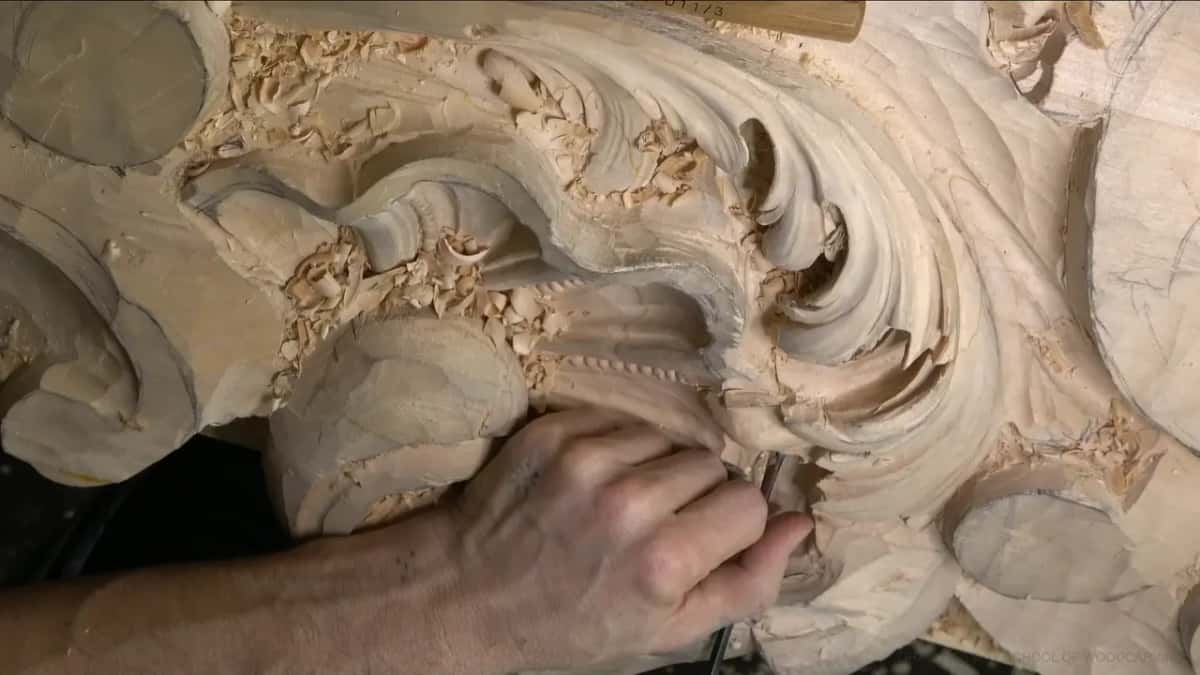
My clearest words on it came near the end. I still have to keep a chunk of wood right here, because I still have to develop other parts, so I leave alone any wood I don't have to remove. A few minutes on, I started some undercutting, and said the same again. Not too crazy, because the shell is still ahead. Some of it I could remove right away, and I did.
Before that, I dug a little underneath just to see how big a chunk of wood I would need. That's also why most of my undercutting on a leaf waits until late, the way I did it on the Roman acanthus.

If an edge does crack anyway, it isn't the end. On a Roman leaf I once stabilized a thin edge with glue thinned right down, and I'd rather you know that before you need it.
What about the inside nobody can see?
I clean it anyway. I cleaned a little on the inside of that lobe and said it straight. Stuff you don't see, but I need to make it smooth.
On this panel there's a practical reason too. Back in part 7 I said I was trying not to make a mess and trouble underneath, because people will see it from the bottom. So the transition has to be nice and smooth. People will look up at this lobe, and up is where the underside lives.
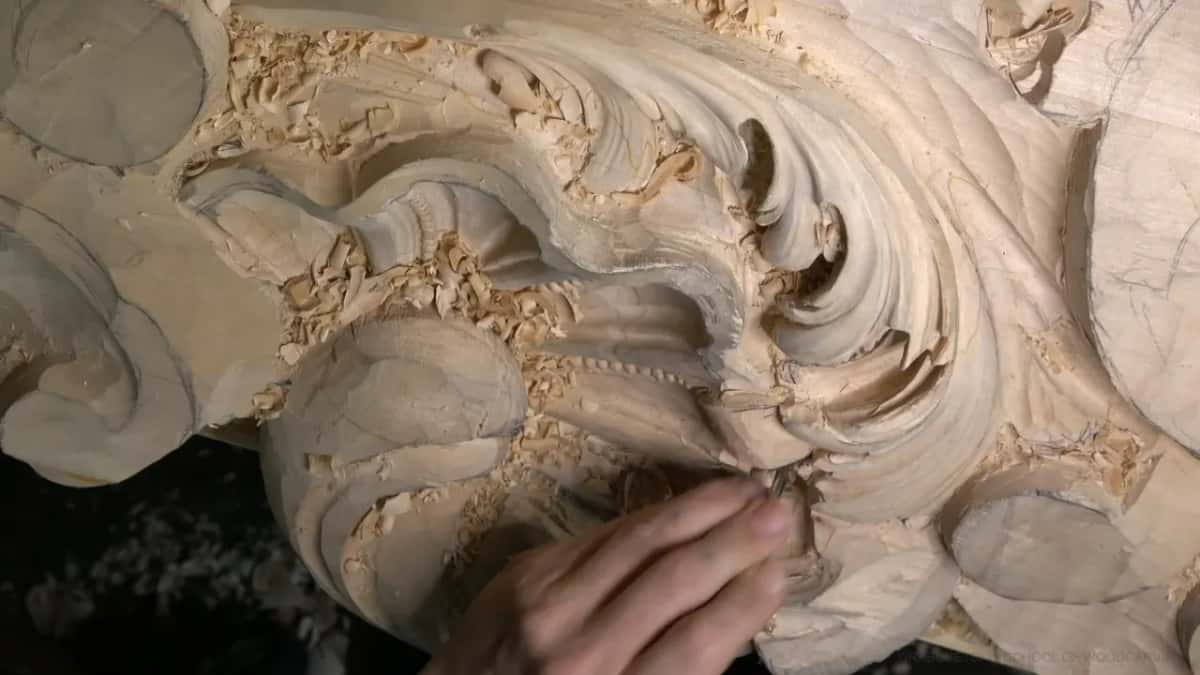
The hard part is that you can barely see in there. Doing the work in there is easy enough, I said in part 6. Cleaning is where it gets tricky, because it's almost impossible to see what is going on inside. For that same reason, part 11 opened a little more room under the upper part. Otherwise I don't see clearly what is going on.
One more thing to clean is the step marks. When you push the tool and pull it back, it leaves small ridges, and I clean those so the surface is really smooth and nice. The lobe got its last pass in part 12 with the bigger #11 again, one long smooth transition, the way the relief wants it.
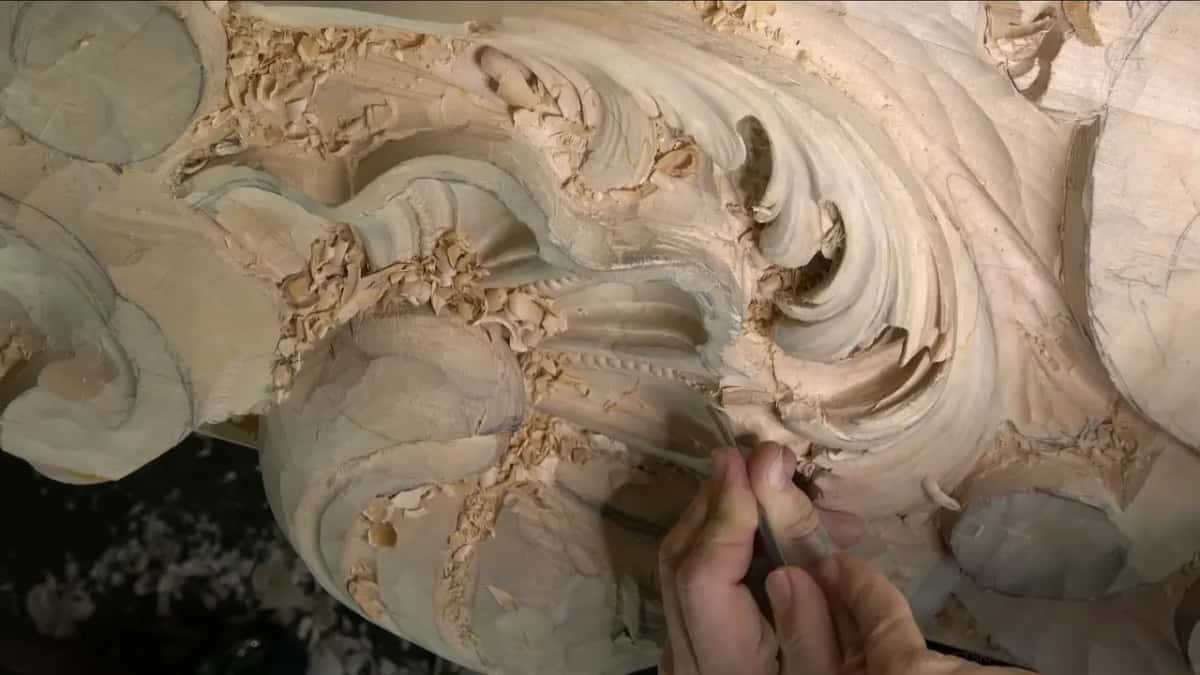
You'll hear me mumbling through all of it, and I apologized for it on camera in part 7. That's exactly what I'm doing, because I'm working. What you get is me at work, and you standing with me in my shop. At one point I even left the camera where it was and told you to wait until I was done. For what the word undercutting covers across the whole room, see the Venice room, part 4.
Try it on one lobe of your own
Pick any leaf with a part that overlaps another, on a scrap of lime or basswood. Hollow the inside first, round the side, and go under it left and right with the smallest gouge you trust. Look at it from the angle it will hang at, and stop when the shadow is there. Never held a tool? Start with a first project and come back.

The whole 15th century Venetian room is carved this way, and it belongs beside buildings like the Ca d'Oro and the Venetian Gothic around it. Every workshop of it sits inside the tuition, and the leaf carries on into workshop 12 and then part 2 of the room. A mallet, a few spoon veiners, and a steady look at the shadow. That's the whole kit for this job.
How it's done
- Hollow inside first. Before any deep work underneath, sink a concave on the inner face of the overlapping part.
- Round the weak side. Where an edge feels thin, shape it with a rounded stroke rather than a straight chop down.
- Take shallow bites under it. Use the smallest spoon veiner that fits, take shallow bites from each side, and change size whenever the one in your hand feels wrong for that spot.
- Check from below and stop. Hold your head at the height people will see it from. Once shadow shows, put the tool down.
- Leave what comes next. Keep any block the neighboring element will be carved from, then clean the underside smooth.
Frequently asked questions
What is a spoon veiner?
A spoon veiner is a #11, the deep U profile, with its blade bent like a spoon so the handle clears the work. I reach under a lobe with mine in sizes between 1 mm and 7 mm, and I correct myself on camera when I call it a gouge.
How thin can an undercut leaf edge be?
Workshop 11 puts no number on it. I judge the lobe by two things at once: does it still feel strong, and does the underside already throw enough shadow from below. When both answers are yes, I stop, even with plenty of wood left.
Can I use a mallet to undercut?
With a bigger spoon veiner, yes. In part 8, working the 7 mm at the deepest spot, I said a mallet would help. That came up twice there, the second time right after the fibers ran the wrong way for me.
What to carve next