
Alexander Grabovetskiy, woodcarver, School of Woodcarving · Published 2023
How do you carve a shell in wood?
Quick answer: Carving a shell in wood is mostly layout by eye, then digging. You draw an inner band, space the ribs until the gaps look equal, cut a narrow hollow beside every rib, lower the wood between them, and round each rib with a back bent until it looks like half a pipe.
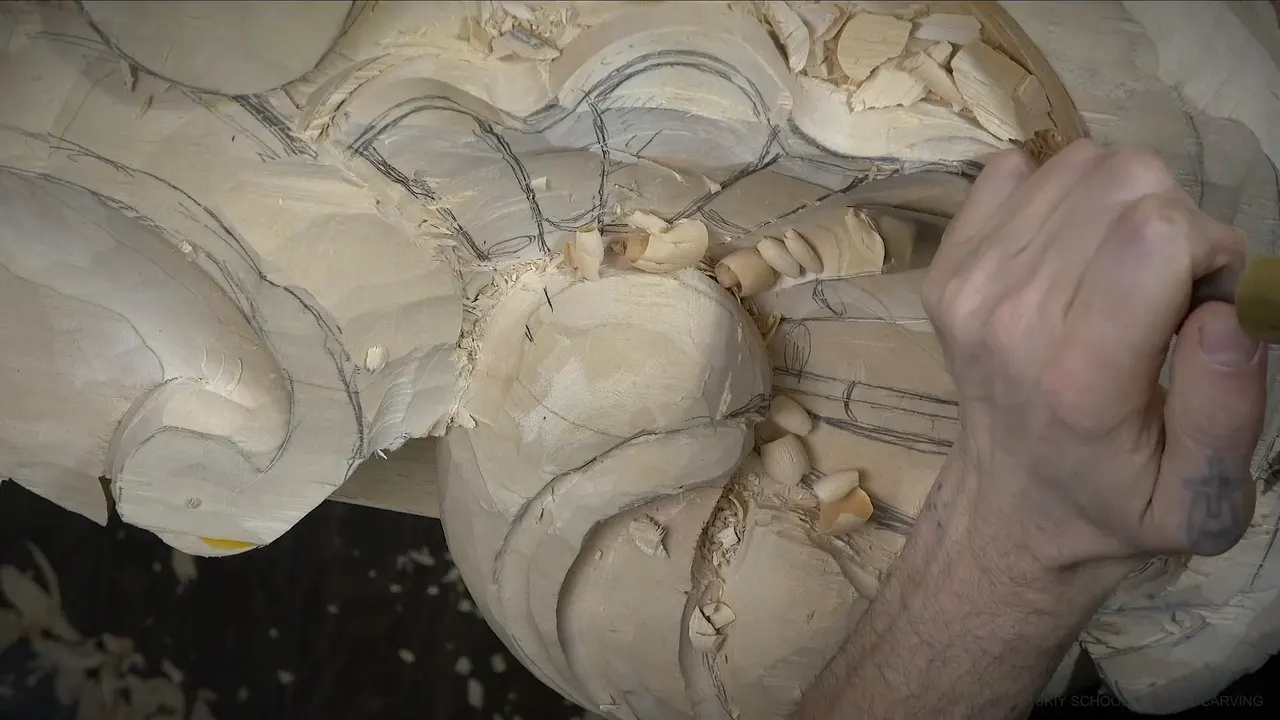
A carved shell is a fan of deep hollows and rounded ribs that all seem to run back to one point. I lay its ribs out by eye before a gouge goes near them, and on this Venice room panel I had good reason to be careful. I don't want to make a mistake on that detail, I told the camera in workshop 5. Really don't. It's the main focal point.
Would you like to see how a shell's ribs get even spacing by eye? Do you want to know why every rib ends up almost round, like half of a pipe? Workshop 5 shows both, one cut at a time, on a real commission.
I'm going to be honest with you. This is paid work, a whole room for a client in the style of mid 1400s Venice, and a shell looks easy from across a room. Stand over one with a gouge and it stops looking easy. The shell came into this workshop roughed out over the workshops before it, last in workshop 4, its outline taken from the full size paper pattern. I'll show you the order I work in and the tools I pick up. Also the mistake I nearly made.
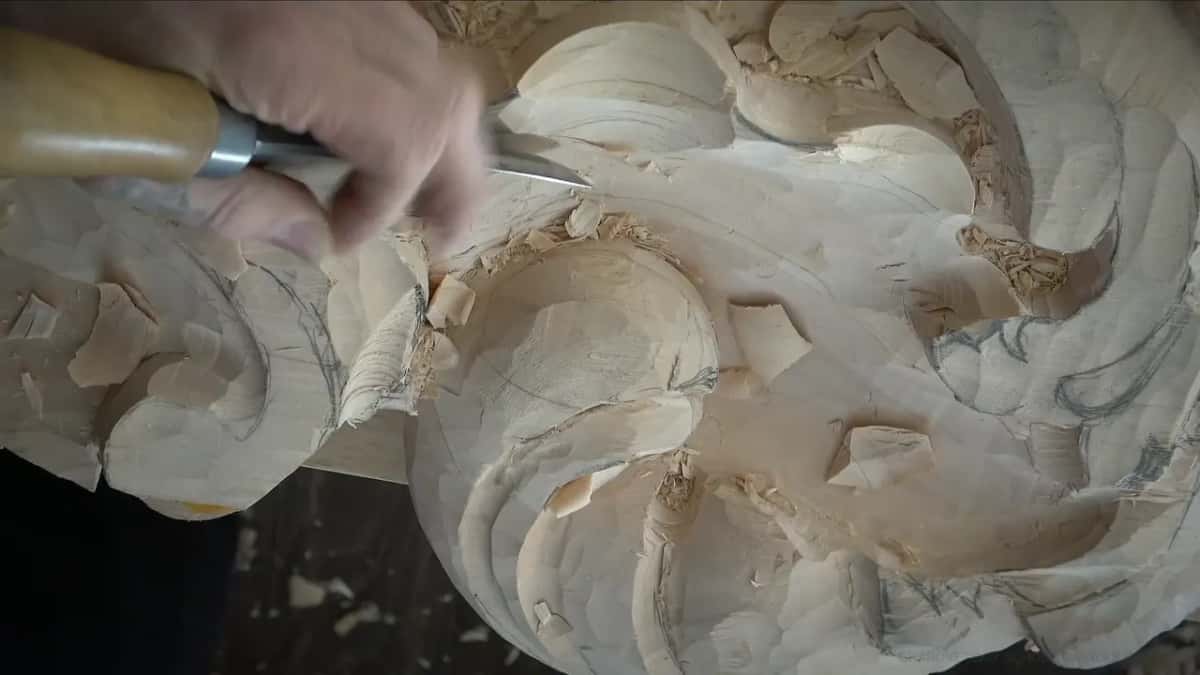
How I carve a shell, band first and ribs last
A second line goes in about 10 mm (3/8 in) from the edge, and a sliver more stays untouched before any inner cut.
The main hollow goes deep in one place and stays shallow near the acanthus head.
Every rib starts near 1/2 in (13 mm) wide and narrows toward a quarter inch.
A small veiner cuts a hollow down both sides of each rib, and a flatter gouge lowers the wood between them.
My fingertips check the slope, because they feel what my eyes miss.
Rounding happens last, with short pulling cuts wherever the grain runs the wrong way.

Why is the shell the focal point of this room?
People are going to pay attention to this area, I said a workshop later, and then I caught myself. It's a bedroom. I don't know how many people are going to be in it.
If you ask me why I carve the shell so deep, that is all about the shadows. Lights will be installed behind the carving and dimmed down at night, and everything will cast a beautiful shadow.
What is a double layer shell?
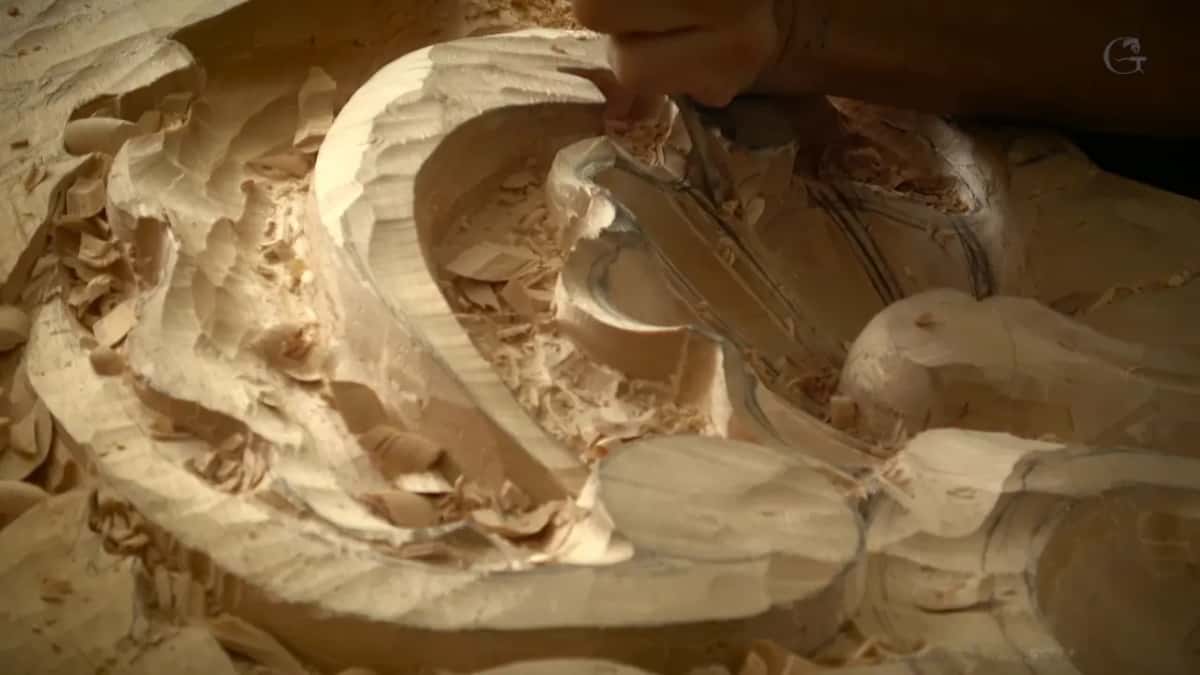
A double layer shell is what I call a shell with a band inside its outer line, and that band becomes part of another hollow later on. I drew the line three eighths of an inch in, which is 10 mm. After that I held back one more eighth, about 3 mm, before I let myself start the inner cuts.
Once the inside starts going down, I stay inside that line. You will understand why later on. You will.

The band has to match on both sides. I checked the band on one side against the other, found it too wide in one place and brought it in from both sides until the two agreed. Then I double checked.
Can you space the ribs by eye?
You can, as long as you keep checking what your eye tells you. First I set the main movements inside the shell. They don't have to be exact, only as close as I can get them. A couple of knife cuts through the paper pattern mark them in the wood, so they stay close to the original, and with the paper off I can see them and set them again.
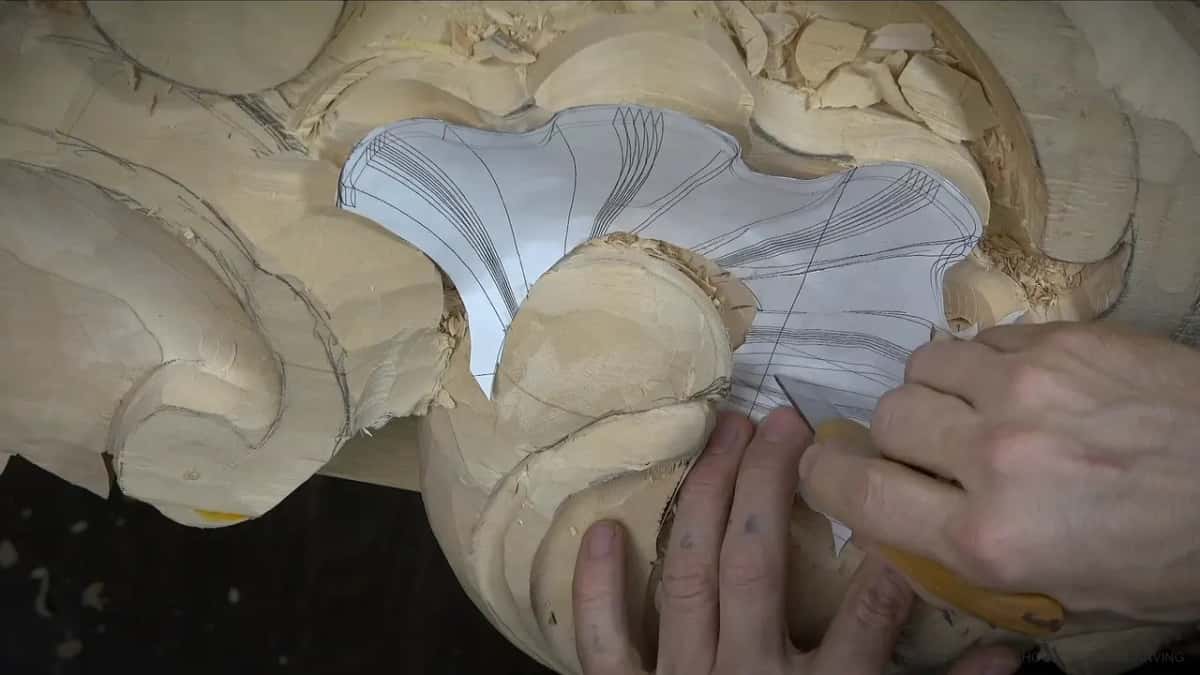
Then the gaps. The distance between the lines has to be about equal everywhere, and on camera one of them was not, so I moved toward it until that gap, that gap, that gap and the one inside all read about the same. The lip gets the same test. I call it the lip because it lips backward a little, and it has to stay even everywhere too.
If I need to make little changes, I make them, because I want this shell to look really nice.
Next I step back and look from afar. Later, once the hollows are in, I look along it from the side as well, because the distance between each cut and the top of the rib shows me how consistent I am. There is more on judging a carved line from the side in the Hashemi flowers course.
How wide should each rib be?
Each rib starts about half an inch wide, 13 or 14 mm, narrows to 10 mm, roughly three eighths, in the middle and ends near 6 mm, a quarter inch. I eyeball it. In a few spots the narrow end came down to 5 mm (3/16 in), and that is close enough.
Before any of that, I fix the lines the ribs sit on. Looking at the edges I did not see a lot of curve, which I don't like, so I found the middle point between each pair of lines and gave the center line at the bottom a slight bend instead of a straight run. It is better to take care of that right away, before it is too late.

Maybe it doesn't make sense yet why a line needs a little curve. In the overall picture it turns into a really nice movement, with every line still looking as if it runs to the same point somewhere. Beautiful curves and that one illusion are what I'm after.
A colored pencil did not show on this wood. I couldn't really see it, so I took a red one, and that was better. Charcoal crossed my mind too, but it is hard to clean, so I talked myself out of it and said a marker would do.

I know some artists would say you should never draw with small strokes, only one big swoop. Not really, not in the three dimensional world. On a curve it is sometimes almost impossible to be accurate that way, so I draw short strokes and connect them, letting each rib narrow through three eighths down to a quarter inch.
Too many lines are a problem of their own. By the next video I had drawn so many that I called it no bueno and checked my curves again.
Which gouges does a shell like this take?
Mostly gouges and veiners, the tools those old Venetian carvers used a lot. I could make a sharper step between hollow and rib, but I like a smooth transition, and I'd say that is the original idea. Gouges and veiners give you smooth transitions.
| Tool | Job | Why |
|---|---|---|
| Spoon gouge, 15 mm (5/8 in) | Digs out under a detail that has to flip | Clean inside |
| Number 7, one inch (25 mm) | Sinks the main hollow, deep in one spot | More control |
| Long bent, 1/2 in (13 mm) | Undercuts where the hollow runs under a leaf | Early stage |
| One inch number 8, 25 mm | Chops a hard spot with a heavier mallet | Tricky grain |
| Number 11 veiner, 3 mm (1/8 in) | Cuts the hollow on each side of a rib | Safe margin |
| Flatter 3, 1/4 in (6 mm) | Brings the chunks down level with the groove | Flatter sweep |
| Back bent, 10 mm (3/8 in) | Rounds each rib into the true half pipe | Half round |
If the numbers mean little to you yet, there is a whole lesson on matching a gouge sweep to a curve, and the tools course has one on back bent tools.
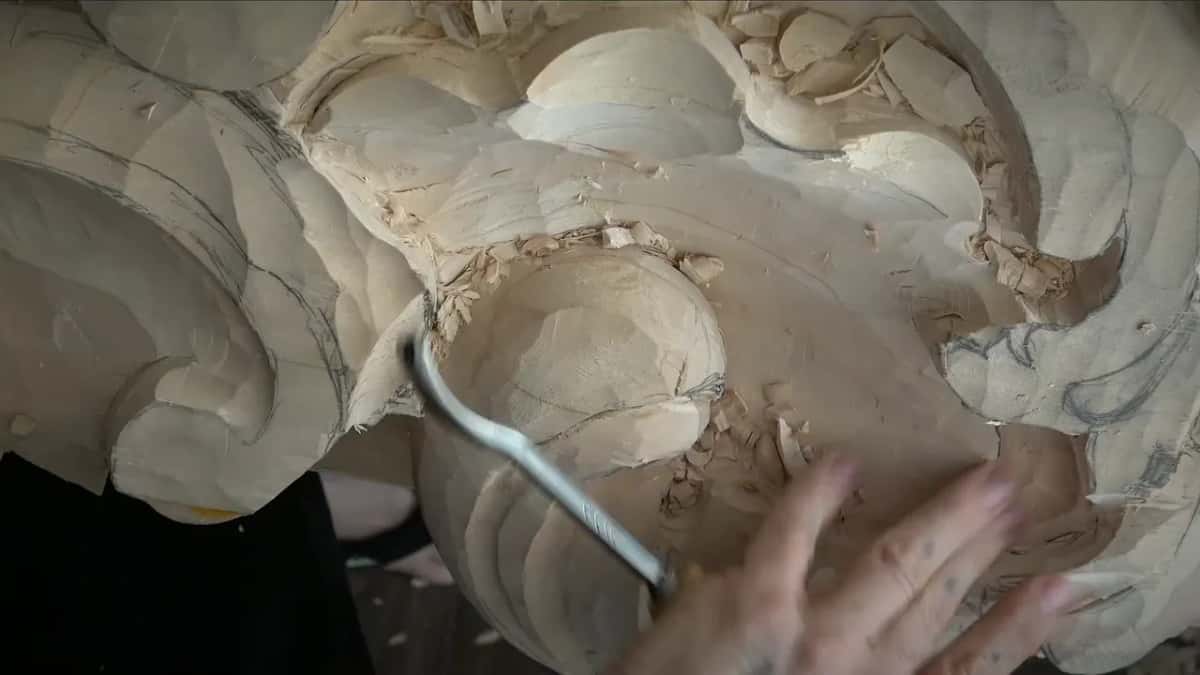
Where does the main hollow go deepest?
The hollow goes much deeper in one spot and stays shallow closer to the head of the acanthus. I started it with a number 9, found it needed sharpening, and admitted a number 7 should have been in my hand from the beginning. The 7 gives me that control.
One side of each cut is always the clean side. The other comes out rougher. I could have come back from the opposite direction with a matching one inch (25 mm) spoon gouge, but I liked what I saw, so I sharpened up and made a cleaner cut. A really sharp tool leaves a beautiful finish, and you can see the difference right away.

Toward the end I stopped and said, oh dear, I'm not sure it's deep enough right here. I can fix it if I don't like it. Then the grain changed direction on me, and I had to be really careful how I cut that side.
The hollow also has to pass underneath a leaf of the acanthus that isn't carved yet. So I undercut first. My number 11 started it, then a long bent half an inch (13 mm) wide, which is better for the beginning stage. And I didn't overdo it. Otherwise it creates a problem I don't want to see, and why do I need extra problems?
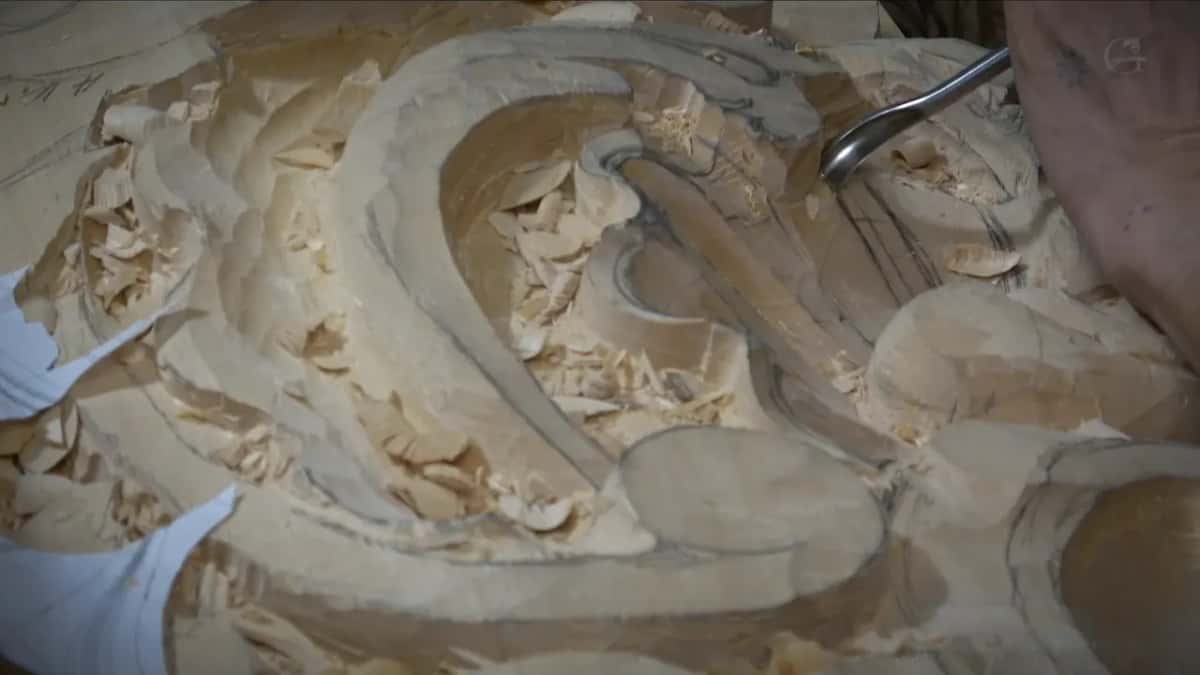
Partway through, I nearly made the mistake I promised you. I picked a number 8 spoon gouge to go in from one side, stopped, and said no, that would be a big mistake. I came in from the other side instead, with a heavier mallet and the one inch number 8, 25 mm, through a spot with tricky grain that was still doable.
What cuts the hollows beside each rib?
A number 11 veiner, 3 mm (1/8 in) wide, and a number 9 would work too. I carefully go toward the center and keep about an eighth of an inch (3 mm) away from the pencil line, because I want to be safe. Press too far and you are into the rib.
Watch the grain on these. One side is weak and just breaks away, so keep an eye on it and don't break the good side.

I go kind of deep, because I really want to see a good convex. I didn't get all of it the first day, and the next day I said so. That's fine. You can always dig deeper.
Cutting those hollows first had a reason too. Without them it would have been much harder to get a really consistent look on the ribs.
How do you bring the wood down between the ribs?
With something flatter. The number 3 I use here is a quarter inch, 6 mm, and it brings the side chunks down until they sit at about the same level as the groove.
A flatter tool has its own danger. With the number 3 I was afraid of damaging the side of the rib I hadn't rounded yet, so I kept an eye out that I was not digging in. Dig too deep and you damage the sides of your future convex, and that will not be nice.
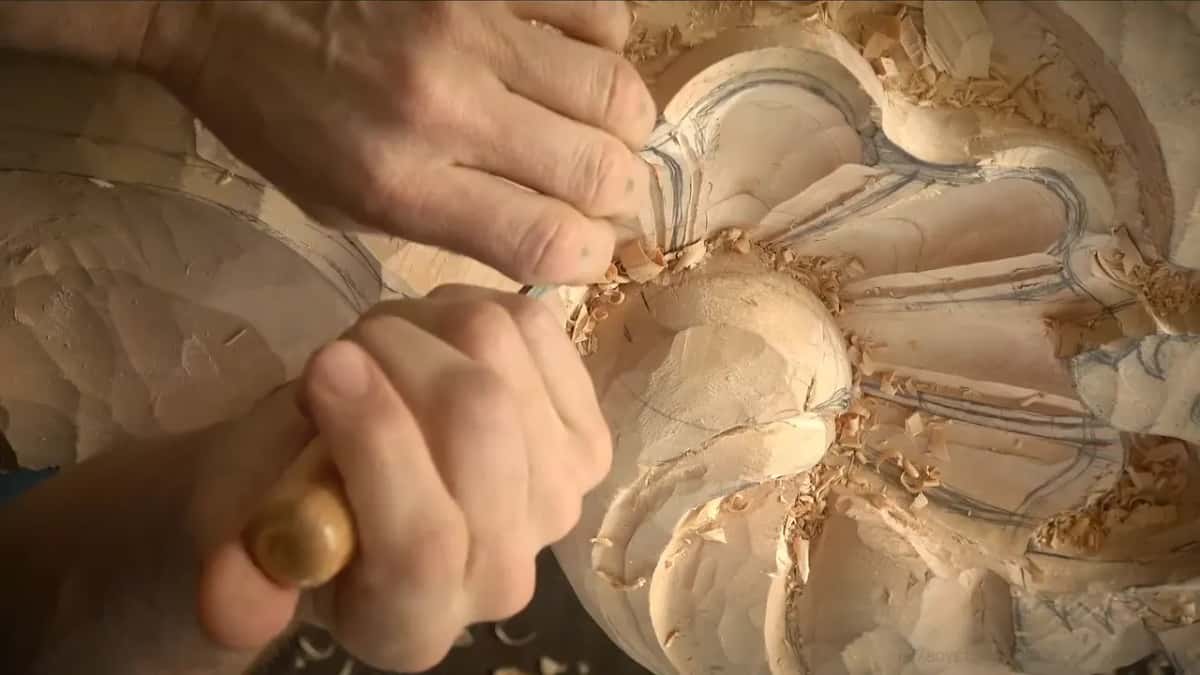
Each rib has to cast a lot of shadow. That means deep cuts, and a rib that ends up almost half round. I went gradually downhill until the slope was really consistent, then took a number 7 to one more chunk for a nice three dimensional look.
Near the acanthus I switched to a small number 3, because I didn't want to destroy the chunk of wood saved for that leaf. Don't worry, I said, we're not going to lose the shell look.
Can your fingers find what your eyes miss?
They can, and I trust them for it. After a clean pass I check with my fingers, because fingers can feel a slight inconsistency that the eye does not always catch.
When I shaved the transitions with that same number 3, you could see I was just hitting the high spots. That means the surface is not really smooth yet.
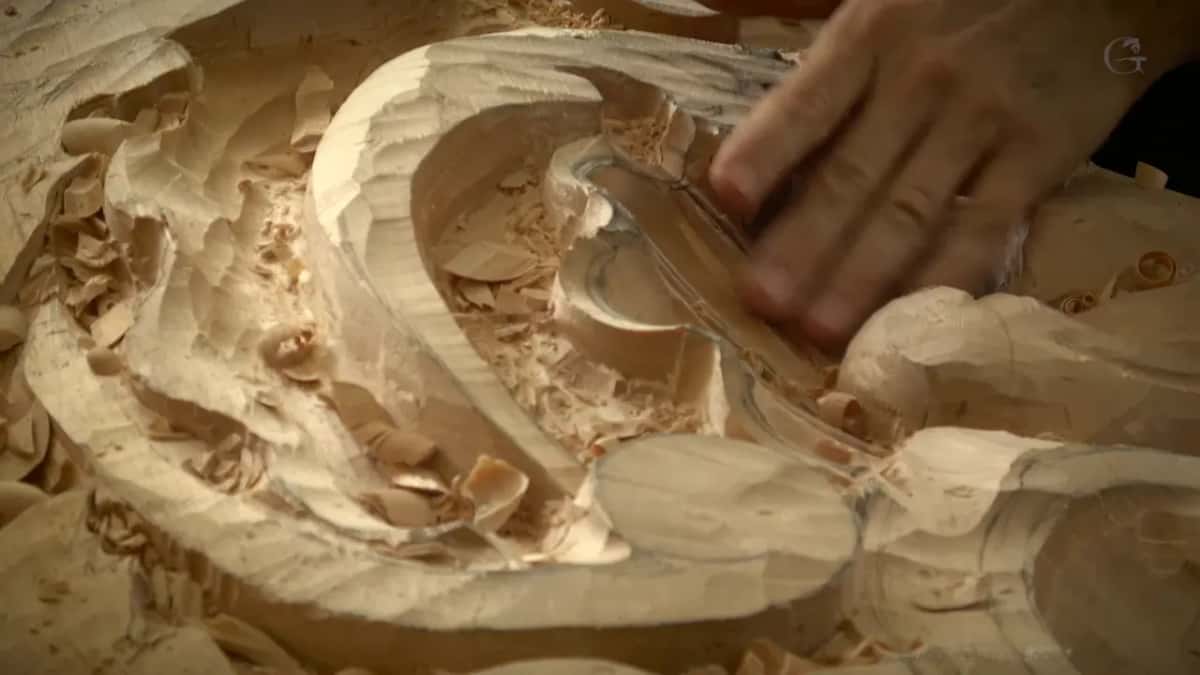
Nobody is going to touch this carving. It's not like somebody comes every day to put a finger on it and check. This part is for me. I want this project to turn out really nice, and I want to be satisfied myself.
And there is the light. When light hits that surface, a slight variation gives a different shadow, so I want real consistency.
What rounds a rib into a half pipe?
A back bent gouge, which for this job is the best tool I have. I tried a bigger one first, a number 8, and it was too big; I didn't want to dig into the finished part. So I went to a smaller back bent and chamfered each rib gradually, little by little.
I carved against the grain there. Logically I should come from the other side, but no tool could fit in from there, so I broke the rule. Breaking it has a price, which is an edge that must be absolutely sharp.
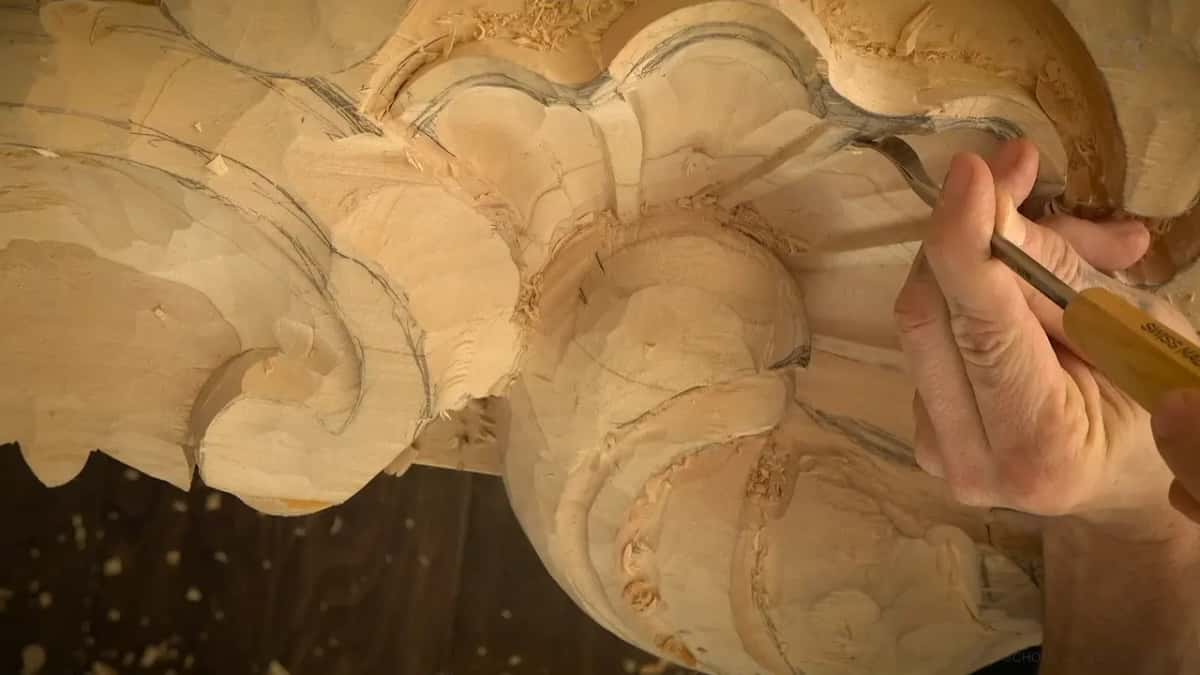
Where I felt the edge catching the grain, I went almost to shaving, with absolutely no pressure. On the side with the grain I could be more aggressive. With my cut, I mean. Not with my behavior.
I also start from the beginning of the rib, not from the center. Where the grain wants to split the wrong way, I make a cut, pull back, cut again, pull back and cut again. I call it the pulling cut, and you'll know what I mean the first time you try it.
It is the same argument I made about drawing with short strokes. One long cut is right, but not always possible, and I can make one too once I'm close to the result I want.
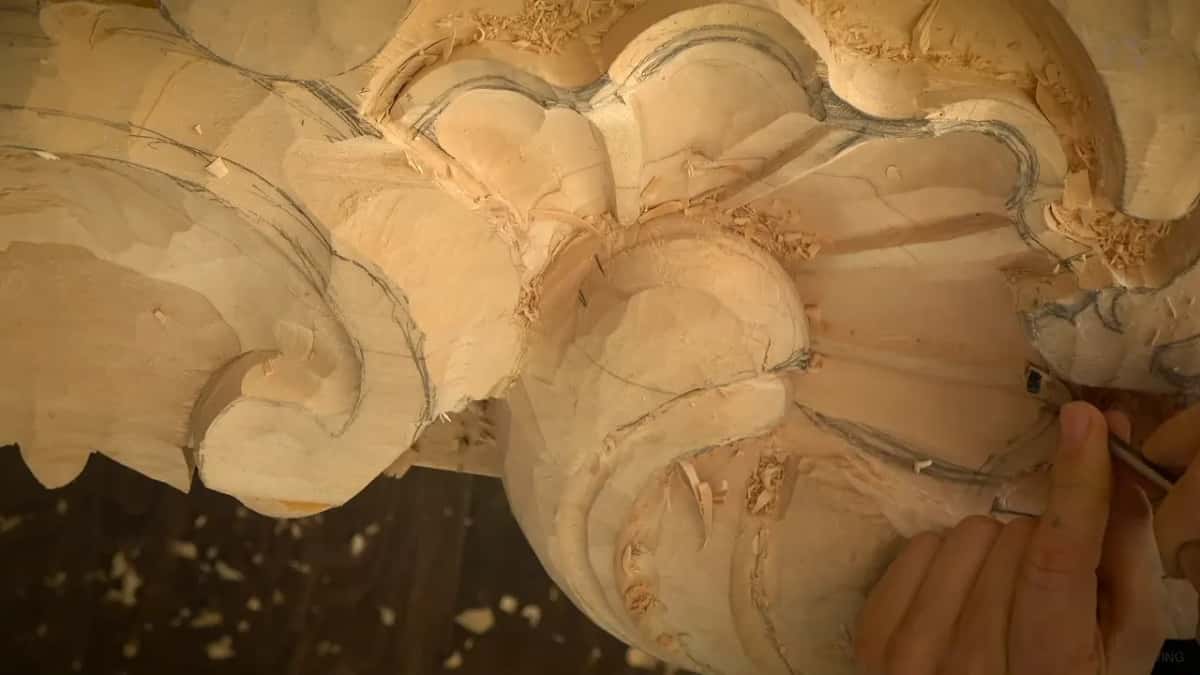
Done well, the rib gets almost a half sphere look. Not a sphere, I corrected myself, just the true half of a pipe. I finish by hitting the top a little more, until those two cuts meet.
Where else does a carved shell belong?
On furniture, in architectural carving, pretty much anywhere, and I've carved some shells on bed headboards myself. There are so many variations that a shell is never just one design, and a lot of designs stop at the lines, cut them, leave them, and that's it.
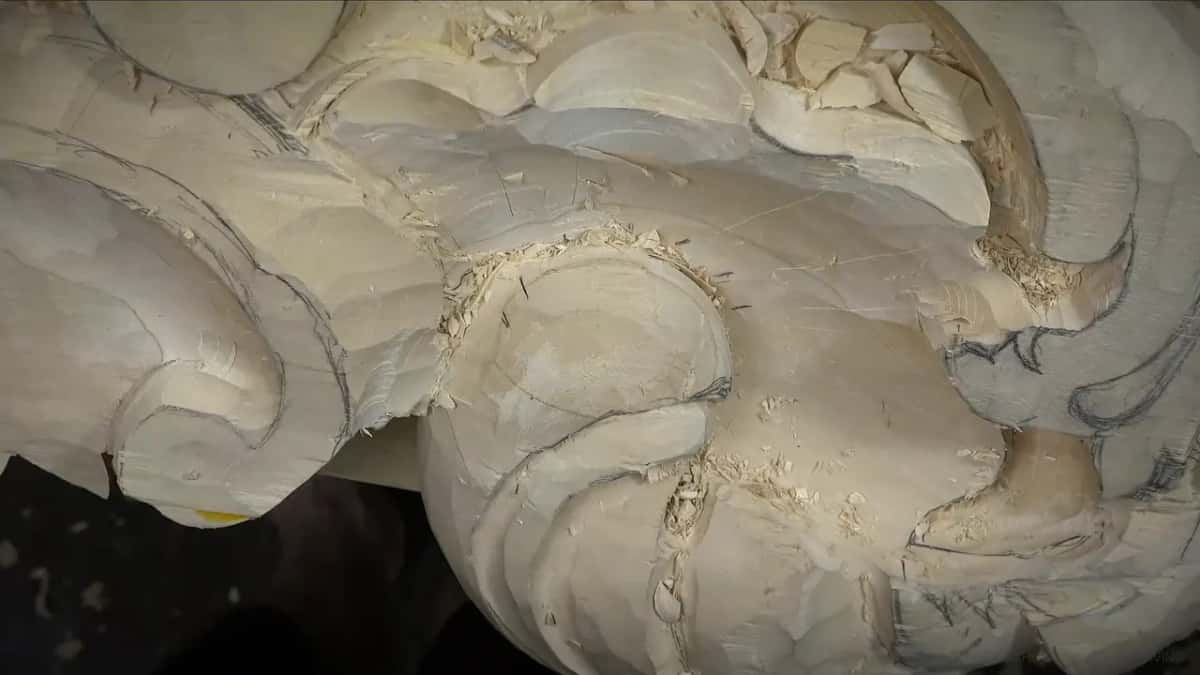
Venice has one detail of its own. Along one side of the inner hollow its carvers ran a row of beads, and you can still find them on original carvings if you travel to Venice. I left plenty of wood for them, and they get carved in workshop 6.
The acanthus head beside this shell has a course of its own, carved in the same Venetian style. If you would rather try a shallow shell first, I carved a far shallower one behind an acanthus on another panel. The rules behind curves like these live in Principles of Design.
Would you like to try a shell of your own? Start with the lines, give each rib its own slight curve, and let your fingers tell you when the slope is right. Never held a gouge? Pick a first project and come back to this room later. Every workshop of the Venice room is inside the tuition. The last cut of workshop 5 lands on the top of a rib.
How it's done
- Mark a second line inside. Set a line 10 mm, which is 3/8 of an inch, in from the outer edge, and hold a little more back before any inside cut.
- Sink the main hollow. Let the hollow sink furthest in one spot and stay shallow beside the acanthus head. A wide number 7 keeps the depth under control.
- Undercut where a leaf will pass over. Do it before anything else; a long bent tool suits those first passes.
- Draw each rib. Split the space between neighboring lines, bend every center line slightly, and taper each rib down to about a quarter inch (6 mm) at its narrow end.
- Cut the side hollows. Run a small veiner along both sides of every rib, staying an eighth of an inch (3 mm) off the line.
- Lower and feel. Bring the wood between the ribs down with a flatter gouge until the slope runs evenly, then feel it with your fingertips.
- Round the tops. Chamfer each rib with a back bent, working in from each side until the top comes round. Where the grain runs wrong, shave with no pressure at all.
Frequently asked questions
What gouge rounds the ribs of a carved shell?
Mine was a back bent 10 mm across, three eighths of an inch, and it did the job best. Anything bigger risks digging into the finished part next to it. Chamfer each rib a little at a time, and keep going until the cuts from both sides meet along the top.
How deep should the hollows in a shell carving be?
Deep enough that every rib stands almost half round and throws a strong shadow. There is no number for it in this workshop; I kept digging until I liked the height of the upper part. Leave a sliver beside each pencil line, though, so the veiner never bites the rib.
Do you need to measure the ribs of a shell?
By eye works if you keep checking it. Set the main lines, compare the gaps until they look about equal, then walk away and look again from across the room. Afterwards a fingertip and a view along the surface pick up whatever the first look missed.
What to carve next