
Alexander Grabovetskiy, woodcarver, School of Woodcarving · Published 2021
How do you carve a leaf that twists in relief?
Quick answer: A twisting leaf on my Venetian rosette is one that turns down on one side and up on the other, with one side kept high and the next part tucked under it, still sloping down both ways. The curl came sideways, with 3/16 inch of wood left over the ground, and a number 11 dug beneath it.
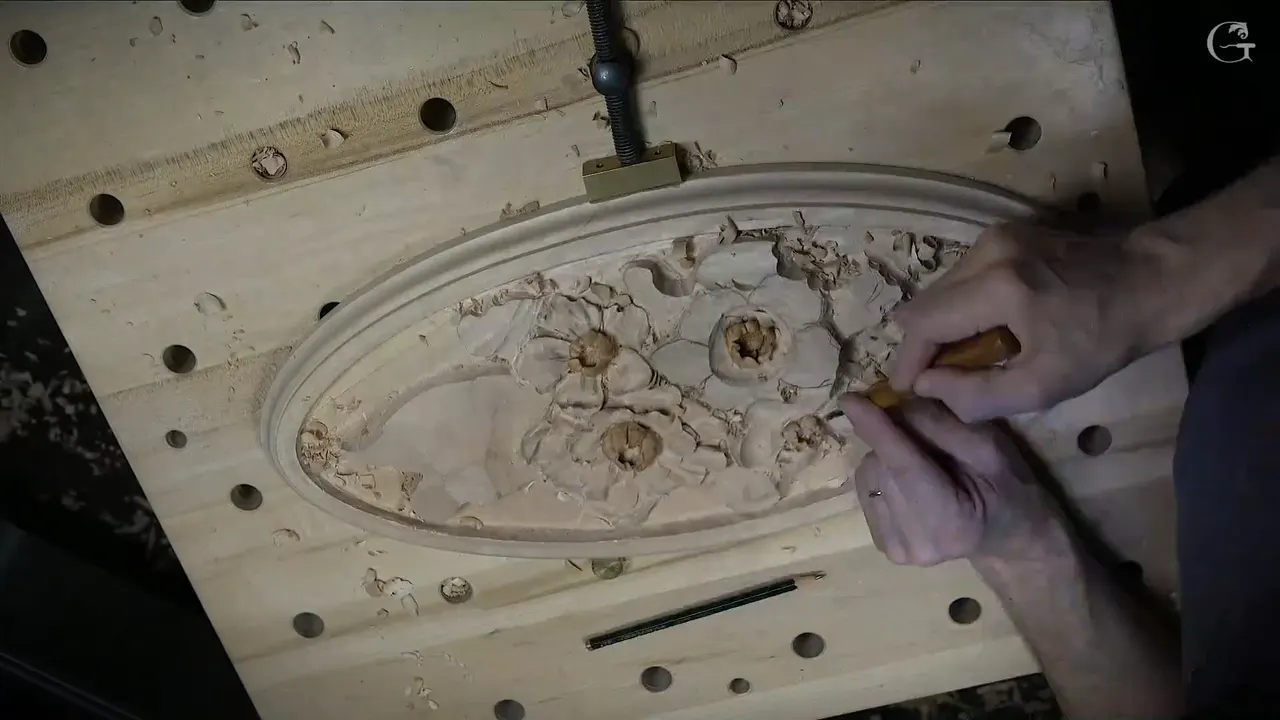
A leaf that twists in relief, on my Venetian rosette, turns down on one side and up on the other, keeps one side as the high spot with the next part going underneath, and still runs downhill both ways. Its curl came from the side, like a true curl. About 5 mm (3/16 in) of wood stayed over the ground so it could curl naturally, one part was to go lower to steer it, and a 6 mm number 11, then a 4 mm spoon one, dug the hollow under it.
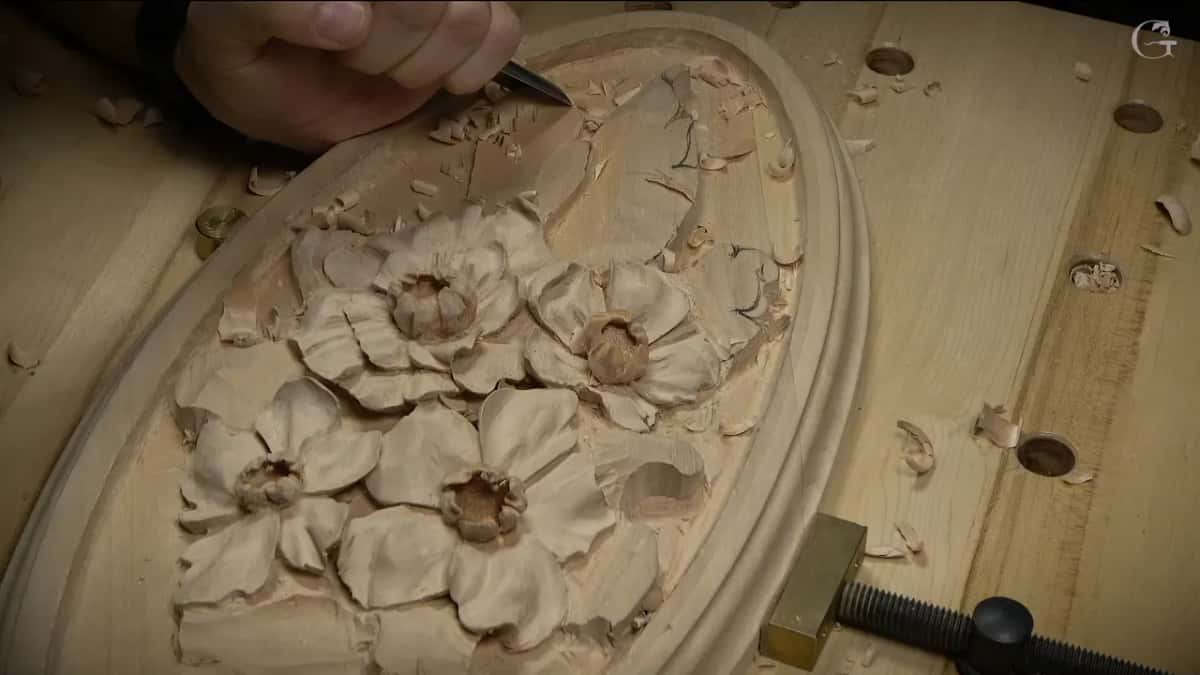
These are wood carving leaves from lesson 4 of my Venetian Flowers Rosette, posted in December 2021. The flowers were pretty much finished by then. What was left of the composition was a couple of leaves going one way, one big leaf going the other, two small leaves and a couple more buds. Nothing complicated, I said on camera.
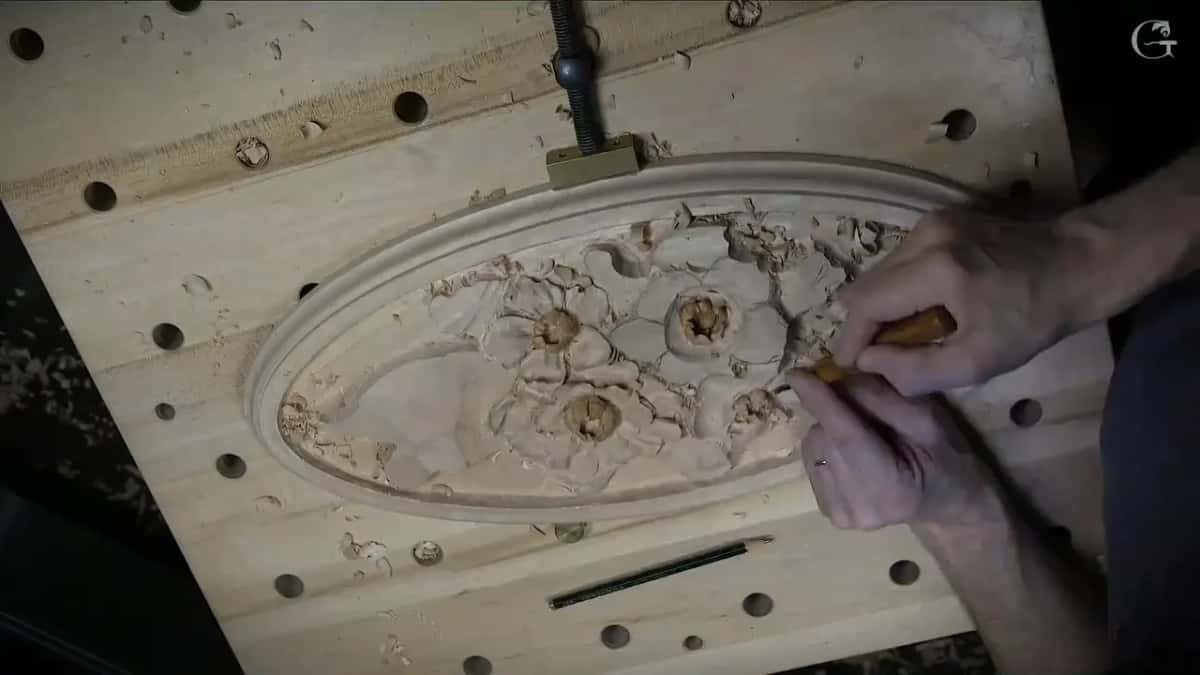
Do you want a carved leaf that turns as it runs downhill? Would you like its curl to throw a real shadow? Then decide which side stays high before the first chip comes off, the way I did. You will see the tools and sizes I named, in about the order I picked them up.
What I did to make the first leaf twist
My high spot stayed on one side, the next part went underneath it at the separation, and the leaf kept running downhill in both directions.
A half-inch number 9 came at the curl sideways.
Roughly five millimeters stayed above the ground.
One part could go lower, I said, to send the curl that way.
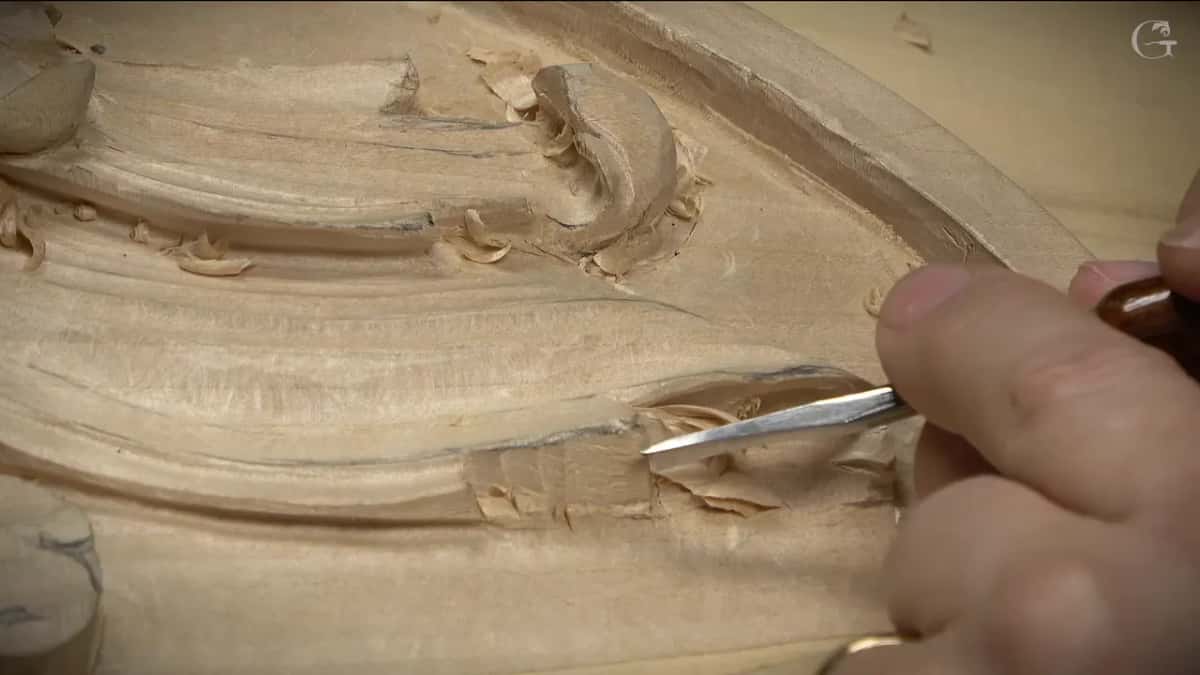
A straight eleven dug underneath, and then I took a little spoon one, a veiner of 4 mm, for the shadow.
A number 9 a quarter inch wide shaped the curve until it curled really nicely.
Which side of the leaf stays high?
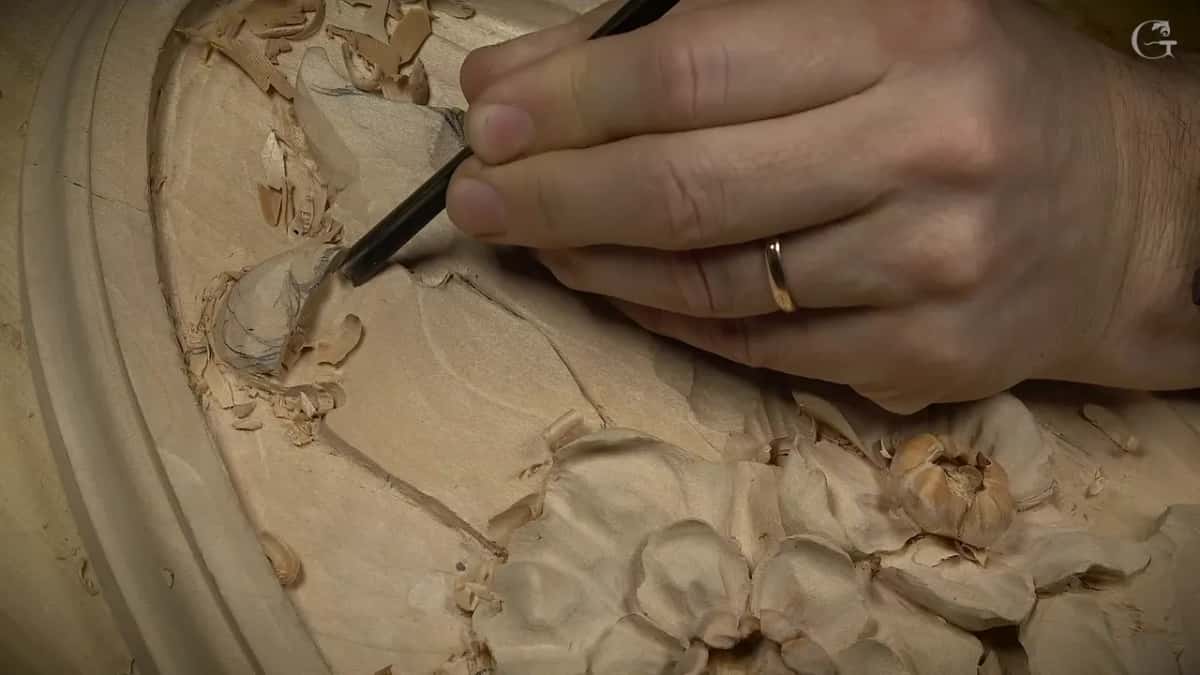
The side I chose as my high spot, on the first leaf. It should not take too long, I said, and then I laid it out. There would be a twist down on this side and a twist up on that side, and another side with a twist too. I'll leave this side as a high spot, I said, and this leaf goes underneath.
But overall it still goes downhill in that direction and in that direction. Downhill and downhill. Hope it makes sense, I added.
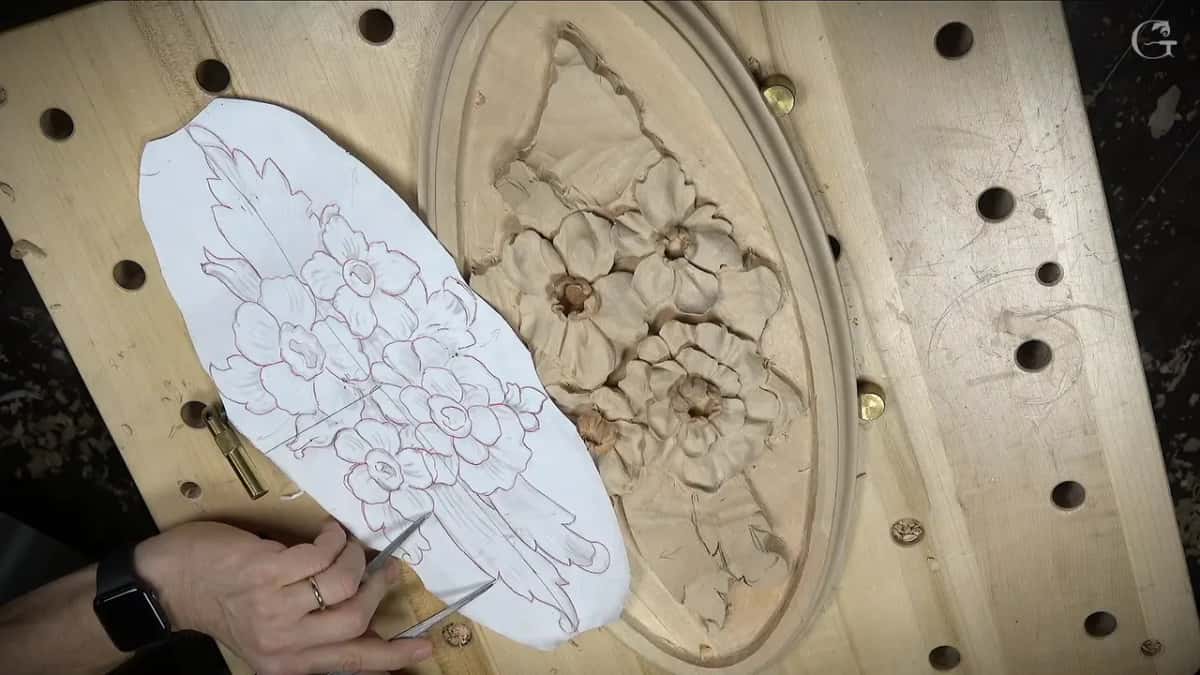
I put the drawing back on first, with my paper reference close by, and tried to eyeball it. The other side gave me a reference, but I showed the calipers anyway, an option if you don't have really good visual skills.
Why carve the curl from the side?
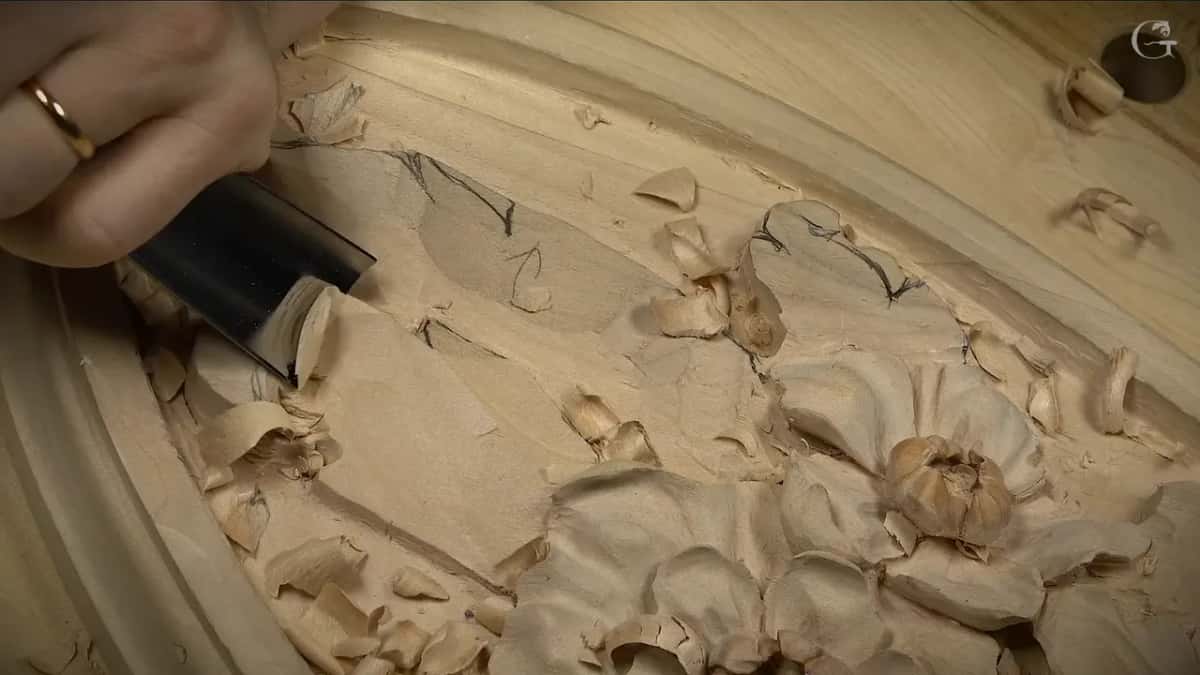
I wanted that curl to be like a true curl, and coming at it sideways is how I said I'd get one. The separation cut between the two leaves had gone in first. Then a number 9 came out. Let me start from this side, I said, and I can always walk around and attack it from the opposite side.

Along the way I relieved a small triangle straight down with an eleven, so I would not lose its position. The half-inch number 9 (13 mm) came back after that, to excavate the whole thing. Like I said, it's going to go down.
How much wood stays under a leaf curl?
About five millimeters, 3/16 of an inch, and like four millimeters (5/32 in) in some spots. I went almost all the way to the ground and said I'd leave no more than five millimeters or so. Right beside it, another space kept the same. That way, I said, it will curl naturally.

Those millimeters are wood I left above the ground, and that is what lets it curl naturally. A leaf that seems to lie on top of the wood, with a gap kept under it, is a different job.
This part is slightly higher, of course. But to make that curl go in that direction, I said, I can remove that part and make it a little lower.
What shapes the curl after that?
A flatter tool, a 12 mm (1/2 in) number 3. The best way to attack it would be from that side, I said, and in the end I attacked it from this side. I can take that ridge out, I said. Dinging the inside was the risk, because I can break that easily, and that would be a big mistake.
You can see the overall shape develop. It just goes down here, and from different angles it rolls underneath. Once I undercut it, I said, it's going to look awesome. But the separation still had to sit lower, or I'm not going to be able to create a beautiful curve.

A big number 7 came next, about an inch and a quarter (32 mm), for a concave look inside. I can exaggerate later on, I said, but for now it should be enough. The inside stayed quiet on purpose, so the leaf would not take attention from the flower cluster, and the course page tells that part. The same number 7 gave the preliminary shape right away. If you have big tools, it's always helpful, I said, because it goes much quicker.
Where does the end of the curl go?
Where I decided it should, once the overall movement looked right to me. My plan was to curl it like this, with the main curl right there and a separation beside it, so all the movement goes underneath.
I'm going to be honest with you. Right after, I said I'm not too happy how it looks. About twelve seconds later I said right there would be my curve, and that I think it'll look good just like that.
What digs the hollow under the curl?
An eleven of about 6 mm (1/4 in), and after it a smaller spoon. Multiple ways I could do it with the number 11s, I said, and I started with just a straight one. I got a mushy area, which is okay, and said I could go almost all the way to the background.
I could just stop right there. But to make it even better I should use a spoon, I said, the right size of course, and I took a little smaller one. A veiner of 4 mm, a number 11, but the spoon one, to create that shadow area. The difference between a spoon gouge and a spoon veiner has its own page.
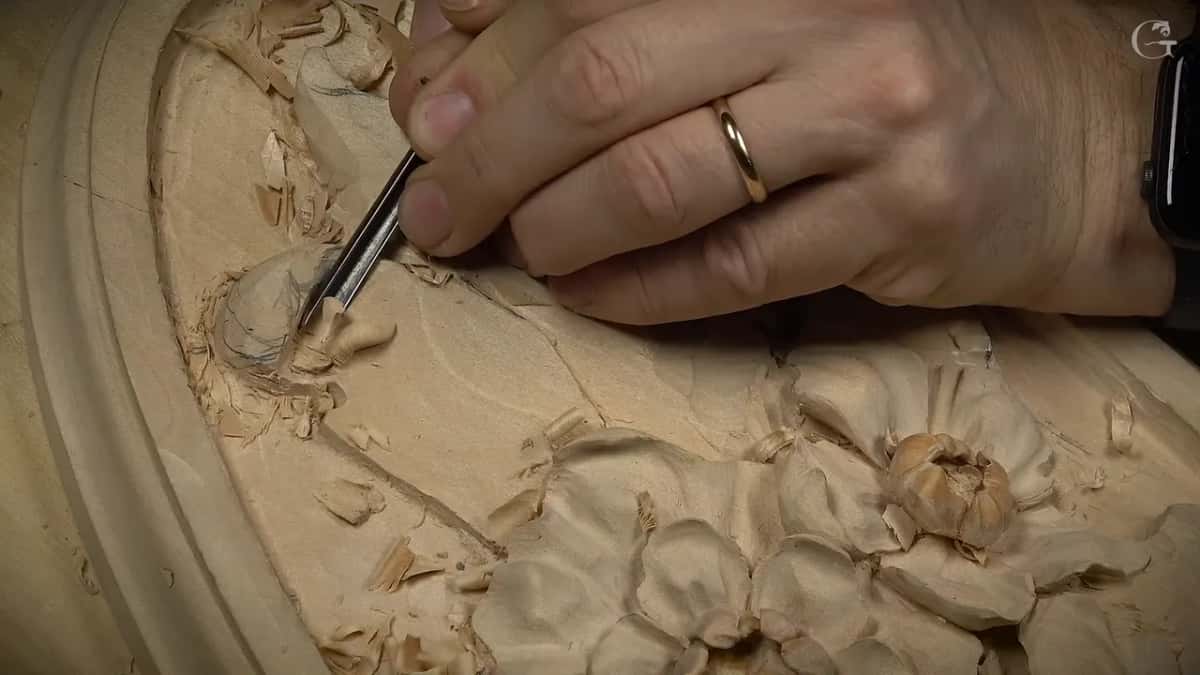
The next part opened on a hump. Whatever material was left there, I don't need that, I said, and a number 7 spoon took it out. Then I needed a bigger one, the huge number 7 from before, to excavate. I apologized for covering the view with my head and changed to a different point of view.
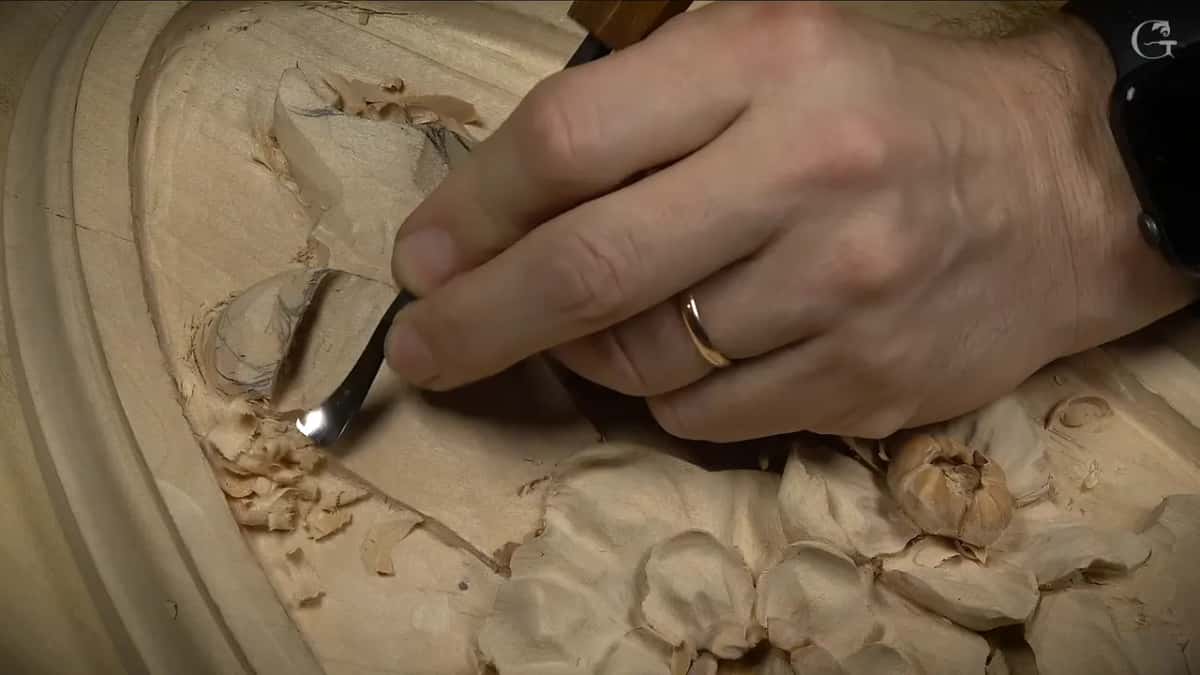
Inside, I thought the overall movement got a little too big. A 6 mm number 11 and a flatter number 3 took some of that stuff out. Much better, I said, but still too much, so I chopped off some more. A smaller eleven, three millimeters or so (1/8 in), relieved that part a little more, and now the inner part goes right underneath.
A little cleanup followed, not the final one. Oops, I said, I shouldn't drop my tools. I also saw some places had gone super deep, and that is not good. After that I used just a number 3 spoon.

When did the first curl look right?
After a number 9 with the quarter inch (6 mm) went in, carefully, until I was really happy with the curve.
Before that I started a preliminary undercut right away with an eighth-inch eleven, using a straight tool, though I said a spoon laid on its side would probably be more logical. The operation stays the same for a shallow undercut or a really, really deep one.

In my opinion it looks much better now, I said. It curls really nicely.
Which tools did these wood carving leaves take?
These, in about the order I used them on the first leaf.
| Job | Tool | Said |
|---|---|---|
| Separation between leaves | Eleven, about 4 mm, or 5/32 in | Much bigger |
| Attack from side | Number 9 at half an inch, twice | True curl |
| Flatter pass after | Flat number 3, 12 mm (1/2 in) | That ridge |
| Concave look inside | Big number 7, about 1 1/4 in | Exaggerate later |
| Hollow under curl | Straight number 11 of about 6 mm | Mushy, okay |
| Shadow under it | Spoon veiner, number 11, 4 mm wide | Shadow area |
| Hump left over | Number 7 spoon, then the huge 7 | Not needed |
| Inner part under | A small eleven, 3 mm, 1/8 in | Right underneath |
| Curve at last | The quarter-inch number 9, going in carefully | Curls nicely |
How does the second leaf twist?
Around its middle line, which I said was the important part to get at the right position. That part would bulge, a convex, and this part goes downhill a lot more.
Its curl was a simple one. I picked up a number 9 and just got that curl going, and you can see it's already curling, though I wasn't sure the camera would catch it. I was using about half an inch, and you could use a little smaller, about 10 millimeters (3/8 in), and go extremely underneath, I said, and probably I will. A quarter inch would go even more on the inside for a really, really beautiful shadow.

A relief cut came next with the number 17, the Swiss made tool from Pfeil that looks almost like a V tool but is not one. Hitting the background would make it much harder for me to clean, I said, so I had to be careful there.
That section had to go down. A bigger tool would do it, I said, maybe a number 7 or a number 5, and it doesn't really matter as long as it works. I'd go almost to the background and leave about 5 mm, three-sixteenths of an inch. Another leaf would sit in this area, I said, then I corrected myself, since that part will be gone.
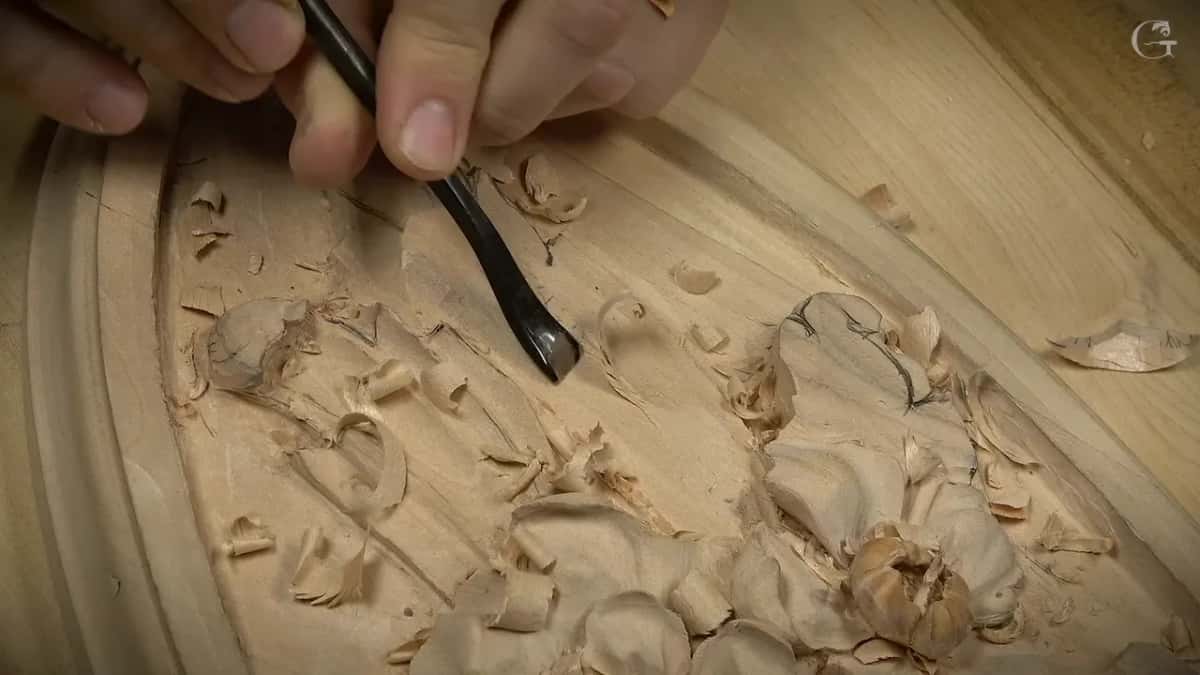
A big tool can hit the edge and destroy it, I said, so I have to be really careful, not to rush it. A back bent gouge on the ridge gave it a nicer look, a preliminary convex. Much later in the lesson the big tool touched one of my flowers. I don't want to damage it, I said, I'll fix it, but this is too close, too dangerous.
Why did I call the inside a little stripy?
A few long, shallow concaves made it look that way, and I said it myself. Before them, the number 17 raised a part that becomes almost like a vein, not a pipe, I said. It has to be smoother, so I need to knock that down, because I don't want to see really pronounced sharp lines, just the indication of a raised part.
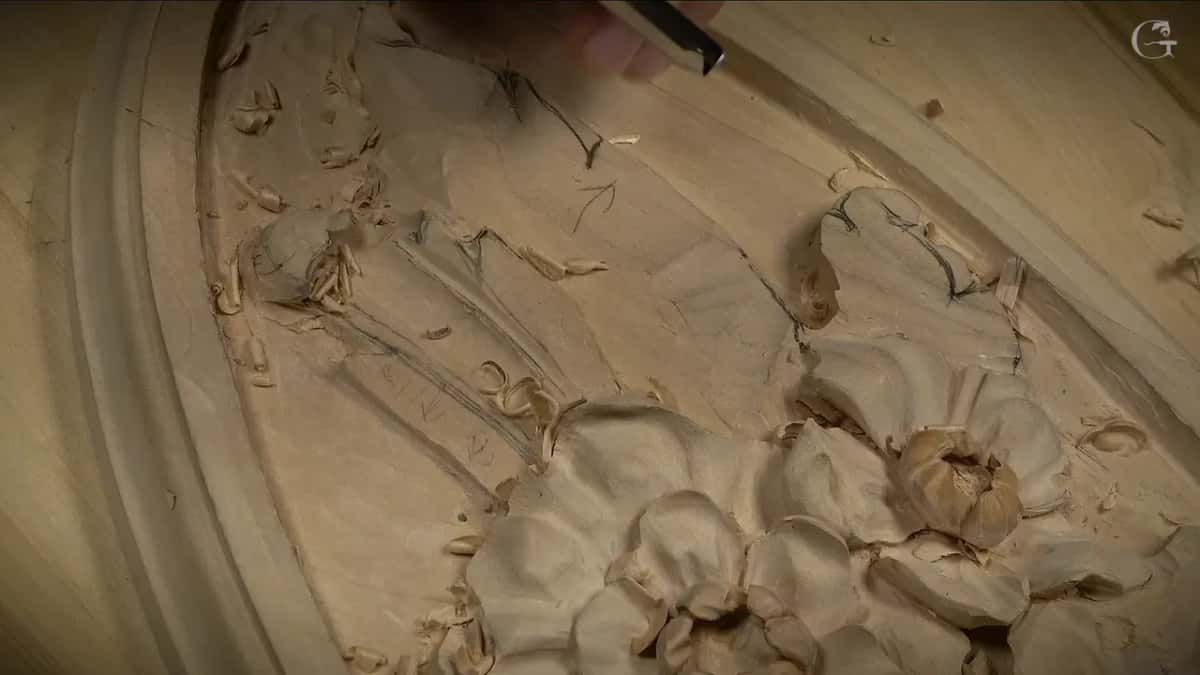
On the first leaf I had planned a bulging center line, made with a couple of concaves, then said maybe let me do something else and put a concave right between the separations. Later the separations got a letter S curvature, and between two of them, I said, I can create some kind of pipe. Every concave gives me some kind of shadow play, even one that is not really deep.
For visual movement I wanted a few concaves right on the inside, not deep ones. I chose an eleven about 10 mm wide (3/8 in) for them, because it has a wider space right there, and said I could use even bigger. I carved one, then a second, then maybe another, and said that is the movement I'm after.
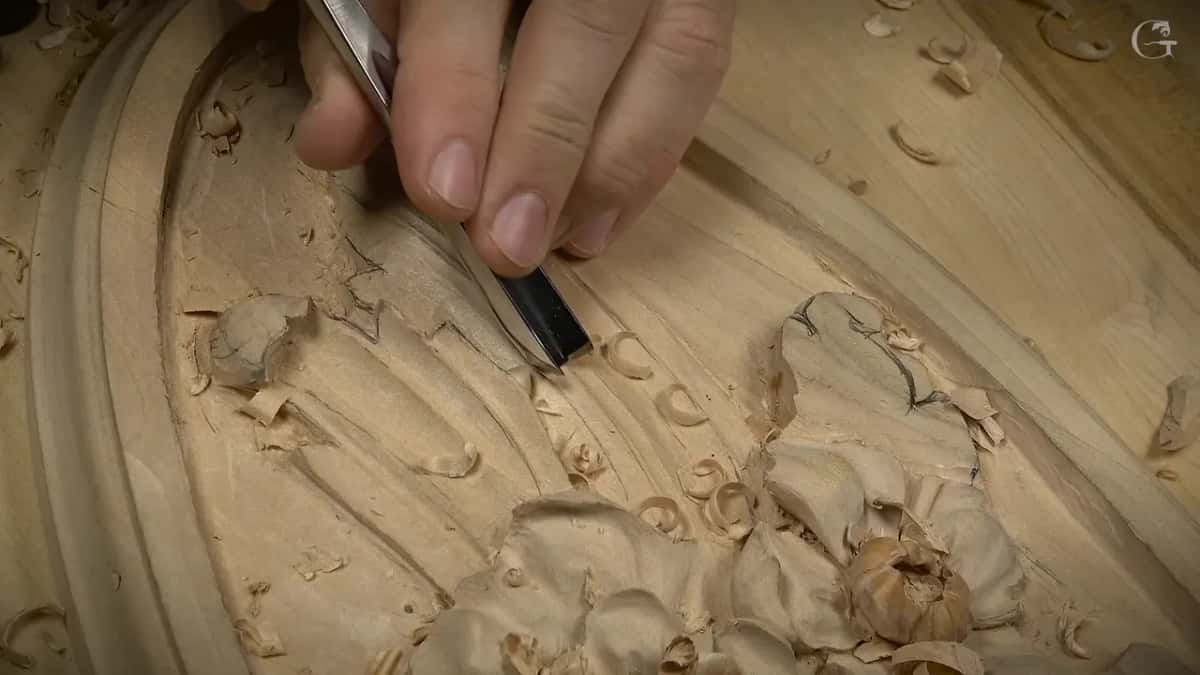
I was still not too happy with how those long ones looked, I said, and could spend a little longer on them, but you get the point. Maybe one more could go right inside, so the eye catches it and you can follow the movement. I know it looks a little stripy, I said, but if you look at the overall picture, it gives a really dynamic movement.
What is left after this lesson?
Cleaning, and the rest of the undercuts, which I said I would do later, off camera. Refining the lines is something you don't really have to watch. The undercut comes later too, a bunch of passes underneath, and one part gets erased completely, most likely with a number 11.
At the start of the lesson I said I did not explain how I worked on three of the flowers, and I compared it with driving. A driving teacher tells you now turn right, now turn left, now push the brakes. It's not like that, I said. My goal is to show you the technique and the development of those flowers.
The rim of this rosette, and what a router left there for my gouges, is lesson 1. How delicate a flower can be on a panel people might bump is lesson 2. When a leaf edge wants a curl at all is workshop 73 of the Venice Room, and no two leaves curling the same way is workshop 77. The tools course goes through the gouge numbers.
Would you like to watch the twist come out of the wood, chip by chip? Then come and carve this rosette with me. Tuition and Access sit on one plan page, and lesson 4 starts where the flowers stop.
How it's done
- Pick the high side. Choose the side that will ride high and the part that tucks under, and keep the whole leaf sloping down on both sides.
- Come at the curl sideways. Excavate with a half-inch gouge, a number 9, attacking from one side so it becomes a true curl. You can always walk around and attack from the opposite side.
- Leave some wood standing. Go nearly down to the ground but keep about 3/16 inch, a little less in spots, so the leaf can curl naturally.
- Lower one part to steer it. Take the slightly higher part down a little to send the curl in that direction.
- Choose where the end goes. Decide where the main curl sits and let all the movement go underneath. Check it from different angles.
- Dig the hollow under it. Work a 6 mm eleven nearly to the background, then the smaller spoon veiner, about 4 mm, for the shadow.
- Finish the curve. Work a quarter-inch number 9 carefully until you are really happy with the curve.
Frequently asked questions
Which way should a twisting leaf slope?
Downhill on both sides, on my rosette. The first leaf kept one side up high while the next part went underneath, and overall, I said, it still goes downhill in that direction and that direction. The twist happened inside that slope, with one edge riding up.
How thick is the wood left under a curl?
Roughly 3/16 of an inch, 5 mm in my words, and like four in a few spots. That way, I said, the leaf is going to curl naturally. On the second leaf's section I planned the same amount, close to the background.
What carves the shadow under the curl?
First a straight eleven near six millimeters wide went in, and I was okay with going almost to the background. Then, to make it even better, I switched to the 4 mm spoon veiner to create the dark area under the rolled end, in lesson 4 of this rosette.
What to carve next