
Alexander Grabovetskiy, woodcarver, School of Woodcarving · Published 2021
How delicate can you carve a flower that people might bump?
Quick answer: The delicacy of this flower is a decision about the wall it goes on. In lesson 2 of my Venetian Flowers Rosette I said I could go further, but the panel will be installed low, where somebody can hit it and break it. So I kept the flower solid for a knock while it still looks paper-thin.
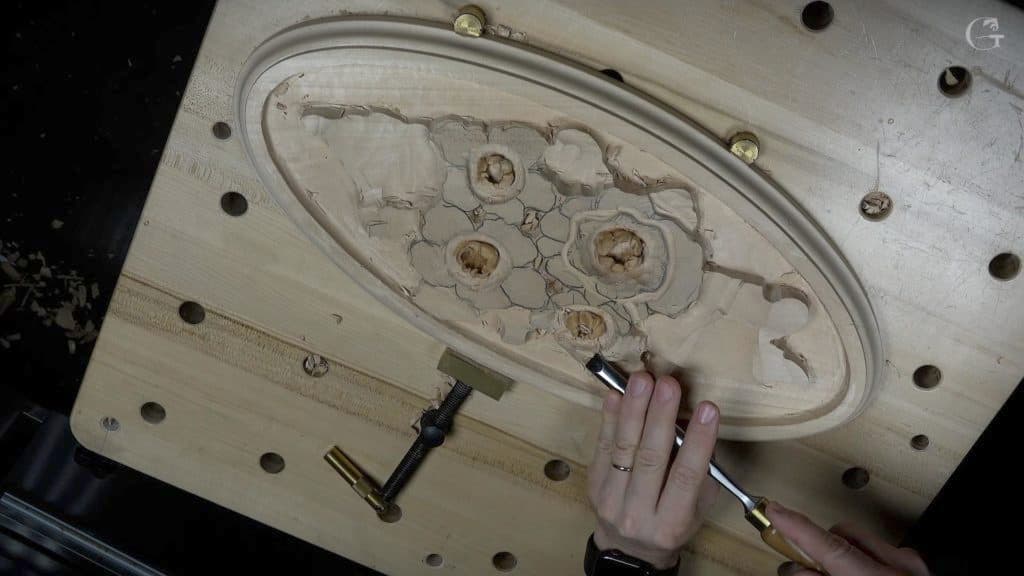
How delicate I carved this flower is set by where the panel will hang. In lesson 2 of my Venetian Flowers Rosette I told you that you can be as extreme as you wish. But in my case, this piece is going to be installed pretty low, like in the middle part of the wall panel, and if I make it too fragile, somebody can hit that and break it. So it had to be solid enough for a knock while it still looks paper-thin. That is delicate wood carving the way this one panel needed it, and no further than that.
Have you seen carved petals that look as thin as paper? Did you wonder what one bump would do? Then think about where your piece will hang before you undercut, the way I did with this flower. Below is how I carved these flowers on camera, with each tool and size the way I named them.
What I did so the flower looks thin and stays solid
Extra wood stayed in two spots while I lowered the leaves, because curls were coming there.
The center hole went in as a plug cut, nothing extreme.
Tiny number 11s did most of the fine work.
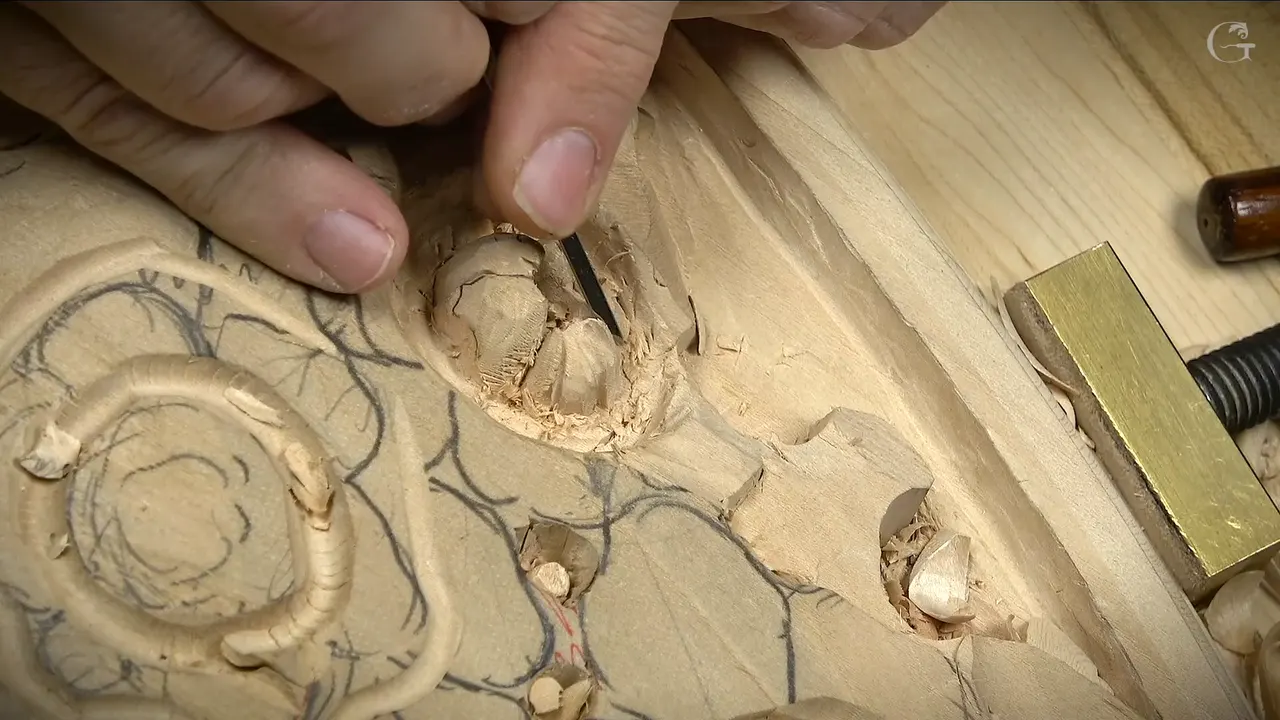
Beneath one petal, the undercut came from a blade of about 1/50 inch.
A sticking edge got a petal's shape.
On a main petal, a 6 mm number 11 dug the concaves.
Where does delicate wood carving stop on a low wall panel?
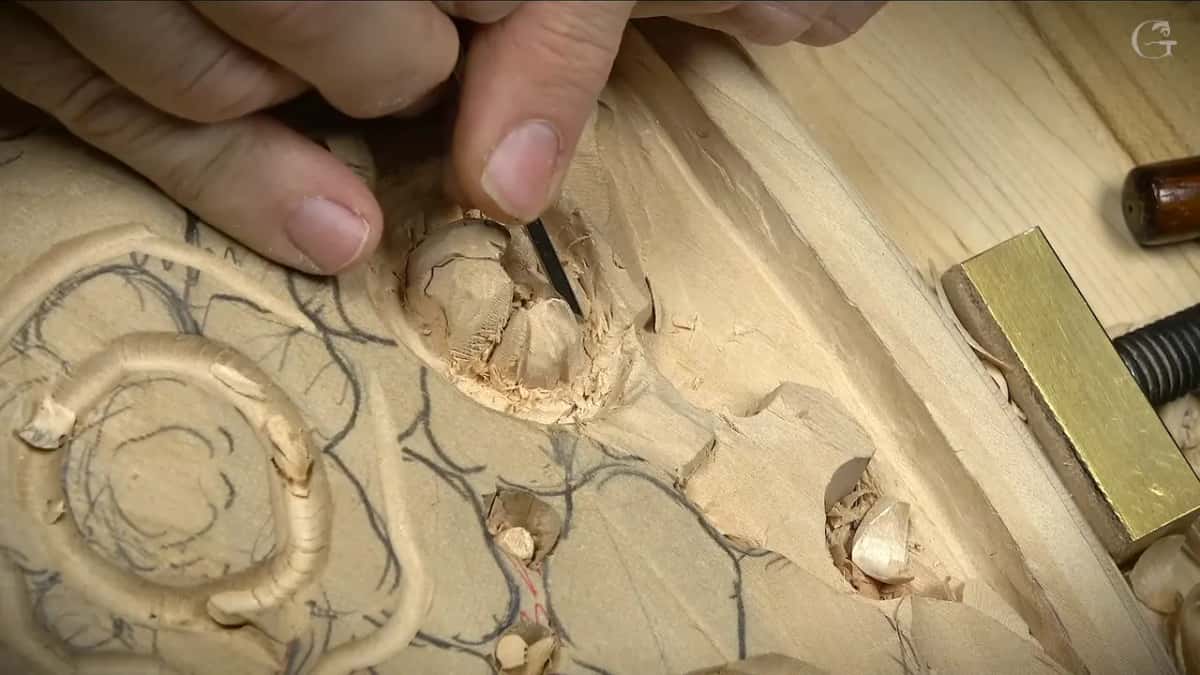
Mine stopped short of too fragile. The half millimeter tool had just gone right underneath one petal of the first flower, and that is the moment I talked about the wall. I have to keep that in mind, I said, twice.

A little later the same thought came back, after the side undercut and the edge I carved away. Obviously, I can take it to extreme and clean everything, I said, and undercut even more. But I have to be mindful because of the location. It has to be solid. The flower kept enough wood to take a knock, and it still looks thin. Still looking like paper-thin, I said.

Hollowing a concave inside a lobe so it looks thin is a general trick, and it is told on the page about how to undercut an acanthus leaf without making it weak. The thin super glue I later ran through four of these flowers, since they will be painted, is on our page about stabilizing thin carvings. You can watch me make that call at the bench, since every lesson of this course opens with an access plan.
What did I leave at the rough for the curls?
Extra wood, in two spots. A big gouge was taking the leaves down, about half an inch below the flowers, and I said there is going to be some curls, and I need some extra meat in those two spots. On the other side it was the same story. There would still be some kind of curl there. Big gouges like that one have a page of their own, on what a large carving gouge is used for.

I stopped once over one area and thought out loud. That part should go down too, I said. Well, actually, yes, it is.
Next I sloped every flower down with a huge number one and stopped almost at the line. In one place I went along the grain. I was okay with it, I said. I know it doesn't show on the camera, I told you, but it's actually sloping smoothly.
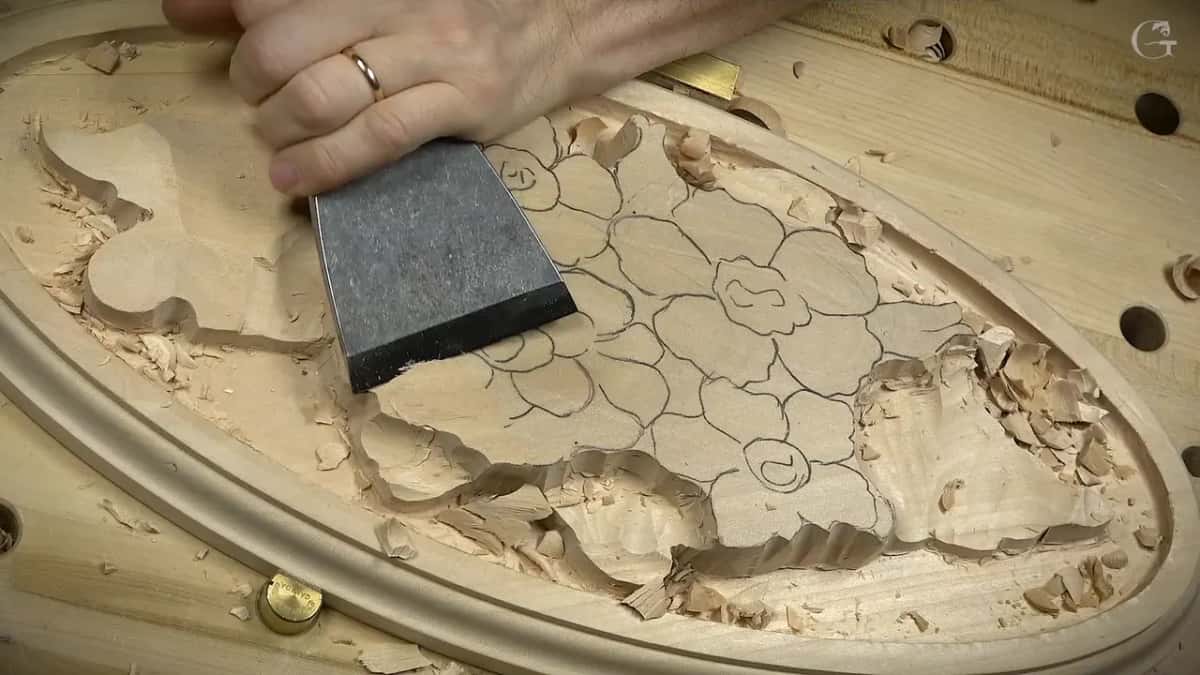
Before any flower got its shape, I set separations with number 9s going straight down, to make sure the main flowers are separated and to get rid of some of the background. That way, I'm not going to lose the main idea. I wasn't sure a 10 mm (3/8 in) number 9 would fit, and it did. It made the plug cuts, and for one tighter section I switched to a smaller one, about 1/4 inch.
Then, on the first flower, the one I called my golden spot in the overall design, I chose a petal to curl upward. This petal goes on top of those petals, I said, and parts of those go underneath the bigger one. In one area I kept some of the meat for concaves and convexes. But preliminary. Once I even stopped and said, wow, what was that? After that I carried on.

The deep part came after that. I had to excavate a much, much deeper concave around it, because that part would be raised and would curl. The tool was a number 11 of about 5 mm (3/16 in), and it's really supposed to be three-dimensional, as I said at the bench. Another concave could go around for a second layer of petals, I said.

Curls on the inner petals came later, with micro tools. For the first concave there I said I'd need an even smaller tool, like a number 9, or tiny number 11s of 2 mm (5/64 in) and 1 mm (1/32 in). Do I have to curl that part? Perhaps. But not, I said, then I curled it anyway, because I thought it would look really awesome. Make sure you don't do that on all of them exactly the same.
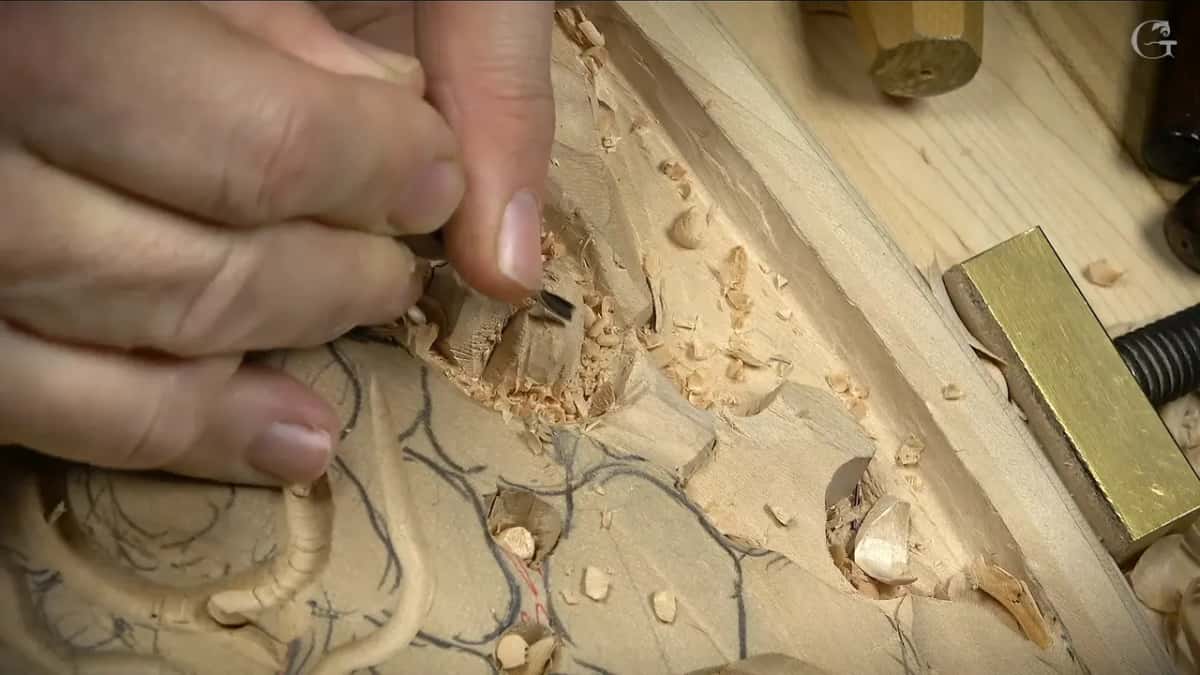
On one of the four finished flowers, the curls are not alike. Pay attention to the movements, I said. Those curves are absolutely different from the first flower, and that gives a more realistic look. A concave there twists a little on the inside. One goes up and curls backward, and a couple of others don't have anything, as I showed you. There is a separate page on how to carve a petal that curls backward.

How far down did the center hole go?
Deep enough for shadow, and no further. Before that, the middle of the first flower was a dome. Once the grooves ran around all those flowers, I shaped it into half a dome, using a number 3, though any flatter tool or a number 7 will work. An even deeper concave on one side came from a 4 mm (5/32 in) number 11 and made it even more three-dimensional. That dome was almost half an inch overall, and I was pretty happy.
Then it looked huge to me, a little too big, so a number 11 made it much, much smaller. I also moved its center. I have a slope going on, I said, so it points that direction now.
Next a number 9 of a quarter inch (6 mm) set the center hole, on an angle a little bit. How deep I should go? I asked out loud. I need to create beautiful shadow, but I don't want to be too extreme right here. Just a plug cut.

The rim around it got its waviness next. With a small number 5 I went up and down, some high spots, some low spots. Don't be too crazy, I said. The order of work on a tiny flower is a separate question, answered on how to carve a small flower without breaking it.
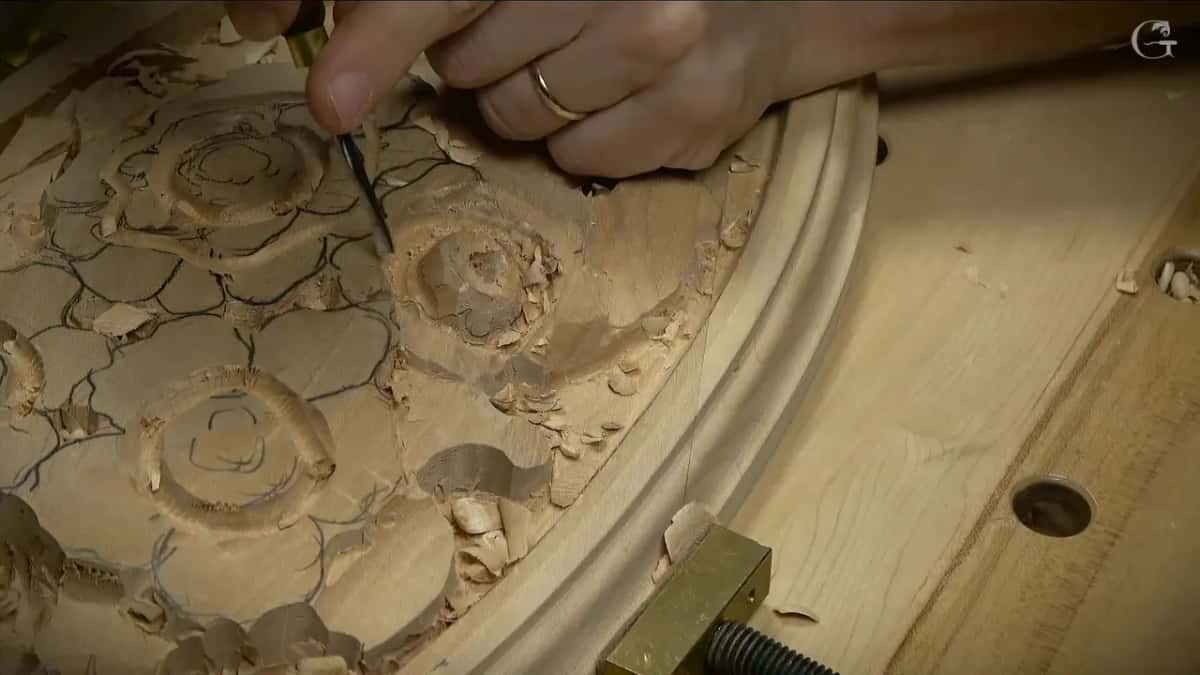
Can a pencil tell you a surface is too even?
It can, the way I put it on camera. If you put a flat surface like a pencil across that hole, it sits on the same level, even with a little slope, and I don't like that. In real life it looks perfect, I said, but when you start measuring stuff it's not as perfect. Otherwise it won't look organic, I said.
Later, on a main petal, I said the same thing with a straight edge. Two petals sat on the same level, and that's not a good idea at all, so one part went much lower. Why carved petals should not be perfect has its own page.
Which small tools did the thin work?
Mostly small number 11s, and they had to be sharp. For the five inner petals I took a V tool for the first marks, then said a number 11 would be more authentic. One area felt a little mushy, so I made sure my tools were really sharp. Absolutely must be sharp, I said, holding the 2 mm one.
I hope I have pencil, I said, and drew five inner parts, petals or not petals, whatever you call them. Five of them should be enough, I said, but it's not the end yet. I'll show you in one petal what I'm going to do, I told you, and you're going to create your own movements in the others. The process of making flowers was shown earlier, so there was no reason to repeat it multiple times.
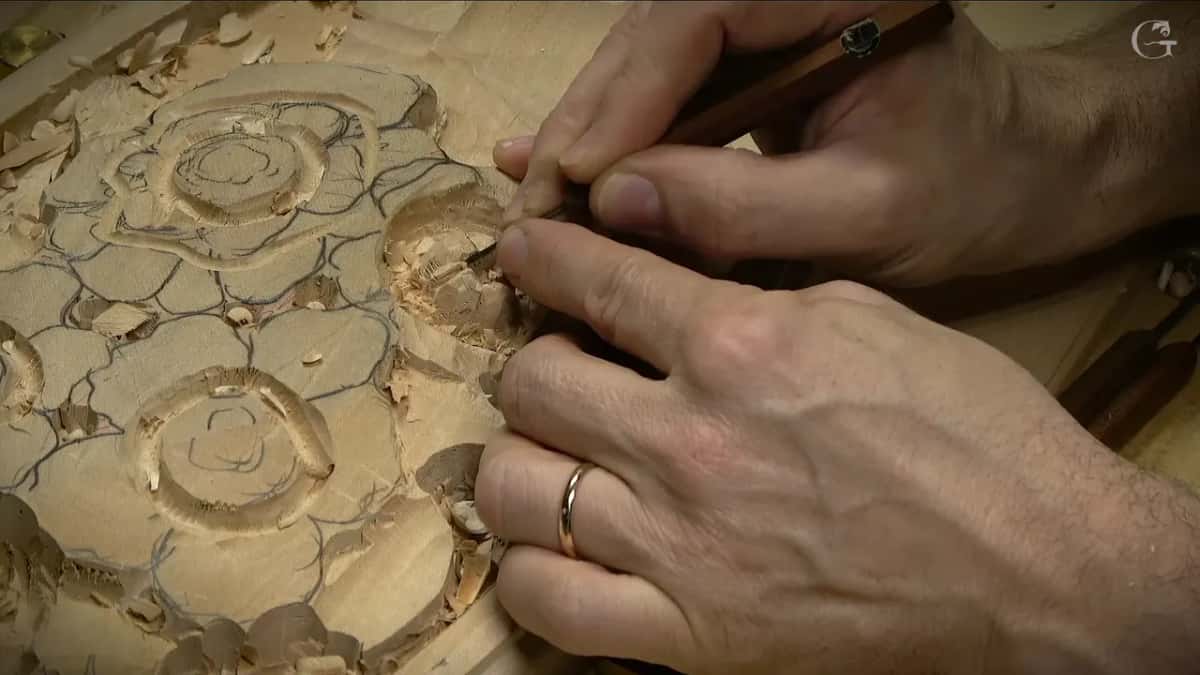
Whatever you have will do, I said. Different sizes of number 11 work, like 1 mm or half a millimeter, and some flatter tools too. Here is where each tool went on this flower.
Spot | Tool | Words |
|---|---|---|
Middle of flower | Number 11 again, worked around a smaller center | I like it much better |
The center hole | A number 9, a quarter inch, plug cut | Not too extreme right here |
Rim of hole | Small number 5, taken up and down, around | Don't be too crazy |
Five inner petals | V tool first, then a small number 11 | More authentic that way |
Sides and curls | A micro number 9, or tiny 11s at 2 mm and 1 mm | Absolutely must be sharp |
Under one petal | Half a millimeter, to get right underneath here | Once you clean and undercut |
Edge sticking out | Little tool, then carved like a real petal | Doesn't look too appealing to me |
Main petal concave | A new 6 mm number 11, then smaller | Even bigger or darker shadow |
How thin a carved leaf should be, measured, is on another page.
How far did I take the undercut under one petal?
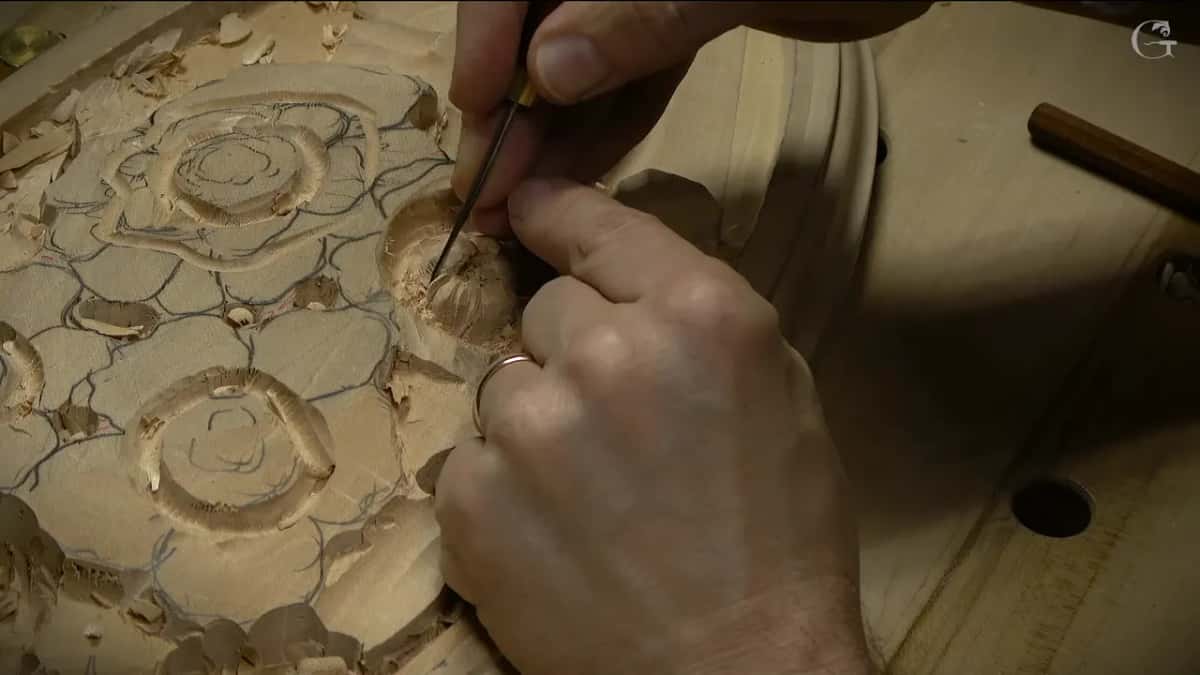
Right underneath it with the 0.5 mm tool, and then on its side. Before that I said it obviously does not look as nice yet, but once you clean everything and undercut, it's going to look awesome.

I showed it on one petal only. There is no reason for you to see the same operation on all of them, I said. I undercut the side with a small tool to make a shadow.
The edge was just sticking like that, and it did not look natural to me. It doesn't look too appealing, I said, so I carved that part away to give it the shape of a real-life petal. So that is much better. The rest of them I did off camera. At least the middle part would be exactly the same idea.
Leaving a small connection behind a thin leaf is another way, told on whether to carve a thin leaf completely free of the wood behind it. Carving the back of a fragile piece is a separate job, told on the page about back cutting.
Where did the deep shadow go on the main petals?
Down and underneath, between petals, with number 11s. Later in the lesson I moved to the outer petals of the main flowers, and I said every petal has to be different. Even if those flowers are flat, I still want to create a 3D look. Three would go downhill and two uphill. I'm going to repeat myself maybe multiple times, I said. Please don't make them the same.

The simplest petal was going to go all the way to the background, I said. A small number 11 made the first pass, then a smaller one, about 2 mm, from a different angle, because it was a lot easier for me. Even then it wasn't the final pass, I said, just preliminary. In my case I said I'd prolong them a little, with waviness on the outside too.
Now I know which one goes where, I said. I hit it from above with a number 3 and set the overall movement, really deep in one section, then bulking up and going down again. That's just the initial shape, I said, because I want to make sure it's really wavy, curly. I wanted the center part of that petal convex, then concave, then concave again, with the petal itself going downhill.
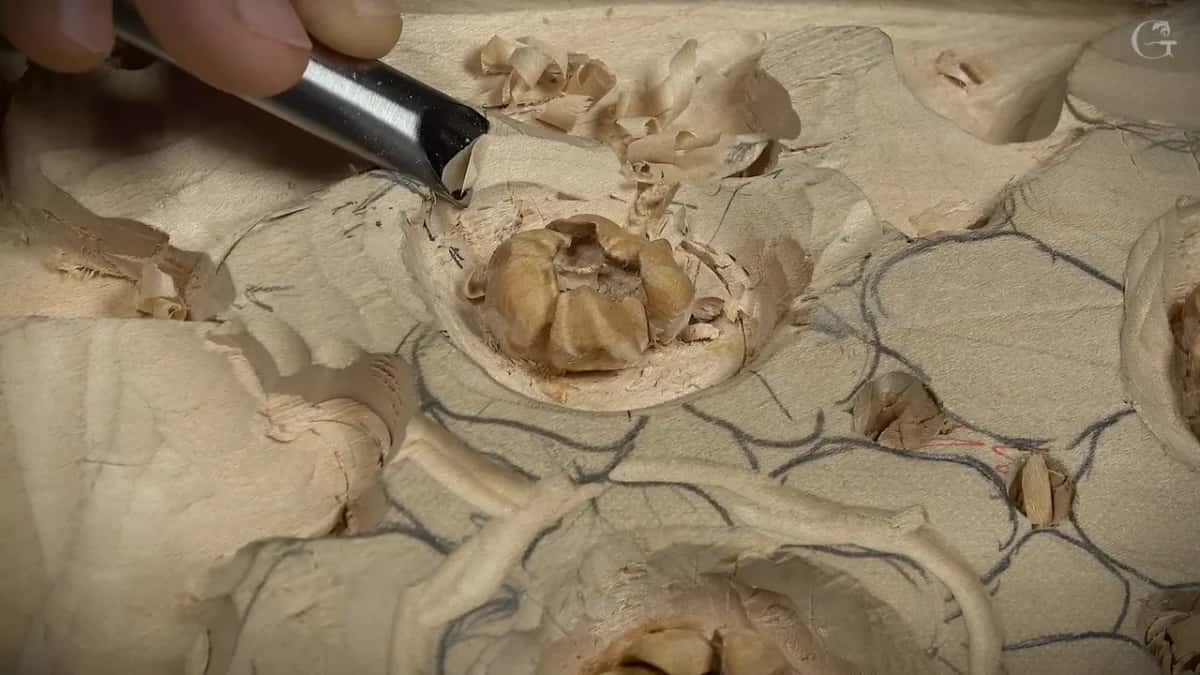
A new 6 mm (1/4 in) number 11 put a concave in, then another on the side that goes under the next petal. Even if it goes underneath, I said, it still looks really nice and gives an even darker shadow. That tool was a little too big. A smaller number 11 went deeper still.
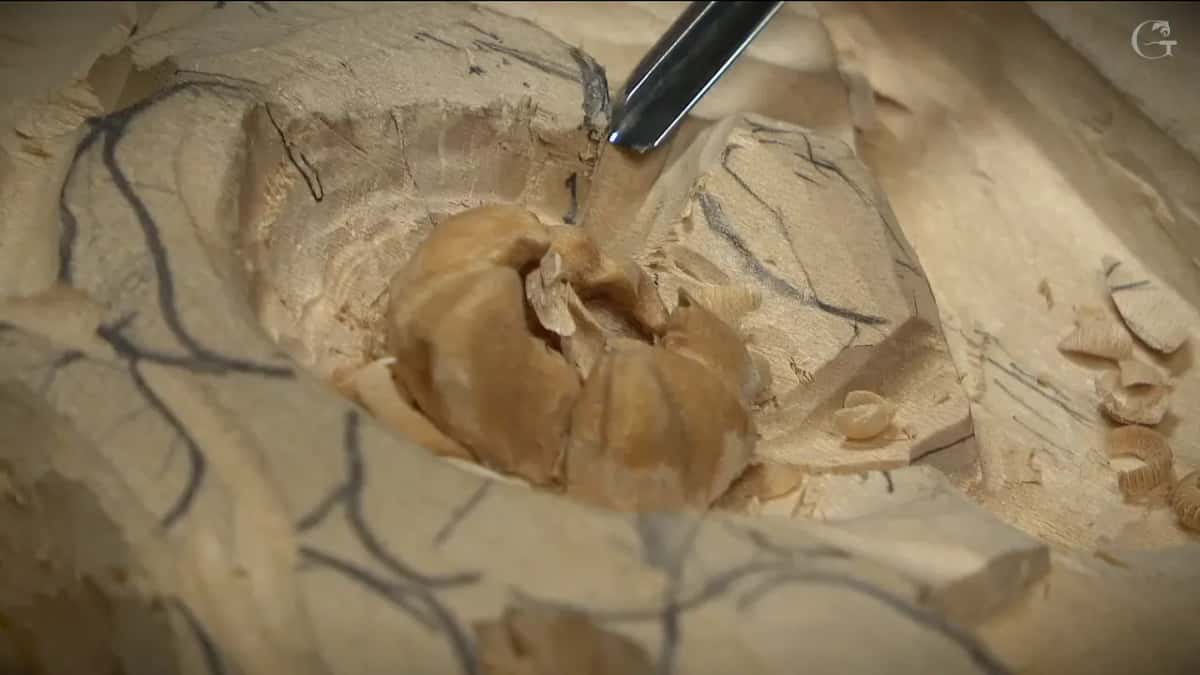
A 1 mm or even half millimeter tool, I said, could go inside another petal right away if I wanted to. Of course it was a number 11, I added. All the operation was pretty much the number 11s. How deep that dark went in the end is on the page about a leaf that goes under one leaf and over another.
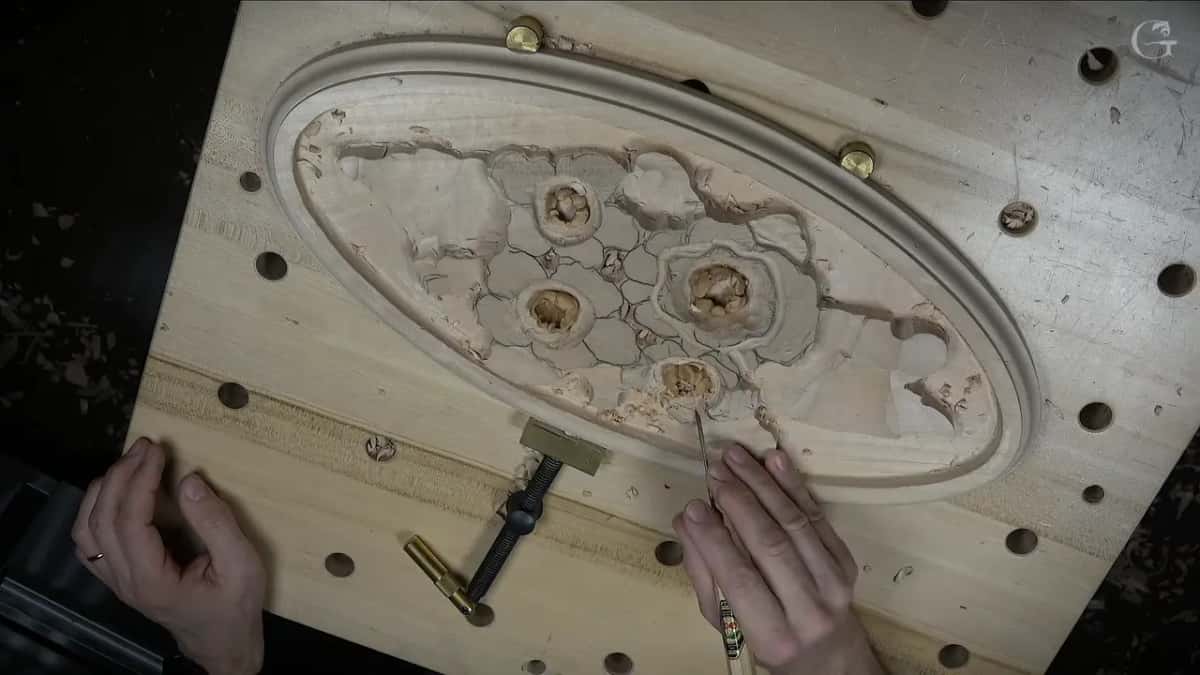
Would you like flowers that look as thin as paper? And would you like them to take a knock without breaking? Then come and carve this one with me in the full course, and keep going with the next lesson on the same rosette.
How it's done
- Keep wood where a curl will rise. While you lower the leaves around the flowers, leave extra wood in the spots where a petal will curl, the way I left two.
- Dig a deeper hollow around it. Excavate a much deeper concave around the raised part with a number 11 of about 5 mm (3/16 in).
- Set the middle with a plug cut. Use a number 9 of a quarter inch, on an angle a little bit, deep enough for shadow and not extreme.
- Give the rim high and low spots. Work around it using a number 5, so it never reads as a true circle.
- Undercut one side with a tiny tool. Work the tiny tool in beneath the petal first, then run a small tool along the side for the shadow.
- Carve off an edge that sticks out. When an edge looks wrong, carve it to the shape of a real petal.
- Stop where a knock would break it. Think about where the piece will hang. Mine goes in low on the wall panel, so I kept the flower solid, and it still looks thin.
Frequently asked questions
What size tool made the undercut under the petal?
A 0.5 mm blade, about 1/50 inch across. I used it to get right underneath one petal of the first flower, then a small tool went along the side for the shadow. Every other flower got the same idea off camera, so only that one petal is shown on camera.
Why leave extra wood when you lower the leaves?
Curls were coming in two places. While the big gouge took the leaves down around the flowers, I said I need some extra meat in those two spots, and I left them standing. On the first flower, later, I dug a deep hollow round a part that would rise and curl.
What tool did most of the work on the main petals?
Number 11s, pretty much every one, as I said on camera. A small one opened the first excavation, a 2 mm one came in from a different angle, and a 6 mm one put concaves in before a smaller one went deeper still.
What to carve next