
Alexander Grabovetskiy, woodcarver, School of Woodcarving · Published 2021
How do you carve a flower petal that curls up?
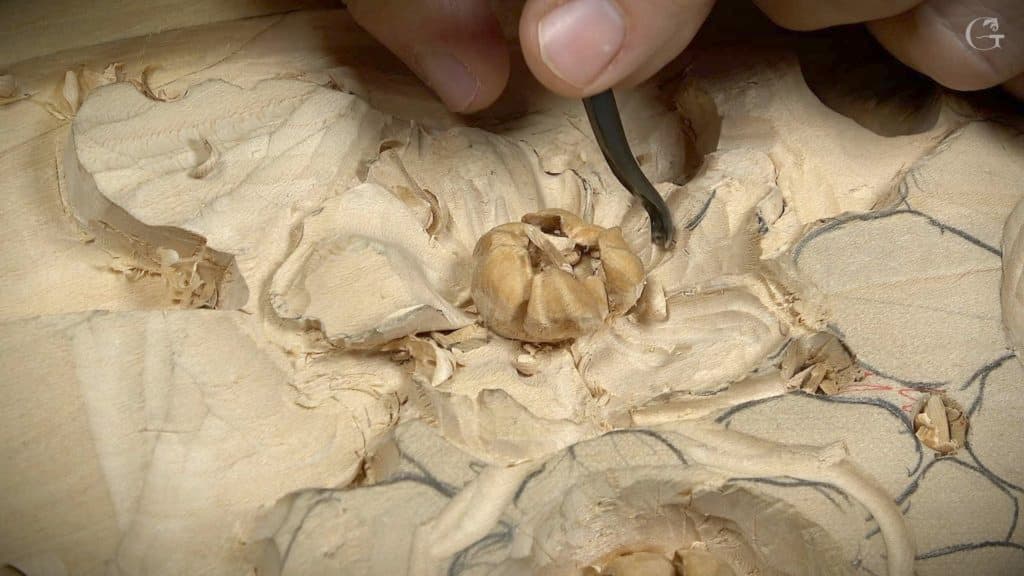
Quick answer: A petal curled up on my Venetian rosette is one that falls, rises in the middle, dips, then curls. I picked the curl's size first. A roughly half inch number 9 dug behind it nearly to the line with the middle kept, the hollow ran out sideways, and a number 3 rounded it.
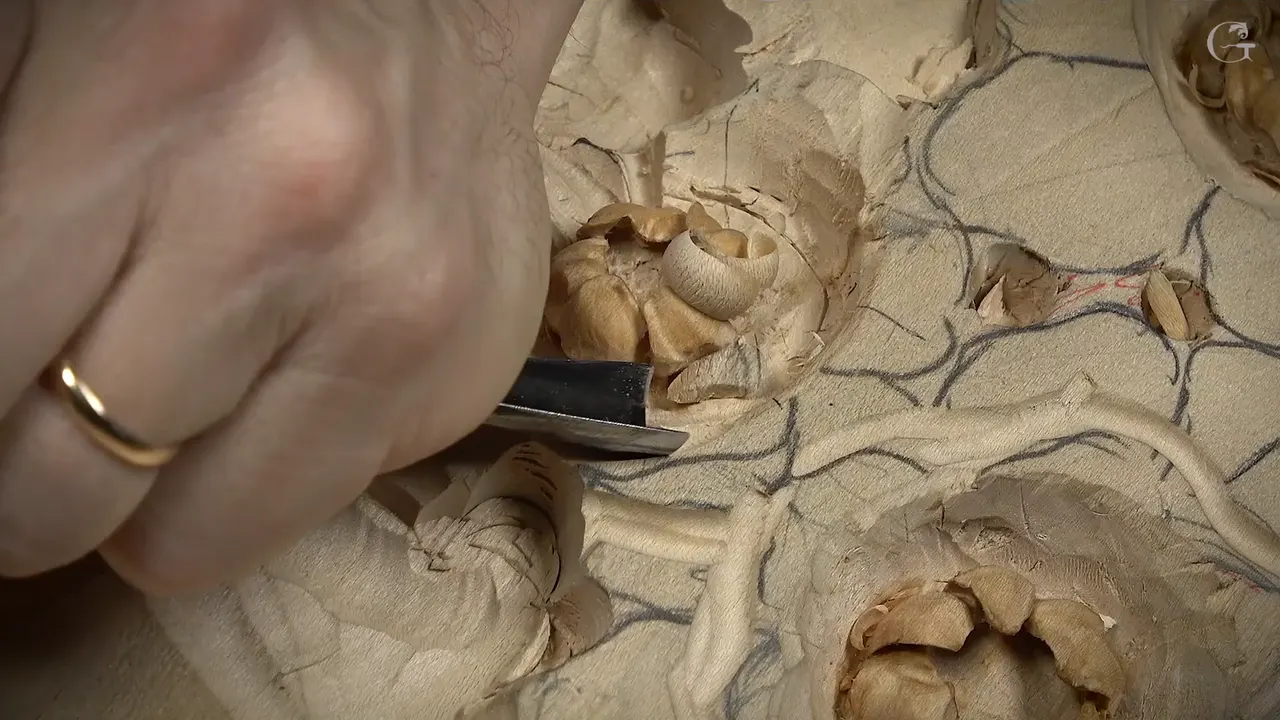

On my Venetian rosette, the petal that curls up goes downhill, comes up in the middle, goes down a little, and then curls. I decided how big that curl would be before any wood came off. Then a roughly half inch number 9 dug the hollow almost to the line, with the middle left standing. The hollow ran out the side so it would not spoon, an undercut put shadow under it, and a flat number 3 rounded it. I showed it side-on next. After that the edge got a wave, and the curl itself a small fold.
Have you seen a carved flower whose petals seem to lift off the wood? Would you like one of yours to do that? Then pick the size of the curl first, before the gouge goes in.
This page follows one rising petal of a flower carved in relief, from lesson 3 of my course, in the order I carved it, with the tools and sizes I named on camera. Those are not the first flowers I make. I've done a lot of flowers, as I said while I worked on this one. Later I put it another way: I love doing flowers.
Six moves on one rising petal
The size of the curl came first.
The big 9 took the hollow behind it close to the line, and the middle stayed.
Its hollow opened to the outside.
An undercut and a separation cut brought the shadow under it and beside it.
The rounding came from a flat 3.
Then I looked at it side-on, and the edge got a wave and the curl a fold.

Which petal got the curl?
The one that climbs. I pointed out three petals of that flower that go downhill. "But that one and left of it, it's going to go somewhat uphill," I said, and that is the one I showed you going uphill. The other petals I left for you, to develop as you wish. The rest of the flowers I did off camera.
The reason of the video lessons, I said, is not to show how it's going to look, but how to do that. Earlier, on a different petal, I thought about giving it some curl up as well, then said, or maybe not, maybe I don't have to do it. Every petal is supposed to be a little different. Before this one, I spent the first part of the lesson on other petals of the flower, with a concave on one side for extra shadow, a raised edge and some folds near the center.
Right at the start of the lesson I told you I really like the idea of a curliness at the edge, more natural, more curly, and not as plain. This lesson picks the flower up where lesson 2 of the course left it, and the rest of the rosette waits on the Venetian Flowers Rosette course page.

How big should the curl be?
On camera I named no size for it. I gave the order instead. To create that curl, I have to make the decision first how big that curvature going to be, I said.
Step number one was a number 9. A 9 or an 8 will work, I said, and a number 11 will work too. Then I took a number 9 of about half an inch (13 mm) and just excavated, going nearly to the line.

Why keep the middle of the petal?
I didn't want to lose the middle part, because I wanted the petal to go downhill, then uphill, then downhill, and then curl up. Right in the middle is where it goes up.
Next I changed tools. That was enough movement from the big one, I said, so I went smaller, to a number 9 again, a quarter inch (6 mm) this time, to excavate a little deeper. An 11 could do the same job, I said right there.

What keeps the hollow from spooning?
A way out at the side. I came in at the side, all the way, and let the tool escape. I didn't want a spooning effect, a hollow that spoons on the inside only, so it had to go to the outside. An 11 would work much better in that case, I guessed out loud.
If the word is new to you, what spooning is in wood carving has a page of its own.
Where did the shadow under the curl come from?
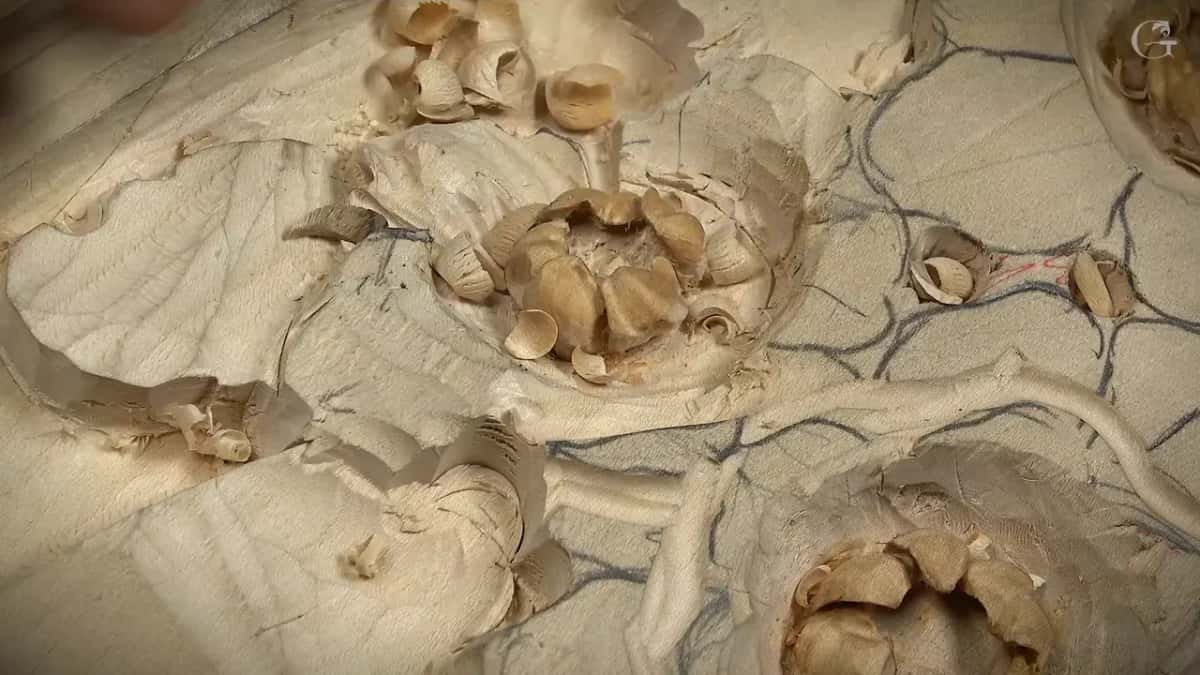
From the undercut. With the hollow open, I carefully removed some of the material and undercut it. I really want to see that shadow casting, I said. It already looked really good.
Obviously, I said, I need to curl, and there's another petal on my way. A separation cut had to go between the two, so I outlined this petal and the next one right away with the smaller number 11. With that number 11, I said, I can get an even deeper shadow. A first undercut that gets deepened later is called a preliminary undercut, and it has its own explanation.

What rounds the curl itself?
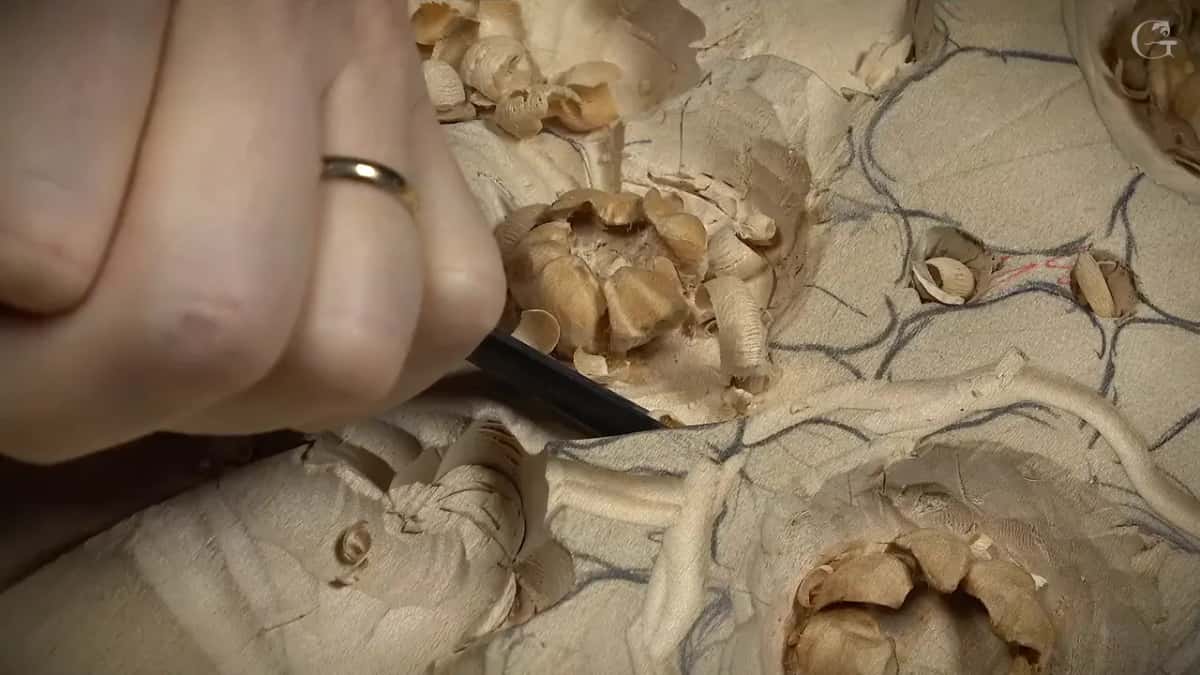
A flatter tool. Any flat tool will work, I said, and I took a number 3 the same width, about 13 mm (1/2 in), to create my curl.
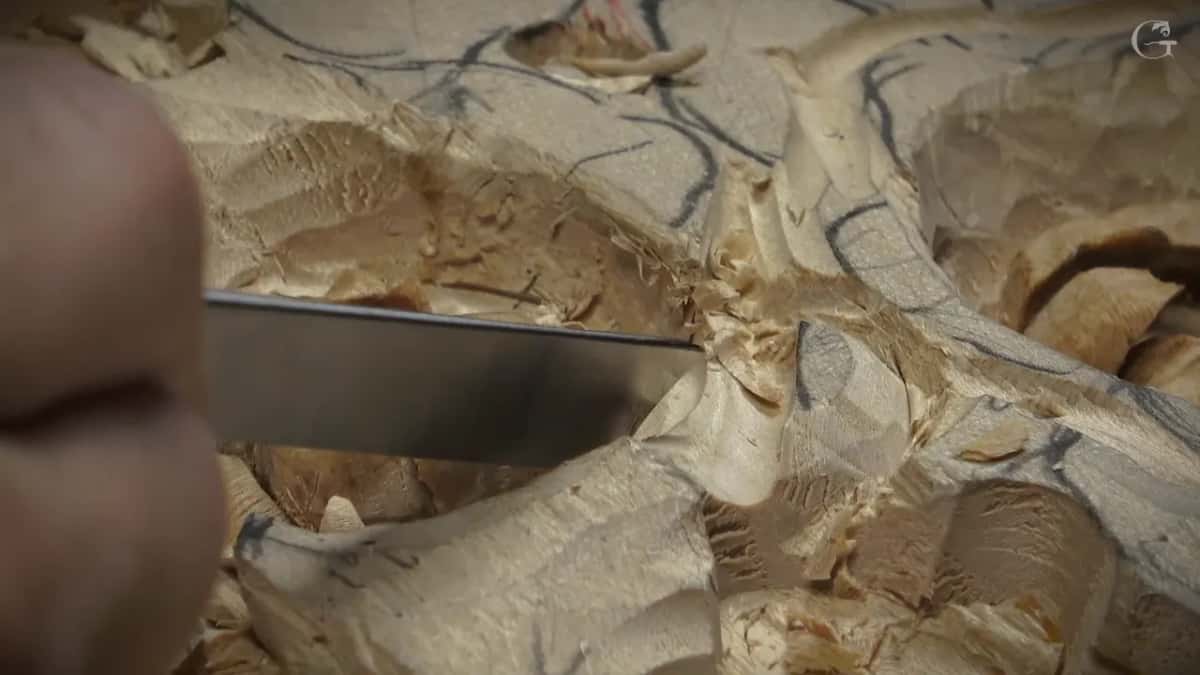
It still didn't look as nice, I said. I let you look at it in profile after that, really close, because I know it's kind of hard to see on the camera. Right here it goes up. The middle part goes down, and then it curls up like that. So that way, it'll look awesome, I said once the curl went up.
It's not the end yet, I told you, so the curl still needed some kind of waviness.


Which tools did this one petal take?
Here they are in the order they touched it, with the words I used for each one. The tools course goes through what each gouge number means.
Job | Tool | My words |
|---|---|---|
Behind the curl | Number 9, near 13 mm (1/2 in), the big one | Go almost to the line |
Going deeper | Smaller number 9, 6 mm (1/4 in), next in line | Excavate a little deeper |
The side exit | Number 11, as I guessed, works much better | It has to go to outside |
Separating them | A smaller number 11 on both petals, right away | Even deeper shadow |
Rounding off the curl | Flat number 3, the same width as before | Create my curl |
The fold | Small number 8, about 1/16 inch, maybe a smaller one | Extra shadow, what I'm after |
What if your gouges have other numbers?
Just try what you have, I said in this same lesson about a different petal, and on this curl I kept naming a second tool beside the first one. The hollow could take a 9, an 8 or an 11. On the deeper pass it was a 9 or an 11, and for the rounding, anything flat.
And if you don't have number 11s, I said, you could use small Dockyard tools, if you have those, on the petals of your flowers. So the numbers in that table are what I picked up that day. Earlier in the lesson my tool was a little dull, so I buffed it a little bit, and it was much better, I said.
Why give the curl a wave?
A perfect line on that edge would not look as nice. I don't want a perfect line there, I said, or even a perfect half a circle. So I made sure it's wavy, and it naturally curls up.
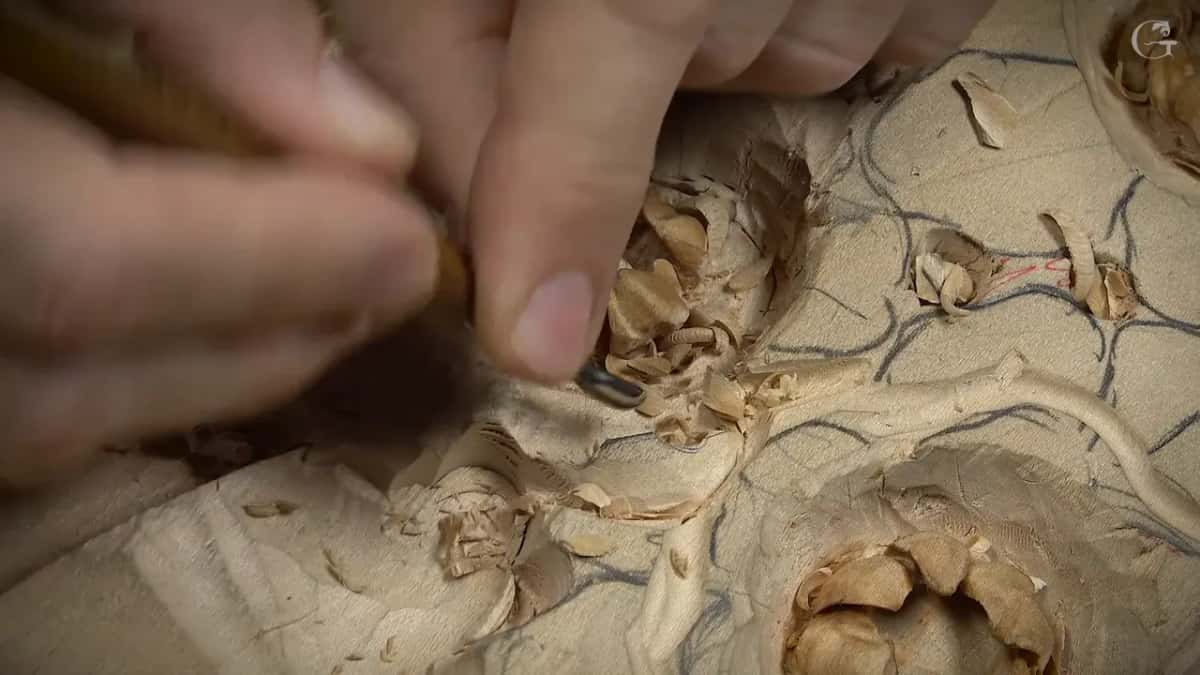
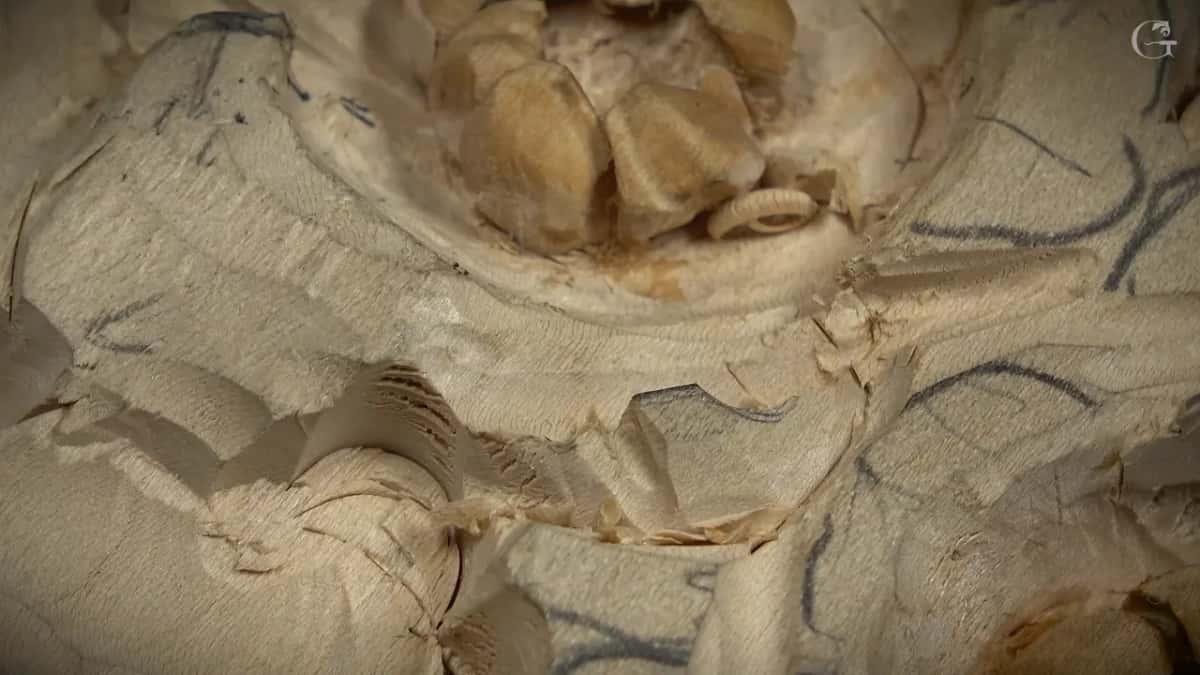
How does a fold go on the curl?
With a tiny number 8 and a deep concave. After the wave, the curl looked a little too flat, and I didn't really like how it looked. I wanted concaves and convexes right on the curl, the same idea I used before, a convex, then a really deep concave for the shadow's sake, and then convex again.
The tool was really small, a number 8 of about 1/16 inch (1.6 mm). Its preliminary cut gave me almost a folding motion, and extra shadow, the thing I was after. A little smaller one could follow it, I said.
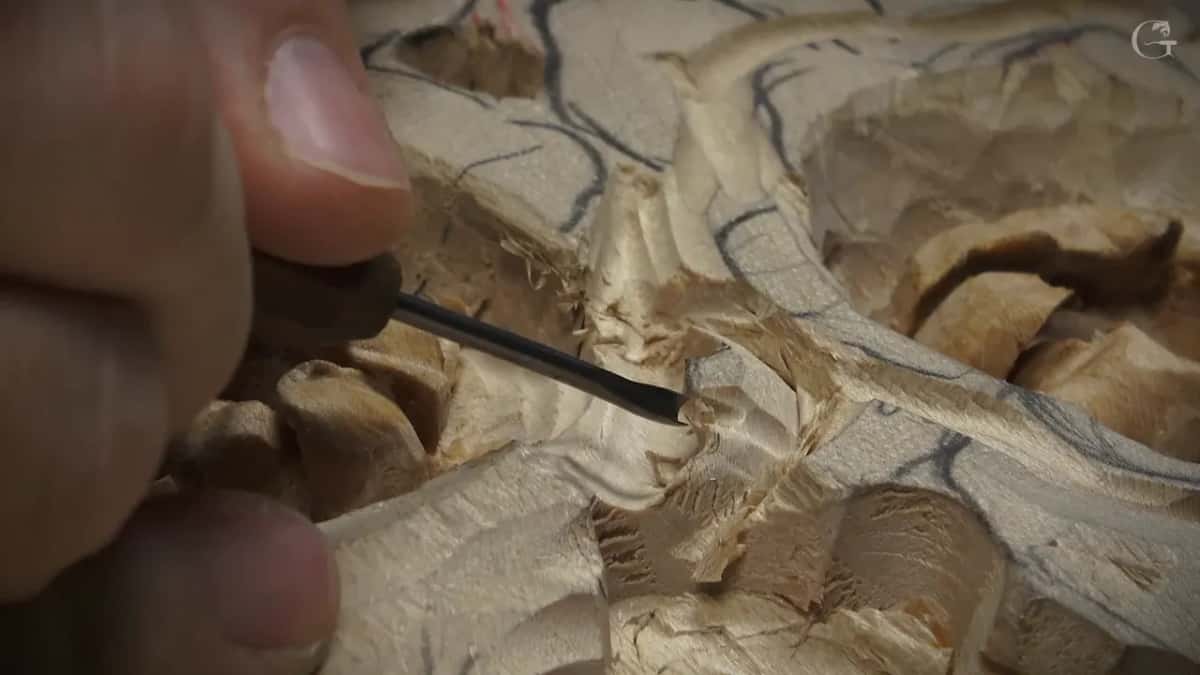
That's enough, I said, I don't want to be too extreme. Even so, you could see it was already casting a beautiful shadow, in my opinion. Then it needed blending, I said, to make it more natural and get rid of that ridge.
To prove the point that it still looks nice even when it curls up, I said I can raise the ridge the same way I did on another side, and make another movement downhill. Just have fun with that, I told you. It's really up to you what you come up with.
The concaves on the other petals are a subject of their own, on where the concaves go on carved petals. The whole lesson, all four videos of it, comes with Access to the school.
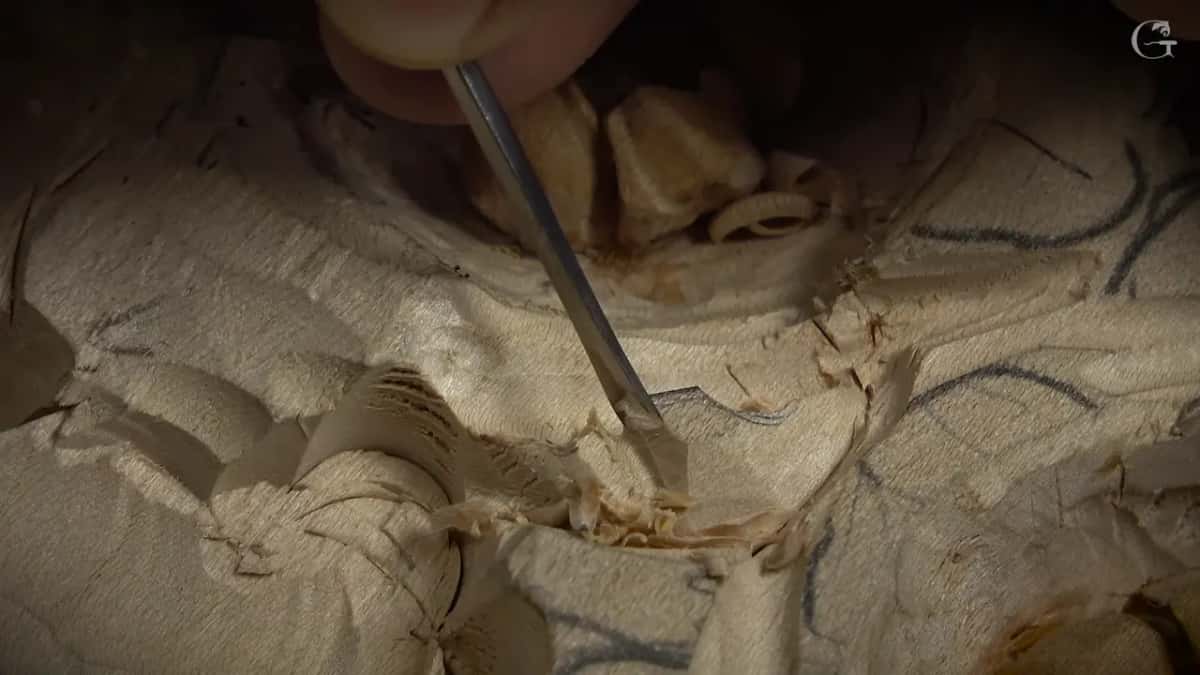
What does a curled petal look like from the side?
Up, then down in the middle, then up again where it curls. Earlier in the lesson, about one more petal, I said that from above you don't see that movement. Seen sideways, it creates a beautiful spot. Still, an earlier petal looked really organic to me from above.
From above, I showed you the overall composition too, and more than once in this lesson I asked if you could see it. Not sure if you see that or not, I hope you do, I said about one movement. Even with a close-up, I said, it's kind of hard to see.
My apologies if I'm covering that with my fingers, I said at one point, and later I hoped I wasn't covering everything with my hand, because it's easy to do.
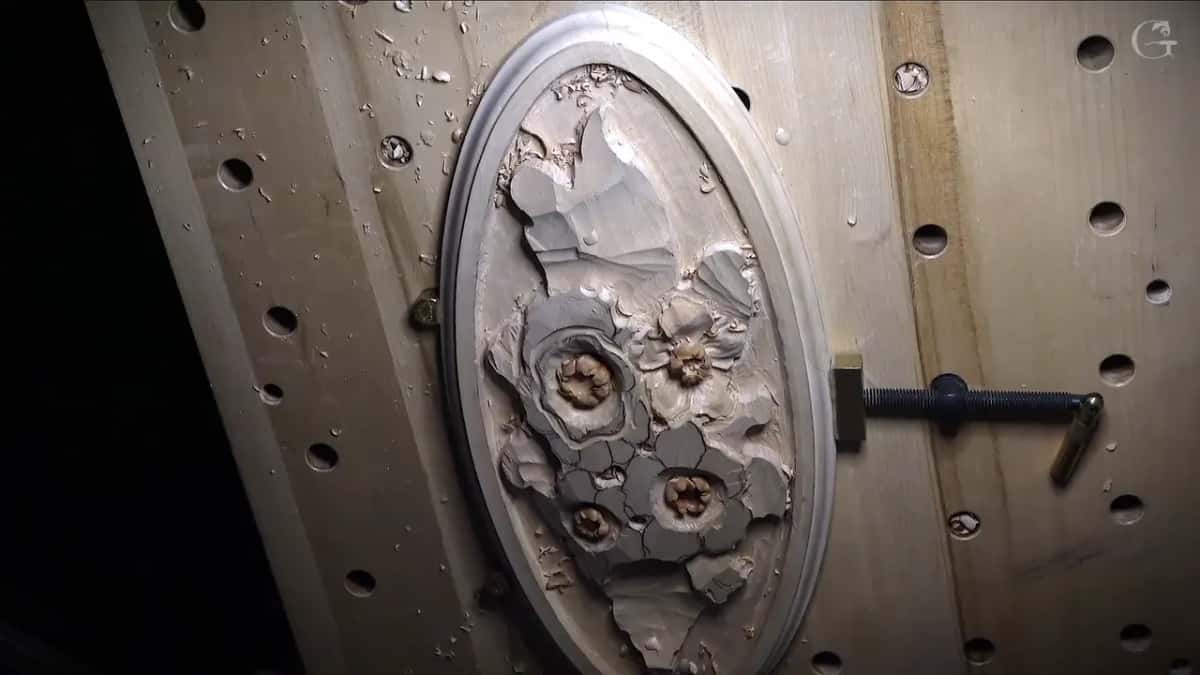
At the end of the lesson I turned off the main lights and rotated the flower to show you different points of view. Just like a diamond, I said, different looks from different sides.
What did the next petals get instead?
Others got different movements. I attacked the next petal right away, since I wanted to keep that height, and I said it would get a concave on each side with the part between them raised up. Another petal rose too, and I said I'm not going to curl it like this one. It would stay kind of high, without the curl. Right then it looked really straight down, almost 90 degrees, and I said it's okay, I knew what I was going to do.
When I raised it using an 11 of about a quarter inch, near 6 mm, it was not quite curled like the previous one. Still, it had some kind of raised part. On a later petal, I said a low spot and the wall beside it can become part of the petal movement, with a pronounced concave and a really deep undercut.

One more petal curled backward, all the way down, and carving a backward curl has its own page. Late in the lesson, with another curl going up, I made a small concave and undercut it with a small Dockyard tool. Can you see the shadow? I hope you can, I said.

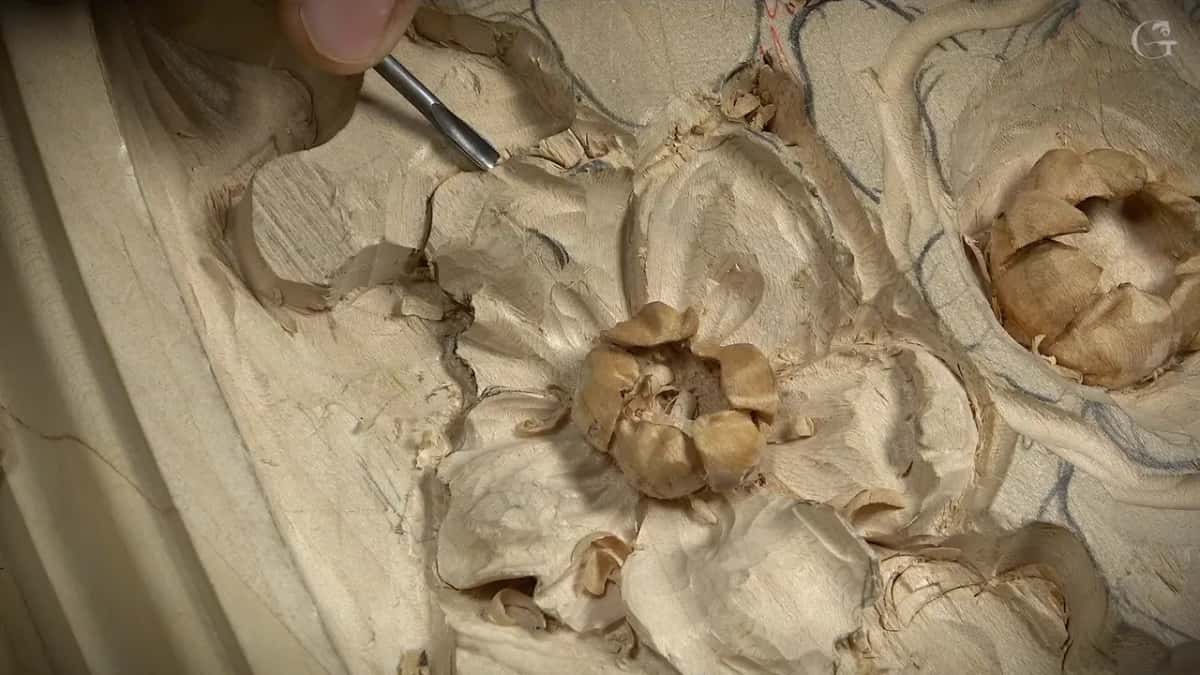
Waving one more side, I wanted to make sure I was not taking too much material, because another flower sits there and I didn't want to damage it. For the next flower, the double layered one, I said to make some of them curl up, make some of them curl down, and then you're going to be safe. Why they should not come out alike is told on why carved petals are not left perfect, and another lesson asks which petal sits on top.
Where do you start on your own flower?
With one petal that climbs. Look at your flower and find it, decide how big its curl will be, and then let a number 9 dig the hollow close to the line. You don't really have to repeat exactly my movements. You can come up with your own, I said at the very start.
There is no end, I said, with flowers.
When you submit your flower to me, it will be your own piece. It's almost impossible to do exactly the same with flowers, and you really don't need to. If flowers are your thing, more of them wait in the flower rosette course, in Chamomile and Bow Rosette and in Hashemi Flowers.
Do you have a number 9 near 13 mm? Then the first move on that petal is already in your hand. Once it's clean, with no chips left, it'll look awesome, I said of the whole flower at the very end. I love it, I said while I turned the flower, and a few seconds later I hoped you would love it too.
How it's done
- Decide how big the curl will be. Make that call before you dig, the way I did on this petal.
- Dig the hollow with a number 9. Mine was about a half inch wide. A number 8 or a number 11 will work as well. Stop just short of the line.
- Keep the middle part. Leave it standing, so the petal goes downhill, then uphill, then downhill before the curl.
- Go deeper with a smaller 9. Change to a quarter inch (6 mm) and go a little deeper.
- Let the tool escape sideways. Attack it from one side, right through to the outside, so the hollow does not spoon on the inside only.
- Undercut it, then separate it. Carve the undercut for the shadow, then outline this petal and its neighbor with a small number 11.
- Round the curl with a number 3. Any flat tool can do it. I used a number 3 about as wide as the first gouge.
- Check its profile. Mine went up, down in the middle, and up again where it curled.
- Give the edge a wave and a fold. Keep the edge wavy, not a perfect line, then add convex, deep concave and convex with a tiny number 8.
Frequently asked questions
What gouge digs the hollow behind a curled petal?
A number 9 of about half an inch (13 mm) did it on my rosette, taken to just shy of the line. On camera I said a number 8 or a number 11 works as well. For the deeper pass after it, I changed to a 6 mm one (1/4 in).
Why did the hollow have to run out the side?
Spooning on the inside only was what I wanted to avoid, so the tool went in at one side and escaped to the outside. I guessed a number 11 would work much better for that. The undercut came right after it.
How can you tell the curl is working?
Look at its profile, the way I showed you on camera. Mine went up, dropped in the middle, and then curled up. I also said it still was not as nice, and that you might not be able to catch it on video.
What to carve next