
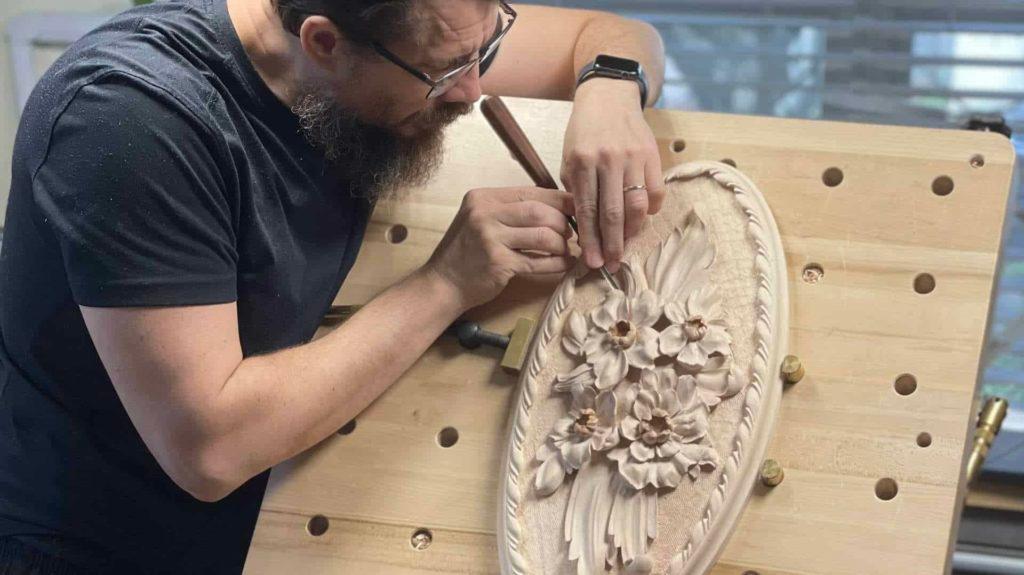
Alexander Grabovetskiy, woodcarver, School of Woodcarving · Published 2021
Why do the flowers in my relief carving look fake?
Quick answer: The fake look on carved flowers is, on my Venetian rosette, the shapes a ruler or a compass would leave. A true circle in a flower's middle, a straight or perfectly arched edge, two petals at one level, an open V between petals. I checked by eye, with a pencil and a straight edge, and changed what I found.
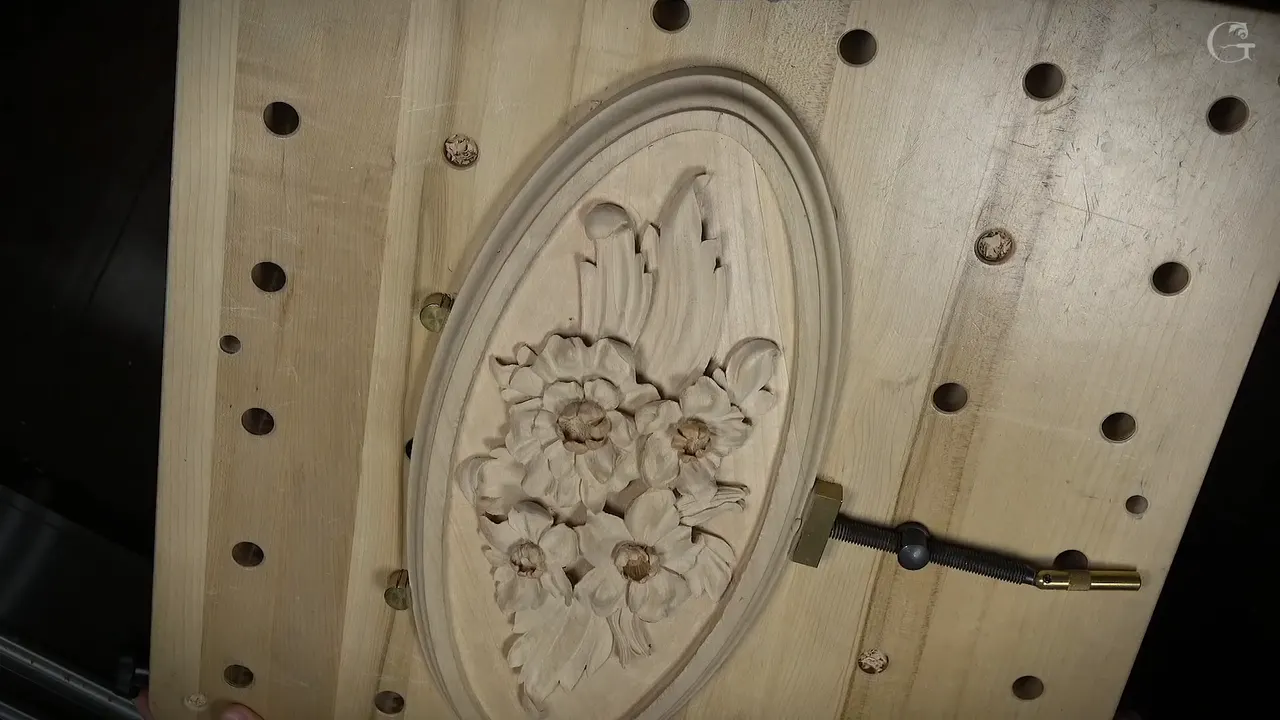
The fake look in relief carving flowers, on my Venetian rosette at least, came from shapes a ruler or a compass would leave. A true circle in the middle of a small flower. A straight line, or a perfect half circle, along a petal edge. Two petals sitting at one level with an open V between them, and every petal turning the same way. I watched for each of those on my own panel, and when one showed up, I changed it while the camera ran.
Does the edge of a real petal wave a little when you hold the flower up? Can a pencil laid flat across two surfaces tell you they sit level with each other? Then you already have the two checks I used on these flowers, your own eyes and a straight edge. Below is each giveaway I hunted on this rosette, how it showed up, and what I did about it, lesson by lesson, in Venetian Flowers Rosette.
Six giveaways I hunted on my own flowers
A middle hole that sat round and dead level, on the first button flower.
Two petals side by side at a single level, so one of them went lower.
A separation left open as a V. One petal goes under instead.
Edges running straight, or as a perfect arch.
Petals all heading one way, where two on the big flower went uphill instead.
Hard ridges between hollows, which a back bend blended away.
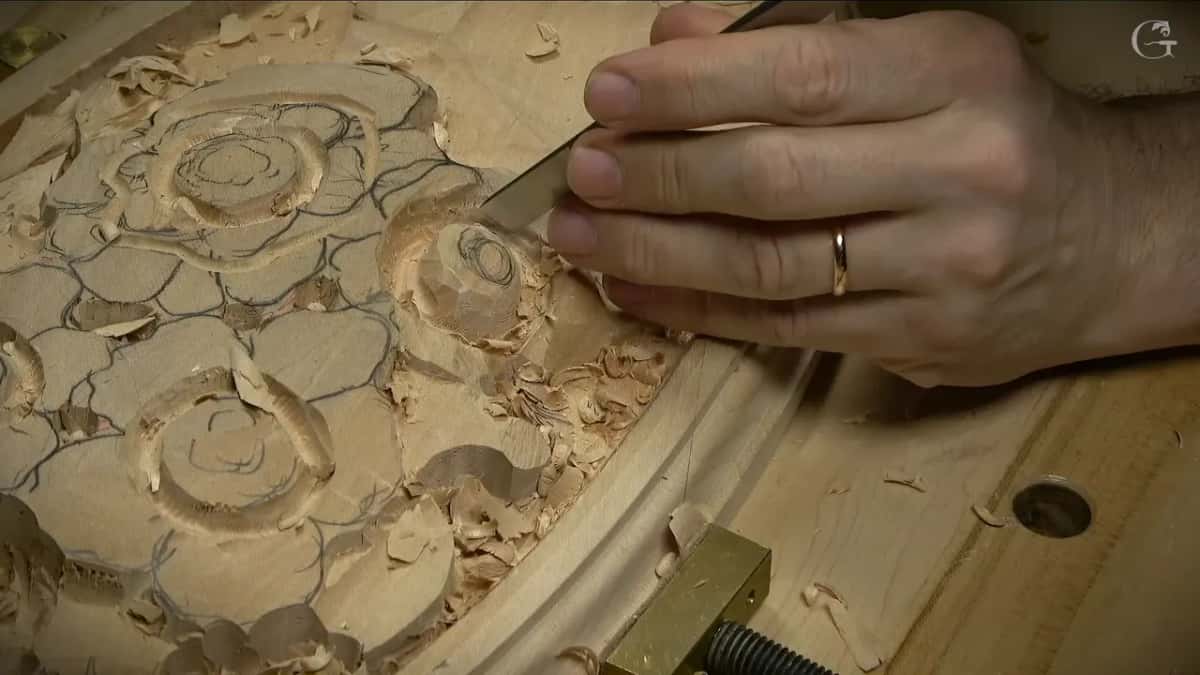
What gives away a perfectly round middle on a carved flower?
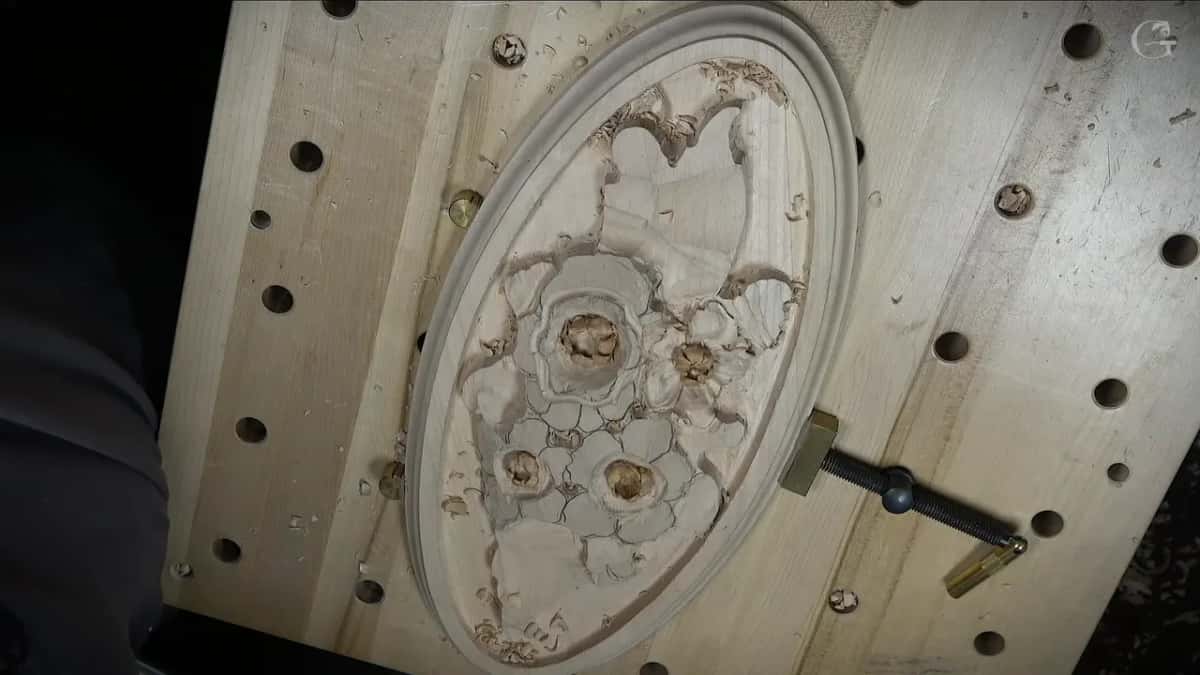
A hole that is round and sits all on one level gives it away. In lesson 2 I started on the four small button flowers, and my first middle looked huge, a little too big. Since that spot sits on a slope, I relocated the center, so the flower points that direction, and a number 11 made the ring much smaller. Some of that wood felt a little mushy, but it was all right. It does not have to be a perfect round, I said.
Then came the hole. A quarter inch number 9 went in as a plug cut, on an angle a little bit. How deep? I wanted a beautiful shadow, but I didn't want to be too extreme there.
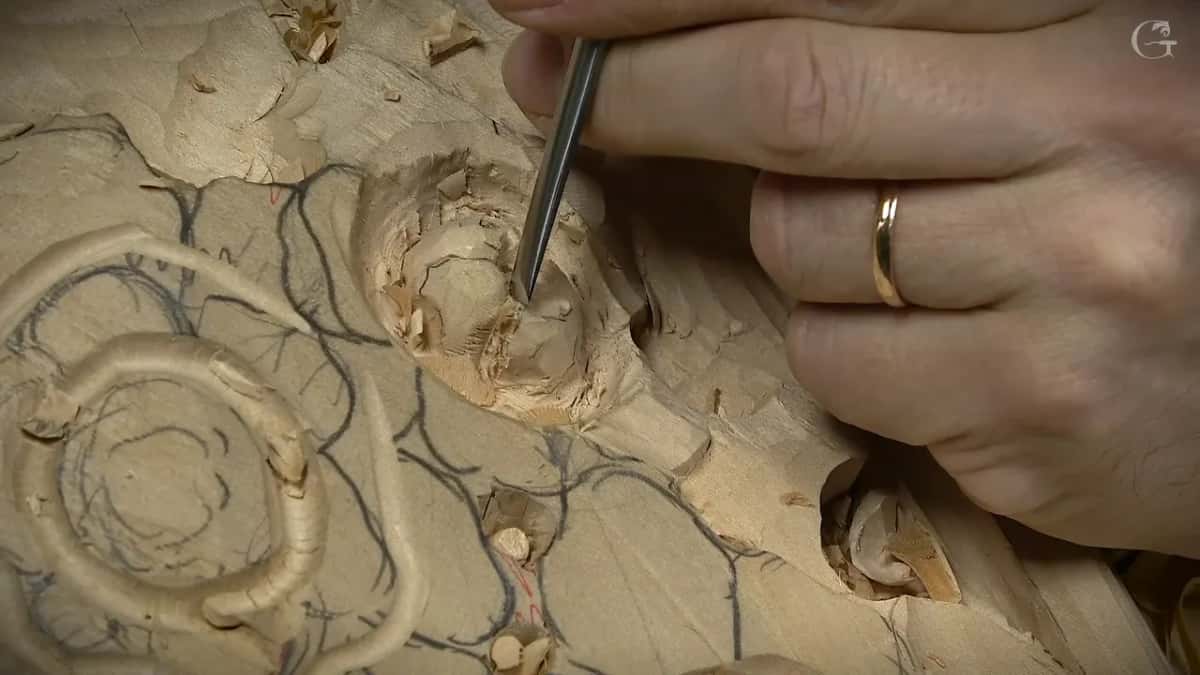
Now the test. Put a flat thing like a pencil across that hole. Mine sat on one level, even with the slope, and I didn't like that. In real life a flower looks perfect, but when you start measuring stuff, it's not as perfect. Without some movement, I said, it's not going to look organic.
So the rim went up and down, high spots and low spots, little concaves and convexes. My number 5, a small one, nipped a few places. Don't be too crazy, I told you. I just did not want it to look like a true round, a true circle.
Inside, five inner parts got marked in pencil. A V tool would divide them, and on this project I was trying to avoid one. I said I'd use it for the first passes anyway, then said I probably should use a little number 11 instead, because that's more authentic.
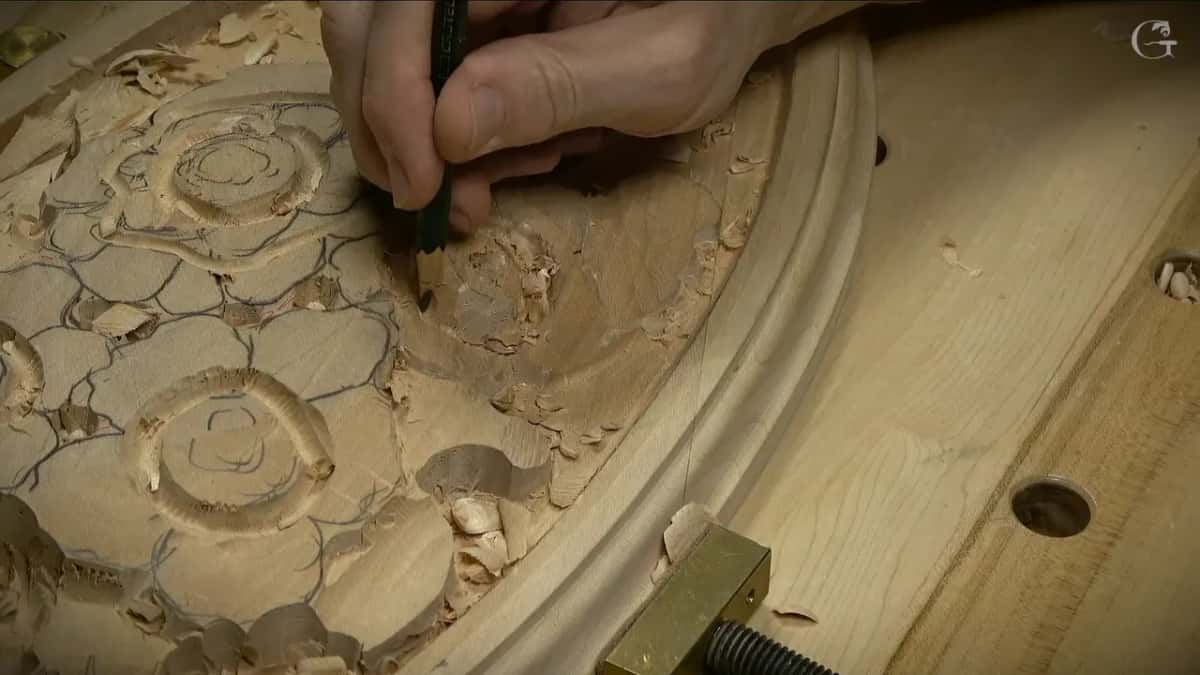
What does a straight edge laid across two petals tell you?
It tells you whether two petals sit at one height, and on the main flower in that same lesson, mine did. Put some kind of straight edge across them, I said, and they were on the same level. That's not a good idea at all. Even with one petal going right underneath the other, I still wanted a deeper shadow, so the lower one had to come down for real.
My first tool was a small number 11 with no marking on it. I called it about 4 mm, by eye. It dug the first hollow. Then a number 11 of about 2 mm went in from a little different angle, a bit deeper, and even that was not the final pass.
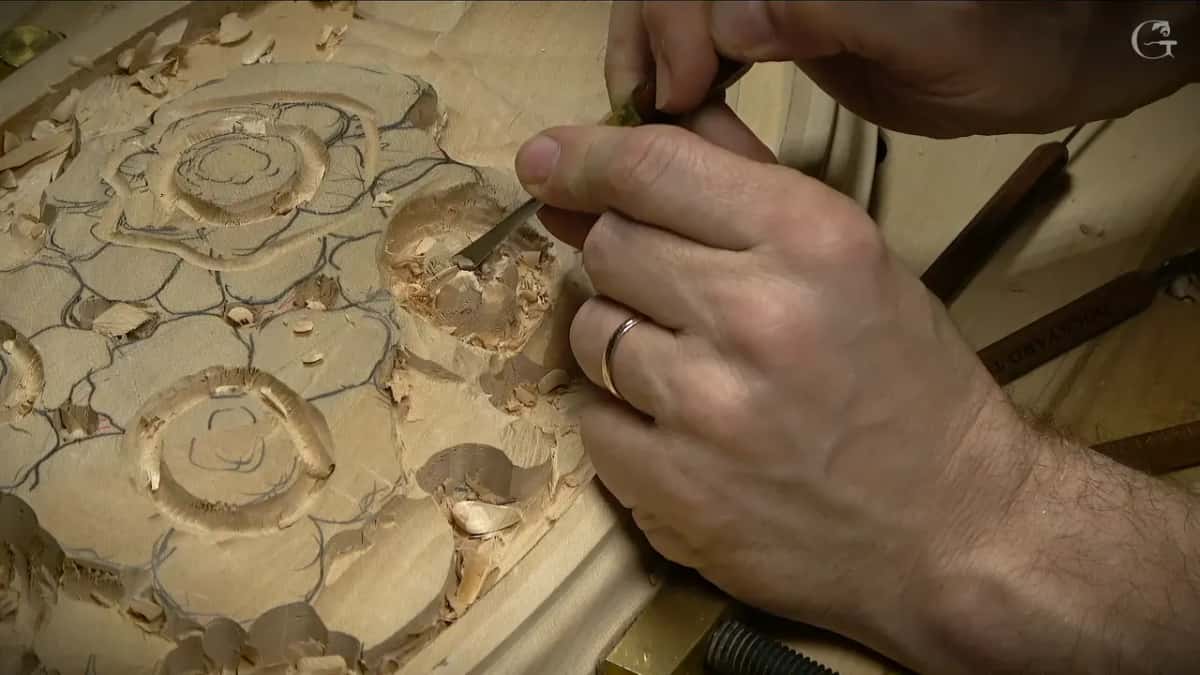
Later in that lesson, under the upper petal, I went really deep. In some spots it was a quarter inch on the inside, about 6 mm in, and from above you could see the petal just go underneath.
Any straight thing works for the check. Lay it across. If it rests on both petals at once, one of them still has to drop.
Why is the line between two carved petals never an open V?
An open V never looks as nice, and on this rosette I would not leave one. Between two petals, as I put it in lesson 2, a separation is never an open one. A plain notch won't look nice. One of the petals has to go underneath the other, and that way it looks more natural.
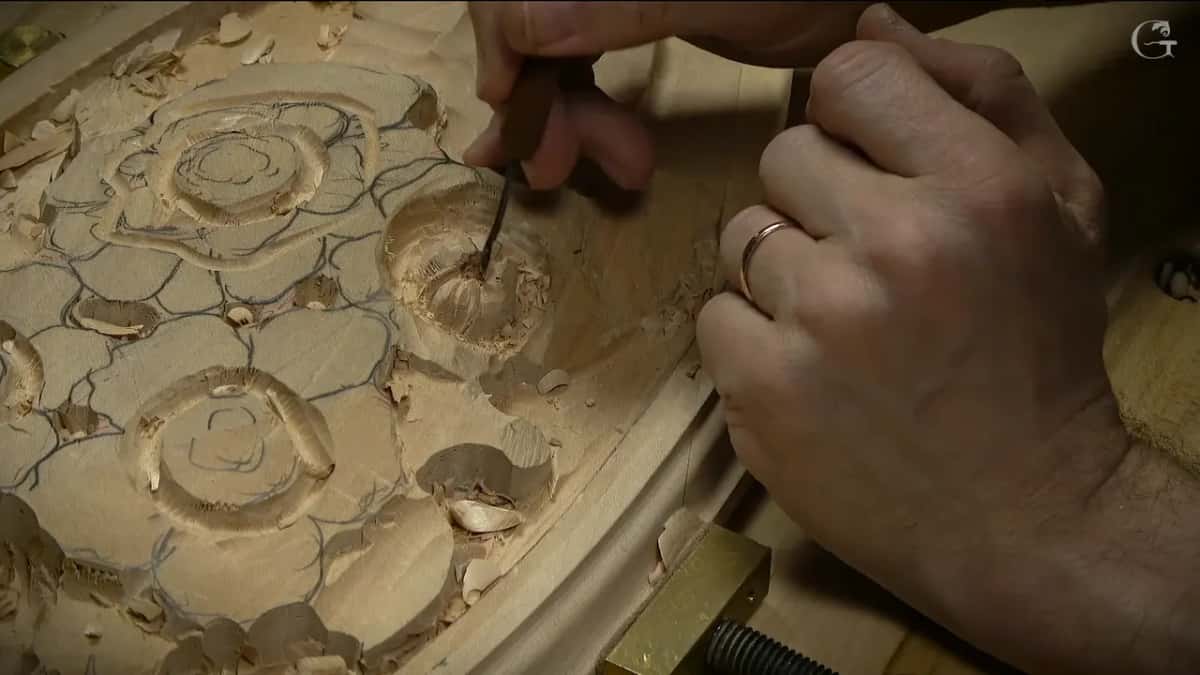
Most of my separations came off number 11s. In lesson 3 I said you could use V tools or parting tools, and feel free. I just wanted to be authentic, and a number 11 gives a clean undercut. Pick a V tool and the idea stays the same. You try to dig right underneath.
On one of those tucks I said I could go even with a half millimeter number 11. I thought it would give a really beautiful shadow, although nobody's going to see it, and maybe someone will, if they decide to look really closely.
One more tool came in on the leaves in lesson 4. The number 17 looks almost like a V tool, but it's not, and it doesn't leave a sharp line in the middle.
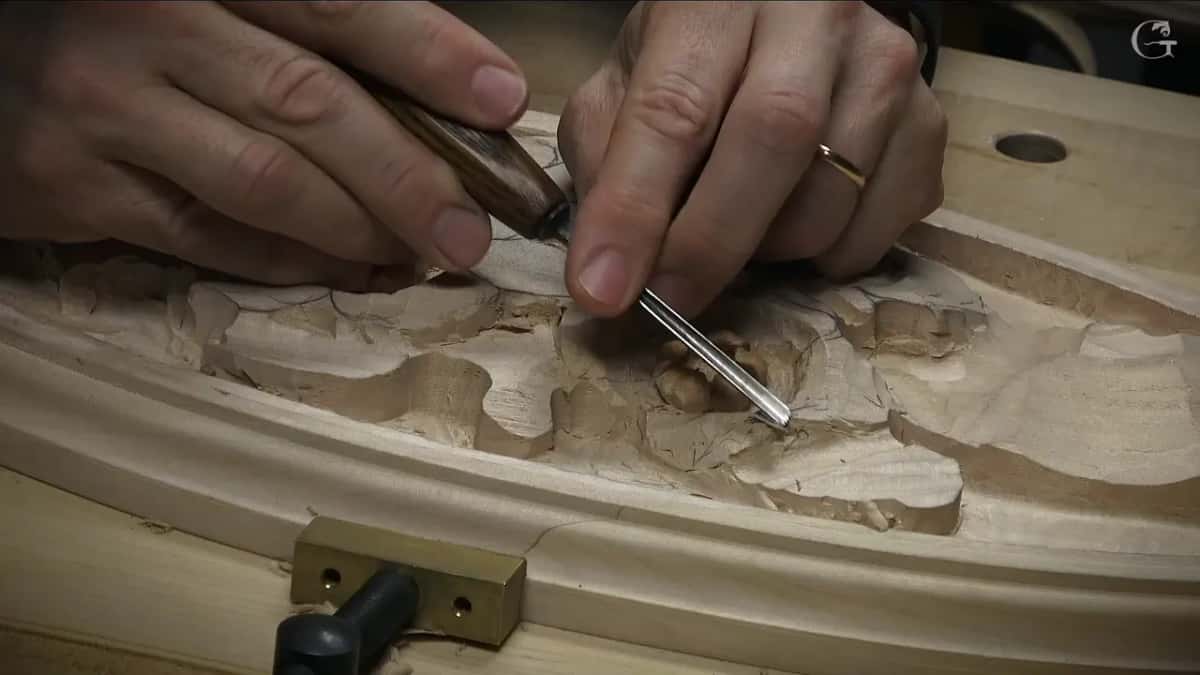
Where do straight lines and perfect arches hide on a petal?
They hide on the edges, and the side view shows them worst. With all the flowers done, at the start of lesson 4, I called it rule number one. The edge has to be really wavy from above, and it has to wave from the side too. I followed that rule everywhere on the panel.
From above you can miss a wave completely. During lesson 3, a small concave went on the side of one petal, and looking down, you don't see that movement at all. Look at it side-on, though, and that's a beautiful spot.
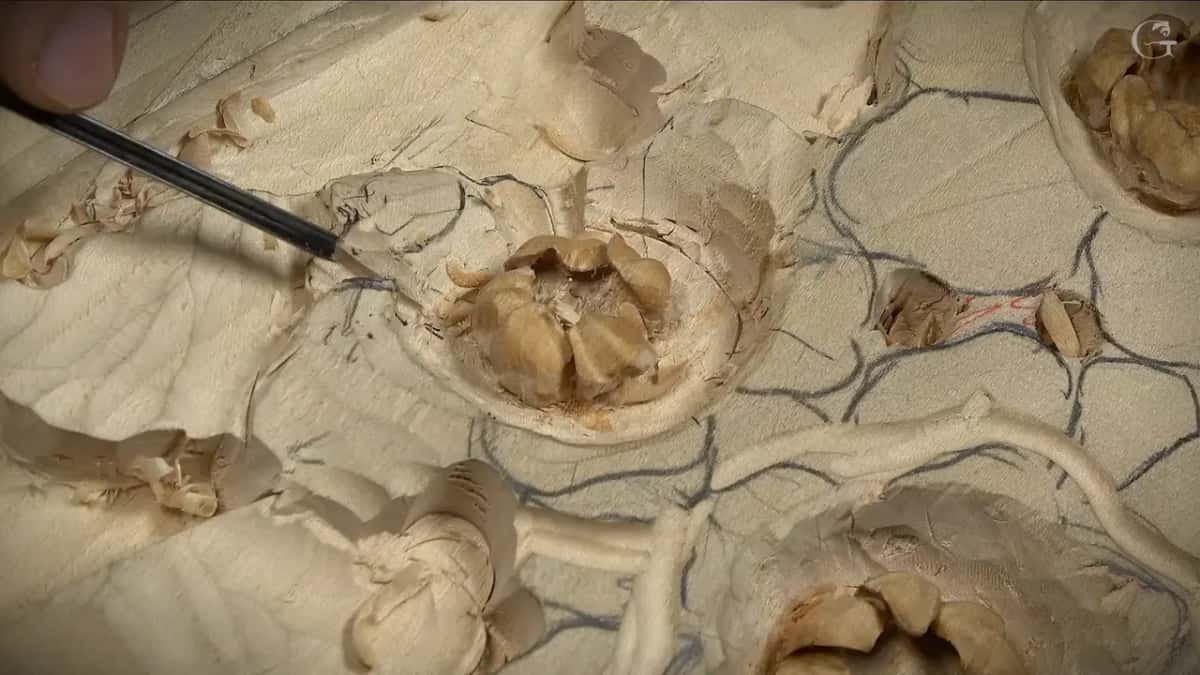
The big curl on another petal was the next trap. I don't really want to see a perfect line, I said, or even a perfect half a circle. So the curl got a convex, then a really deep concave for the shadow's sake, then a convex again, using a tiny number 8 of about 1/16 inch. That gave it almost a folding motion.
The small flower in lesson 5 still had pretty much straight lines on its edges, and I didn't like it. Small or not, it still got a curl. A number 8 made a little pass, then an undercut came in under it. Maybe I was being too extreme, I said, but in the end it looks like a real-life flower.

A bud got the same treatment. It doesn't look really nice, I said, if it's really arches. One edge in lesson 2 just stuck up like that, and it did not look natural, so I carved that bit away to the shape of a real petal.
Other courses of mine say the same thing. About the lily in my Lily Box course, I put it this way. When you look at a real-life flower, the edges of the petal are never really a straight line. They're all wavy. On that lily I left about 3 mm (1/8 in) on the sides, because I wanted a curl there that turns inward. And while drawing the floral panel in Carving Floral and Molding for the Panel, I said it shorter. There are no straight lines. I really don't like the straight lines.
Halfway through a petal, though, a wall that runs straight down can be fine for a while. One side in lesson 3 stood almost straight at 90 degrees. It's okay, I said. I knew what I was going to do there.

Why shouldn't every carved petal turn the same way?
Petals that all go one way won't look as nice, and on this panel I kept breaking that up. Tucking the five inner parts of a button flower in lesson 2, one under its neighbor, I said I didn't want to make it look like they all go the same direction.
For the big open flower, I said it before I started on its main petals. This petal goes downhill, this one most likely downhill, this one kind of downhill too, but those two go uphill. Close to the center, every petal dives in, because that looks natural. When I curled one petal, I asked you not to do the same curl on all of them.
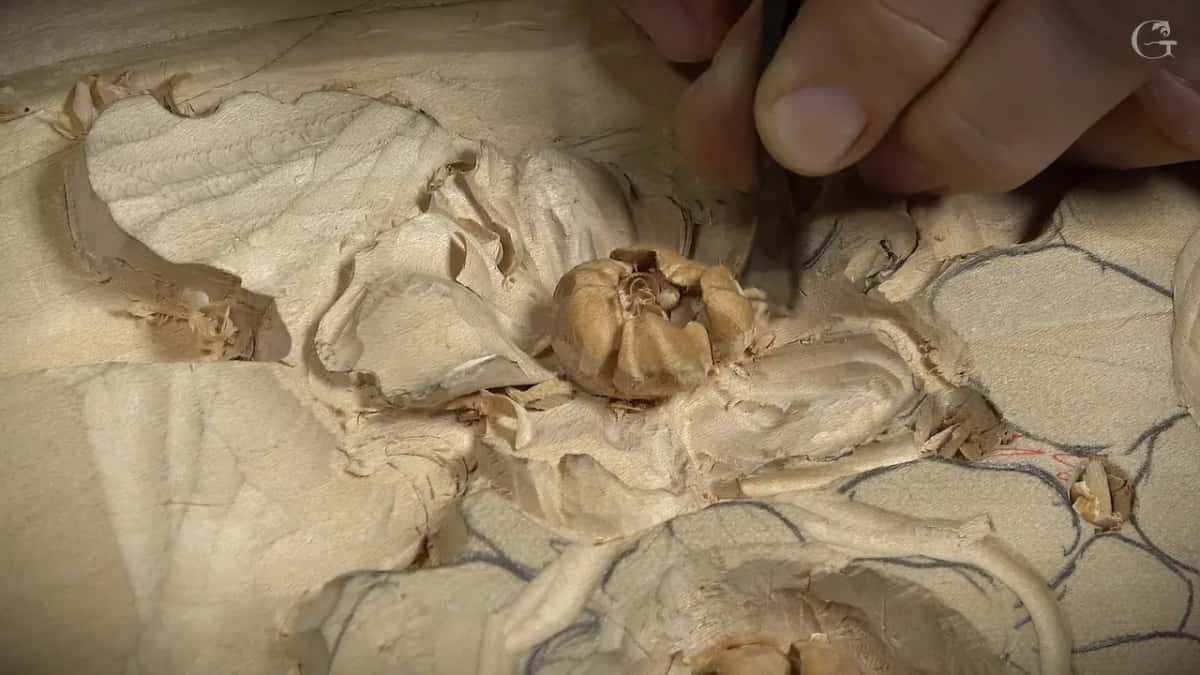
Late in lesson 3 came a flower with two layers, outer petals and inner petals. Same idea there. Make some of them curl up, make some of them curl down, and then you're going to be safe.
What's wrong with a sharp ridge between two hollows?
Left sharp, it does not look nice, so on my flowers the ridges got blended. I don't want to leave those ridges really sharp, I told you in lesson 3. Blend them, and then they look nice. On a leaf in lesson 4 it was the same. I didn't want really pronounced sharp lines there, only the hint of a raised part.
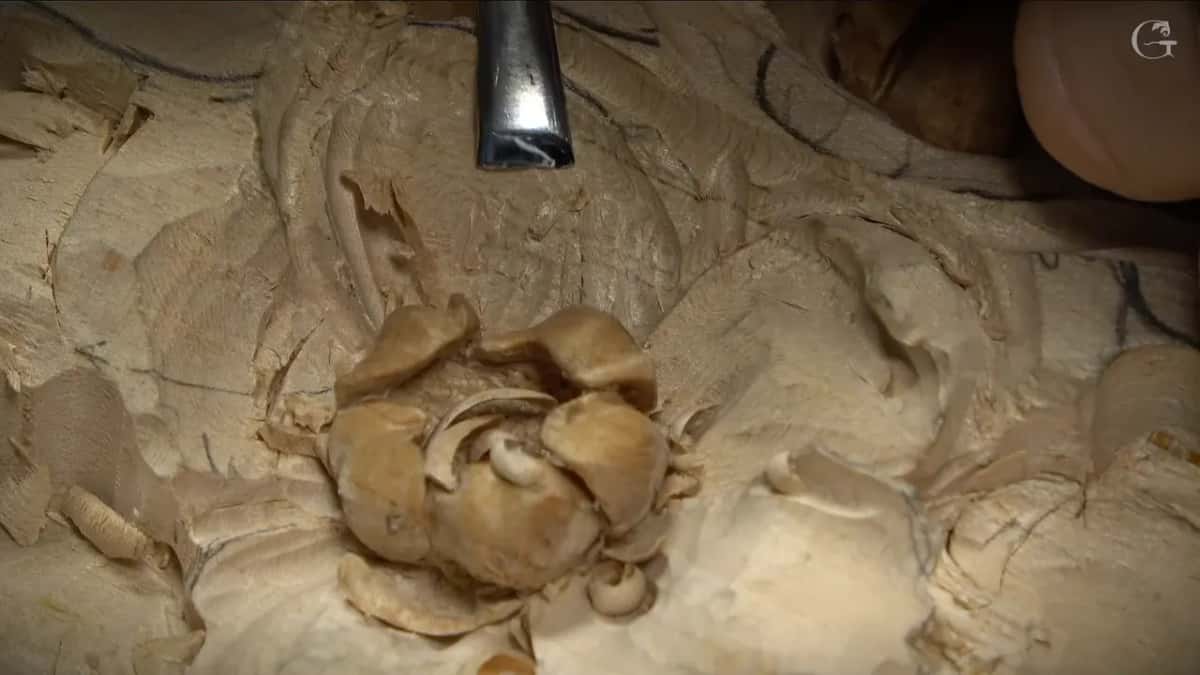
For that I really like a back bend, a gouge bent the other way. A small, flat spoon gouge, like a number 3 spoon, works the normal way if you have one. On one ridge I went with a number 3 at 1/8 inch, 3 mm, carefully, carefully, carefully. Blending is not that exciting. It still has to be done. Earlier in lesson 3, a number 7 turned upside down started the blending on one petal.
Giveaway on flowers | What it looked like on my panel | Which lesson | What I did about it then |
|---|---|---|---|
Round, level middle | Pencil showed the hole on one level | Lesson two | Waved its rim up and down |
Two level petals | A straight edge sat across both petals | Second lesson | Dropped one with small number 11s |
Open V separation | A plain notch never looks as nice | Same lesson | Tucked one petal under the other |
Perfect half circle | The big curl risked a plain arch | Lesson three | Convex, deep concave, then convex again |
Sharp ridges left | Hard lines stood between my new hollows | Third lesson | Blended them with a back bend |
Petals one way | Every petal could curl the same way | Lesson three | Curled some up, others curled down |
Straight-line flower edges | The small flower still had straight lines | Lesson five | One number 8 curl, then undercut |
Which tiny details finish relief carving flowers?
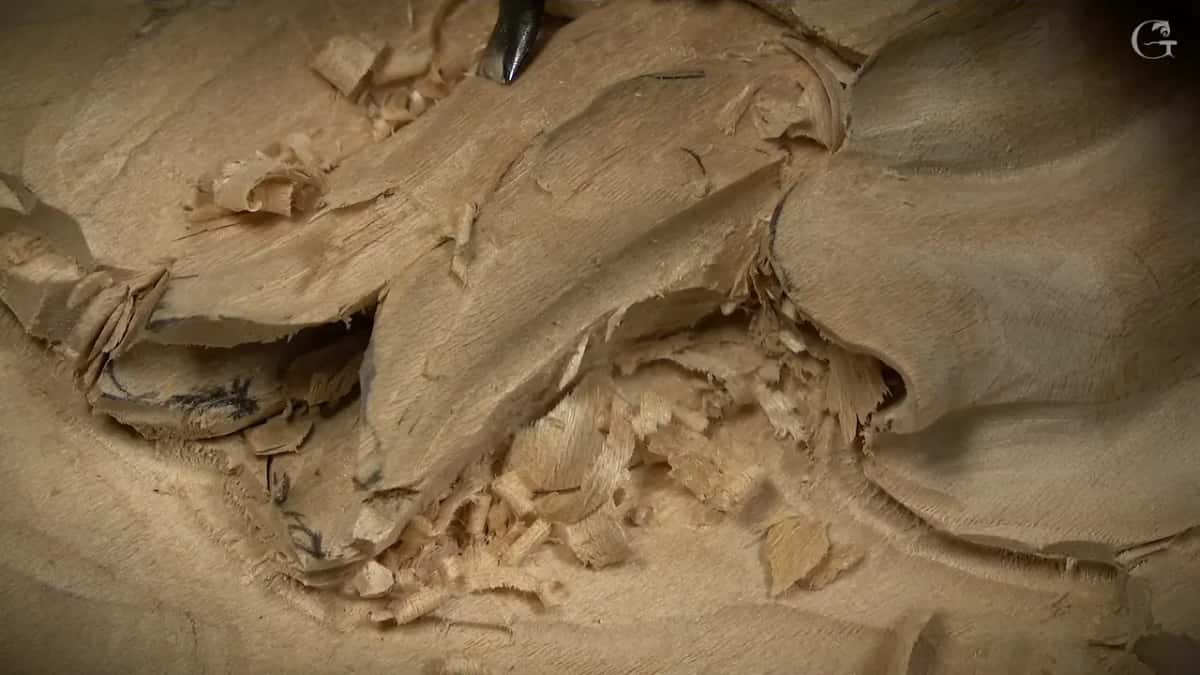
On mine, three small things made my flowers read as real. Grooves about a millimeter wide run into each button middle, and a punched texture sits inside the center. Then come little curls where almost nobody looks.
Each middle is a dome, a button, with a low ring around it. I dug those grooves all the way to the center with a gouge not even a sixteenth of an inch wide, about 1 mm, maybe a bit more. The screen makes them look huge. In the hand they are not that big at all, and they give a more realistic look.

Then a texturing punch went inside each middle, the same one I had used before. It's a stylized composition, I said, and not really true-to-life flowers. You can still play with it. The ground got punched last, in lesson 6. On this rosette I picked up a hammer, and a mallet works for that job too.
That little curl on the small flower gave me joy, even if nobody is ever going to see it. In my Corinthian acanthus course I said something close. Marks you can see mean the human hand did it, not the machine. A CNC carving looks more like a plasticky one.
Your photo, and flowers of your own
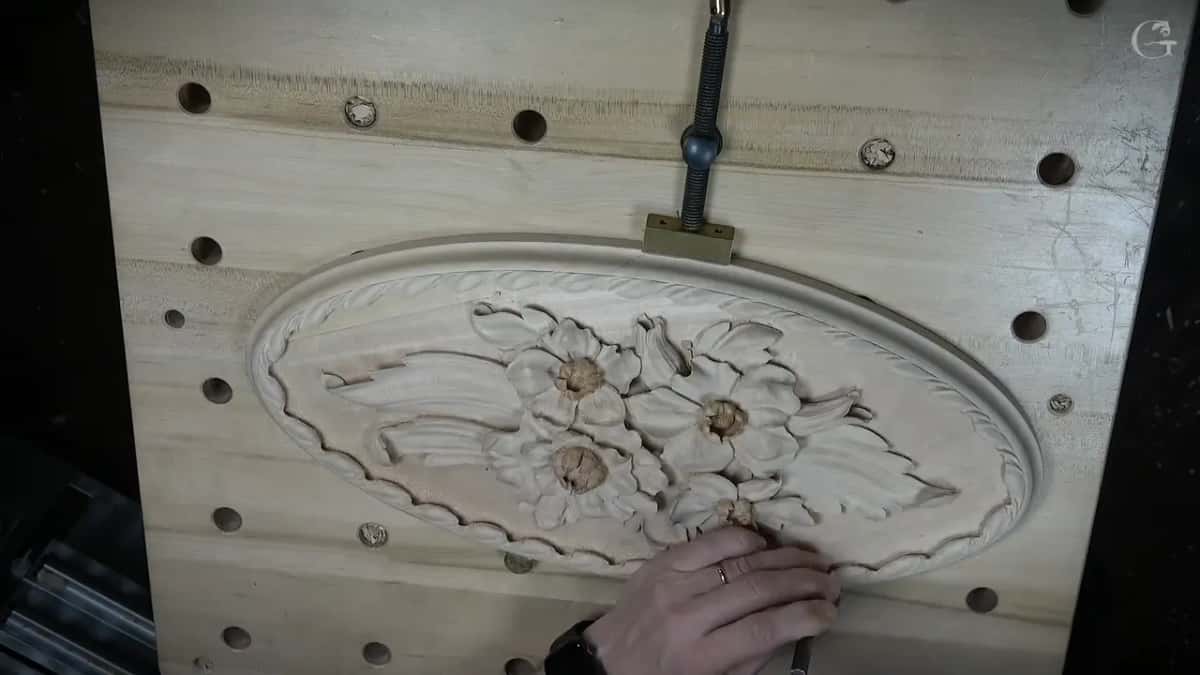
This page is where your photo goes once the panel is done. Before you take it, run the same checks over your own wood carving flowers, a pencil across each middle, then a straight edge laid over two petals that meet. Then look along every edge, low and sideways, and at every ridge.
Be creative with the rest. When you submit to me, I said in lesson 3, it's going to be your own piece, because doing exactly the same with flowers is almost impossible, and you really don't need to. The oval rim in lesson 1 came from twine and three nails, by eye, and even that, I said, is not perfect, just perfect enough. The flowers inside it have even more room.
Upload one photo here, and I will look at it. If you have not carved this relief yet, the six lessons of the course open with Access, and the rosette belongs to my Venetian room project. You start with a simple drawing and finish with that composition, the way I did.
How it's done
- Lay a pencil across each middle. If the rim of the hole sits on one level, give it high spots and low spots. A little number 5 did mine.
- Set a straight edge over two petals. Where it rests on both, drop one lower and send it under the other.
- Close every separation. Tuck one petal beneath its neighbor with a tiny number 11, so no open V stays.
- Look at each edge from the side. Rule number one on my panel. Wavy from above, and wavy in profile as well.
- Curl some petals up, some down. Close to the center, let every petal dive in.
- Blend the ridges. A back bend, or a flat number 3, takes the hard lines down between hollows until only a hint of the raised part stays.
Frequently asked questions
Can I use a V tool for the separations?
You can, and I said so in lesson 3, so feel free. I stayed with number 11s to be authentic, and for the clean undercut they give. With a V tool the idea doesn't change, and you just try to dig right underneath.
Is it normal for a flower to look wrong halfway?
On mine it was. Back in lesson 2 I said a new petal doesn't look as nice at first, but once you clean everything and undercut, it looks awesome. One spot in lesson 3 looked bad too, and I said an undercut would make it look really nice.
What if my gouge goes too deep while I fix a shape?
Work around it. One of my passes in lesson 3 went a little too deep, and I said it's not a big deal, then made a deeper hollow closer to the center with a smaller tool. Soon after, another one went super deep, and a bit later that one was gone as well.
What to carve next