
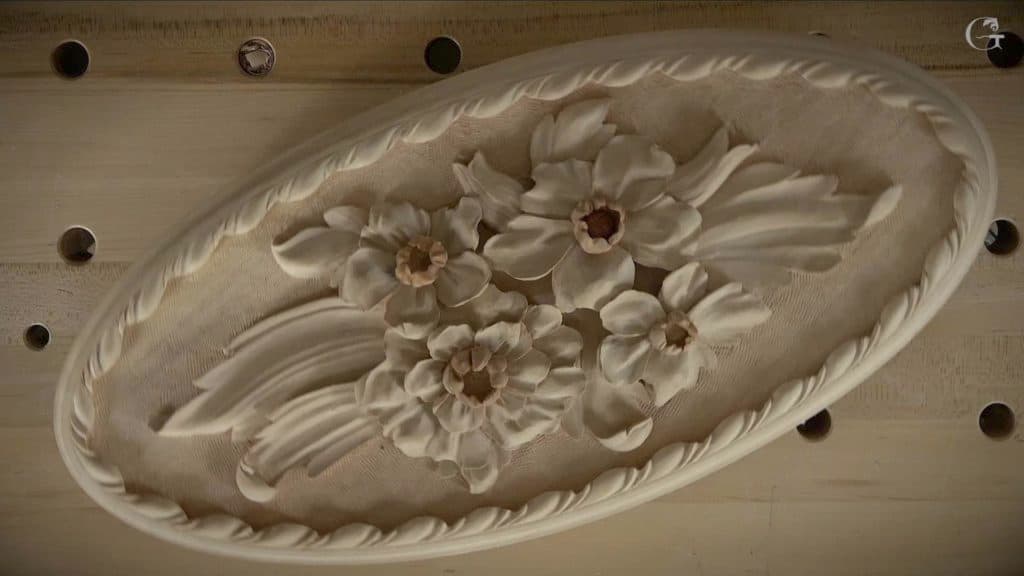
Alexander Grabovetskiy, woodcarver, School of Woodcarving · Published 2021
How do you carve a border with movement around a rosette?
Quick answer: The moving border on my oval rosette is a molding where every chop got arches instead of straight lines, which looked a little too boring to me there. Each arch ran down to one point. Then gouges carved the concave, left a small gap, rounded the edges, undercut and sank holes for shadow in some spots.
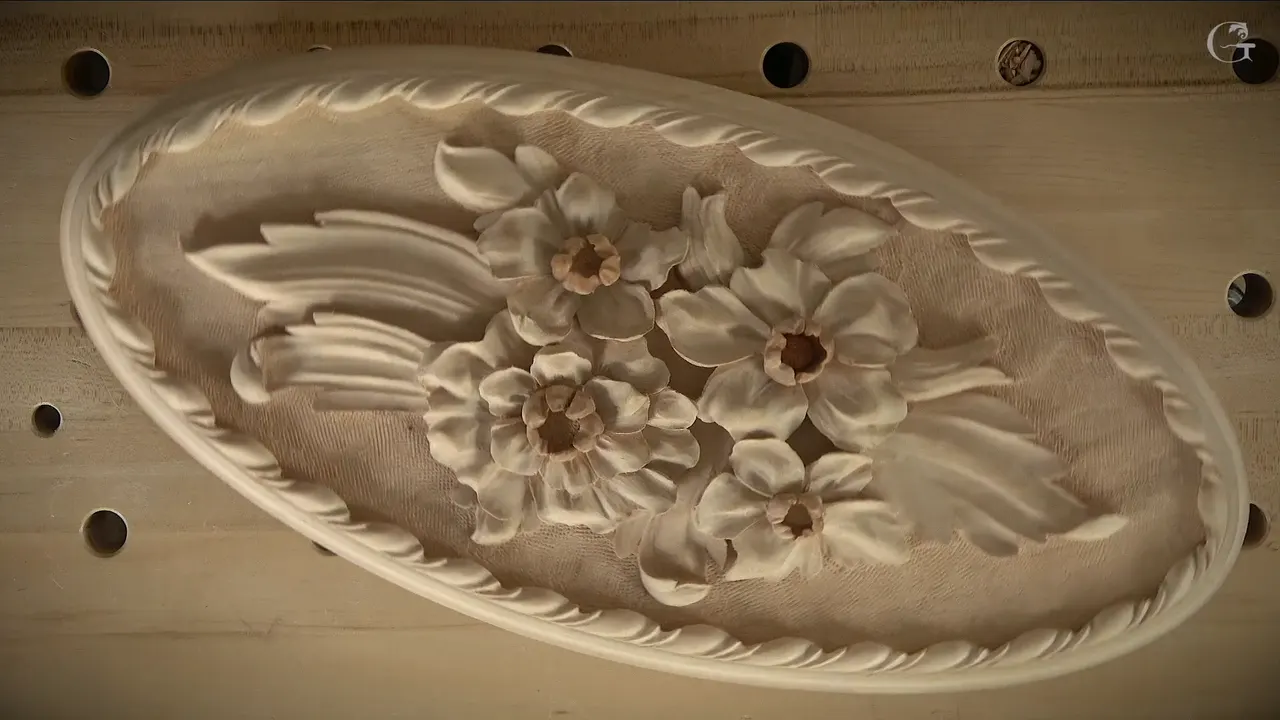
The border on my oval rosette got its movement from arches. Each division on the rim already had a straight chop in it, and for this piece I wanted something else. So I drew an arch down off both sides of every chop to one point, carved a concave along it, rounded the units over and undercut them, and a number 9 sank small holes in some spots for deeper shadow.
This is lesson 6, the last one in Venetian Flowers Rosette, and nearly all of it is wood carving border design on a real rim. The flowers were carved by then. Round the outside ran the Roman ogee my router gave me back in lesson 1, with a row of lines on it from the lesson before this one.

Can you find the middle between two pencil marks on a board? And can you draw a curve with that pencil? Then you can lay out a border like this one, unit by unit, all round the rim.
The six moves this border took
Every line got a straight down chop from a 7 mm (about 1/4 in) number 11 and a mallet.
Pencil arches came down off both sides of each chop, ending near the same point.
Along every arch, that same tool carved the concave.
A number 3 lowered the outer part and left about half a millimeter for a small undercut.
Grooves on both sides came from a narrow number 11, while a 5 mm one held half out knocked the edges.
Once the corners rolled back, number 11s undercut the border and a number 9 opened the holes.
Why didn't I leave the divisions straight?
Straight is only one way to develop it. From above, I said, you could take that ring a lot of different ways, even with the same idea, and you can carve each division straight so everything wraps on its own on the inside. I didn't want that here. It's a little too boring for me. What I wanted was some kind of movement, a little different.
Each line already had its straight down chop, made with a mallet and the 7 mm gouge, wider than the 5 mm I had to remove, because with a 5 mm tool, I said, there's a chance to tear those corners.
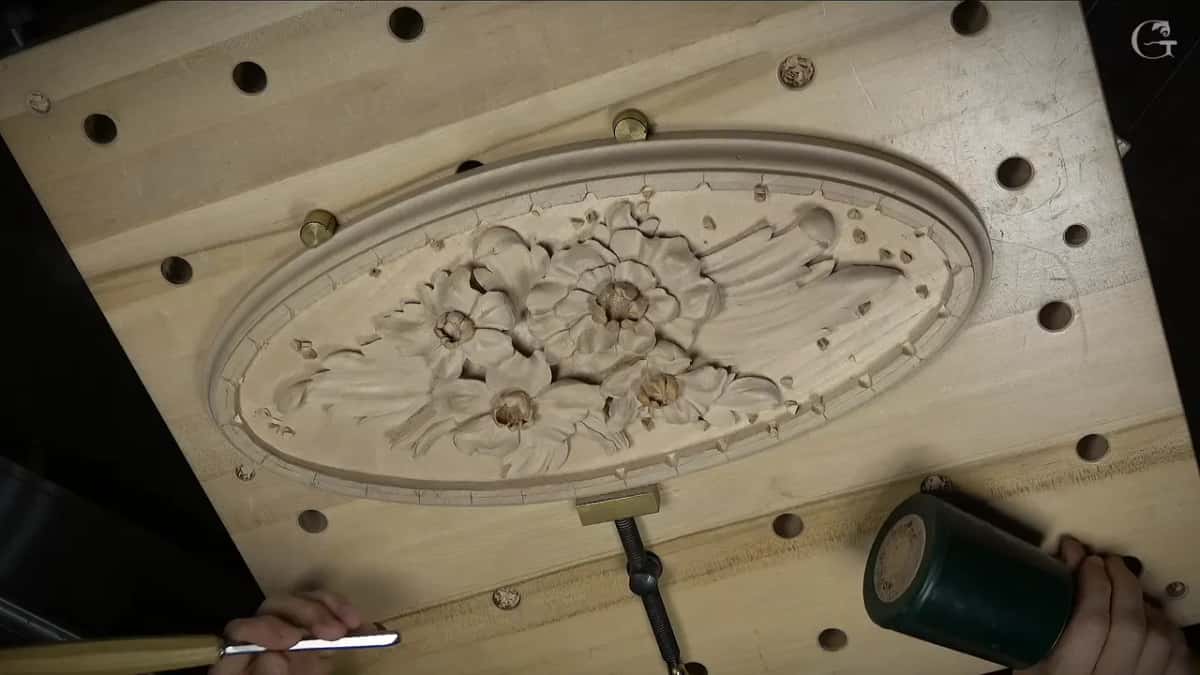
That was step number one in the molding, a ring of notches round the oval.

Where does a wood carving border design get its movement?
On my rim it came from the pencil, before any gouge went back into the molding. First I found the middle. That's the spot between two of the chops, found roughly with calipers. That middle line I carried on to the intersection point, and I said that part is really important.
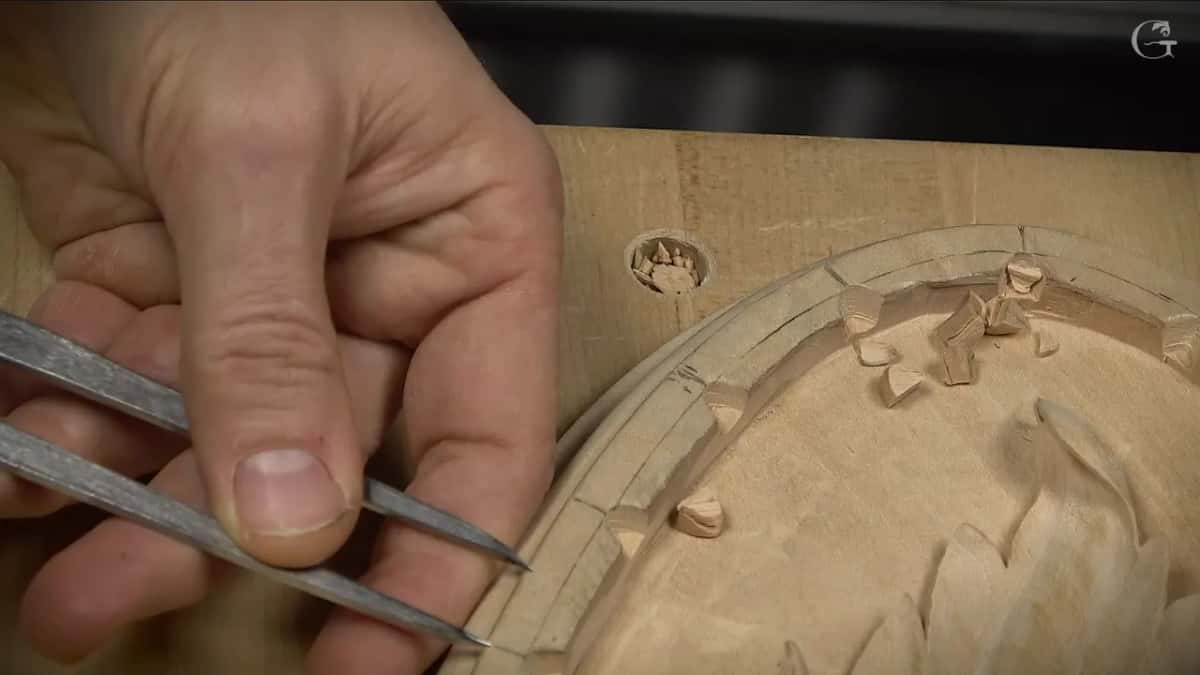
Next came the arch. I took the point of the molding and carried it down to the line, and of course it has to be like an arch. The left side of a chop gets one, the right side gets another, and both come to almost the same point. Each has to be really, really organic. I have to do exactly the same on all of them, left side and right side, unit after unit.

Seen from above, a ring of those arches makes a beautiful movement, and I did those movements everywhere, all round the rim. After that first one I eyeballed the middle between each pair of chops, and the page for Venice Room lesson 160 shows a molding where I measured instead.
Knocking that ridge down into a fillet first would have made the drawing easier, I said, but I chose not to spend too much time on it, and the fillet has a page of its own from Venice Room lesson 103. The main idea is to get every arch to the same point.

Which gouge carves the concave along each arch?
The same number 11 that made the chops, the 7 mm one. Going round an oval, the grain changes direction under the tool, so sometimes you have to come at it from the opposite side instead of trying to hit everything in one pass. You have to be really, really careful how you hit it.
I went one-third of the way from the background, not down to my chop. I could have gone a little deeper, about halfway, but I thought one-third was okay.

Near the end of each one it can be a good idea to change to a smaller tool, I said, and then I smoothed it. Do not rush it, I said more than once, and the Greek Acroterion page on roughing out gathers that line with others like it.
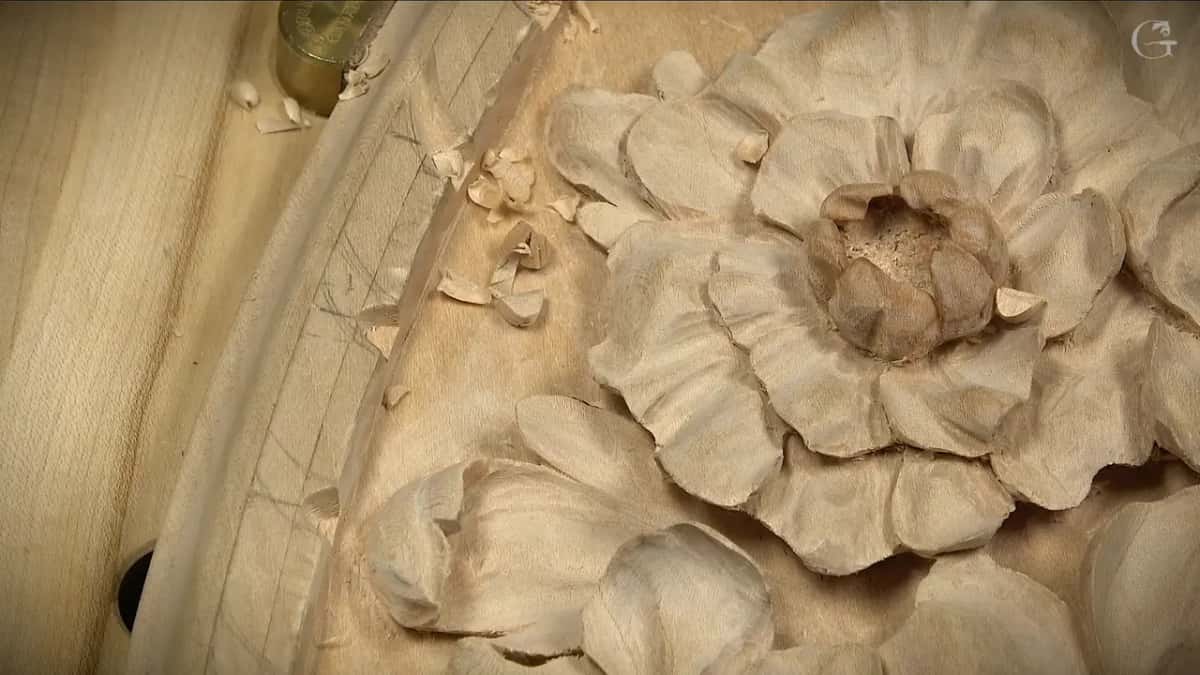
What did a second, smaller groove add?
Extra play inside. With a smaller tool you can carve an extra concave inside the first, I said, and when I tried it, I got another groove in there that gave the inside extra movement. That's probably what I'll do, I said, and then I carved the same thing round the whole perimeter.

Why leave a gap between the two moldings?
Room for a small undercut. That space makes the separation, and without it, I said, it's not going to look nice.
To get it, I took a flatter tool, a number 3 about 1/2 inch (13 mm) wide, and knocked down the outer perimeter, feeling for some kind of roundness. I came at it from the other side there as well. I kept an eye on the direction of the grain, and that is why I tried to figure out the best way to attack each spot.
Carefully, carefully, I said, and when that step was done the outer perimeter sat a little lower all round. What I left was small, about half a millimeter, maybe the whole millimeter, maybe a little less, well under 1/16 inch (1.6 mm).
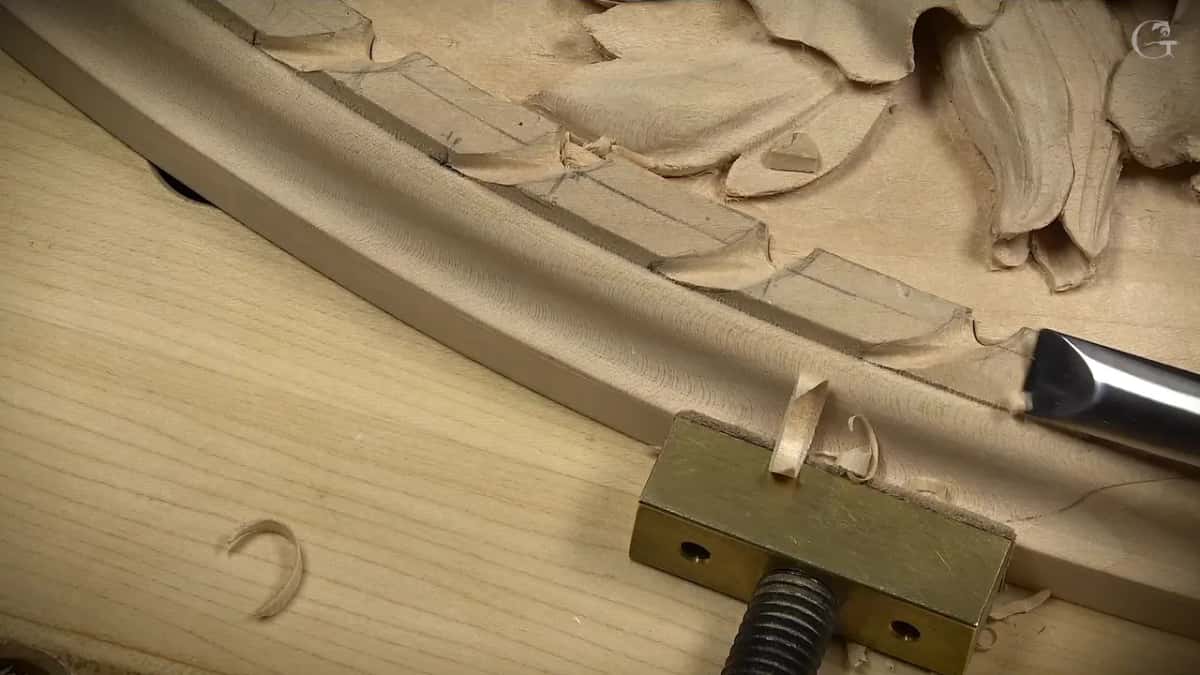
Which tool grooves each unit?
The 2.5 mm size, to be exact, though a 2 mm or 3 mm one will work too, I said. I kind of like a small one.
Each groove starts at the point and runs almost to the first layer of the molding. Be careful not to destroy the molding itself while you carve it, and keep an eye on the grain, which I said twice in a row there. Two grooves, on both sides. A really beautiful look, I said.
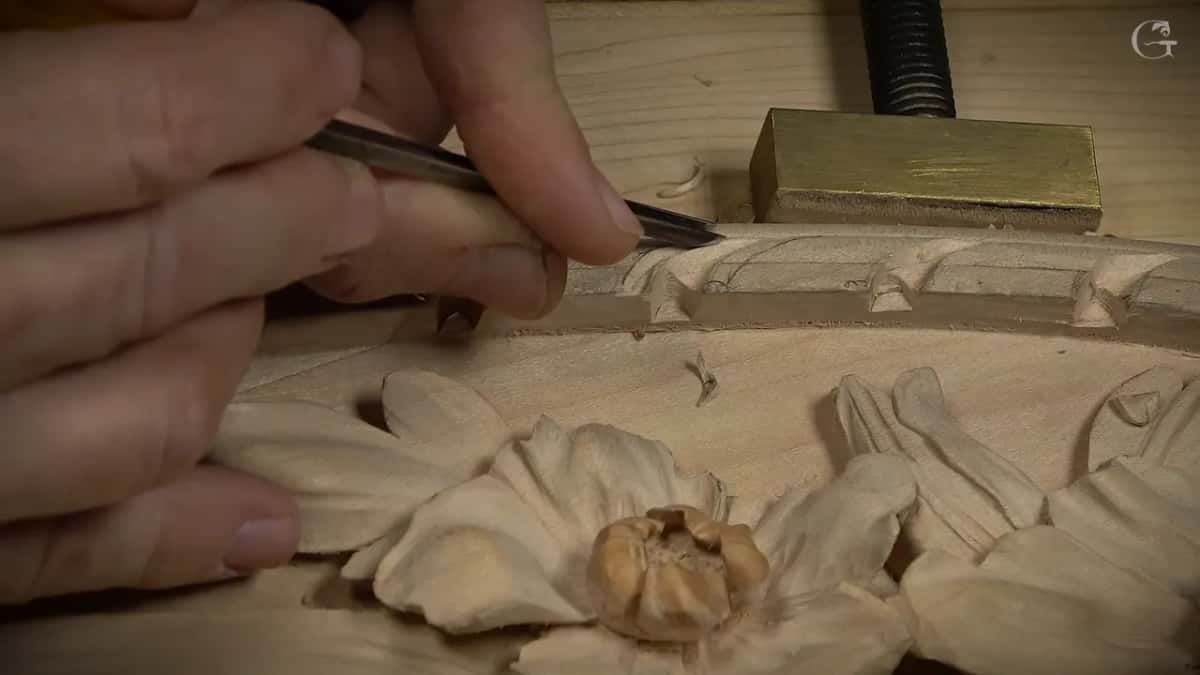
How does a gouge held half out knock the edges down?
Half of a 5 mm number 11 sticks out past the point and half stays right on it, so the center of the tool hits that point. From there I knocked the edge down to my first chop, then did exactly the same from the other direction. Whatever chop you made is your determining point.
There are several ways to make that type of molding, and I like knocking those edges because later on that gives the border its movement, and it looks much better. While I was there I could also clean up some of the earlier mess.
I didn't take it down to the ground, since I was going to undercut later and didn't want to damage my background, and that moment is on the preliminary undercut page from lesson 132 of the Venice Room. Then I went round and knocked down every edge on the border.
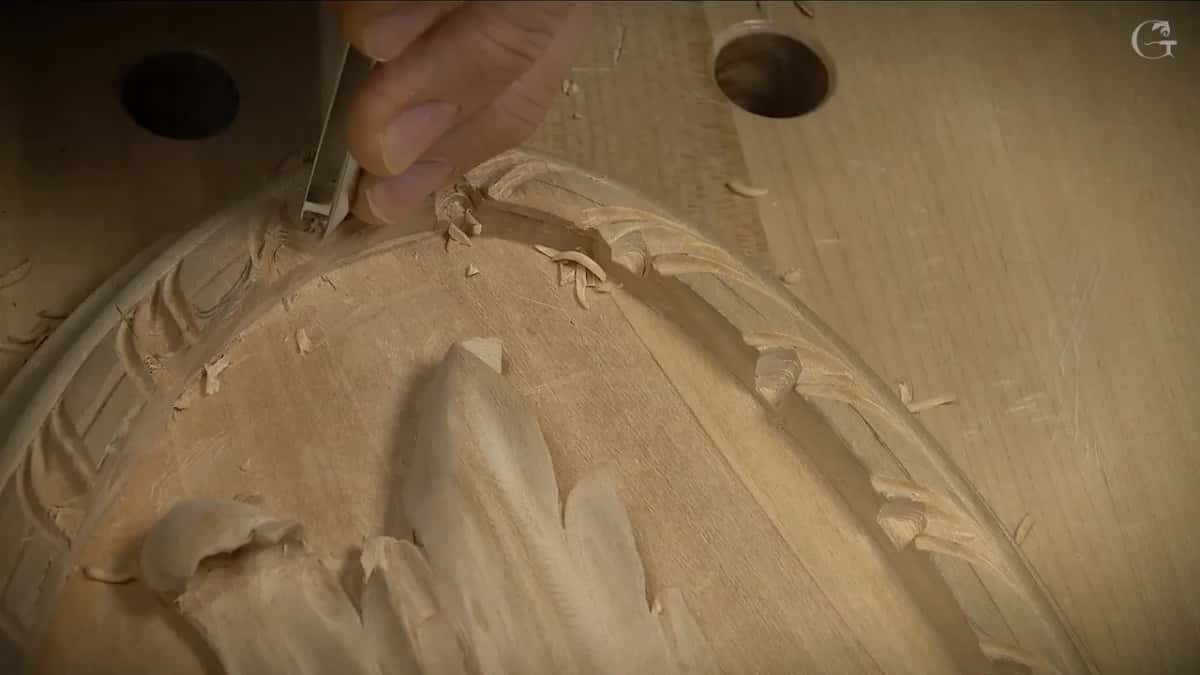
How far did the corners roll back?
Partway. Some roundness was the goal, but nothing too extreme, not in this case at least.
A flatter tool, about a number 3, knocked down the corners. That gave me the shape I was after, though not the final shape. Then I rolled it backward to make a smooth transition, partway again, and smoothed that corner out too.
For me it was a good idea to fillet it at first, with a small one, a 1/4 inch (6 mm) number 3. I said that's how it's supposed to look from above.
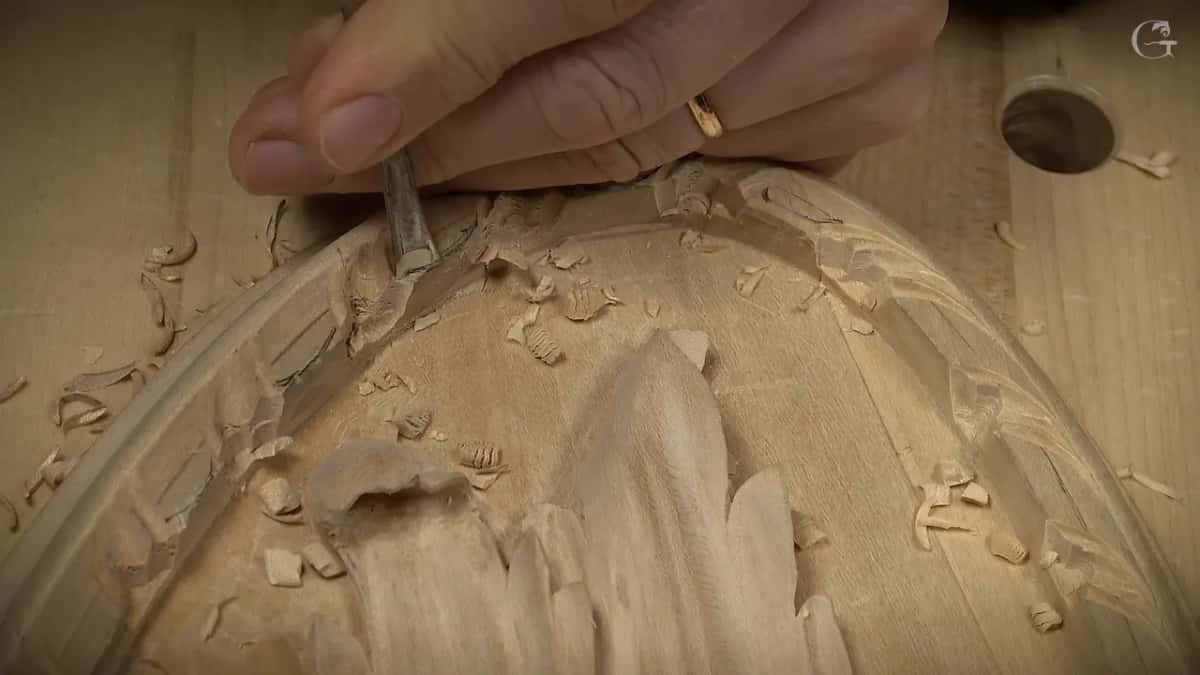
How deep did my undercut go?
Up to you, I said. I wanted the shadow, so mine went somewhat deep.
My tool was a number 11, 2 mm wide, though a 3 mm or even a 5 mm one will work. I showed only a small section and left the rest for you to do on your own, and there's nothing that complicated in it. The main idea is to keep the tool laid right on its side and start carefully, just removing.
That's one of the methods, I said. I like number 11s for this because, like I said many times, they leave a really nice, smooth and clean undercut. It depends on the area, and sometimes you have to attack from different sides.
After the 2 mm one, I said I could go in with a 1 mm one for a really, really deep shadow, and excavate as deep as I wish. I'd take just those two tools round the whole border.
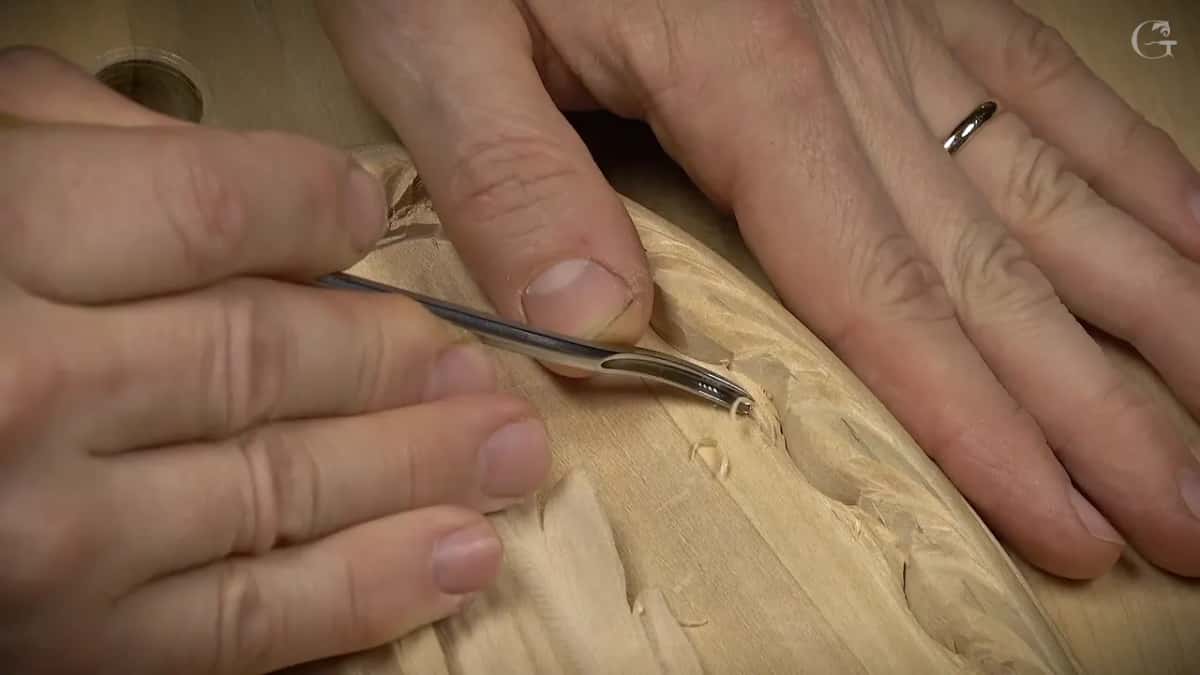
What were the number 9 holes for?
Deeper shadow. I could leave the wood as it is in some spots, I said, or undercut and get inside, and that makes an even nicer shadow.
So I took a number 9, 1/8 inch, about 3 mm, and went in to my undercut, then blended whatever I saw on the sides into it. The shadow it makes is deep, and you can see it. Skipping it was an option, I said, but I was going to do it, in every spot.

I did another one to prove the point. That one is a plug cut, made with a rotation, carefully, without forcing it, and then I took the wood out. Everything around it gets blended to that hole from all the sides. The plug cut has its own page, from Carving Furniture Panel 26.

The rest I did off camera, with my face close to the surface, and when I came back I was happy with the result.
The tools of lesson 6, in the order I picked them up
Here they are by job, with the sizes I named and a word or two I said about each.
Job | Tool | Note |
|---|---|---|
Chop each line | A 7 mm (about 1/4 in) number 11, mallet | straight down |
Carve the concave | The same 7 mm tool again | one-third, okay |
Add extra play | One smaller tool inside the concave | extra movement |
Lower the outside | Flatter number 3, near 1/2 in (13 mm) | some roundness |
Groove each unit | Small number 11 at 2.5 mm (3/32 in) | both sides |
Knock the edges | Half-out 5 mm number 11, 3/16 in | determining point |
Roll it back | Number 3, then a quarter inch one | smooth transition |
Undercut the border | Two number 11s, 2 mm then 1 mm | up to you |
Deepen the shadow | Number 9, 1/8 in, about 3 mm | every spot |
Texture the ground | Punches, the set filed to one row | really noisy |
What happened on the ground around the border?
Sandpaper first, a little. I'd used some on the inside, so I decided to sand the border too, and I left the inside to clean up later, after the punched background was in to separate the main idea from it.
Then came background punches, the simple kind I've used many times before. You can make them yourself from a nail head or a screw head and a file, or buy them in the United States or Europe.
My bought set had two rows of teeth, and two rows aren't always convenient in tight spots, so I filed it down to one. That single row lets me angle right inside the undercut and texture it, which separates it even better. The punching itself is really noisy, so you don't need to watch it or listen to it.
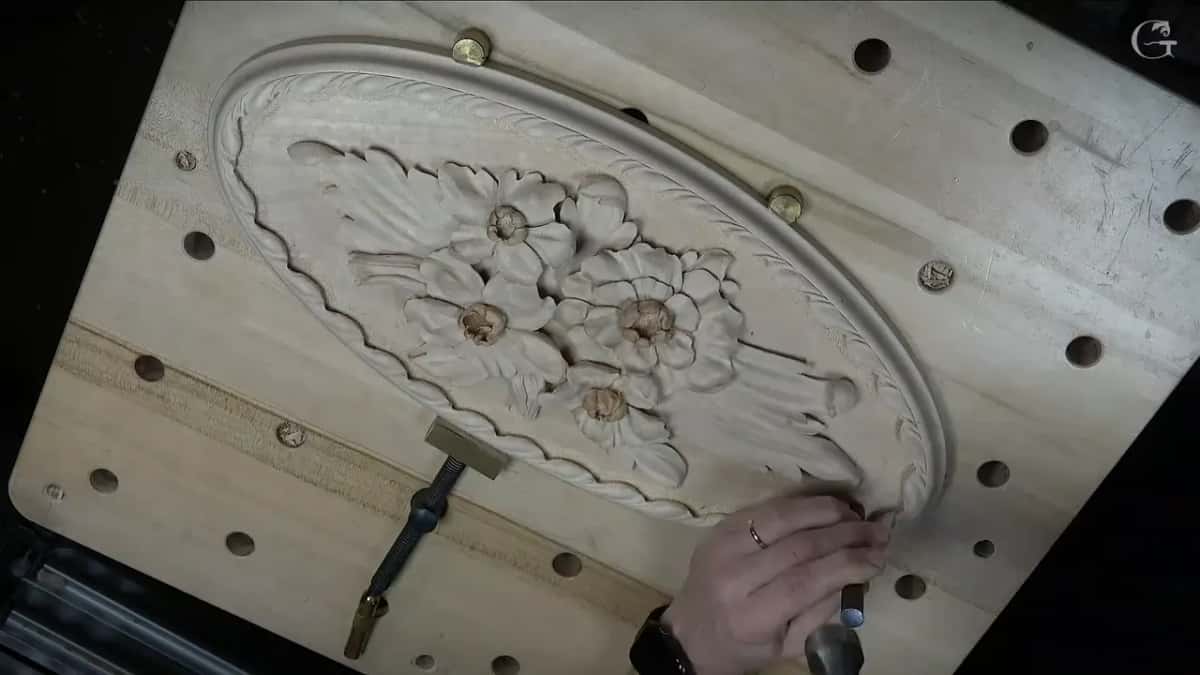
What did I say about it once it was done?
I was done with this beautiful composition, in my opinion, I said, and I really like it. It's simple. Simple, doesn't take too long to do.
I pulled it out, got rid of some of the mess and showed it. I hope you're going to like it, and I hope you will do something like that.
We started with a simple drawing and finished with that composition. It's part of my Venice Room project, but because that detail is separate, I think it's a good piece you can just practice on and do something for people you love.
The PDF pattern comes sized to my table, at 24 inches (61 cm), and the last shot of the lesson shows the rosette in a different light.

Other rosettes sit in the small Carving Flower Rosette, the Chamomile and Bow Rosette and the Carving Antique Style Rosette. For more molding beside carving, Carving Floral and Molding for the Panel and Acanthus over Moldings are close cousins of this border, and the tools course goes through the gouge numbers I used here.
Got a pencil? Then the first arch is yours to draw. First Cuts for Beginners is there if gouges are new to you, and Tuition and Access are on one plan page.
How it's done
- Chop each line first. On my rim, each line was chopped straight down with a number 11 and a mallet.
- Mark the middle. Set calipers roughly between two chops, find the middle and carry that line on to the intersection point.
- Draw the arches. Bring an arch down off the left side and the right side of each chop so both reach about the same point, and keep it really organic.
- Carve each concave. Follow the arch with the same 7 mm tool, about one-third of the way from the background.
- Add a second groove. Use a smaller tool inside the concave for extra play.
- Lower the outer edge. Knock it down with a flatter number 3 about 1/2 in wide, leaving roughly 0.5 to 1 mm (well under 1/16 in) for the small undercut.
- Groove both sides. Start a narrow number 11 at the point and run it almost to the first layer of the molding, once on each side.
- Knock down the edges. Set the 5 mm gouge half out, its center on the point, and knock down as far as the first chop, then repeat it the opposite way.
- Roll the corners back. Knock the corners off with a number 3 and roll them back partway for a smooth transition. A quarter inch one can fillet them first.
- Undercut, then open holes. Lay a number 11 of 2 mm on its side for the undercut, go deeper with 1 mm where you want more shadow, and turn a 3 mm number 9 into the undercut where you want it.
Frequently asked questions
Is it okay to trace the arches from a paper template?
Tracing is fine, and I said so in the lesson. If drawing each arch by hand, by eye, doesn't feel comfortable, make one arch on a piece of paper, place it on the molding and trace it. Mine went on freehand, one unit after another.
How do you check that a carved border has movement?
Look from above. I kept doing that in this lesson, and after the arches went on I said that from above it just makes a beautiful movement. After the corners were rounded, I said that's how it's supposed to look.
Which way do you carve when the grain turns around an oval?
Both ways, on my oval. Going round it, the grain changes direction, so at times you have to attack from the opposite side rather than hit everything at once. Where the grain created a problem, I came at it the other way and carved on to the point.
What to carve next