
Alexander Grabovetskiy, woodcarver, School of Woodcarving · Published 2021
How do you carve a flower bud in wood?
Quick answer: Carving a flower bud on my Venetian rosette was roundness first, after a straight-down chop that showed the bud's boundary. A quarter-inch number 9 sank a plug hole, a number 17 dropped one side a little, and a number 8 cleared the hole from two sides.
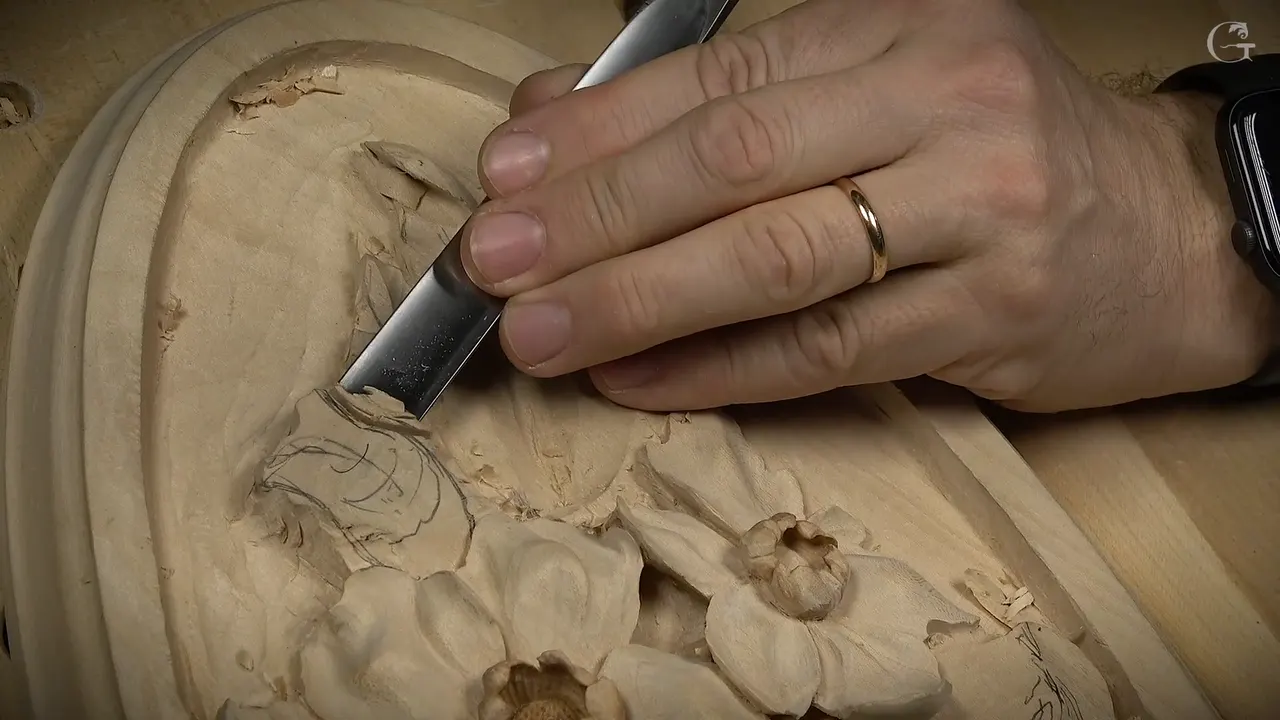
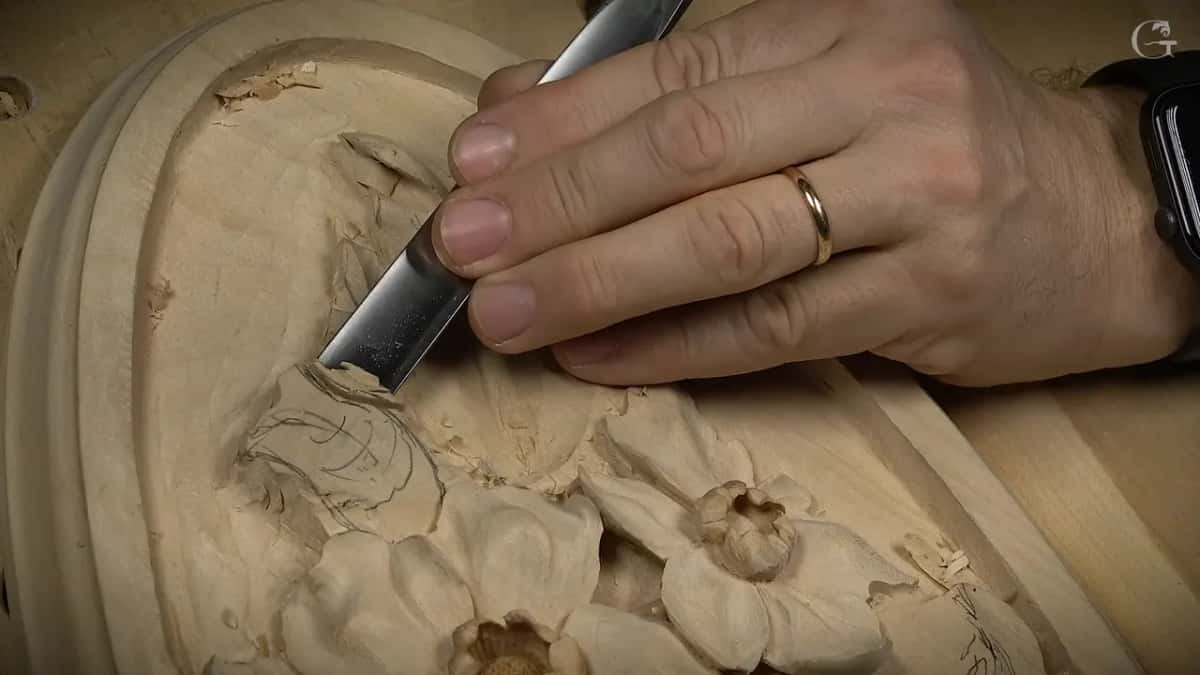
On my Venetian rosette, a flower bud needed roundness first, so I chopped straight down to see its boundary, careful with the background, and rounded it until it looked full, not like a half a flower. Next a number 9, a quarter inch (6 mm) wide, went right in for a plug hole. A number 17 set one side lower than the other, but not by much. The line between them got a wave, since it's a flower and it has to look different from those leaves. Later a small number 8 opened it up from both sides.
This is lesson 5 of Venetian Flowers Rosette. The rosette is an oval panel of relief wood carving for my Venice Room, and two buds sit in its bouquet. On camera I called each one a simple bud. Still, I showed you how it would look, and below are those moves in my order, with the tools and sizes I named.
Want your bud to look round from every side? Want it to read as a bud, and not as one more leaf? Then start where I started, with the roundness.
The bud, move by move
Roundness first.
A chop straight down showed the boundary, and I kept clear of the background.
A really soft spot got its own tool.
The number 9 went in about 13 mm (1/2 in) for the plug hole.
One side sat lower.
The line got a wave instead of an arch, so the bud wouldn't read like a leaf.
Later, the number 8 cleared out the section.

Where do the buds sit on this rosette?
Two of them sit in the bouquet, and I almost called them flowers. A couple flowers, I said, or buds I should say, one of them right here and another one there. I needed a little better pencil for the drawing, and it was nothing complicated, a line right there and one right here. There's a couple of them, and one idea for both. But you'll see it later, I said, and then I showed you how I'd develop those buds.
As far as those leaves go, I said, the idea stays the same: exactly the same curl I had carved before, and that side simply goes downhill, just like that. On that leaf I wanted a convex inside, like a bulging area, and said a back bend or a flatter number 3 would both get there.

What did I do first on the bud?
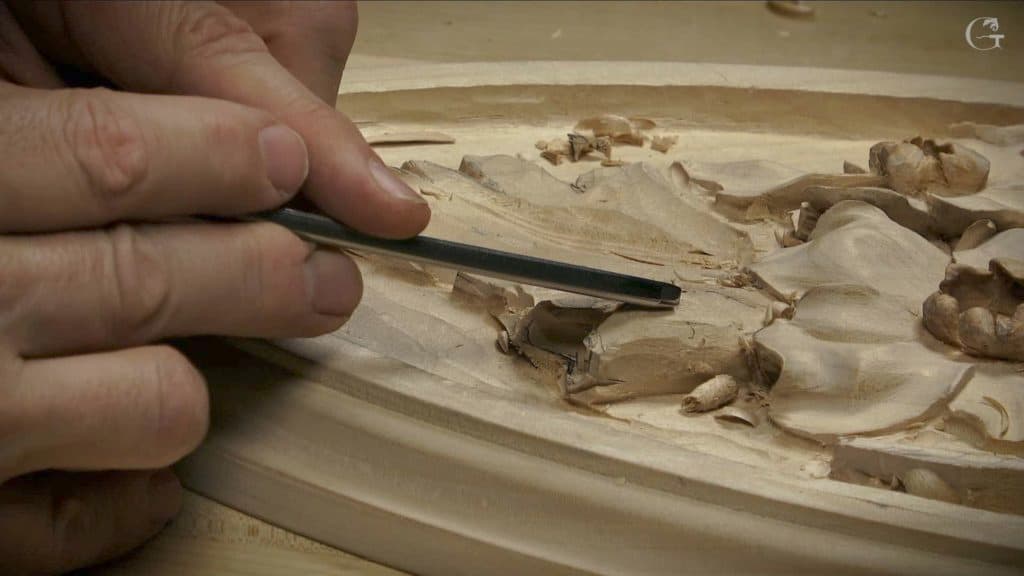
I went after its roundness, the overall 3D shape, before anything else. To get there I chopped first, straight down, because I wanted to see somewhat final boundary. Same idea on the other side. I had to be careful not to damage my background, but that chop gave me a really good idea of the boundary where I should stay.

One area of that bud was kind of really soft. The wood, I mean, the material itself, and I said so out loud. I took a little different tool for that spot and went straight down there as well. In the pictures the pencil lines are still on that bud while the first chops go in. Then a number 11 cleaned right there. I'm not sure if you see that or not, I said, and then that you should be able to.

How round did I make the bud?
Round enough to look really full. It's not like a half a flower, I said, and I wanted it to look roundsy. I know there's no such word as roundsy, but in that moment I didn't know a better word.
This side of the leaf needed to go deeper, too. After that I took a flatter tool, a number 3, and started to establish the 3D shape. The background on this rosette sits about one inch (25 mm) down, and a page on flower depth follows how far one bud had to go. I got really pretty close, I said, and the second side went the same way.
How did I dig the hole in the bud?
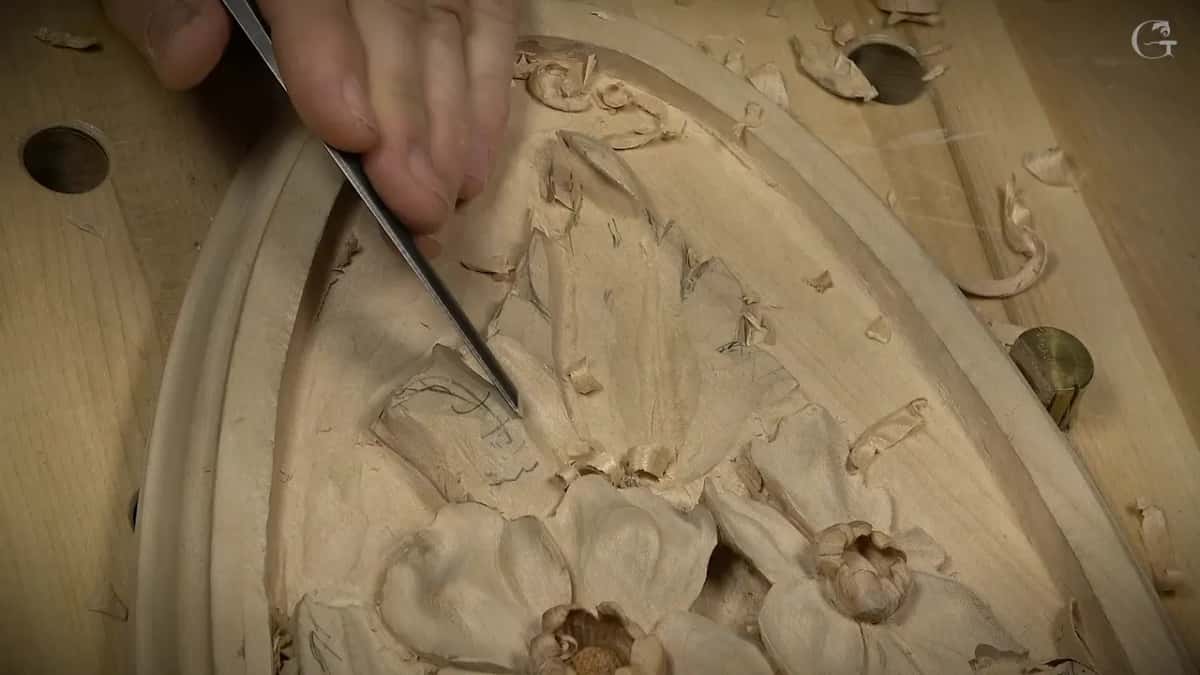
With a number 9, a quarter inch across. Those buds are simple, I said, but they create a beautiful movement, and this gouge went right inside to start the hole. I'm going to excavate a plug hole right there, I told you, and in it went. I've got about half an inch deep, I said, and from there I could work my way in.
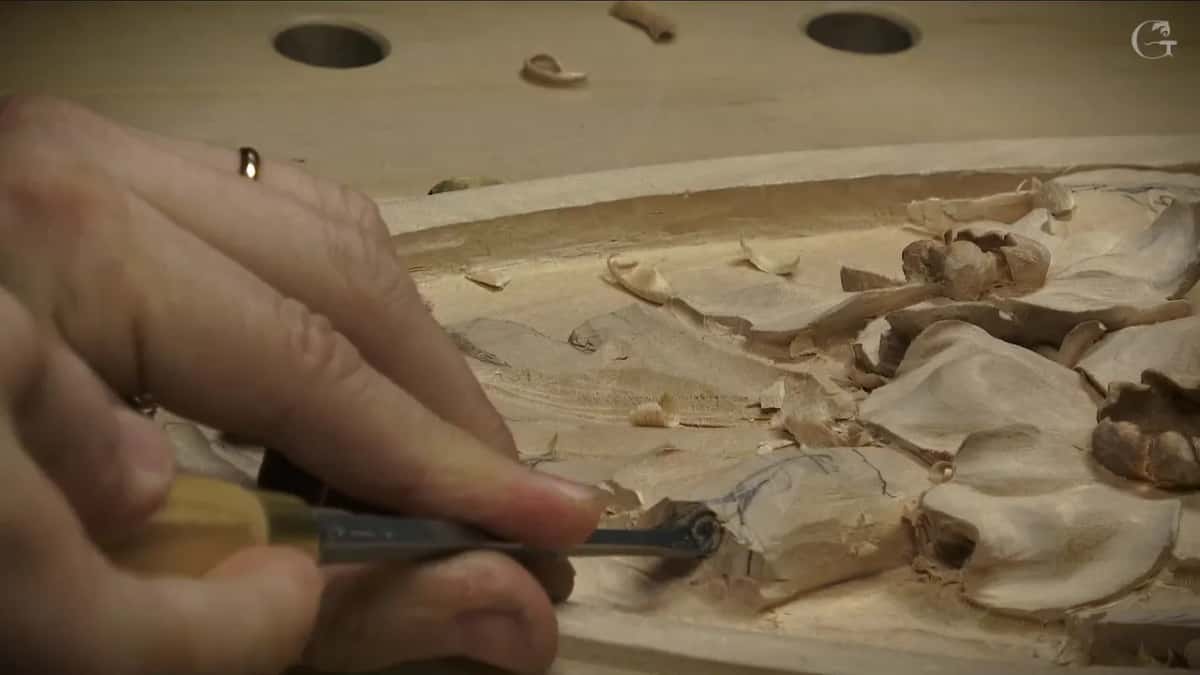
I could go deeper still with a 3 mm (1/8 in) tool and drill the rest out, I said, then called it enough, since I can always make it bigger later. On the Grinling Gibbons panel from my Maine class, round buds get an eye-shaped opening and turn into small layered flowers, while these two stay buds.
How much lower does one side of the bud sit?
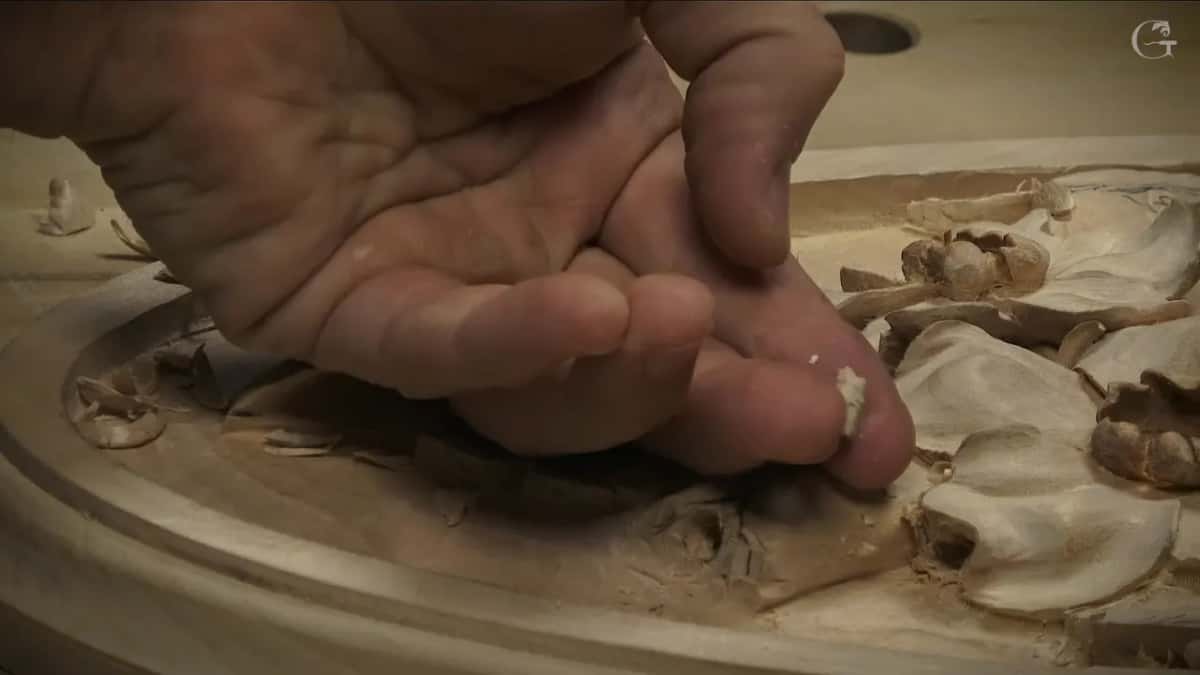
Only a little. One of the separations goes on top of another one, so first I had to think which one, maybe like this, and then this side would be lower than that side. I took the number 17 again, since I'd used it before, and went all the way.
It's going to be lower, but not much, I said. I still want to create the big shadow, but I don't want to go too low. Half a millimeter (about 1/50 in) will help me a lot to create that shadow.

Why does the line on a flower bud wave?
It looks much better in real life, I said. Up to then that line was somewhat like a straight line, not straight, but like an arch. Since it's a flower, I need to make sure it looks different from those leaves. So I gave it some kind of waviness, and when it was there I said that is good. Then it was time to take care of this triangle, I said.
How did the bud open up at the end?
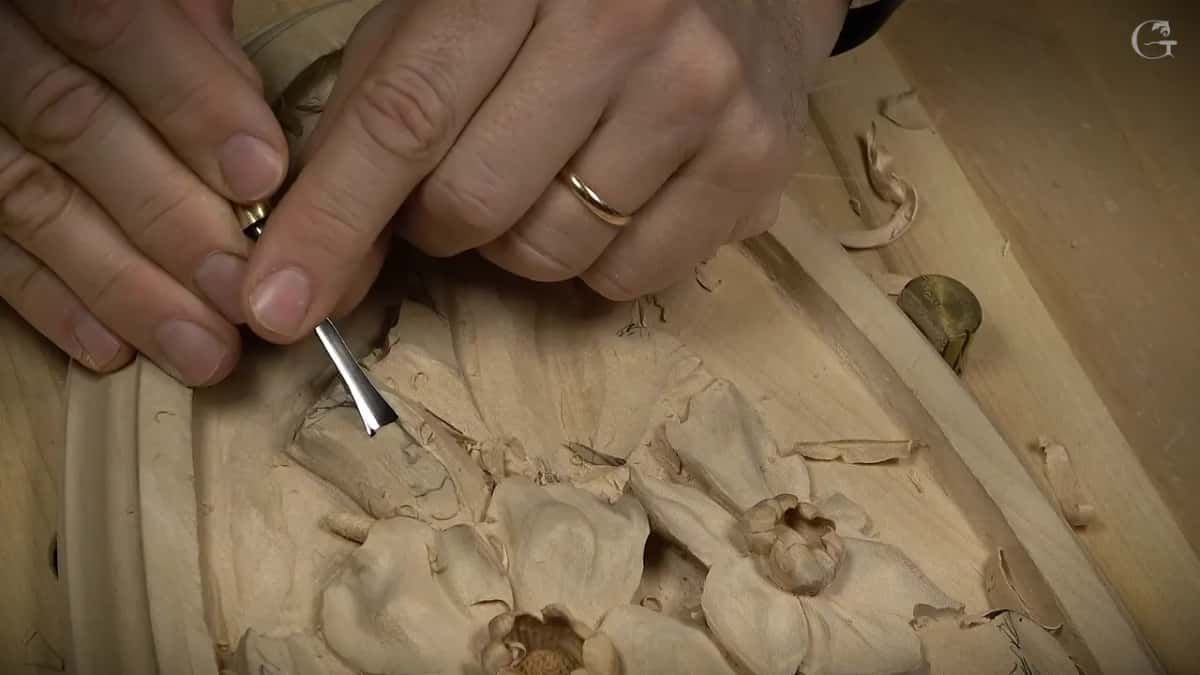
A little undercut went in beneath it first, for the full circle, and a page on full 3D tells that part. After that I finished my roundness with some kind of gouge. Then I took the material out from here and from that side, and it opened up the whole section.
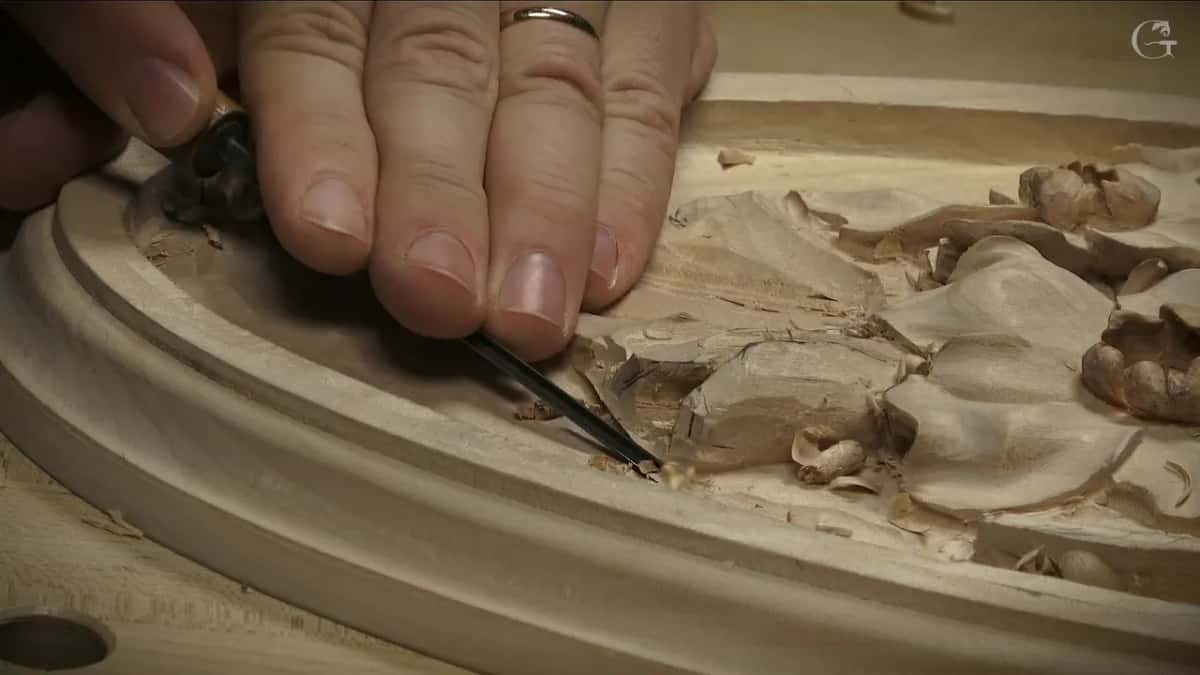
For that I needed something small. It doesn't matter, I said, it could be a number 11, it could be a number 9, just to get the idea, and I just took a number 8. I went all the way through the hole and came at it from both sides.
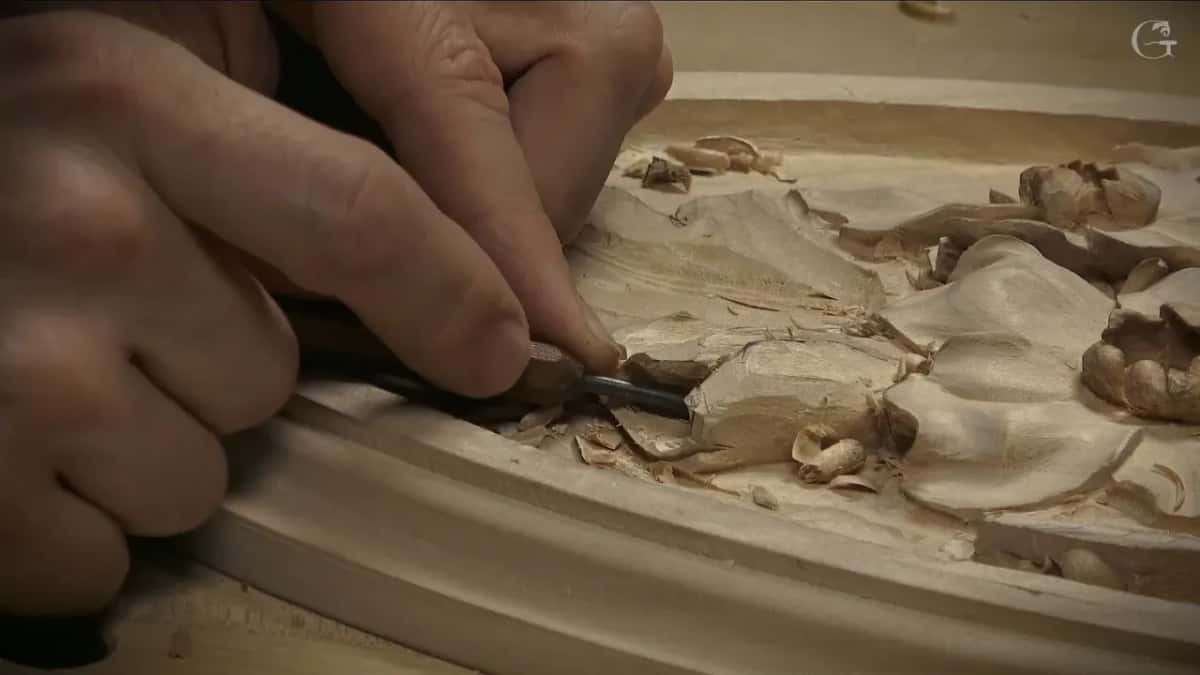
Near the end I said it again. It does not have to be straight movements, I said, and matter of fact, it doesn't look really nice if it's really arches, so I gave it a wave, and I wasn't sure you could catch that from above. I'm sorry if I'm mumbling, I said. I'm trying to communicate my best, but sometimes it's hard.
Then came a number 11 of 4 mm (5/32 in). Inside the bud I had to make the same idea I'd made at the top, where one of the parts goes underneath another one, and a small tool made that last tuck. That is going to be the main idea, I said.
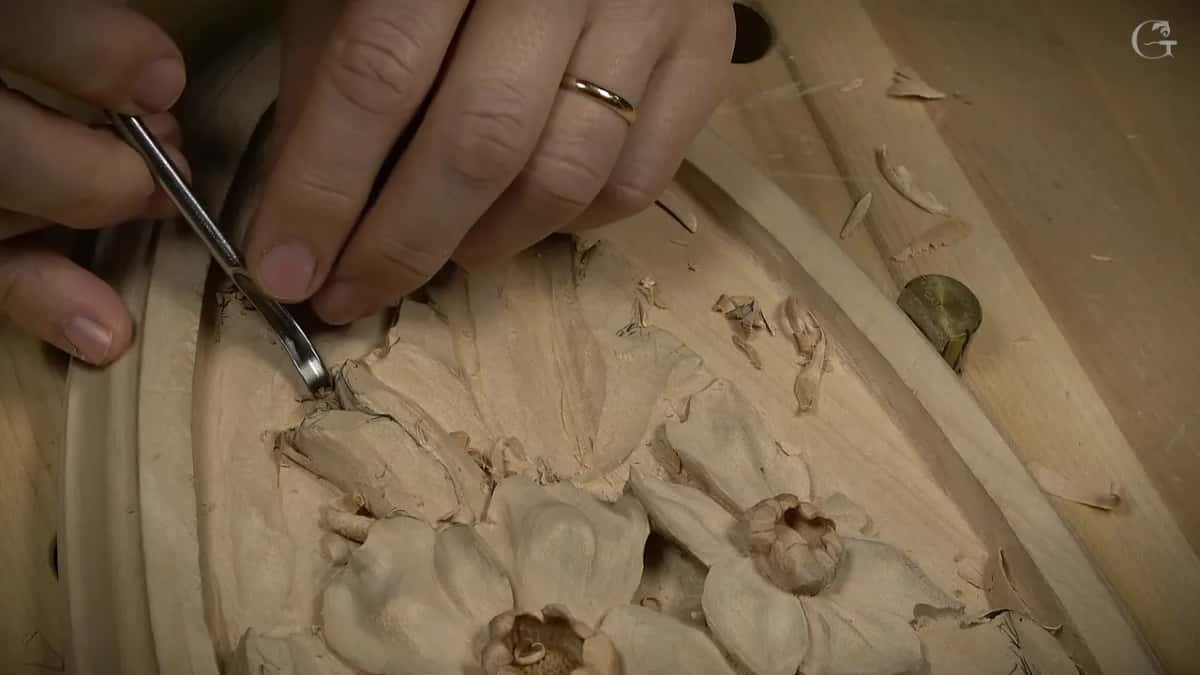
Which tools did the buds take?
Most of the tools I named on the buds are in this table, with its job and a few of my own words. The tools course explains what the numbers mean.
Tool | Job | Words |
|---|---|---|
A better pencil | Drew the bud, a line or two on it | nothing complicated |
A number 11 | Cleaned up right there after the chops | clean right here |
A different tool | Went straight down on the really soft area | the material |
Flatter number 3 | Started the overall round shape of the bud | my 3D shape |
Number 9, 1/4 in (6 mm) | Went in for the plug hole, about 13 mm deep | go right inside |
Number 17, then a smaller one | Went deep to give the bud a full 3D look | full 3D |
Number 17 again | Took one side lower than the other for shadow | but not much |
A gouge, unnamed | Finished the roundness before the section opened | finish my roundness |
Small number 8 | Worked one side, then the other, to open the section | attack that |
Eleven of 4 mm (5/32 in) | Worked the bud after the section was open | 4 millimeters |
A small tool | Tucked one part under the other inside the bud | goes underneath |
How was the small flower in this lesson different?
Right after the buds I carved one small flower, and its twin is yours to make. I'd make one, I said, and you can create another one. Some of the excess came off first, with one more cut on each side using the same tool. Then I wanted its points more pointy. I gave it an S curvature, wasn't sure it should go the same way on the other side, and put it on that side instead, which looks more natural, I said. I didn't want only two straight lines, either. This part I wanted a little more bold, then I didn't really like it and made it a little smaller. I'm just justifying visually, I said, what I like and what I don't like.
For the separation line you could even use a knife, I said, for a really sharp, beautiful line. Twice I said I'd destroy my flower if I kept going that way, and both times I said to attack it from the opposite direction. Don't pay attention if it's not as clean, I told you. I was developing just a shape at first. By then you should be able to detect the overall movement of the flower, I said, and it already looked good enough to me. A big number 7 took a whole part off at one point, and I said it gives me some privilege, it's much quicker, but you can do the same operation with a smaller tool. Whatever tool is handy at the moment, you just grab it, and that time it was a normal spoon gouge, a small one. My hand's right in the camera, I said once, and I apologized for it.

At the edge I made small curls with a number 8 gouge and an undercut. Maybe I'm just doing too extreme, I said, but at the end it's going to look like a real-life flower, not a plasticky-looking one. Some people really like to see those details, and it gives me joy to give that detail even if nobody's going to see them ever. Each petal also got a convex made by the concaves beside it, and a page on concaves follows that one. Off camera, I said, I'd undercut it and clean it, and I'd like you to do that flower yourself, just to develop yourself.
So one lesson gives you both, a round bud with a hole and a tuck, and a small flower with points and curls.
What did the panel look like after the main development?
I showed it later in the lesson. That is the result of the main development, I said, and I turned it so you could see it from different points of view. Maybe too fast, I said as I turned it, and I tried to make the picture a little sharper. I'd tried a little sandpaper on the high spots and burnished a little, and I kind of liked the result.

I think it's good for any home. You can just hang that on the wall as a piece of art, I said. I also showed you where it goes on the wall, where the upper part is done and the molding is done, with more to come below. The second panel is the same piece, just flipped, for the other side of that wall, and I held it up too, to show how it looked before. Once the molding is going, I said, the inside gets a texture.

After this I began to lay out the molding border with calipers, and that is another story. The rim itself came from a router and my gouges in lesson 1, and how thin a flower can go where somebody might bump it is lesson 2.
Can you copy these buds at home?
You can. I promised a picture of them for you to replicate, and the idea is exactly the same on both. In this lesson I also said it's not a beginner's project, and that most of you already know the basic techniques of undercutting. You just use the tool on the side and get underneath, I said, and where you have to excavate deep, you're just using spoons, which you can use pretty much anywhere.
Want to try one anyway? Then draw it and round it first, the way I did.
The whole rosette is on the course page, and more flowers wait in Carving Hashemi Flowers and the Chamomile and Bow Rosette. If gouges are new to you, First Cuts for Beginners comes first, and Tuition and Access sit on one plan page.
How it's done
- Pencil the bud in. Draw a simple bud and put a line or two across it, then borrow the curl from your leaves.
- Find the boundary. I chopped straight down on both sides to see the final boundary, careful not to touch the background.
- Round it out. Use a flatter gouge, such as a number 3, and keep at it until the bud looks whole.
- Sink a plug hole. Sink a number 9 that is 1/4 inch (6 mm) wide right in, about 1/2 inch (13 mm), then work in from there.
- Drop one side. Decide which part rides on top, then take the other side down a little, using a number 17. Half a millimeter helps the shadow a lot.
- Put a wave in the line. Turn the arch between the two parts into a wavy line, so the bud doesn't pass for a leaf.
- Open the section up. Clear wood from each side with an 8 until it opens.
- Tuck the inside. Inside, slide one part under the other with a small tool, the same idea as at the top.
Frequently asked questions
How many buds does this Venetian rosette carry?
Two, and on camera I called each one a simple bud. Both get one idea, I said in lesson 5, and I promised a picture of them for anyone who wants to replicate the shapes on a panel of their own.
What gouge digs the hole in a carved bud?
On mine, a quarter-inch (6 mm) number 9, taken right inside to roughly 1/2 inch (13 mm). I worked my way in from that hole, and much later a number 8 came at it from two sides to clear it out.
Does a soft spot in the wood change the tool?
On one of my buds, it did. One area was kind of really soft, I said, talking about the wood itself, and that spot got a little different tool for its chop. Afterward a number 11 tidied up right there.
What to carve next