
Alexander Grabovetskiy, woodcarver, School of Woodcarving · Published 2021
What is a separation cut in wood carving?
Quick answer: A separation cut is a small groove, made by a number 11, exactly where two carved parts meet. Mine in workshop 109 of the Venice Room was 4 mm wide. A straight down pass by a number 3 turned over came after it as a separate step, and then I chose which part would go under.
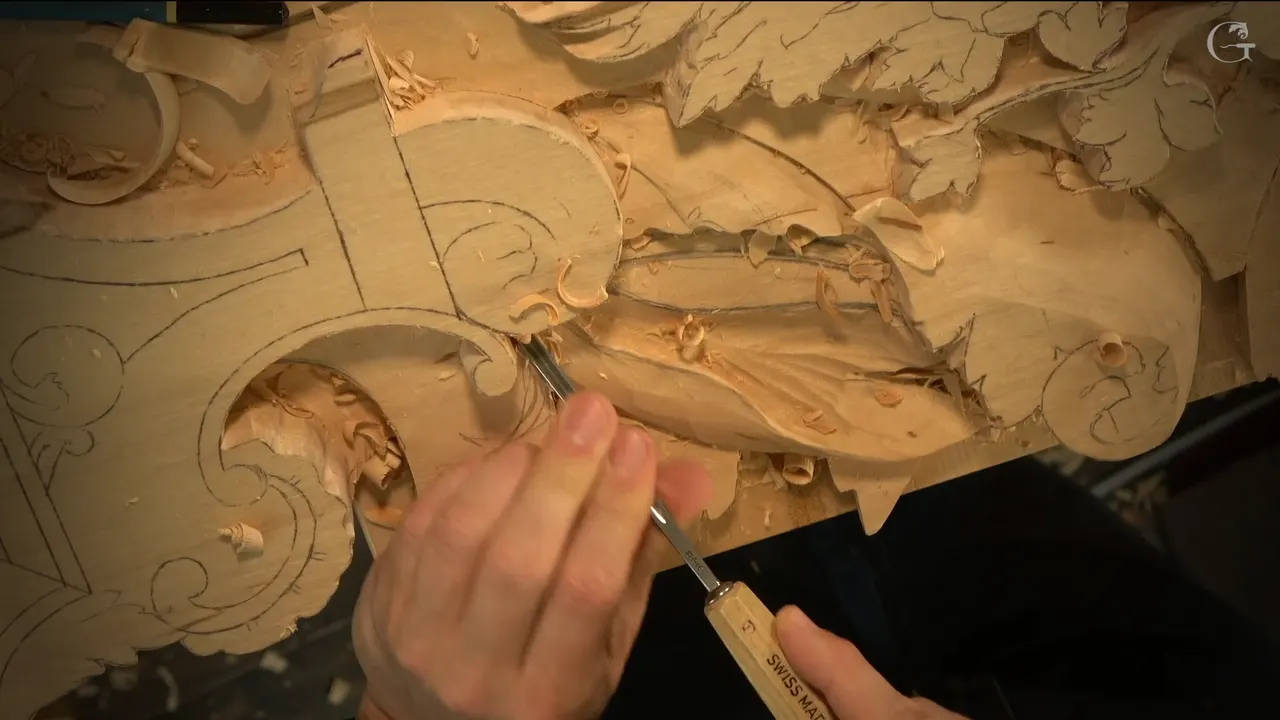
A separation cut is a narrow groove I carve with a number 11 gouge, right on the line where one part of a carving meets another part. I explained this wood carving technique in three words on a furniture panel. I separate parts. My tool in workshop 109 of the Venice Room was a 4 mm (5/32 in) number 11. Right after, as a second move with a second tool, I turned a number 3 over and went straight down beside the groove.
You hear me say those two words in lesson after lesson of wood carving, and I don't always stop to explain them. So you get both here. What my hands did in the three parts of workshop 109 comes first, and then my own words about the same groove from nine other lessons, each one named and linked, so you can go and watch it for yourself.
Do two shapes on your carving touch each other somewhere? Does one of them need to look like it sits on top? And should the line between them stay clean while the wood around it comes out? Then that line begins with a separation cut.
The separation cut in six short lines
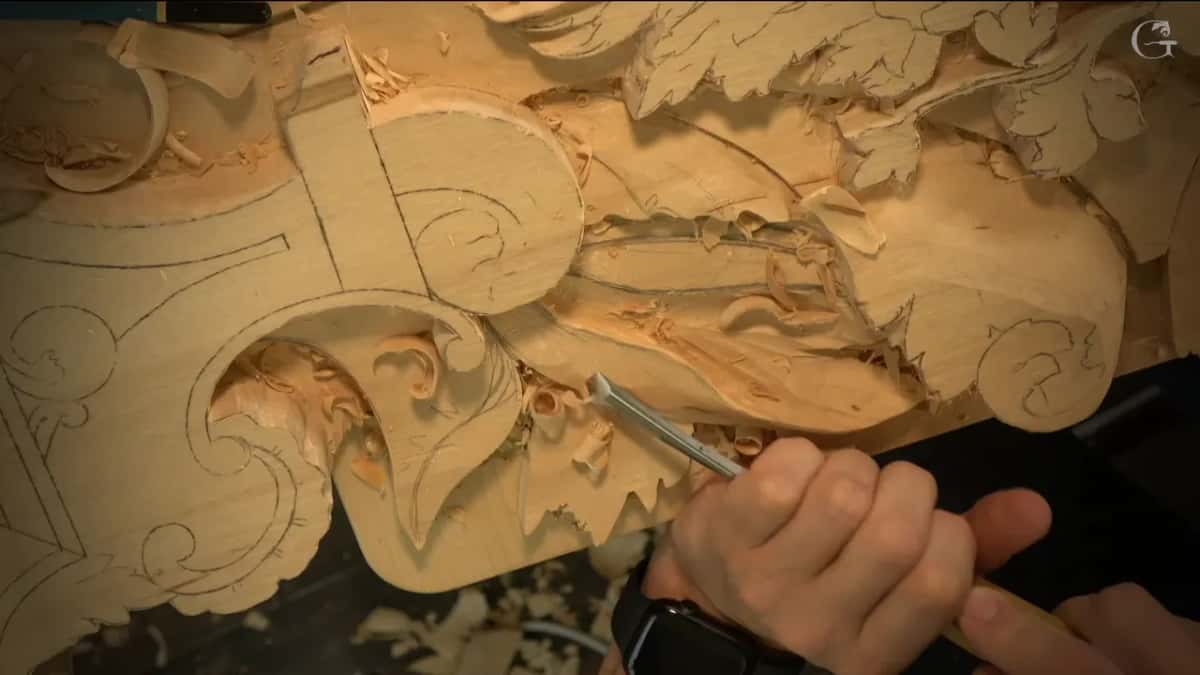
In workshop 109 it was a 4 mm groove on the line, and I went a little deeper right away.
Next came a straight down move from a number 3 held upside down, three-quarters of an inch (20 mm) wide, as its own step.
Later in the same workshop I planned which part would sit under the line, then changed my mind out loud.
Across the lessons on this page the size runs from half a millimeter (about 1/50 in) up to 7 mm, and nearly every one was an eleven.
On one Venice Room panel I called it a notch instead.
Once, on the Hashemi flowers, a V tool made a first rough one.

What did the separation cut do in workshop 109?
Workshop 109 put it in as one groove, made with the 4 mm veiner where two parts touched, and I took it a little deeper as soon as it was in. That came about three minutes into the lesson. Everything before it was about shadow.
I opened by saying I wanted to go in and make deep shadow. Really deep shadow. My first pick was a number 9 of three-eighths of an inch, which I decided would be a little too big, so I took a quarter inch (6 mm) instead. I rocked it back and forth and dug out whatever I could, and I said I did not really need to go deep there. From where people will look at it, you're never going to see what goes on inside. It will still collect some dust, I said, but that's okay, I guess. Just antiquing.

My small 4 mm eleven cleaned the hole. Here I admitted that I was still using straight tools, and that a spoon veiner would be a good idea. But it's okay, I said. A number 2 a little under half an inch began rounding the next form, and I switched to a number 3 of 20 mm because I thought it would work a little better for me. Only after all that did I come to the line itself.
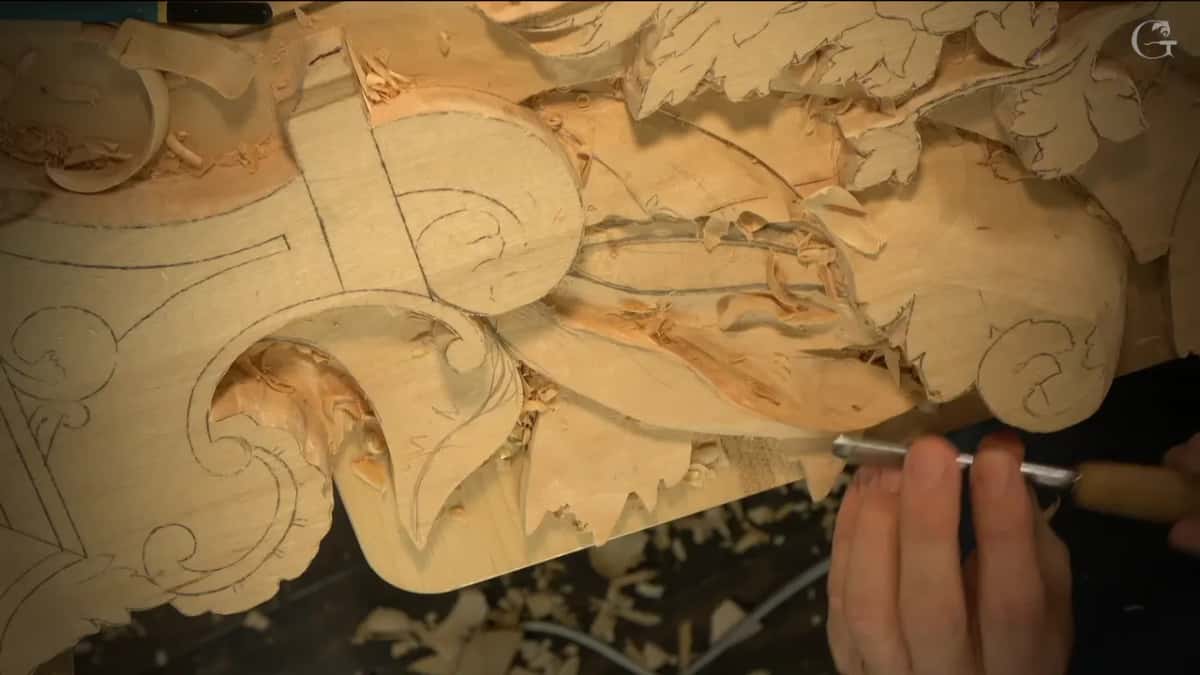
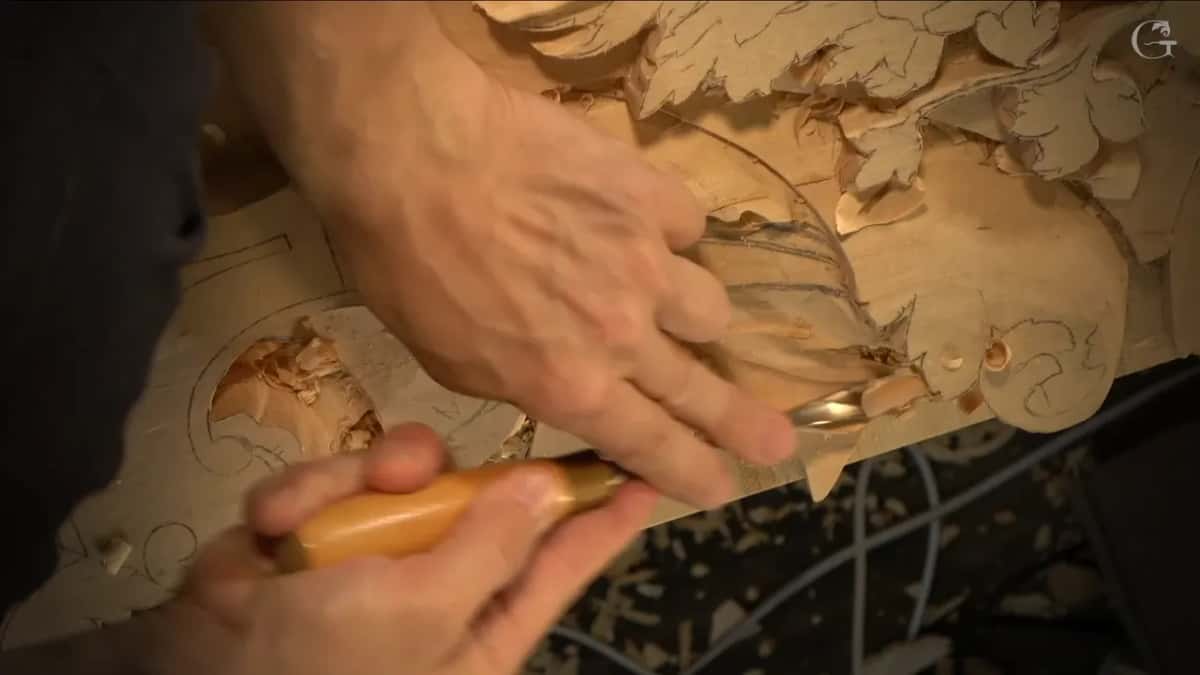
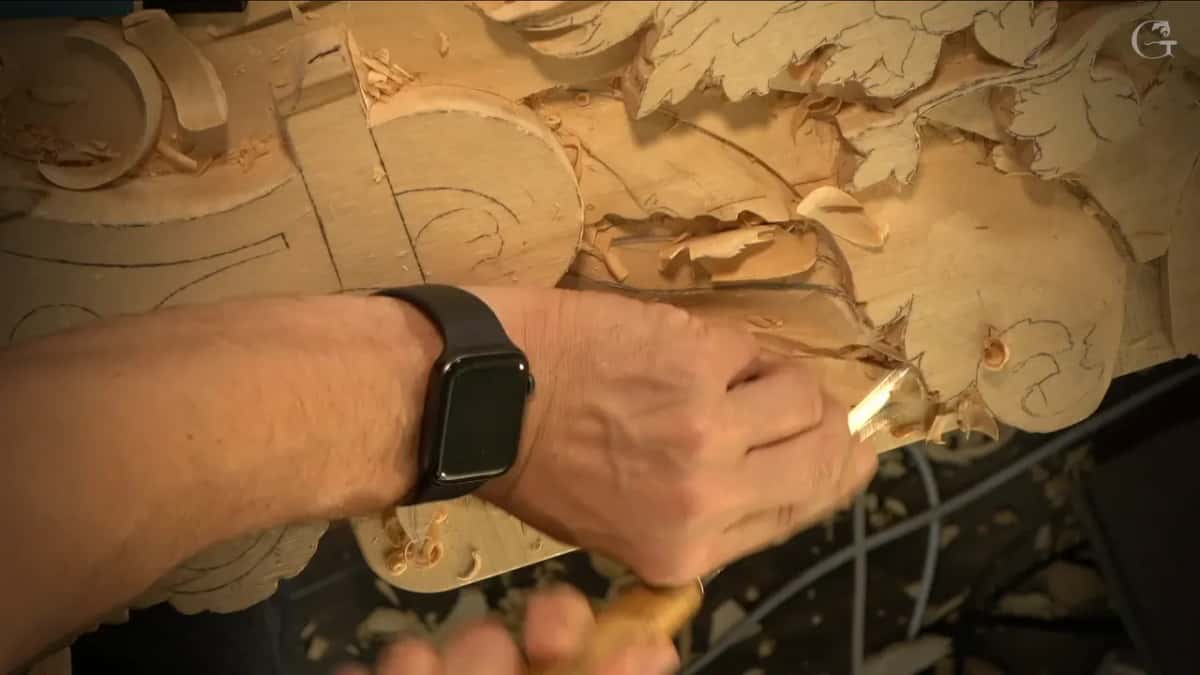
I took the 4 mm tool again and made the separation cut right there, on the line. It went a bit deeper at once. Next I flipped the number 3 over, the same 20 mm one, and said I could probably go straight down. The frame below shows that move. The groove came first. A second tool came after it, and it did a different job.

When it was done I looked at it and said, honestly, I like that detail. I also said I would fix the edge a little later. But I liked the overall development.
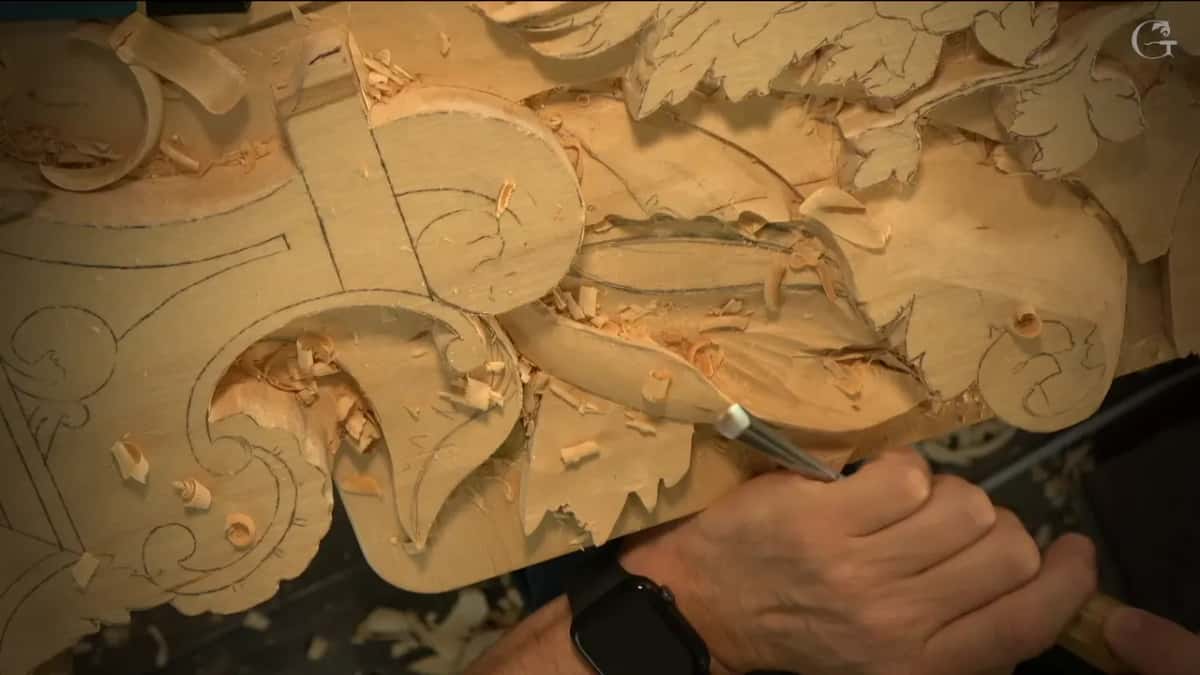
Where does the straight down move come in?
It comes after the groove, as a second move, and two of my other lessons show it that way too. On the Venetian flowers rosette, lesson 4, I started on one of a pair and said the other would be easy enough. The first thing I did between those two neighbors was a separation cut, about 4 mm on an eleven. I said it did not have to be that size. It could be much bigger, a quarter inch. Then I outlined it straight down to relieve that separation, and I told you it was really important.
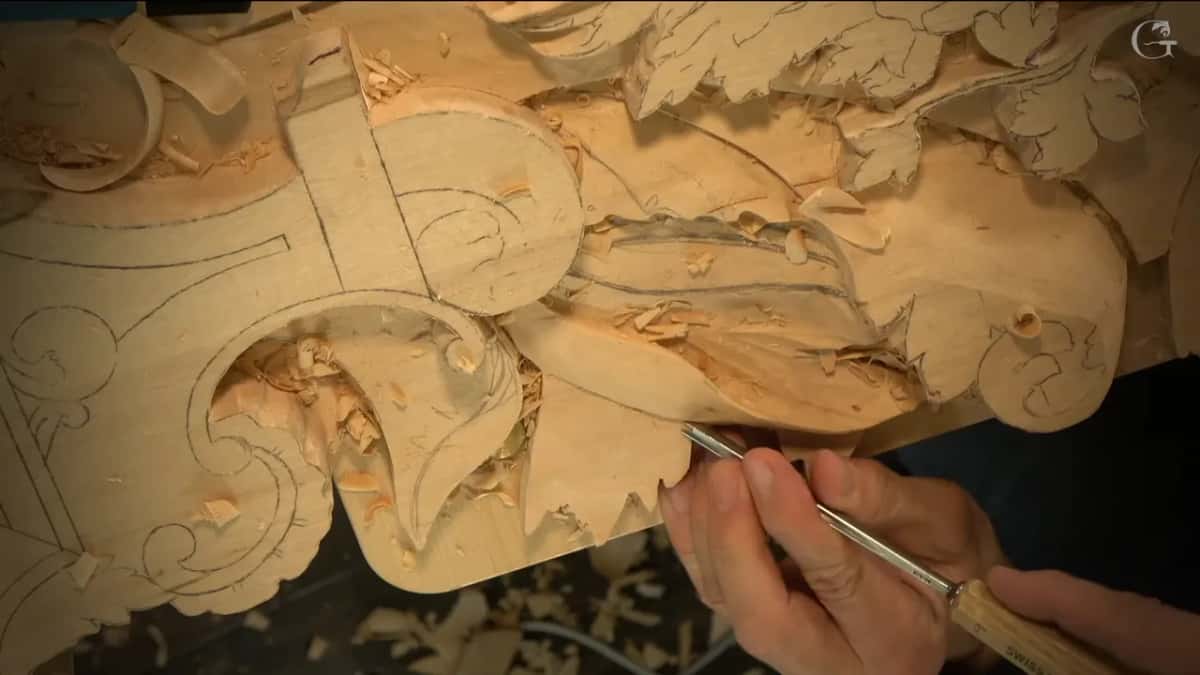
The furniture panel in lesson 35 kept the same order with smaller steel. And before that, I said I did not want to go deeper than the background I had. A half millimeter number 11 made what I called my preliminary one. After it I blended, using a number 3 about a quarter inch wide, turned upside down. I also said, before I blend I have to make a separation cut.
Which side goes under?
In the second part of workshop 109 I decided that twice, right at the line. Let me tell you a story.
By then a number 7 had rolled one form underneath, little by little, and lowered a small section right down to where the background will be. For a deeper shadow I wanted a hollow I described as boat-looking, so a big number 7 of about one inch went in first and a number 9 followed for a little more depth. It looks good even from above, I said. You can see it just rolls.

Back at the line, I said the separation cut was now going to look awesome, because one part would go underneath it and give me another shadow. I kept talking. Then I thought again and said maybe the other part should go under instead. Let me change what I just explained to you, I said. I'll do absolutely different.
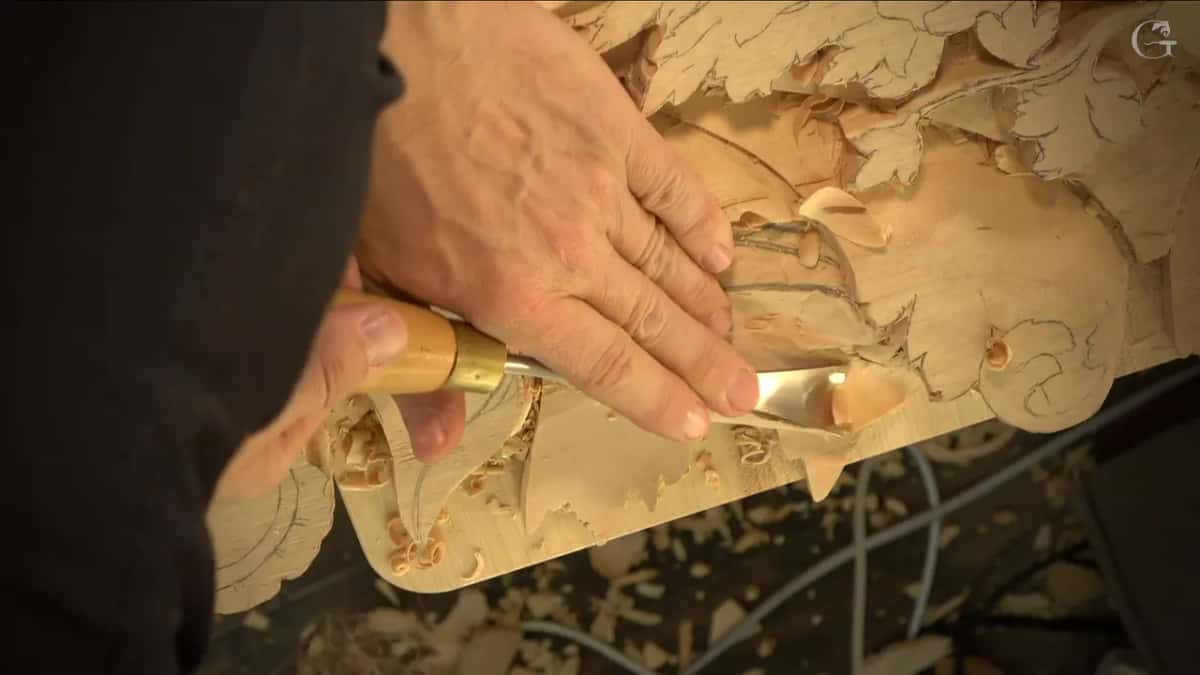
So I carved it the other way, using a 7 mm eleven, a little bigger than a quarter inch. Little by little. Without a lot of pressure.
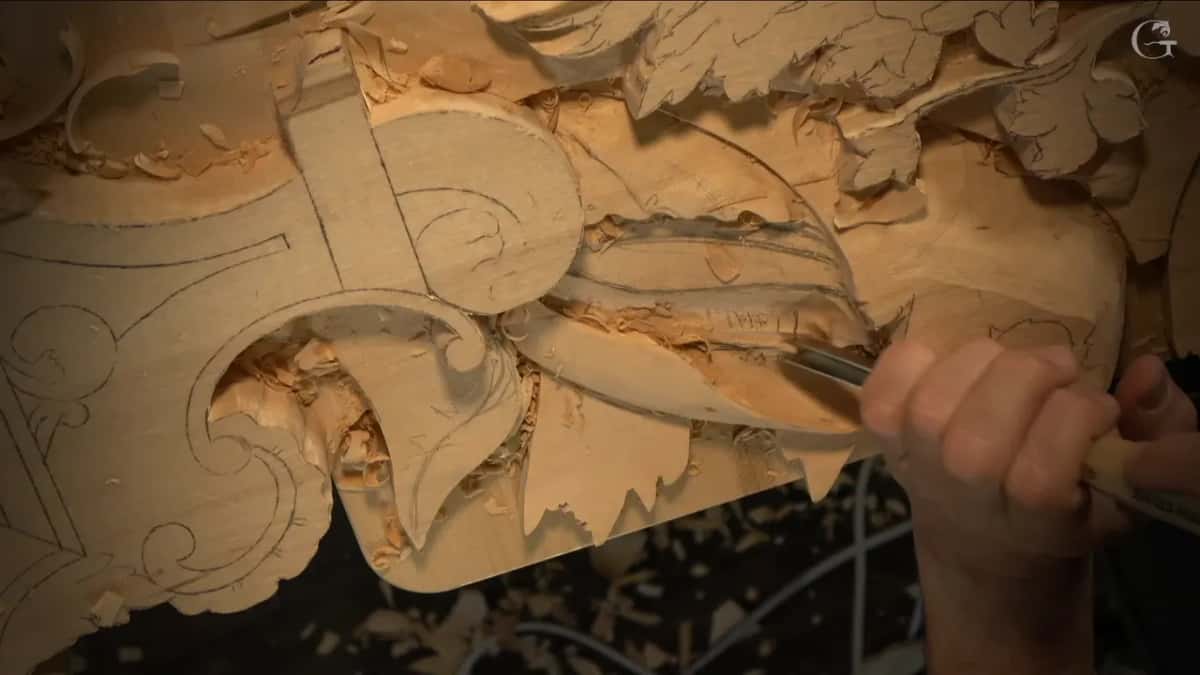
Two other lessons put the same choice into plain words. On Venice Room 25, right after the separation, I said this part is going to go underneath and that part is going to be higher, and that I would dig around it using an eleven, after thinking about a number 9. At the Hashemi flowers, lesson 16, I took a V tool for a preliminary separation cut and said one part would sit slightly on top of the other. Just before it I had planned another eye and a pipe there, and I thought it would look really nice. It's not the final idea yet, I said, but you should be able to see it. On that same panel from lesson 35 I thought about the light first. It would most likely come from above, so the shadow had to fall on one side, and that told me where the overlap would happen.
How big a gouge does a separation cut need?
A small one, most often an eleven somewhere between 0.5 and 7 mm, and twice I said out loud that the size is not fixed. On the furniture panel, lesson 20, I wanted one edge to stay kind of above a molding. I can't do a big separation cut here, I said. So I used just the half millimeter eleven. And I stopped to explain myself, just in case you did not know what I meant. I separate parts, I said.
Lesson | Tool | Moment |
|---|---|---|
Venice Room 109 | A 4 mm number 11 in part one, and a 7 mm one in part two | Deeper right away |
Furniture panel 20 | Just the half millimeter eleven, because I couldn't do a big one | Explained in three words |
Venetian flowers rosette | About 4 mm, though I said it could be much bigger | The very first move |
Acanthus over moldings | A 2.5 mm (3/32 in) eleven, between the parts and the outside | Same idea as before |
Hashemi flowers 16 | A V tool, for a preliminary one, with one part slightly on top | After planning an eye |
Venice Room 25 | A number 9 or an eleven, and I picked the eleven | Called a notch |
Furniture panel 35 | Half a mm first, then a number 3 upside down to blend | Before blending |

Half a millimeter is tiny. In lesson 35 I said it does not have to be that size, but I called it a wonderful tool if you are in furniture making. Afterward on lesson 20 I left two small sections for later, because I really didn't need them yet, and jumped back to a detail. In Acanthus over Moldings, lesson 7, where acanthus leaves run over a molding, a 2.5 mm eleven carved the separations between the parts and the outside, and I said it was exactly the same idea as what I had done before.
Why did I once call it a notch?
In that lesson 25 of the Venice Room I corrected myself in the middle of a sentence and said separation notch, because, in my words that day, it's not really a cut. That is as close as I came, in the lessons on this page, to arguing about the name.

During lesson 2 of the lily box, a box carved with lilies, I simply named it while I made it. Just before that I had taken the 0.5 mm right away to make my undercut. My separation cut, I said, because two different stems cross each other right at that spot. Right after it I said I needed to chamfer that side, with the same number 3 or a tiny number 1.
Lesson 3 of the same box made the separation cut a backup. I began an undercut with the 1 mm tool to see how it would look, and said that if I did not like it, I could always make a separation cut. Then the 0.5 mm followed.
What happens when a separated part goes wrong?
It becomes a place for glue, at least it did in lesson 13 of the lily box, the one where I carve the olives. Earlier in that part I said one spot was not really comfortable, though not impossible. Something went wrong in one tiny spot. Maybe I was rushing too much, I said, and it was not the end of the world. It would be fixed, I said, without anybody seeing what the problem is.
There was a separation cut between those two parts. Now, because it happened, I said I could glue them together, put a drop of glue right in the middle, and it would hold and be more stable. Maybe it's a good thing that happened, I said. But still.
What comes after the groove in workshop 109?
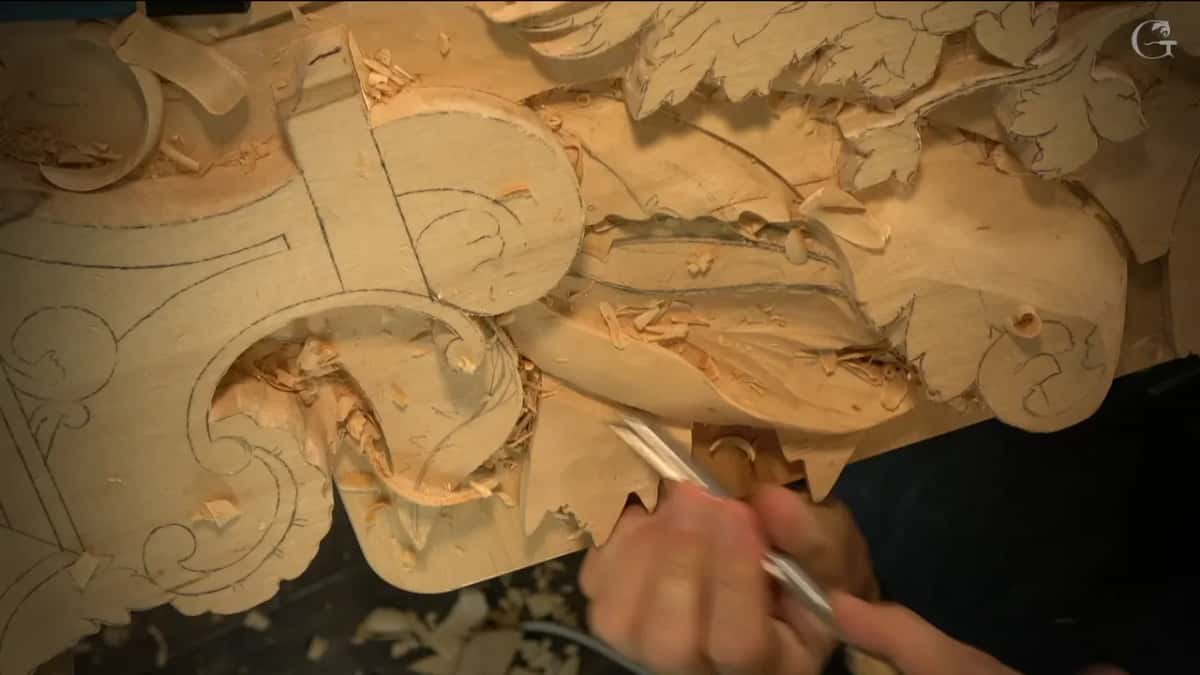
After the line was in, I said two parts could go to their final depth and be undercut right away, instead of waiting for later. Along the side I dug with the 4 mm eleven, leaning a little toward the left.
I did not want to go deeper than a quarter inch, so I kept an eye on the distance and moved up to a 7 mm. I hope I'm not going to break it, I said, because it is fragile. Really, it's easy to break. The big number 2 came next, and a 2 mm eleven to undercut. Later a 1 mm eleven made the shadow really pop, though the 2 mm was something I could live with, I said.

At the start of the second part I laid an eleven almost on its left side, and it already gave me the shadow I was after. I said I had to connect the two undercuts from both sides, so one section would be completely gone. It should feel like this part is lying on those raised ones, I said, and I apologized in case the camera could not catch it.
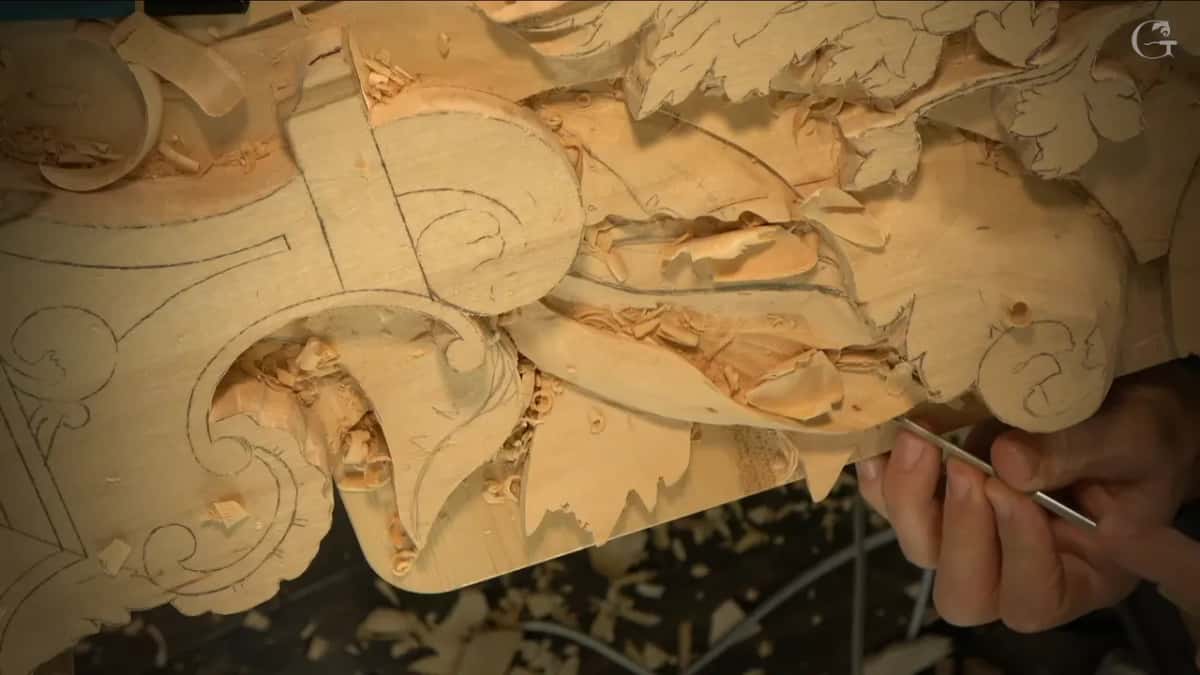
In the third part a 4, a 2 and a 1 mm eleven brought the work closer to the line, and a wide number 2 trued the edge, which the workshop 105 page covers.
Where can you watch this wood carving technique?
You can watch it in workshop 109, the last one of Part 9, in three parts of about seven and a half minutes each. Near the end of the second part I called one form the big hero of that section, and said I was not going to make divisions and stuff like that, not as much on the outside.
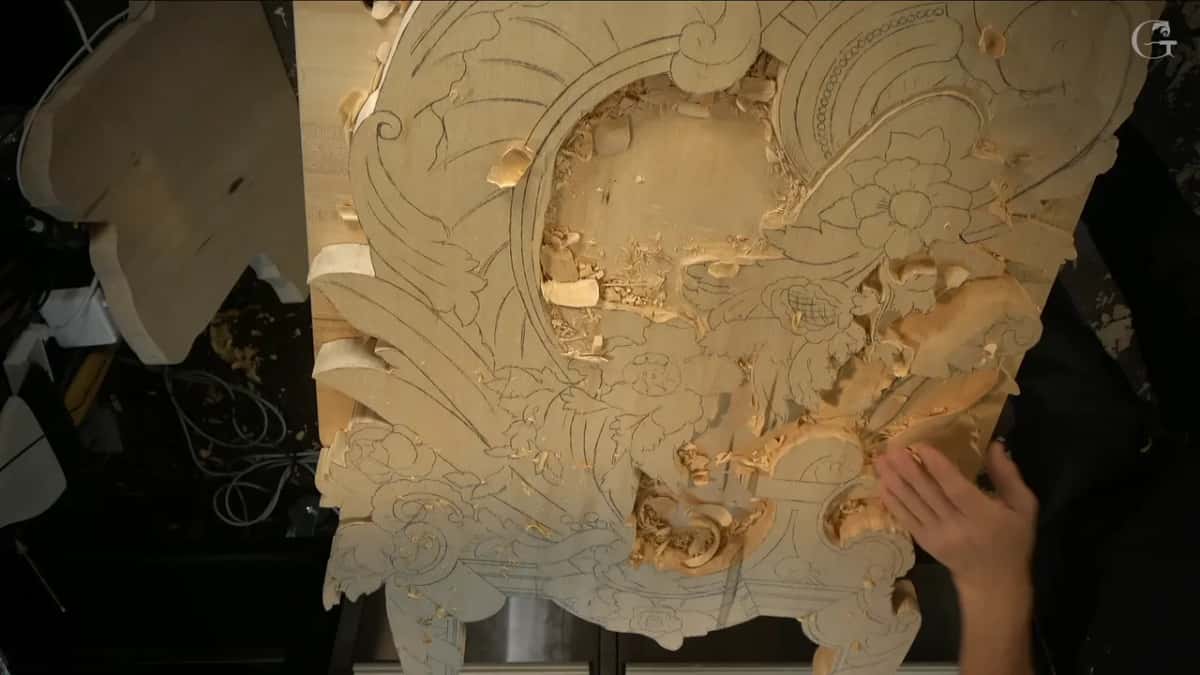
The whole panel is on the Part 9 course page. Workshop 108 comes right before this one, and the room carries on in Part 10. The relief ornament on that panel is leaves and scrolls, and you can watch each gouge I pick up.
Do you want to see the groove go in? And do you want to hear me change my mind about it? Then open 109 and watch the second part.
Every lesson I named here opens with full access to the school, the rosette and the furniture panels too.
How it's done
- Pick up a small number 11. I set a 4 mm (5/32 in) eleven right on the line between two parts.
- Go a little deeper. With the groove in place, I took it a bit deeper at once.
- Turn a number 3 upside down. Beside the groove I carved straight down, holding a number 3 three-quarters of an inch (20 mm) wide, as a separate move.
- Choose the part that goes under. I picked the side to go under, then changed my pick before carving it.
- Work slowly with a 7 mm. A 7 mm eleven followed the line slowly, with no heavy pressure.
Frequently asked questions
Is a separation cut the same as a stop cut?
My lessons treat the separation cut as the groove itself, carved using a number 11 gouge. Going straight down is a second move. For workshop 109 that second move was a number 3 flipped over, and on the Venetian rosette I outlined straight down afterward to relieve the separation.
What gouge do you use for a separation cut?
Mostly a number 11, anywhere from half a mm up to 7 mm across. The Hashemi flowers got a first rough one from a V tool. On one Venice Room panel I thought about a number 9 and still reached for the eleven.
Do you carve the separation cut before you blend?
Lesson 35 of the furniture panel says exactly that, and then I blended with a number 3 about a quarter inch (6 mm) wide, held upside down. The groove in workshop 109 had a number 3 after it as well, only that time the job was going straight down.
What to carve next