
Alexander Grabovetskiy, woodcarver, School of Woodcarving · Published 2021
How do you carve an oak leaf in wood?
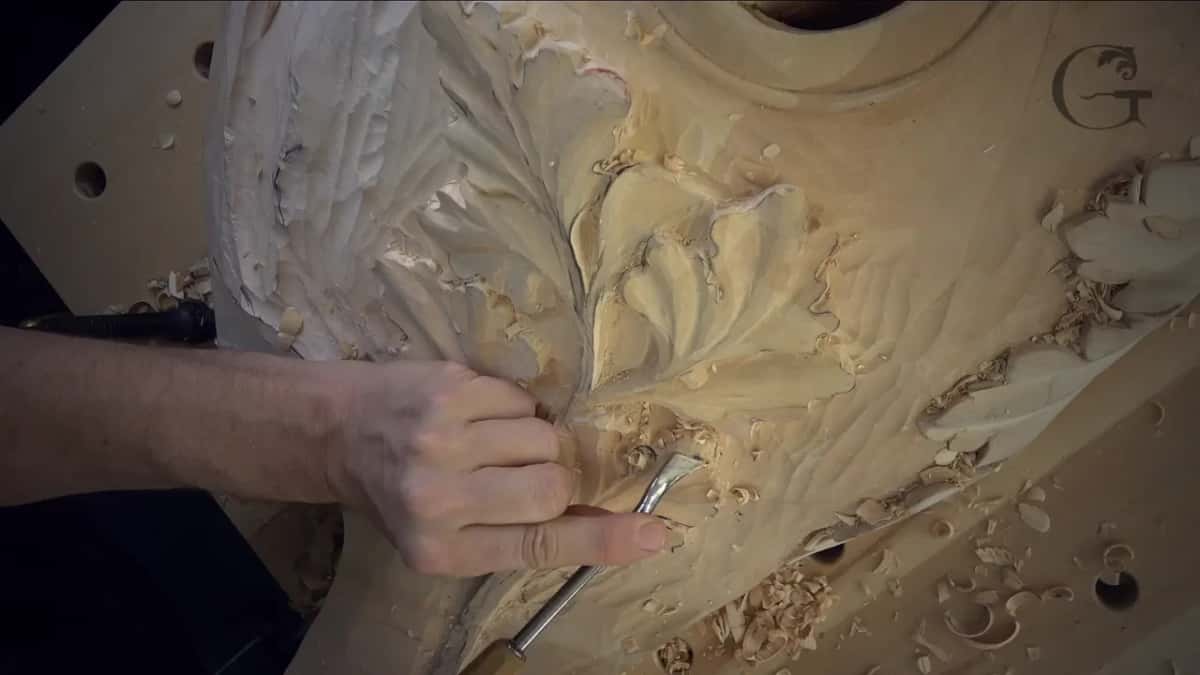
Quick answer: Carving an oak leaf is done one lobe at a time. I dig two hollows beside the middle line of a lobe with a 10 mm #11 veiner, blend the round left between them with a #7 flipped over, then add the waves and lower the wood next to the stem so it stands out.
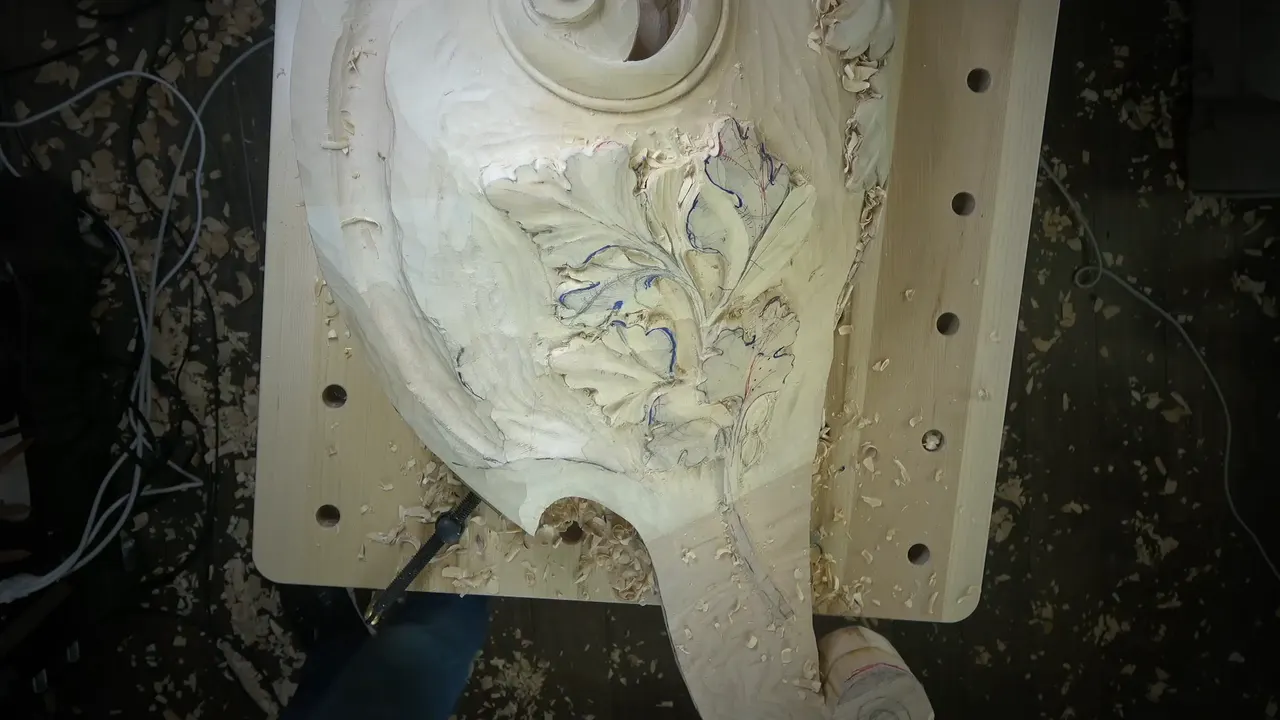
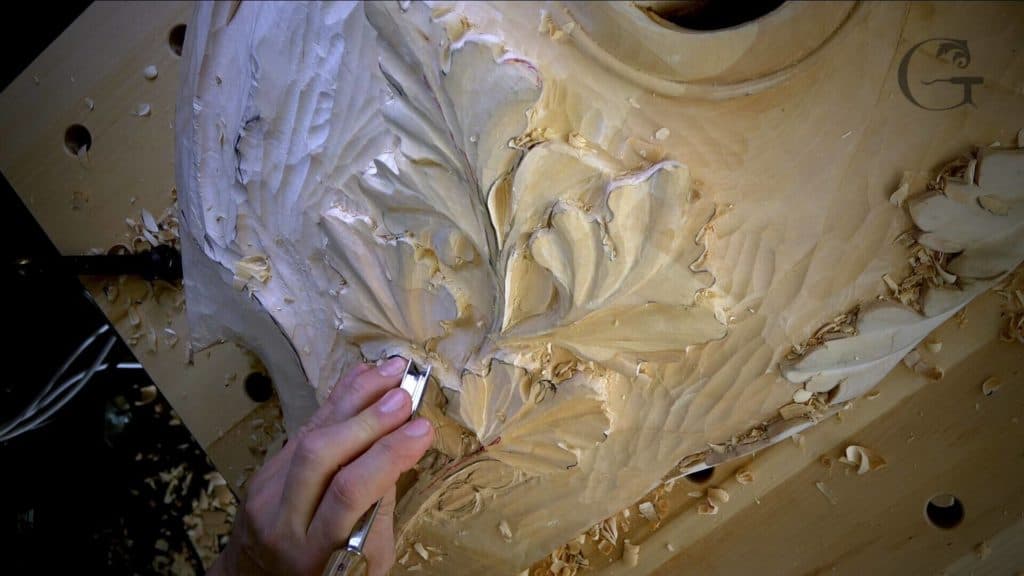
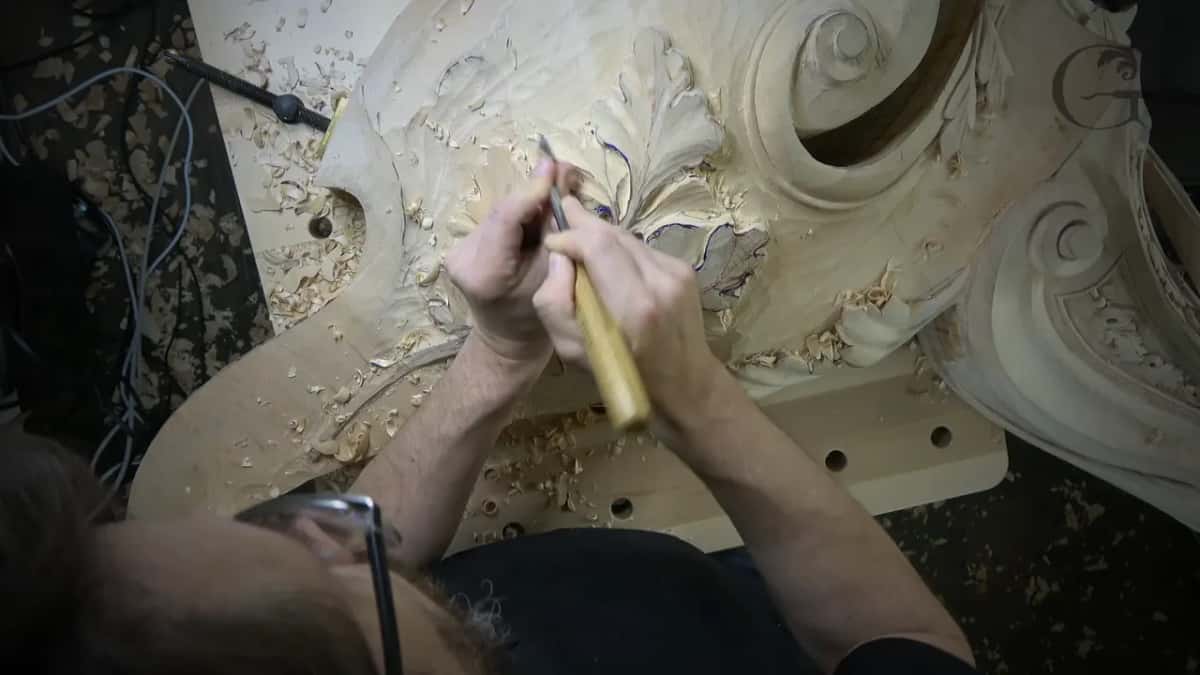
Oak leaf carving is lobe by lobe work, and in workshop 98 the lobes began with two hollows. I dug them with a #11 veiner, 10 mm (3/8 in), one on each side of the middle line, and a round shape stayed standing between them. A #7 held upside down blended it. The waves came after that, and around the stem I lowered the wood so it would show.
Have you ever run your finger across a carved leaf and felt it rise in the middle? Ever held a #11 veiner, the one with the U shape? That U made the rise on these leaves, by digging next to it, and I will give you the tools I picked up for it, by number and by size.
These leaves sit in Venice Room, Part 9, a group of them right beside the spot where a shell goes later. In workshop 96 I said that is supposed to be oak leaves, and in workshop 97 I said that probably, because they carved acanthus all the time, even their oak leaf looks like acanthus. Workshop 98 is the carving itself, twelve parts and more than eighty minutes, with the #11 named more often than any other tool.
What workshop 98 did to each oak lobe
Two hollows first, with the big #11, one left and one right of the middle line.
The round between them got blended by a #7 turned over, or by a back bent #5 where I wanted more help.
Waves or notches came next, with that same #11, and then smaller ones in the tight places.
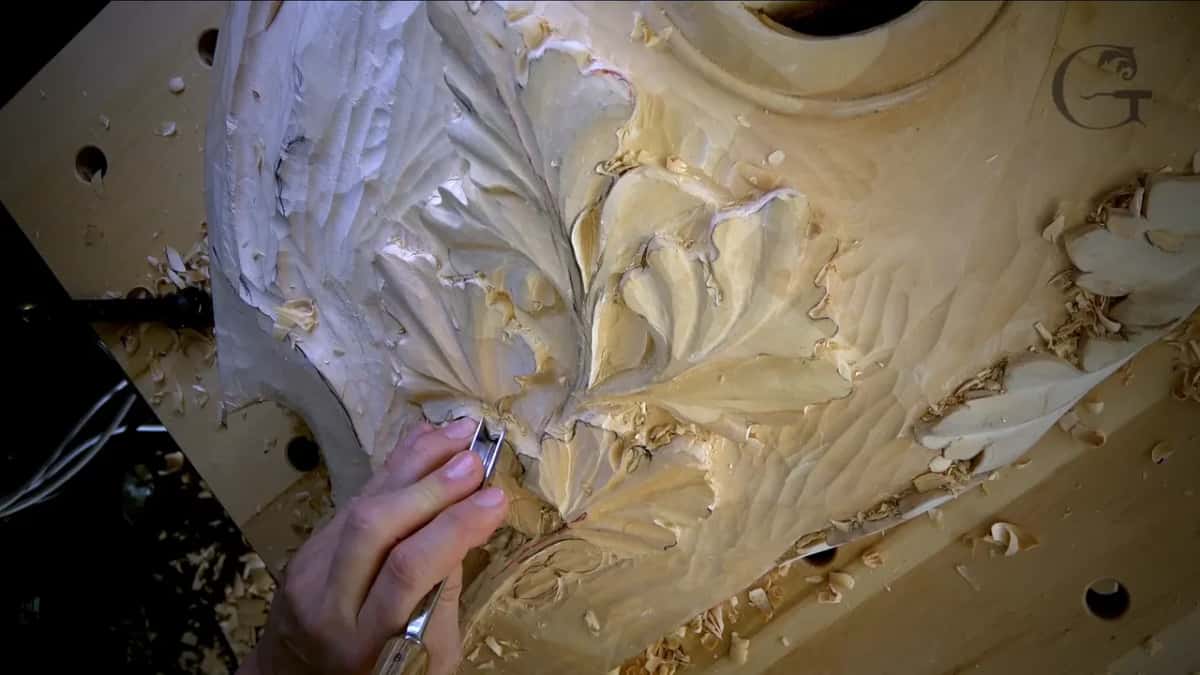
Next to the stem I lowered the wood using the #7, and out popped the stem.
A #8 back bent, 6 mm (1/4 in), was the tool I named for the roundness of the stem.

How do you raise a round in the middle of a lobe?
Dig on both sides and let it stand. I said it out loud on the first leaf of the lesson. What I need to do now, I need to establish a convex right in the middle. I took the #11 again, the 10 mm, and started creating my concaves on the side of the future convex.
One side went first. I went a little deeper in one section, then did the opposite side, and then I decided to exaggerate it a little more.
Where you stand matters too. After the first hollow I said I need to clean up from the opposite direction, because where I was, that was not the best position. A little later I gave myself the same reminder, when I said I probably should rotate and attack from the opposite direction.

Next I jumped to another lobe with the same idea, very much. Convex right in the middle, and to create that, concaves first, with the same tool. Once both hollows were in, I said that's a really good 3D shape. I really like it.
On one small section I went to clean a part and could not find the word for it. It's like a pipe, but it's not really pipe, I said. Not in the oak leaves.
If you carve acanthus as well, there is a page about a convex in the middle of an acanthus leaf, and another about an acanthus leaf in cross section.
Why turn a #7 gouge upside down on a leaf?
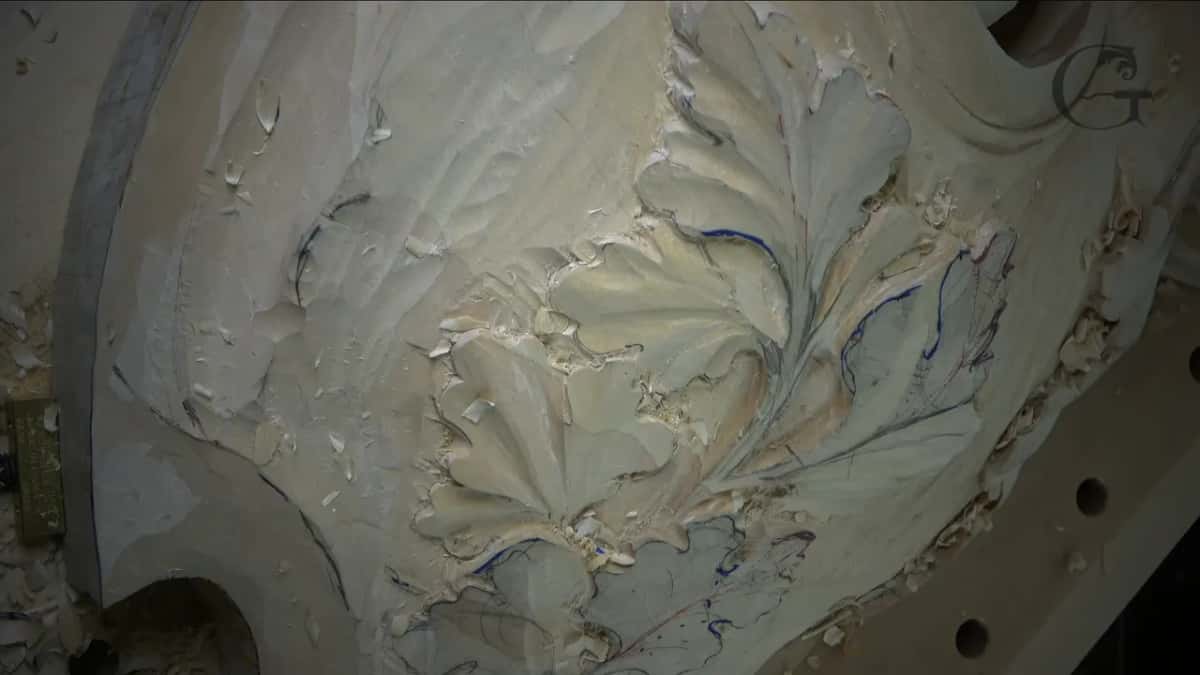
To blend the round without leaving ridges behind. On that first leaf I said I need to use probably the number 7 upside down, and I told you why I did not reach for a better tool. A back bent would help me a lot, but all I'm doing is just blending. I really don't need to see sharp ridges.
It worked there. I used it again on the small section, and on the leaf I called a little bit weird, where I said it works just fine.
It did not win every time. With the second leaf I said I'll see if I'm able to or not, because back bent would help me a lot more. A #5 back bent came next, half an inch (13 mm), and I blended one side. Then I flipped it and attacked that from the other side.
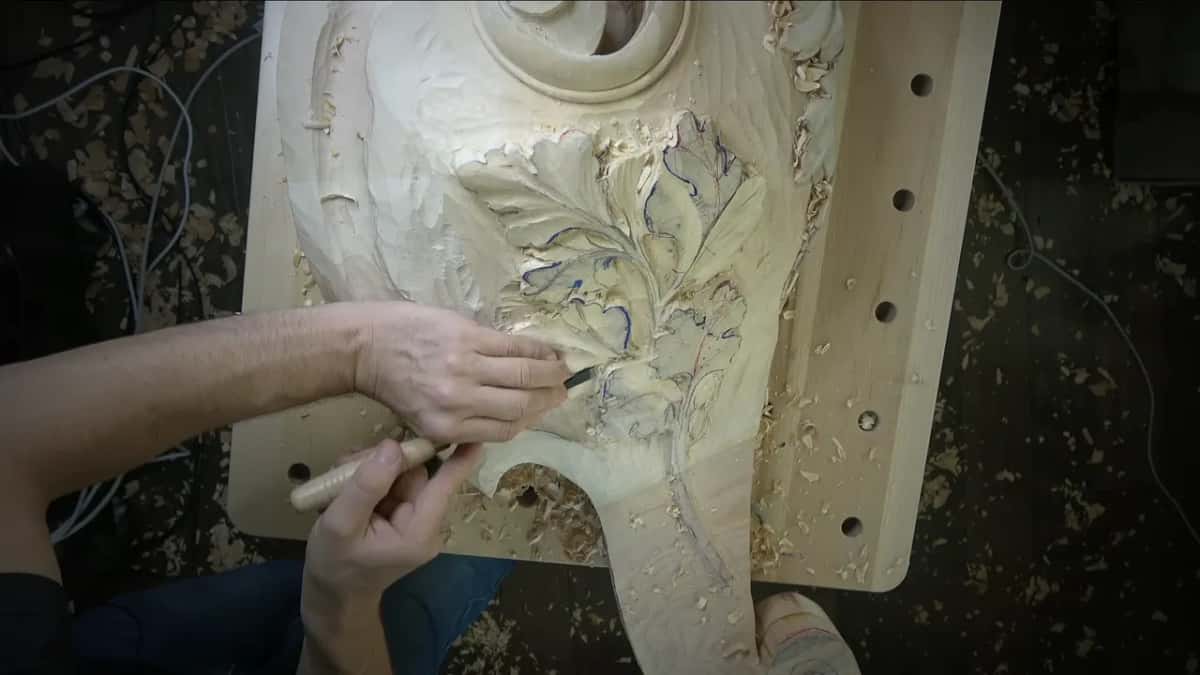
A half inch #3 turned upside down did the same kind of job, blended from both sides, on that weird leaf. And once a #7 simply did not do it. I outlined with a #3 right there, because number seven didn't work in this case.
Then there was the spot under a wave. Use a back bent to get inside of here, I said. Otherwise, there's no other tool I can fit underneath and get that final wave. That one was not a choice.
Turning a gouge over has its own page, and so does the back bent gouge. When a tool will not fit the shape in front of you, read which sweep fits a carved curve and when you need a bent gouge.
Where does the veiner point in oak leaf carving?
It points along each wave, toward the middle line of that section. I stopped in part two to show it. I probably have to explain a little better, I said, how I'm positioning the number 11 when I'm doing those waves, those curvature movements.
So I drew just one section, big and simple. A middle line going one way, another middle line, then the main outline, and then a wave, and a wave, and another wave. Yes, there will be multiple waves. That drawing was a simplified form of what I was working on.
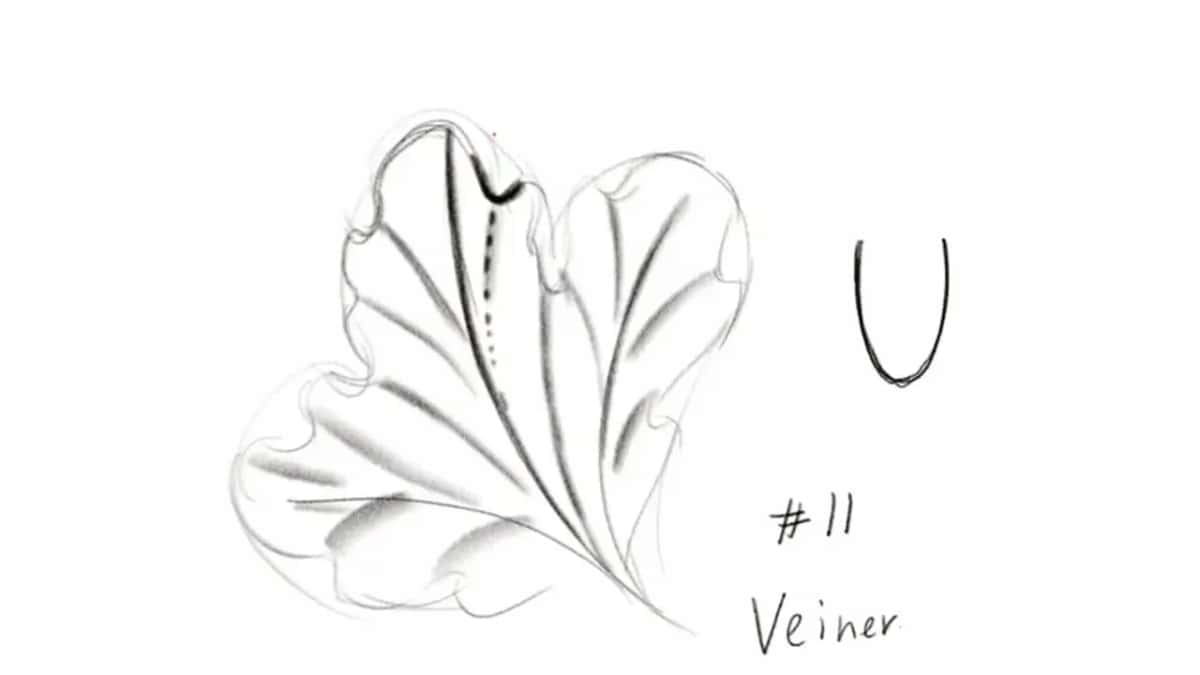
Now think about the tool itself. A #11 veiner has a really pronounced U shape. You keep the middle line in your head, and all the movements are supposed to go there. When I set the tool down, I look at my initial movement, at what I'm trying to establish, and I position the U for that. On camera I put the angle at about one o'clock and asked if it makes sense.
On the left side I position my tool again, and I have to make sure my movement continues that way as it goes lower. The right hand side gets its own position too. And the whole time, I really want to see my middle lines, since every movement heads there.
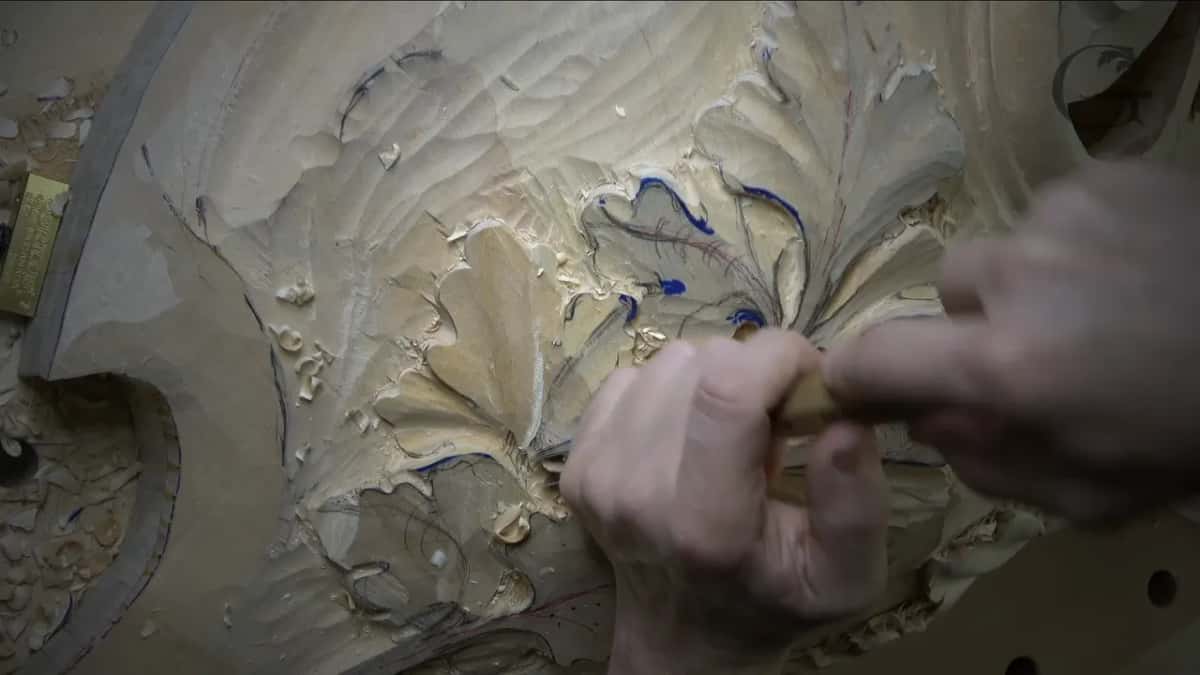
Another leaf got its waves drawn first, right on the wood, and I gave them names. That is the main triple movement, I said. One main movement, then a secondary wave, then a little wave on the side. I counted one, two, three and said I think that is enough.
One of them bothered me. This one doesn't make too much sense, but I'll try to make sense of it. So let me know if it makes sense, I said to the camera, and I started setting those notches with the 10 mm.
What do you call them? Waves or notches, whatever you call them, I said, and then I asked you to tell me the right word. The #11 makes them either way.
How small do the notches on a leaf get?
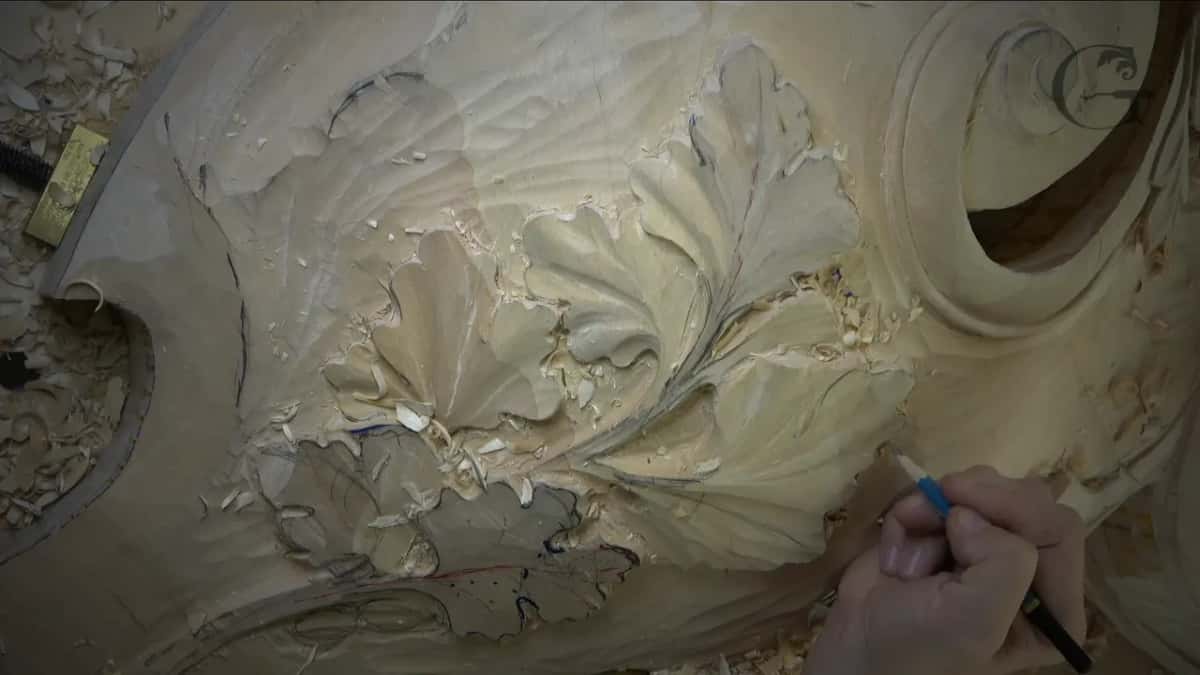
Down to 2 mm (5/64 in) while the camera ran, with 1 mm (0.04 in) promised for later. The big #11 set most of them, and it was not right everywhere. Some areas it's okay, and some areas it's a little too big, I said while I was doing it.
Smaller #11s came in where it was tight. A 5 mm (3/16 in) got underneath one section. With a 3 mm (1/8 in) I could excavate a little closer to the final form. At one spot I said I guess I need to use even smaller, like 2 millimeters, and later on I'll use just 1 millimeter to get right there.
Even my sizes were not perfect. The #5 I had in hand was a quarter inch. Actually, it was a little less than a quarter. It's supposed to be a quarter, I said twice, but it's not.
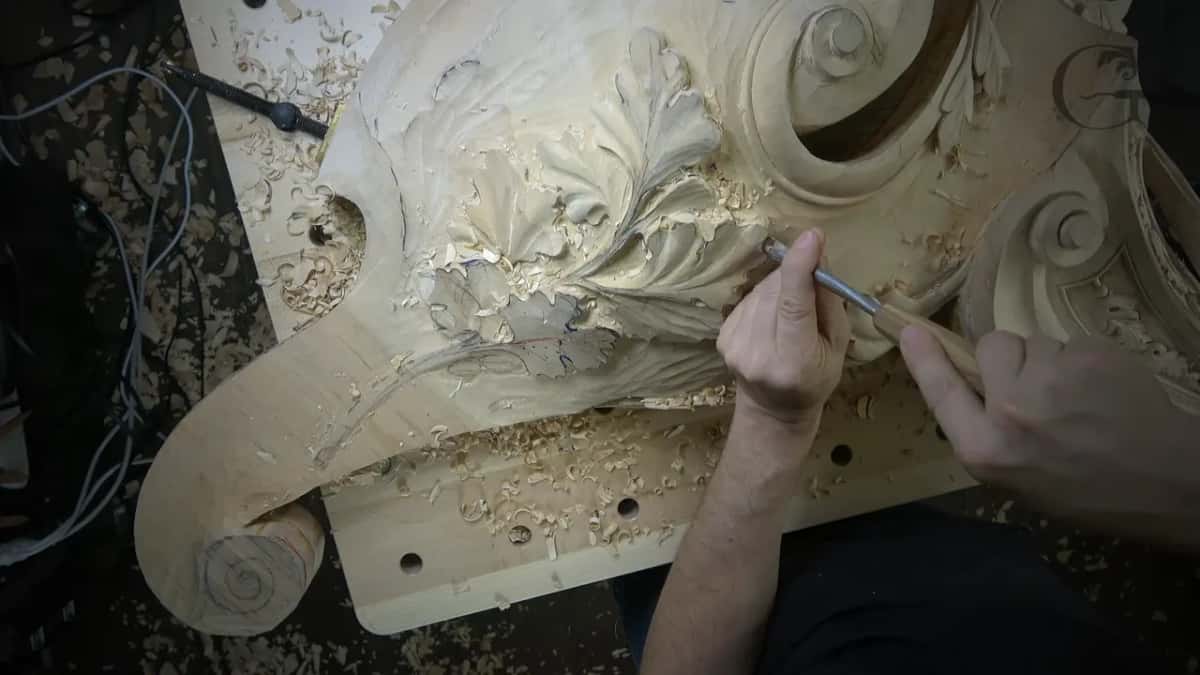
What keeps the stem showing on a carved leaf?
Lower the wood on both sides of it, using a #7, and the stem pops out. In part nine I wanted to take care of the sections where I would not lose the stem feel, the stem that goes inside the leaf. The way to do that, I'll just lower down with the number seven.
I set the #7 in the right position and made a concave. It still feels like it's a part of a leaf, but it just rolls all the way this way, and it pops out the middle section of the leaf. A stem. That makes more sense how it's connected, and the other side got the same thing.

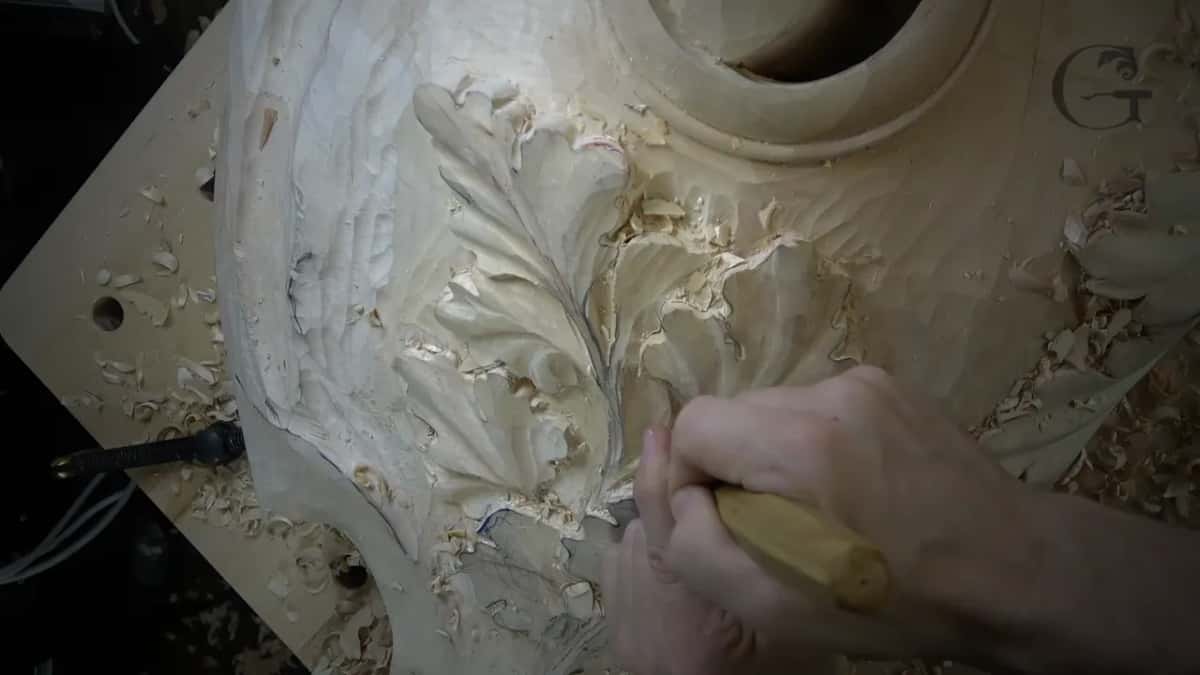
The roundness waits. At some point I will have to give roundness to that stem, I said, and I can probably do it with the back bent. This one is a #8, 6 mm, a quarter inch. A #8 back bent of that same size opened the whole lesson, by the way, and I said I don't really have to use it, but it was on my bench. Why not?
What do you do when a leaf does not look right yet?
Leave it, work on another one, and come back. That happened more than once in this lesson. I kind of don't really like how this one looks, I said at one point. Maybe I'll leave it for now and jump on this one, and then go back and work on that one.
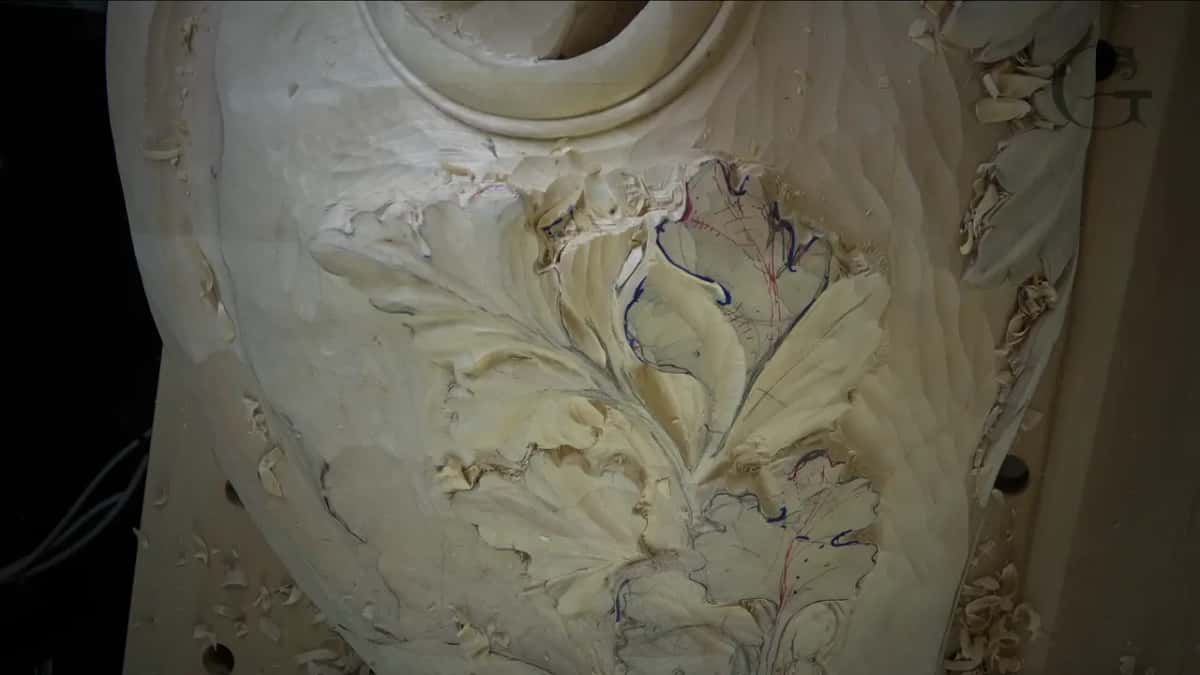
I don't want to do too uniform, I said over the weird little leaf. It will look fake if it's a little too uniform. Elsewhere I had a few small movements left to add and changed my mind in the middle of the thought. You know what? I'll just do a bigger one. And a smaller one like that.
Some choices I argued with myself about in front of you. I'll change my movement slightly, I said, and then decided to keep it after all. I also asked whether one part should sit on top, left side or the opposite. Maybe I'm going to keep the main body on top, I said. That's probably going to make more sense.
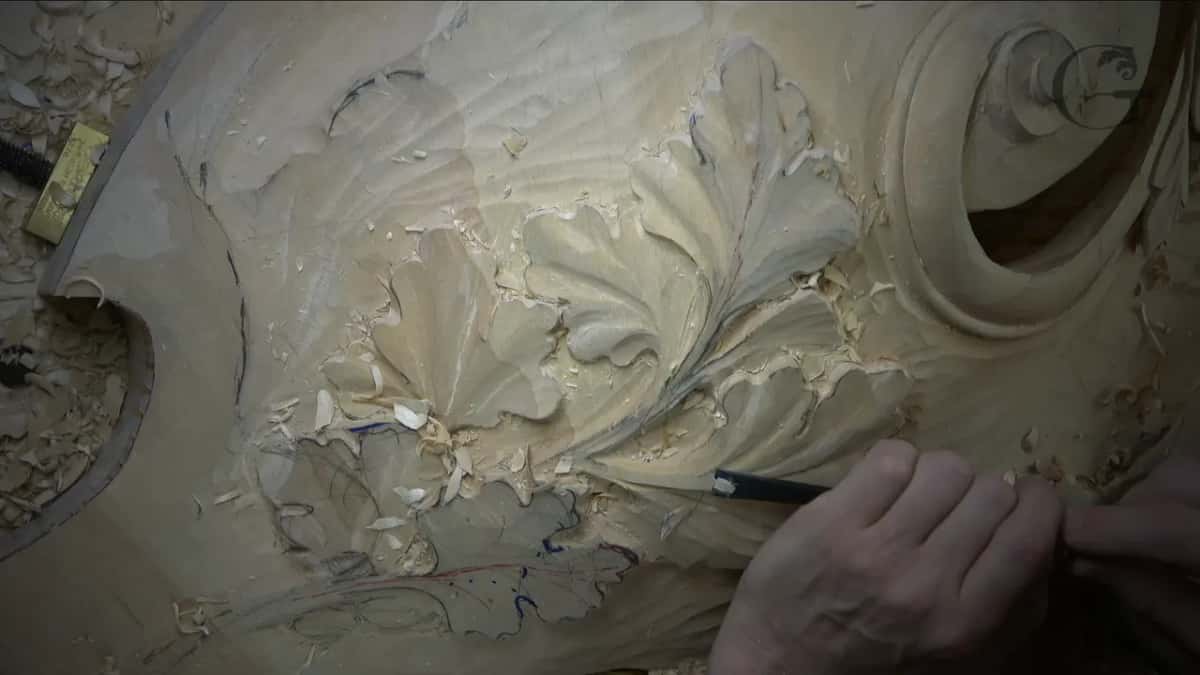
Some of it stayed messy for now. This section is also kind of messy, I said, but overall, I like it. I'm not worried about how it looks on the outside yet, because a big shell goes right here.
Clean marks help me judge the shape. I took the marker off one leaf because it just doesn't look too good. Not too appealing. A #3 got rid of all the pencil marks on another leaf, to create a clean canvas where I can see what is going on and what needs to be taken care of. After that the middle line got set again, to make it more logical.
And I made a mistake. Looks like I made mistake right here in this section, I said near the end, so I got to be really careful how I approach it. Half a minute earlier I had told you a good idea, to always work with the grain if it's possible. Earlier I had gone against the grain anyway, and I said that's okay.
Which tools did these leaves take?
Five gouge numbers and a spoon did the work, with a mallet on two of the parts. Every size below is the one I said at the bench.
| Tool | Job | Where |
|---|---|---|
| Some kind of spoon | Cleaned slightly an area near the start. | Part one |
| #11 veiner, 10 mm (3/8 in) | Hollows beside the round, and most notches. | Most lobes |
| Upside down #7 | Blended the round between the two hollows. | Five parts |
| Back bent #5, 13 mm (1/2 in) | Blended where the back bent helped more. | Part three |
| Small #11, 2 mm (5/64 in) | Took out material, then a deeper area. | Part four |
| #3, upside down | Blended the weird leaf from both sides. | Part six |
| #7, 14 mm (9/16 in) | Gave that section a little better outline. | Part seven |
| A plain #3 | Took pencil marks off for clean canvas. | Part eight |
| #7, set the right way | Lowered both sides until the stem popped. | Part nine |
Who is workshop 98 for?
Anyone who already digs hollows and rounds with a gouge and wants to watch a leaf come out of them, lobe after lobe, with the tool named each time. It is the first workshop of the Part 9 course. Workshop 97 closes the part before it, in Part 8, and workshop 99 comes next.
This relief is carved in the Venetian style, after Venice, and it is slow wood carving, done one lobe at a time. Sharpening has a course of its own, and leaves of another kind wait in the vase with grape leaves.
Would you like to see the U of the veiner aimed at the middle line, and the round show up between two hollows while you watch? Would a named tool at every step help you at your own bench? Tuition opens the whole school, and the Venice Room is one long run of courses inside it.
How it's done
- Find each middle line. Look at every section of the leaf and find its middle line. Every wave of that section goes toward it.
- Dig the hollows first. Take a three-eighths #11, 10 mm, and make a concave left and right of where the convex will stand.
- Soften the middle. Turn a #7 over and blend the middle so no sharp ridge is left. Where it will not do it, try a #5 with a back bend, or a #3 upside down.
- Aim the veiner for the waves. Set the U of the #11 along your first movement, pointing to the middle line. Set it again for the other side, still aimed at the middle line.
- Go smaller in tight notches. Change to a smaller #11, down to 2 mm, where the big one is too wide.
- Drop the wood by the stem. Use a #7 to make a concave along both flanks of the stem, so it pops out and still feels like part of the leaf. Its roundness comes later, with a back bent.
- Clean and look again. Go over the leaf using a #3 until the marks are gone and you can see what still needs work.
Frequently asked questions
What size veiner makes the waves on a carved leaf?
Mine were mostly made by the same big #11 that dug the hollows, three-eighths of an inch wide. Some spots were fine with it and some came out a little too big. For those I went smaller, and the smallest I used on camera was 2 mm.
Do you need a back bent gouge to carve leaves?
Workshop 98 had spots that called for one and spots that did not. For plain blending a #7 flipped over was enough, though I wished for the back bent. Under one wave the back bent was the only tool that could fit underneath.
Why does a carved leaf look fake?
A leaf looks fake when it is a little too uniform. I said so while working a small, weird leaf with three middle lines in a much smaller area, and later, on another leaf, I chose one bigger movement and one smaller one.
What to carve next