

Alexander Grabovetskiy, woodcarver, School of Woodcarving · Published 2021
How do you carve two coves so they meet like a miter?
Quick answer: A carved miter between two coves is a look made with gouges, not a joint. On a Venetian corbel I took a square corner off using a #7, sank two #11 veiners to around a quarter inch, dug the cove with a 20 mm #7, and blended it into its neighbor until the corner felt mitered.
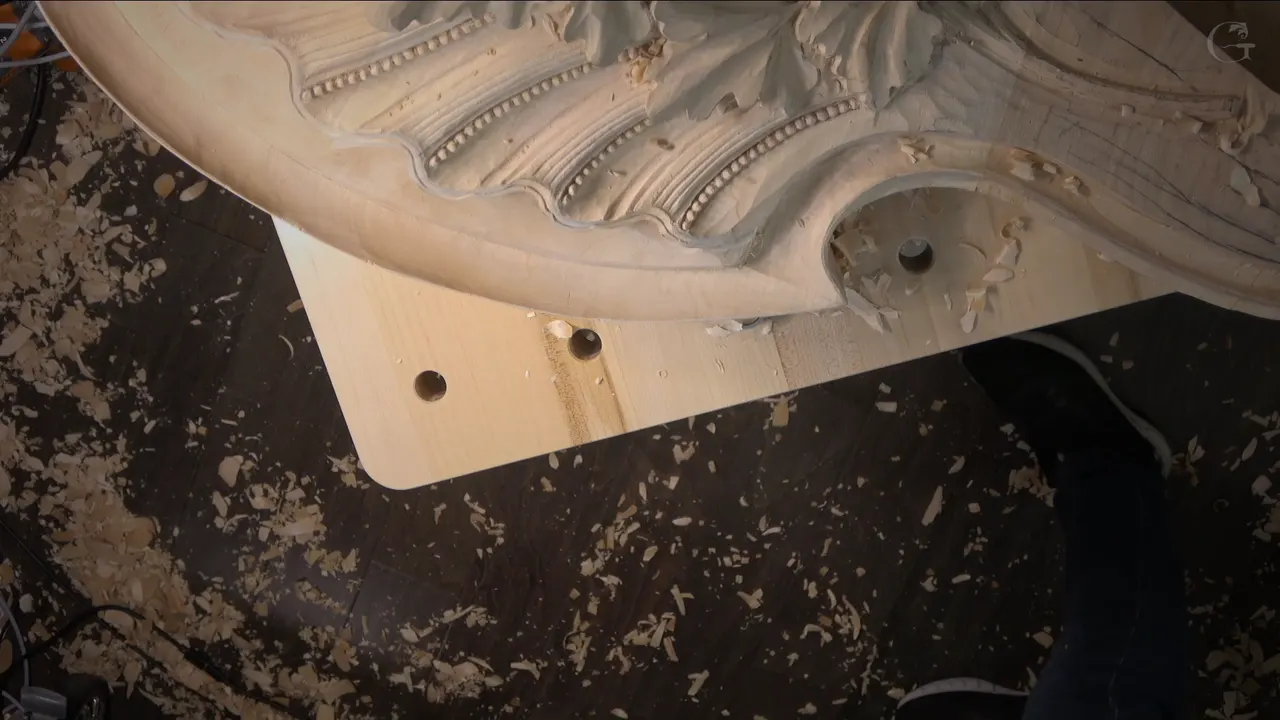
A mitered corner in carved wood is a look you make with gouges, and on my Venetian piece both coves came out of the same block. Two faces of about two inches (51 mm) met there at a plain 90 degrees. I took that corner off with a #7, ran a knife along a line, sent two veiners in after it, then shaped the hollow using a broader #7 and blended it into the cove beside it. It only reads as a miter.
Have you ever seen a molding go around the corner of a door frame? Did the hollow in it keep going around the turn? I carved that same turn into this block in workshop 101, and I'll give you each tool, each size, and the moment I stopped.
A carpenter makes that turn with a miter joint, two pieces sawn at 45 degrees and closed tight, the way crown molding goes up where a wall meets the ceiling. Mine has no second piece. Both hollows are carved into one block with gouges and a knife, and on camera I said it straight. Not really miter, but the idea of miter.
A cove is a concave hollow, the shape architects call a cavetto, and a cove molding is a long run of it. This corner sits in Venice Room, Part 9, and the cove it had to match was already carved in the area next to it. Workshop 100 came right before this one. A long concave molding carved end to end is a different job, and it has its own page from workshop 58.
What workshop 101 did to one square corner
First a #7, 14 mm (9/16 in), took the 90 degree corner off.
Right after it came a #9 of some 10 mm (3/8 in), and when it needed sharpening I got another one.
My #12 knife ran the line before any veiner touched it.
Then a #11 veiner, 5 mm (3/16 in), and later a bigger one brought the depth to about 6 mm (1/4 in).
A wider #7, near 20 mm (3/4 in), dug the hollow itself.
Blending the two coves came last, and I stopped short of overdoing it.
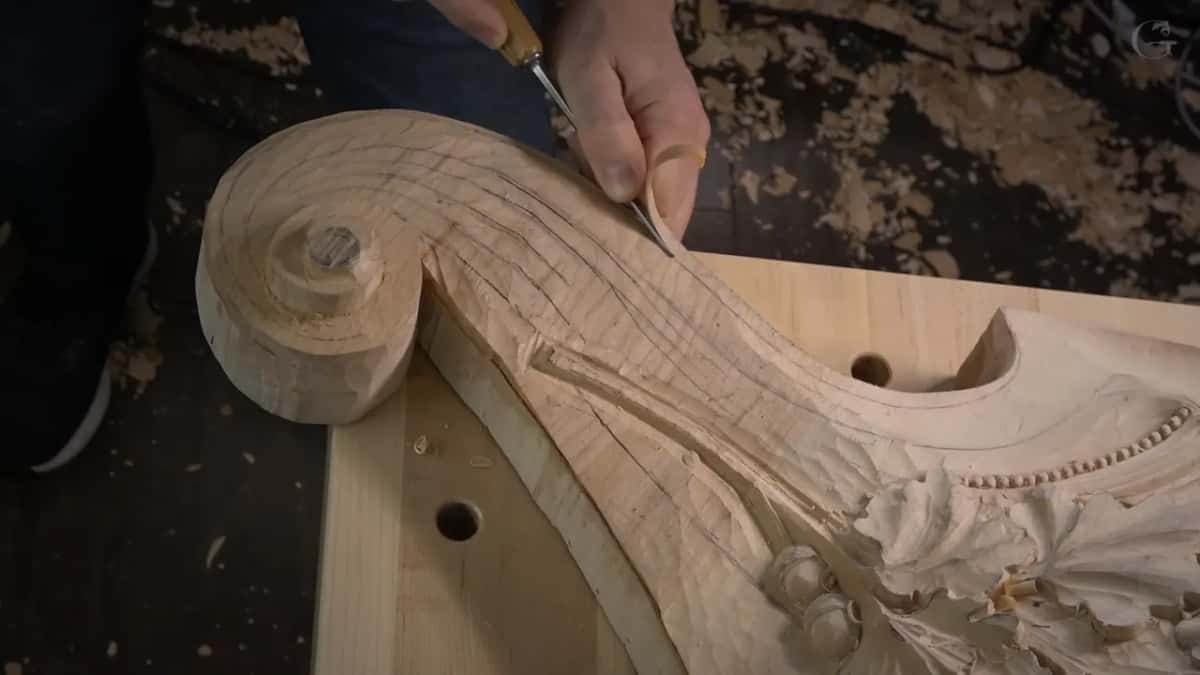
Why does a plain 90 degree corner look wrong here?
That area was going to connect to the main part, and two flat planes of about two inches just meeting there would not look as nice. Right then it was absolutely 90 degrees, and I said so on camera: that is not what I want to see.
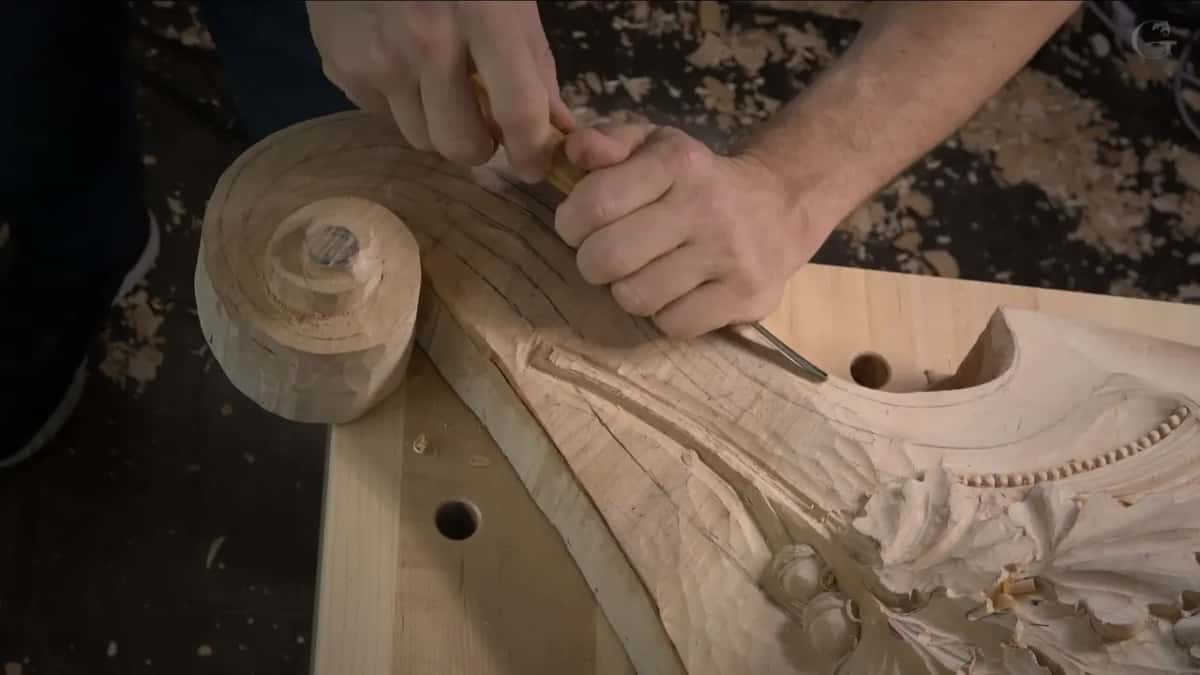
At the very start I said I wanted to do something really interesting in this area. Some kind of detail had to go inside that corner. I also wanted the same cove I already had in the area beside it, done right here too. After that the shell would continue and wrap around, and later I would come back and develop the details, on the camera if I could. That was the goal, I told you.
Which gouge takes the square corner off first?
The 14 mm #7 did, and step one was nothing more than that knockdown. What I needed was one line, some 10 mm or three-eighths of an inch off the line beside it, and it runs down to nothing at a sharp point. That line wraps all the way around.

I called it a preliminary knockdown, and I meant it. The detail comes later. At one point I said maybe I could go a little farther on one side. Next I said I could probably attack it with a #9 right away, so you would see exactly what was going on later, and I took one of 10 mm or so and worked it both ways. That's plenty, I said.
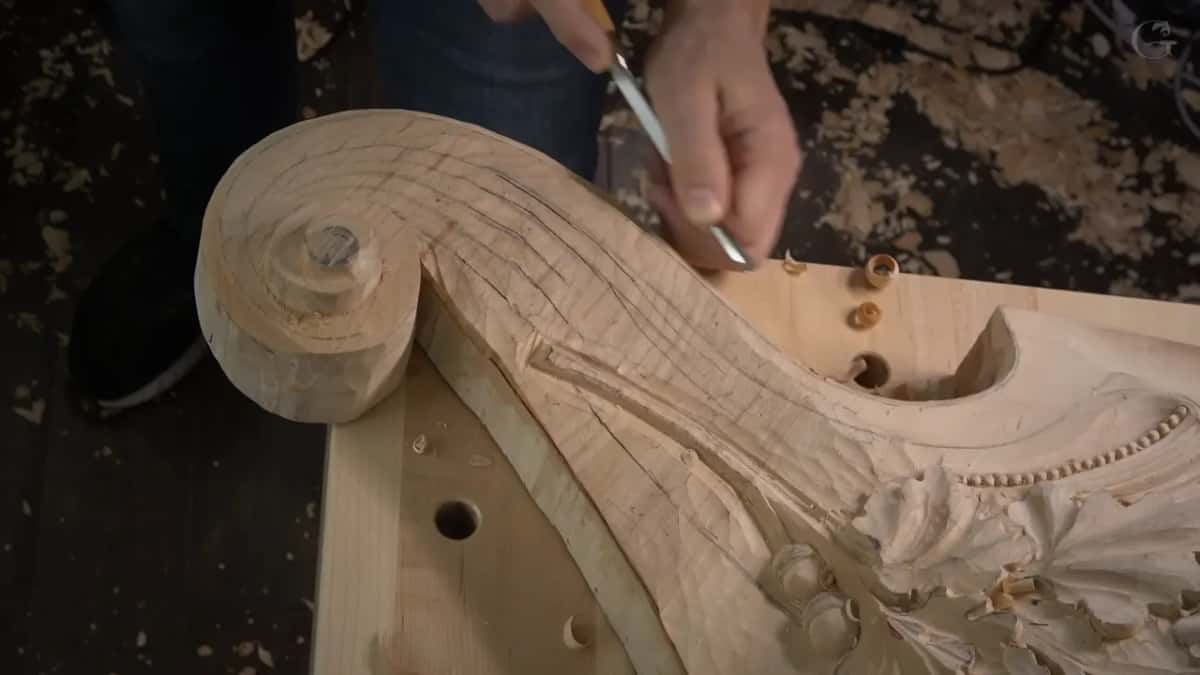
That #9 needed sharpening before long, so I put it down and got another one. Sharpening has a course of its own. My blend right after wanted no #9 at all. What I wanted there was a #7 or so, in a spot that was not really convenient for me, and I said that too.
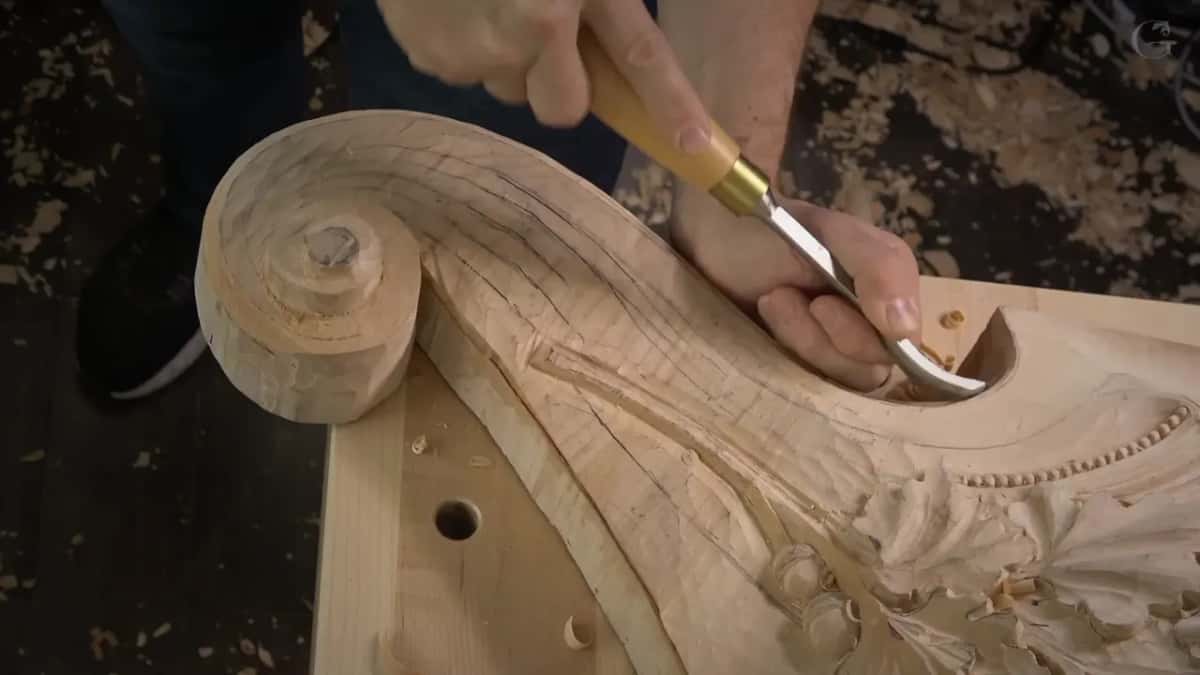
Why run a knife along the line before the veiner?
Running it first told me the edge would come out really nice and smooth. Swiss made, my #12 is one of my favorite knives, and it went right around the line before a veiner came near the wood. Later in this workshop I call my number 12 the knife I love. I name it a Pfeil there.
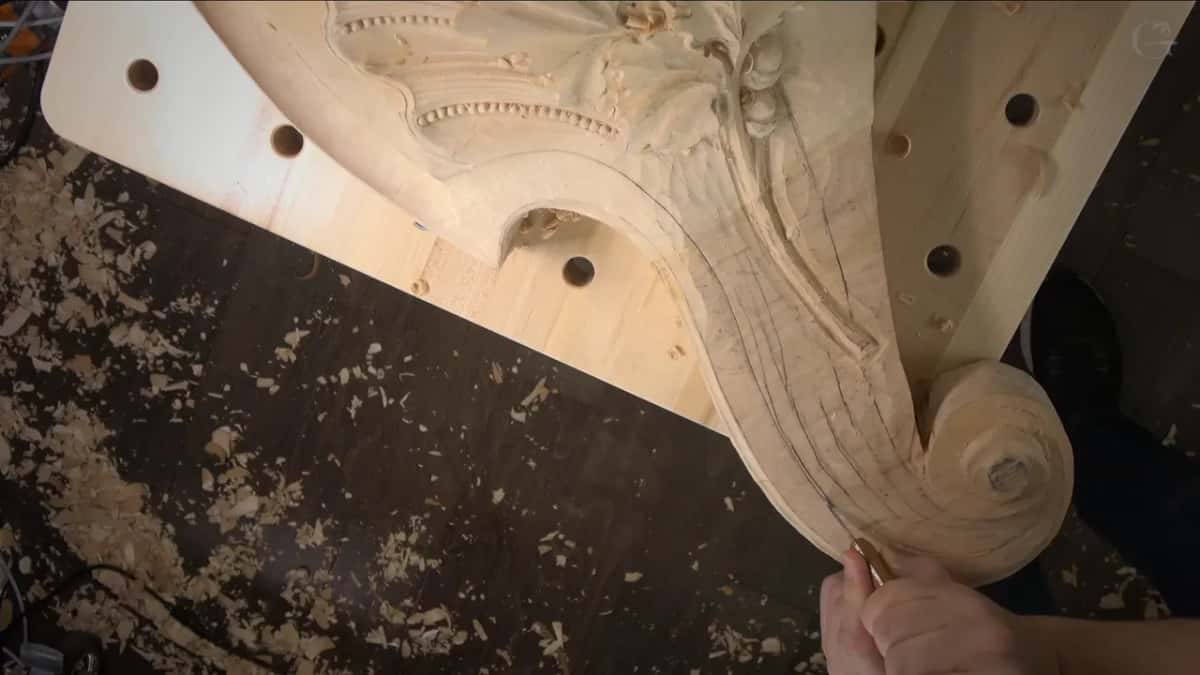
Which side of the line mattered too. The cove had to stay on its side, because the cove goes to that line. Right before the knife I caught myself carving on the wrong side of it, and I was glad I noticed while I still had plenty of wood. Have to be careful, I said, twice.
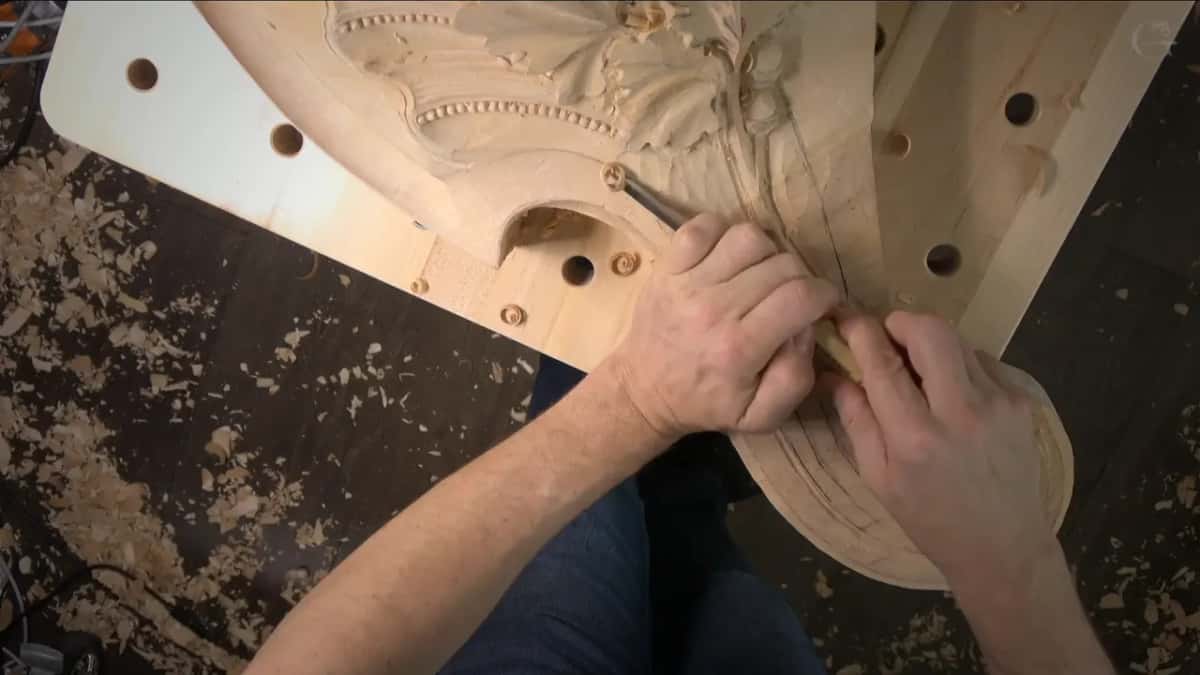
Then the veiners went in. First came a #11 at 5 mm, right beside the line. After a while I took a bigger one, a #11 at 10 mm, because I thought I was safe with a bigger one by then. Next I changed my position and came at it from the other side, maybe even deeper.

How deep should a small carved cove be?
About 6 mm was the number I settled on for this one, a quarter of an inch. When I looked, I had about 5 mm, maybe a little more, three-sixteenths of an inch, and in some areas nearer a quarter inch. So I told myself to be consistent, like 6 mm everywhere. Take that as the number for this one hollow.

It did not stay there. In the next part I was not too happy with how deep the cove was, and I wanted it deeper for the shadow's sake, because the light was going to hit from one position and cast a shadow in there. Back went the #11 at 5 mm for an even deeper pass. It did not go as smooth as I wished. But it was okay, and by the end of that part the light coming from one side already gave me a really nice deep shadow.
Which tool digs the hollow of the cove?
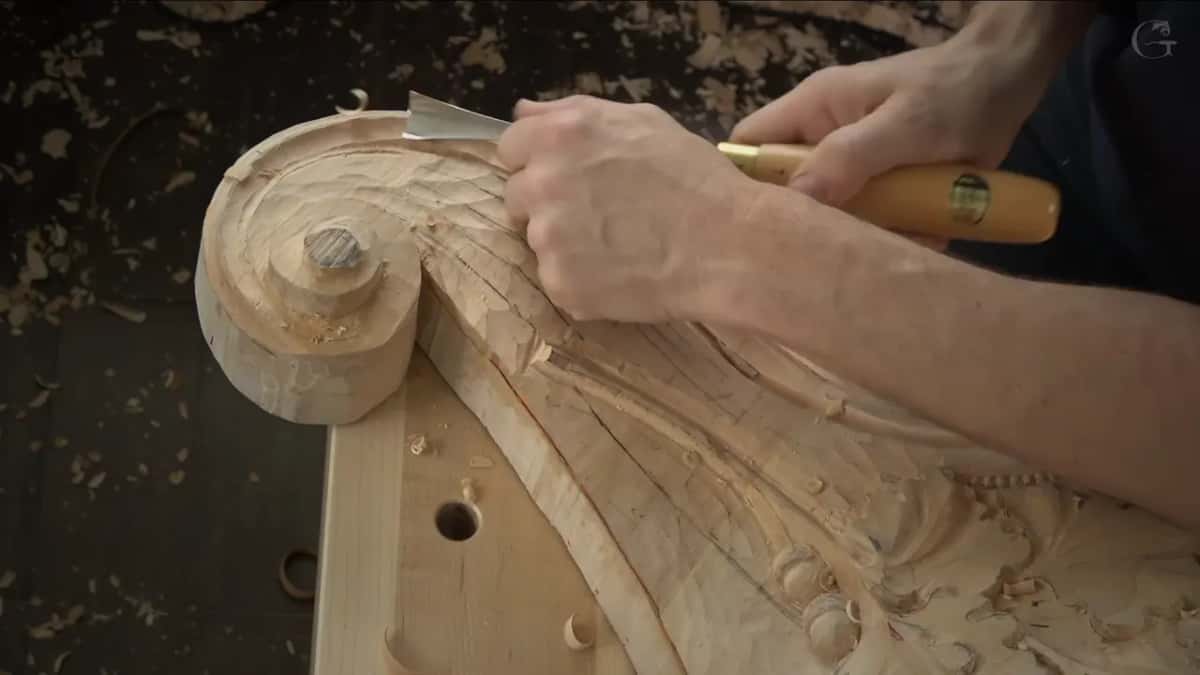
A wider #7 did, 20 mm or so, three-quarters of an inch. The veiners had fixed the depth next to the line, and this #7 created the cove itself. First I had to choose the right position for it.
And yes, I carved that against the grain, only because I didn't want to change the camera position. My reason, said out loud. In part four, each pass gave me a cleaner and cleaner look, and once more it was against the grain.
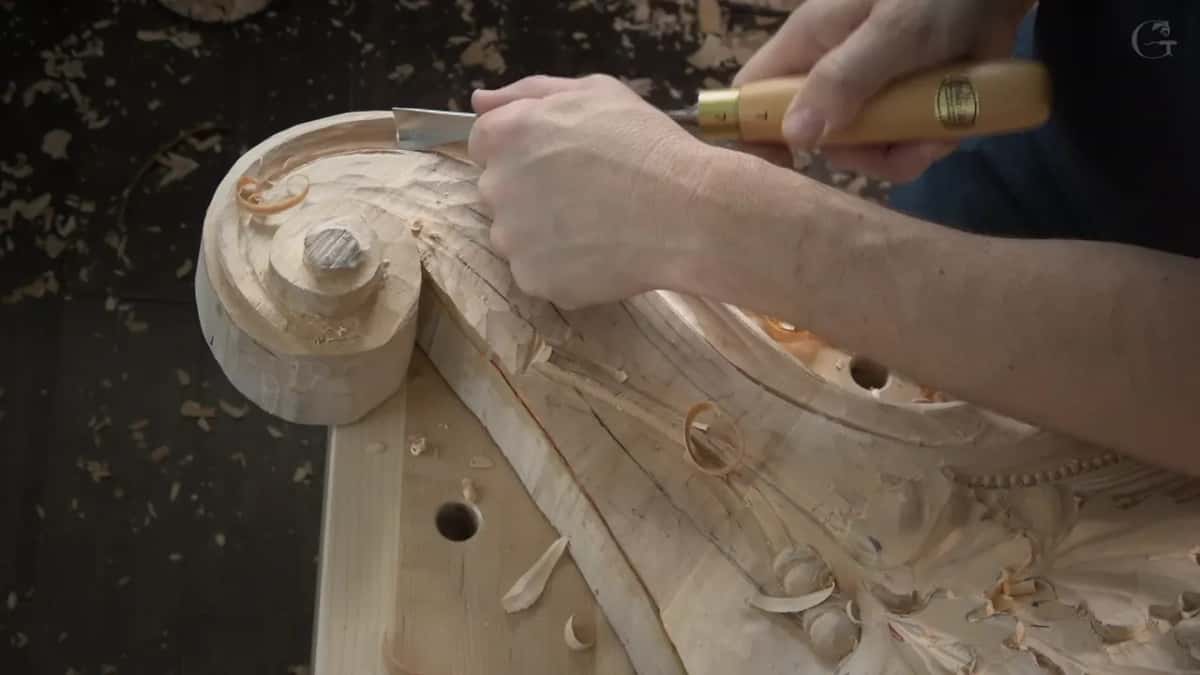
How do you make two coves read as one mitered corner?
I let my concave start somewhere near the corner and run until the two just got together. You are not going to see the line right there. Still, it creates the feel that the two parts, this part and that part, are mitered together, and that feel was what I was after.
Before the miter, the new cove had to blend with the one beside it, and I said the blend had to be gradual. Really gradual. I came at that section carefully. Blending one curve into the next has its own page from workshop 48.
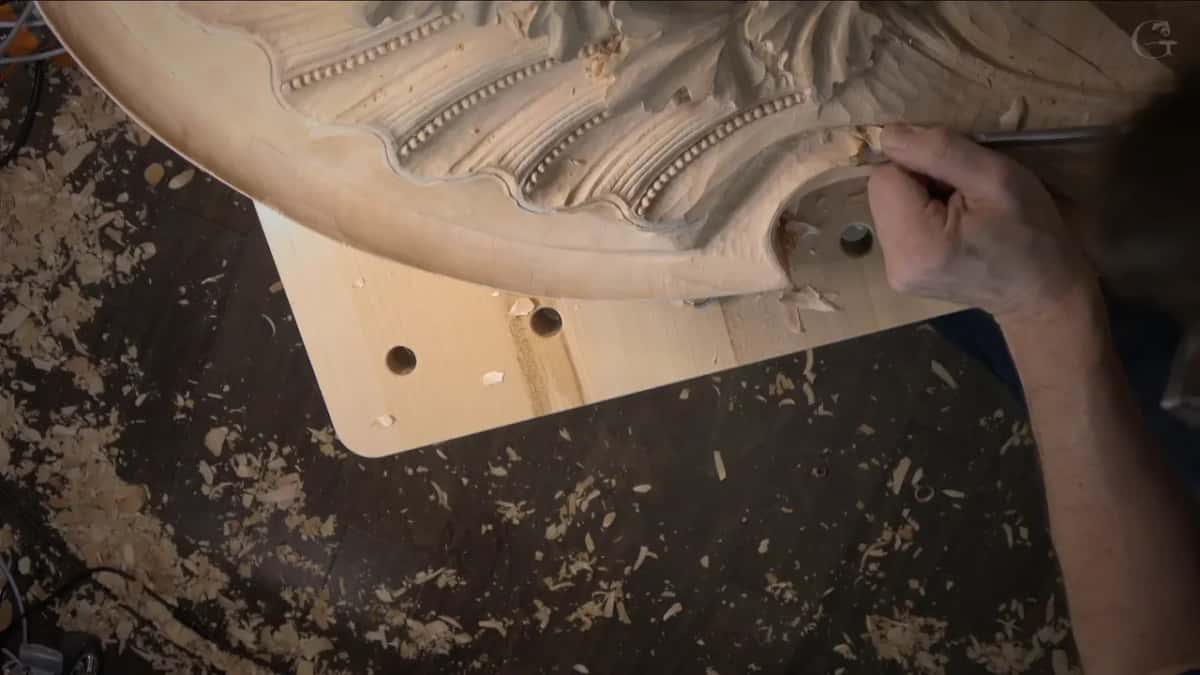
The miter itself needed a smaller #7 to blend them, and I also said a #5 was what I had been using. The #11 came back to clean all that fuss, and then the #5 once more. Subtle, but still detectable, like a miter feel, was how I wanted it. When it came, I said so. Here you go, I've got it.

I kind of exaggerated the intersection, and then I made a clean pass across it. I told the camera I hoped you could detect that miter. Not really a miter, I said, but the idea of a miter.
When does another pass become too much?
On this corner, the next pass with the smaller #7 would have been too much. I can overdo it, of course, and I did not want that. When you concentrate too long on one area, you have a tendency to overdo it, and that is the problem sometimes, with me and, I guess, with everyone.
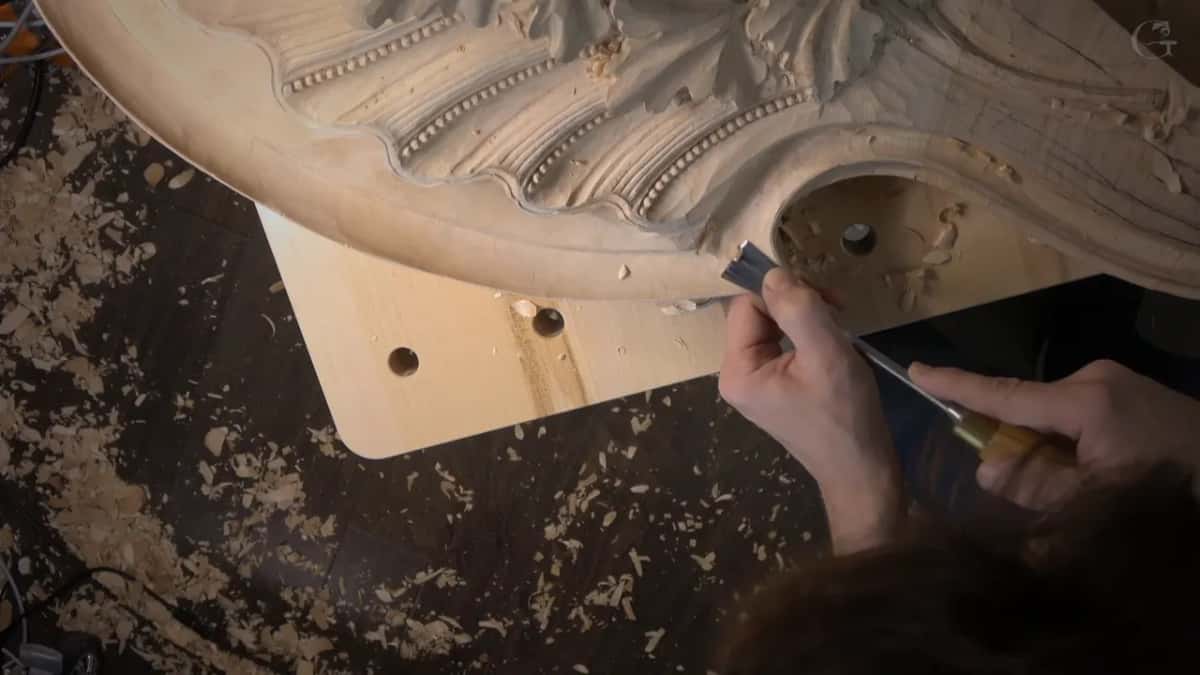
One more pass in that section and I would have had to fix it somehow. It's not unfixable. But the surface was really nice and smooth, and I didn't want to kill that feel, so I left it there and said I would get extra passes in later.
What if a pass does not come out smooth?
I told the camera not to worry about how it looked right then. At the start of the next part I said I would clean it, but not right away. Maybe some of the rough spots, and that was all. I would not worry too much about cleaning yet. The shell came next.
What happens where the cove runs into the shell?
The shell gets its first pass, and the cove has to blend into it. This side belongs to a shell, and that shell goes the whole way like this, which means that part gets raised up a little. I took the #11 at 10 mm for an initial pass there, not as deep this time, no more than about three-sixteenths of an inch, 5 mm.
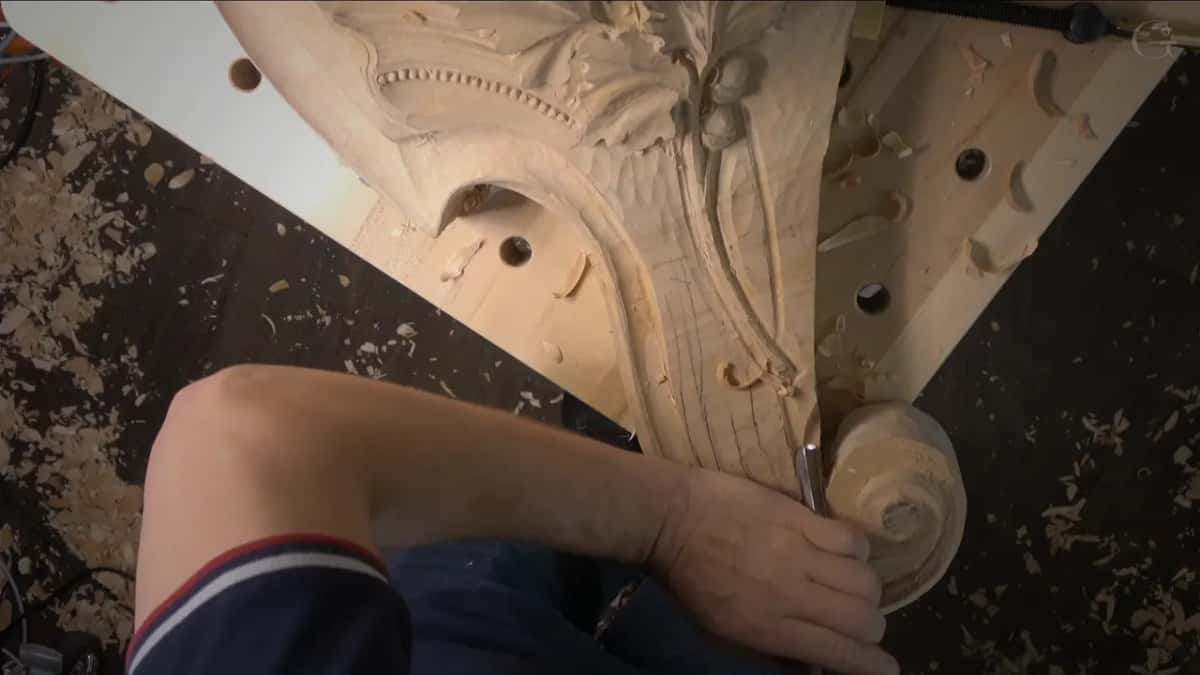
A bump showed up there, a raised part that was not correct. That bump had to go. The block is laminated, so a lighter layer of wood showed me how deep to go, and I said a #7, or even a #5, would work there. Not everywhere, though. It still had to blend together, and I could lower the other side too, a little later.
The bump got a #2, two inches wide, about 50 mm. Then my hand checked it, because you can feel with your hand much better than even with the human eye. The movement was gradual all the way. I was happy. I still had to make sure I liked how it all blended together overall.

Which tools went into this one corner?
| Tool and size | What it did at this corner | When |
|---|---|---|
| A #7, 14 mm | Knocked the plain square edge down first. | Part one |
| Number 9, 10 mm | Went in right away, then needed sharpening. | Same part |
| My #12 Swiss knife | Ran along the whole line before any veiner. | Part two |
| Small #11, 5 mm | Made the first pass hugging the line. | Parts two, three |
| Bigger #11, 10 mm | Went in once I felt safe with it. | Middle of two |
| Wide #7, 20 mm | Made the hollow of the cove itself. | End of two |
| Smaller #7, then #5 | Blended the two coves toward a miter feel. | Fourth part |
| Flat #2, 50 mm | Took care of the bump by the shell. | Parts five, six |
What comes after the coves in workshop 101?
After the coves I divided the space beside them into four concaves and three convexes, then carved tiny beads there, no more than a couple of millimeters, with #11 veiners of 2 mm (5/64 in) and 1 mm (about 1/32 in). It was a little challenging, I said, but not impossible, and I did most of them off camera with a magnifier glass. A normal bead molding along a curve is on another page.
Later I moved to the other side of the corbel, lowered a section I had left high on purpose, and exposed just a slight corner of an edge, so it looks more like architectural carving. How exact that sort of work has to be is the question of workshop 92.
Who is workshop 101 for?
Workshop 101 is for a carver who wants to watch a square corner turn soft, pass by pass, and I name most tools as I pick them up. It runs in twelve parts of about seven minutes each, and the coves fill the first five. After them come the beads. The last three parts belong to the corbel's far side. It sits next to workshop 102 and workshop 99, and workshop 98 opened Part 9 with oak leaves.
You will see me change my mind about a depth, put down a dull #9, and say out loud where I could overdo it. When the camera misses something, I say sorry and explain it again. You will hear me stop and say let me think before I pick up the next tool, too. This is slow wood carving for a Venetian room, one corner at a time, and a later part of the same room reads a molding profile at a true 45 degree miter.
Would it help to see the two coves meet on your own screen, and hear each size as I pick up the tool? Tuition opens the whole school, the Venice Room included.
How it's done
- Knock the corner off. Take a #7 about 14 mm (9/16 in) and knock the corner down to a line roughly 10 mm (3/8 in) from its neighbor, running out to a sharp point.
- Keep a sharp #9 going. Follow with a #9 near 10 mm, both ways, and swap to another one when it needs sharpening.
- Run the knife first. Draw a knife the full length of the line, on the side the cove will reach, so that edge comes out smooth.
- Fix the depth with veiners. Go in with a 5 mm #11 tight to the line, then a 10 mm one, and stay consistent near 6 mm (1/4 in) everywhere.
- Dig the cove. Choose the right position, then make the hollow with a #7 about 20 mm (3/4 in).
- Blend toward a miter feel, then stop. Let the two concaves run until they get together. Blend with a smaller #7 and a #5, clean the fuss with the #11, and stop before you kill that feel.
Frequently asked questions
Do you need a miter saw for a carved miter look?
On this corner every tool was a gouge or a knife, and both hollows sit in one block. A #7 took the square edge off, veiners gave it depth, and a wider #7 shaped the cove. The miter lives in how the two coves blend into each other.
How deep did the cove on this corbel go?
Around 6 mm, a quarter inch, after a first reading near 5 mm with a few spots deeper. In part three I went back in with a 5 mm #11, since I wanted more shadow where the light would come from one side.
Can you fix a blend you have overdone?
Overdone work is not unfixable, I said on camera. I still stopped while the surface was smooth, because another stroke of the smaller #7 would have meant fixing it somehow. Extra passes, I said, would come later.
What to carve next