
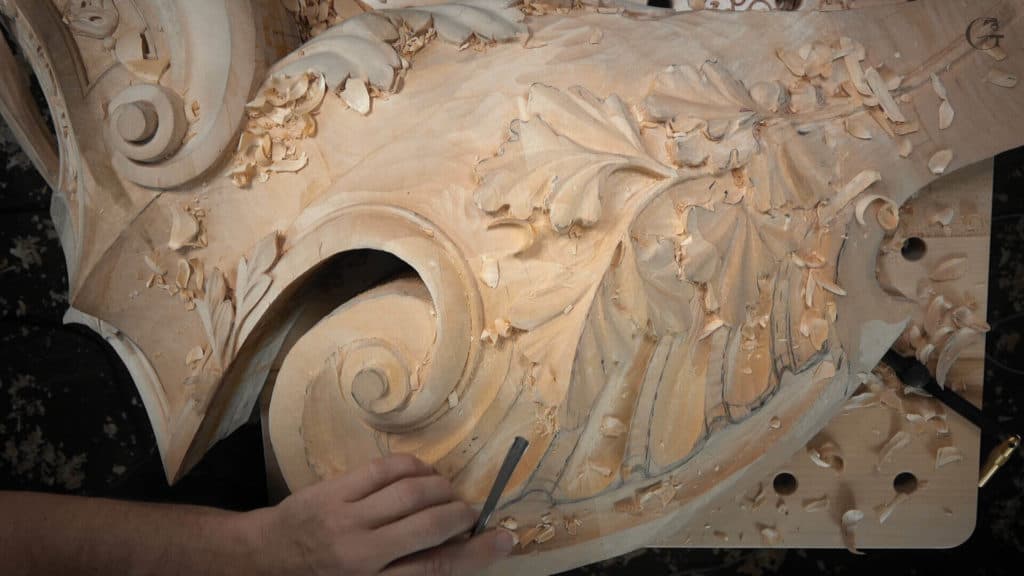
Alexander Grabovetskiy, woodcarver, School of Woodcarving · Published 2021
How do you carve an acorn in wood?
Quick answer: Carving an acorn in relief is gouge work on wood that stays attached. I made room around two acorns with a #3, a #7 and an #11, rounded them with a half inch #7, lowered the stem next to them, and split the hat from the nut with a skew before the ground went lower.
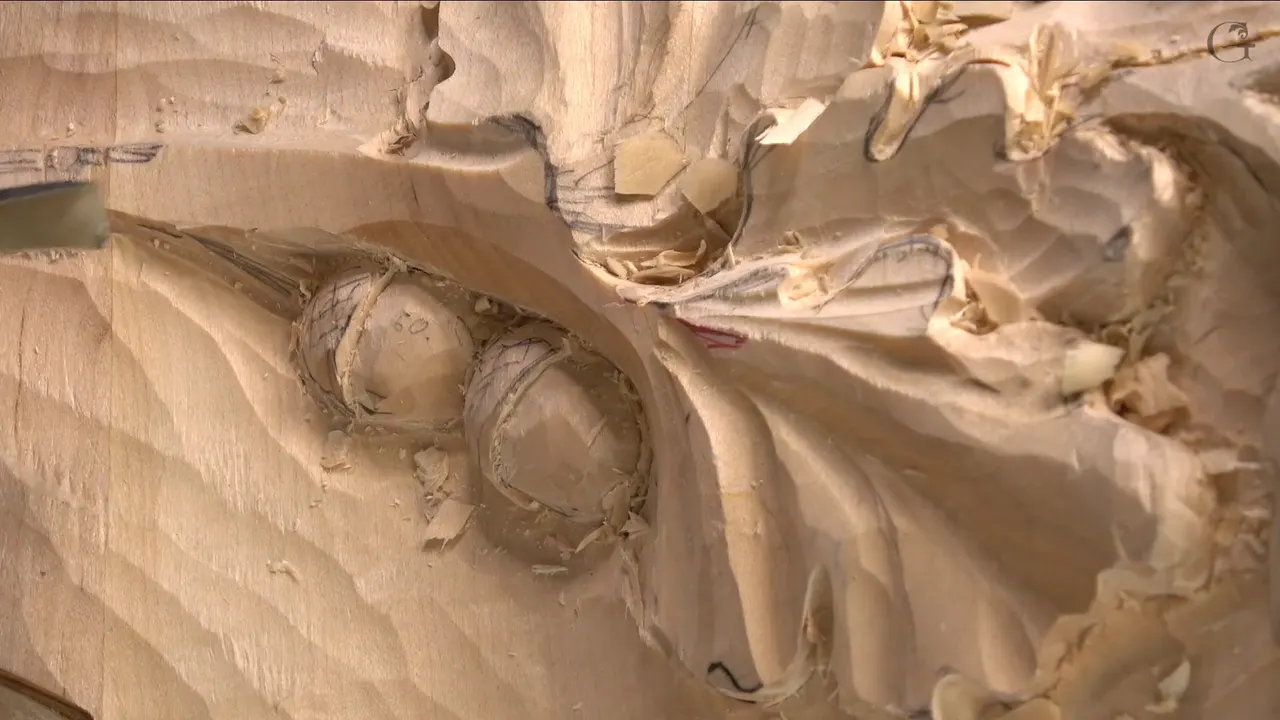
Acorn carving in relief is gouge work, and the two acorns on this Venetian piece never come loose from the wood they grow out of. In workshop 99 I made room for them using a #3, a #7 and a #11, gave them roundness, and took the stem beside them lower so I would not have to undercut much under there. A skew made the first line between the hat and the nut. Then the ground around them went even lower, because I really wanted to see them.
Have you ever held a real acorn? Did you notice the cap sitting on the nut like a small hat? You can bring that same shape up out of a flat board, still attached, with a branch and oak leaves around it, and on this page I name each tool I used for it, by number, and by size wherever I gave one.
An acorn can also be carved loose, in the round, from a little block you hold in one hand. These two are different. They belong to an oak branch in Venice Room, Part 9, carved in relief with gouges on a piece that has a volute, and a shell with bead molding still has to go in below them. Workshop 99 is twelve parts and more than eighty minutes, and the acorns fill the middle of it, from part six through part ten.
What happened to the two acorns in workshop 99
I moved them in near the stem, and both face one direction.
I doubted out loud, three times, that I had left enough material.
A #7, half an inch wide, gave them roundness, and then a triangle of waste came out.
Next to them the stem came down lower, which kept the undercut small.
The hat line came first, and a skew made it.
At the end the ground dropped lower and lower, and the real undercut waits for the shell, which begins in part eleven.
Is acorn carving on a panel different from carving one loose?
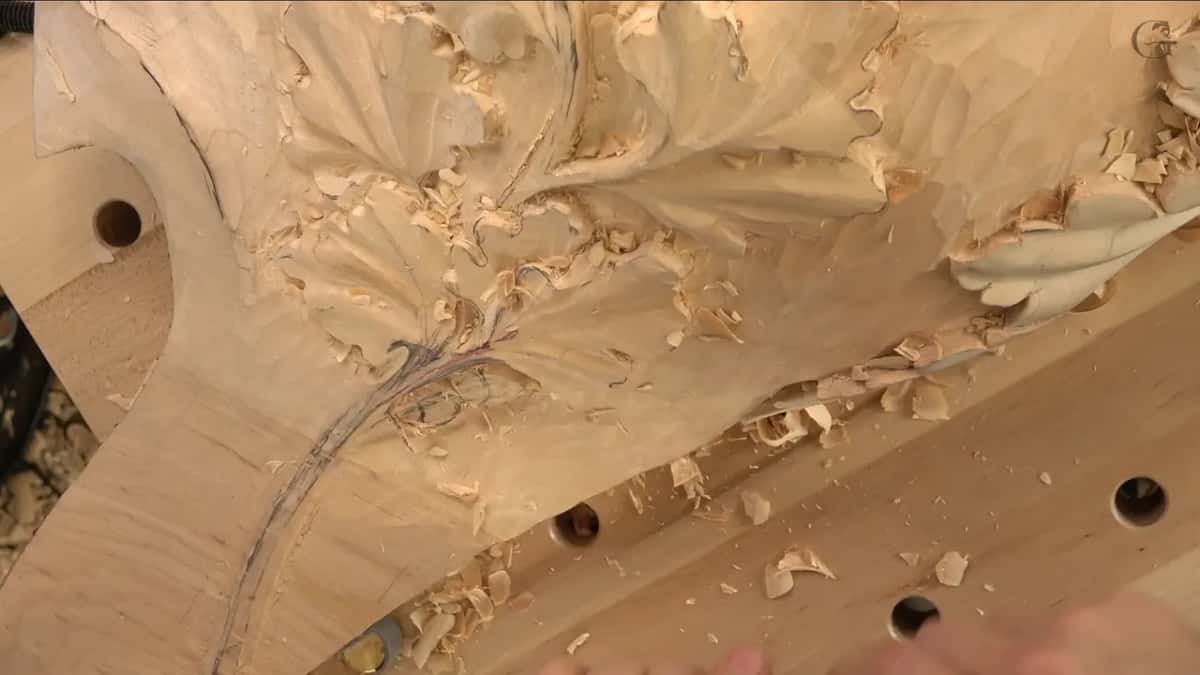
A relief acorn stays joined to the board. Before you can round it, you have to excavate some area around it, and you can work it only from the sides that are open. On this branch that meant working next to a stem and under a group of leaves.
Part six had a spot like that. I am going against the grain, I said, a little bit dangerous, but it's okay. A loose acorn you could turn over in your hand until the easy side faced you. This one stays where it is, so it has to be attacked from the right position, a phrase I used more than once.

There is a second difference. A loose acorn only has to look like an acorn. These two also have to help the leaves read as oak, and early in part ten I said I don't know if it looks even like oak leaves without those acorns. How the leaves themselves were carved is on the workshop 98 page, so here I stay with the acorns.
Where do the acorns sit on the branch?
Close to the stem, both facing the same way. Logically, let me actually get them a little closer to the stem, I said when I came to them in part six. They face this direction because that makes more sense to me. There are two of them, and each has a head, the hat, with the nut itself below it.
I gave their size as a maybe, about an inch long and about three quarters of an inch wide, roughly 25 by 19 mm. Couple of them like this, I said. But again, I need to think.

What if you did not leave enough wood for the acorns?
You keep digging around them and find out. I did exactly that in part six, and I worried out loud three times on the way.
The first worry came right at the start. I think I still have plenty of material left, I'm not sure, but I sure hope so. A few minutes later it was, I'm not sure if I even have enough material there, I hope I do. The third time I asked why I didn't leave enough material, and then I answered myself. Maybe there is enough. Just about.
The tools came out in a plain order. A #3 first, to chip around a little bit. Then a #7, to establish the overall shape, how they should look in the overall setting. An #11 came next, to excavate around them, and for the area around that I said a #7 or a #5 will work. Late in part seven the worry was gone. It looks like I have plenty of material, I said. I was worried a little bit.
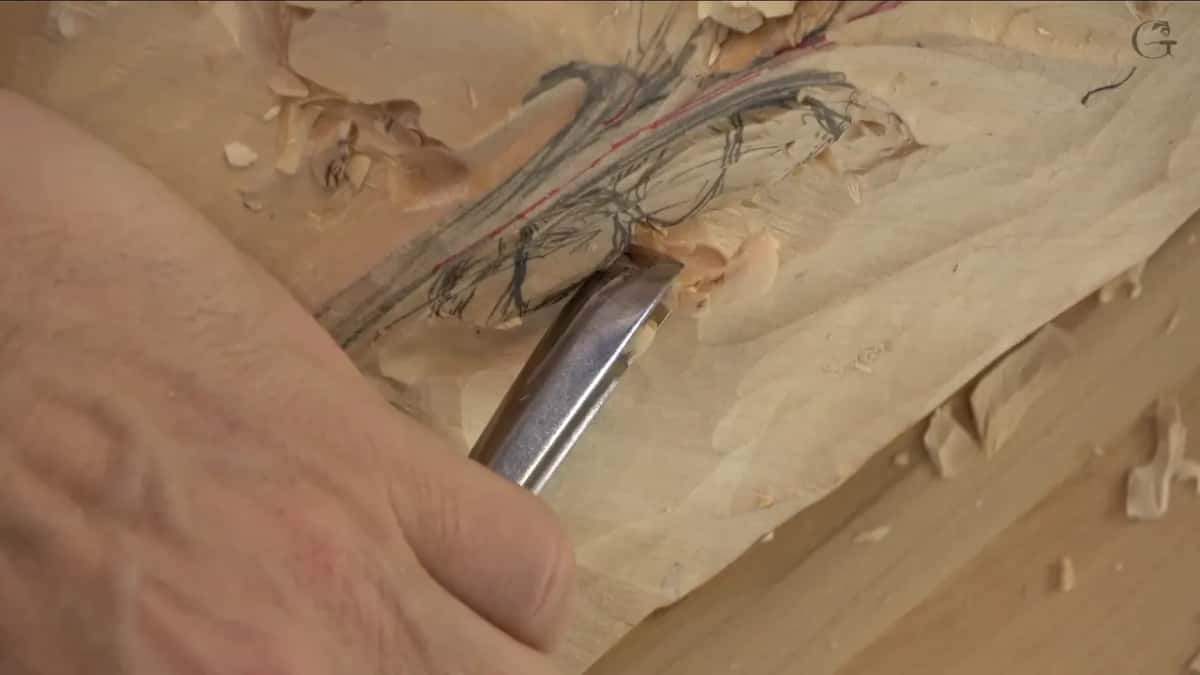
Two other spots had already been lowered before the acorns were touched. Back in part two I wanted to lower down completely one section with the #7, since that way it gives a really nice 3D look. Two parts later the background height showed too big of a difference, and an #11 excavated it to the same level.
Which gouges round an acorn in relief?
A #7 first, then whatever reaches. Now I need to give some roundness to my acorn. That was part six. I picked up the same #7, half an inch, about 13 mm, for the overall shape.

Part seven began with a triangle. Attacking from two sides, I took it out, then went for the overall roundness, and I went carefully there because some of it ran against the grain. Next I needed a little bigger tool, maybe even a back bent, just to give a shape. And right after, I said it doesn't have to be a back bent, I could actually use a skew.
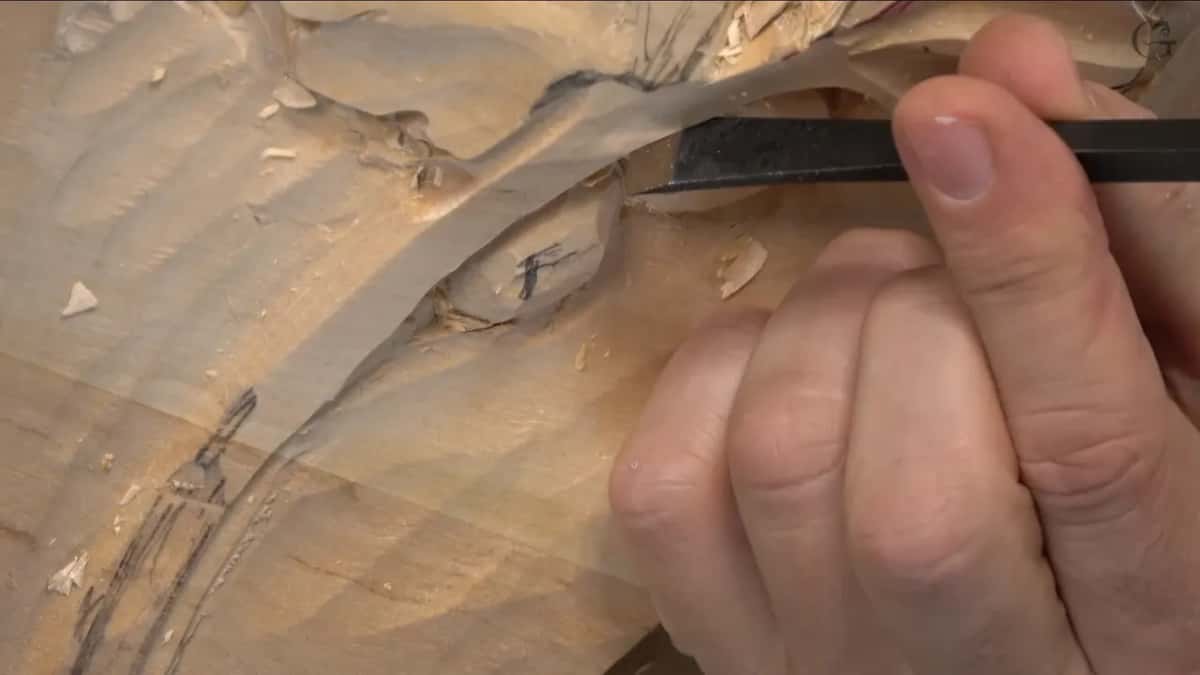
A #3 came out a few minutes later, for the shape of the oak nut. After it I went back to my back bent, and this one is a skewed one.

If you would ask me where to get a skewed back bent, it is actually a normal back bent. I made the skew myself. I reshaped it. What a back bent gouge does has a page of its own, and keeping any edge that sharp is the sharpening course. The two acorns had their main form before part seven ended.
Why lower the stem instead of undercutting the acorn?
Lowering the stem kept me from undercutting a lot beneath, and it gives a really nice movement as well. Here is how part seven put it. I will need to lower down the stem itself. It was too high, and I didn't want to get all the way through. Maybe yes, maybe no, I don't know, but it feels like I have to lower that down.

The reason was short. I don't want to undercut too much underneath of here, and it's going to give me also really nice movement, a really nice feel of it. The stem still wanted attacking from the right position, so I went a little more carefully.
Stems ran through the whole lesson. Part one started with the main stem, established first with an #11 of 10 mm, three eighths of an inch, carefully approaching somewhat the final line. Part four gave the stems to my skew. With a skew I can ride right on top, and the line comes out really nicely flowing. In part eight, with the acorns in their first form, I still wanted to make sure it grows from somewhere and does not appear from nowhere.

A separate page covers how thick a carved branch should be, and another covers the stem and ribs inside a leaf.
What separates the hat from the nut?
The first line came from a skew, and then a #3 went in below the hat to take the nut in a little. Where the hat ends, near the golden ratio point, and the pattern on its cap both come later, and the Part 9 course page tells them.
Part eight opened with names for the parts. This will be a head, I said, and this a nut. Then a skew, just a skew, for the first line. The point of a skew, or even the heel, I said, and I could do it with just a heel of a skew, going toward my previous line. I did not want to rush it.
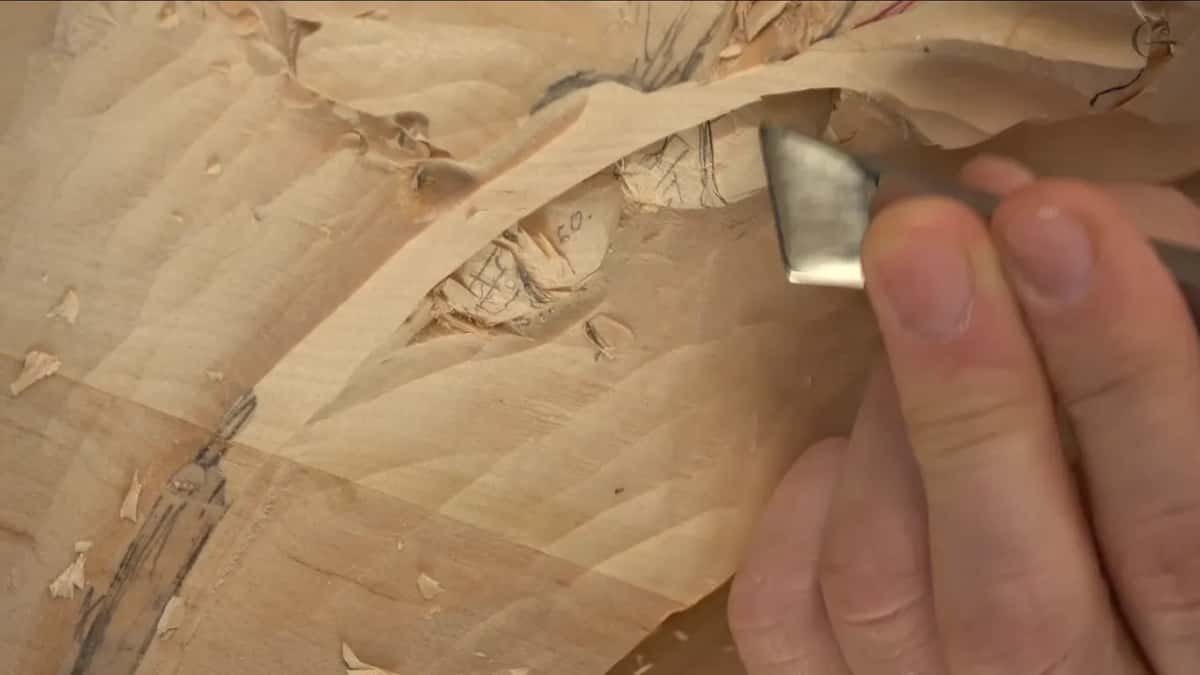
With that line in, I went after the inner part of the nut, the part below the head or hat, and a #3 did it. It's got to be a little smaller, I said, but not much, just a little bit smaller. A 2 mm (5/64 in) #11 cleaned that thing out, and later the same 2 mm got me in nearer to the acorn and the small stem that holds it.
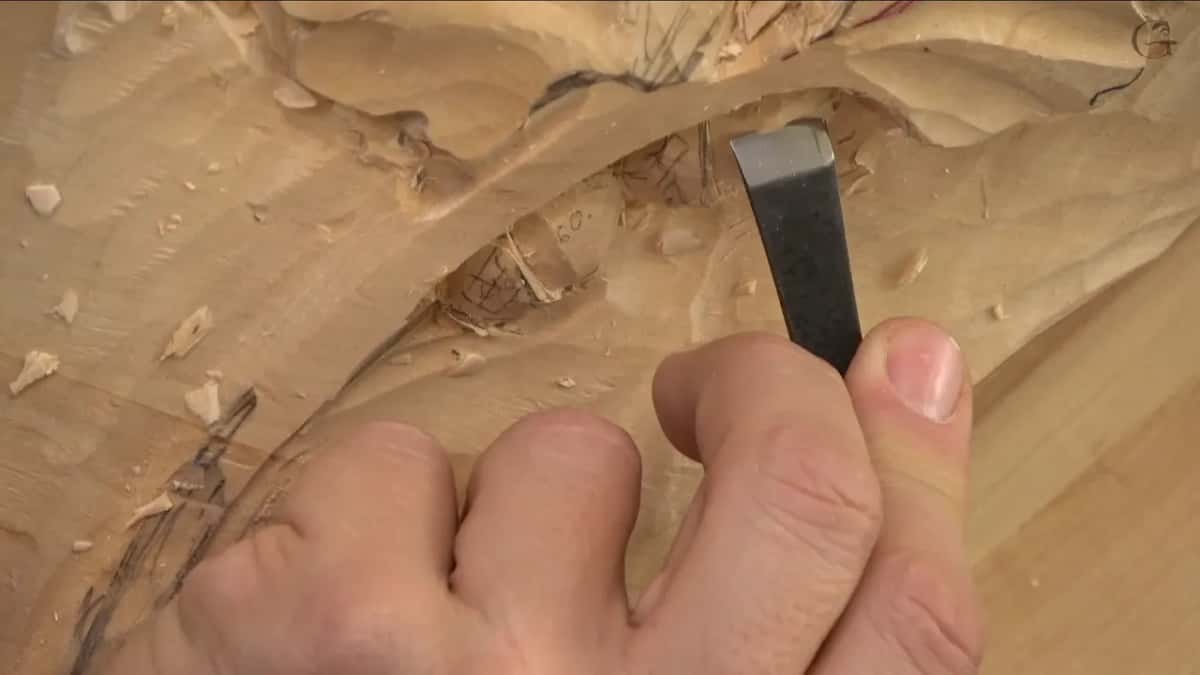
I didn't have a word for that small stem on camera. Not the stem, I said, but holding stem, I don't know how you call it. Botanists call it a peduncle. On the English oak it is a long one, 4 to 8 cm (about 1 1/2 to 3 in), carrying two or three acorns, and the cup around the nut has a name too, the cupule.
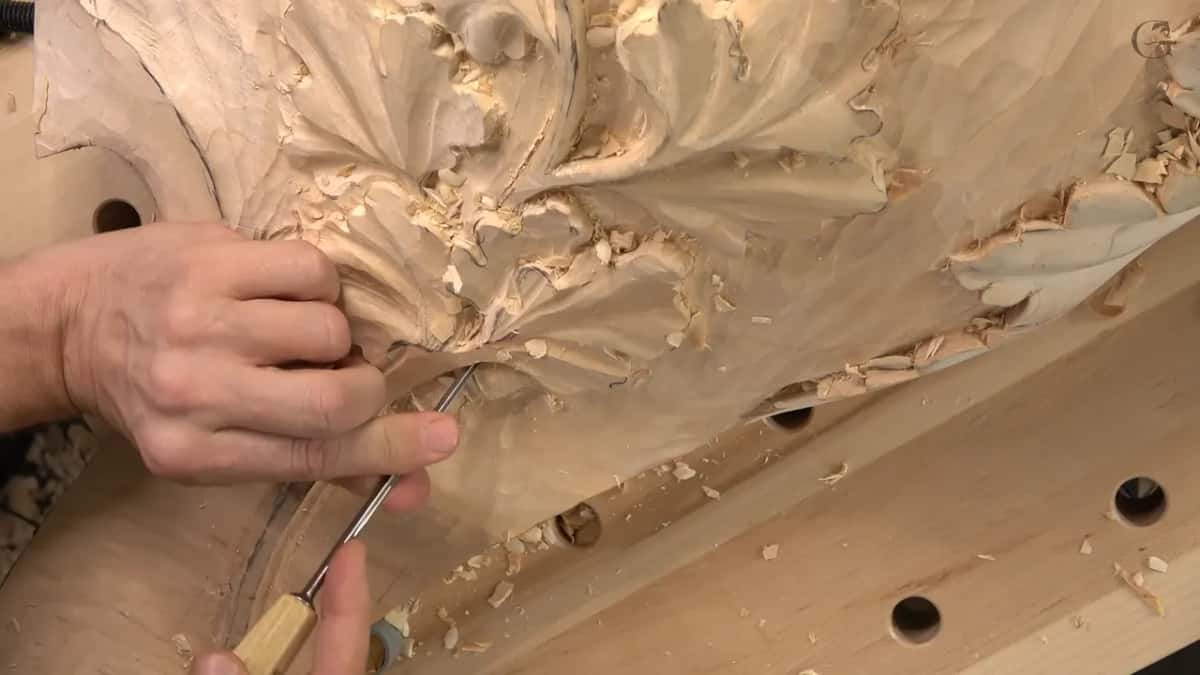
These are the main tools of the acorn work, in the order they came out. Back in part three I said it's not the only tool to do that operation, there are multiple ways you can do it, and I just don't want to use that many tools. Earlier, on the leaf, the #5 in my hand was an Ashley Iles, a little less than 10 mm, though I would call it three eighths of an inch.
| Tool | Job | Stage |
|---|---|---|
| #3 gouge | Chipped a little around both acorns first. | Making room |
| #7, half inch (13 mm) | Gave my acorn roundness and overall shape. | Rounding them |
| My skewed back bent | Shaped the main form of both acorns. | Main form |
| Skew, point or heel | Split hat from nut, the first pass. | Hat line |
| #3 once more | Made the nut under the hat smaller. | Under hat |
| #11, 2 mm (5/64 in) | Cleaned close, up to the holding stem. | Close in |
| A bigger spoon | Took the ground even lower around them. | Ground lower |
| #7, 14 mm (9/16 in) | Shaped the second acorn the same way. | Second acorn |
Why drop the ground even lower around the acorns?
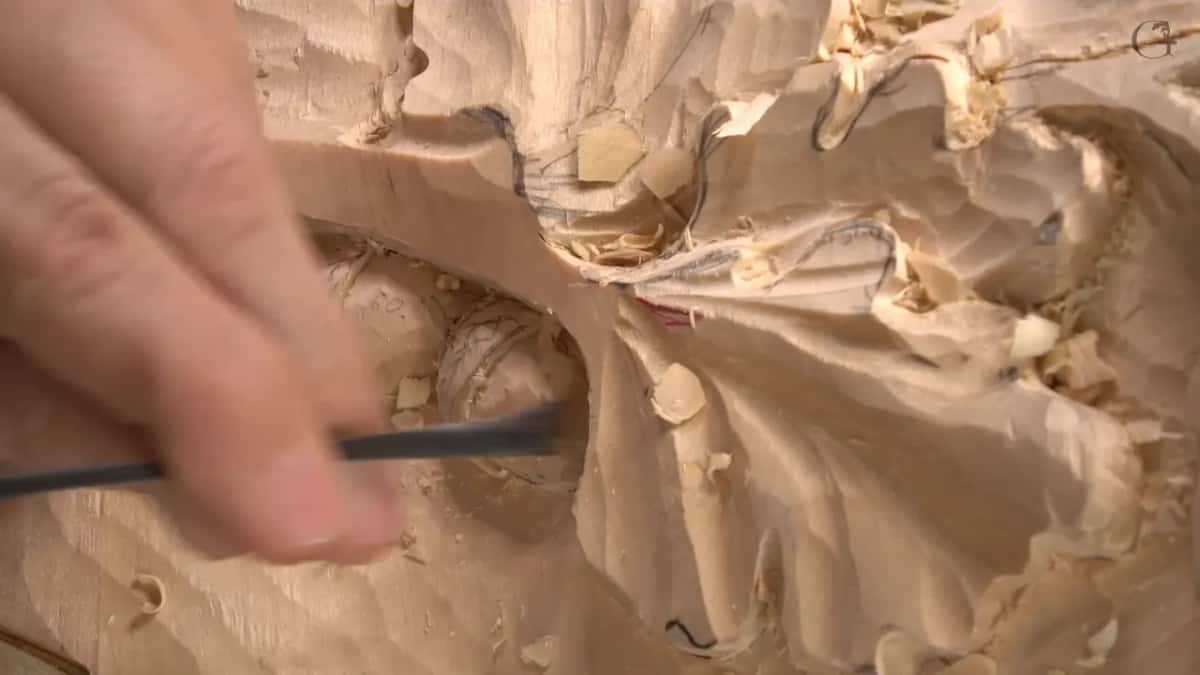
Otherwise I was losing the overall picture, and I wanted those two acorns exaggerated. I will need to move it a lot lower, this part, I told the camera in part eight. I really want to exaggerate those two acorns. I want to see them.
Part nine opened the same way, even lower, even lower, with a little bigger spoon. Earlier in part eight I had wanted one side lower for another reason. It just gets too much shadow, I think, maybe yes, maybe no, I don't know, we'll see. The lesson leaves that one right there.
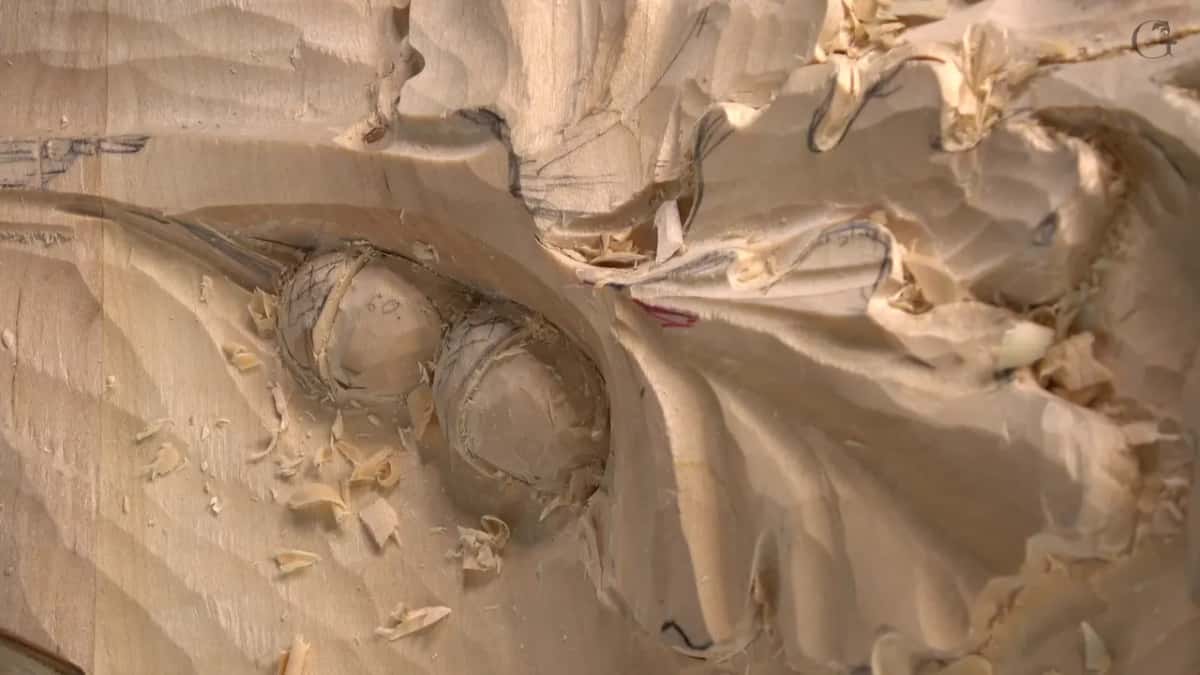
A round form sitting half inside the board came up before in this room, in workshop 69, where the head of an acanthus was carved like a ball.
Why wait to undercut the acorns?
A shell goes in below them, and the shell is where the undercut and the final form come. I'm not going to do a final form. That was part eight, with the reason right behind it. There's going to be a shell below, and that's going to give me a chance to undercut and just to create the final form. In part ten I said I can give somewhat like an undercut there, not really undercut yet, only a preliminary idea.
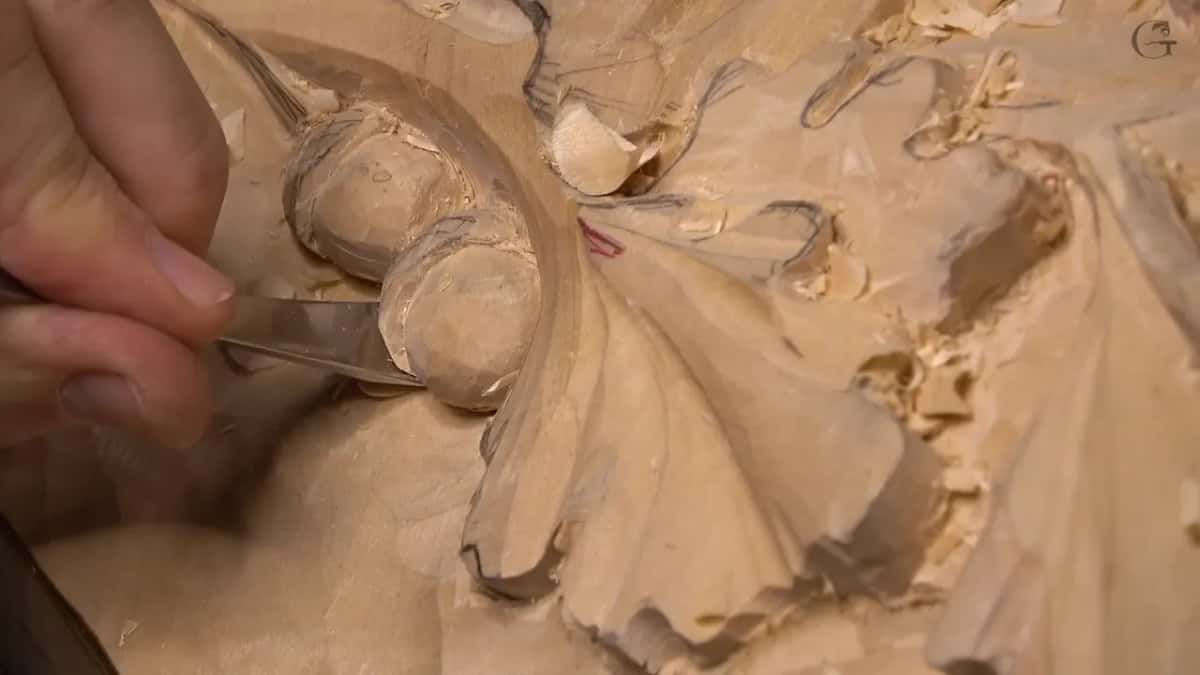
One mistake did happen earlier, on a leaf. It's too early for undercutting, I told myself after that mistake in part three, but it's okay, I'll clean it. The acorns had nothing like that in this lesson.
The shell began in part eleven. It will run all the way to the volute, I said, pretty much the same idea as on our main piece. My tool was a #7 of about three quarters of an inch, about 19 mm I'd say, and I left approximately 10 mm (3/8 in) to the edge, because there is going to be some groove on the inside. Part twelve took a #8 of about 3/8 of an inch, 10 mm, and with it I started undercutting right underneath the leaves.

Some spots were rough. You have to attack that with the grain direction, I said, but I have that oak piece on my way, and that's almost impossible, so the only solution would be to have really sharp tools. At least one side had to come clean, I said, and then I can attack from the opposite direction. A #8 is a true gouge, so I took a plug cut there too, and I was about an inch deep, 25 mm, so it's plenty.

When does a relief acorn look right?
Looking from above told me one of the two was right. This one is actually good, I said early in part ten, it does look like acorn if you look from above. Then came the other one, the same way, like the real-life one. Some waste came out by hooking, the move called hooking, and I was still on the same #7, 14 mm (9/16 in).
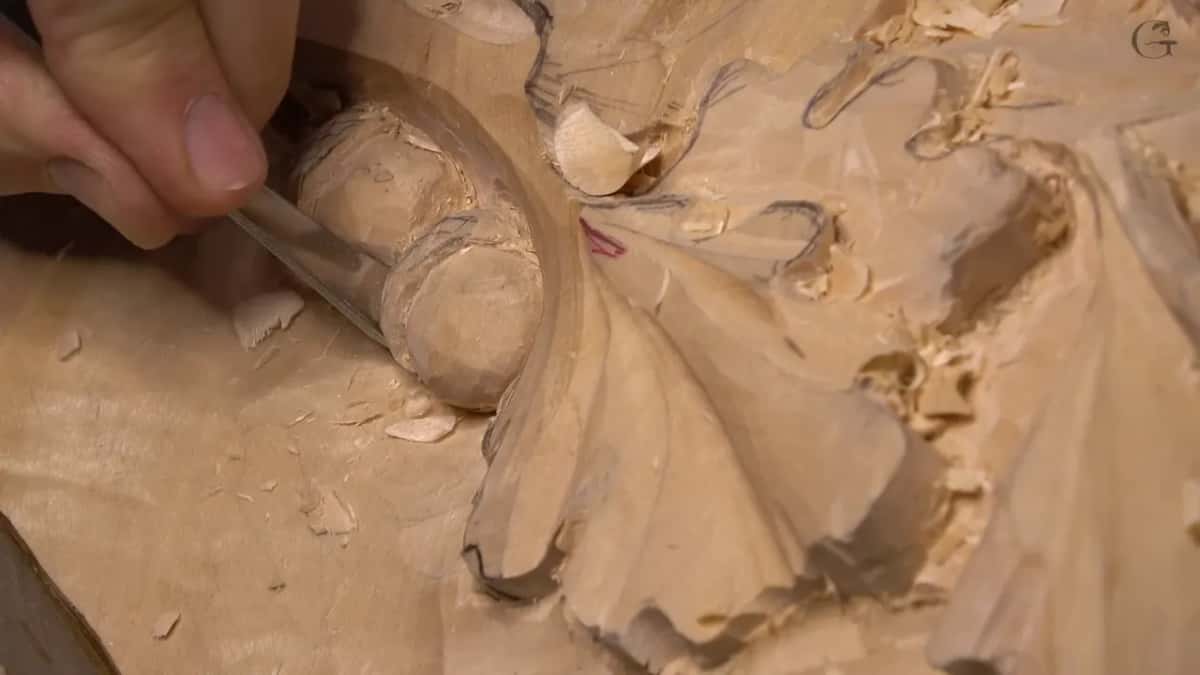
More light came before that, in part nine. I don't really see really good, I said, so I used much more lights and got a little closer, because otherwise it's almost impossible for me to get to the details. Up close I could see much better, and I said I could refine everything with very small passes.
Part ten closed on the whole group. In the overall composition I think it looks good proportionally. The stems still needed refining, one going low, really low, and the other one going like that, and an empty spot left open. The hat, the upper part of each acorn, I said we would work on together, maybe after I refine the overall shape a little off camera.
Who is workshop 99 for?
Anyone who has carved a leaf or two in relief and wants to see a small round form come up out of the ground beside it, with each tool named. It sits in the Part 9 course, right after workshop 98 and before workshop 100. A nut in high relief is also the subject of the hazelnut course, a good second look at a shape like this one. It is slow wood carving, in the style of Venice.
Would you like to watch a skew put in the hat line? Would a tool named at every step help you? Tuition opens every workshop in the school, and the Venice Room runs through many courses inside it.
How it's done
- Set them near the stem. Move the two acorns in toward the stem and face them the same direction.
- Make room around them. Chip around first. A #3 does that, and a #7 then sets the overall shape. Then excavate around them with an #11, and take the surrounding area down with a #7 or a #5.
- Round each one. Give the acorn roundness with a half inch #7. Take out the triangle of waste, coming at it from both sides.
- Lower the stem. Where the stem runs too high, take it down, so you do not have to undercut much underneath.
- Mark the hat. Use a skew, its point or its heel, to mark where the head stops and the nut starts. Work toward the line before it, and take your time.
- Tuck the nut under. Use a #3 to make the nut a little smaller than the hat, but not much. Clean around it with a 2 mm #11, up to the holding stem.
- Drop the ground, wait on the undercut. Take the ground down with a bigger spoon until you can see the acorns. Keep any undercut preliminary while the shell below is still to come.
Frequently asked questions
Is a skew enough for the line under an acorn's cap?
For the first line it was. I said the point of a skew would do it, or even the heel, working toward the previous line, and I took that slowly. Making the nut smaller under the hat came afterward, with a #3, and a 2 mm #11 cleaned it.
What is the little stem that holds an acorn called?
Botanists call it a peduncle. On camera I called it a holding stem and admitted I did not know the proper name for it. English oak carries long ones, 4 to 8 cm (about 1 1/2 to 3 in), with two or three acorns on each.
Why not undercut the acorns right away?
A shell is still to be carved below them on this piece. Carving it gives me the chance to undercut and make the final form, which is why only a preliminary idea of an undercut came up in part ten, nothing more.
What to carve next