

Alexander Grabovetskiy, woodcarver, School of Woodcarving · Published 2021
How do you carve a smooth convex in the middle of a corbel?
Quick answer: Rounding a corbel's middle is stepping in, sinking both sides and slicing what stays. I began roughly an inch from the rim, ran a 5 mm #11 down each side, took a hump off on a slant, then went over the swell with ever larger back bents while one hand braked.
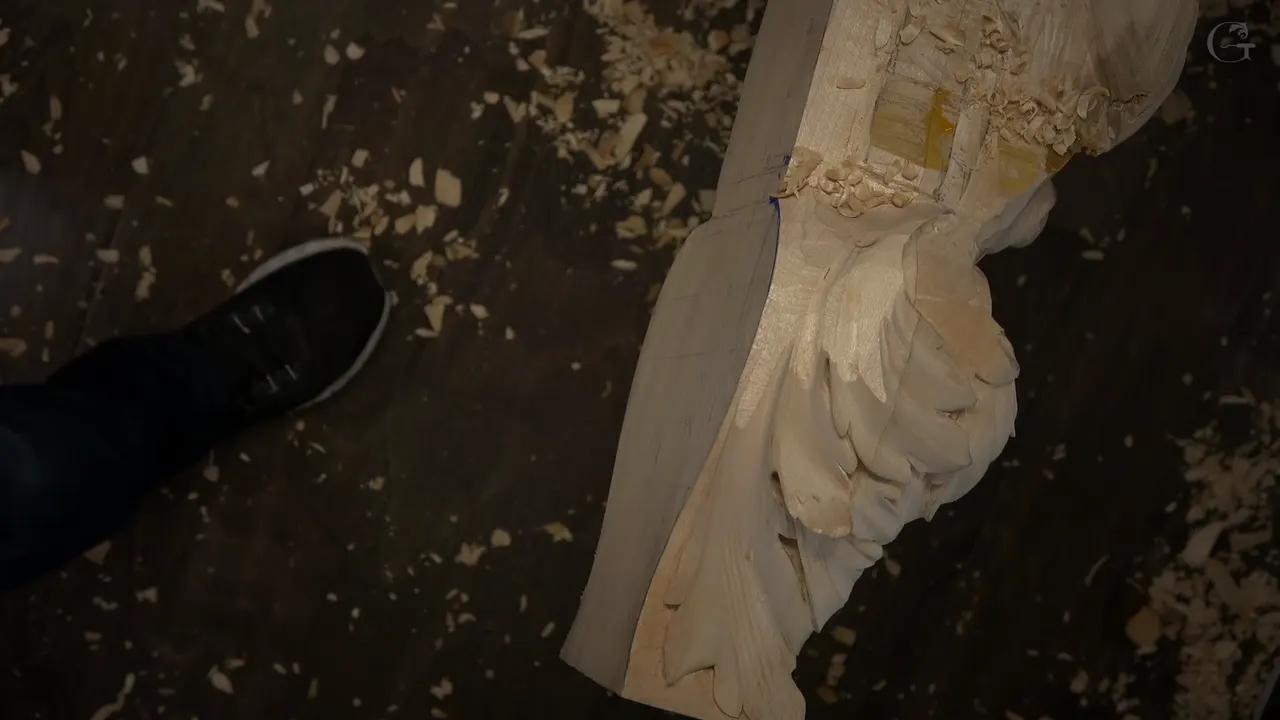
Convex carving on this corbel starts with a swell you leave standing and round later. In workshop 102 I stepped in about an inch (25 mm) from the edge and sank a 5 mm (3/16 in) #11 veiner along each side. A hump came off after that, and back bent gouges rounded the middle, each one bigger than the one before. Where the grain turned, one hand pushed the tool while the other held it back.
A round middle looks easy on a finished corbel. It isn't. With this one I kept stopping to ask out loud whether it flowed, whether it was too wide, and whether I liked it. Here is the order I carved this one in, with each tool size I named on camera, plus what my second hand was doing while the camera mostly watched the first one.
Ever seen a carved bracket under a mantel? Would you like to know how its round middle gets that smooth, one pass at a time? It begins with two lines and a choice about width.
Seven moves on the swell in workshop 102
The convex started an inch or so in and carried on around the far side of the corbel.
Both sides got a 5 mm veiner first, then a 10 mm one, so I could see what was going on.
Next to the drop pieces I kept one clean line, and it left an outline of shadow.
A hump came off, then a #5 went over it on a slant.
Back bents rounded the middle, from 13 mm up to 25 mm or so, and then a bigger one.
At the turn of the grain, my second hand braked the tool.
Edges got blended from the outside in, at an angle instead of straight down.
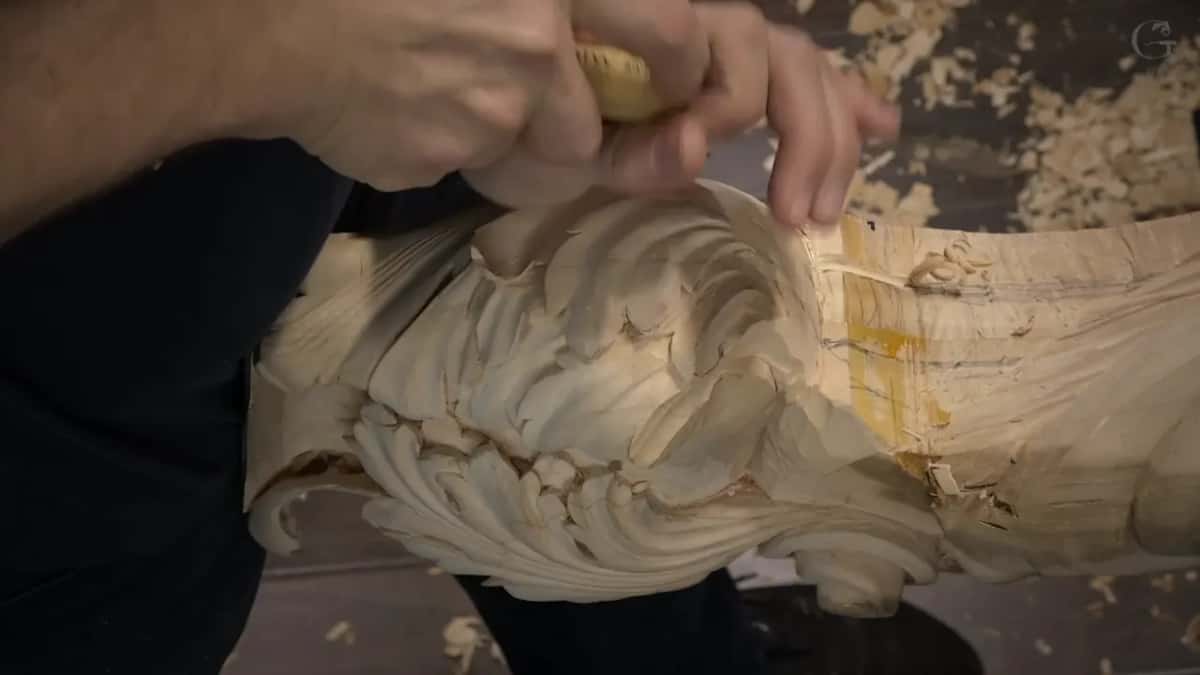
Where does the convex start on a corbel?
Mine began an inch or so in from the rim, and it took me a while to settle that. I wanted a really nice transition, but it still had to stay in line with the whole design. One section beside it was going to die out right at one spot, so I started the convex on that line.
How wide, though? First I said an inch and a quarter, about 35 mm. I wasn't sure after that, and maybe less was better, maybe an inch. In the end I settled on the inch, because I didn't want it too wide, and too wide is not going to look as nice.
The swell doesn't stop on this face. It goes on around the opposite side of the corbel, so the acanthus on that side becomes a really good continuation of the same movement. I thought it would look good, and a second later I hoped out loud that it would.
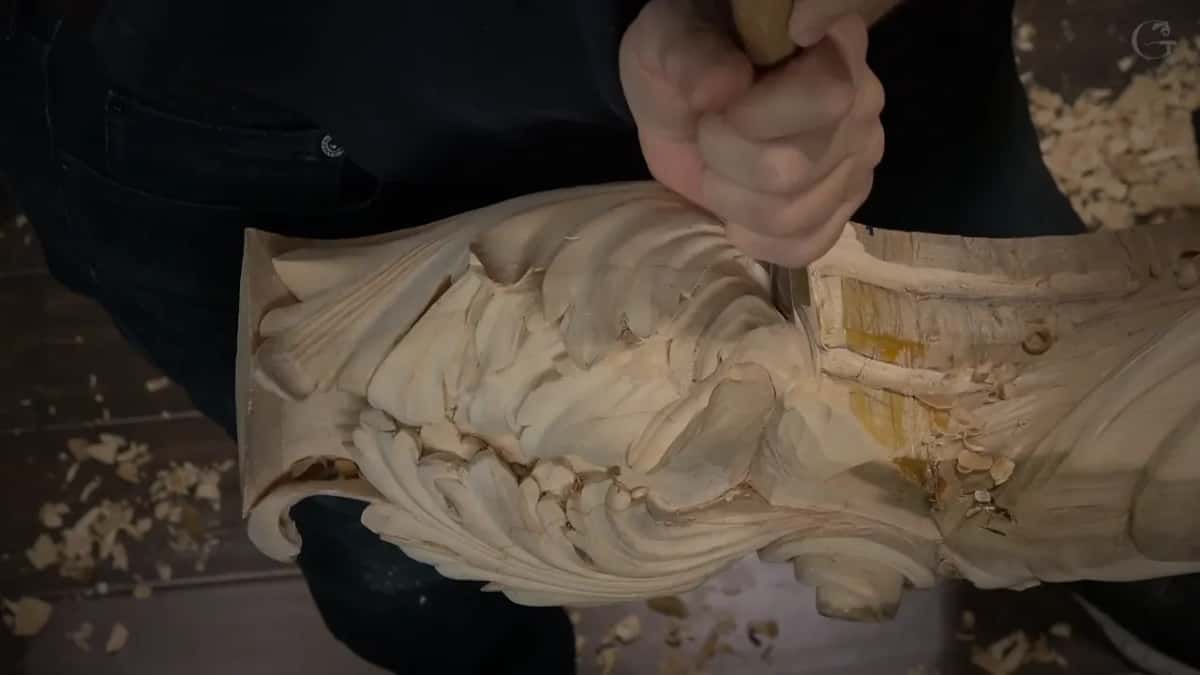
A few minutes after that I changed my mind a little. My words were that I could make the convex in that area a little wider and start it from another point. A small mark I had already made on that side didn't worry me at all. There was plenty of material.
How deep do the sides go before convex carving starts?
About half an inch (13 mm) down to the lower spot was plenty here, and going on would have been a mistake, I said. The first lines came long before that. A #11 veiner of 5 mm went down both sides as a preliminary line. The same size in a spoon veiner followed, and after it a #8 spoon with a long bend got rid of part of the material.
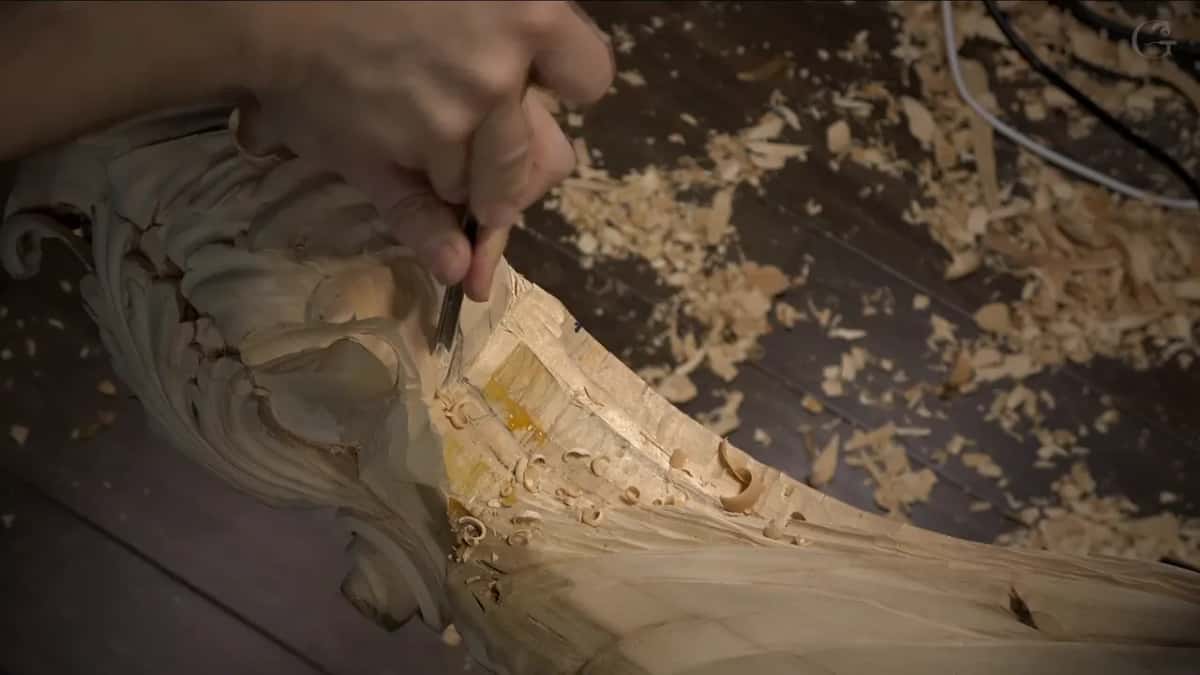
The grain changed direction on me there. So I attacked it from the opposite direction and worked with the grain, because otherwise I'd make a big mistake. Overdoing it was out too. Some wood from the drop sat right there, and I had to go really carefully with it.
Next I picked up a bigger #11, 10 mm or three-eighths of an inch, and started excavating. The other side got the same treatment right away. That way I'd know exactly what was going on.
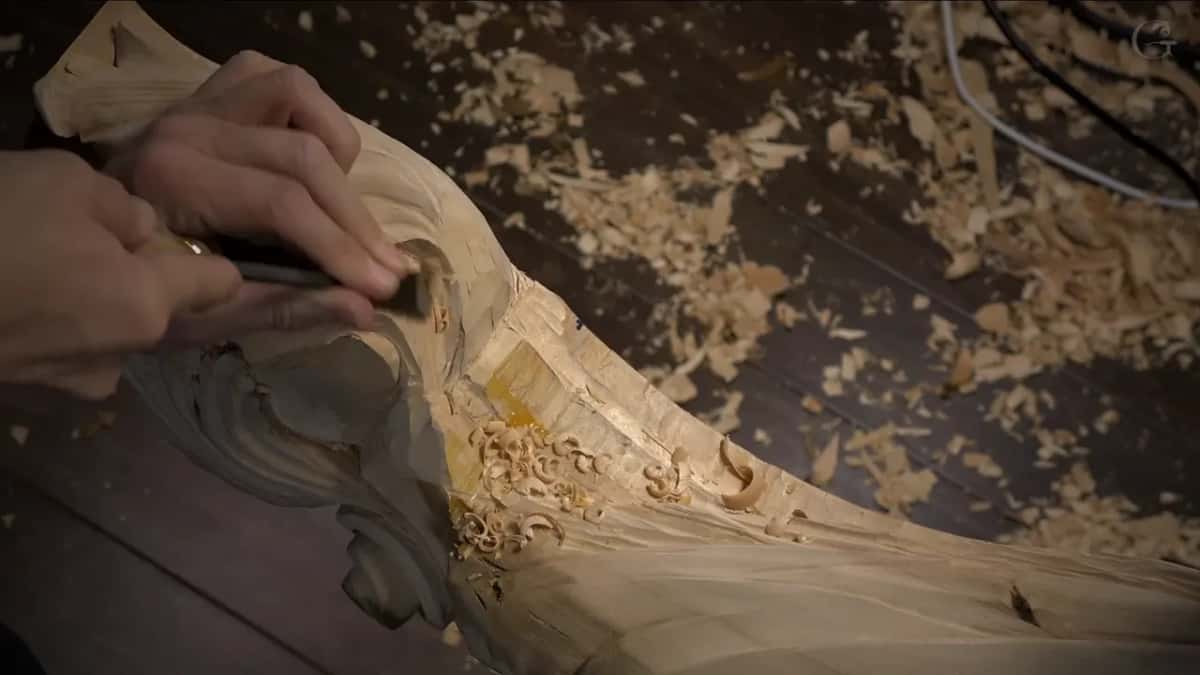
My #7 of 14 mm, which I called a half inch, came next to chop away excess. On one side I wanted to leave approximately 6 mm (1/4 in) between the edge and the upper ridge, and another 6 mm at a second spot. Deeper was possible on that side, I said, and going deeper would give me a beautiful shadow.
Why carve a concave right beside the convex?
A small concave next to the round was my idea for a bit of extra shadow, and I said so out loud before I touched it. If this part is going to be convex, I told you, I could make some concave on this side, and it's going to cast some shadow. Then I looked at it and admitted I didn't know if I liked it or not.

One region bothered me. It wasn't really noticeable, but I wanted it lower and blended with the back, so a #3 went in carefully and made it a little smoother. Earlier a #3 had blended another spot turned upside down. After that I took a big #7 for the concave itself. Why the big one? I think I just have a lot more control with it, and I also had to choose the right angle.
You may not see that concave on video, and I said as much. But if you place a tool on it, there it is, and you can see it die into the back line of the whole movement. I really liked the feel of it. Catching that on camera is hard, yet it looks good.
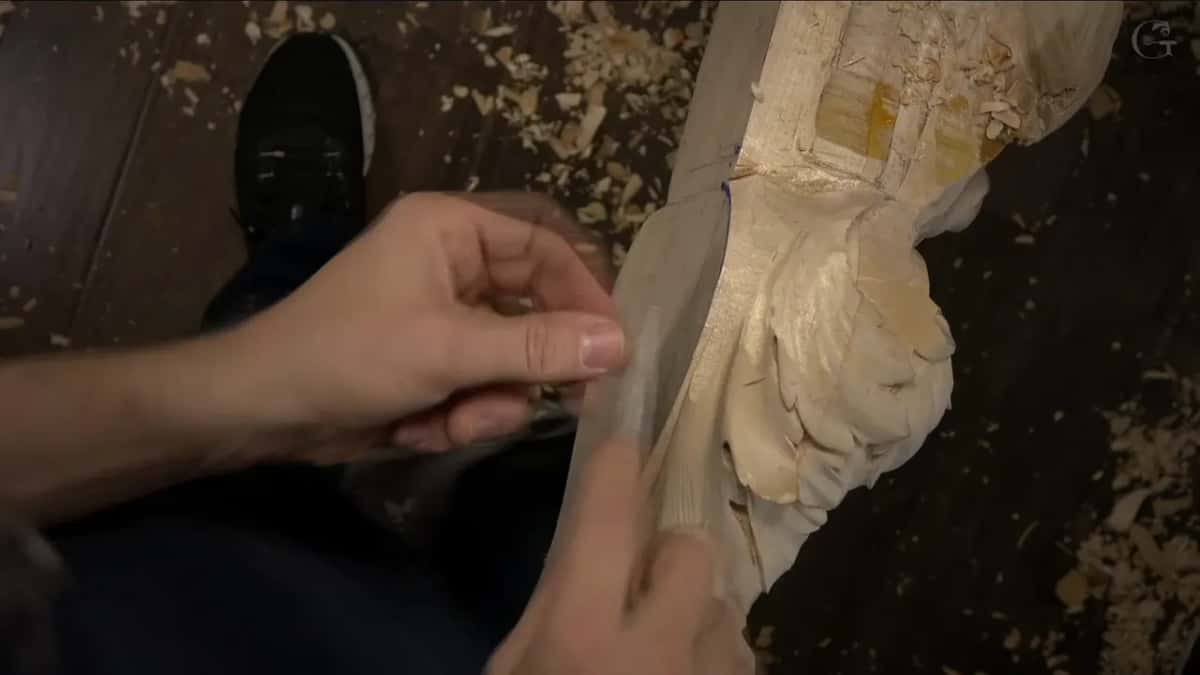
Why do the drop pieces matter here?
Along the swell hang pieces carved like folds of cloth, and I called them the drop pieces from my drop cloth, or whatever you call that material. You'd probably say drapery. Before the convex could come out nice in the middle, those pieces had to be outlined, and my line had to run right beside them.
I'm going to be honest with you about one thing. I was working against the grain there. I didn't have to, but from the other side I would have covered the camera, and I really didn't want to do that.
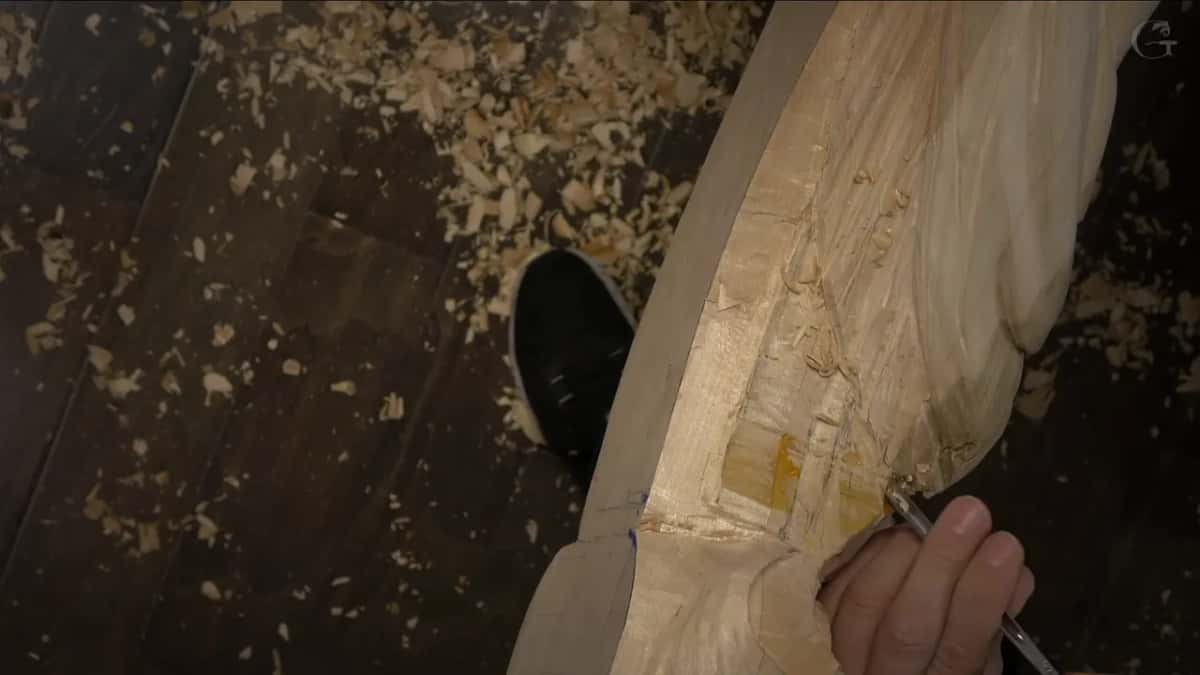
Then I undercut underneath all of that area, only a preliminary one. Preliminary, but still an undercut.
Later, with the swell taking shape, I made a clean line underneath the drops, all the way along. It gave me a really nice outlining shadow. Gorgeous, I called it. Right after that came my 5 mm #11 veiner, Swiss made by Pfeil, for a more or less final pass.
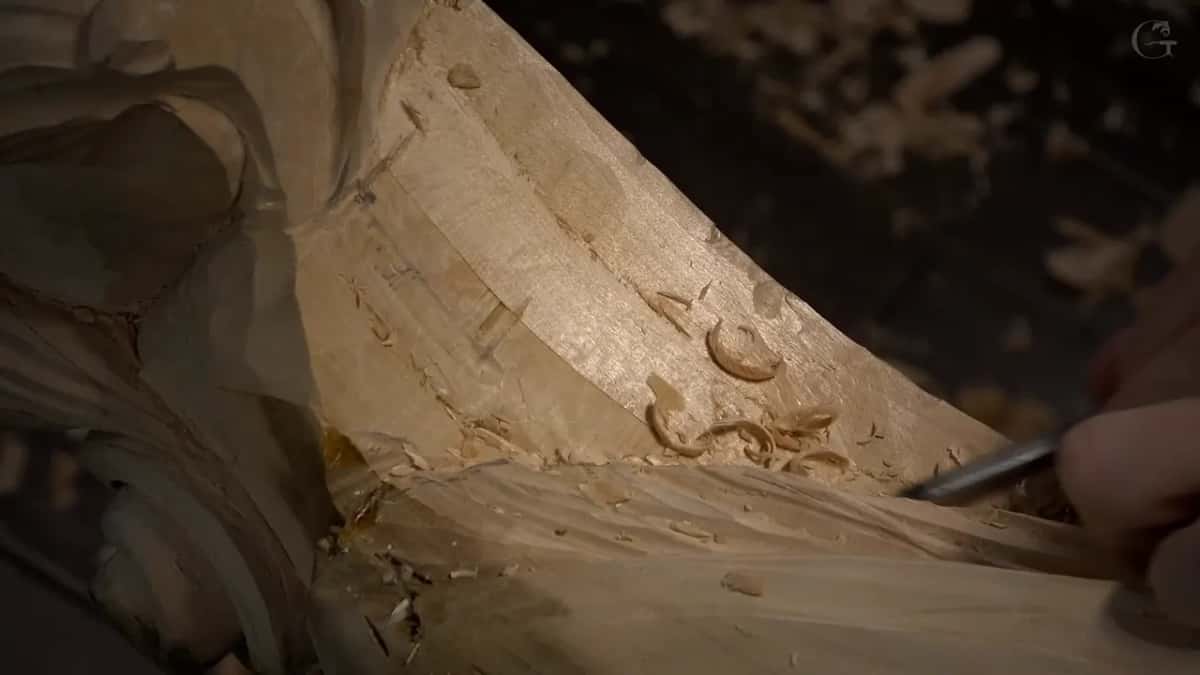
How do you take a hump off a convex?
By going at it on a slant with a wide, shallow gouge. There was a hump I didn't need, and I took some of it out first. What I was after was a really smooth and nice movement.

A #5 of about 20 mm, three-quarters of an inch, would give me a really nice flowing movement, I said, just attacking the surface at 45 degrees. Just like that, and the gouge went in at that angle. It was automatically going to give me the flowing surface I wanted.
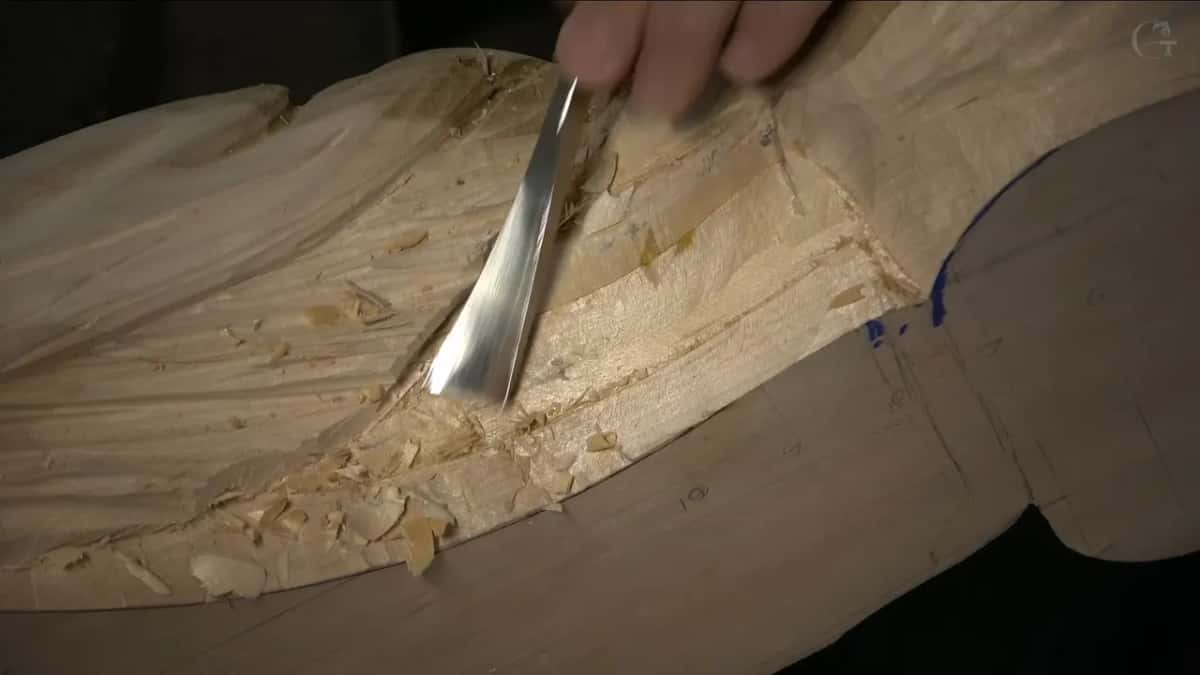
Maybe a #4 would be even better, I thought, so I said let me try, maybe yes, maybe no, and a moment later it looked like yes. The #4 worked. It gave me beautiful movement, really nice and clean, and then the same tool worked toward the convex.
Which back bent gouges round the middle?
Three of them did, and each one was bigger than the last. A back bent has its blade bent back instead of forward, and if you have never held one, this page on back bent tools covers what the bend is for.
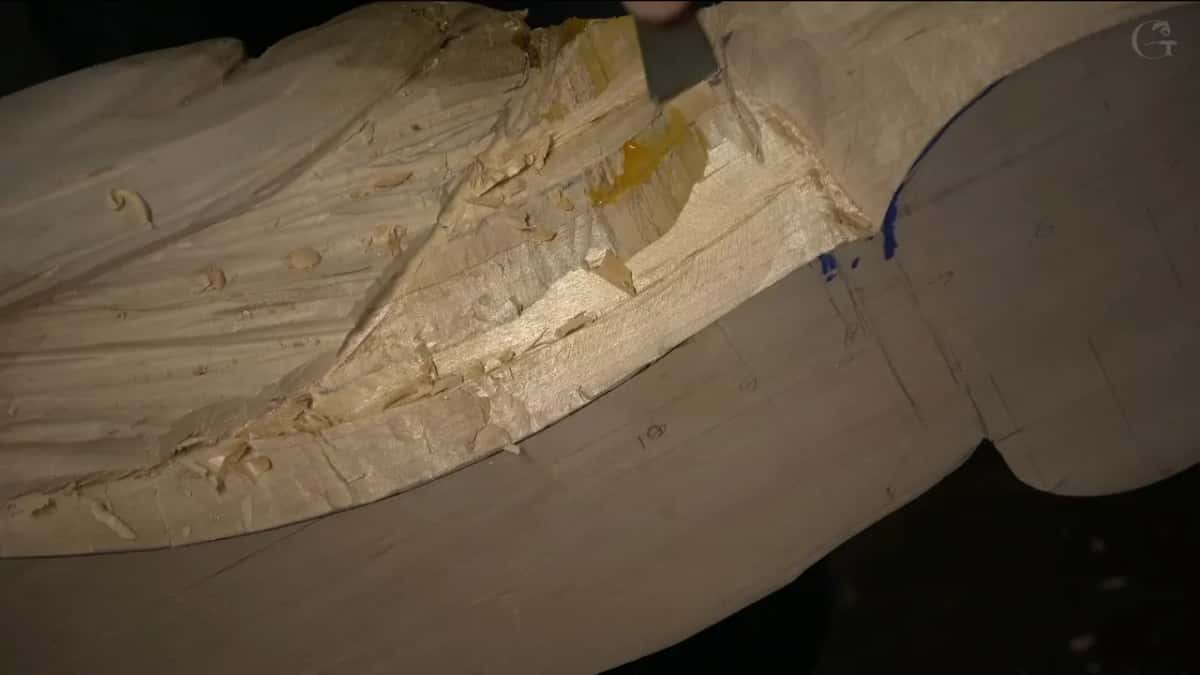
The first was a #5, 13 mm (1/2 in). It's marked 25 because it is a back bent, and I skewed it myself, reshaped it, so it's really handy in areas like this. I used it to create some slicing, and it also has a page about the #5 from workshop 68.
Next came a bigger back bent, maybe 25 mm (1 in) or so. Really beautiful and really smooth, I said. Right at the center I still wasn't too happy with what I had done, so I reached for an even bigger one. To fix the middle I went up a size.

What does the other hand do when the grain turns?
It brakes. One hand is pushing the gouge, and the other hand is preventing it from carving, so one is accelerating and the other one just pushes the brakes. On camera I said it might look like I was struggling. I wasn't. I was just trying to control my tool.
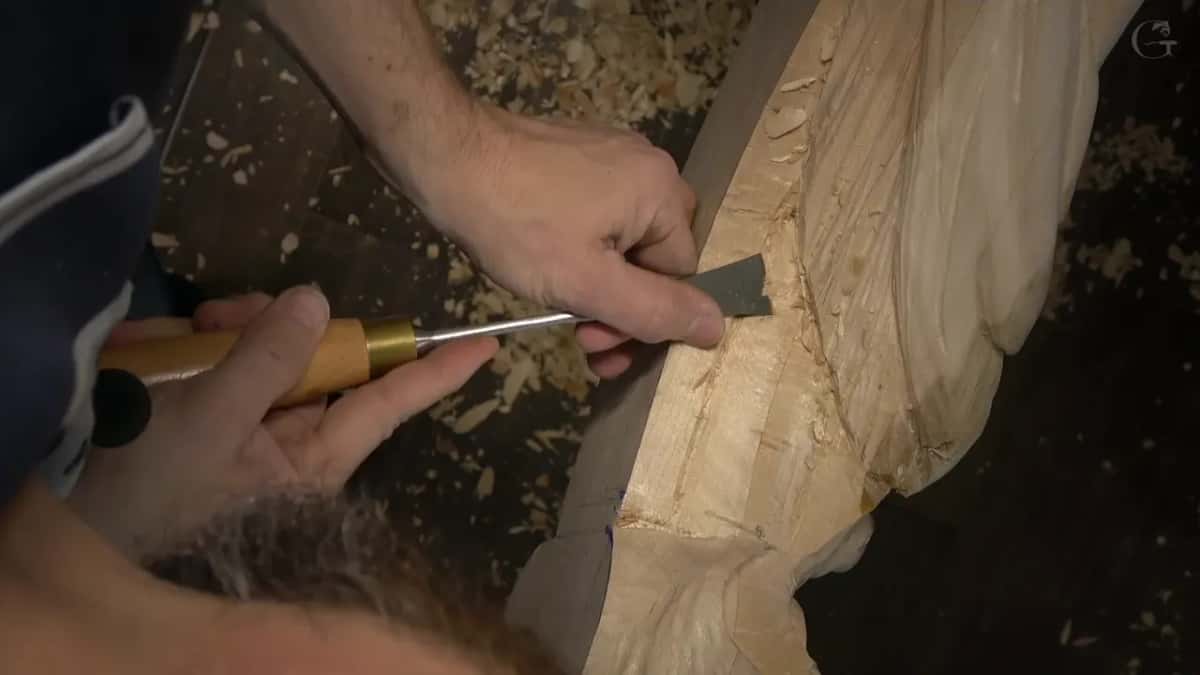
Why all that care there? The direction of the grain changes in that area, in the middle of the convex, and that's where it's easy to make the mistake. I saw the spot and told myself to be careful with that section, little by little.
Part of that area I said I would take from the other side, off camera, because from there all you would see is my head.
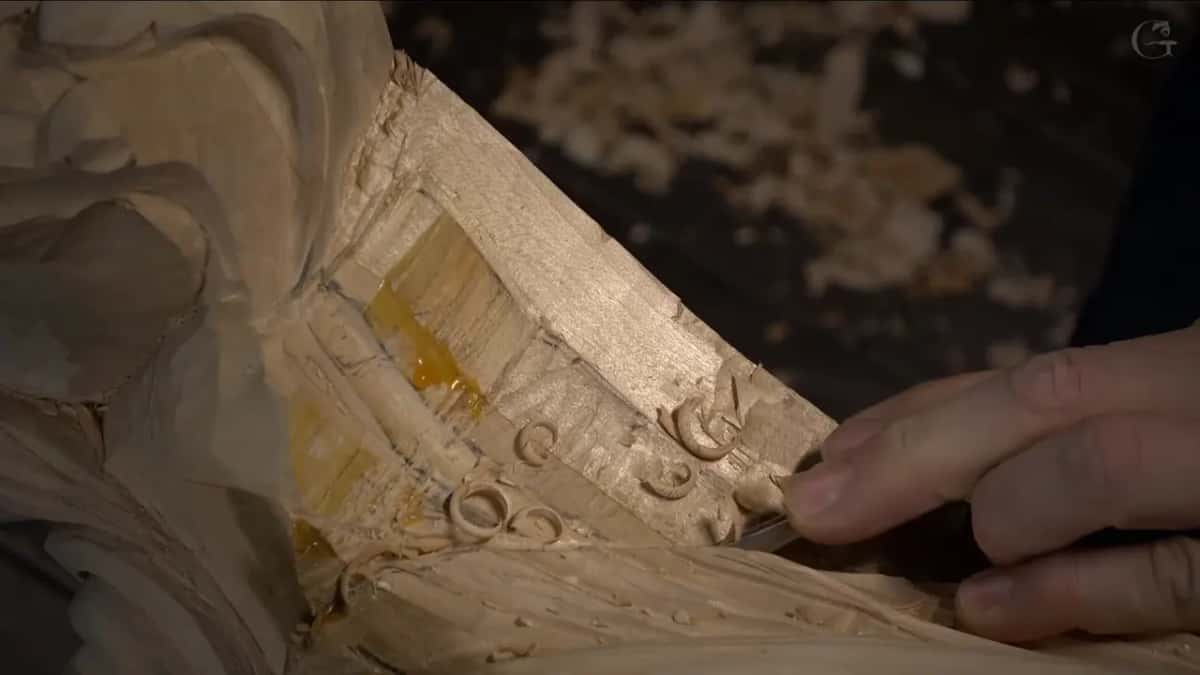
Was I happy afterward? I asked it out loud, and I think I was. It felt really nice. A little more cleanup followed, and then the mess underneath went out with the small #11 veiner again.
That veiner is Swiss made, but the brand doesn't really matter. You will be able to use pretty much any brand, as long as it's sharp, and if it's sharp, you should be fine. Sharpening has a course of its own here.
Tools on the swell
| Tool | Job | Where |
|---|---|---|
| #11 veiner | Sank the first lines along both sides, 5 mm (3/16 in) wide. | Both edges |
| Bigger #11 | A 10 mm (3/8 in) one excavated each side, so I could see. | Each side |
| #8 spoon | Long bend, and it got rid of some material. | Early on |
| #5 gouge | About 20 mm (3/4 in), at a slant of 45 degrees. | The hump |
| Back bent #5 | At 13 mm (1/2 in), my reshaped skew, for slicing. | Middle swell |
| Larger back bent | Maybe 25 mm (1 in), then an even bigger one. | Grain turn |
| Spoon #4 | Around 13 mm, half an inch, blending toward the line. | Outer rim |
What blends the edge of the swell into the rest?
A spoon gouge does, working inward from the outer edge. Mine was a #4 spoon, about a half inch, 13 mm or so, and I said a #3 would work too.
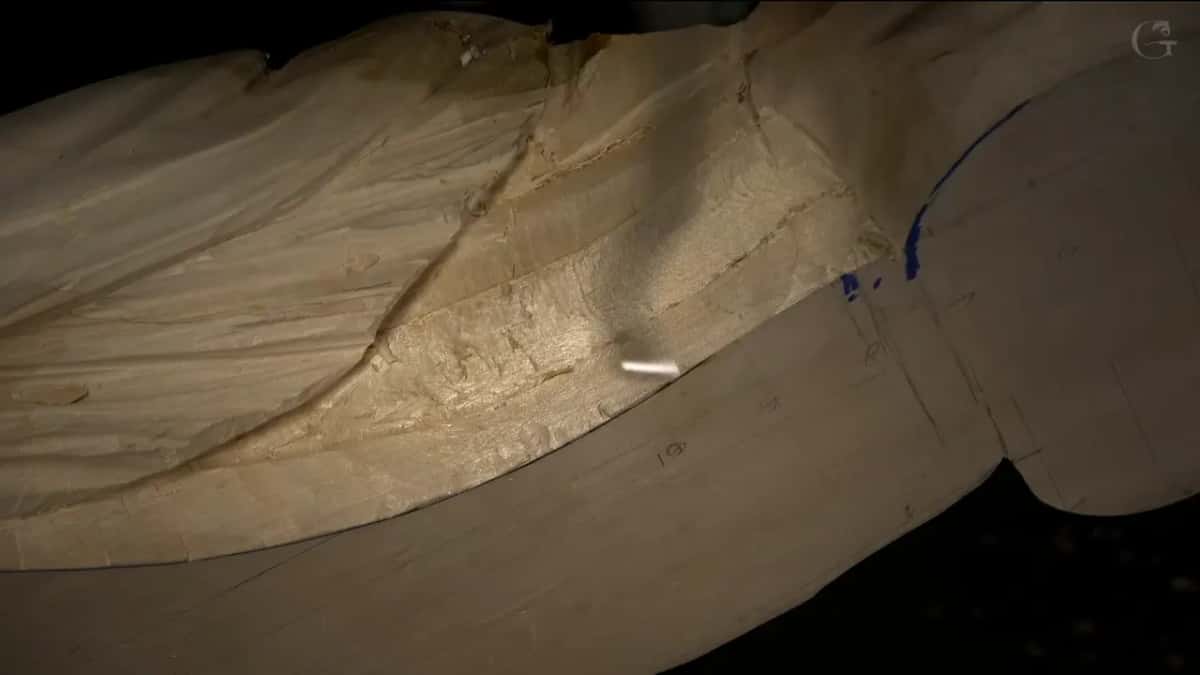
At one place the fibers met from two sides. So I switched, attacking from the opposite side, then from both sides, back and forth, until everything was just shaved out and the transition came out really nice and clean.
It's always a good idea, I said, not to push straight down on a pass like this. Give the tool some kind of angle. It doesn't have to be 45 degrees, but even 45 gives you a lot nicer result.
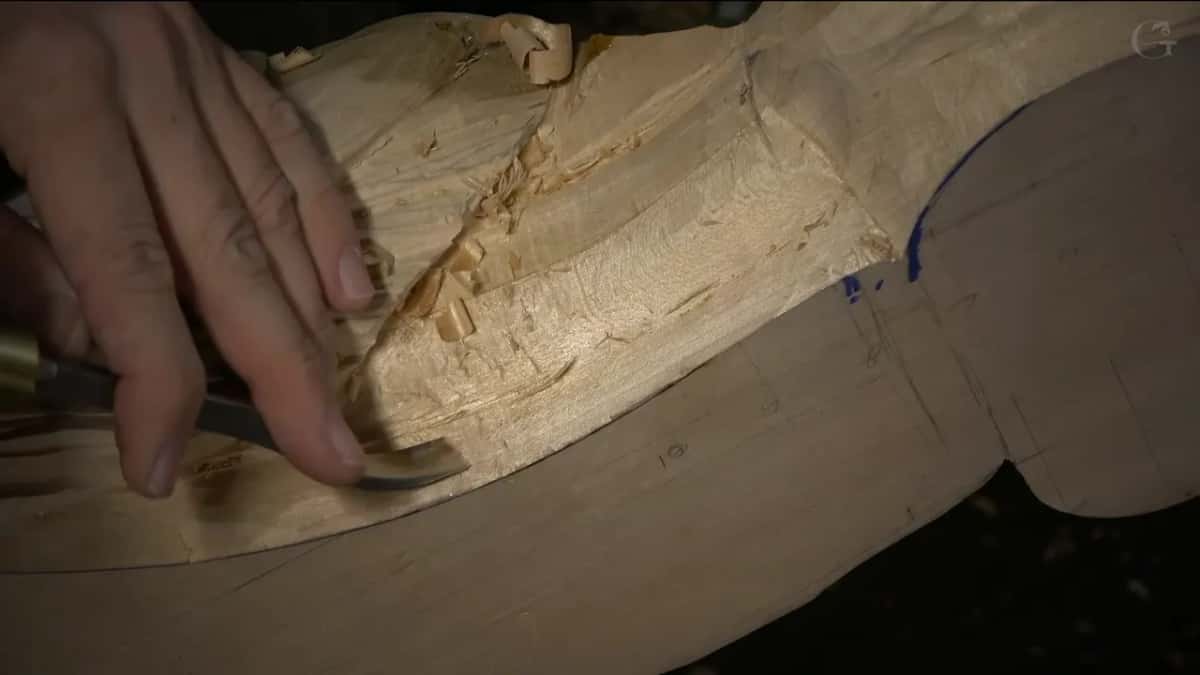
All of it comes back to flow, a word I kept saying in this workshop. It matters to wood carving in general, I said, and past wood carving too, to any type of art. Everything's supposed to flow nicely. Look at a line from a different point of view, and even the convex has to flow along its sides. Much later, adding an extra shadow spot, I still kept an eye not to break the overall flow, because that's still possible. There's a page on telling whether a line flows, and another on one curve turning smoothly into the next.
Why put ribs across a smooth convex?
The Venetians did it, and I wanted this architectural carving to be authentic to Venetian times. That's what they've done on some of the corbels, and I researched what they've done.
Could I do without them? Probably, I said. But I think it's a good detail. Why not use it? It gives the corbel an extra dimension.
They are shallow cross lines, not really deep, maybe one millimeter, maybe a 16th of an inch, a millimeter and a half or so, just to give some texture. A straight #11 of 10 mm made them, and each one had to be exactly perpendicular.
How they got squared and levelled is on the Part 9 course page. At one point I grabbed the wrong #11 and put it back for the right one, 10 mm. I don't want to see any tool marks, and on that section there were none. You are looking really close on camera, and still you won't see it that much better than me.

The very end of the workshop had a smaller section waiting. I mentioned that I could give it a couple of concaves and put a convex in its middle, like I had done on the other ones.
Where this workshop sits in the room
Number 102 sits in the middle of the Part 9 course. Workshop 98, before it, rounds oak lobes, which is a much smaller job. A convex inside an acanthus leaf is a different job again, and workshop 20 shows that one.
Around this one come the acorns, a volute and two coves that meet. The corbel itself began back in Part 7 and went on through Part 8, a relief in the style of Venice.
Would you like to watch the second hand braking while the first one pushes, right where the grain turns? Do you want to hear which back bent comes next, each time I reach for one? Tuition opens the whole school, and the Venice Room alone runs past 160 workshops of wood carving.
How it's done
- Pick the starting line. Find where the neighboring section dies out and begin the convex there, about one inch in, give or take.
- Sink both sides. Run a small #11 along each side, clear some waste with a spoon, then excavate both sides with the 10 mm size.
- Outline the drop pieces. Keep one clean line right along them. Later, a clean pass underneath leaves an outline of shadow.
- Take off the hump. Attack the surface at about 45 degrees with a #5 around 20 mm wide, then try a #4.
- Round the middle. Slice with back bents, going up in size while the surface gets smoother. When the grain turns, push with one hand and brake with the other.
- Blend the rim. Come in from the edge with a spoon #4 or a #3, at an angle, from both sides.
Frequently asked questions
What gouge makes a carved convex smooth?
On this corbel the rounding came mostly from back bents, a 13 mm #5 first, then one near 25 mm and a larger one after it. Between the first two, a #5 of roughly 20 mm and then a #4 took the high surface down on a slant.
How wide should a convex on a corbel be?
One inch in from the outer rim is where mine began. An inch and a quarter, around 35 mm, was my first thought, and I dropped it as too wide to look nice. Later I mentioned widening it a little, since plenty of wood remained on that side.
Why does a gouge slip halfway across a convex?
On this piece the grain changed direction at that very spot, and a mistake comes easy in a place like that. I came at it from the far side there, one hand pushing while the other braked. To the camera it might look like struggling, yet I was controlling the tool.
What to carve next