
Alexander Grabovetskiy, woodcarver, School of Woodcarving · Published 2021
When do you need a heavier mallet for wood carving?
Quick answer: A heavier mallet is the one I pick up when a wide or deep gouge would wear my arm out with a light one. Workshop 104 paired roughly 30 ounces with a 10 mm #11 on a new board. Near a thin, fragile edge I went down to 12 ounces, or I put the mallet away and used my hand.
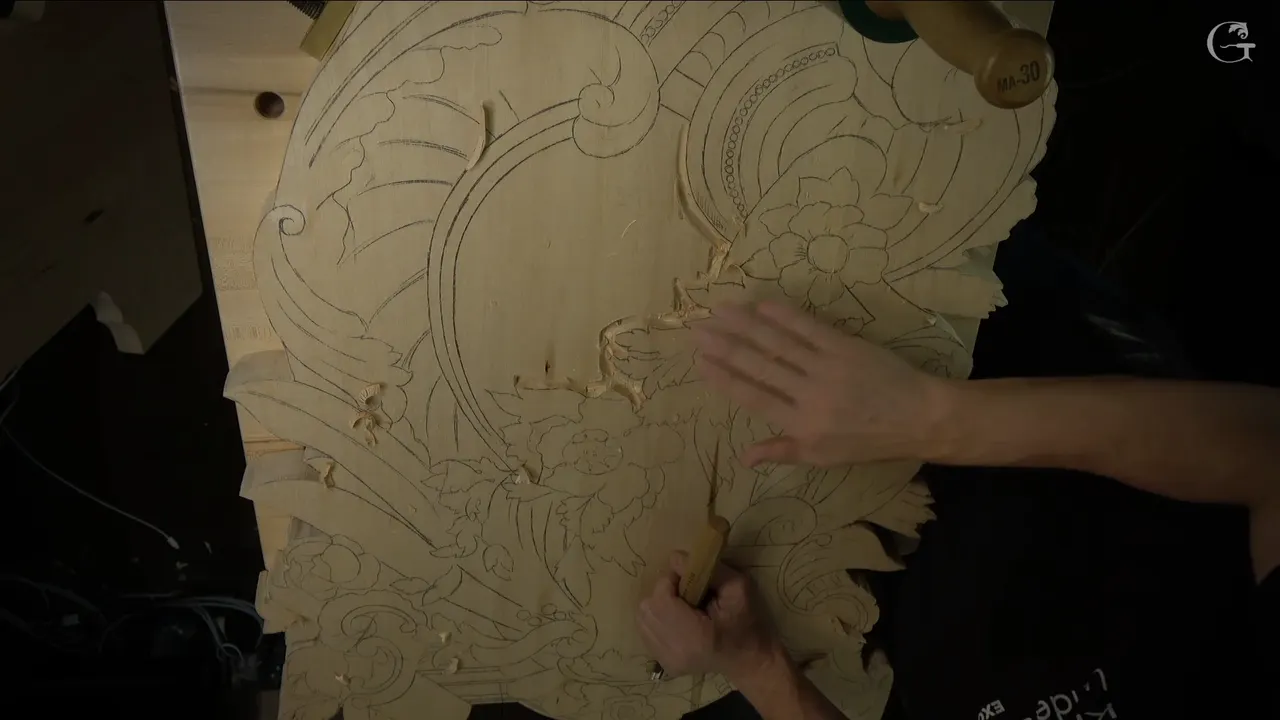
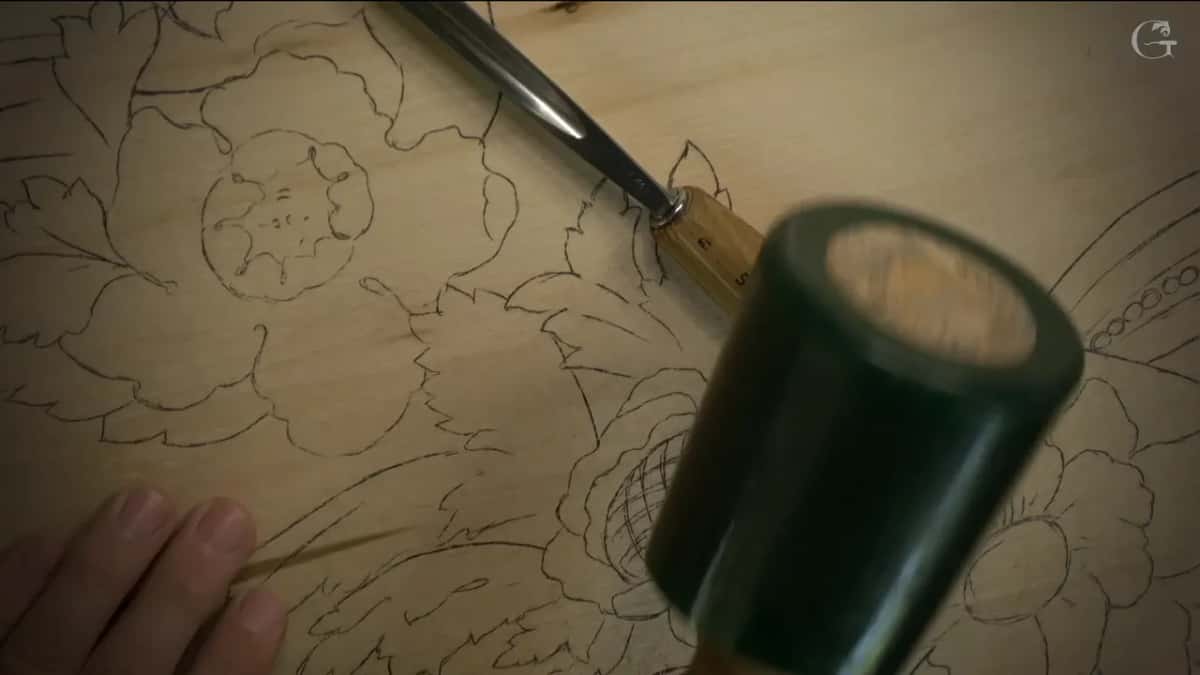
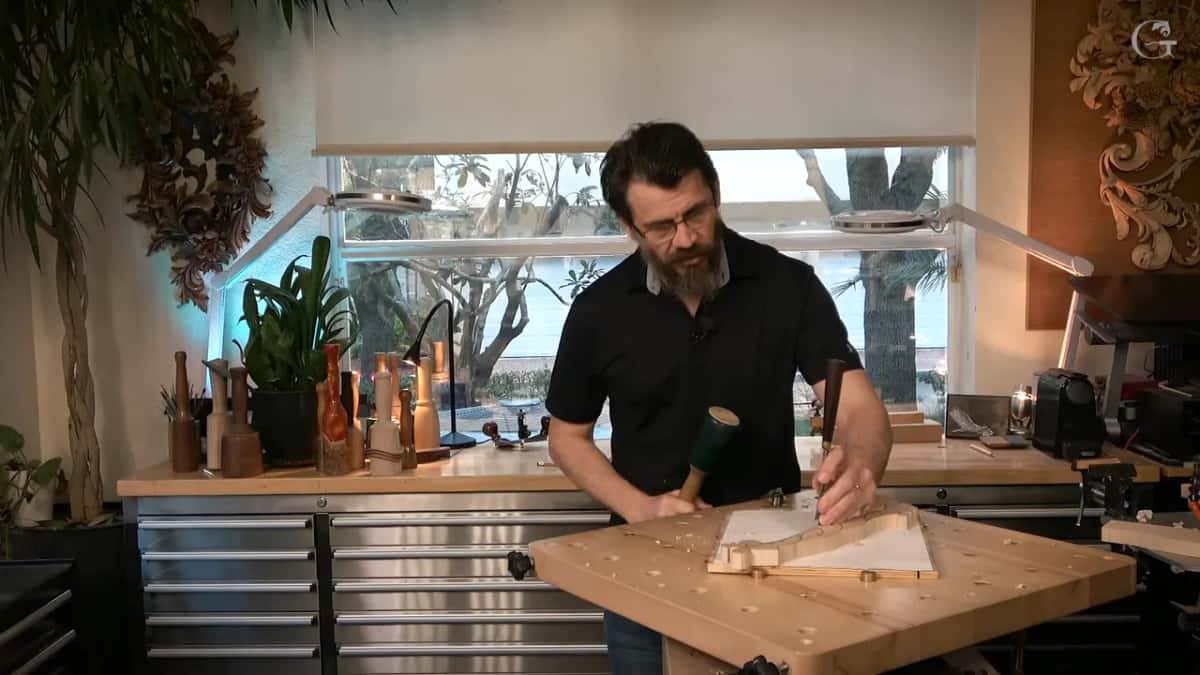
Carving mallet weight is something I change in the middle of a job, and the tool in my other hand decides it. The first tool on a new board in workshop 104 was a 10 mm (3/8 in) number 11. A mallet went with it, a heavier one, like 30 ounces (850 g), to outline the inner part of the design.
Would you like the gouge to go in while your arm stays fresh? Do you want a thin edge still standing after the last tap? Weight decides both. You will see where I went heavy and where I went light, and a time I told the camera I had picked the wrong one.
Workshop 104 gives the mallet only one line. The rest of this page is what I said in other lessons, each one named and linked, and you can open any of them and watch the moment for yourself.
What I pick up, and when
Some 30 ounces when a deep line has to go in, like the first outline of workshop 104, where the #11 sank some 3/8 of an inch.
The same heavy one for an 80 mm (3 1/8 in) gouge.
A 12 ounce (340 g) mallet next to a thin edge I am afraid of breaking again.
My hand alone, when even that is too much.
Two pounds on hardwood, which is 32 ounces, about 0.9 kg.
Rubber heads for everyday work.

What did the new board in workshop 104 start with?
A 10 mm gouge and a mallet started it, the gouge a number 11. The board is about 24 inches wide, about 60 inches long and an inch and a half thick (610 by 1525 mm, 38 mm), and it is one piece of a detail about 10 feet (3 m) long on the side of the room. I divided that detail into several parts, and this board carries a single part, for a room carved in the style of Venice.
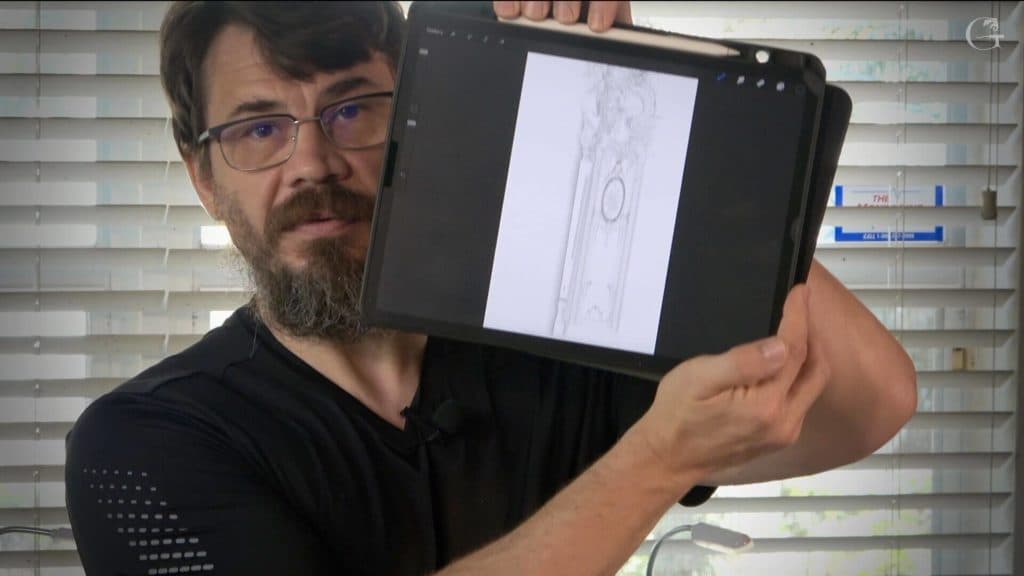
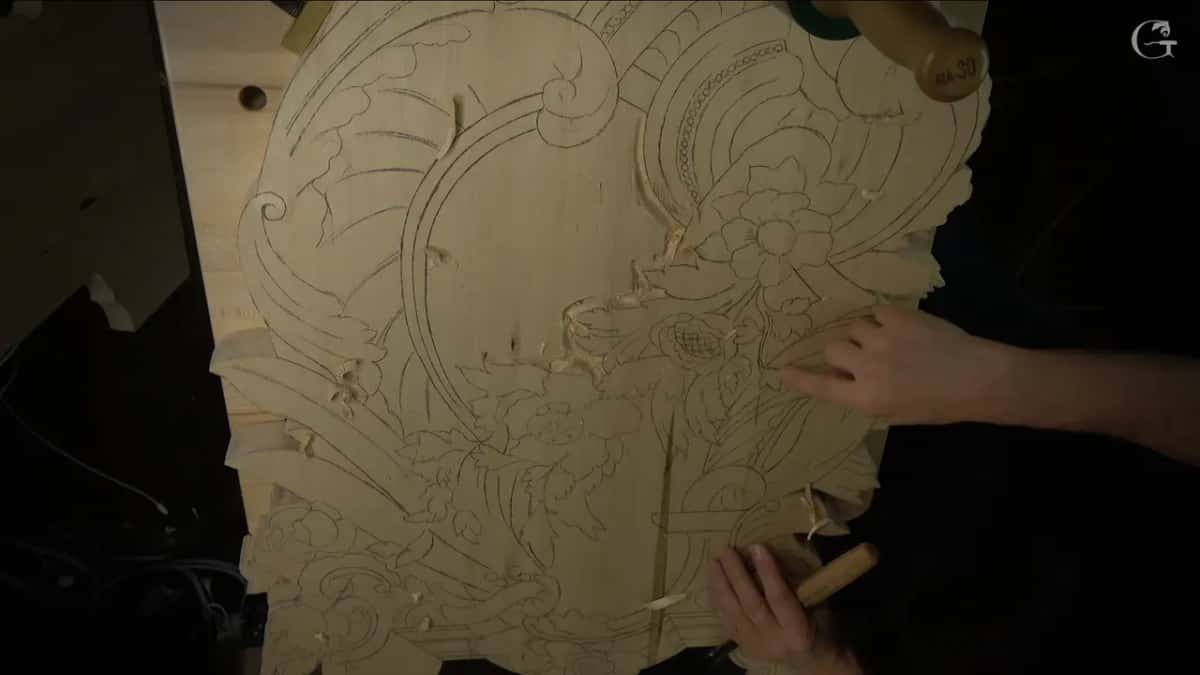
The drawing reached the board as a full-size print from my iPad, and that part has its own page. I traced it and sawed around it. Then came step number one, just the bossing, which is the normal step on any project, making the overall shape the way it is supposed to be.
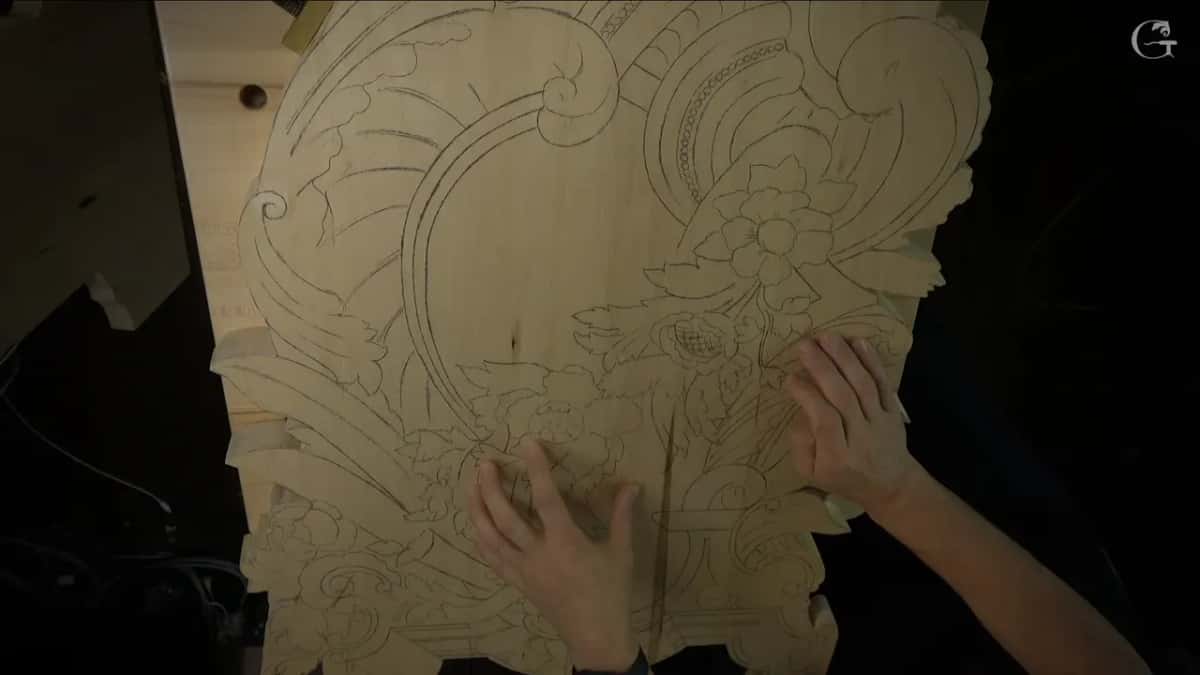
The highest spot will be the flowers, and my plan was to glue up and laminate more wood later so they can stand high. A shape in the middle looks almost like a shield. It flares out much thinner, to no more than maybe a quarter inch (6 mm) at one point. The whole piece will sit on plywood, on a wall I still have to build, and one side of that wall is curved.
I took that tool first for a reason. My #11 is 10 mm wide and about as deep inside, maybe 11, so its top edge tells me how deep I went. Part 9 of the Venice Room leans on that depth idea again and again. After that I reached for the mallet and planned on a heavier one, like 30 ounces or so, to outline.
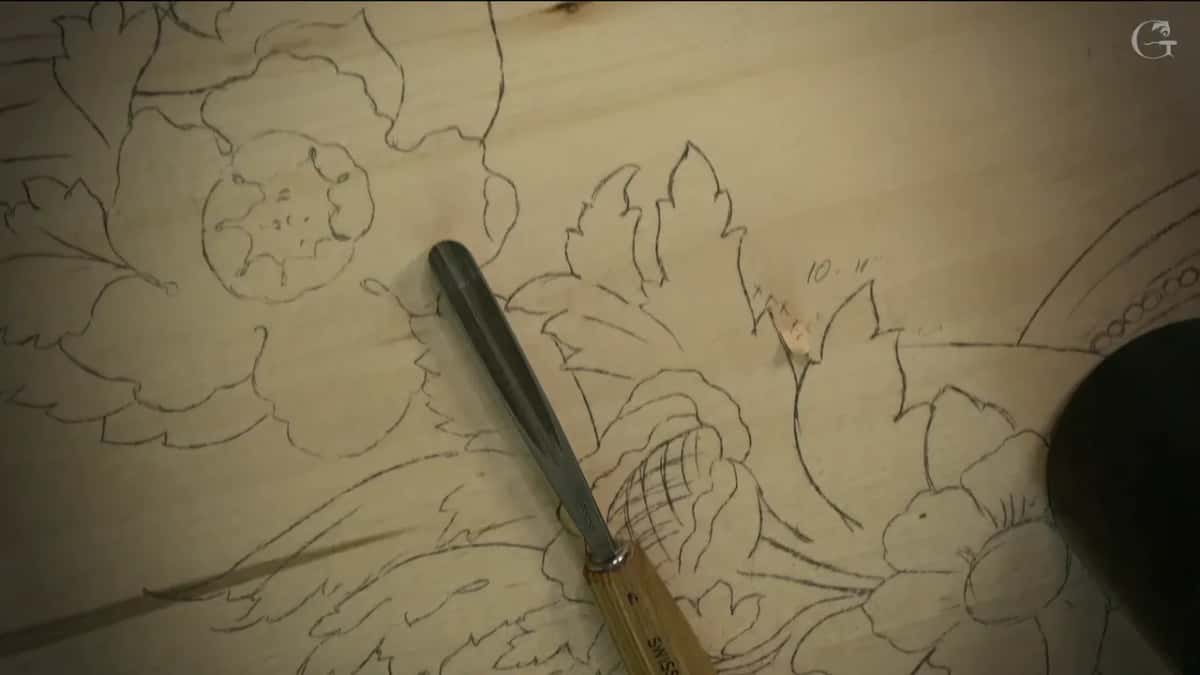
The first job was only the inner part. Beside what will become a flourish, the high spot and the low spot sit about 10 mm apart, maybe 11, and that low spot is the deepest one I planned. The board under it is just one inch and a half thick.
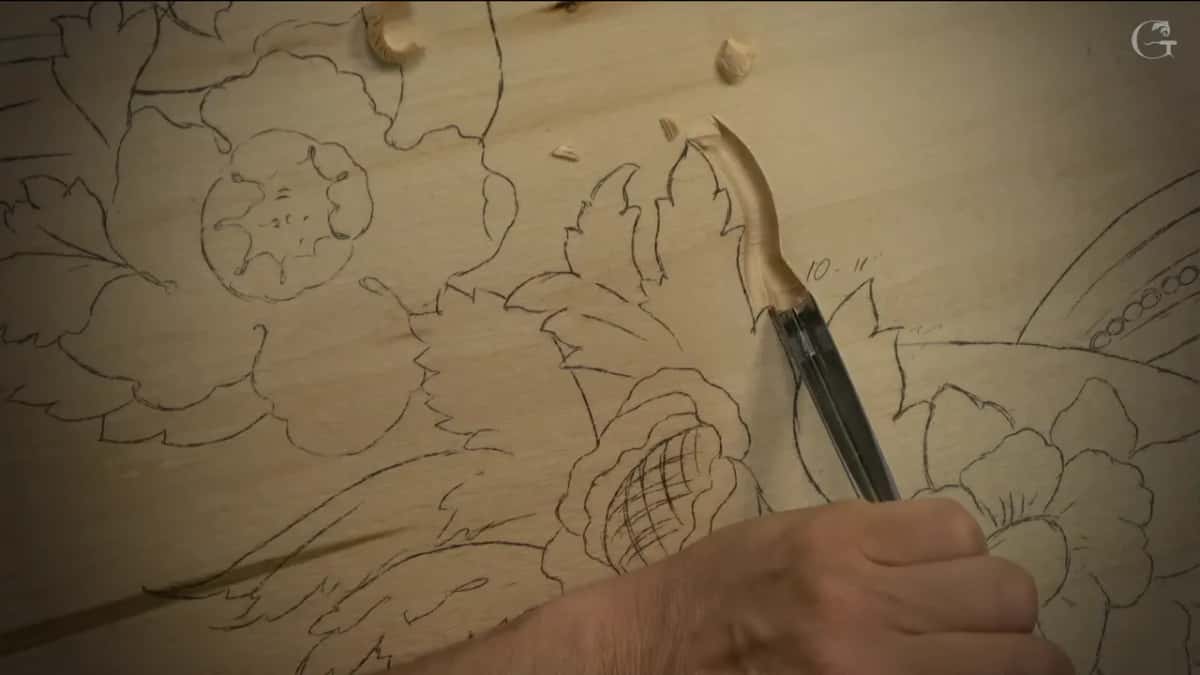
Grain chose the direction. One side of a number 11 comes out clean and the other side does not, because one wall follows the fibers and the other runs against them. I kept the clean side going downhill, the way the grain runs.
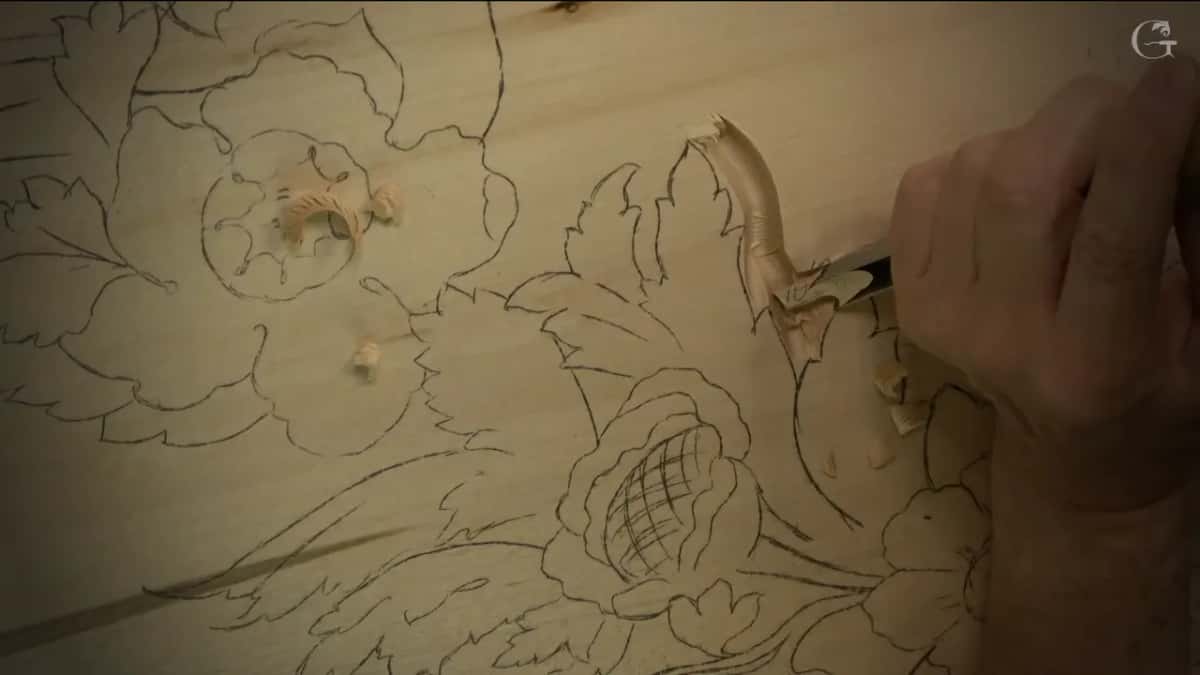
Sometimes it takes a couple of passes to reach the depth. You really don't have to watch the whole process, I told you, since it is the same operation all around, wherever there is something to outline. I was close to the final design, so I did not leave much room.
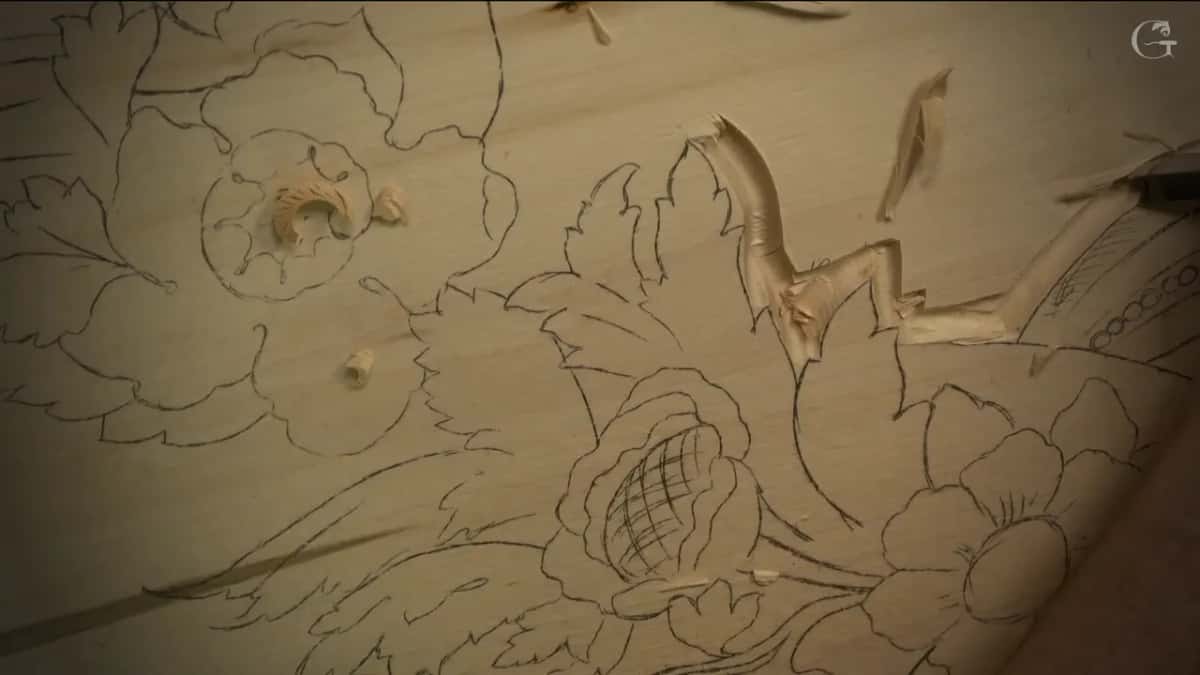
One spot there will go much lower later. I said I would outline it anyway and then go downhill a little deeper, because I did not want to lose the detail. I also said it is impossible to do all of it in one day. This process is not that fast.

Why does carving mallet weight matter on a deep line?
I never stopped to explain that heavy mallet on the new board, but I did say it out loud in workshop 28 of the Venice Room. A long bent or medium bent number 11 had to get into a spot that was kind of hard to reach, and twelve ounces, I told the camera, is not going to fly there.
It will work. I just get tired a lot quicker.
So I need 30 ounces, I said, and let the mallet do the work. A little later a number 3 went in to knock the inside down, and it felt almost like using a shovel. Huge tools.
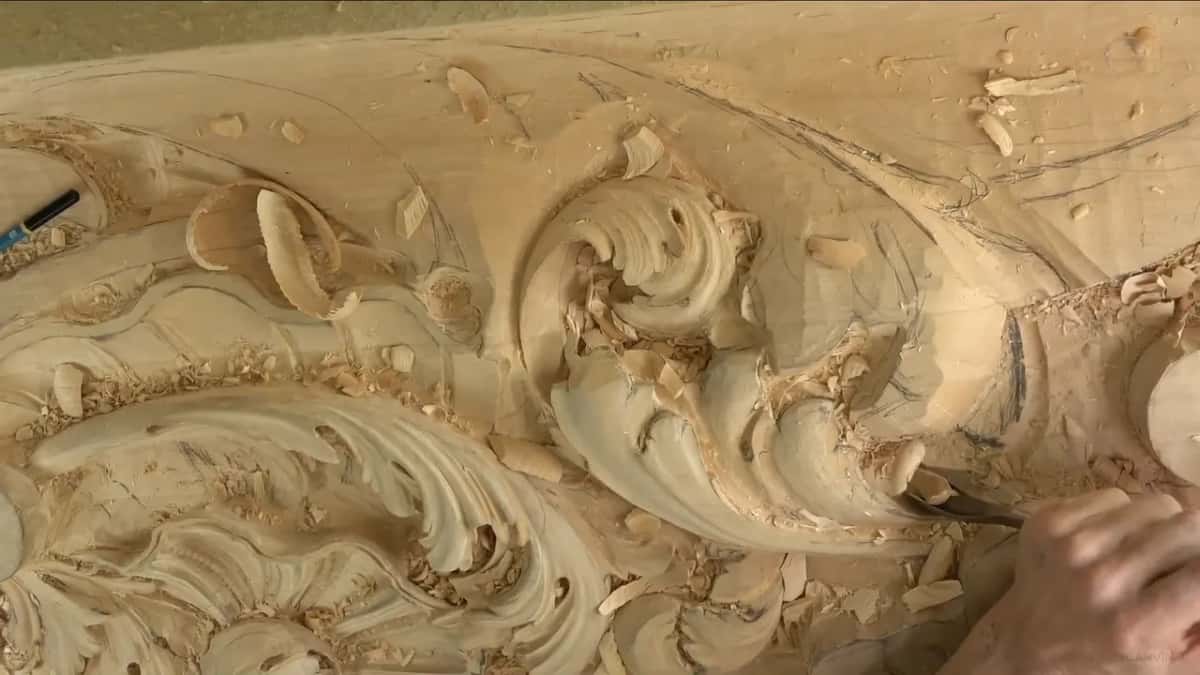
Once I admitted I had picked the wrong one. That was workshop 67, where I was tapping a gouge in from the opposite direction, and it went much better. I said the heavier mallet would have been right. I had used only 12 ounces when I should have used 30, and I was carving against the grain there, the only way I could do that spot.

Which jobs got the heavy mallet?
Big tools did. Back in workshop 1 of the Venice Room I wanted the right shape in three dimensions before any detail, so I took one of the big gouges, three and one-eighth inches, exactly 80 mm. With it went a really heavy-duty mallet of 30 ounces, and then I started removing big chunks of wood.
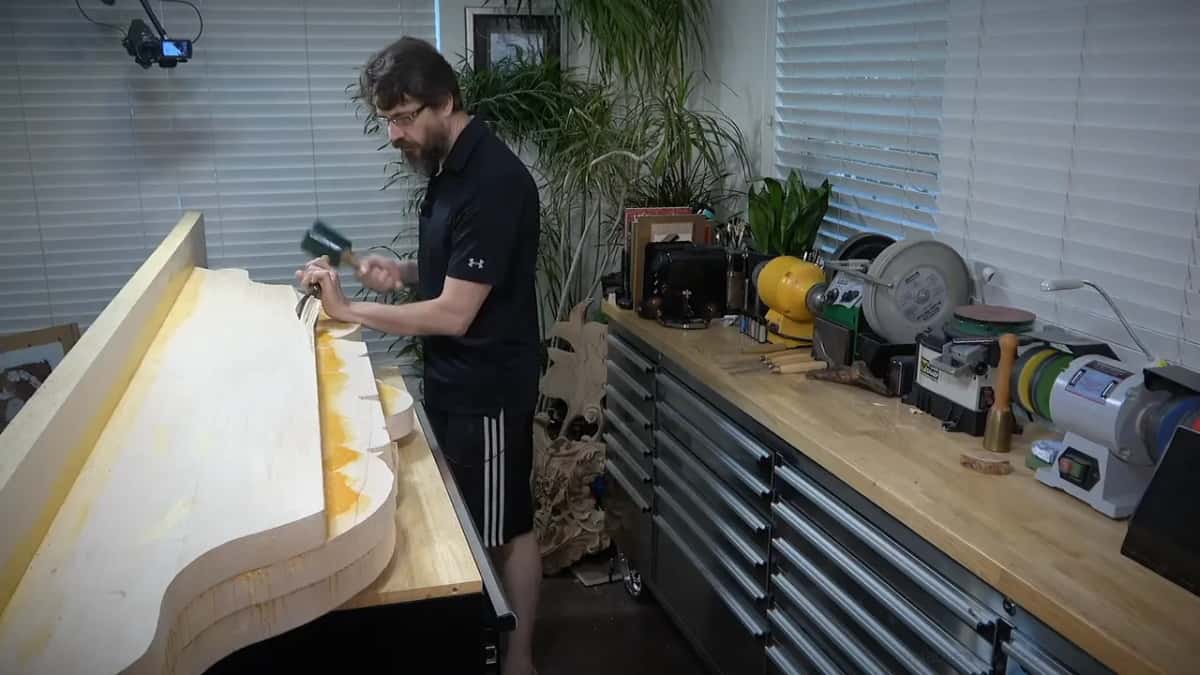
Deep openings got it too. I asked myself in workshop 30 whether to carve deep inside one spot or leave it higher, and I went much deeper, because it gives me depth. A big number 9 made the opening, and the rhythm was hit, rotate, hit, rotate. There I needed a heavier mallet, much heavier. A gouge that turns under the mallet is also how a plug cut starts.
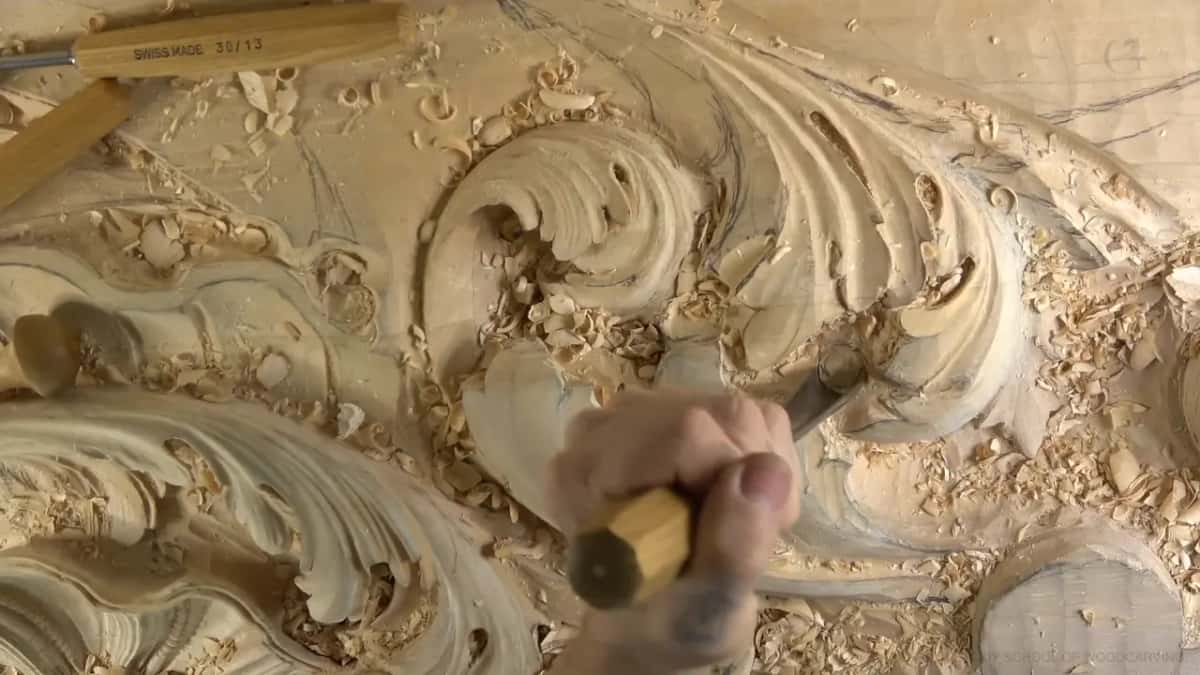
Sometimes the heavy mallet is for one stubborn piece of wood. My goal in workshop 47 was to show more of an acanthus head from its flank. I went a little deeper and said I would use a little heavier mallet, because I needed that chunk beside the acanthus, or it would not look as nice. It gave me a little more three-dimensional movement right there.
Maybe we would need the heavier mallet, I said in workshop 7, and should attack from two sides, and a smaller spoon number 11 of about 7 mm came in after it. With a straight 10 mm number 11 going in under the mallet in workshop 25, a heavier one of about 30 ounces was my thought, and I had to be careful in that area, because the next movement was coming on that side. Tool number one in workshop 85 was a number 9 gouge, and a heavy mallet of roughly 30 ounces seemed the best idea to me.
What about hardwood?
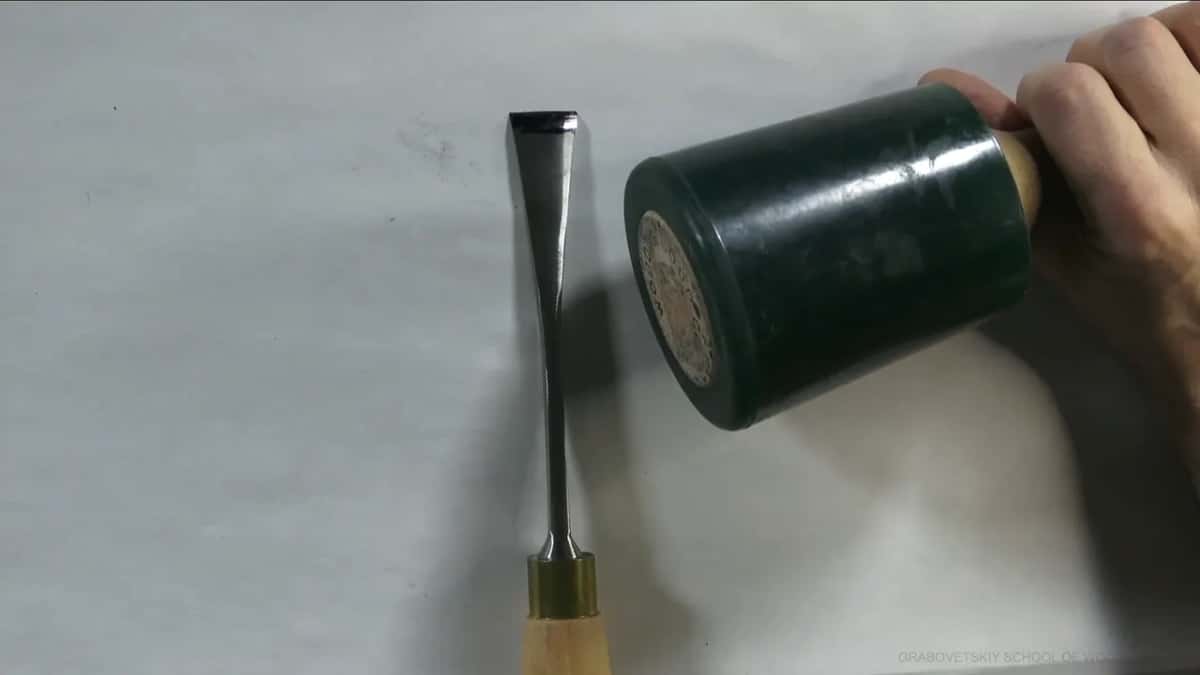
Hardwood wants weight. In a lesson about the bevel for hardwood I said that on the hardwoods you usually use really heavy mallets, and the one I showed that day weighed two pounds, a really heavy one. A pound is 16 ounces, which is how two pounds comes to 32.
| The job | What I said at the bench | Mallet | Where |
|---|---|---|---|
| A deep outline | I would probably use a heavier mallet | Thirty ounces | Venice Room workshop 104, Part 9 |
| Bent number 11 | Twelve ounce is not going to fly | Thirty instead | Workshop 28, hard to get in |
| Tapping against grain | I used 12, I should use 30 | Wrong one | Seen in workshop 67, Part 6 |
| Removing big chunks | really heavy mallet with the big gouge | Also thirty | Right at the start, workshop 1 |
| Fragile box edge | a smaller mallet, and use it carefully | Twelve ounces | Lily Box, lesson 5, second layer |
| Very thin flower | barely hit it, then went by hand | Small, briefly | Hashemi flowers, lesson 19, V tool |
| Any hard wood | on hardwoods you usually use heavy mallets | Two pounds | My lesson on bevels for hardwood |
When is a 12 ounce mallet the right one?
When the edge is thin and I am worried for it. On lesson 5 of the Lily Box I was digging beside an edge with a 3 mm tool, and I said if I crank it too hard against that edge, I'm going to break it again. A smaller mallet was a good idea there, I said, like 12 ounces, used just like that, carefully and straight down, the same idea as the straight-down relief cuts earlier.

I grabbed a small mallet of about 12 ounces in the first lesson of Acanthus over Moldings, and said it would be good. The tool went in straight, like 90 degrees, pretty close to the line but not exactly on it. I left about 1/16 of an inch (1.5 mm), maybe a little more, so there was still space for cleaning.
The light one went with a gouge too. In lesson 29 of the Hashemi flowers a number 9 about 5/8 of an inch (16 mm) went around a shape with a little smaller mallet, 12 ounces, for a separation cut. I made it preliminary, just around the shape, a first pass and no more.
When do you put the mallet down?
Once the part is too fragile for even a light tap, it goes back on the bench. In lesson 12 of the Hashemi flowers I tried different tools to find which was easier in one area, and I said maybe I could use just a slight mallet. But no, I said, it's too fragile, and I went to a smaller V tool of 3 mm. I did not want to overdo it.
Lesson 19 went a step further. A V tool was going around for a separation cut, and I said I could even use a small mallet there. I barely hit it, since I didn't want to overdo it, and that mallet was only 12 ounces. After that I carried on with my hand.

Even a beautiful mallet can stay on the bench. A gift came out in workshop 148 of the Venice Room, a weighted mallet of exactly 20 ounces (570 g), and I told you I would not use it much, because of the sound and because I want to protect the mallet itself. My everyday mallet, the bad-looking one, was the one I meant to start outlining with. A moment later I said that for the first pass, right on the line, I did not have to use a mallet at all, and could do it by hand with no problem.
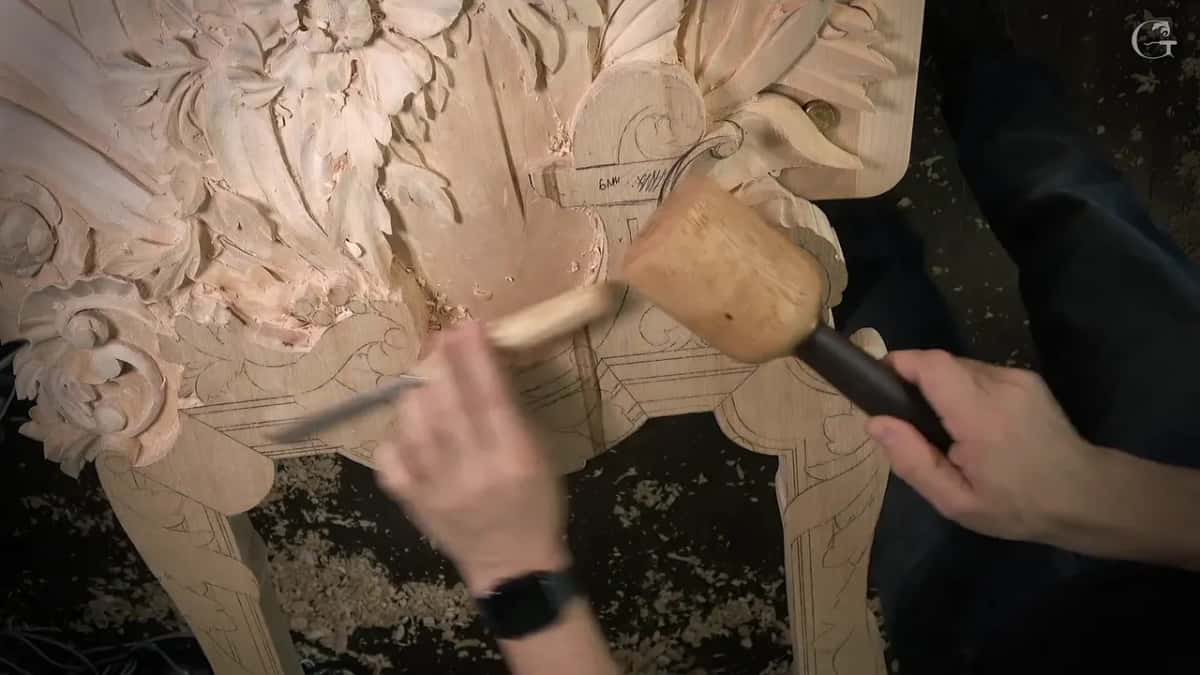
Pushing by hand and tapping have different jobs, and why a mallet gives you more control than your hand is a page of its own.
Why do my everyday mallets have rubber heads?
They protect my tools. In that first Venice Room workshop I said I use a rubberized mallet to protect the ends of my gouges. I don't like a wood one there because of the noise, or brass on heavy-duty work, when I am removing a lot of material.
I love mallets that are beautifully done, and I showed several in workshop 85, one of them from a friend in Israel and one of spalted maple. Still, for work I prefer a rubber head, because it protects my handles, well, at least for now. Wood mallets make a lot of noise, and the rubber one absorbs a lot of it. I have had that one a long time, and it still works fine.
Rubber against brass is its own question, and if you want every head, shape and weight in one place, I wrote it all up here.
How do you choose the weight at your own bench?
In most of the lessons on this page I named the tool first and the mallet second. The #11 came first in workshop 104 and the heavy mallet second, a number 9 before its heavy one in workshop 85, and a number 9 before a smaller one in the Hashemi flowers. A light one that would still work but tire me out became a 30 ounce one. A thin part got a small mallet, or none.
Nobody has to carve at the scale of that Venice Room wall, and I said in workshop 104 that I don't expect anybody to. You can take parts of these lessons and use them in your own relief work, or on a frame. Every lesson named here opens with full access to the school.
Would you rather tap less and carve more? Do you want to see each switch with your own eyes? Pick up the tool first, then the weight that fits it, and let the carving tell you if you guessed right.
How it's done
- Pick the gouge first. Choose the tool for the job before any mallet. For me that was the #11.
- Match the weight. For a deep line or a wide gouge I took about 30 ounces.
- Let it work. If the light mallet still works but tires your arm, change to the heavier one.
- Go around in passes. Take a couple of passes to reach depth, keeping the clean side of the gouge running downhill.
- Go light by a thin edge. Next to something fragile, change to about 12 ounces and tap carefully, straight down.
- Use your hand. When even the small mallet is too much for the part, put it down and carry on by hand.
Frequently asked questions
Is a 12 ounce mallet too light for wood carving?
My fragile jobs got twelve ounces in these lessons, like a thin box edge and a small separation around a flower. On a bent #11 in a tight spot the light one would still have done it, I said, only with my arm tiring much sooner, and I said I needed thirty.
How heavy is a heavy carving mallet?
Mine are around 30 ounces in the Venice Room lessons, roughly 850 grams. For hardwood I showed a 32 ounce one, and called it really heavy. A 20 ounce gift mallet sits between those, and I keep it mostly off the work because of its sound.
Can you outline a relief without a mallet?
For a first pass right on the line in workshop 148, I said I could do it by hand with no problem. A deep outline was different. Workshop 104 shows that, with a #11 sinking 10 mm or so and a mallet near thirty ounces planned for it.
What to carve next