
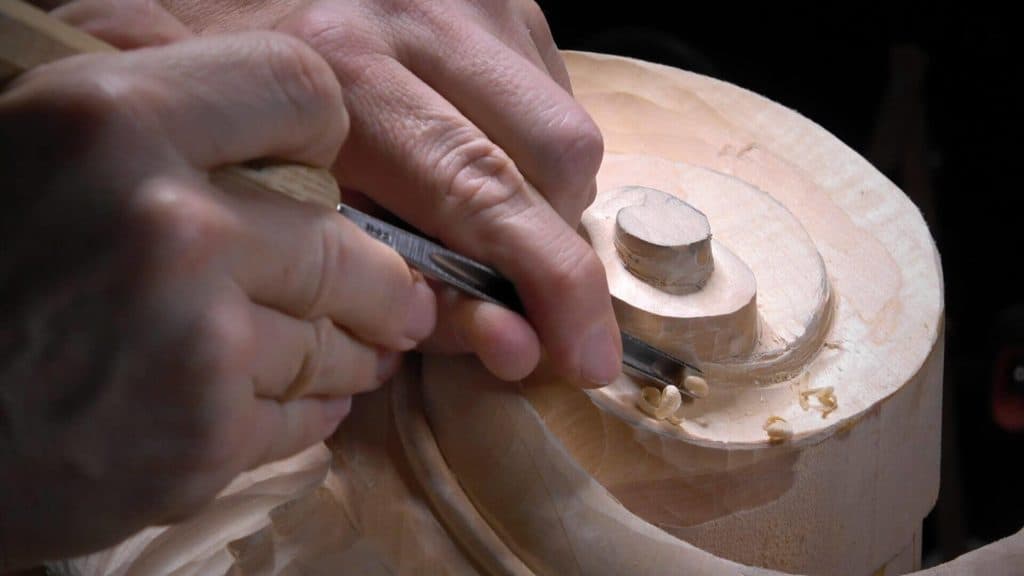
Alexander Grabovetskiy, woodcarver, School of Woodcarving · Published 2021
How do you make a carved volute stand out from the wood around it?
Quick answer: Lifting a carved volute off its ground is a matter of lowering and shaping the wood next to it. A knife line gives a sharp edge, a cove sinks beside a narrow fillet, and the ground is dug until it dips in, with any hollow that rises taken underneath the scroll.
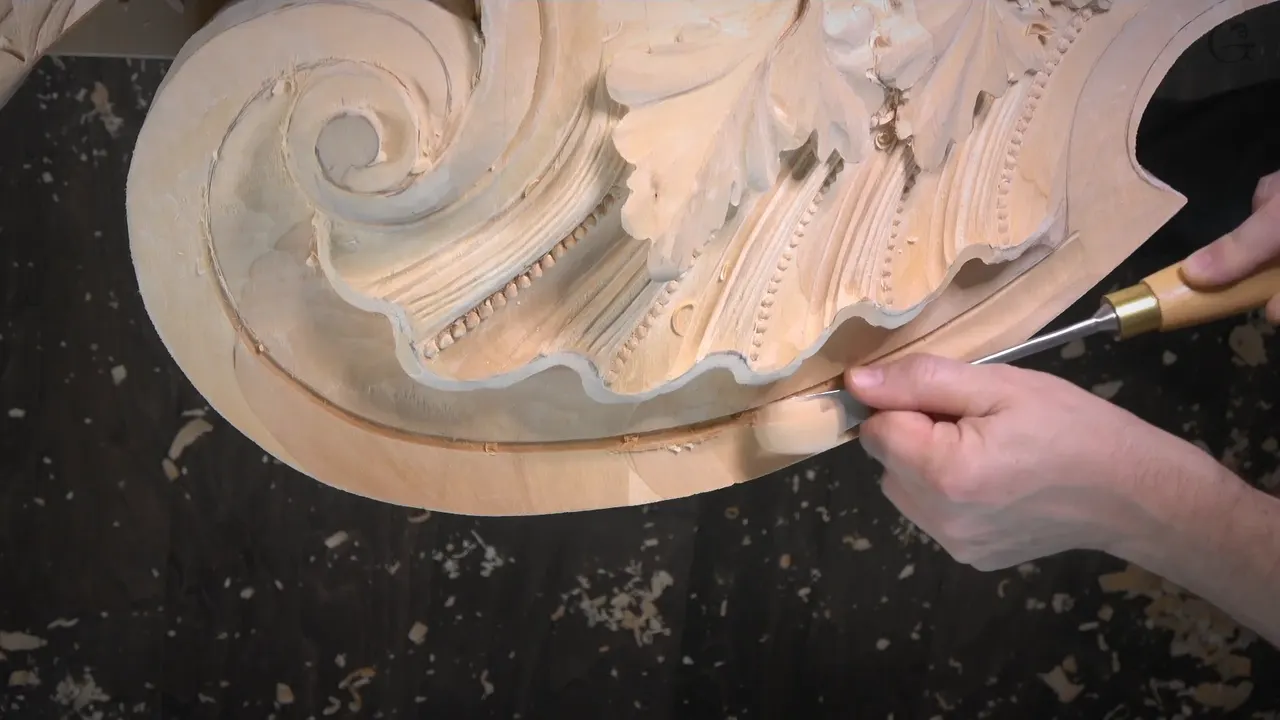
Making a volute stand out is work done on the wood around it. In workshop 100 I set a knife line beside mine, sank a cove along that line, started carrying the cove all the way around, and dug the ground so it would dip in. One hollow rose back up toward the scroll, so I worked in underneath it until it stopped.
That is how to make wood carving stand out using a knife and a few gouges. Nothing in workshop 100 touches sandpaper, a power tool or a can of finish, and the volute still came to stand higher than the wood beside it.
Have you ever run a fingertip along a carved edge and felt the wood fall away right beside it? Have you seen a thin dark line sit in a groove next to a raised shape? Both of those are carved. The moves I made for them on camera are below, with the tool and the size I named at the bench.
This volute sits next to a shell on a Venetian piece in Venice Room, Part 9. The first seven parts went to that shell. Parts 8 through 11 went to the cove, the ground and the shadow, and those four parts carry this page.
Six moves that lifted this volute
A knife went straight down at 90 degrees on the line where a fillet and a cove would meet.
A #11 of 5 mm (3/16 in) went beside it first.
The cove sank to about 5 or 6 mm, a quarter inch, and a #5 an inch wide blended it.
Beside the scroll the ground came down until it dipped in.
Where a hollow rose back up, a 3 mm (1/8 in) veiner went almost under the scroll.
One light, switched on alone, showed the shadow.
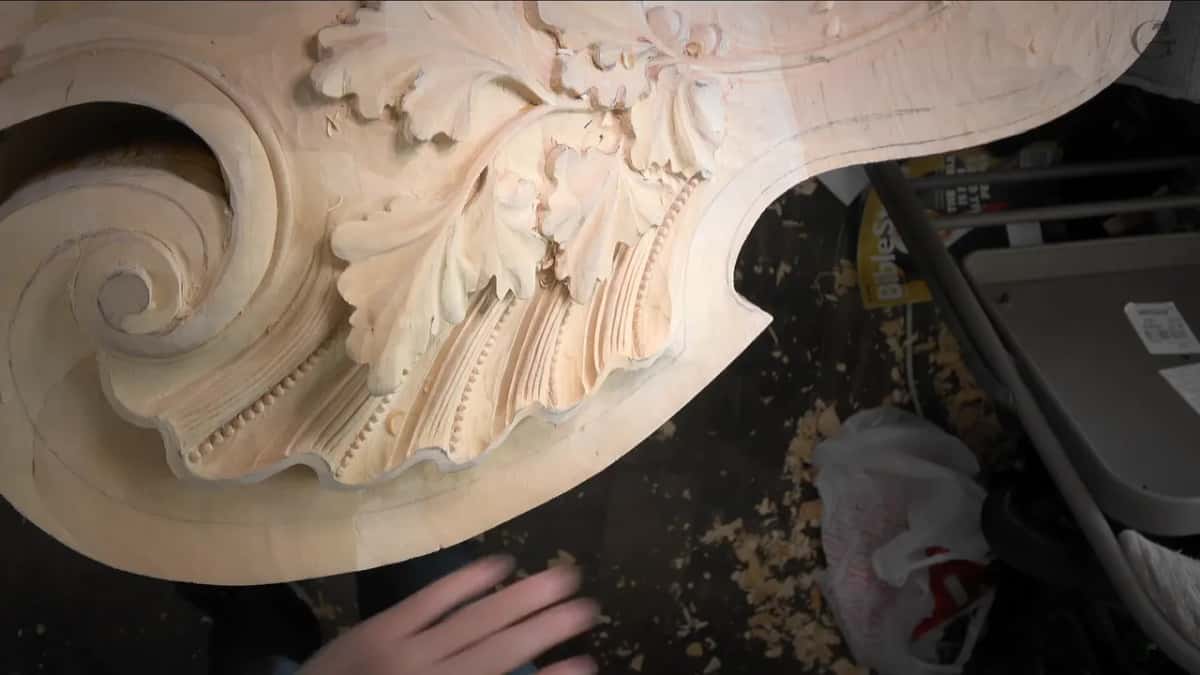
How to make wood carving stand out with a knife and gouges
On this volute I lowered the wood beside it and gave its edge a sharp line. That meant a knife line for a sharp edge, a narrow fillet so the cove would look more pronounced, the cove itself, and ground so low that it dips in. Each came with a reason on camera, and I kept the reasons as I said them.
Most of it happened while the rest of the piece was still rough. I will come back to why.

What was on the bench before the cove?
A shell, still rough, with its ribs only started, and a volute beside it waiting for its cove. I opened the workshop underneath it, with a 5 mm veiner and what I called my initial undercut, and I told you the one thing I had to watch right then. Not to rush it. When I'm rushing, I make mistakes.
A #7 of 14 mm (9/16 in) took that undercut closer to the edge. I still left about an eighth of an inch, 3 millimeters or so, because the leaves were not finished and would need refining. Where the wood stood a quarter inch thick I said it should be strong enough, and my only concern was shipping. Once it is installed, nobody is going to touch it, and it should stay there for hundreds of years, if we are going to live on this planet that long.
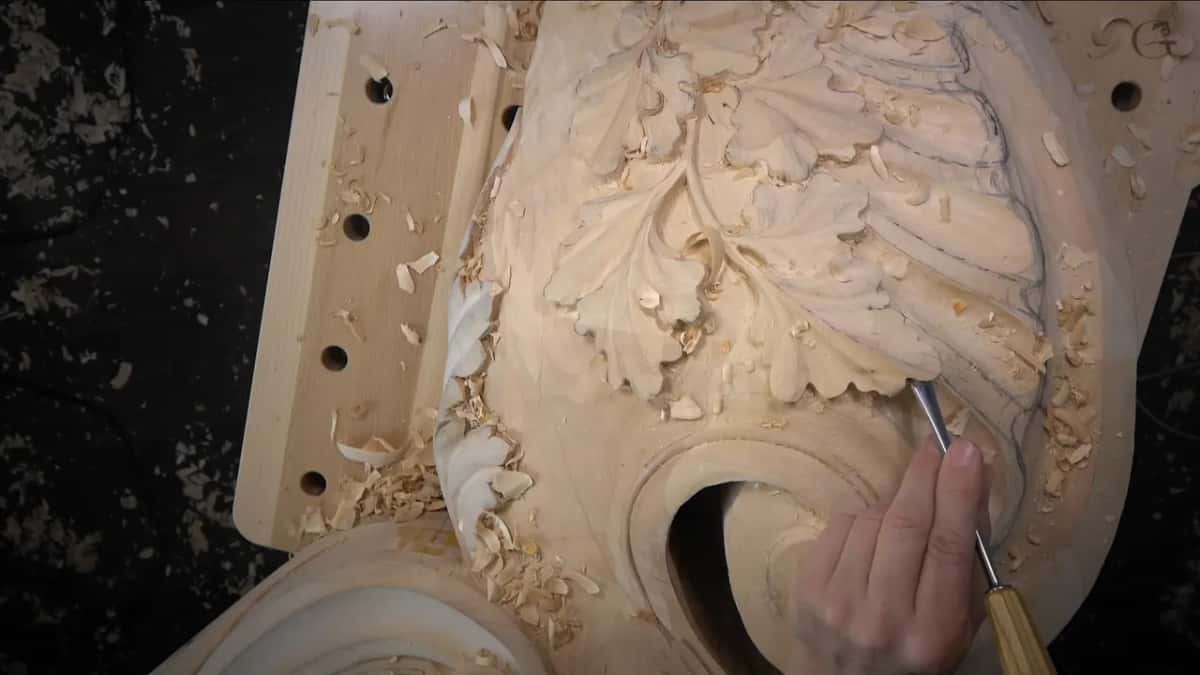
Next came the ribs of the shell. Each one is a convex with a bead molding along its right-hand side, and three small hollows went inside every convex. The beads took three tools, a small skew chisel, a #9 and a #7, and bead molding along a curve has a page of its own.
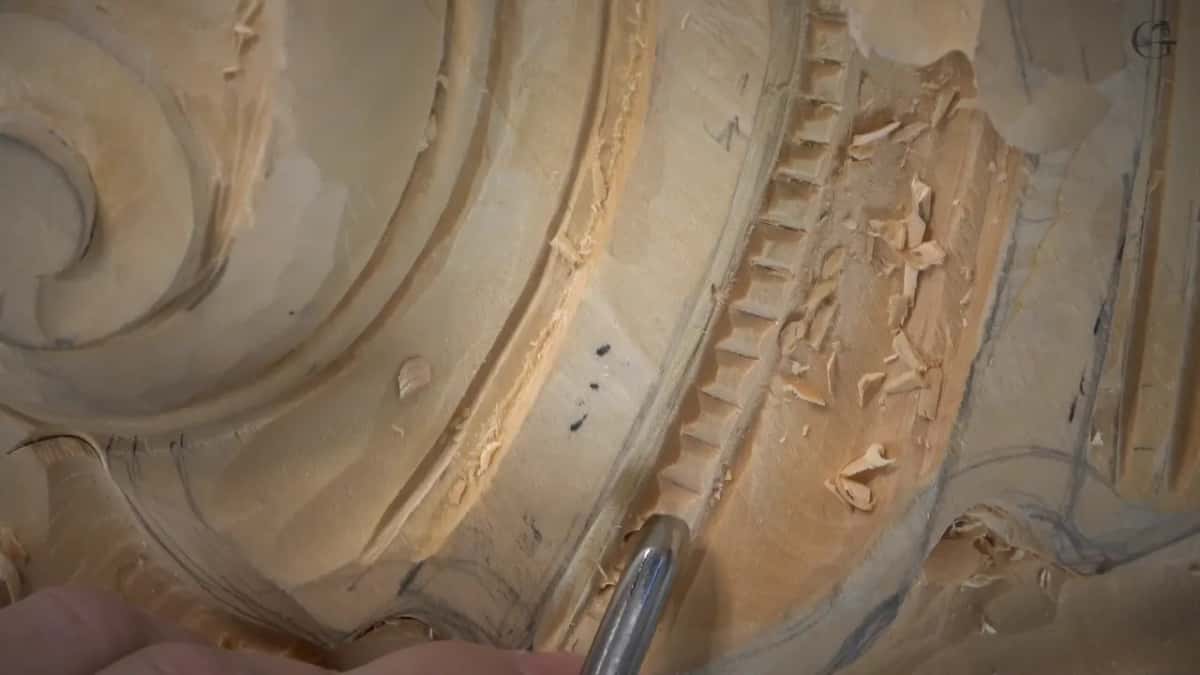
Why put a knife line beside a volute?
For a really sharp edge. Those were my words, and in the same breath I said it is not really that necessary, only a good idea in this case, for the movement it gives.
Before any knife, a small #11 of 2 mm (5/64 in) made one groove right in the middle, on the inside, and I called that part simple. There was a little cove going on in that spot already. I did not want it to end there. My idea was to raise a narrow band beside it, not really raised, more like a fillet, so the cove would look even more pronounced.
The line itself was knife work. A normal knife, the one I love, a number 12 by Pfeil, Swiss made. I went straight down, 90 degrees, and tried to stay right on the line until it reached the intersection. Somewhere along there I said oops, apologies for showing you too much, and kept going.
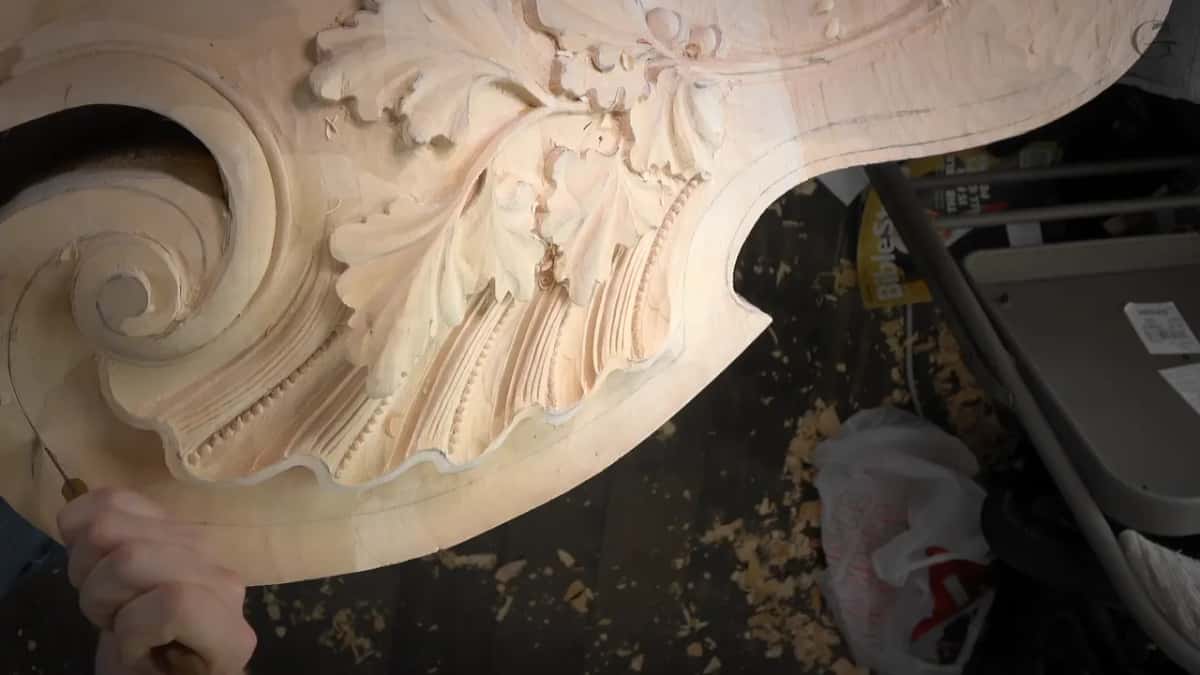
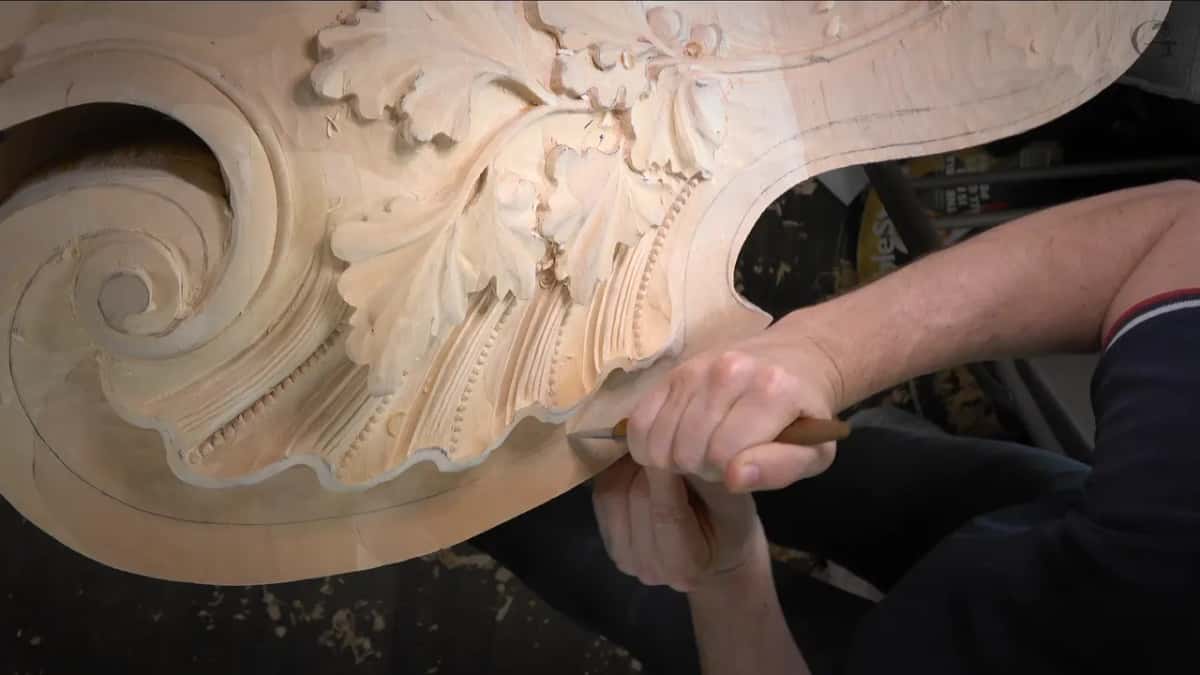
How close can a gouge go to that knife line?
Right up to it, carefully, and not with the big tool first. I weighed a #7 of about one inch against a #5 of one inch (25 mm) and took the #5, since I said it would be better there. It can actually go to the line. But if I dig too deep near a line like that, I can damage the edge, so the safer move for me was a 5 mm #11 run right beside the knife line first.
That pass has to go the whole way around, I said, but I stayed on one section so you could follow it. Then deeper.

How deep should the cove beside a volute go?
About 5 or 6 millimeters on mine, a quarter inch, reached in stages. First I said maybe five millimeters or so, maybe more, maybe six, like a quarter inch. A little later I was approximately five, six millimeters deep, and the #5 came back to blend it. I'm going to be honest with you, I said it's beautiful.
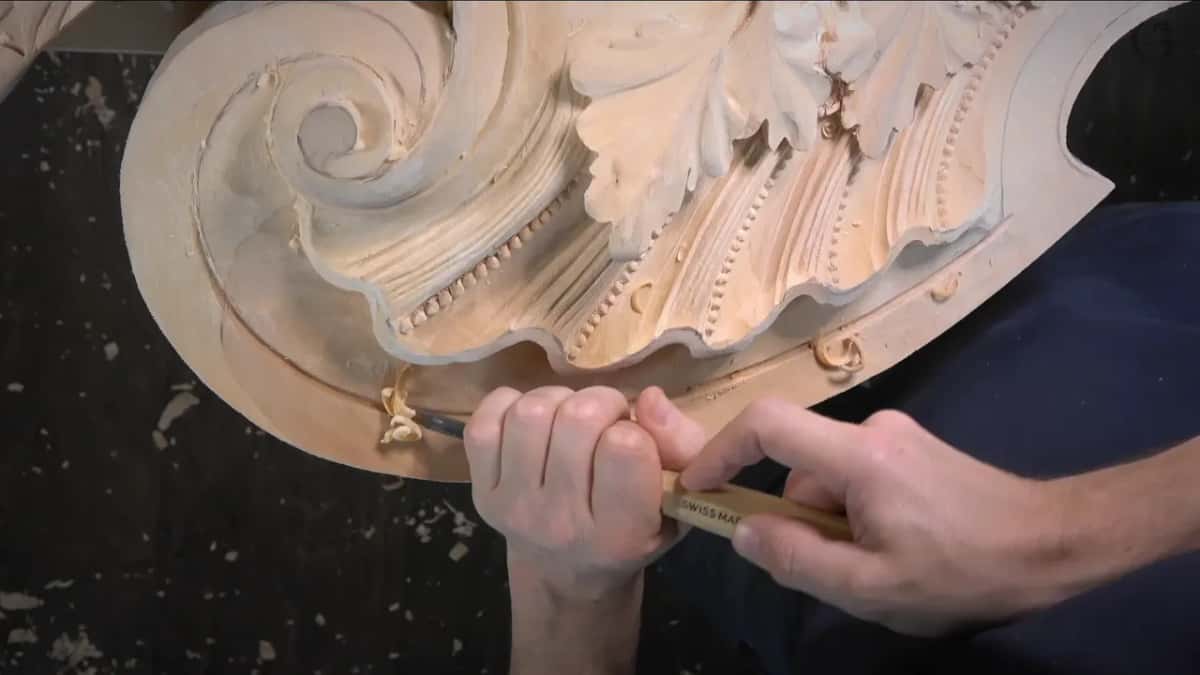
Partway along, the grain changed, so I stopped on that part and left some of it for off camera. Near the edge I said I was really close and I didn't want a mistake. From the side the cove finally showed. See how nice that cove is? I called it an absolutely gorgeous cove, and multiple passes were my plan until I was happy with how clean it was.

One side still needed a slightly deeper pass. How I checked that depth, with the height of the tool and one eye on a single edge, is on the Part 9 course page. What I will add is what I told you about holding it. Keep it in one position, without rocking, or that edge ends up much lower.

Why not leave the knife line showing?
Leaving it would have been all right, and I said as much, since this is architectural work and that line could stay right there. But I want to be authentic. They didn't leave those outline cuts.
A shadow line was distracting me too, so I moved my lights to where I could see much better. After that it was just cleaning, making sure it was all consistent. Looking good, in my opinion.
What gives the fillet its round edge?
A back bent gouge, which I said is probably the best tool for it. The knife could go along again to recreate that line, I said, and make it really sharp, and then I said I think it's enough. Then I tried a 5 mm back bent, checked whether a #7 upside down would fit, took one section slightly deeper and blended again with the same #5. A really simple detail, I said, but it gives a really nice movement. On a concave molding earlier in this room the fillets got a back bend too.
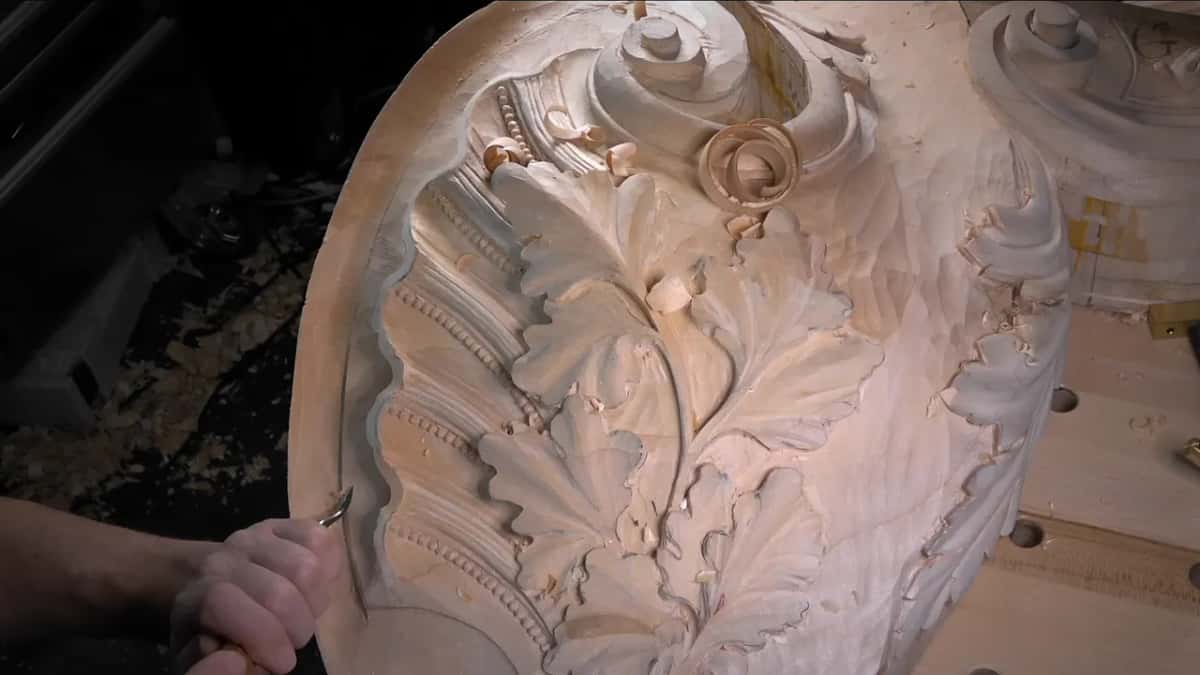

How do you carry a cove around a volute?
One section after another, with nothing finished, because the cove had to circle the volute first. That is why I still had rough spots, and I told you not to pay attention to them. Sometimes I clean right away, but not all the time. After I'm happy with the overall movement, I'll clean everything.
The cleaning I kept off camera. It's the same process over and over, I said, only with my passes a lot more concentrated and finer.
My first pass around the scroll was a 2 mm #11, to excavate. I really wanted it deeper, the feel that it actually dips in. Then I said 5 mm would work better in this case, to excavate much deeper.

Why does the ground around a volute have to dip in?
The dip lets the volute stand much higher, which is what I said I was after. A shadow spot came next. That spot is the continuation of one of the volutes, with the big extension going one way and the bottom somewhere right there.
I reached for a small #7, changed my mind to a #6, and took one of about 10 mm, about three-eighths of an inch, to start removing. Blending would come later, a roll movement, I said, so I stayed on that one section.

Carving the volute itself is a different job, and the hollow inside its barrel has its own page. So does a volute built as three curves. A twisted one rises from under a leaf, and on a lily box the question was whether the top sits flat or sloped. In low relief, with barely any depth to dig, I tilted the ground rather than deepening it.
What do you do when the hollow keeps rising?
Get beneath it with smaller veiners until it stops. Right then I had a real nice concave, but it raised up, and I really did not want it to rise. I wanted to get in almost underneath the volute, so I made an even deeper pass with a #11 of 3 mm, and it was already giving me a beautiful shadow.
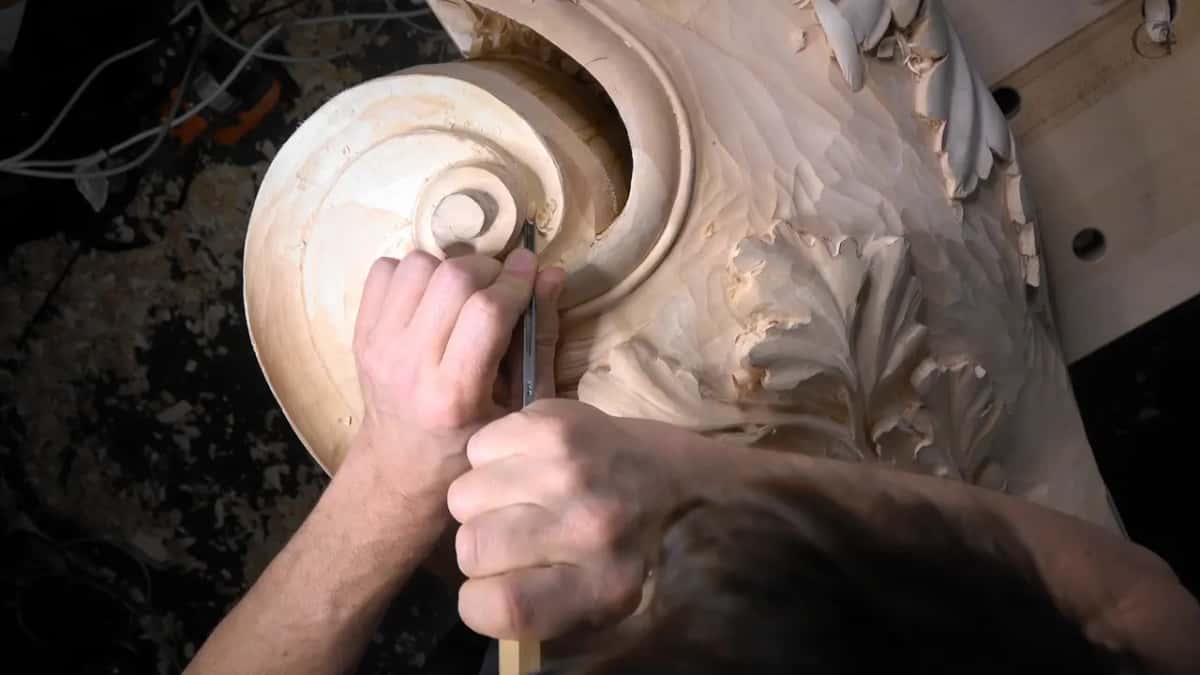
Two millimeters was what that section needed, I said, and then 1 mm (0.04 in). After that the #6 came back, and here we go, I said. It did not go up anymore. It ran all the way underneath, still a concave and not a straight down movement, and I called that a really nice movement.
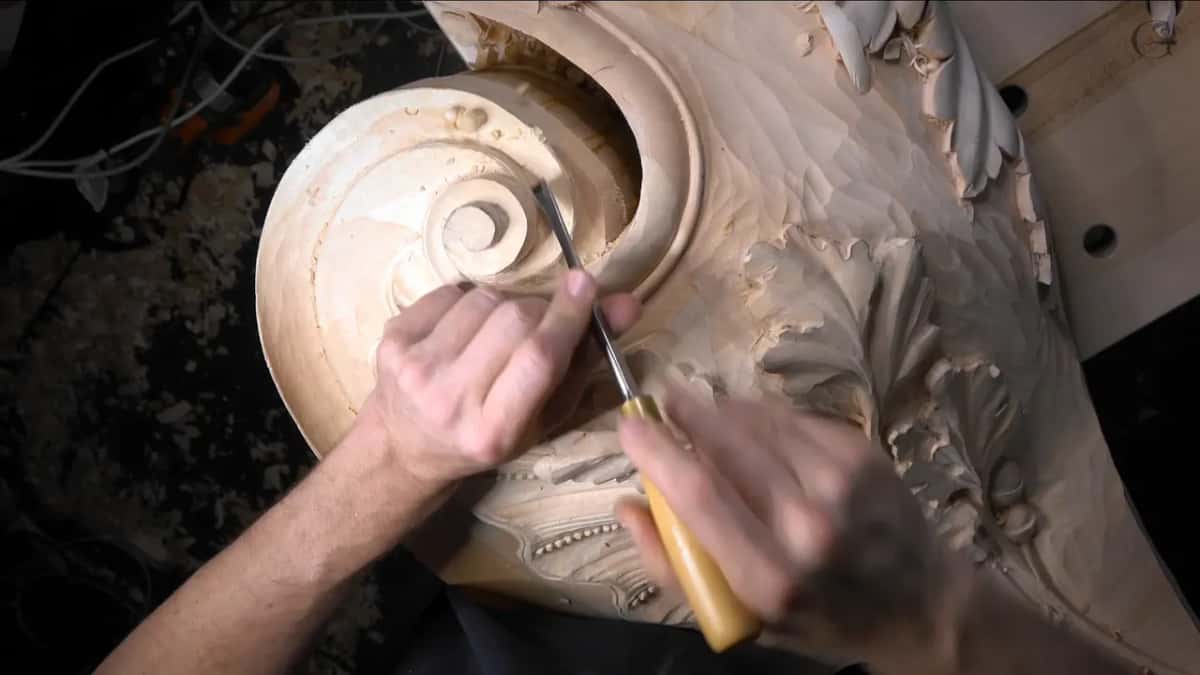
Does the light change how a volute stands out?
The shadow depends on the light source and how you cast it, which I said while I was working near the edge. Closer to the edge, I said, I could exaggerate the area for an even deeper shadow, and I knew it would give me a really beautiful one.
To show you, I turned on just one of the lights. See this shadow right here? Just beautiful. It just outlines it. The old name for light set against dark is chiaroscuro, and this was a small piece of it, dug into the relief by gouge and veiner.

What was the final pass beside the volute?
A line right around it, with a #6 of about five-eighths of an inch, 16 mm, joining the line already there. Cleaning this part was for off camera. For that one, I said, I'd really have to stick my head in the camera, and I told you how it goes, right around and connecting to this line, for extra shadow in that spot.
Whatever the gouge fits, I said. In this case it was that #6, to continue right around.

Which tools lifted this volute?
Every size in this table is the one I said at the bench, in the order the tools came out.
| Tool | Job | When |
|---|---|---|
| Small #11, 2 mm | Made a single groove down the middle. | Before anything |
| Pfeil #12 knife, Swiss made | Set the line straight down, 90 degrees. | First line |
| Number 11, 5 mm | Ran beside the line, sparing its edge. | Before digging |
| #5, one inch (25 mm) | Blended the cove at five, six millimeters. | Blending pass |
| Back bent, 5 mm | Rounded the edge of the fillet itself. | Part ten |
| Upside down #7 | I checked whether it would fit there. | Same session |
| Another 2 mm veiner | Excavated around the volute to go deeper. | Later on |
| #6 at 10 mm (3/8 in) | Started removing wood for the shadow spot. | Part eleven |
| Veiner #11, 3 mm | Went deeper, almost below the scroll itself. | Right after |
| Wider #6, 16 mm (5/8 in) | Went right around it for extra shadow. | Last move |
Who is workshop 100 for?
Anyone who can already sink a hollow with a gouge and wants to watch the wood around a scroll come down until the scroll stands higher. It sits in the Part 9 course, after workshop 98 and its oak leaves and workshop 99. In workshop 101 two coves meet like a miter, and workshop 102 follows.
The piece is wood carving in the style of Venice, slow, and done in sections. Sharpening has a course of its own.
Would you like to watch that hollow stop rising under the volute, one smaller veiner after another? Would every tool size, said out loud, help? Tuition opens the whole school, and the Venice Room is one long run of courses inside it.
How it's done
- Groove the middle first. Take a small veiner, 2 mm, and run a single groove along the middle, inside, before the knife.
- Set the line by knife. Hold the knife vertical, square to the wood, and keep it on the line up to the intersection.
- Run a veiner beside it. Before a bigger gouge goes near the line, run a #11 at 5 mm right beside it. Digging too deep there can damage the edge.
- Sink the cove in stages. Go to about five or six millimeters, a quarter inch, then blend with the one inch gouge, a #5.
- Round the fillet. Give the fillet a round edge with a 5 mm back bent, then blend it with the same #5.
- Dig around the volute. Excavate with the 2 mm veiner so the ground dips in and the volute stands higher.
- Get under a rising hollow. Where the hollow climbs back up, work nearly under the scroll with a 3 mm #11, then smaller ones, and finish with the #6.
Frequently asked questions
Do you need sandpaper to make a carved scroll stand out?
Workshop 100 never brings out sandpaper or a finish, so carve the wood next to it instead. On my volute a knife line made the edge sharp, a cove sank alongside, and I lowered the ground so it dips in, all of it by knife and gouge.
What knife do you use for a line beside a cove?
Mine was a number 12 by Pfeil, Swiss made, a normal knife that I love. I held it upright and tried to keep to the line. That line was there for a really sharp edge I could fillet afterwards.
How deep is the cove beside a carved volute?
About five or six millimeters on this piece, which I also called a quarter inch. A veiner of 5 mm went beside the knife line first, the depth came in stages, and a #5 an inch wide blended it. One side got a slightly deeper pass later.
What to carve next