

Alexander Grabovetskiy, woodcarver, School of Woodcarving · Published 2021
What is a large carving gouge used for?
Quick answer: A large gouge is the one I pick up when most of the wood has to go. Mine in workshop 107 was a number 7 about 80 mm wide, and it laid a gradual slope toward the back. Near weak spots and the bench dog I go easy. A number 1 takes over at the lines.
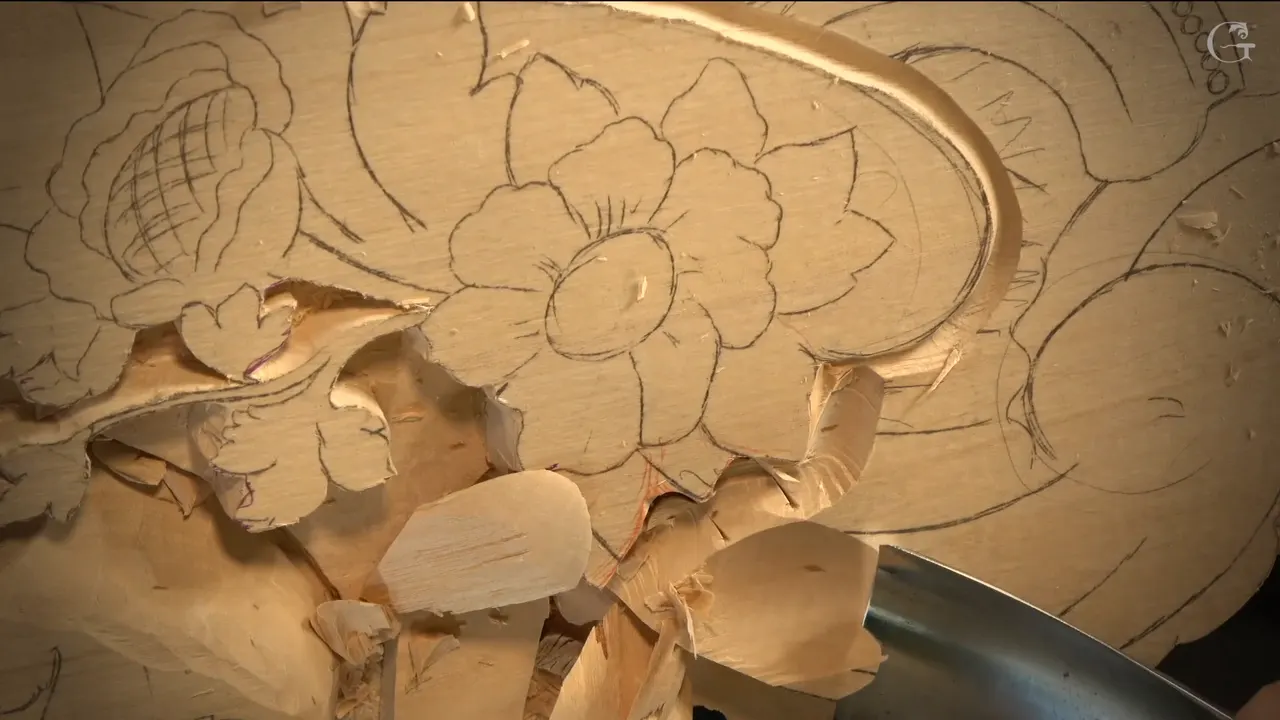
A large carving gouge is the tool that takes the bulk of the wood off a big panel, and in workshop 107 of the Venice Room mine was a number 7, three inches and one-eighth wide, about 80 mm. I used it to lay a slope going gradually downhill, toward what I called the future back of the piece. Then it had limits. I went easy near one weak spot, I had to remember a bench dog sitting in that part of the board, and on the drawn lines a number 1 chisel went straight down instead.
Maybe a gouge as wide as your palm came with a set, or you saw one in a catalog and asked yourself what anyone does with it. On a relief panel it takes the waste off fast, and on one rosette I said that was the reason I took a huge one. Below is what mine did in 107. Eight other lessons follow in my own words, each one linked so you can watch it.
Do you have a board where a lot of wood has to go? Do you want that surface to move gradually downhill, the way I asked for in 107? Then pick up the big one once the outline is in, the way I did.
What the big gouge did in workshop 107
The tool was the number 7, three inches and an eighth across, and it came out right after the outline.
I used it to make a gradual movement downhill, toward the future back.
A 10 mm eleven went on the line first, and a 20 mm eleven made the inner pass.
Near one weak part I told myself to go easy.
There was a bench dog inside the area, and I almost forgot about it.
Along the lines the wide tool gave way to a number 1, held straight down.

Which job did the number 7 do in 107?
It laid the slope. That day I was lowering one more section of the Venice Room panel, and the operation was the same as before, with the same tools I used previously. First came the outline, right on the line, with a 10 mm (3/8 in) number 11. Then a bigger eleven, 20 mm or three-quarters of an inch, did what I called the inner.
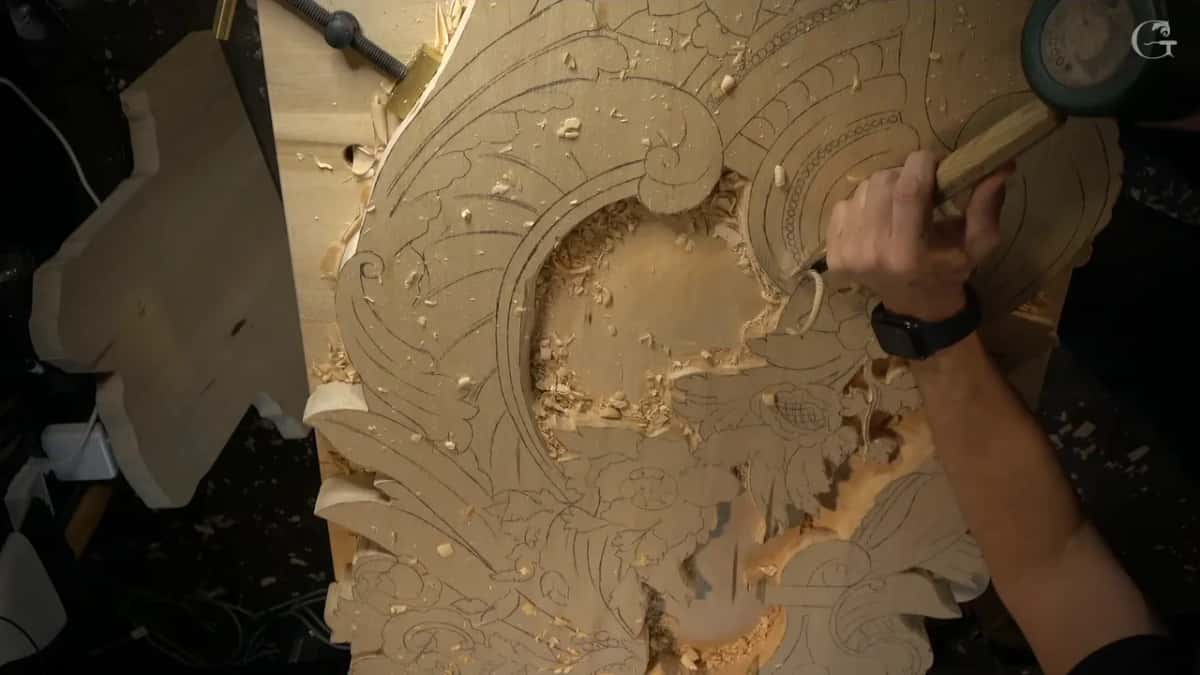
After that I had to decide how deep to go in that section, and I could hit that a little later, I told you. My main goal right then was to establish a gradual movement downhill of that detail. So I took a big gouge, a number 7 and three inches. That huge one. And I went in with it, just like that.
All of that could be much lower, I said, because it has to move gradually to the future plywood, the future back. Pretty much right away was fine for that, and the next half minute of the video has no talking at all. Those small details would stand no more than a quarter inch (6 mm) high from the board.
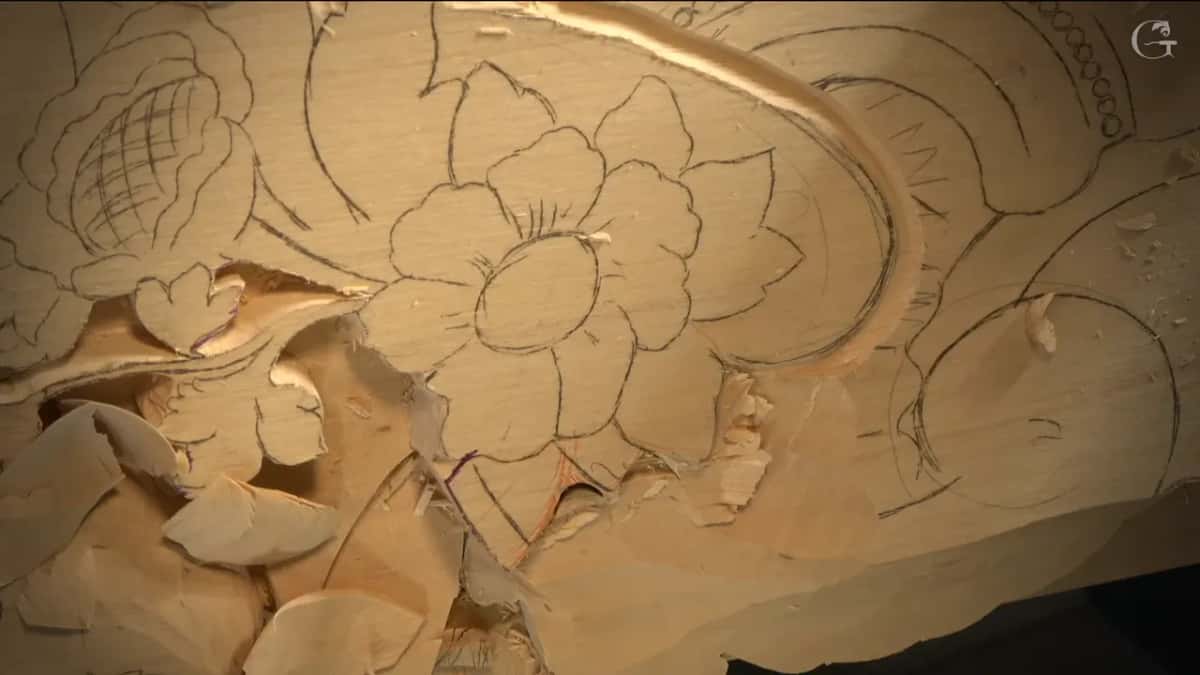
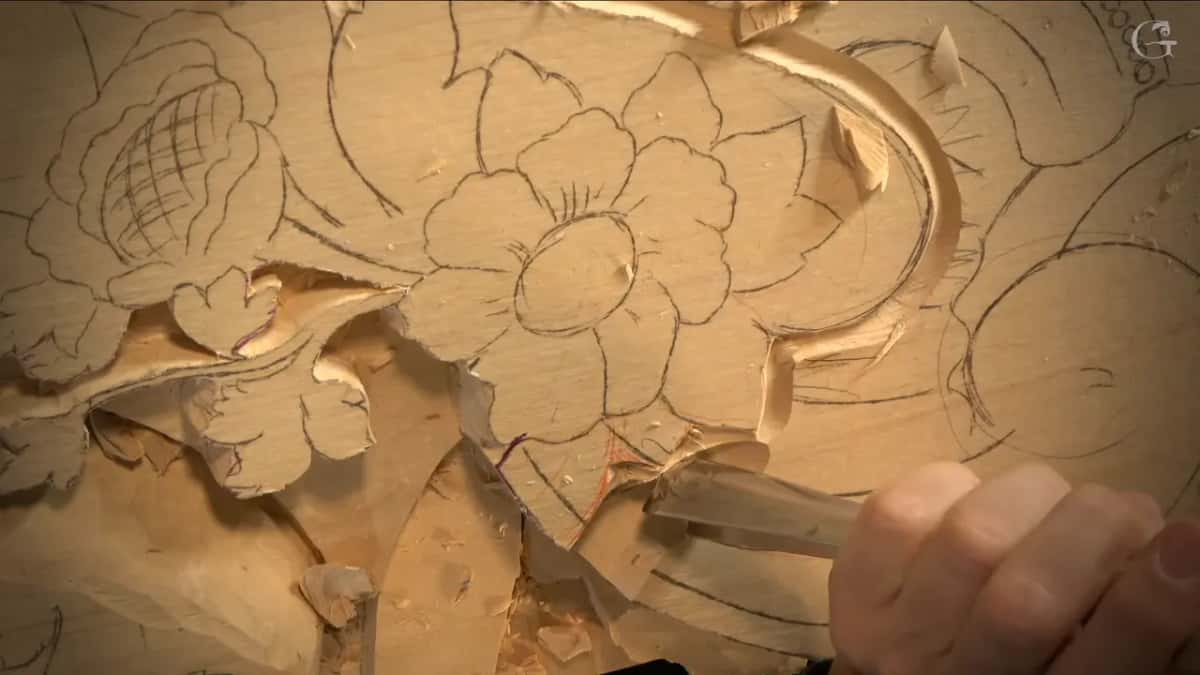
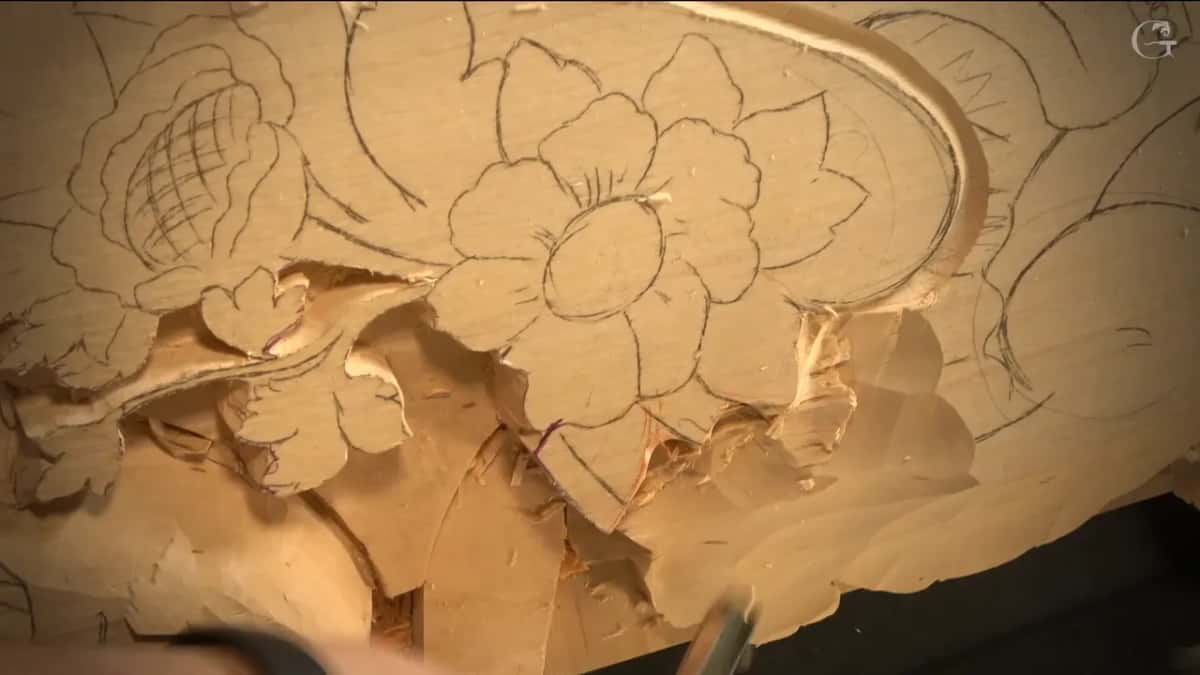
Happy, I said. What was left was a little cleanup around those leaves, clean and blend, and I did not want it too extreme. I had only about 10 millimeters left from the highest spot, and I said that would keep developing from there.
Where do large carving gouges go on a relief panel?
Before any of that I outlined the new line. I wasn't afraid of losing the other lines, since the grooves were already there and easy to find again, but this one was really critical. So the veiner went on it first, and in one place I came at it from the other side, because of the grain. After my first pass I said it looked messy.

Anywhere there is a lot of wood I don't need. For the next stretch of 107 I planned three heights before the big tool touched it. One spot would come down about 16 mm, five-eighths of an inch, from the highest spot. Another area I wanted to take down to 30 mm (1 3/16 in). A third part had a final depth of only a quarter of an inch, but for now I was taking it only to 10 mm, about three-eighths.
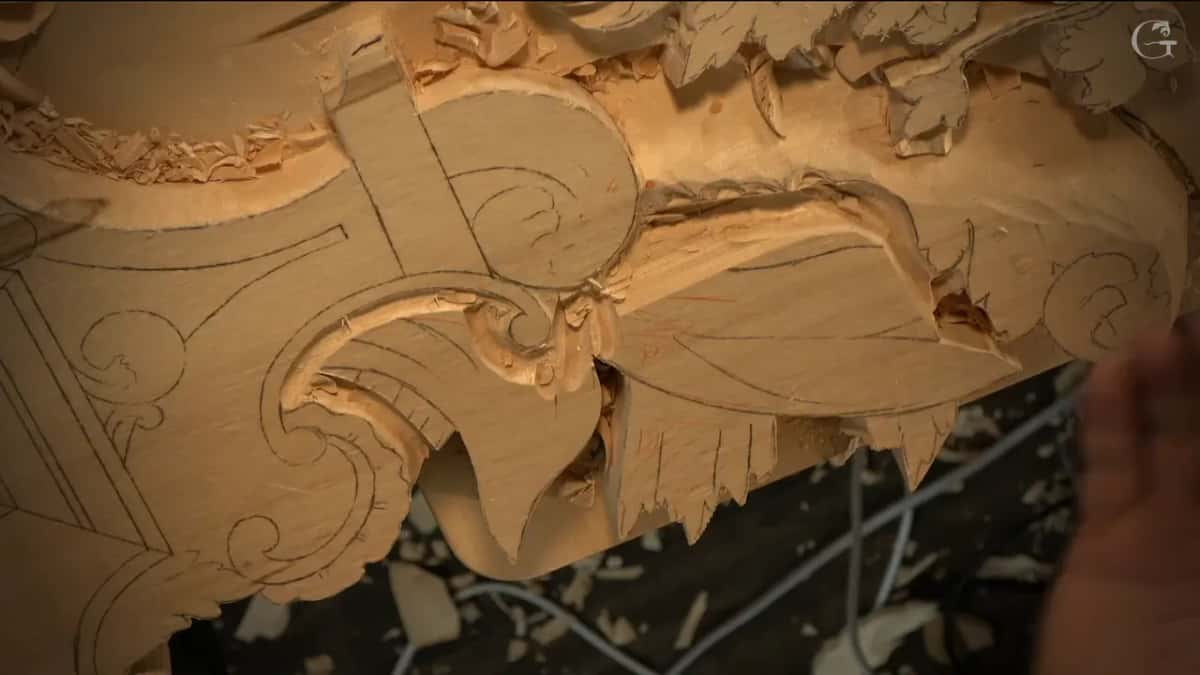
Part of that area was a really beautiful architectural detail, like a frame, with some stuff to go inside it later. You can use that idea for mirrors and so on, I told you, and you'll love it. The frame itself would come later.
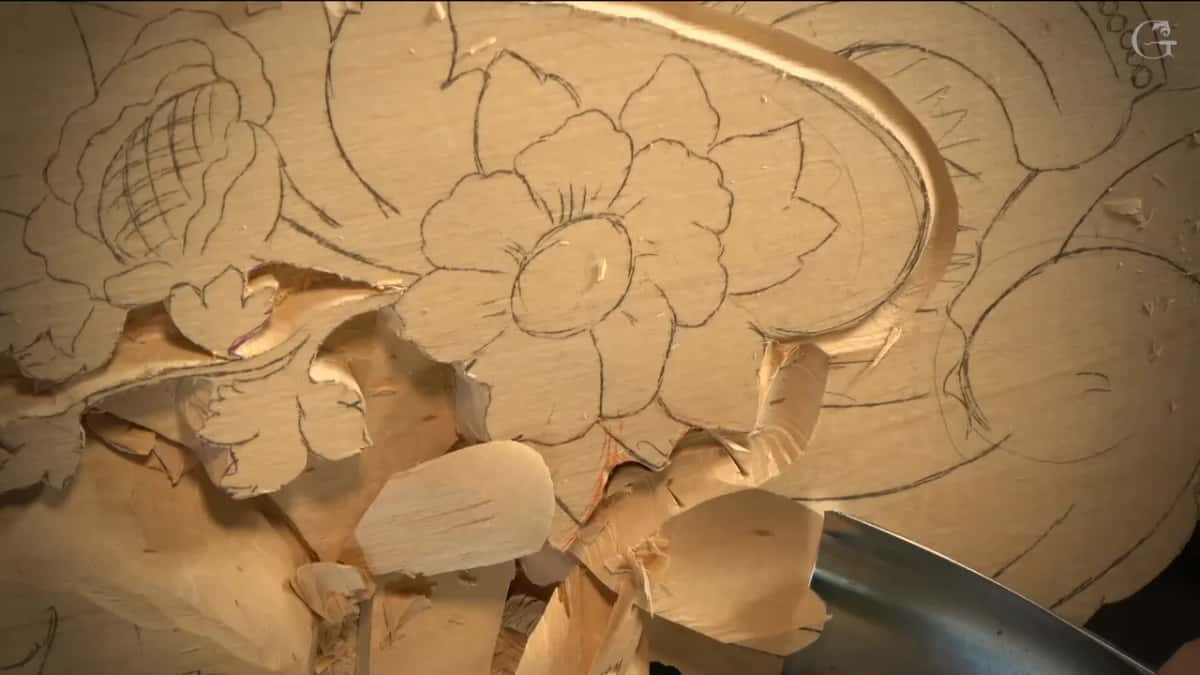
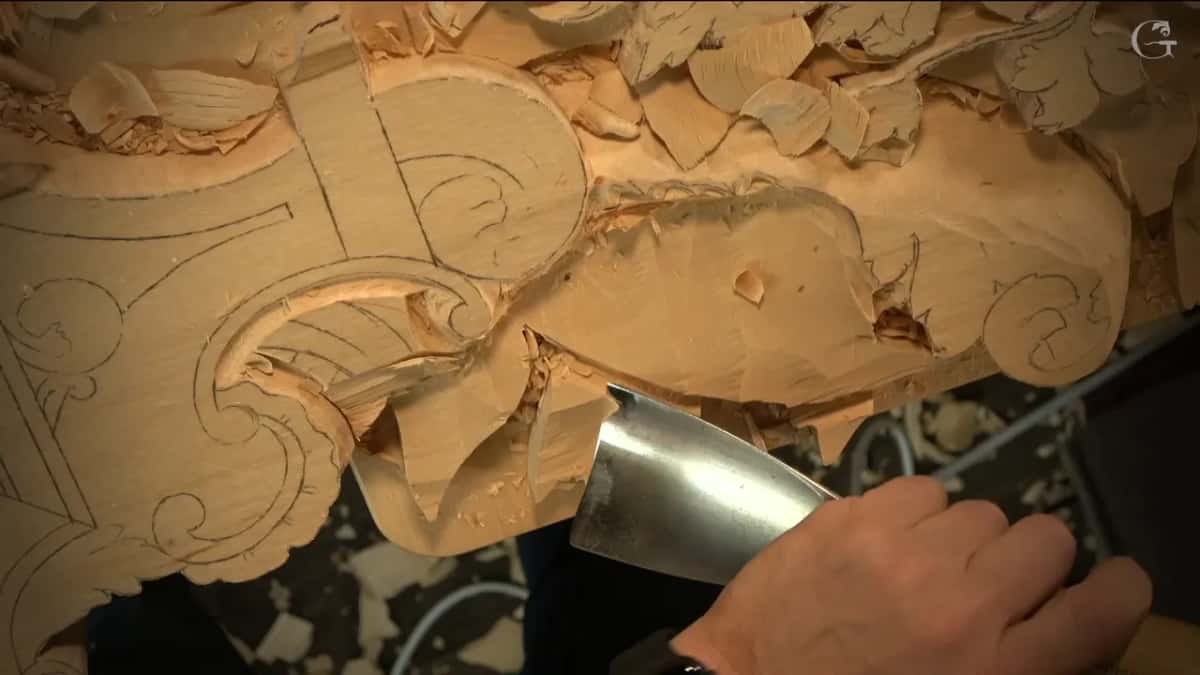
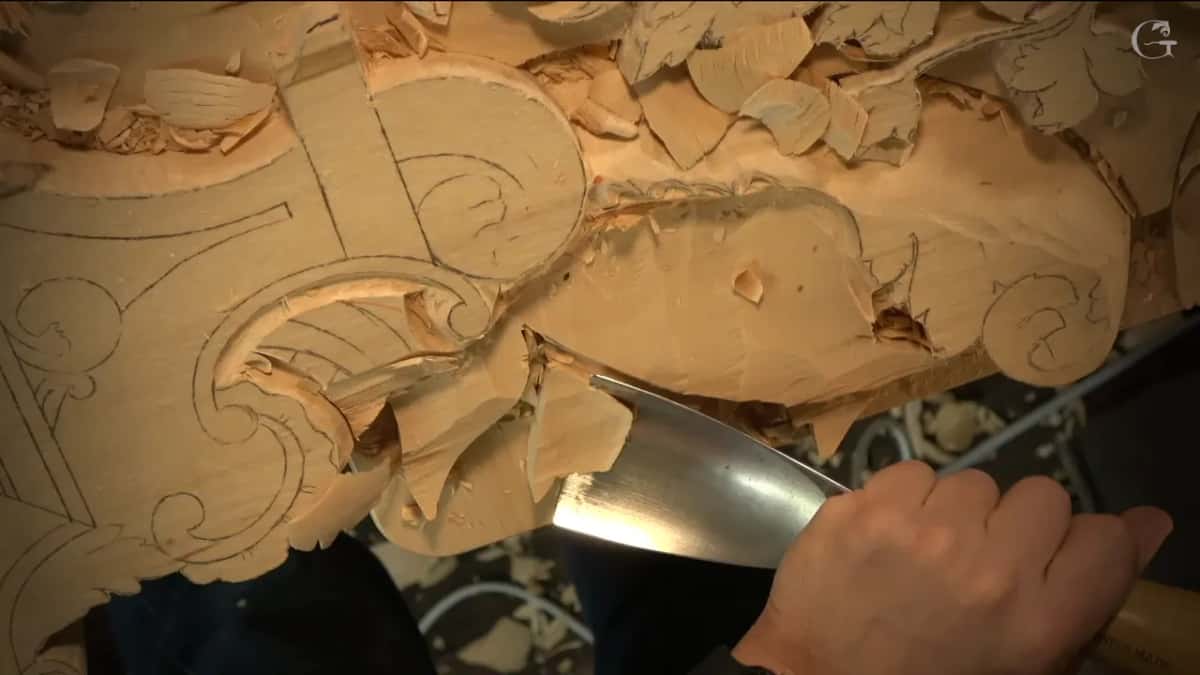
So I picked up this baby, the huge, huge, huge three-inch gouge, three and one-eighth to be exact, and chopped whatever I didn't need. The plan was to take care of it really quickly. In the video the wide steel goes in from the right side, and thick chunks lift off in front of it.

When does the big gouge have to stop?
Short of anything you could break. Taking the waste fast, I still reminded myself to be careful not to overdo it, especially in one area. I was safe there, I said, but I didn't want to break it.
The chip was the next worry. If I kept going, the chip would follow and break that part, so I stopped and outlined the area better, deeper. I wrote about that deeper outline on the Part 9 page about carving depth, where the 30 mm check with the pointing machine is too.
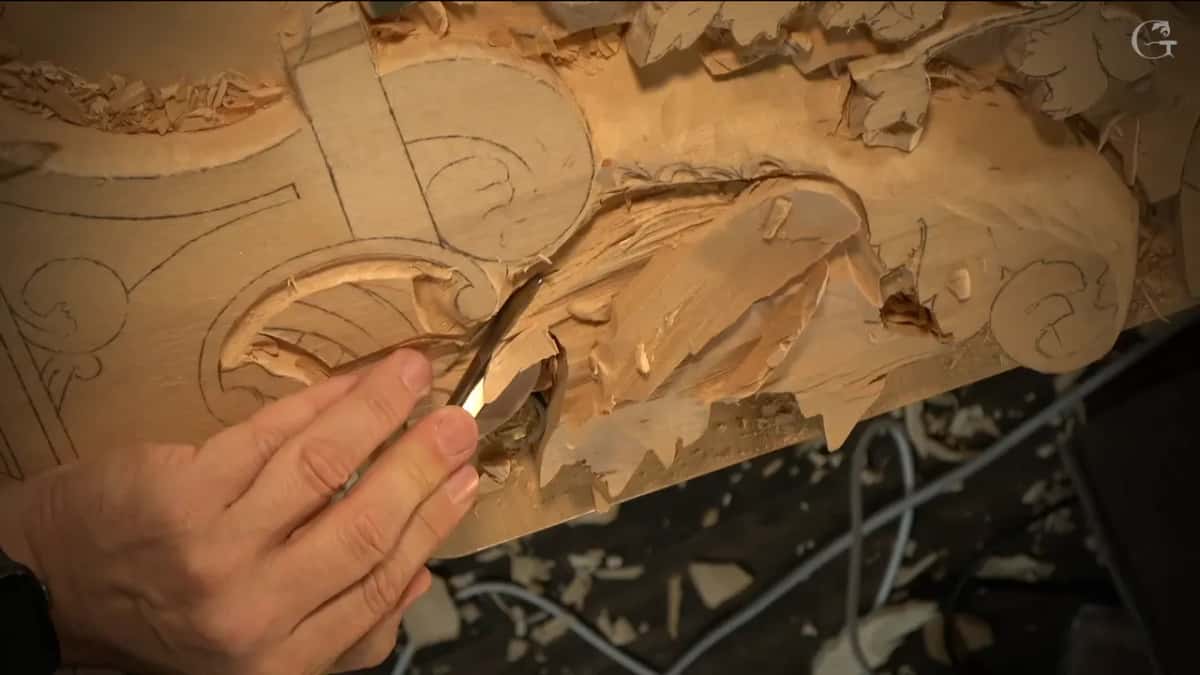
Height was the third reason to stop. On one part I lowered the wood with the big gouge again and said the final decision was not made yet, how high that part was going to be. When I said that's enough, the ground there was about 10 mm from the surface.
What comes after it, once the waste is gone?
A number 1 chisel, held straight down on the lines, took over from it. That was the order in 107. The huge gouge lowered the area, and then I worked along the lines with straight down passes, as I did previously. I needed 90 degrees, and for now that was all I needed.

Later on, I said, I would undercut and create some shadow spots. If I undercut right now, it would be too early, and that would be a big mistake. Earlier in that part I showed my mark on the final depth. Equal to that spot, and to that one. Consistent. I redrew my movement too.

Someone was taking care of my backyard that day, and I apologized for the noise.
How close can it go to a bench dog?
Pretty much really close, if you remember it is there. A bench dog sat inside the area I was chopping in 107, and I almost forgot about it. Oops. Then I said I was okay, and that I could go pretty much really close to the dog.
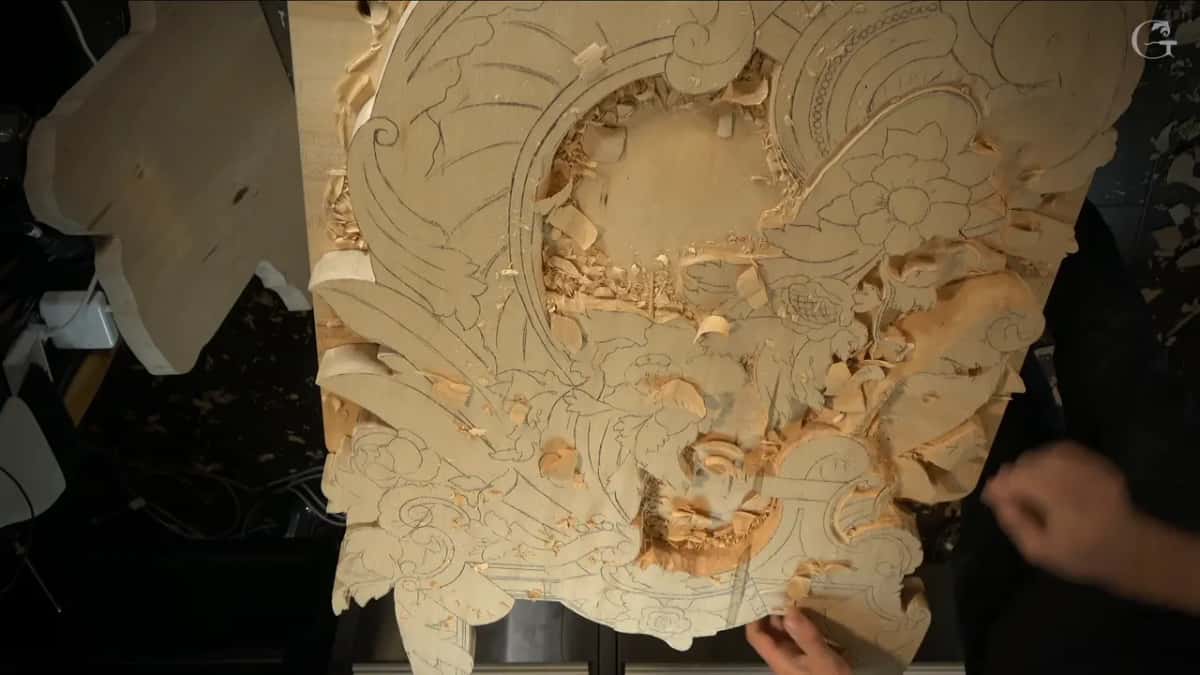
Later the wood where the dog held on had to come down too. I needed that spot lower than six millimeters. And I said there was absolutely no other hole to place the dog in. Lowered to about four millimeters (5/32 in), I said, the dog would still be able to grab the material. But I couldn't make it too tight, because that part gets kind of fragile once it is lowered down quite a bit.
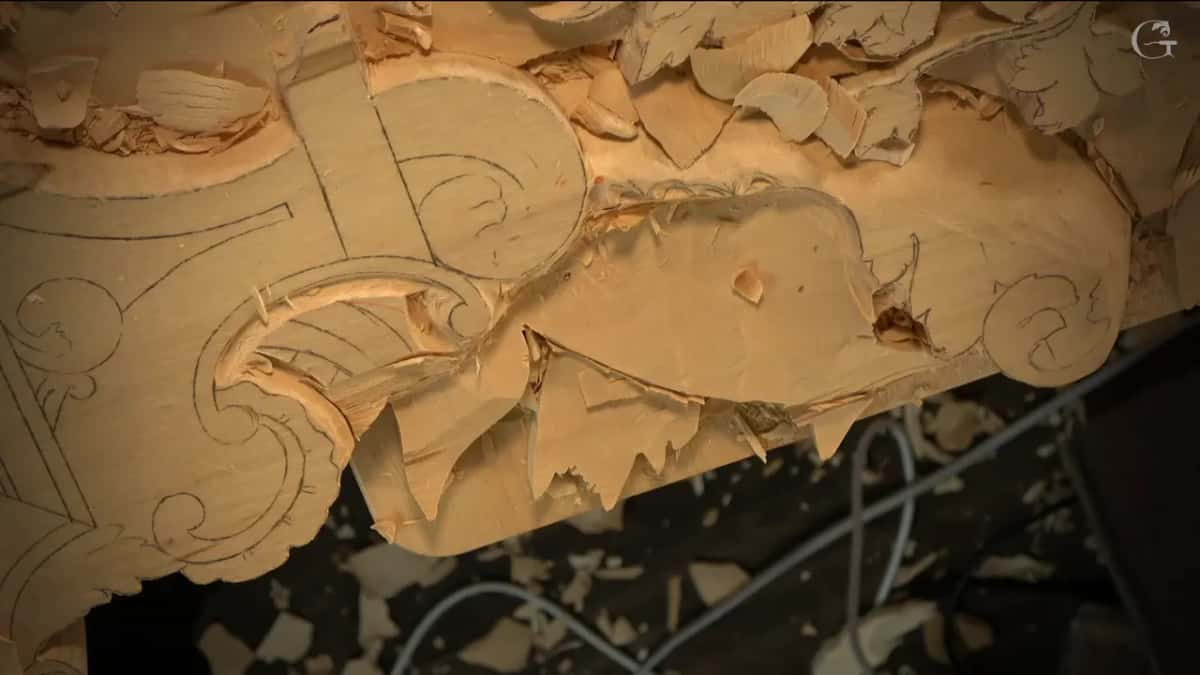
Once it was down, it looked solid. It was not going anywhere. After that the huge, big gouge came back and removed the majority of the material from the rest of that area.
The big gouge, lesson by lesson
Lesson | What the big gouge did, or what I said it could do | My words that day |
|---|---|---|
Venice Room 107 | My 80 mm number 7 laid the slope down toward the future back. | Be careful not to overdo it. |
Back in 62 | A big number 7, 80 millimeters, made better movement and gave me the right outline. | I held back to keep a wall. |
Workshop 66 | A gouge a bit over three inches can always chop there too and give a boundary. | Good boundary. |
Later, in 68 | I said three inches again could set the main form and the downhill movement. | I don't need that high. |
Rosette lesson 2 | A three inch one lowered the leafage first, attacking the downhill, and left the flowers high. | Attack that downhill first. |
Hashemi 42 | About a three inch gouge worked out from a marked center, a little under an inch deep. | Seven-eighths in the beginning. |
Hashemi 27 | A one inch number 8 did the job, and I said even the huge number 7 could. | Any big gouge. |
Next, lesson 28 | A big gouge could go in there, as long as it stayed off the screws in the back. | Watch for the screws underneath. |
Furniture panel 19 | The small end, a router blade of 1/16 inch, which cannot take much stress. | There are still limits. |
Why does a big gouge give a better outline?
Back in workshop 62 of the Venice Room I was digging toward the main barrel and held back on purpose, not pushing all the way, because I really wanted to preserve the wall of that element. Otherwise it can become really hard to clean. Then I got the big number 7, 80 millimeters, to create some better movement there. That way, I said, it gives me the right outline. After it I said it is always better to clean that with the number 11, without pushing too hard. Extra careful, I should say.
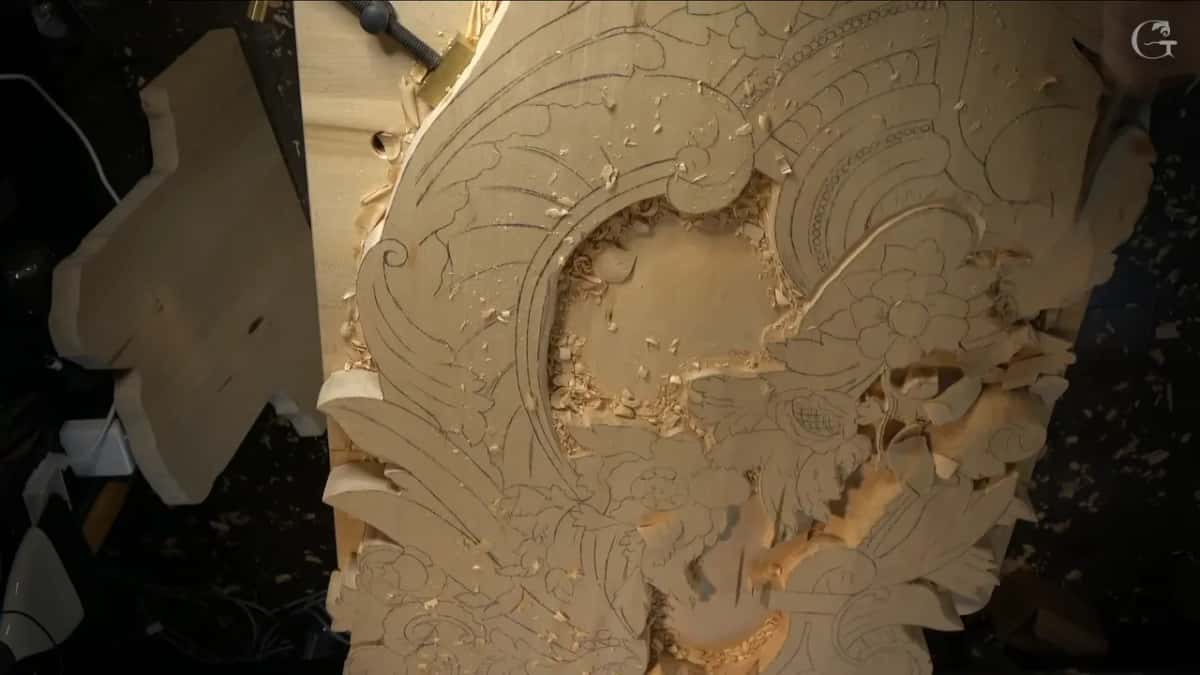
Workshop 66 had a line about the boundary. If you do have a big gouge, I said, like mine, three inches, a little bigger than three inches, you can always chop that way also. Even if the area gets divided a little more later, it still gives you the boundary. A good boundary.
Does the downhill go first when you lower a whole piece?
On the rosette it did. In lesson 2 of the Venetian flowers rosette the whole rosette had to become a 3D shape, everything sloping downhill on all sides, with just the flowers as the high spot. So first I lowered down all the leafage, to leave those flowers exposed. Obviously I needed a bigger gouge, and I took a huge one, a three inch, because I didn't want to spend too much time on that. I attacked the downhill first. About half an inch (13 mm) was what I left between the background and the upper part.
In workshop 68 of the Venice Room one side had to go almost all the way down to the first layer, because I really needed a good, smooth transition. Three inches again could do it, I said, just to establish the main form, the main movement downhill.
Is a one inch gouge big enough?
On the Hashemi flowers it was. A one inch number 8 did the job in lesson 27, and I said a number 9 would work too, any big gouge. Even bigger was possible there, I said, a number 7, huge, three inches. Definitely safer, that day, was going across the grain.
Lesson 42 of the same course had the piece in Festool clamps, really solid, so it couldn't move. I knew I had to go about an inch deep, but I planned a little less, maybe seven-eighths in the beginning, and then fit it more perfectly. For that first part a big gouge was enough. I took a gouge of about three inches, marked my center, and worked my way out.
What should a big gouge stay away from?
The hardware that holds the work. On Hashemi flowers lesson 28 I said I could still use a big gouge on one section, but I had to make sure I was not going to hit the screws from the backside. In 107 it was the bench dog on the workbench. Same kind of care.
At the other end of the rack sits the tiny tool, and it has its own limit. During lesson 19 of the furniture panel I talked about stress the way it works at a gym. Some stress is good for a muscle, and too much damages it. A router blade only 1/16 inch (1.6 mm) wide can handle stress only to a degree, and stressing it too much would be a huge, huge mistake. There are still limits, I said.
Watching the whole lowering in 107
If you want to see the big gouge go in, chop by chop, workshop 107 has it on camera, the bench dog included. The lesson sits in Part 9 of the Venice Room, right after workshop 106 and just before workshop 108. Sharpening an edge that wide has a lesson of its own, the large gouge sharpening lesson. The smoothing that follows the slope has its own page from workshop 105.
Every lesson named here opens with full access to the school, all of it at your own bench and your own pace.
How it's done
- Set the outline first. Run a 10 mm (3/8 in) number 11 right on the drawn line, then a 20 mm (3/4 in) eleven for the inner pass.
- Plan each height. Decide which part stays high and which drops, and leave a height you have not decided for later.
- Lay the slope with the number 7. Chop the waste you do not need so the surface moves gradually downhill toward the back.
- Ease off near weak spots. Where a chip could follow the grain into the design, outline that area deeper before you go on.
- Mind the bench dog. Remember where it sits. Where it grips, I kept a thin band of roughly 4 mm so it could still grab, and I did not clamp it too tight.
- Finish the walls with a chisel. Along each line, set a number 1 upright for a 90 degree wall, and leave the undercut for later.
Frequently asked questions
What size is a big carving gouge?
Mine is three and an eighth inches across, a number 7, and I gave the same size as 80 millimeters in workshop 62. For lesson 42 of the Hashemi flowers I took one of about three inches as well, to start a hollow a little under an inch deep.
Which sweep do you use on a wide carving gouge?
My three inch gouge is a number 7, both in 107 and in workshop 62. Hashemi flowers lesson 27 used a number 8 about an inch across, and a number 9 or any big one would do too, I said. Even the huge number 7 could have gone in there.
Can a big gouge break a carving?
Yes, if a chip runs where you did not plan. I saw a chip in 107 about to follow the grain and snap a part, so I outlined that area deeper before going on. Beside one fragile area I also went easy.
What to carve next