
Alexander Grabovetskiy, woodcarver, School of Woodcarving · Published 2018
Where does the main design go on a carved furniture panel?
Quick answer: Furniture panel layout is settled with a pencil, not a gouge. You mark two centers on the bare board, roughly 0.62 along each governing line, then hang the leading cluster on one and its quieter answer on the other. Grain direction chooses which end becomes the top.
Furniture panel design is the work of deciding where the carving will live before any wood comes off. You find two points on a blank board, one that leads and one that answers it, and every leaf and volute you carve later hangs off those two spots. Get them wrong and clean work still looks dead.
Ever look at a blank board and wonder where the design is even supposed to start? Ever seen a carved panel that was honest work and still looked flat on the wall? Both answers sit on paper, before a single chip comes off.
I promised my students a panel in the Chippendale manner, and I did not want to repeat a panel I had already carved. So I went to my own scrap. What came out of it was a board I nearly threw away, and a full lesson with no carving in it at all. Pencil, ruler, eraser, and the laws that furniture makers were already using in the late 1700s.

What decides where a carving lands on a board
- The board picks its own top. Look hard at the cathedral arches before you draw anything at all.
- Two points carry the whole panel. One leads, the other answers from across the board.
- Thirds are fast and safe. The golden ratio costs another five minutes and looks better.
- 0.62 of the way down a line is near enough to draw with. Six parts in ten works too.
- Depth on this panel never passes 5 mm, three sixteenths of an inch, and shadow does everything else.
- An awkward board still holds a golden center. You reach it another way, which comes later in the course.
Why does the board get picked before the drawing?
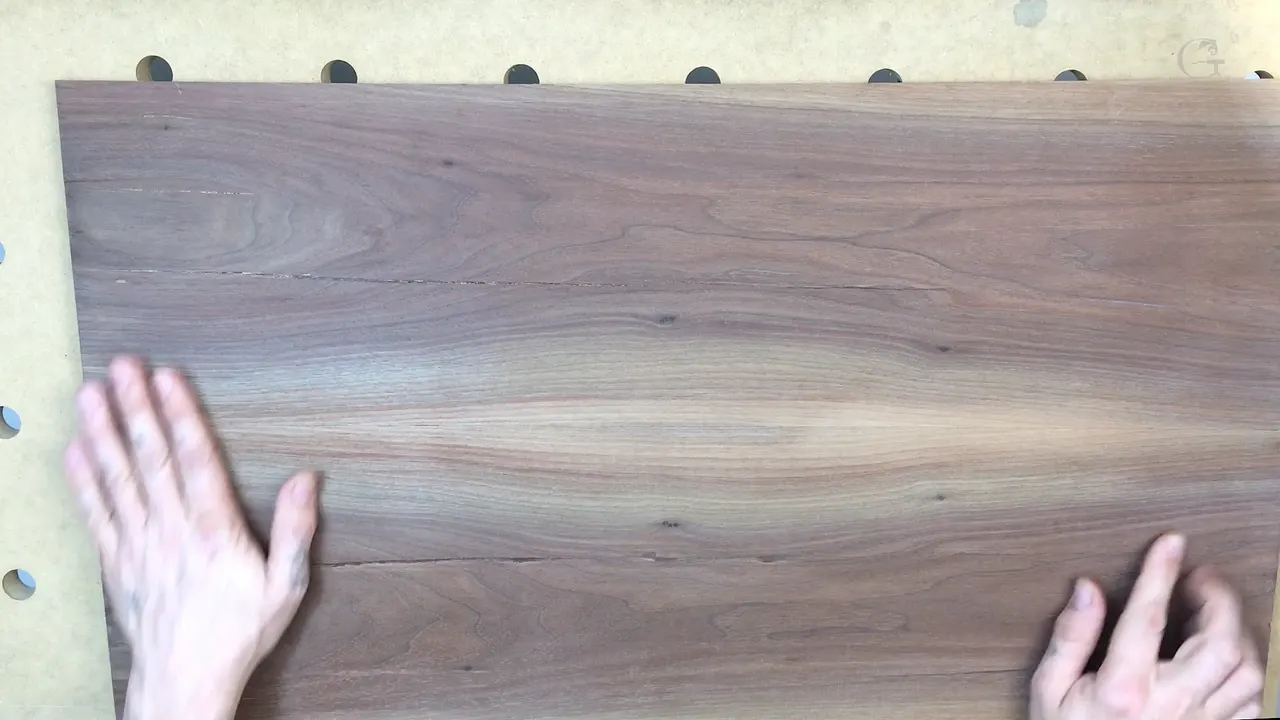
My wood makes half the design decisions, so I read it first and draw second. This panel came off a job where the whole house was walnut, and not ordinary walnut either. Not black walnut, not European walnut. Purple. I know how that sounds. There is such a thing as purple walnut, and I had a houseful of it: doors 2 7/8 in thick, near 73 mm, solid, plus every baseboard, every casing, all the furniture.
What was left over I could not use, because it had splits running inside the wood. Beautiful color, useless for a client. So I resawed it, glued the two halves together like a book, and the grain mirrored itself. One cathedral repeats on the other side of the joint. Look at the far edge and a second pair faces back toward the first. The panel is balanced before I have drawn one line on it.

Finished size is 692 by 394 mm, close to 27 1/4 by 15 and a half inches, and only 3/8 in thick, or 10 mm. Thin. That number governs everything that follows, and I keep coming back to it.

How deep does a furniture panel get carved?
Five millimeters. Three sixteenths of an inch, and not a hair past it on this piece. On a 10 mm board there is nowhere else to go, so the whole panel is shallow relief.
Yet it still has to read as a three dimensional world. That is the trick of the style, and it is why hundreds of makers through the 18th, 19th and early 20th century worked this way. Some people call all of it Chippendale. Not really true, because there were hundreds of carvers across the world using the same shallow method, and he did not own it.
Where the depth comes from is not the depth. It comes from how far the chisel travels, where the shadow falls, and which way the light hits the piece once it hangs. You have to hold all three in your head while you are still drawing, which is exactly why I spend a whole lesson here. Tools come later. Design goes before carving, and a sharp edge cannot rescue a leaf that landed in the wrong place. Color helps a little too. I do not plan to stain this walnut, except maybe to tone the inside of the shadows.

Is this panel furniture, or is it art?
Both, and you get to decide which. Drop it into a door frame and it is a cabinet door. Hang it on a wall and nobody will argue with you. I keep that question open on purpose while I draw, because the answer changes how bold I am willing to be with the design.
Any maker working on antiques, or reproductions of them, ought to know how the old shops actually did this. Not the finished look. The process. The order of decisions, which is what you are watching me work through here. Layout came first in those shops and carving came second, and the first half is the part that almost never gets taught.

About those splits. I could have thrown that walnut out and nobody would have blamed me. Instead I glued it up and kept it, and if one of those cracks opens while I am carving, fine, it turns into a problem worth solving. Wood does that. Boards behave in ways worth knowing before you trust one, and our guide to carving woods goes into that, and the neighboring lessons in this course pick the story up at the major and minor centers.
What has to be on the bench before a pencil touches paper?
A surface that turns. I screwed the plate from my carver's vice onto the back of an MDF board, then dropped that whole board into the vice sitting under my table. Now the panel rotates, it raises, and I can walk around and work at it from the opposite side without unclamping anything.

You do not have to buy the vice I own. There are plenty of carver's devices, and the idea travels: get the surface you want to work on, and fasten it to something that moves. In my board I drilled 20 mm holes, three quarters of an inch for anyone in the USA, and clamps drop straight into those to hold the work flat.

Then the paper. I cut it about an inch oversize, 25 mm past every edge, sprayed photo mount glue on the wood and on the paper both, laid it down and trimmed it round. Ordinary printer paper works if you glue a few sheets down together. What you want is a clean white surface sitting on the actual board, at the actual size, because a design drawn at the wrong scale lies to you. If you are still gathering the basics for a bench like this, our course on carving tools covers the rest of the kit.

Is the rule of thirds good enough for a carved panel?
Good enough for most work, and I use it often. Divide the board into three equal parts one way and three the other, and where those lines cross you have four points. Photographers, cinematographers and film makers live on that grid, and it will never embarrass you.

But I wanted a piece of art here, not a practice board. Go back through the history of art and the work that lasted followed a different rule. Different people named it differently. Fibonacci, Leonardo da Vinci, even Archimedes had a go at defining it. Luca Pacioli called it divine. We call it the golden ratio.

| The method | What that method puts on your board | Where it stops |
|---|---|---|
| Rule of thirds, the one most photographers reach for | Four points in one minute | Every panel you lay out ends up in the same four places |
| Golden ratio | One leading center, one quieter answer opposite it | Wants a board of decent proportions, and this walnut was never going to give that |
| Grain matched down the joint | A mirror through the panel before a single line is drawn | Needs resawn stock |
| Working purely by eye and nothing else | Pure speed | The habits you already carry come back on every single panel you ever make |
How do you find the golden center on a board of the wrong shape?
My board is 15 1/2 in across, which is 394 mm, and that single measurement is where the whole layout begins. I carry the same 394 down the length, mark it, draw the line, and a true square appears at one end of the board.

From that point back to the edge of the square is 11 3/4 in, 298 mm. I transfer it across. Then I build a matching square at the far end, because a second cluster belongs there. The leftover strip in the middle comes to 3 and 11/16 in, about 94 mm, and I carry that across too.

Here is the honest part. This board is not proportional. A true golden canvas would run 1 to 1.618, and mine does not, so I cannot keep stepping square inside square until the lines land on the exact point. I got approximate, and approximate is enough to work with. The minor number is 0.618. Simplify it. About 0.62 of the way along, or six parts in ten if you split the line by eye, and all three land your thumb in nearly the same spot.

You can find that proportion in any board, whatever shape it came in. That is worth sitting with for a minute, because it is the sentence that frees you from needing perfect stock. If that idea is new to you, this is where to start with us.
Which end of a panel becomes the top?
Grain answers that on most boards, and you read it from across the shop. A single cathedral points up, so the end it points to is your top. Simple as that.
Mine has two facing each other, which means the grain gave me no opinion and I had to choose. I want this one vertical, like a door panel, so I picked an end and marked it.
One more thing goes into that choice, and hardly anybody mentions it. Western eyes read left to right, so a Western viewer starts at the top left and runs downhill to the right. Middle Eastern eyes run the other way, right to left, and the composition reads backwards to them. My own background is Russian. Russia has an Asian part and a European part, and I grew up between the two, so I want a panel that works for both. I am not sure anyone has tried that on a carved door panel before.

What is the hero and the anti-hero on a panel?
Every movie has a main character and somebody pushing back against him, and a composition is built the same way. One of my two points carries the main cluster. The other carries the answer to it. I call them hero and antagonist, and I write those words right on the paper so I do not lose track.
On this panel the top is the hero. The bottom is the anti-hero, quieter, smaller, pulling against the first. Once both are marked I lay a spiral over the whole thing and watch where an eye will travel. That track is where the volutes and the acanthus land in the lessons after this one, the same family of forms we carve in the Corinthian course.

Still not happy with it. I do not know exactly how it will look. And there is another thing to weigh, which is that a panel like this usually sits inside rails and stiles, so a frame will cover part of what you draw.
What if your board is not this size?
Smaller stock changes the numbers and changes nothing else. Do not panic over the dimensions. I give you the layout and the pattern for what I am carving, and you are welcome to them, but being handed a pattern is not the point of this course.
Design comes before carving. Follow the same steps on whatever board you have, follow the principles, follow the laws, and you will get a real result. Those rules hold at any size, which is the whole reason they are rules and not preferences. The same thinking runs through our rosette course and the Roman acanthus leaf, and it carries into the carving stage of this panel once the drawing is settled.
You can copy somebody else's sheet for the rest of your life and never once decide for yourself where a leaf belongs. Or you can learn the laws that put it there, on any board, in any style.
How it's done
- Read the board before you draw. Look at the figure first. Find the cathedral arches and let them tell you which end is the top. Where two halves are book matched, the grain balances itself and the choice of top falls back to you.
- Fasten the work so it turns. Screw a carver's vice plate to the back of an MDF board and drop the whole thing into the vice. Drill 20 mm, 3/4 in, holes through the face so clamps can hold the panel flat from any direction.
- Paper the whole face. Cut paper an inch, 25 mm, past every edge. Spray photo mount on the wood and on the paper, lay it down and trim round the panel. Drawing at full size on the real board keeps a design honest.
- Square off the width. Measure the width, 15 1/2 in or 394 mm on this panel, and carry it down the length. Draw that line and a true square appears at one end of the board.
- Build the second square. Repeat the same measurement from the far end. Mark the leftover strip in the middle, 3 and 11/16 in or 94 mm here, then carry every line across to the opposite side.
- Fix the two centers. Take 62 percent of each governing line, or split it into ten parts and count six. Mark one point as the leading center and the other as its answer.
- Name the hero and the antagonist. Write both words straight onto the paper. The stronger cluster goes on the hero point, the quieter one opposite, and a spiral drawn between them shows how an eye will travel.
Frequently asked questions
Do you need math to use the golden ratio in wood carving?
Arithmetic at tape measure level covers all of it. Divide any line into ten parts and take six, or multiply its length by 0.62. Both land close enough to the real proportion that no eye will catch the difference on a carved panel.
How thick should a board be for shallow furniture carving?
Ten millimeters, near 3/8 in, carries a panel like the one in this lesson with room to spare. Relief that stays under 5 mm, 3/16 in, needs very little material beneath it. Thicker stock only matters once deep undercutting is wanted.
Can you lay out a panel without a carver's vice?
Plenty of carvers manage with a scrap of MDF, a few holes drilled through it, and two clamps. What matters is that the work sits flat and turns when a different angle is wanted. Vices are a convenience, never a requirement.
What to carve next