

Alexander Grabovetskiy, woodcarver, School of Woodcarving · Published 2022
What is a #6 gouge used for?
Quick answer: A #6 gouge is what shaped the volute in Venice Room lesson 157, a 10 mm gouge I named ahead of a #5 and tried first. It did that job just fine, and it came up again near the end, with a #5 and a #7, for the last strokes toward the center.
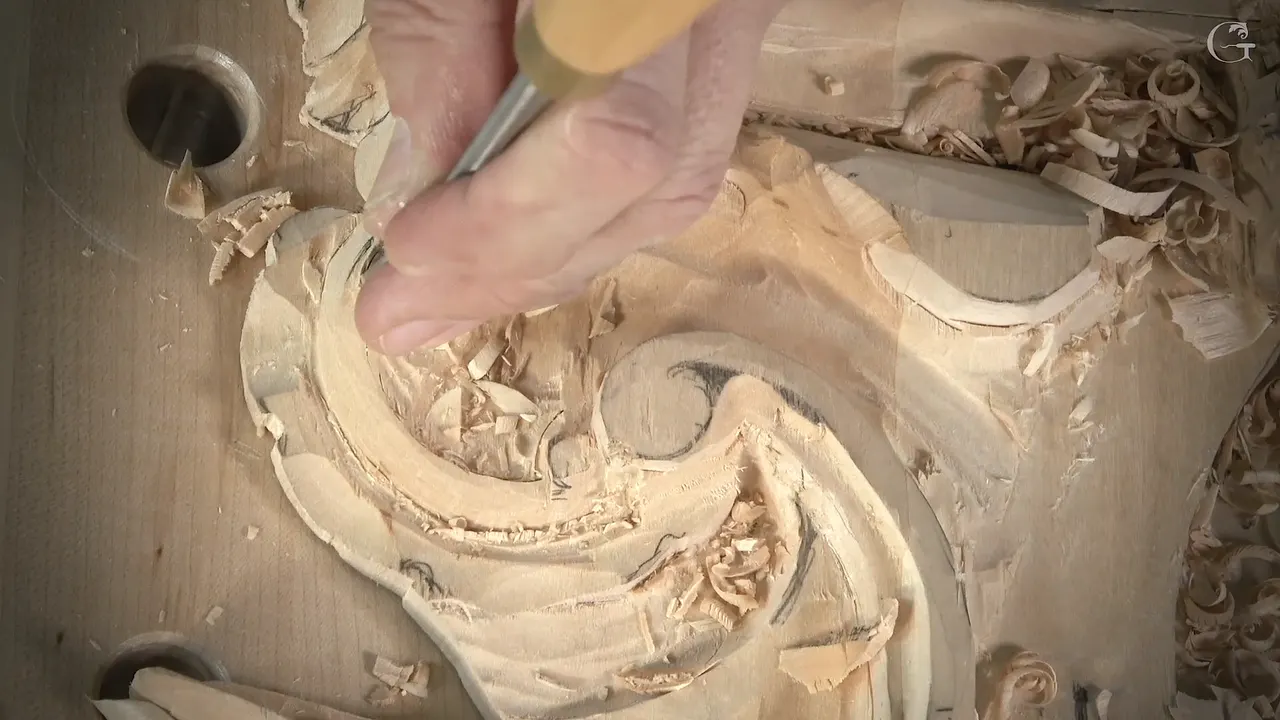
A #6 gouge is the tool I picked up to shape the volute in lesson 157 of the Venice Room, a 10 mm one, once the #2 had done its part around it. Later in that same lesson I named it again, with a #5 or a #7, as a gouge I could use for the last cleanup toward the center. That is the whole list for 157. If a #6 sweep gouge sits in your tool roll and you want to see where mine goes to work, every moment below was filmed while I carved.
Do you own a #6 you hardly ever pick up? Have you held one over the wood and wondered whether a #5 would do the job better? I ask it aloud in lesson 157, then try one.
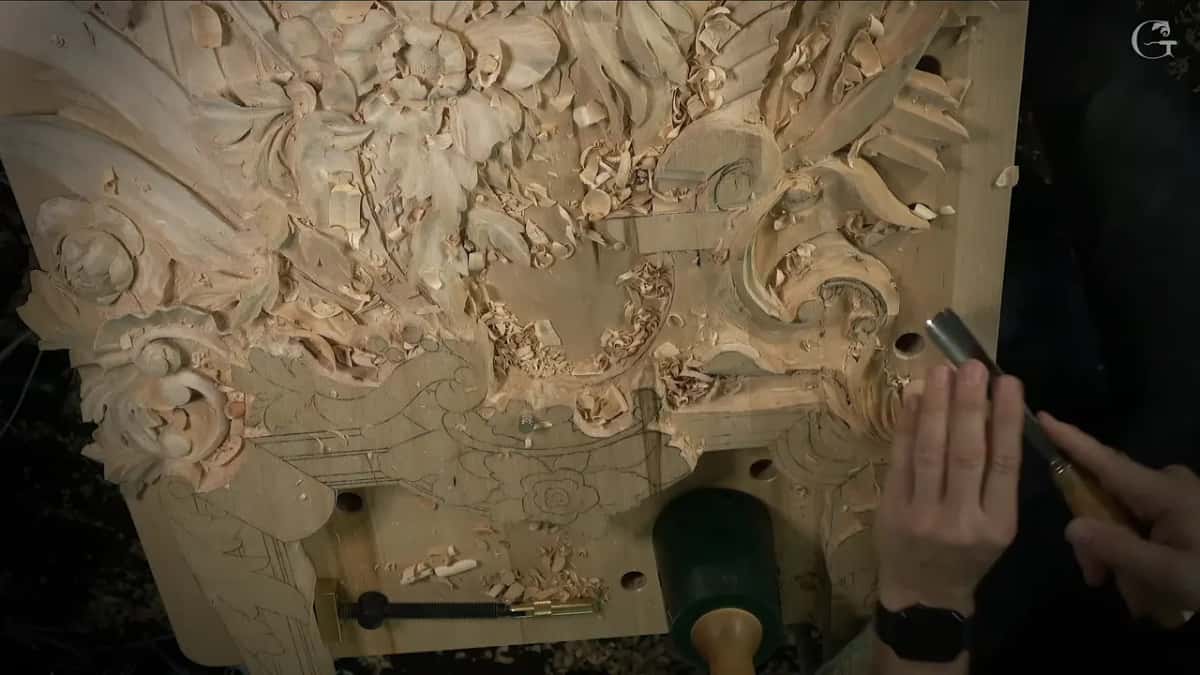
I will keep this plain. Lesson 157 is three short parts, a little over twenty minutes in all. So 157 goes first and gets told in full. After it come my own words from other lessons where a #6 came off the bench: the Greek acroterion, the flower rosette, the chamomile rosette, three livestreams from April 2020, and two flower projects. Each one is linked, so you can check what I said.
What the #6 did, lesson by lesson
- My #6 at 10 mm made the volute in lesson 157, named ahead of a #5.
- On the Greek acroterion it followed a drawn line, and in a later lesson it lost to a one inch #7.
- At a quarter inch it worked its way into the flower rosette, and later rounded a form there.
- For the chamomile rosette I named a #5 or a #6 to start a round.
- One April 2020 livestream has me reading the number off a small mark and judging the width by eye.
- Cleanup late in 157, I said, could go to a six, a five or even a seven.
What did the #6 do in lesson 157?
The #6 gave the volute on my panel its shape, and it came out only near the middle of the lesson. The lesson opens on a leaf. See what I've done? That leaf goes pretty close to the volute itself, a small detail, but it gives me an extra happiness, something extra. I cleaned it and kept an eye on the grain of the wood.

I was really happy with that movement, and I said I could take it to the extreme and make it even more beautiful. The divisions I left for a little later, maybe an extra one right here and another on this side. Then I changed my mind. Or, you know what? Maybe I should work already on those movements, I said, and a 20 mm #9 scooped some waviness into them first, though one area I had to attack a little differently, because I could damage it there.
Then the work around the volute began. First a #2 cleaned its outline, going straight down. Next I found a point I had not relieved yet, and I relieved it with a 3 mm #11. Those spots are really important not to mess up, I told the camera. Easy to mess up.
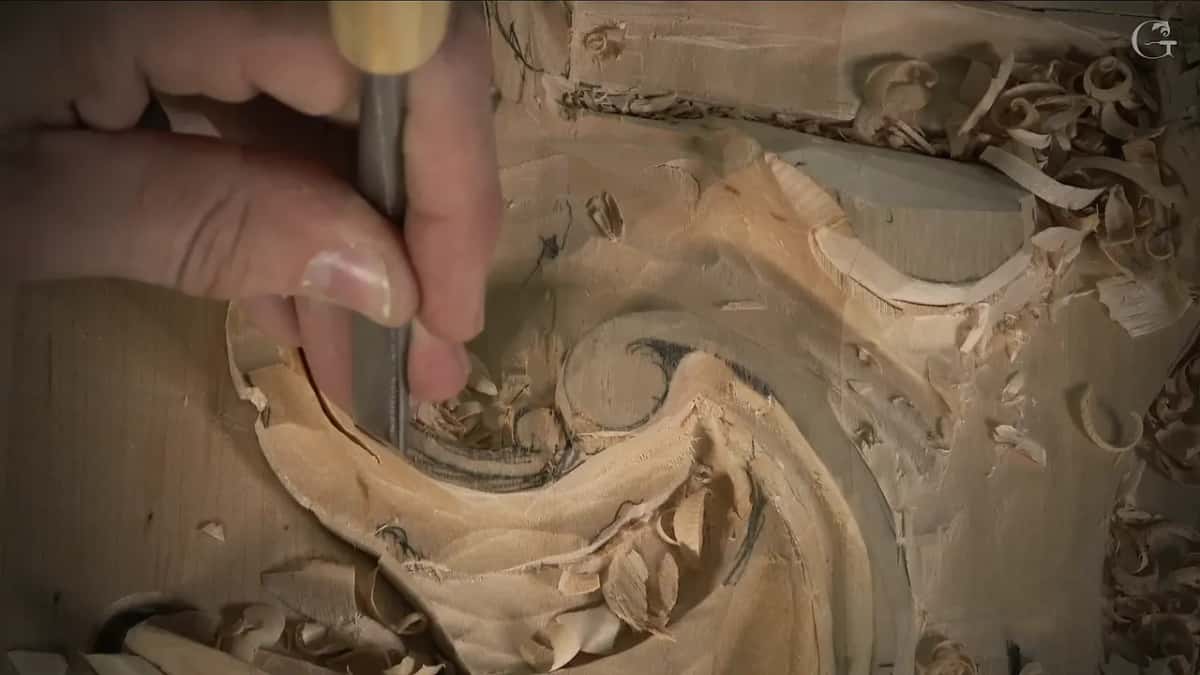
I went around once more with the #2, ninety degrees down, and right away I did not like what I saw in one spot, so I said I needed to reduce my movement there slightly. Then I said a 2 mm #11 could remove whatever mess I had made. Next came the slope. Looked at from above, that part goes downhill, and the #2 moved it downhill all the way. I walked to the other side and did the same, even though the camera could not show it clearly from there.
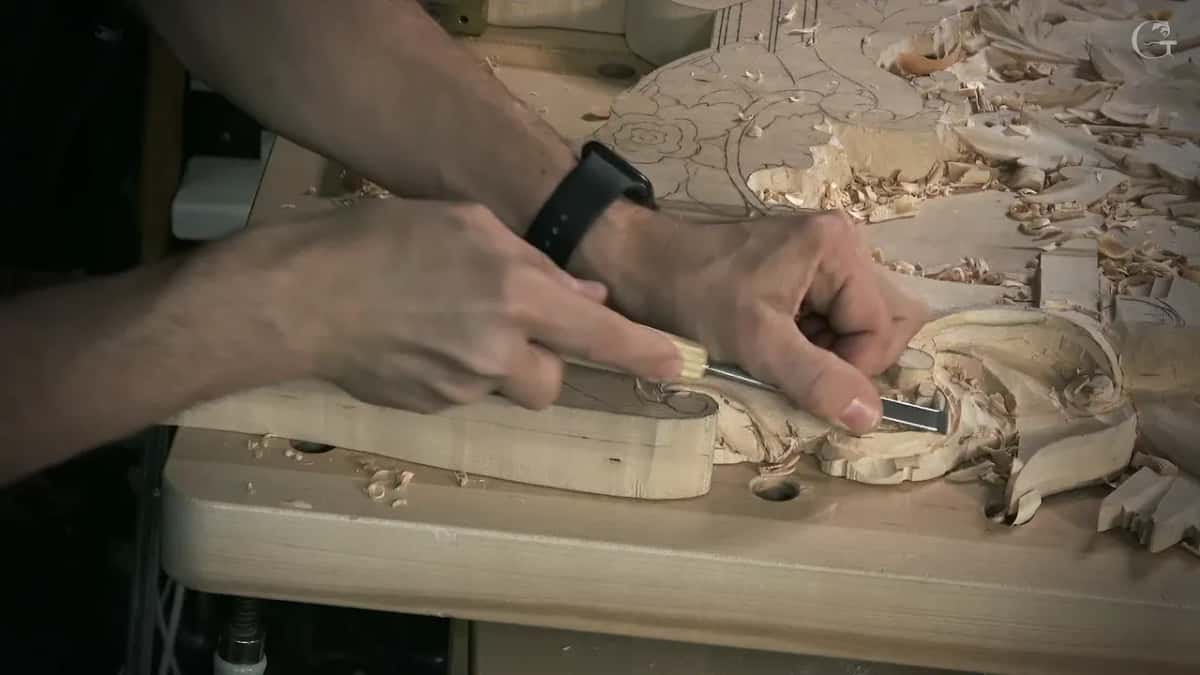
After that the whole section around the volutes came down, because the volutes really have to be higher, and I said it twice. The #2 went in upside down, I made a fillet, and then I took the ridge out and shaved it. It looked really good, and I said so twice.
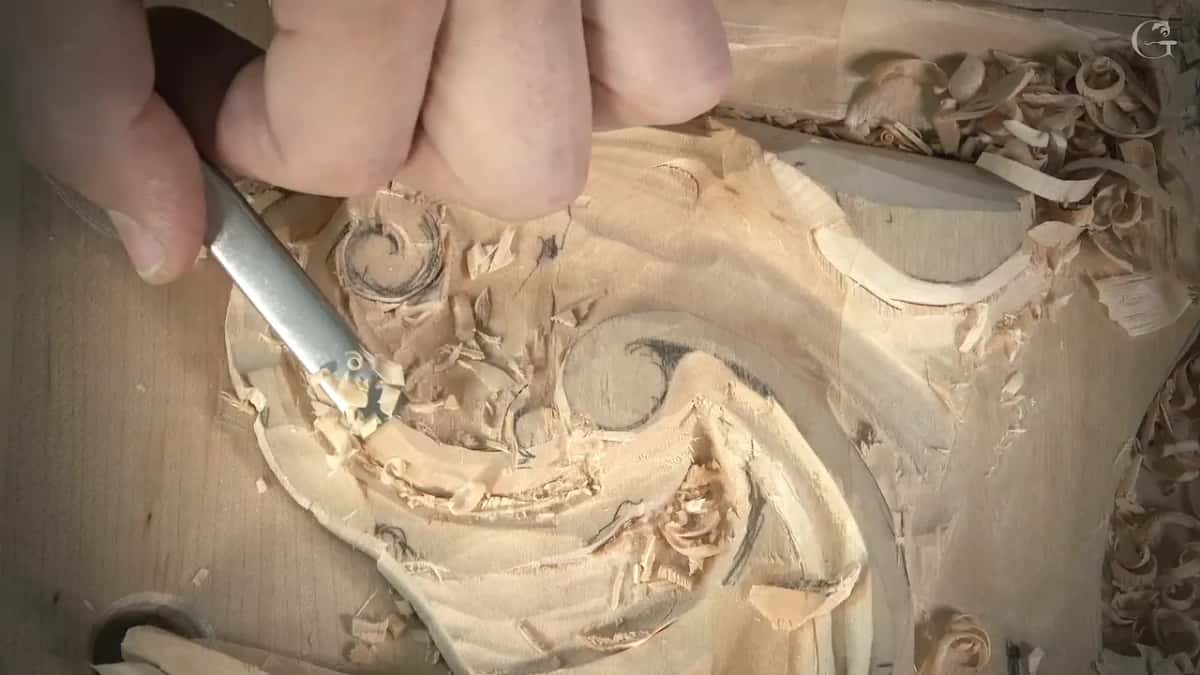
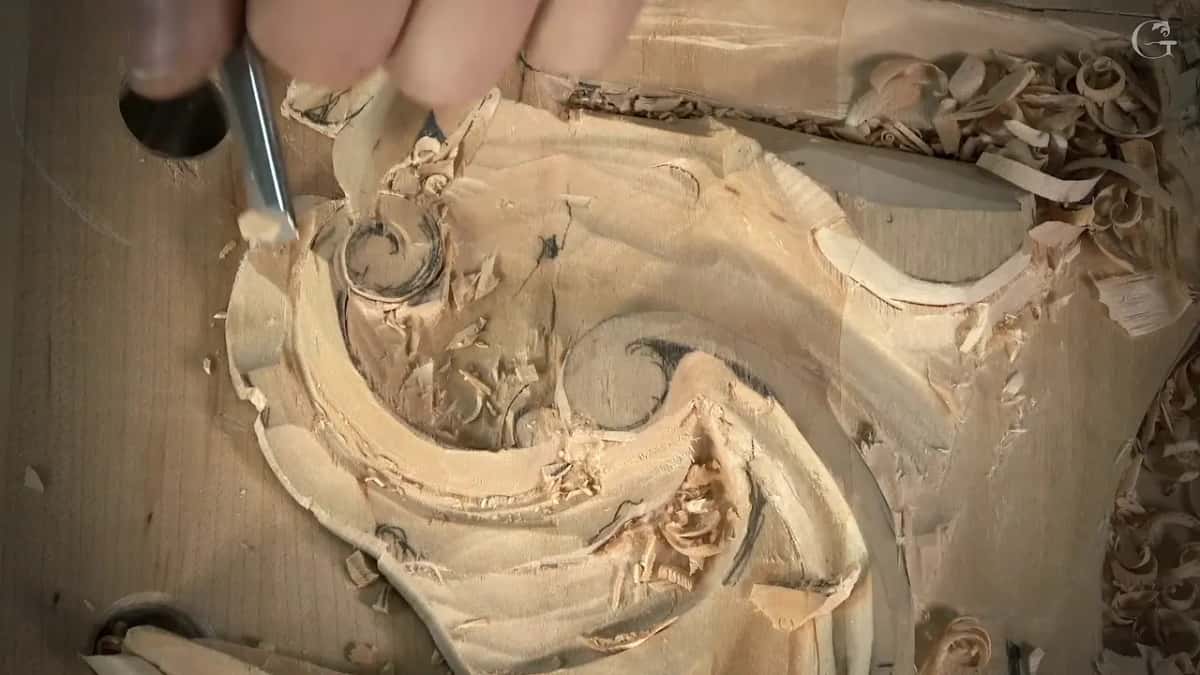
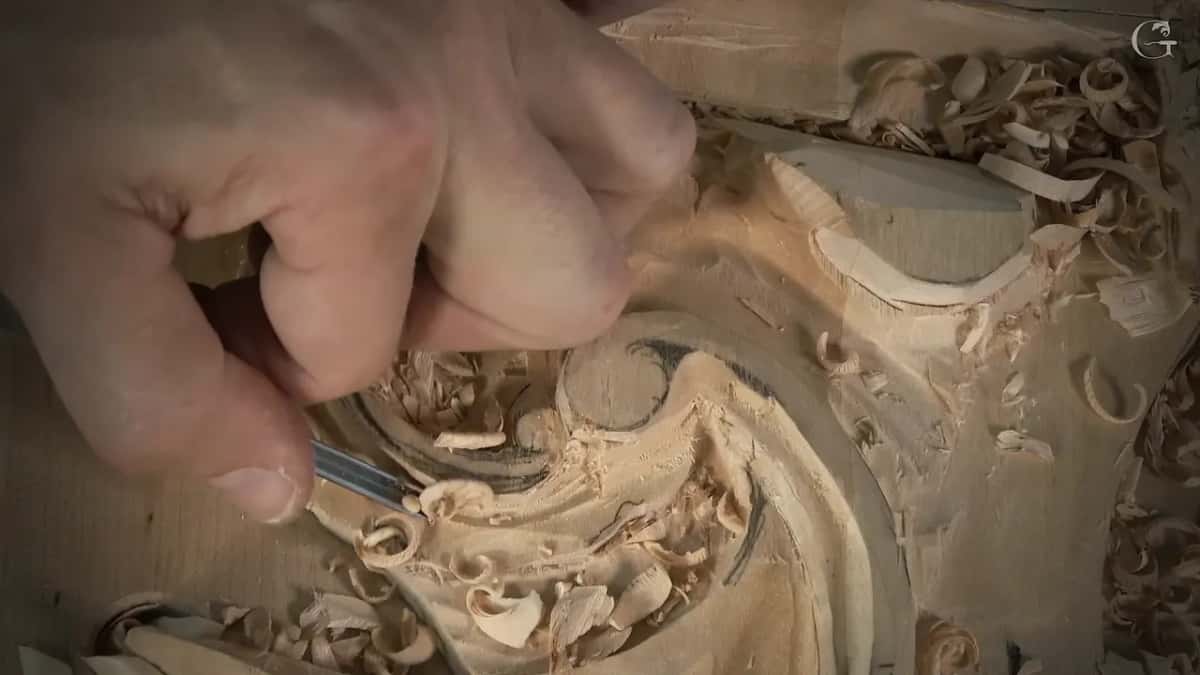
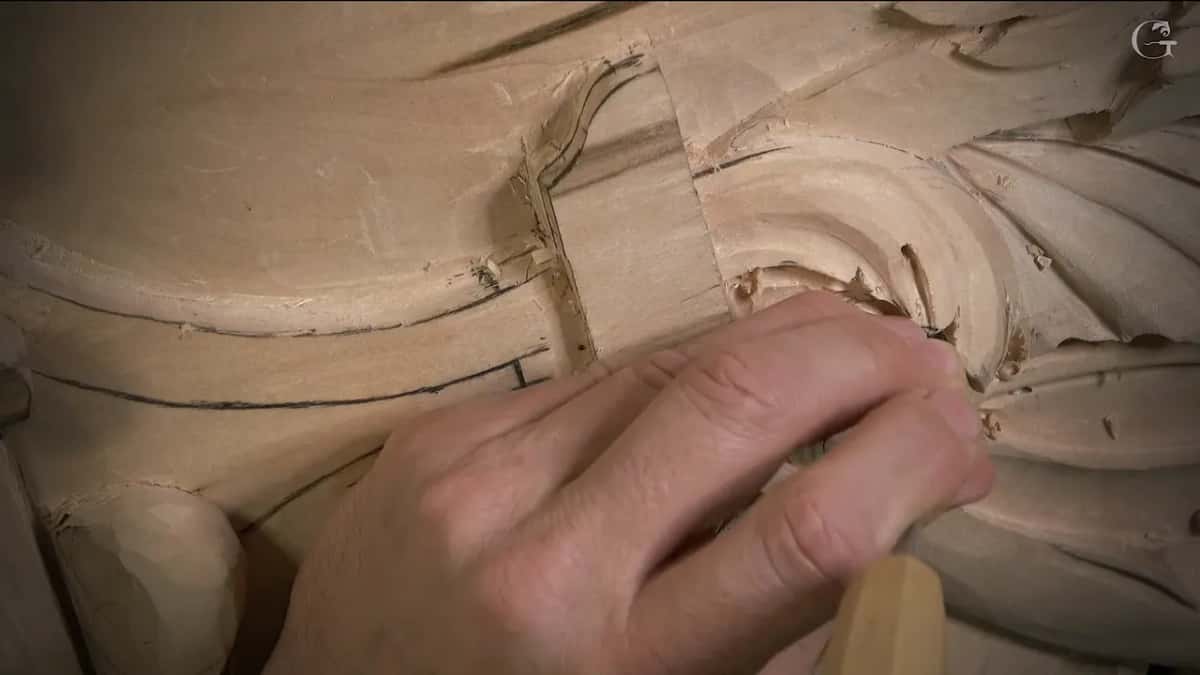
Only then did the #6 come out. Number six or number five, I said, but I would try the six first. A 10 mm #6, about 3/8 in, worked just fine on that volute. While it worked I said again that I did not want to lose the point of my acanthus, the leaf that runs in so close to the volute. And then I said I was happy.

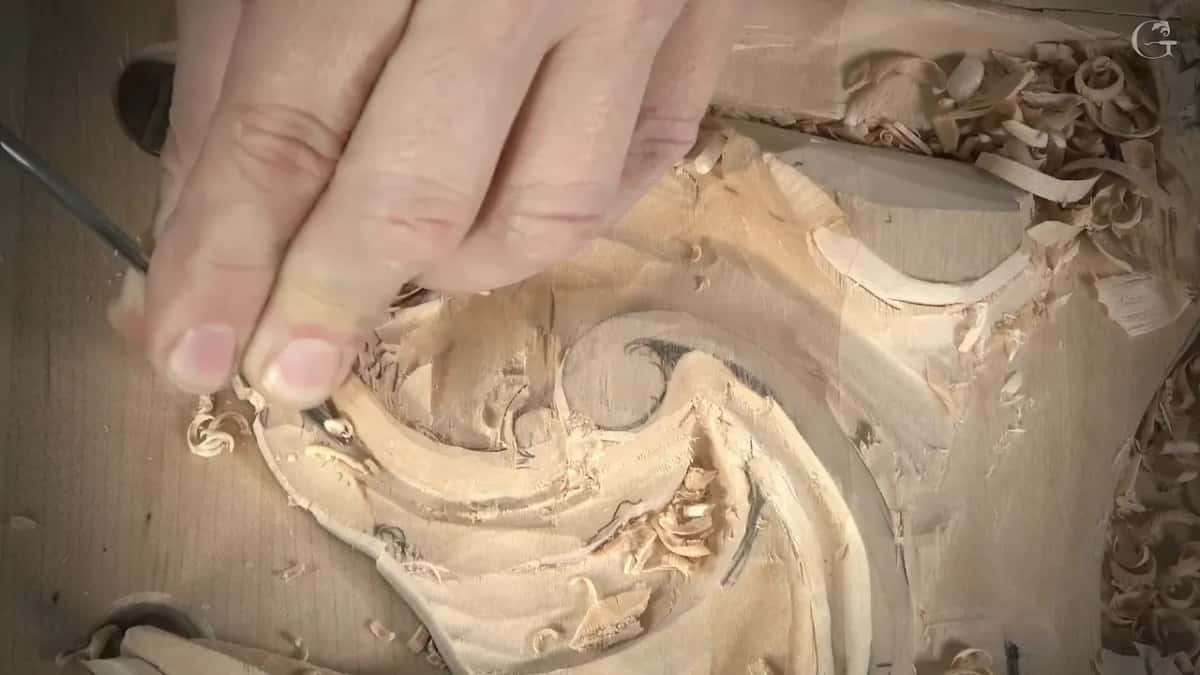
A sharp pencil went next, for a boundary I left for later. Then the shell. A 2 mm #11 started the shadow there, and a 1.5 mm one followed, which is 1/16 of an inch. A #7 could make the hollow and the round on that shell, I said, upside down or the normal way. In the last part I went for a 5 mm #11, said it might be a little too big, and dropped to 2 mm.
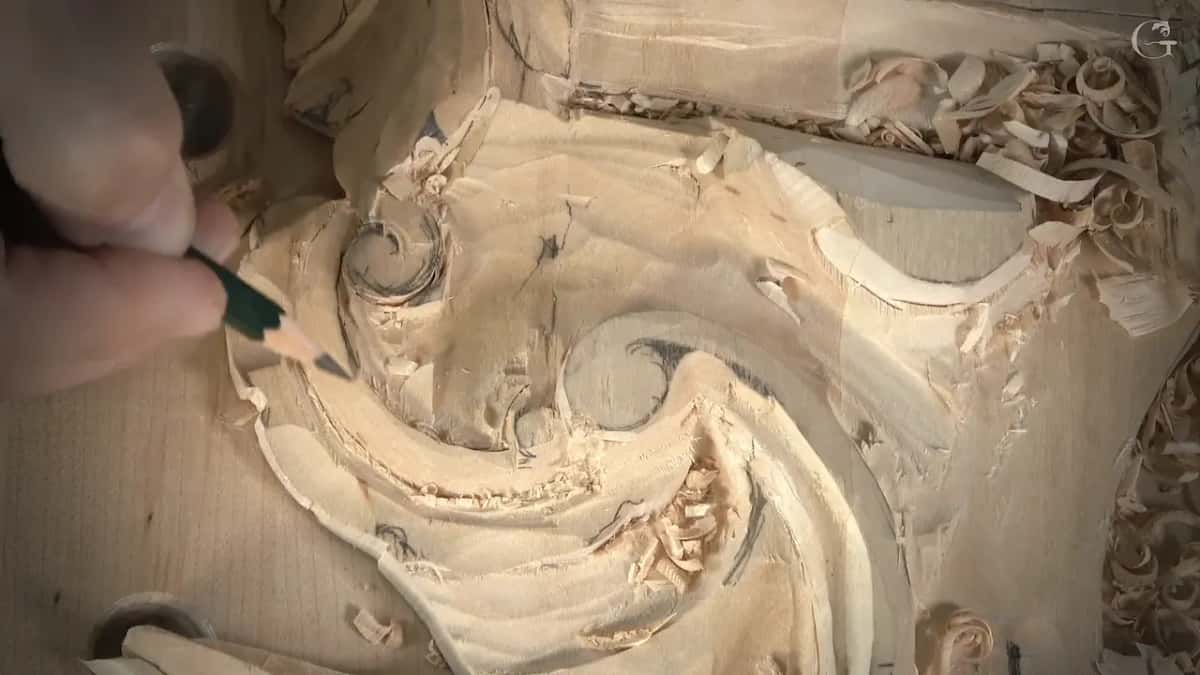
There is a small thing on that recording I like. The camera was in my way at one point, and my hand would have covered it, so I did part of the cleanup off camera. I also had doubts about one separation and said I'd do it anyway. If I didn't like it, so what, I said, it would be okay. I wanted to move my center line too, and said starting a few divisions there would be more logical. After one chop inside I said, and that is noble, you know?
Did I know the #6 would fit before I tried it?
No idea, and I said the word try. Back on lesson 1 of the Greek acroterion, I reached first for a number eight or a seven, and then added, or even number six. I checked my profile and made my line again, placing my middle finger and drawing it, which is actually easy. The #6 I took was one by Ashley Iles, and it followed the line.
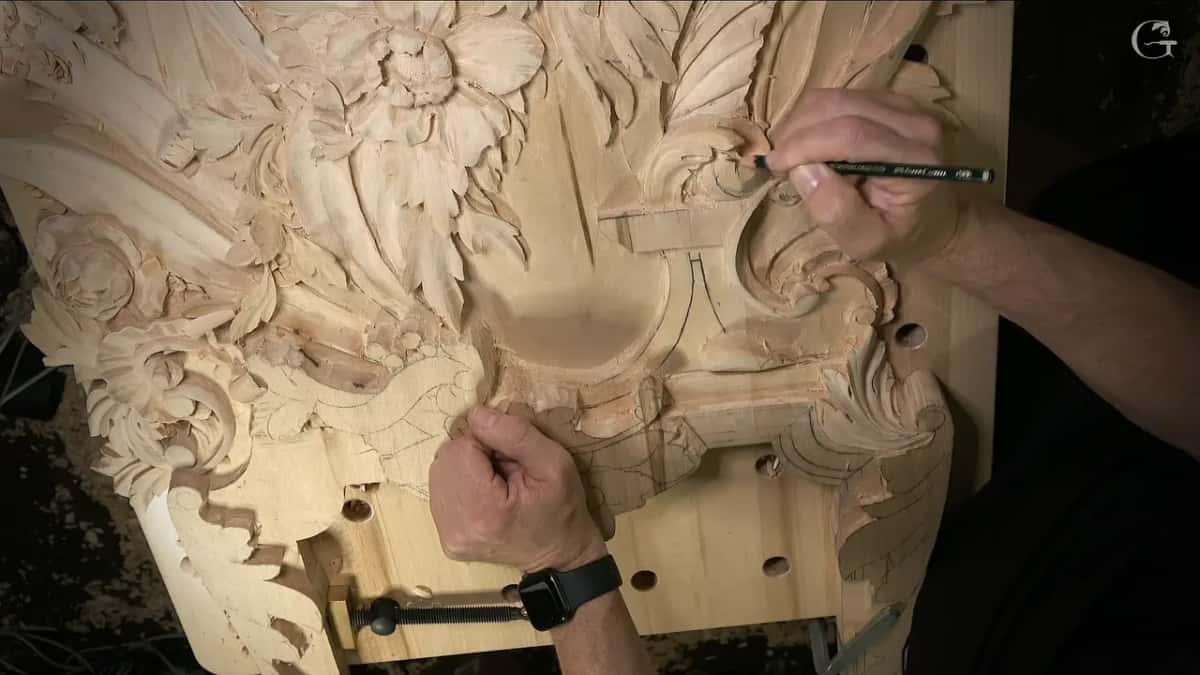
The flower rosette, lesson 2, went the same way. My words were that I needed a smaller gouge, to work my way in more carefully. Let me try first number six, a quarter inch, I said. It went in, and a little later came my verdict out loud: number 6 works perfectly fine.
Let me think. Those three words come up three times in the passages on this page, each time right before I pick a size, twice in 157 for the #11 and once on the flower rosette before the #6.
Has the #6 ever lost to another tool?
Lesson 2 of the Greek acroterion is where it lost cleanly. I stopped to check whether a number six would do a better job there, and it would not. A #7 one inch wide was making that line clean and uniform in one stroke, with no ridges to take off afterward. You can see it just takes care of itself, so I kept that gouge, because I liked how it worked.

Two lessons later, in lesson 4 of the same piece, the gouges lost to a knife. A #5 was too big, a smaller one was still a little too big, and I said I thought a smaller #6. Seconds later I said, I'll just use a knife, since it was going to be much quicker.
Where else did my #6 sweep gouge go to work?
Twice it went to rounding. The first time, on the flower rosette's lesson 4, I had to make a form rounded, the same as the original, and I used the number six I had on my bench right then. I had used it before, and it did that form too. On the chamomile and bow rosette, in its second lesson, I said some kind of number five or number six tool was still going to work, and I started rounding.
The lily box got a line like that too, in lesson 4, where I tried a number six at a quarter inch and told the camera it was doing a really excellent job.
Does the number on a #6 tell you how wide it is?
The mark gave me the number and nothing more, on the tool I talked about in a livestream on April 5, 2020. You don't really see markings almost anywhere, I said, except a little one on the side, which means it's only number six. How wide is it? I just look at it. That one was about one inch, pretty much 25 mm, and that was all I needed.
For professional people, I told the viewers, you really don't need to know how wide the tool is. You just grab the right size, and that's it.
The number itself can fool you a little too, and in lesson 48 of the Hashemi flowers I used a gouge marked number six and said it looked more like a number seven.
In another livestream from that April, the one where I confessed to clay modeling before carving, I told people what my school videos sound like. All you see is my hands working with the gouges, I said, and me explaining, "And now I'm taking gouge number five. And now I'm taking gouge number six, 6 millimeters, quarter inch." Get used to it, because it's a real shop.
Workshop 54 of the Venice Room has a page of its own on a #6 of 10 mm that carved the same curve as a 14 mm #7, so I will leave that story there.
Which sizes of #6 show up in these lessons?
Three widths are spoken, and two more I only called small.
| Size | Lesson | Result | Said |
|---|---|---|---|
| 10 mm wide | Venice Room 157, shaping the panel's volute | Worked fine | But I'll try number six first |
| A quarter inch | Flower rosette, second lesson, working in carefully | Perfectly fine | Maybe let me try number six |
| Quarter inch again | Lily box, lesson 4, second layer work | Excellent job | Doing a really excellent job here |
| About one inch | Livestream of April 5, reading the mark | By eye | You just grab the right size |
| Six mm, spoken | Clay modeling livestream, how my videos sound | Named aloud | Number six, 6 millimeters, quarter inch |
Can a #6 do the last cleanup?
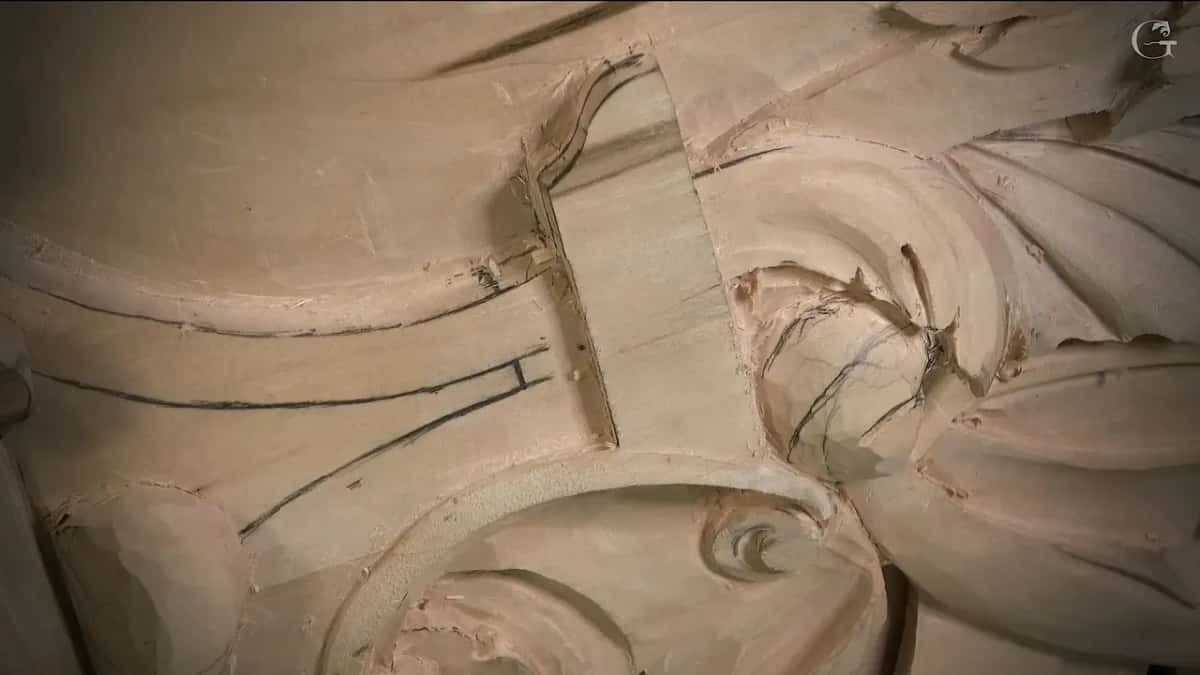
I said it could in lesson 157, and I left the job for later. Near the end the shell was not completely clean yet, which was okay, I said. I can always take a smaller one, number six or number five, even number seven, take my strokes in toward the middle, and make it to perfection. The rest of the cleanup I said I could do off camera, so I would not take too much of your time. Earlier in that part I said I was not going to force all the junk out. A few minutes later it was oh, a lot of junk inside, need to clean it now.
My #6 spoon gouge cleans up too, as I said in a livestream that April on sharpening spoon gouges, and on lesson 1 of the chamomile and bow rosette I took a small one for cleanup, first calling it a number 4.
And in lesson 4 of the flower rosette I told beginners they really don't need expensive tools at the start, then took a small number six to clear around the center, where I said the knife could also have worked.
What worked beside the #6 in lesson 157?
The #2 did the outline, the slope and the upside down pass. A 20 mm #9 made waviness, scooped in wherever the spot was wider, so the surface would not sit at one level. The #11 went from 3 mm to 2, then 1.5, then 1 mm, and I said a 1 mm one could make a little deeper line, more shadow-like. For the shell I named a #7. And the #6 had the volute.
Those other numbers have pages of their own from the Venice Room: the #2 in lesson 149, the #3 in lesson 67, the #7 in lesson 43 and the #9 in lesson 64. The #5 has one from workshop 68, the tool I named in the same breath as the six in 157.

Where can you watch the #6 on the volute?
Lesson 157 sits in Part 14 of the Venice Room, workshops 156 to 163, right after the molding of Part 13. The room is one copied out of Venice, carved as relief work, panel by panel, with carving gouges like the ones above and a chisel now and then. Every workshop opens with tuition to the school, monthly or yearly, and it renews automatically until you stop it.
Want to see that #6 go around a volute in real time? And hear me choose between a five and a six before it goes in? Lesson 157 has both, in three short parts.
How it's done
- Take the section around the volute down. Before any #6, I lowered the whole section, because the volutes have to be higher.
- Shave off the ridge. With the #2 upside down I made a fillet, then took the ridge out and shaved it.
- Name the six or the five. I said either could go, and tried the number six first.
- Keep the point of the leaf. The #6 did the job on my volute, and while it worked I said I did not want to lose the point of my acanthus.
- Draw the boundary. Sharpen the pencil, draw the boundary line, and leave it for later, as I did.
Frequently asked questions
What size #6 did lesson 157 use?
One 10 mm wide, about 3/8 in, for the volute on my Venetian panel. I named it together with a number five, said the six would get the first try, and it did the job. Later I listed it again for cleanup.
Does a #6 always beat a #7?
Lesson 2 of the Greek acroterion went to the seven. I checked whether a number six would do a better job, decided it would not, and kept a one inch #7 because I liked how it worked. Its single stroke left no ridges to take off.
How do you tell how wide a #6 is?
By eye, the way I put it in a livestream on April 5, 2020. You hardly see markings except a little one on the side giving the number, and I knew the tool in my hand was roughly an inch, 25 mm, without measuring it.
What to carve next