
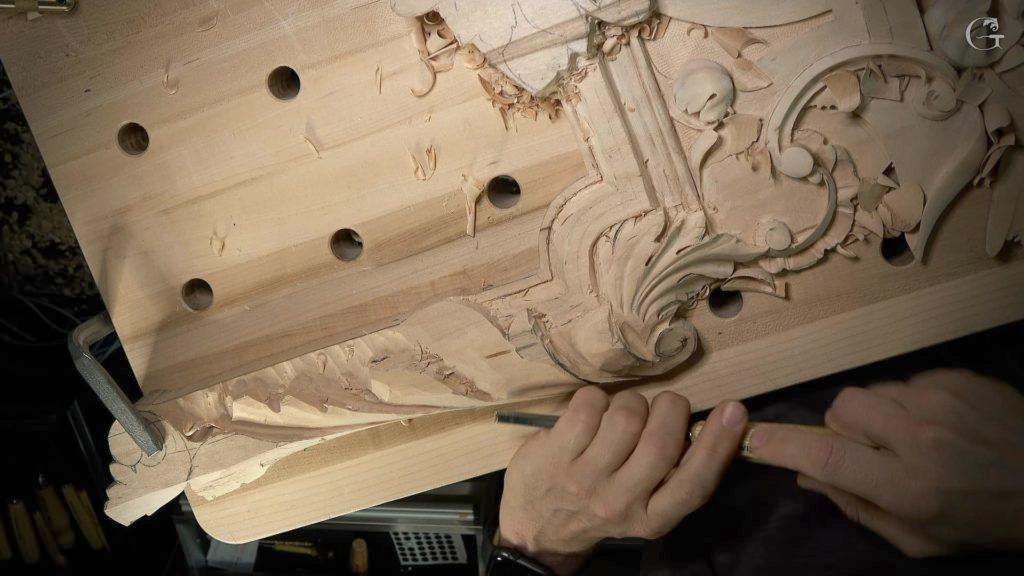
Alexander Grabovetskiy, woodcarver, School of Woodcarving · Published 2023
How much should you undercut a wood carving?
Quick answer: Undercutting is the one part of a carving you have to ration. Every extra millimetre of shadow costs hours you did not have to spend, and on gilded work gold is very hard to lay in there. Send the separation uphill and the undercutting gets much simpler.
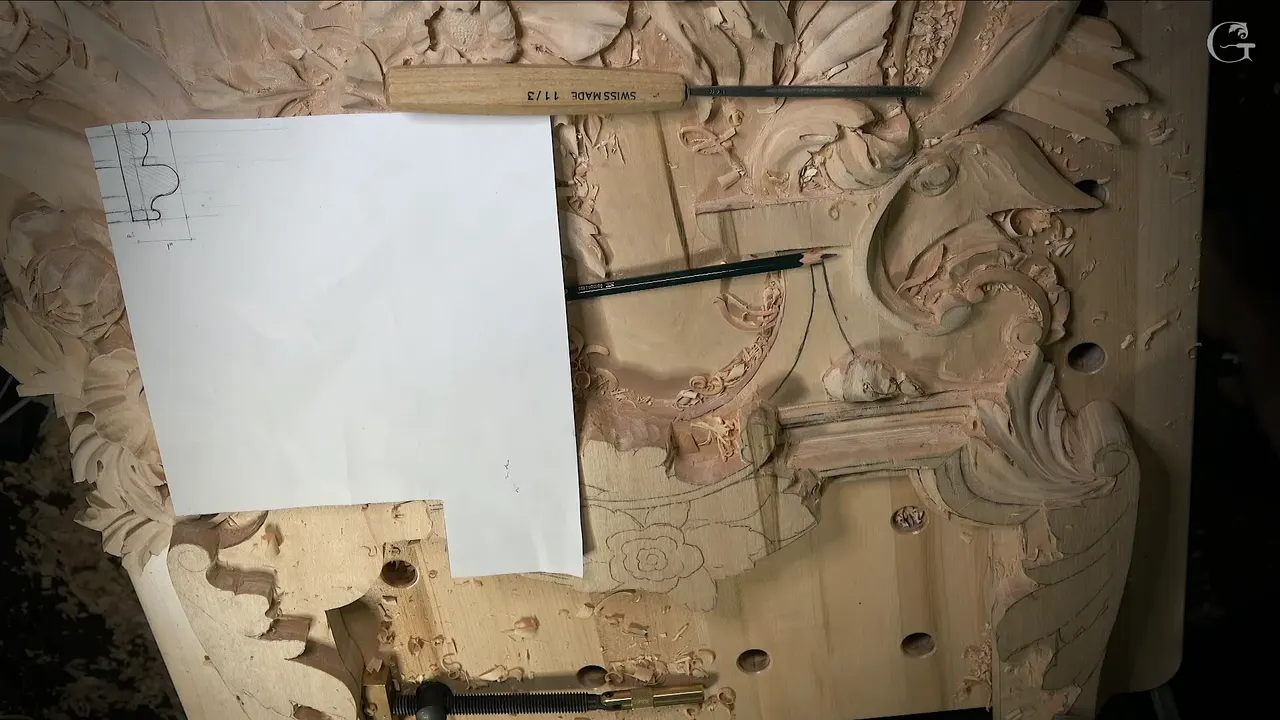
Undercutting is the one thing on a carving you have to ration. Every extra millimetre of shadow is labour the design never asked for, and on gilded work the gold has a hard time getting in there anyway. Run the separation uphill instead, and there is far less undercutting to do.
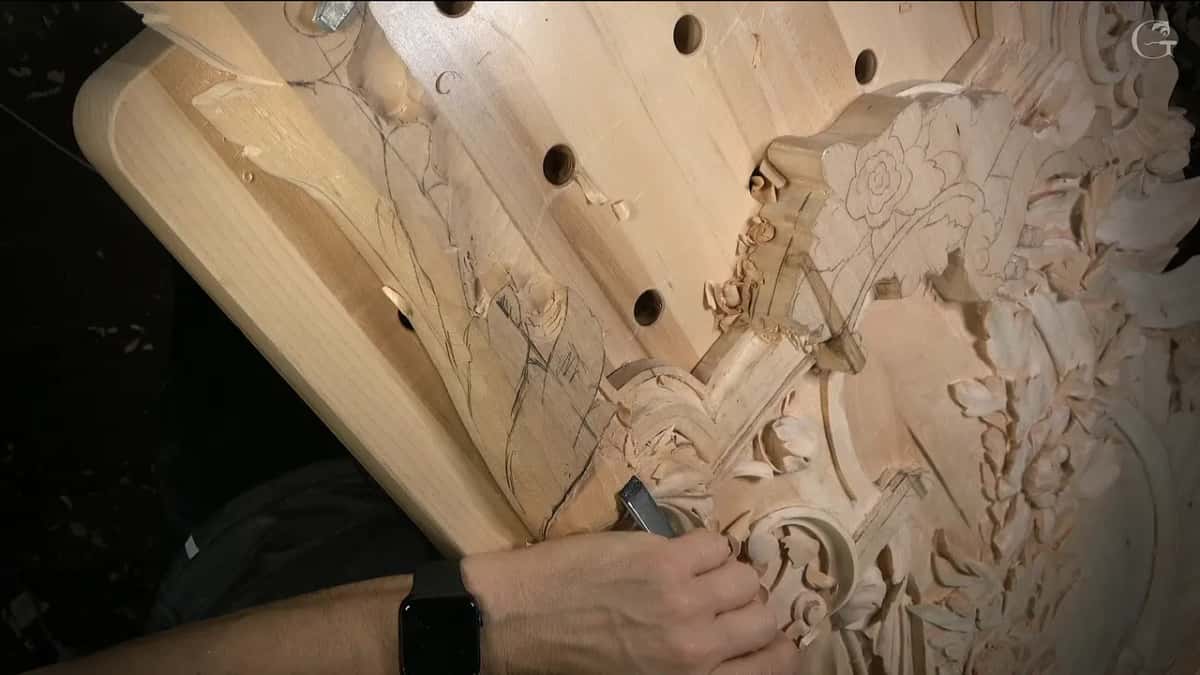
You have been told that deep undercutting is what separates good carving from ordinary carving. So you spend an hour going in under every edge, and the piece looks about the same as it did before, only now you are behind.
Do you know how much of your undercut anybody will ever see? Have you looked at your own work from the side it will actually be seen from? I love undercutting. On this room I kept talking myself out of it.
These are the last eight workshops of the Venice Room, numbers 156 through 163. The ornament wraps the molding, the shell closes, and somewhere in the middle of it I was a sixteenth out and had to say so out loud.
What decides how far in under an edge you go
- Point of view. An undercut nobody can stand in front of is labour spent on nothing.
- Gilding. Gold is a struggle to lay inside a deep hollow, which is why the old work is shallower than you expect.
- A separation that climbs uphill under the next part, doing much of that job for you.
- The bench. Go too far and your tool is into your own workbench.
- How close the back of the panel is. In one spot I was really close to it, so I did not go all the way.
Why would a carver undercut less on purpose?
Labour comes first, and gold comes second. As much as I love undercutting, going deeper than the design needs is a big mistake, because all it buys is labour the room will never show. On a room this size that adds up. The second reason is older and better, and it comes from the way the Byzantines finished their carving.
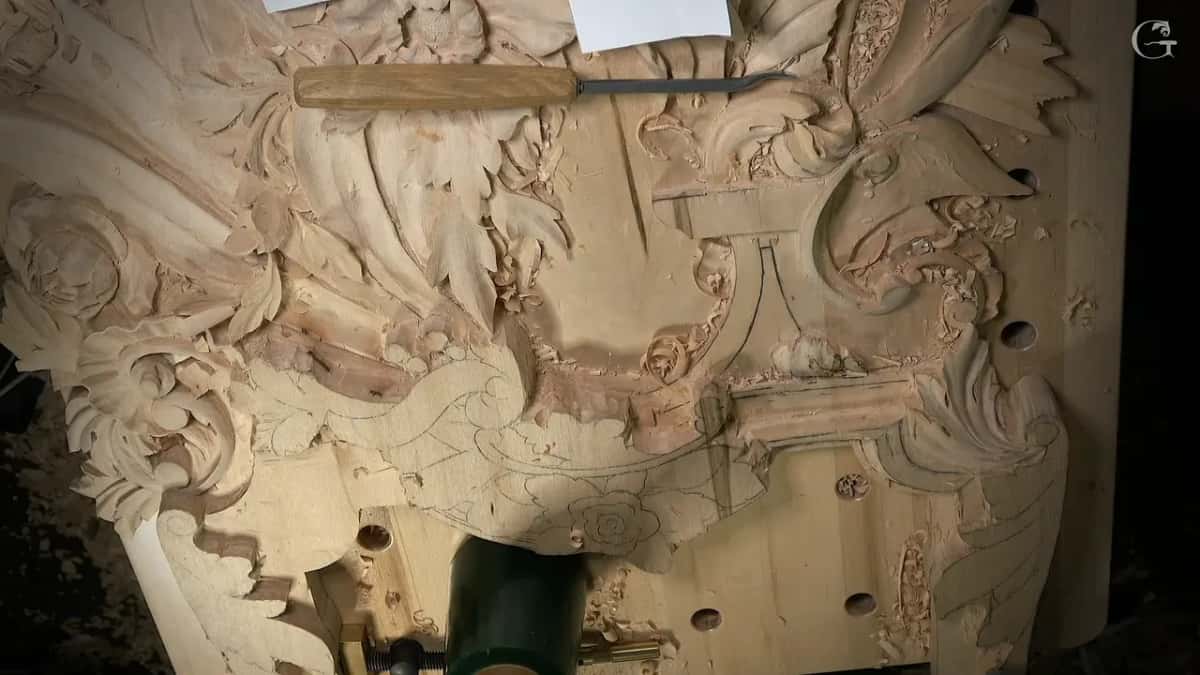
Point of view settles most of it. On these last movements the panel gets looked at from one side of a room, so I made every part pass under its neighbour on that side. My undercut is then in the place nobody stands, and if it is not perfect, it is not going to be as visible to the human eye. I still make it as clean as I can.
How do you get by with a shallow undercut?
Run the separation uphill so it disappears under the part above it. Instead of driving a tool horizontally in under an edge, you carve the leaf so the separation climbs as it goes, and the piece above swallows the end of it. That leaves a lot less to undercut.
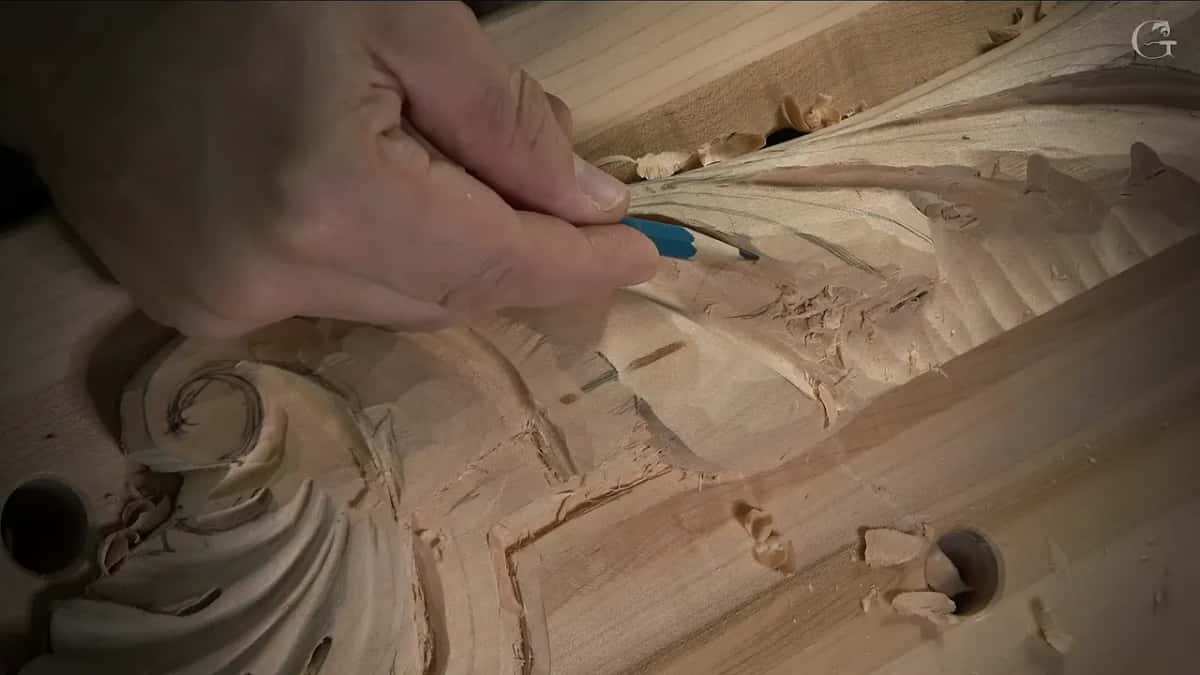
One of the old techniques, and they kept it because it looks beautiful and it simplifies the job of undercutting at the same time. Two birds. The old carvers did not worry about undercutting as much, and once you know what they were finishing the work with, you understand why.
Where did this leaf come from?
Greek culture first. The Romans took the idea of the acanthus leaf from the Greeks and made it their own, and the Corinthian capital is where most people meet it. Then the Roman Empire divided, and the eastern half, Byzantium, was a Christian country. They took the leaf from Rome.
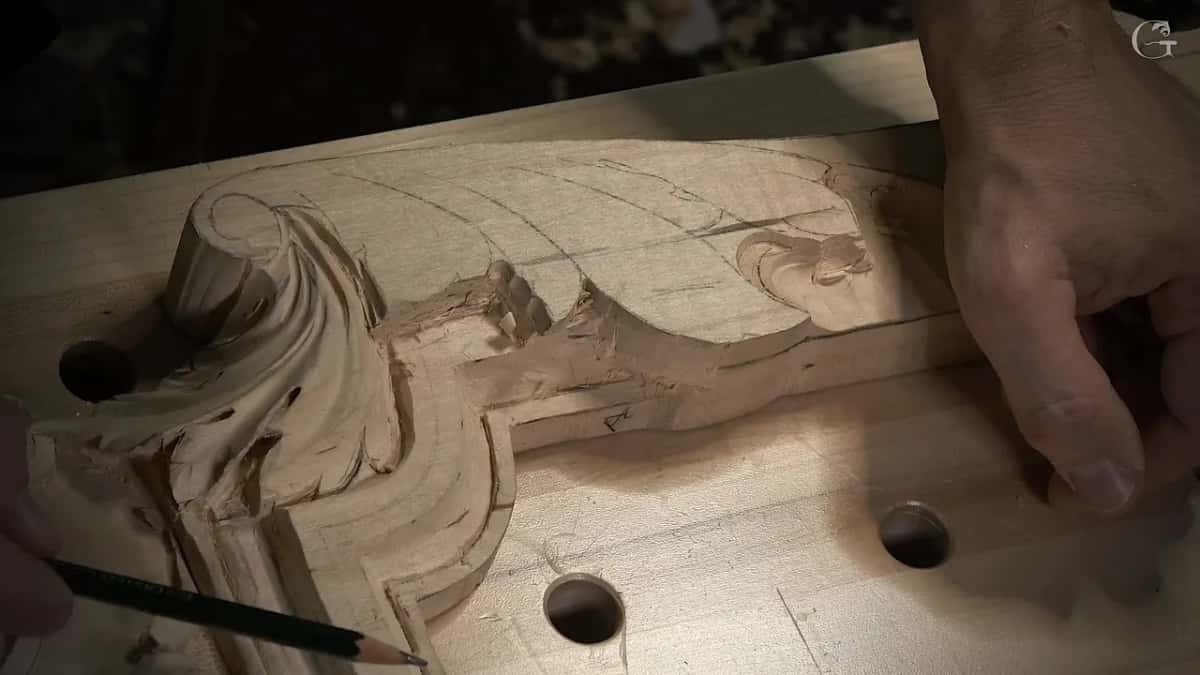
The Greek leaf, the Roman one and the Byzantine one each have their own courses in the school, and they are three genuinely different leaves rather than three names for one.
Here is the part that changes how you work. Byzantium gilded its carving.
Why did the Byzantines gild carving at all?
Scripture, the way I read it. They put acanthus leaves in their churches and they wanted the carving gilded. Go a long way further back. Solomon built a temple, and Moses built a tabernacle and the Ark of the Covenant, and all of it was covered with carving, and all of the carving was covered with gold.
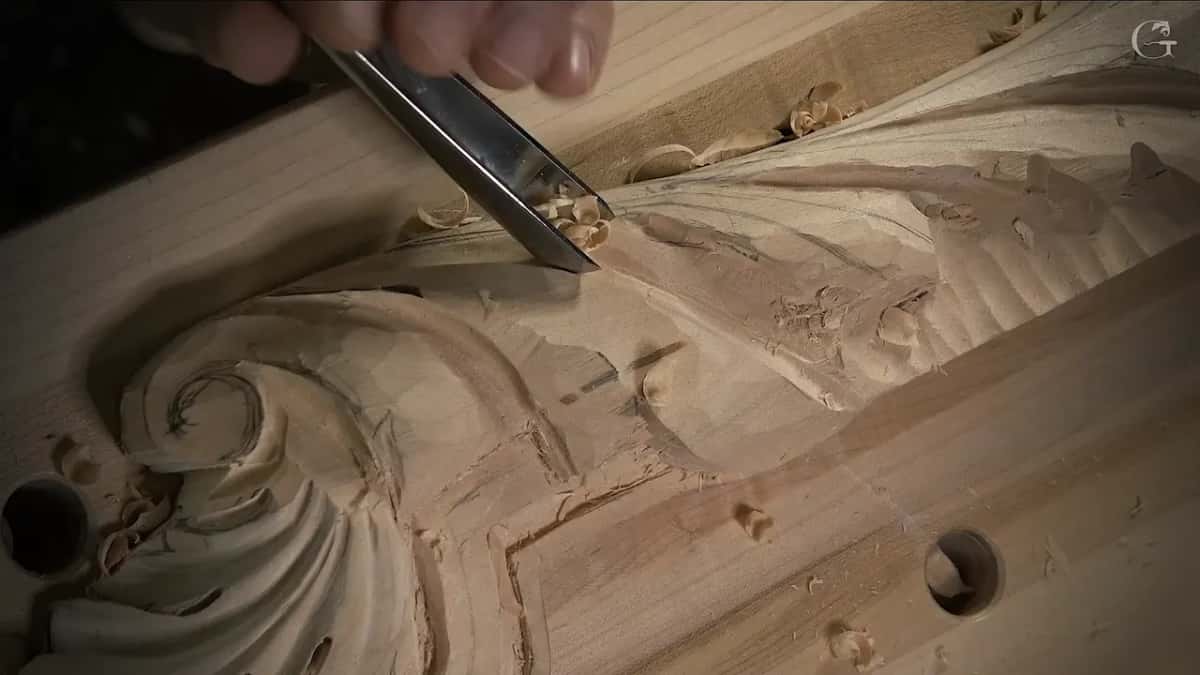
So Byzantium took the idea from Solomon and Moses and started gilding carved work. That is my reading of it, and I say so because it matters at the bench: a carver who knows the piece is going to be gilded designs the leaf differently. They kept the undercuts simple so the gold could get in underneath. Really, really smart, what they did. My opinion.
What is actually under the gold?
Red clay. Ordinary earth red clay, not gesso, which is what a modern gilder would reach for. They laid the clay first, then the gold over it. And to get in there and make the ground smooth they could not have gone crazy underneath, which is the whole point about the undercut coming back around again.
Go to modern Turkey and walk into some of the old churches that have been kept, and you can see it for yourself. Gilding still on parts of the carving, and inside the cracks in it, red clay showing through. The technique is still sitting there in the cracks, centuries after the hand that put it on.
| The decision | What the job wanted from it | How deep | What it costs you to do it the other way |
|---|---|---|---|
| Undercut a leaf | shallow enough for gold to reach in | simple, not too deep | hours of labour on a shadow nobody ever sees |
| A wood allowance | against the highest point of the molding | a quarter inch left | concaves you can no longer carve into it |
| Run a separation | uphill, hidden by the part above | a lot less undercut | a straight horizontal reach in with a tool |
| Lay the ground | red clay laid on under the gold | made smooth inside | gesso, which the Byzantines did not apply |
How accurate does a molding have to be?
A sixteenth of an inch, about one and a half millimetres, is already too much. Nothing about a molding is complicated, it is pretty much just accuracy, and I have a lot of molding to do that has to match everywhere, so being that far off would be an unforgivable mistake. My words, on camera, about my own work.
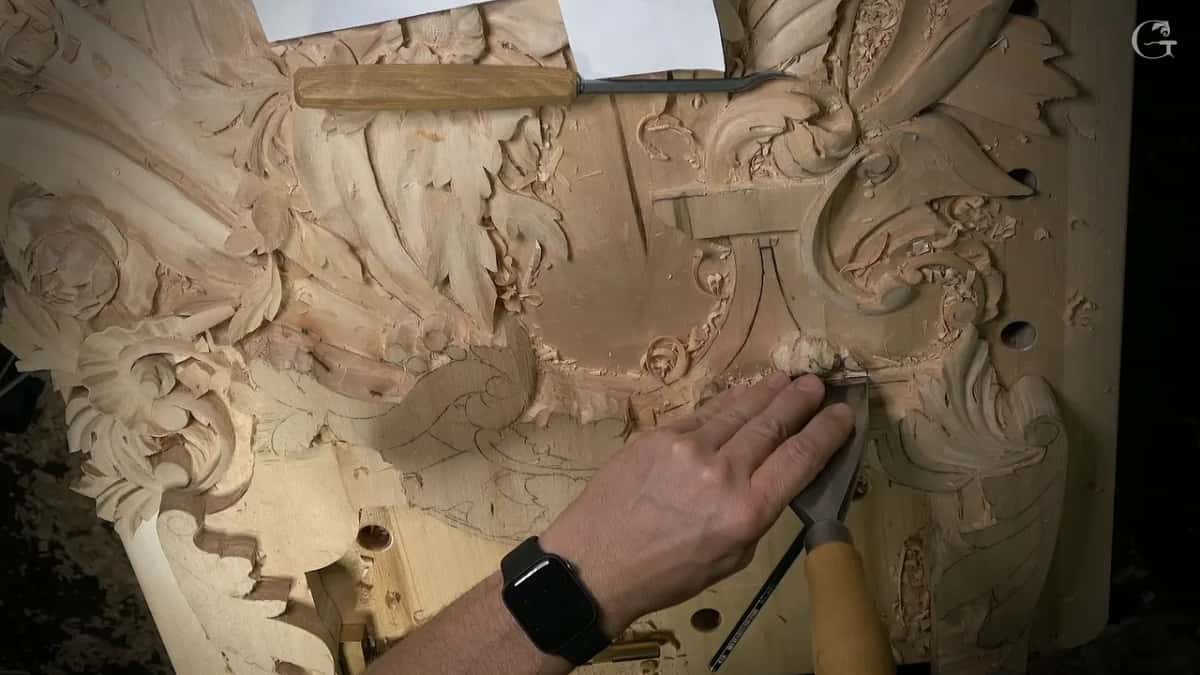
Because I made it. I marked a line for the convex on one side, marked its partner on the other, and something looked off to me. Not to the camera. To me. The way I mark that line is with the tool itself, laying the big chisel against the wall of the cut and tapping it lightly so it leaves a line I can see later. I checked with the tool, then with calipers, and one side was right on the money and the other was a sixteenth out. The line I placed was no bueno.
Then the luck. I had gone wrong in the direction that left wood on, not off, so the fix was to take a little more away. If it had gone the other way I would have had to change the height of a molding that is already pretty low. I still don't like to make mistakes.
What checks a shape when you have no gauge?
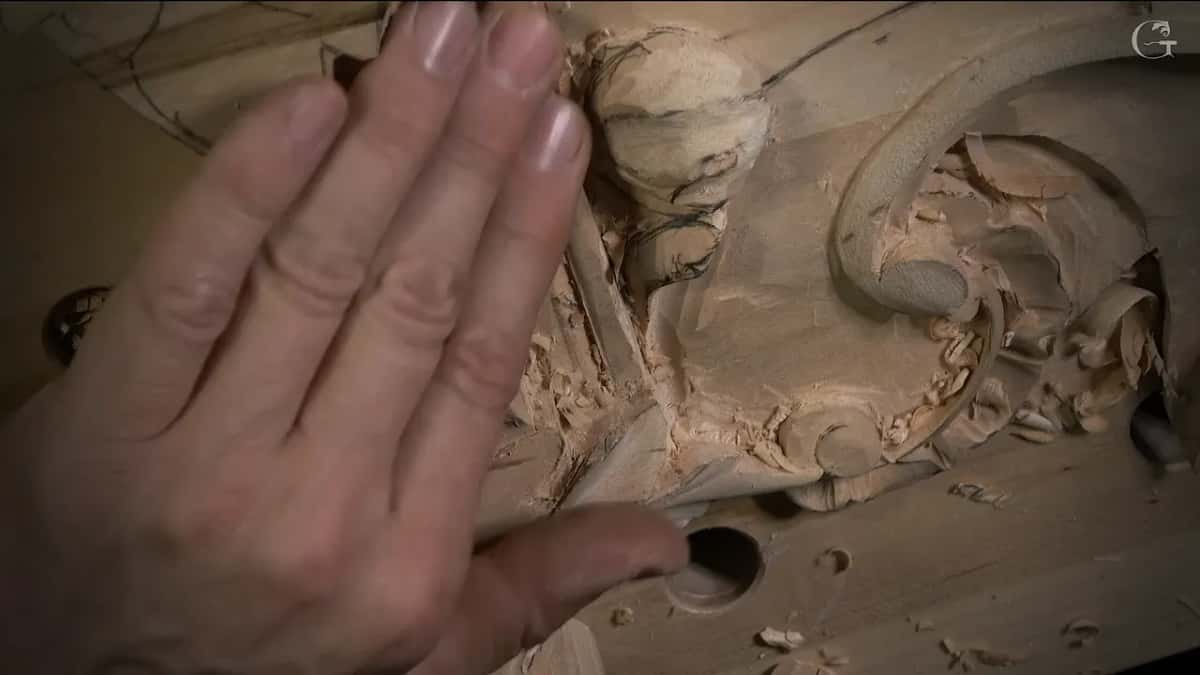
With a finger. Once a convex is close, run a fingertip along it, because a finger can sometimes detect a thousandth of an inch. I had cleaned one of these convexes before, and it still had some kind of waviness.
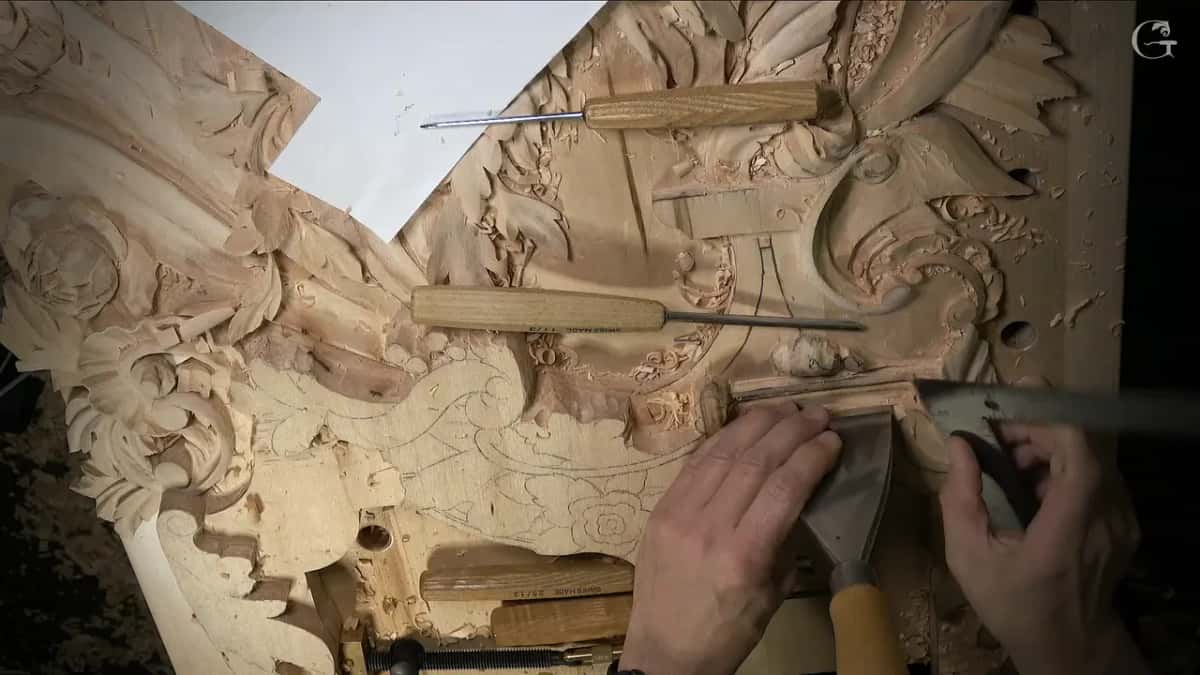
For a right angle, any square will do. Hold it against the wall of the cut and look. In that spot I said I really have to just eyeball it, and then I put a square on it anyway. Mine was dead on 90.
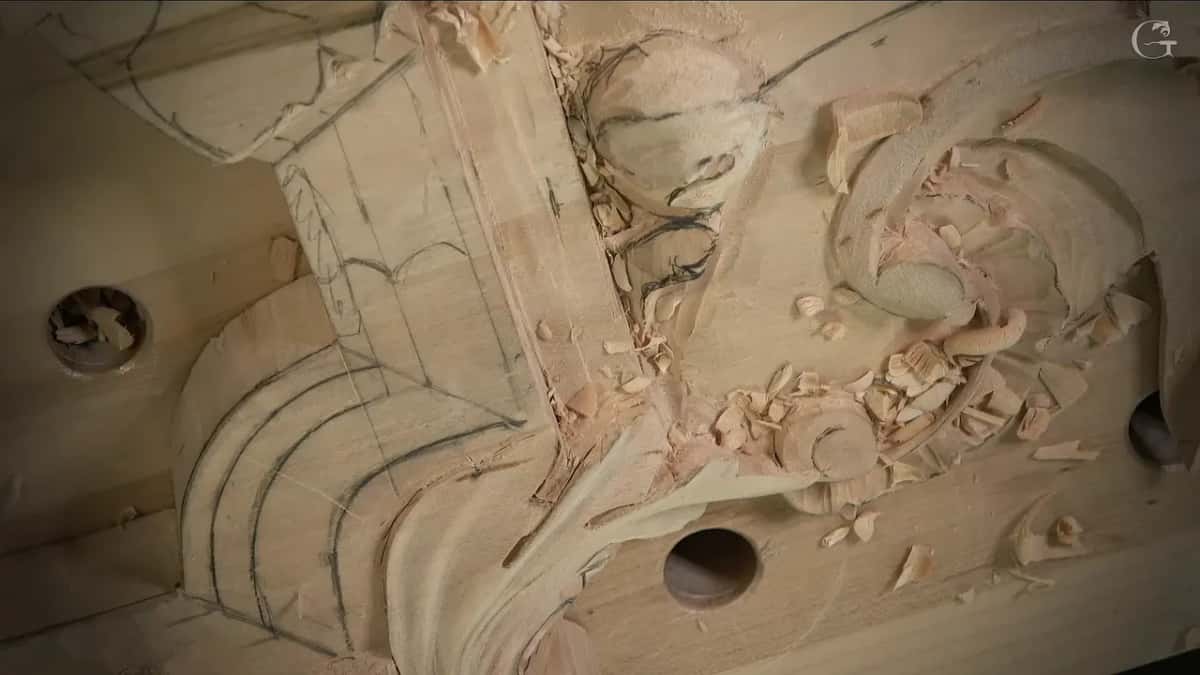
Late on, I thought the molding was finished, then put the pointing machine back on it and found the height was not where it should be. Another millimetre off the top, and the two sides match now.
Which tools are allowed on a period reproduction?
Only the ones that existed. A macaroni tool would have made one of these cuts far easier and quicker, and I stood there wanting to use it, and I did not, because that tool was not available yet back then. Using it would be cheating on a room that is meant to be a 15th century room.
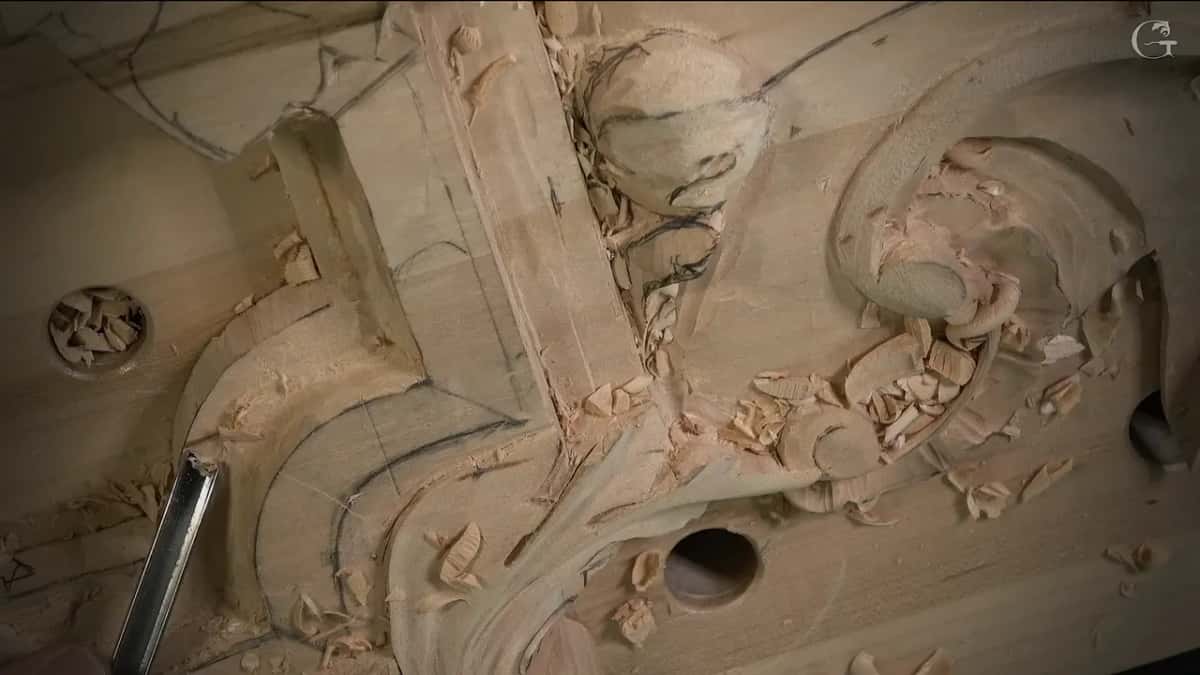
What I used instead was a 1.5 mm veiner, run down each side of the future bead, then a 2 mm to open it out, then a flat back bend to level the bottom. Slower. Three tools where one would have done.
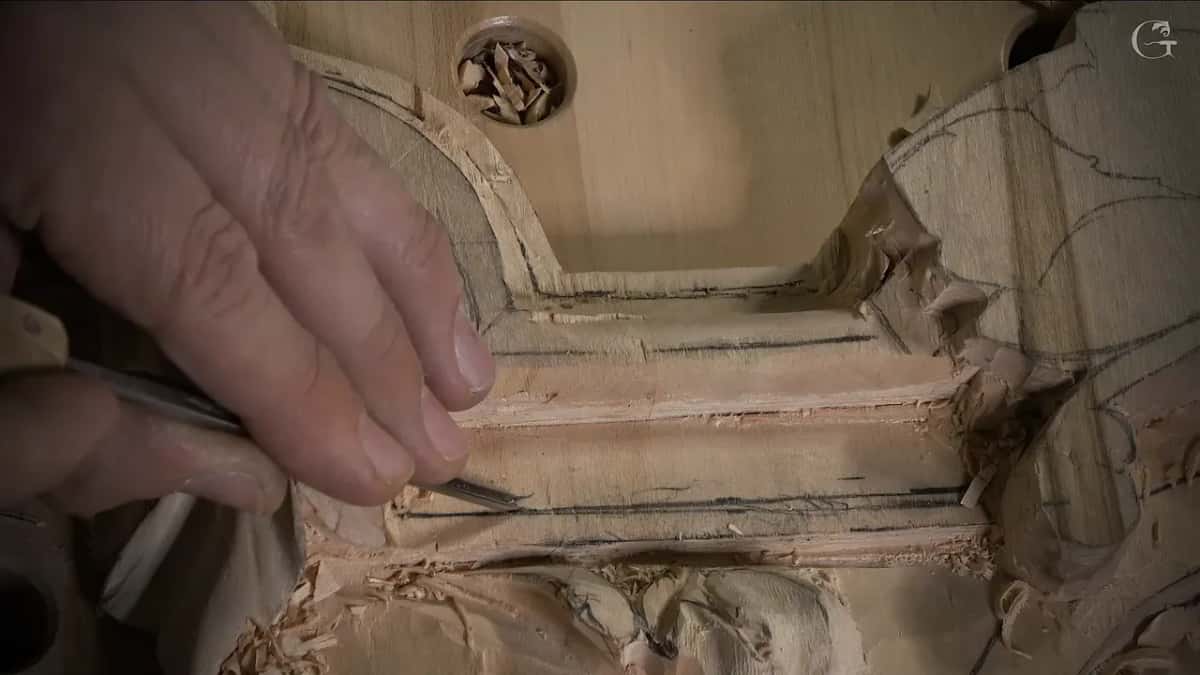
My own line is not pure, and I will say that plainly. More than once I said I could just use rasps on this room, because the whole thing is paint grade. And at one point I said maybe I would use the macaroni after all, just to save time.
Where do you finish a knife edge from?
Work it from the back. I made the first undercut from the front, only to establish the form, and even took it to a knife edge there for now. The clean finish I said I would do later, from the backside.
Depth has two floors under it, and the second one surprises people. The first is the design. The second is my workbench, and on the low sections of this relief I was close enough to it that going further would have put the tool into the bench. Deep, but not too deep. I said exactly that, out loud, in workshop 157.
Leave yourself a working allowance too. Against the highest point of the molding I kept about a quarter inch, 6 mm, of material because the concaves and convexes still had to be carved into that section, and a shape carved into wood you already removed is a shape you cannot have. Back in workshop 157 a crack showed up while I was chopping inside. That's okay, I said. I'll take it out.
Where does the waste come off near an edge?
From the outside inward, when the edge is really close. Working outward toward a free edge lets the tool catch the corner, and then the grain decides what happens rather than you. So I come in from the outside.
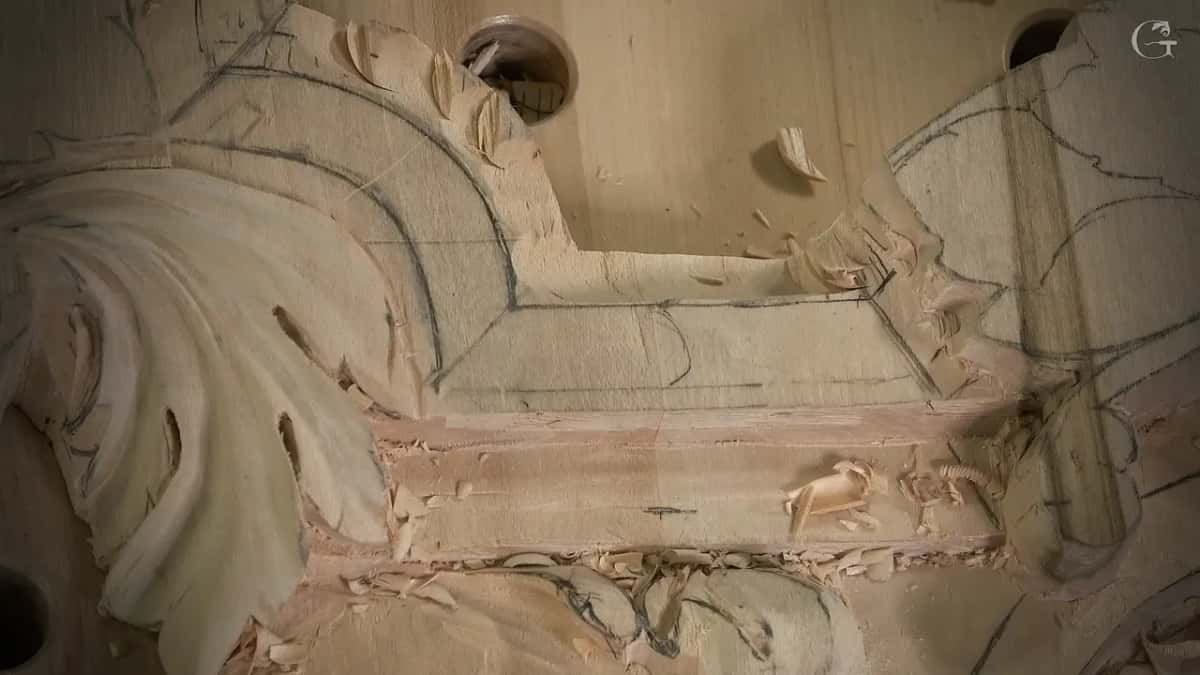
Across the grain for the bulk of it, with a number 9 at 20 mm, three quarters of an inch. I really like going across the grain when it's possible. And I stay slightly above the final line, because I want to be safe rather than sorry.
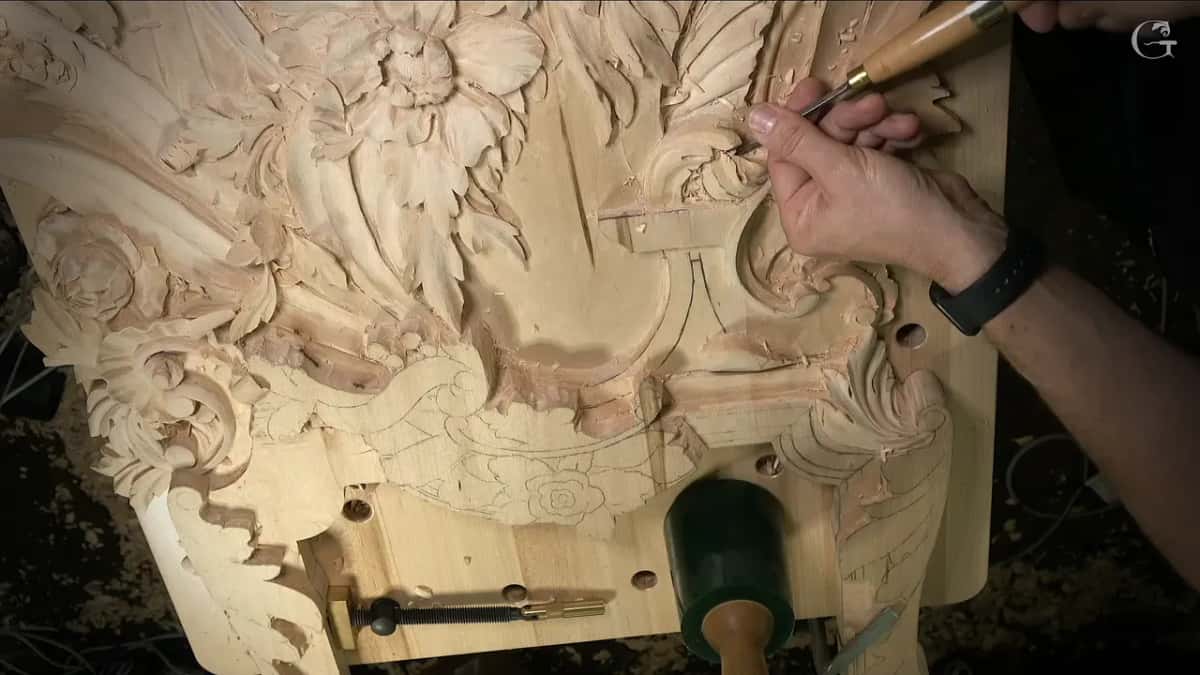
One place on this panel I drilled straight through on purpose and then worked toward the hole, which is a lot easier. A plug pass from each side with a number 9, then I drill, then out with the plug, then the hole gets opened little by little.
Why does a drawing look wrong until it is carved?
Flat is a lie about a form. Looking at just the drawing, this section did not look appealing at all, and I have had that argument with myself on paper more than once. Establish the form and it starts to make sense, because the drawing is just 2D.
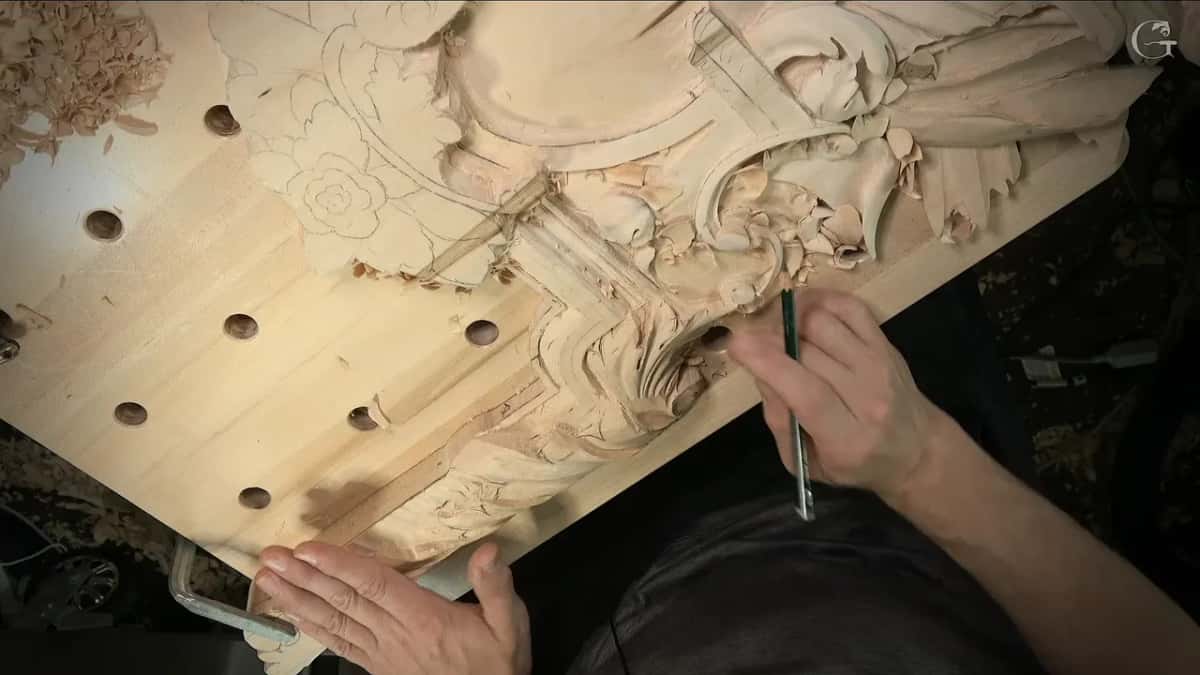
Which is why I redraw as I go. When I am drawing I have to keep in mind what the final thing will look like, and the final look is sometimes not the same as the drawing. For this room, design meant the drawing, then the form, then the drawing again.
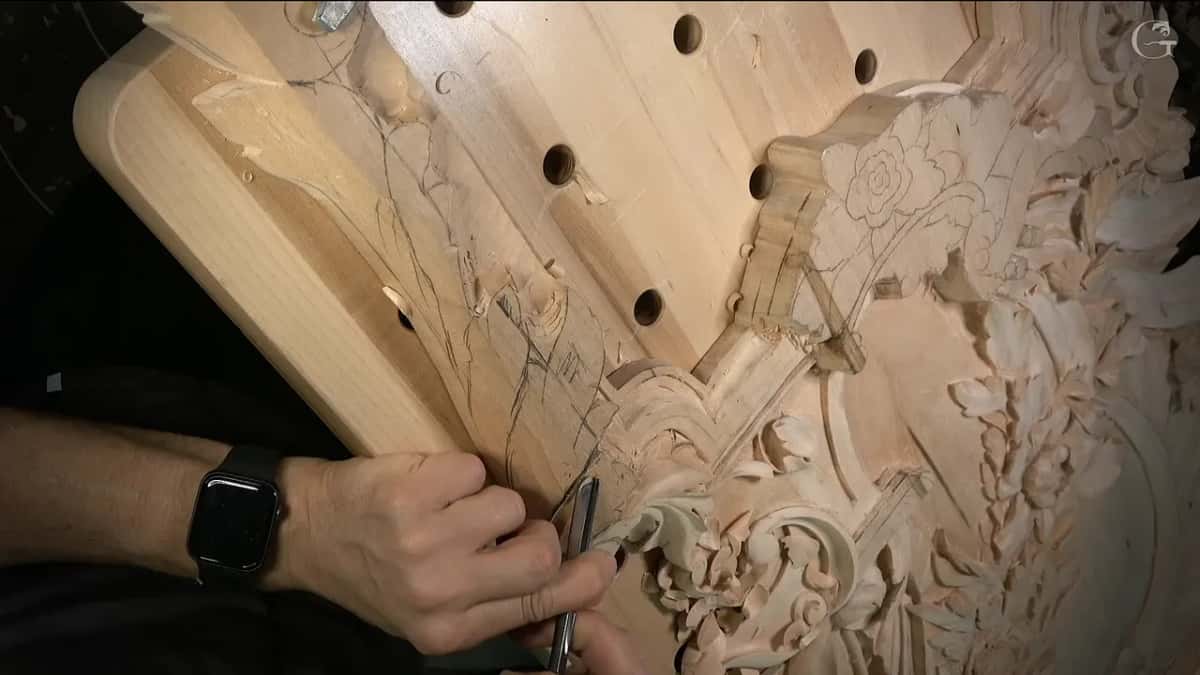
The pipes finish the same way they always do here. One concave down each side, deep near the volute and fading to nothing, and the wood left standing between them becomes the pipe. Three main divisions in the head of the leaf, and I said I would probably leave the subdivisions off. Sometimes that is overkill and the piece does not need it.
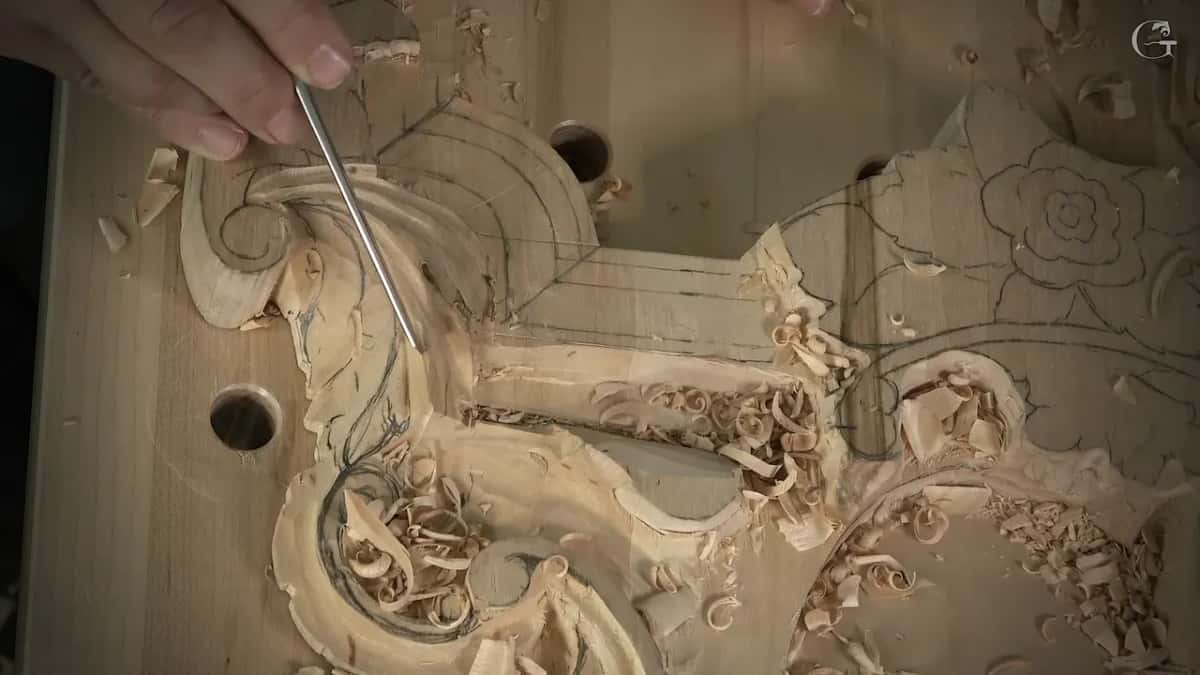
My cameras cost me some of the good passes, and I should admit that too. At one point I worked toward myself, which is not the best way to do it, because turning the piece round would have covered my cameras. My clean side ended up on the right and my rough side on the left, when I wanted the opposite. There were landscapers working outside in workshop 159 as well, and you can hear them. Somewhere in there I also swapped to a number two for no reason except that I get tired sometimes of the same tools.
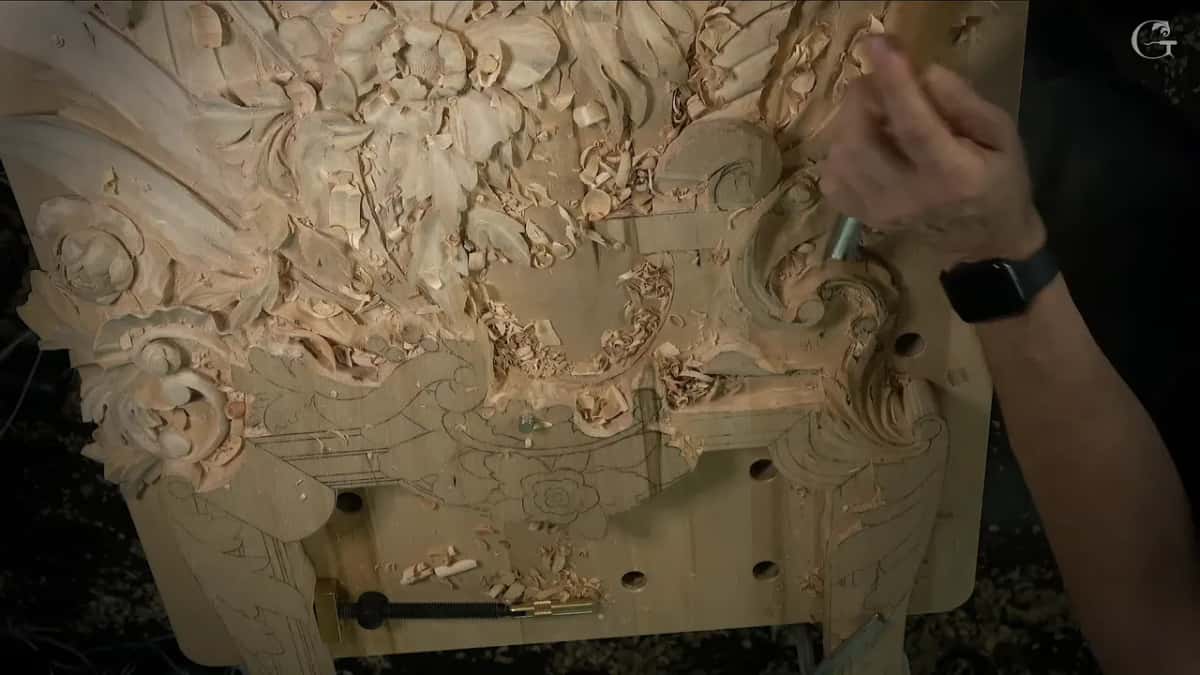
The flowers on this last section I did off camera, and I said why: it is the same flower you already saw, with the same idea. If flowers are what you came for, watch the Hashemi flowers instead. That is where this room's ornament crosses back into the rest of the school, along with acanthus over moldings, the Corinthian leaf and the tools it all runs on.
Fourteen parts, 163 workshops, and one room designed to match Venice. If you want to see it from the beginning, part one is where the first line went on the wood, and part thirteen is where the molding this one wraps was drawn out. All of it opens with tuition to the school. Never carved a leaf before? Then start much smaller and come back to this room when your hands are ready.
How it's done
- Find the side it is seen from. Stand where a person will actually stand. Every part that passes under its neighbour should pass on that side, so the rough work ends up out of sight.
- Send the separation uphill. Carve the parting line so it climbs and vanishes beneath the part above. That way there is a lot less to dig out underneath.
- Stop short of the bench. Take the pocket in only as far as the design needs, then look at it. Here the bench sat close under the work.
- Turn the piece over for the last of it. Bring the edge down to a knife edge from the backside, after a first undercut from the front that only sets the form.
- Keep an allowance against the molding. Hold about a quarter inch, 6 mm, back from its highest point, because the concaves and convexes still have to be carved into that wood.
- Read it with a fingertip. Run a finger along the finished convex. Mine still had some waviness after I had cleaned it once, and the check costs nothing at all.
Frequently asked questions
How deep should you undercut a carving?
Only as deep as the piece needs. I stopped where the bench was close under the panel. Deeper than that and you are paying in hours for shadow the viewing angle hides anyway. Gilded work wants it shallower, since gold leaf will not go on the side of a deep undercut easily.
Why is old carving undercut so shallowly?
Gold is a big part of it. The Byzantines gilded their carved acanthus, and gold leaf is really hard to get on the side of an undercut that is too deep, so they kept it simple. Running a separation uphill under the part above was another old way to get by with less undercutting.
What sits under the gilding on Byzantine carving?
Red earth clay went down first, made smooth, with the gold over the top of it. They did not apply gesso. Look into the cracks in the gilding of old churches in Turkey and that red is still visible.
What to carve next