
Alexander Grabovetskiy, woodcarver, School of Woodcarving · Published 2022
What is a #4 gouge used for?
Quick answer: A #4 gouge is the tool I took near the end of lesson 159 of the Venice Room, once the elevens and a spoon veiner had come close, to be sure I was right on the line of a molding. A short spell of work with it, then I said a different flat tool would do it too.
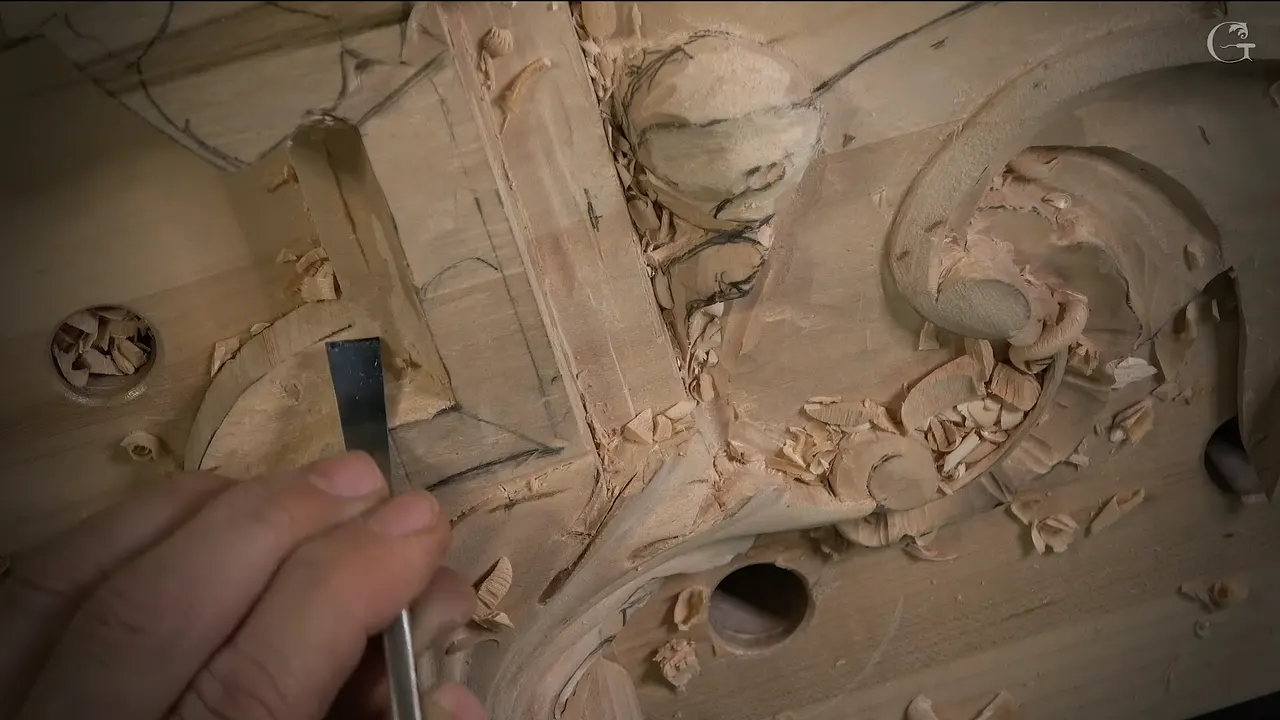
A #4 gouge is what I picked up late in lesson 159 of the Venice Room, to be sure a molding sat right on its line, and I hit that spot clean with it. Other gouges had already brought the profile close. The four came last. Right after, I said it must be flat, and then that a different tool could do the same job.
Have you seen a #4 in a set of carving gouges? Did you wonder what job it does that a #3 or a #5 can't? Then come through these lessons with me. Lesson 159 comes first, the way it went on camera, and after it you get my own words about the four from the Greek acroterion and chamomile rosette courses, from a livestream, and from a few more lessons.

Where my #4 went to work in these lessons
Late in lesson 159 it gave a Venice molding one last check on the line.
It fit the profile on a Greek acroterion perfectly, and I took a knife.
In a chamomile rosette lesson, early on, it was one of several small tools I had in my hand, with a #3 named beside it.
Later in that rosette I named a #3, #4 or #5 for one deep part.
On a livestream it was a long bend, 25 mm (1 in), keeping the handle clear of finished parts.
Two elevens, a spoon veiner and a very small number one work around it in 159.
Twice in 159 I said the wrong number and caught it.
What did the #4 gouge do in lesson 159?
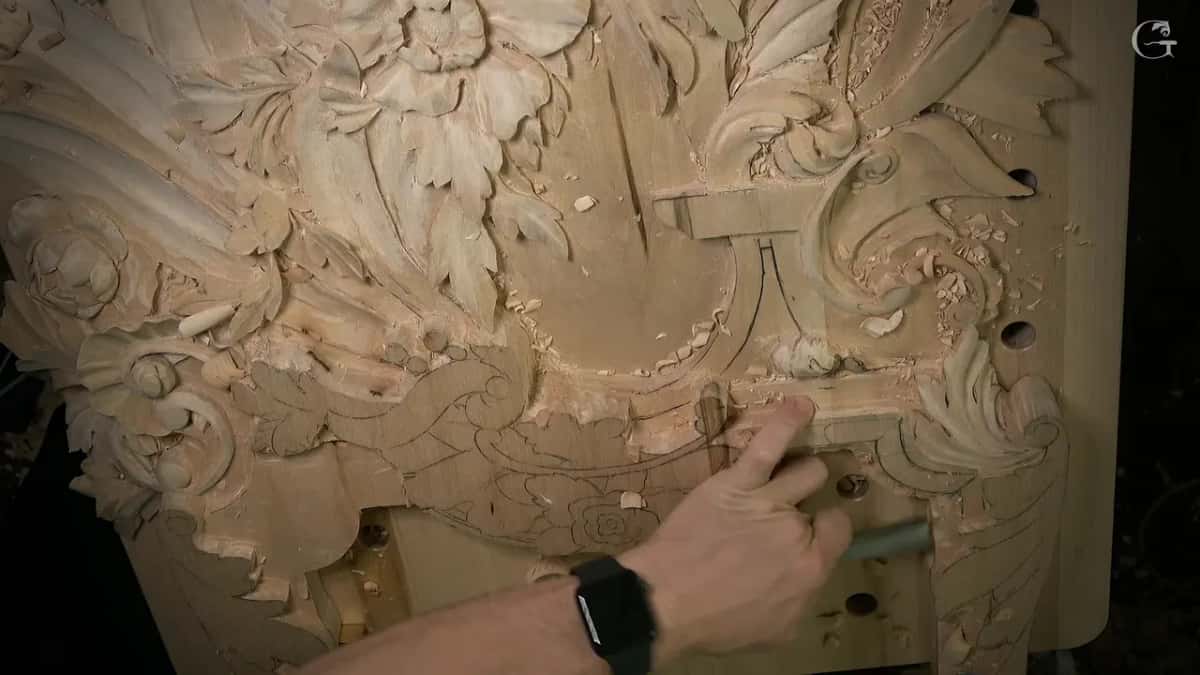
It was my last check that the molding sat right on its line, late in the work on one section. By then the hollow was close, and I looked and said it looks like I am pretty close to the line. Pretty close. Just to make sure that I was on the line, I took the number four and hit that clean.
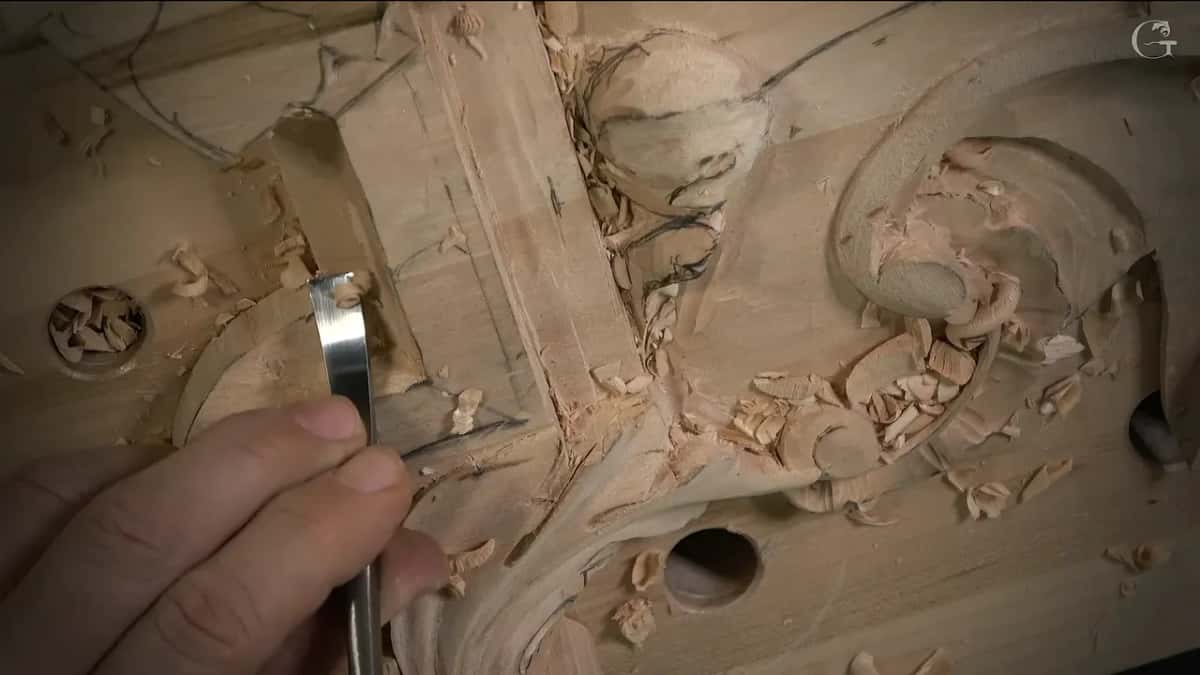
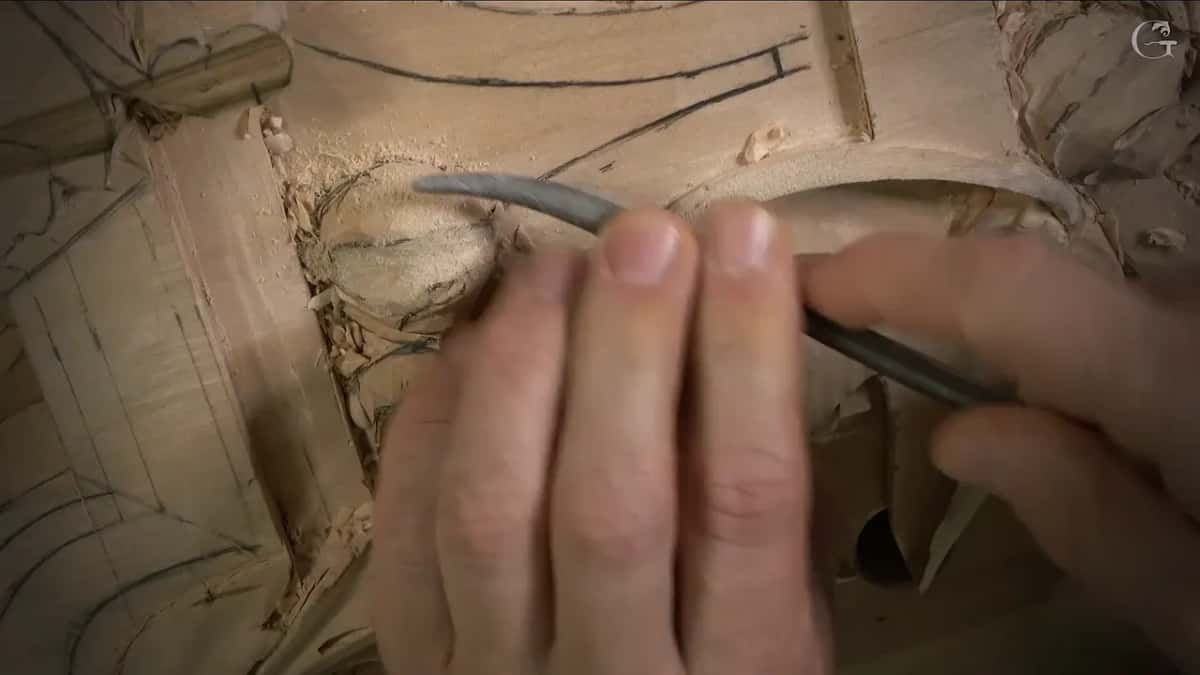
For almost half a minute the video has no words at all while it works. In the frames from that stretch the blade stands nearly upright, my fingers low on the steel, with a bench hole full of chips right beside it. Seven seconds apart, the frames show the blade high on the arc, then lower, then down near the bottom left of the curve. I did not say how wide that four was, and in the frames it looks narrow.
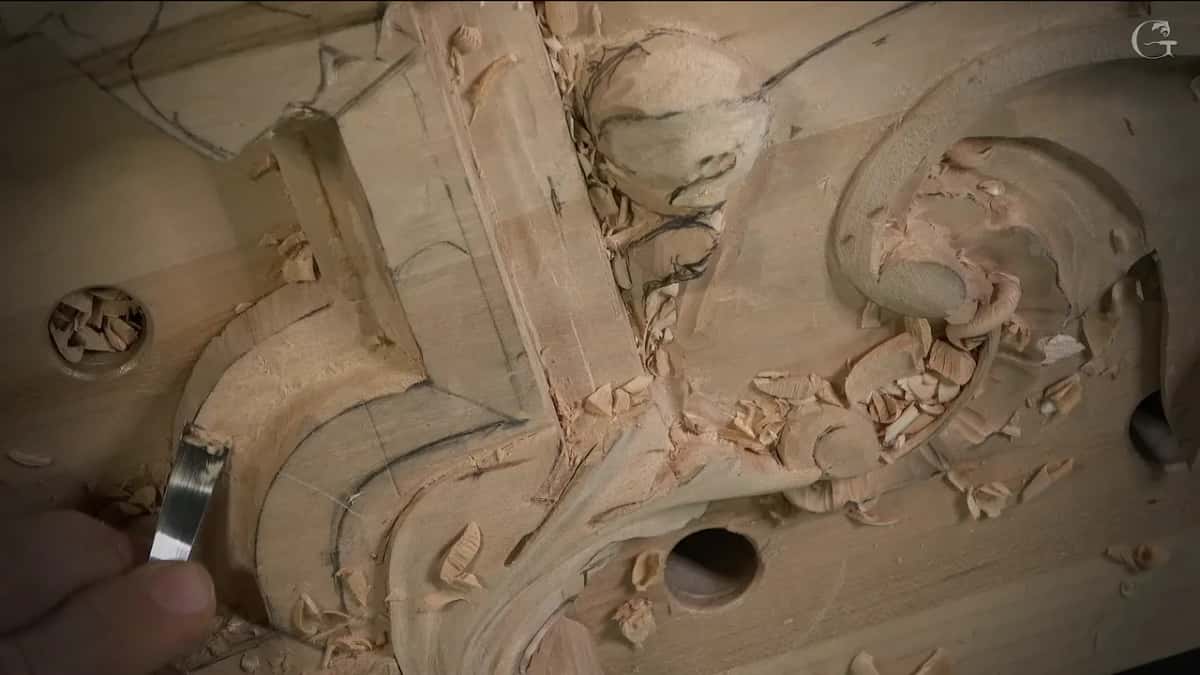
It has to be flat, I said. Then, right away, well, it doesn't have to be that tool, I could use a different tool. Less than a minute later I said okay, wonderful people, I am ready to create the first bead. That was the whole job for the four in 159.

What came before the four in lesson 159?
A lot of smaller work, most of it with other tools. Early in the lesson I was shaping a small rounded part, and I said make it just real smooth and nice, take all of those ridges, it's pretty much just about the shape in this case. It looks really good already, I said a little later.
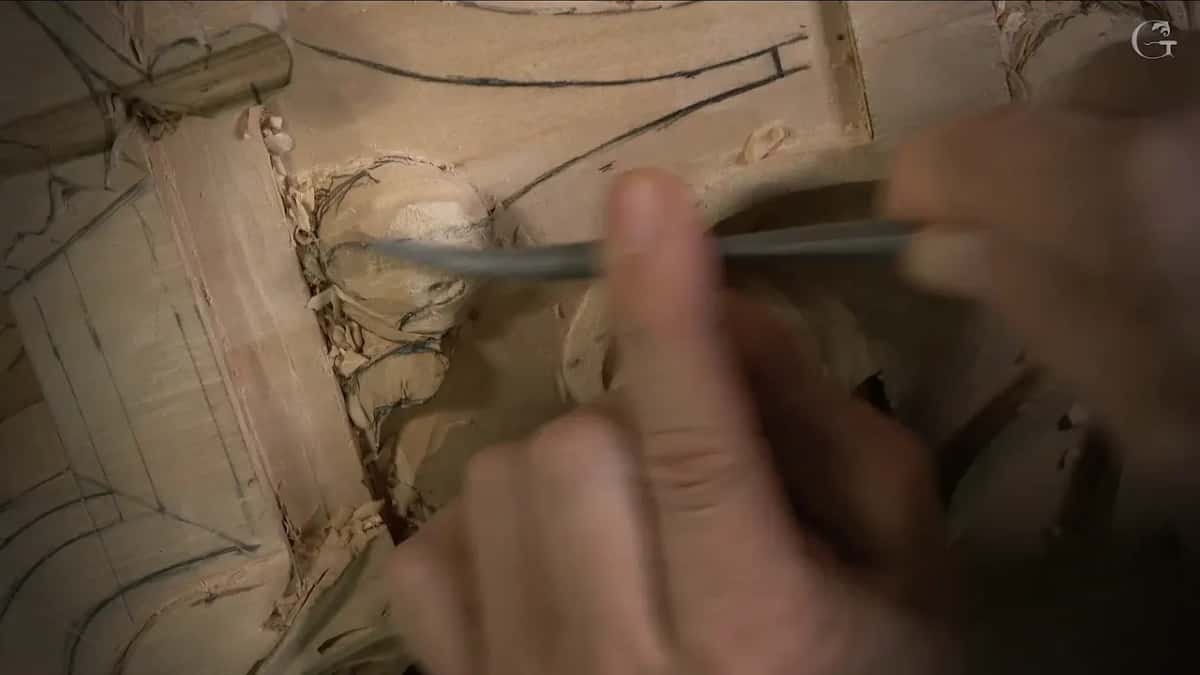
Later on I will create a small division on this little guy, I told you, but not yet, because I don't want to overdo it. From above it is just a small detail growing from underneath the molding and flipping one way.
Then I did one section of the molding, so you would understand how the rest of the run would look. For its height I said a ruler, small calipers or even a piece of paper would do, and my calipers page from lesson 131 tells that story. Nothing complicated about creating moldings whatsoever, I said there. It is pretty much just accuracy, and I have to be really accurate.

First the overall shape, then my details. Hold on, I said once, let me mark this side also before too far. A green mallet came out in the second part, and I went across the grain and chopped little by little. I did not want to make a mess, I said, and I have to keep an eye on my grain. It's a kind of tight area, but I should be all right.
The drawing had a concave that starts a little above the highest part of the convex, and number 11 gouges went into that hollow. I took a 7 mm one first, just over 1/4 in, and said it needed to be sharpened or buffed or stropped. So I stropped it, and carefully, without too much force, it went in. It gave a really good result, I said, and with it I got the inner section.
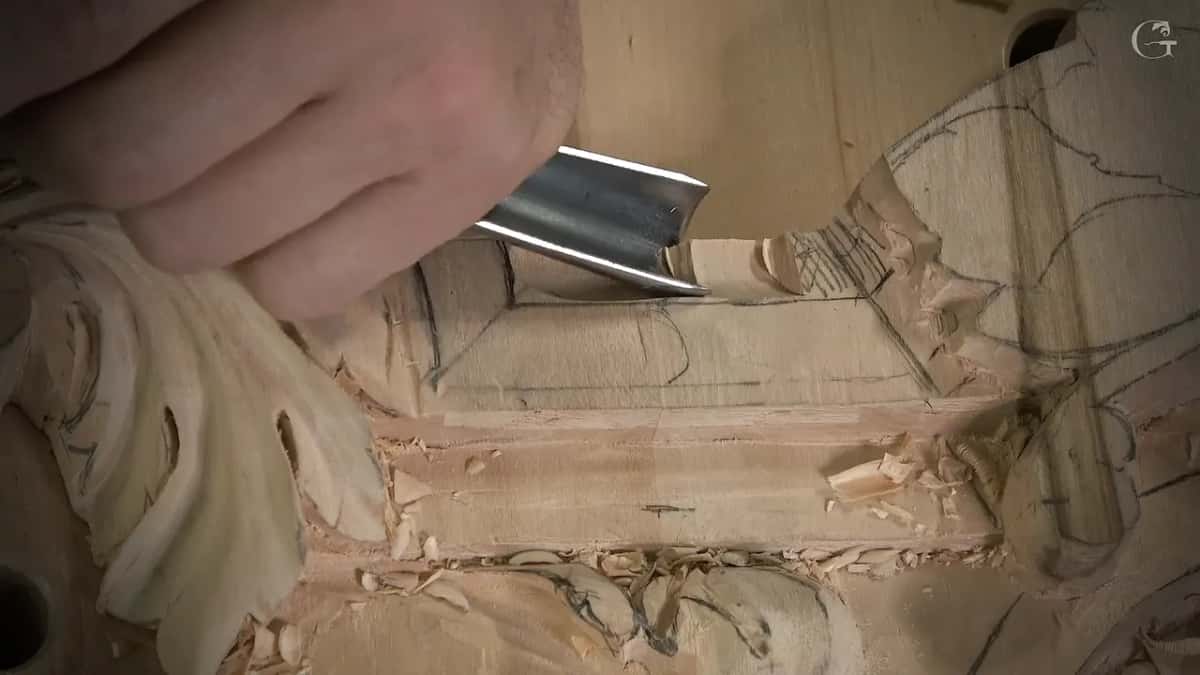
Maybe I should use a little bigger one, I said, and I thought so. Next I checked which number 11 would be the best for that profile, and a 12 mm one, about 1/2 in, went in to excavate a little deeper. Perfect, almost, I said. Part of it would be a lot easier to reach with some kind of spoon gouge, to get it right to the line.
So I named a spoon veiner of 12 mm or so, and then I checked whether the 10 mm would do it in a curvature like this.
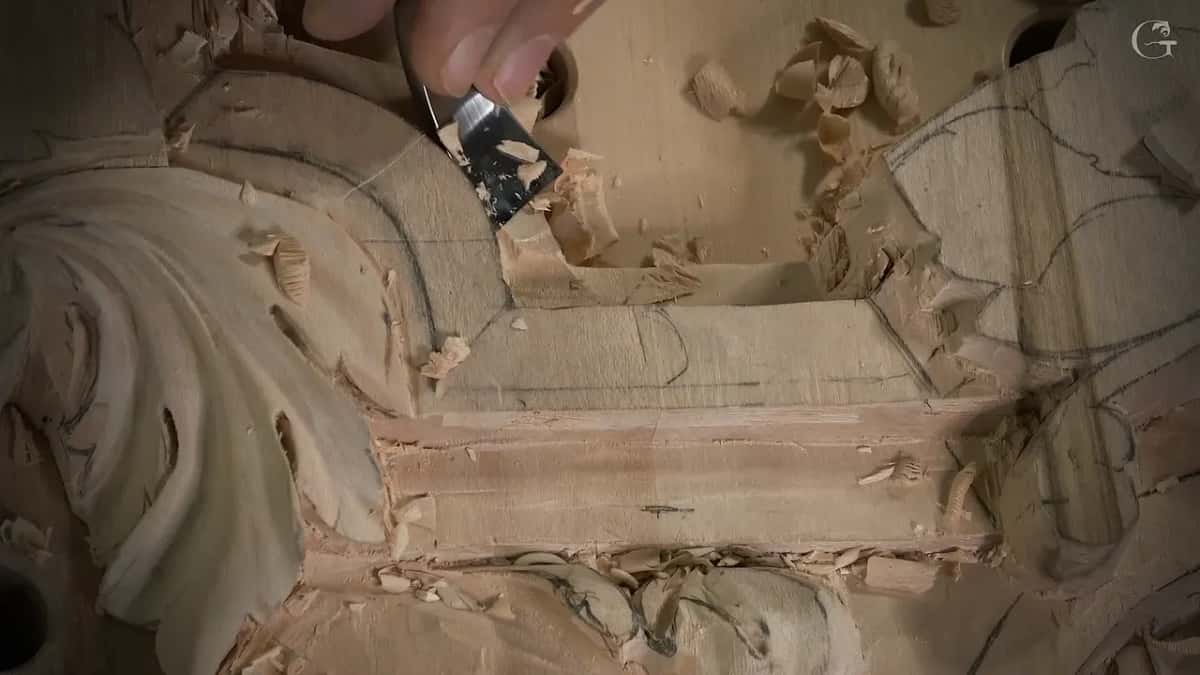
My apologies, I said at one point, you don't see what I'm doing. Carefully, carefully. I would not be really aggressive, I said, only remove whatever I don't need. After that came the four. Somewhere in there I also said sorry for the landscapers working outside.

Could a different flat tool have done the same job?
Twice, in lesson 159 alone. Right at the start, blending, I said any flat tool can do it, even with the number one, so you can blend both directions. Later, following a straight line with a number one with a single bevel, I said I could probably use the same tool and go around the perimeter, or use a number two on that curvature.
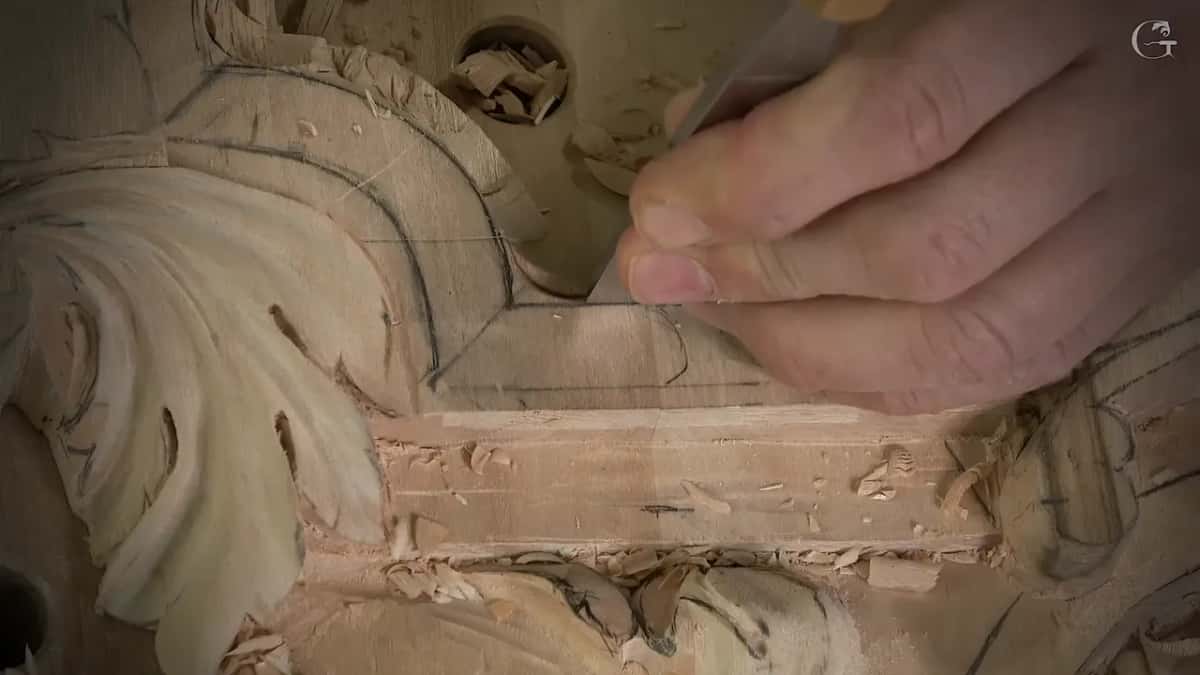
Important not to force it, I said while the number one was working. I didn't want to chip too much. Soon after I stopped, because it looked like I chipped too much in one of the points. Let me see if I see it or not, I said. I had not.
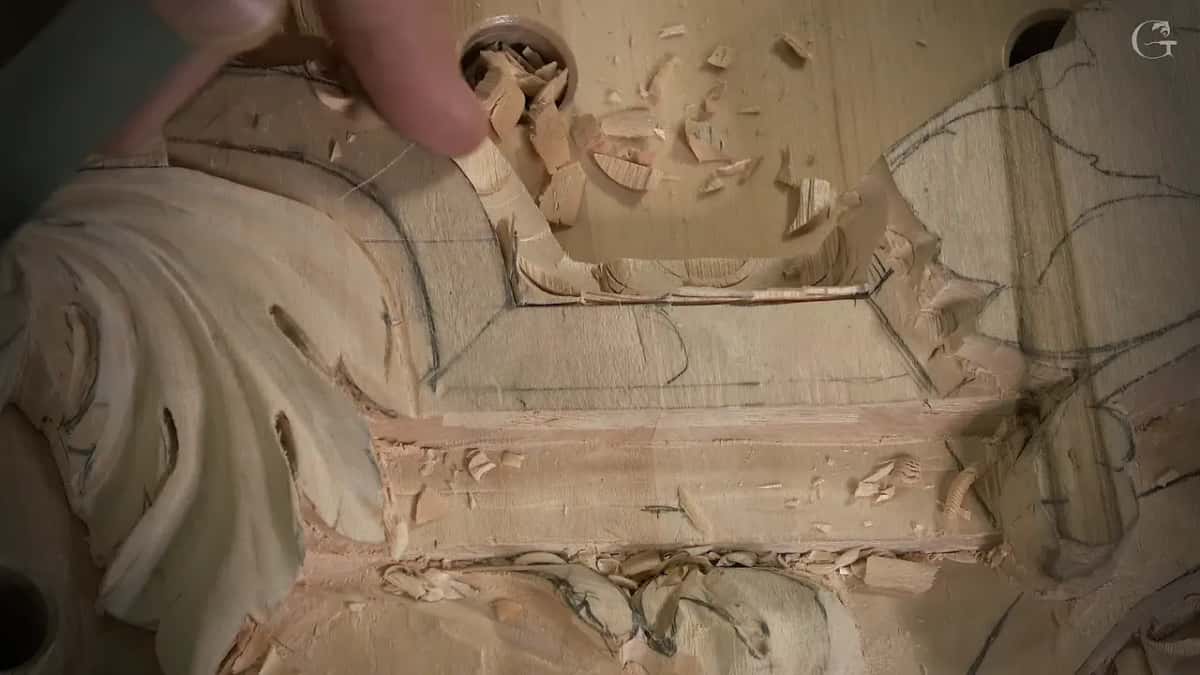
For one little section, which is like a miter, I took just a really tiny number one and hit it.
The same thing came up on a flower. Lesson 2 of my Chamomile and Bow Rosette course has one part that had to go almost all the way down, and I said that is at least what I think it should do. Not all the way, but still some kind of movements. With number three or number four or number five, you can do that, I said.
Three numbers for one part, all in one breath. My page on the #3 grew out of six jobs it did on one Venice ceiling, and the #5 page is about the gouge I kept reaching for on convex shapes, so those two sit on either side of this one.
Is one maker's #4 the same as another maker's?
More than once I stopped on camera to say that the number on one tool matches a different number somewhere else. Here are three of those moments.
During lesson 16 of my Roman acanthus course I used a number four, 10 mm (3/8 in), by Auriou, a French brand, and said this four by Auriou is equal to a number three by Pfeil, I would say.

On my lily box, fixing a background I did not like, I took an Auriou number four of 10 mm and said that, in my opinion, it looks more like a number three.
Then in class 12 of my Maine course on Grinling Gibbons I grabbed a number five by Ashley Iles and said it would be equal to a number four if it is a European chart.
So when this page gives a number, it is the number I said out loud that day. Where I named the maker, you get the maker too. And when I wanted a gouge to fit a line, I checked for one with the right profile, which is what the Greek acroterion below shows.
Do I ever get the numbers wrong myself?
On camera, more than once, and lesson 159 has two of them. Early in the third part I said number seven is perfect for that, then caught it. I'm sorry, number 11 in 7 millimeters, that's what I was trying to say.
So if you hear me call a tool one number and then another, the second one is the one I meant, at least in these two spots.
Later in that part I gave a depth of about two millimeters, stopped, apologized, and said it's going to be about six millimeters deeper from that point, roughly a quarter inch. Both slips are still in the video. I kept them on this page too.
When did a #4 fit perfectly and still stay on the bench?
On my Greek acroterion, in lesson 2 of that course. An acroterion is an ornament mounted at the top or the corners of a pediment on a classical building. I said this is one technique. I could use just a gouge, just to find the right profile for the gouge, and use that, so I checked if I even had one.
Close profile, I said, and then, this one fits perfectly. It was a number four by Ashley Iles. In the same breath I told the camera I was not going to use it, okay? Just a knife.
A four that fit perfectly, and a knife anyway.
Why would a carver want a #4 with a long bend?
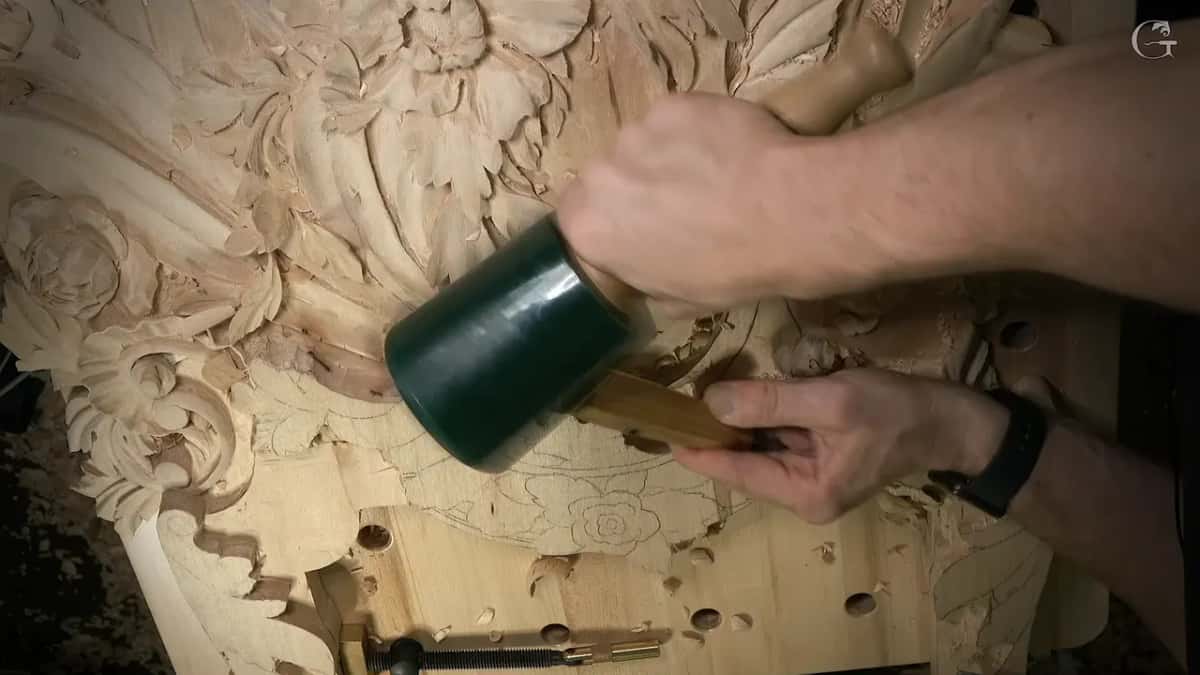
To stay above the work. In a livestream from April 2020 I said what I have to do now, I have to switch to a long bend tool and work that way. A long bend, I said, is just a tool with a really bent carving part, and it gives me the ability to stay above and not hit, with the handle, the parts already done.
And by the way, I told everyone watching, that is a number four long bend, and that's 25 millimeters, one inch. The widest four named on this page.
What did a #4 do on carved flowers?
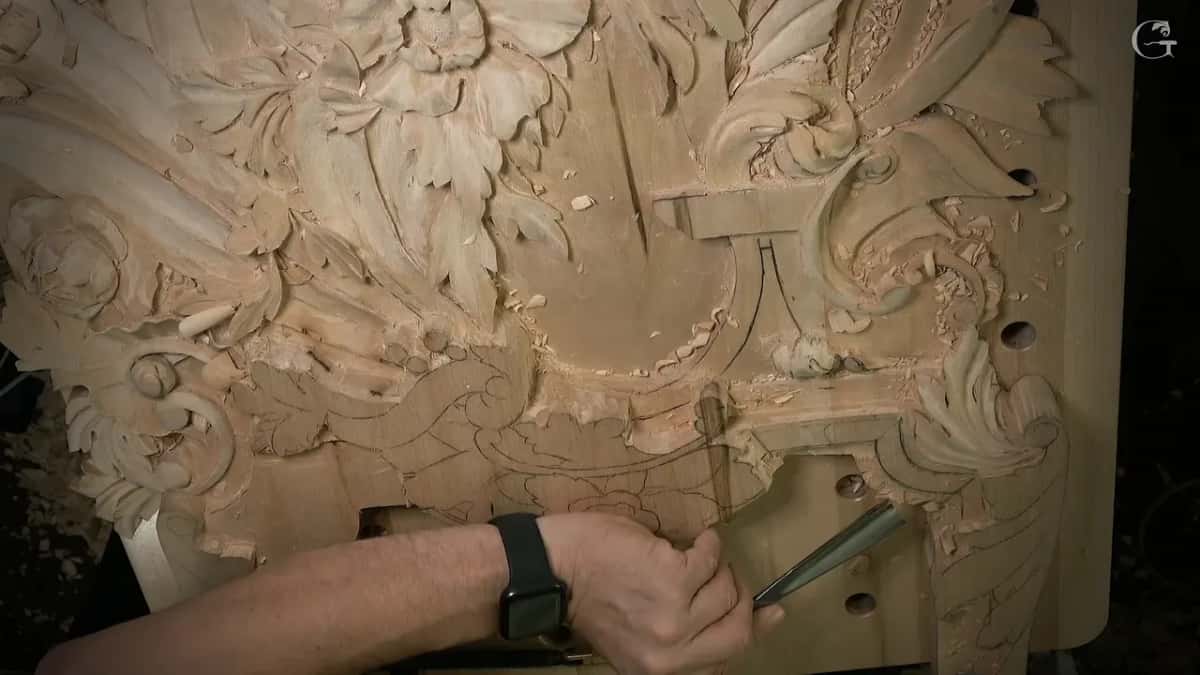
Small work. That course is a rosette of chamomile flowers with a bow. In its second lesson, early on, I said I'm just using different small tools. Whatever you have, you can probably use it. This one is number four. You can use number three and one-eighth of an inch, 3 mm.
Lesson 39 of my Hashemi flowers has a number four in my hand just for cleaning, and some undercutting also.
Five #4 moments, with my words from each
Here they are together, side by side with what I said on camera. Each row is one moment, and the last column quotes me.
| Where I filmed it | What the four did there, as the video shows | My words that day |
|---|---|---|
| Venice Room, lesson 159 | Came last on the molding, as the final check of the line | Pretty close, I said |
| Greek acroterion, lesson 2 | Fit the profile perfectly, then went unused while I took a knife | Just a knife |
| Chamomile rosette, lesson 2 | One of several small tools in my hand near the start | Different small tools |
| Same rosette, later on | Named beside a three and a five for one part going down | What I think it should do |
| Livestream, April 2020 | A long bend four, 25 mm wide, kept the handle above finished work | Stay above and not hit |
Where can you watch my #4 work?
Lesson 159 itself has it, in the last minutes of its third part. Part 14 holds the last eight workshops of the Venice Room, numbers 156 through 163, and 159 sits in the middle of them. The lesson is three parts of a little over seven minutes each, and the four comes out in the last one, after the elevens and the spoon veiner.
The rest of that molding comes in the later lessons of Part 14, and lesson 158 comes right before it. My page on the #6 in lesson 157 sits just ahead of that one in the room.
The room was copied out of Venice, as relief panels. The lessons open with tuition to the school, paid monthly or yearly, and it renews automatically until you stop it. That same tuition opens the chamomile rosette, the Greek acroterion and every other lesson linked on this page.
Want to see the four go over that molding? Hear me say, right after, that a different tool would work? Lesson 159 has both.
How it's done
- Bring the profile close first. In lesson 159 two number 11 gouges went into the hollow first, then a spoon veiner, until it was close to the line.
- Look at how close you are. I stopped and said it looks like I am pretty close.
- Take the #4 for the last check. I took the number four for that one check.
- Give the spot a clean hit. The video goes quiet for almost half a minute while the four works on it, with no talk over the top.
- Keep it flat, or change tools. Flat, I said, and then that some other tool would work.
Frequently asked questions
Why bring out a #4 at the end of a molding?
To be certain of the line, in lesson 159. My elevens and a spoon veiner had taken the hollow most of the way, and I said I was pretty close. The four worked there a short while, and soon after that I said I was ready for the first bead.
Can a #3 or a #5 stand in for a #4?
On one chamomile rosette part I named all three numbers together, for the same part, one that goes down deep. The acroterion course shows the other side of it, where an Ashley Iles four matched the profile and I still reached for a knife.
What is a long bend #4 good for?
Keeping the handle up. During an April 2020 livestream I switched to a 25 mm long bend four, one inch wide, since its bent blade let me work over the top and not hit, with the handle, the parts I had already carved.
What to carve next