
Alexander Grabovetskiy, woodcarver, School of Woodcarving · Published 2022
What does blending mean in wood carving?
Quick answer: Blending is the stage where a flat gouge softens the ridges once the carved form is right. In workshop 158 of my Venice Room I settled the pipe first, then went over it with an 8 mm number two, and quit when further passes would only add facets.
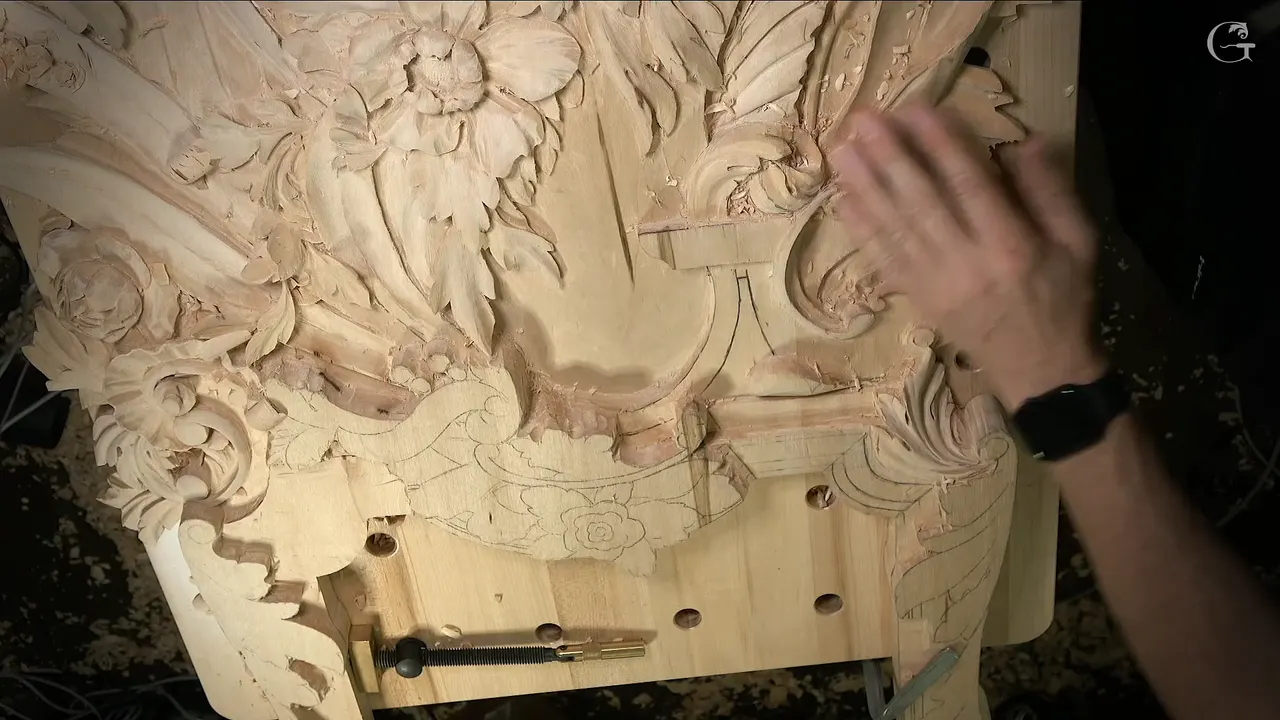
Blending in wood carving is the pass that comes after the shape is settled, when a flatter gouge goes back over the ridges and makes the lines softer. During lesson 158 of the Venice Room I carved the concaves for a pipe, and once the shape suited me I picked up a number two gouge of 8 mm (5/16 in). Blending came next. I kept at it until more blending would only have made more facets, and that is where I stopped.
Have you ever run your fingers over carved wood and felt little ridges? Would you rather see one smooth turn than a row of sharp lines? Then this is the pass worth learning, and one short lesson shows all of it, the first stroke and the spot where I quit.
Workshop 158 leads here. My words from five other courses fill in the back half, each one named and linked where I use it, so you can watch the moment yourself instead of trusting my summary of it.
Blending in lesson 158, short and plain
- I started blending once the pipe had its shape.
- A number two of 8 mm handled part one, and I said any size on my bench would do.
- For the next leaf I said a number three, somewhat flatter, could take the same pass.
- Facets told me when to stop.
- On one tray the blending came first, before chopping close to the design line.
- Some of the cleanup happened off camera, because there was nothing special in it.
What does blending mean in wood carving?
Blending means taking a ridge down until the surface is smoother and the lines are softer. Those are nearly my own words from part one of lesson 158. I said I wanted it a little more smoother, with more softer lines. That was the whole aim.
My chamomile rosette puts it another way. The next step, I said there, was to make it really nicely transitioning downhill, so I needed to knock some of the edges, not the edges exactly, but whatever you call that. Then I said to blend it all around, just like that.
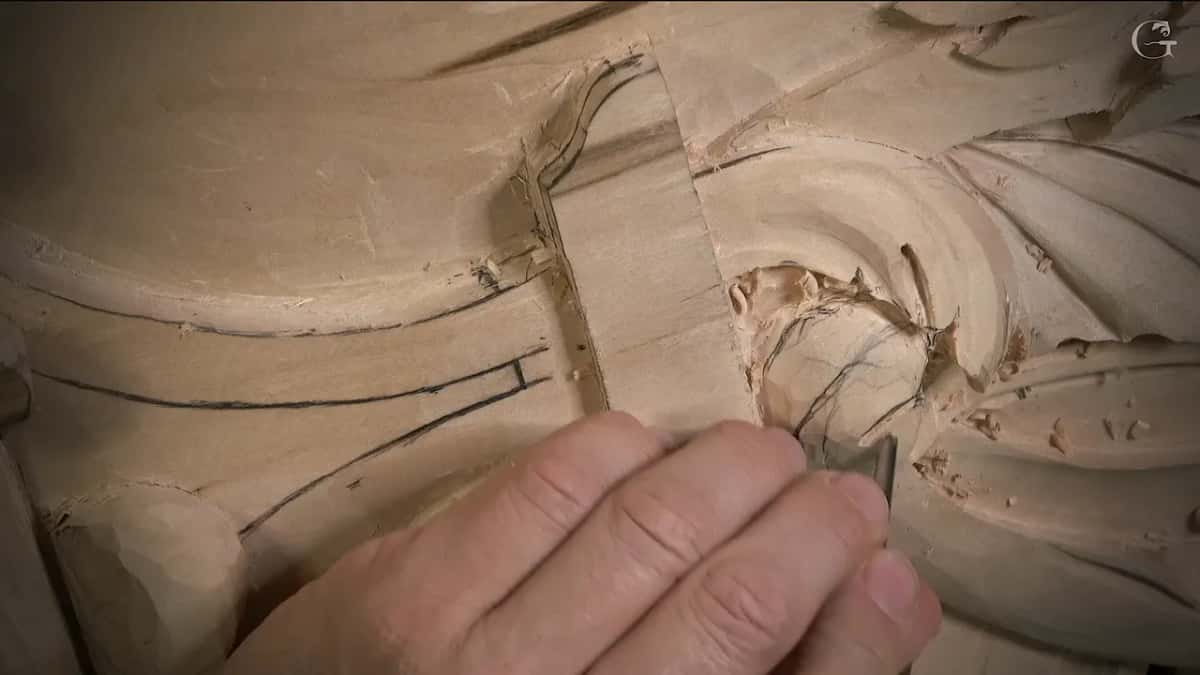
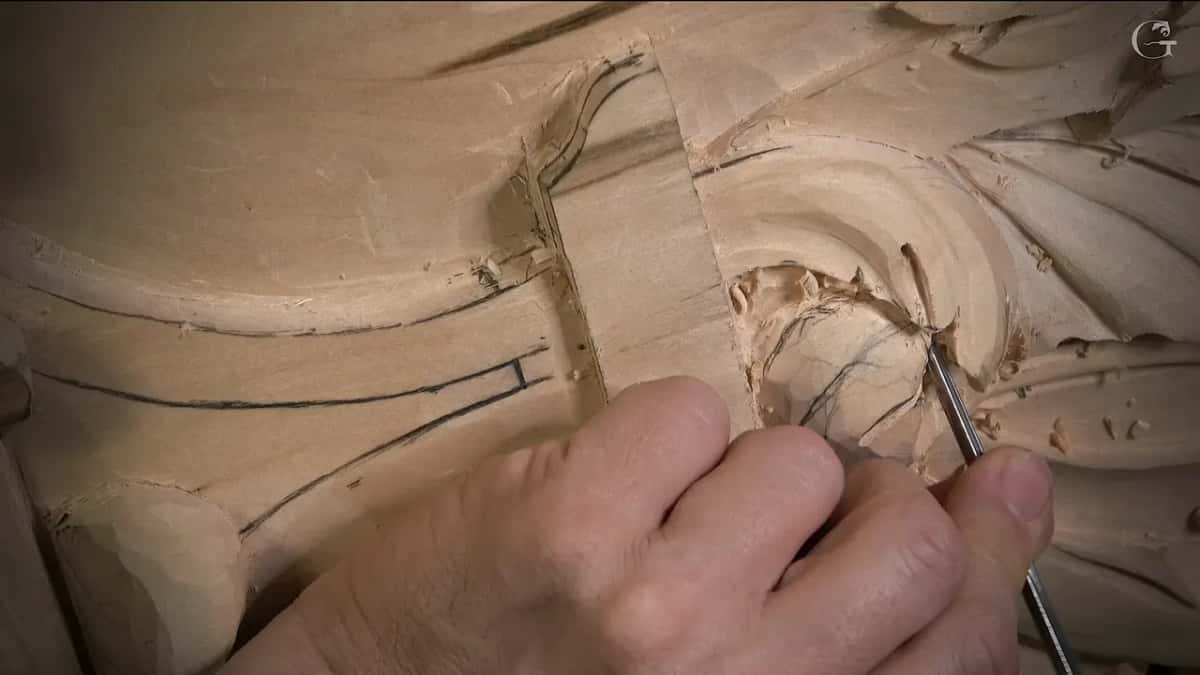
The very first thing I did in that part was blend. Let's blend this area, I said, and took a 1 mm tool, about 1/32 in, right away. Less than a minute later it was let's blend this ridge.
Inside the eye of the leaf I wanted something else, a dark shadow. A number nine of 2 mm (about 5/64 in), then the 1 mm behind it, took away what I didn't need, and twice I said it was giving me a beautiful shadow.
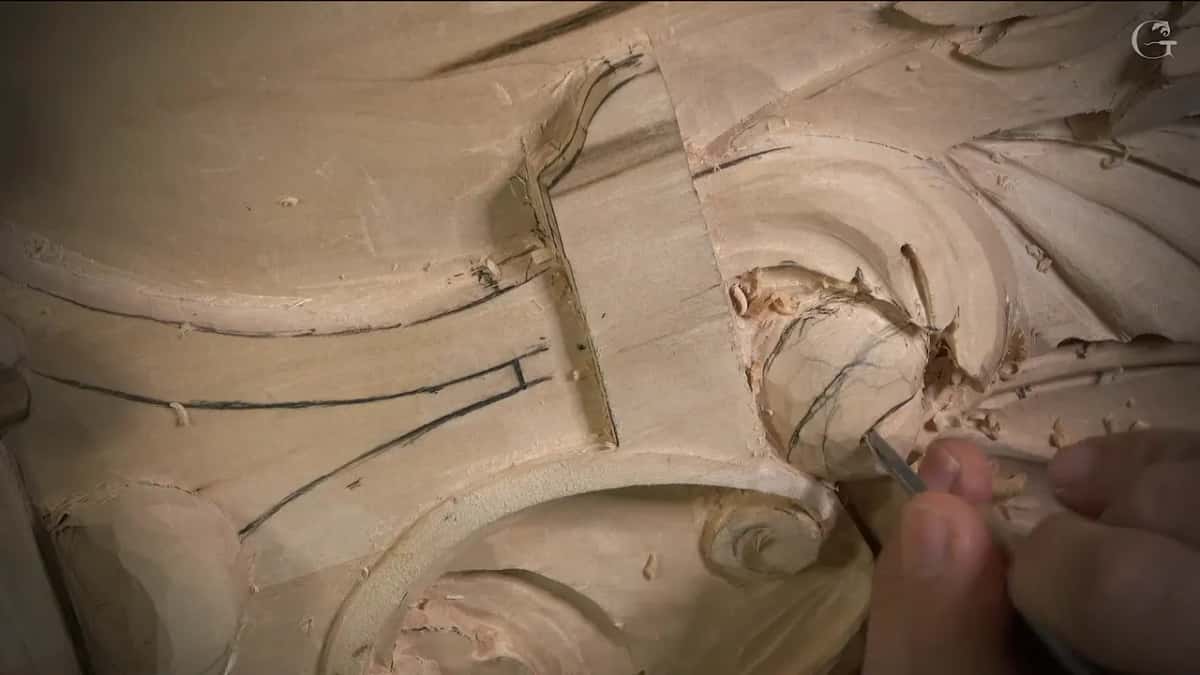
When did the blending start in lesson 158?
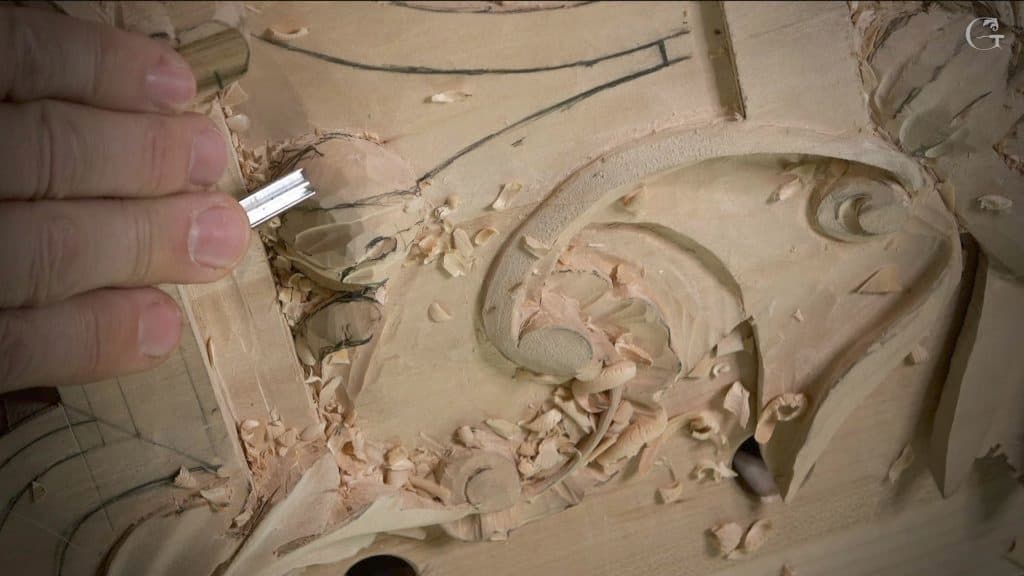
After the pipe. I took a number 11 of 5 mm (3/16 in) and started my excavation, one concave running from all the way over here toward the center, and then the opposite way. I wasn't 100% sure of the path, and I said it out loud: maybe the second concave should come over more like that. So that's what I did.
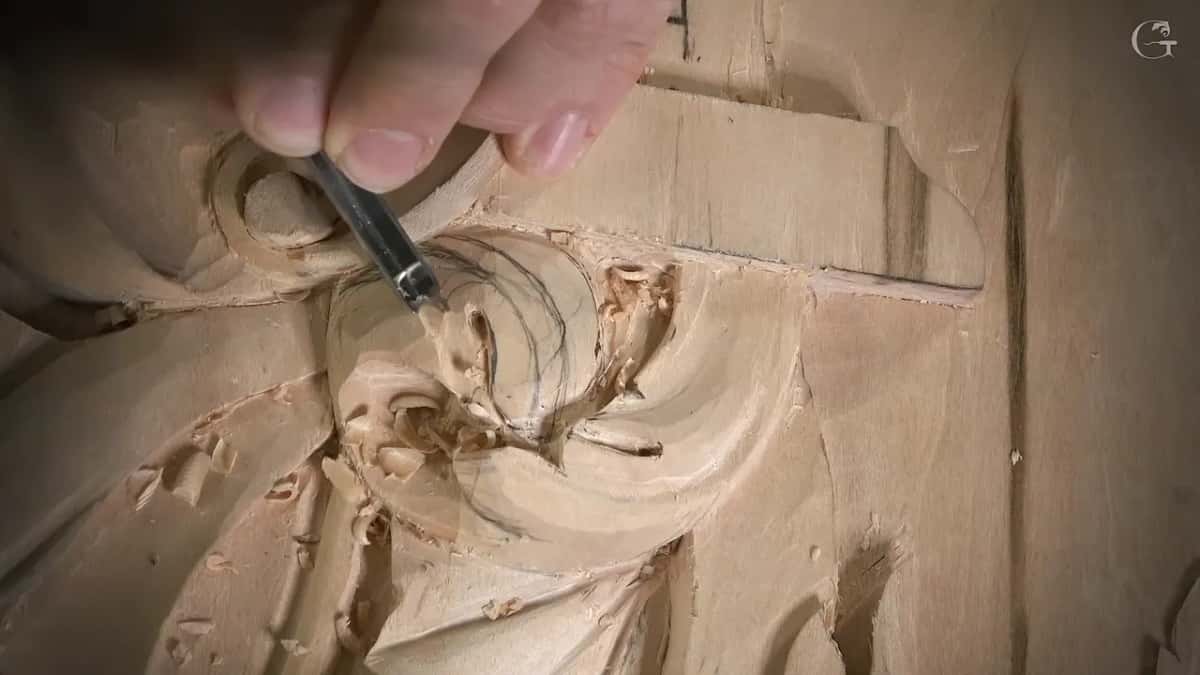
Hopefully you can catch what I'm doing, I told the camera, and I showed the pipe from above. Then came the line that started the blending. Now I need to just take care of blending, I said, and as far as the shape, I'm happy. One more concave went in on the other side first, so the piece would be somewhat finished, 3D shape-wise, and only after that did a flatter tool come out.

Which gouge did I blend with?
Number two, 8 mm wide. In the same breath I said it doesn't have to be eight millimeters, by the way, it's just whatever is on my workbench.
Both sides got blended after that, and I said one more spot needed to be blended also. A few minutes on, a 7 mm number 11 (just over 1/4 in) came out to get rid of some mess, and I noticed my seven millimeters looked like it needed to be sharpened.
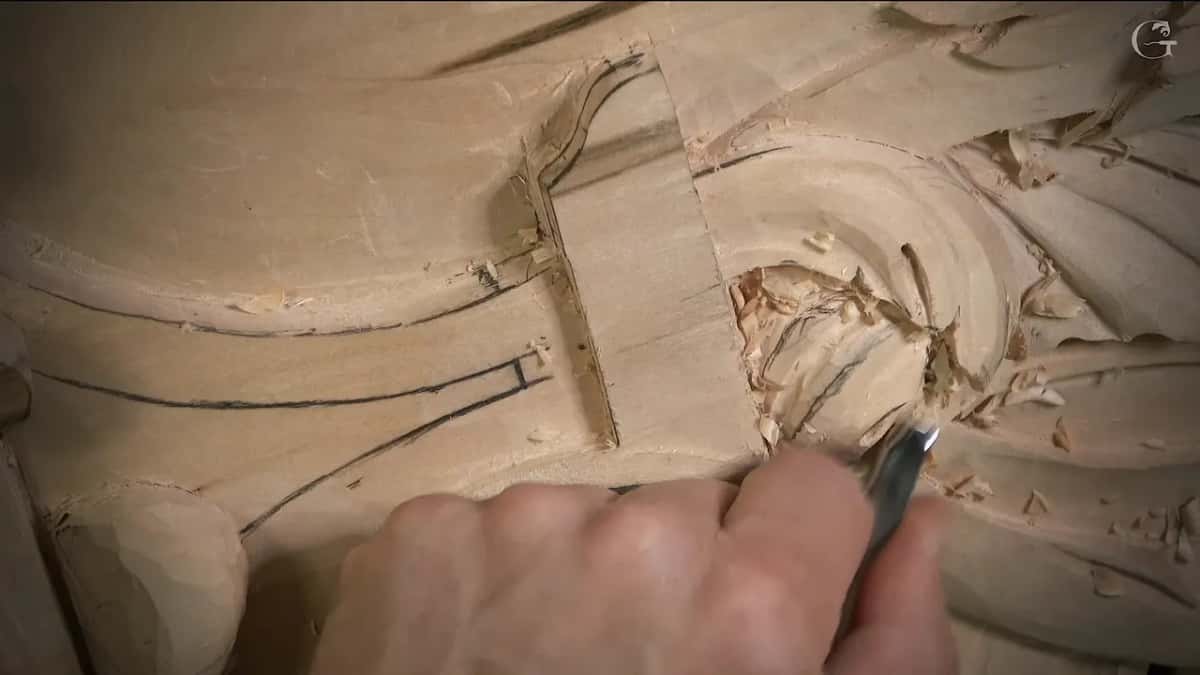
Part three gave a second answer. There I blended with the number two again and said you could use a number three, a somewhat flatter gouge. Part two had number twos as well, first a small one of about 8 mm, then a bigger one of 16 mm, my 5/8 of an inch, or even 20 mm (about 3/4 in), but those two were for rounding the leaf up.
When do you stop blending?
When more passes would just add facets. About six minutes into part one I said that is probably the extent I want to take it, so I don't want to create any more facets or anything, just the blending to make it a little smoother.
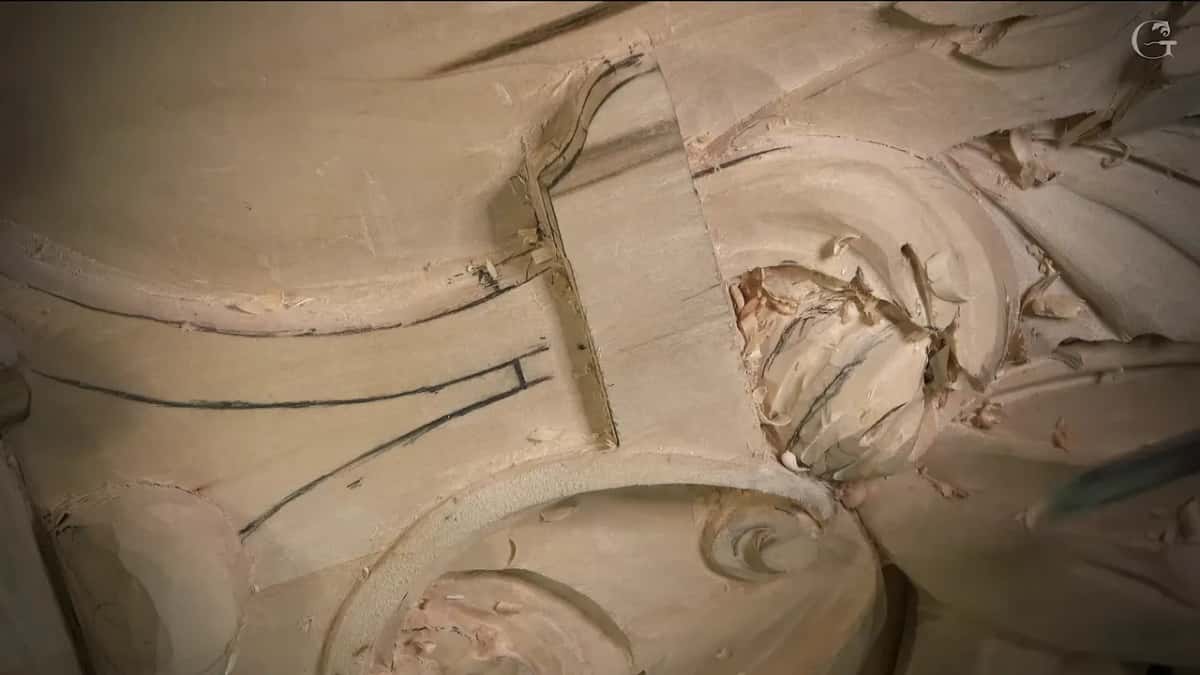
Over in Modern Acanthus, lesson 7, my goal was blending everything to the movement we had already established, with a #2 or #3, working with the grain as much as you can. And then I added, you start blending, but don't overdo it.
Why leave part of the blending for later?
It shows in part three. After I outlined a little acanthus with a 7 mm, I said that obviously I have to blend a little later, take out this ridge and blend the whole section, but I am happy with the overall movement.

The Chamomile and Bow Rosette gave me a reason too. I blended there with a knife. Because I used the knife, I said, I could still see the line it had left before, and that's why I didn't blend it earlier, since for me it's a lot easier to identify those lines.
Carving Hazelnuts gave another. There, in lesson 4, I wanted the shape even more flowing, and I said later on I'll be able to blend it better, because right now I do have a big chunk on my way. A moment later I said it was probably a good idea to stop chopping that side.
In the furniture panel, lesson 20, I put it this way: until I develop that part, I want to make sure it looks good, and then I'm going to blend together how it's going to go overall.

Does blending ever come first?
On the Tray of Blessing it did. I was chopping little by little on that Cabernet Sauvignon tray and said don't go too deep, because you really need to blend that first, the dish or platter or whatever you call that thing. That way, I said, I can get pretty close to my design line.
So the blending came before the line there, the reverse of what lesson 158 shows.
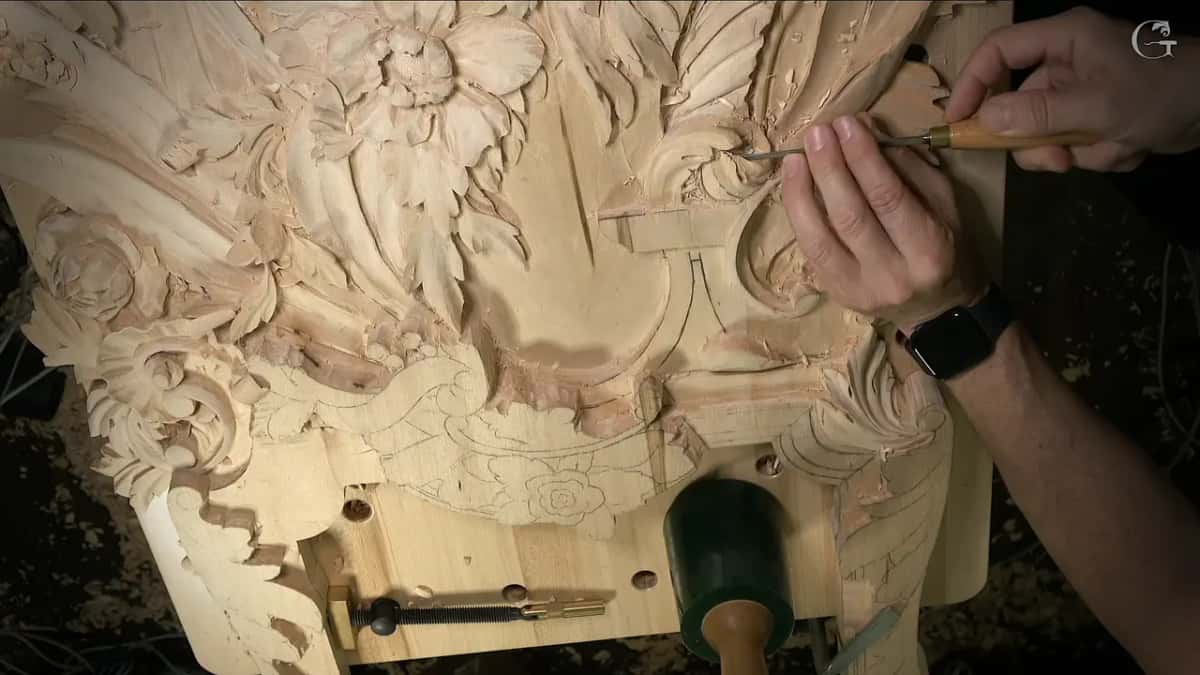
Is blending the same thing as cleanup?
In 158 they were two different moments. Blending happened on camera, and at the end of part one I showed the leaf from above and said a lot of cleanup needs to be done yet, and some of it I'm not going to do on a camera because there's nothing special.
Part two opens the same way. I'd continue to excavate that area off camera, I said, with a number nine of 1/8 of an inch, little by little, deeper and deeper and deeper, and there won't be anything special in it. Removing all that mess and making it smooth would happen off camera too, and then I wanted to jump and create the next movement.
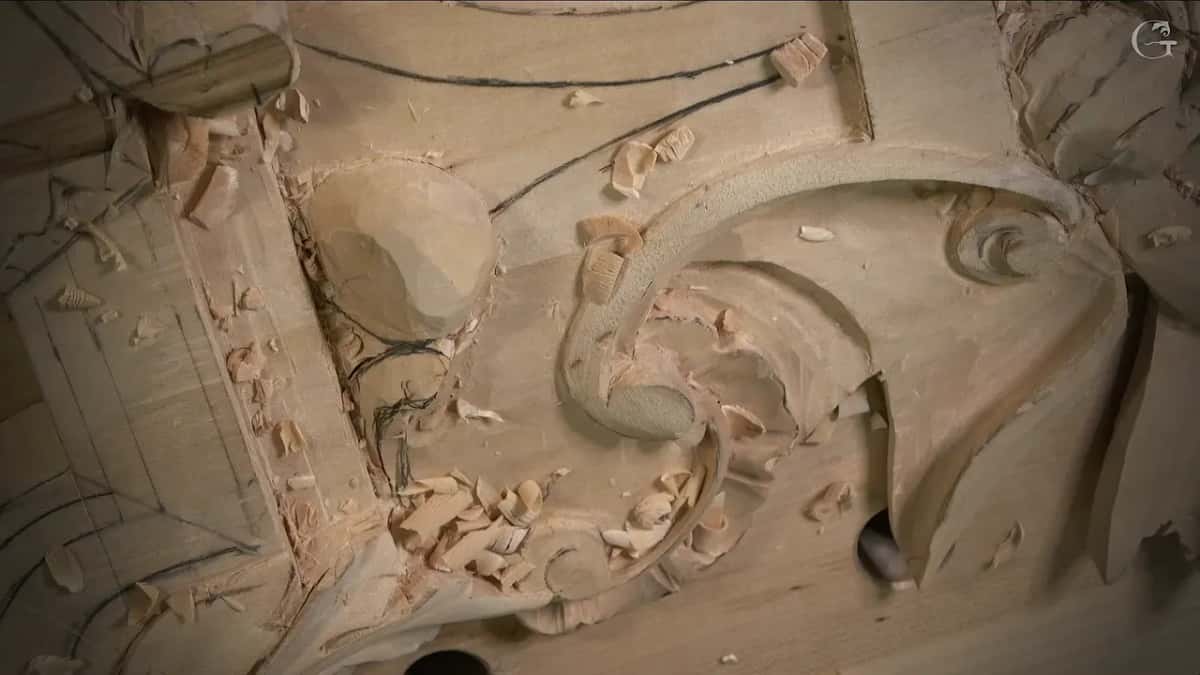
In that same Modern Acanthus lesson I said cleanup is the same operation, one that doesn't create any form, and that it takes sometimes much longer to clean all of those facets than to carve the whole thing. Longer than the carving. Two jobs, then, the way I worked that day. When cleanup belongs in the order of work has its own page, so I'll leave that question there.
What do my other lessons call it?
Mostly blending. On the lily box I said I call it blending, maybe not the right term for some of you, but exactly what it is, and that I could use a number one, a double bevel, for it.
Hashemi Flowers, lesson 48, is where I said rough marks create too sharp of a shadow. I was going to blend them, like a soft transition.

For the upper acanthus of the furniture panel, when a transition looked wrong to me, I said I can always create a blending cut, and right there it has to just kind of die in. And in the Grinling Gibbons class in Maine I said even if I go to blend those ridges, it's still going to be readable.
A razor blade on the ridges is another way to do it, and it has a lesson of its own.

How does blending fit the rest of lesson 158?
Between the bigger moves. The movement I jumped to in part two was just another acanthus movement, I said, divided in two, with a small part, and the rest wrapping downhill and then backward. Before starting I stopped to think about the best way, and said I really don't want to overcomplicate things.
I had to be careful there. Maybe it's a good idea to relieve it first, I said, and I made a relief cut with the number 11, then rounded the shape with the bigger number two. Maybe I have to take this down a little bit, I said next, because I need space for excavation of the side of it, and a 7 mm gouge, number 11, started excavating right underneath.
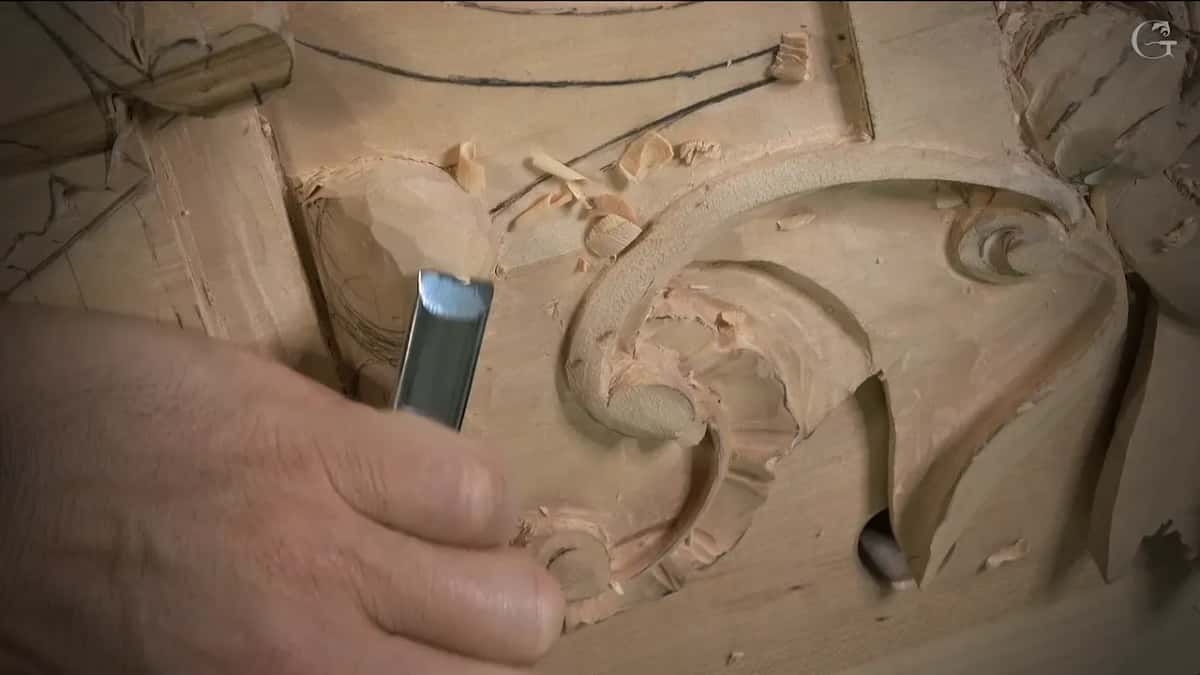
Right after that I said I might need to round it a little more this way, otherwise it's not going to look as organic, and blend that way also. A 3 mm number 11 (1/8 in) carried the excavation on. That is wonderful, I said, except now I need to take care of that small detail, and I want to figure out what I want to see. The number two came back to blend in one direction.
At the end of part two I said I could do something else there if I wanted to, or a small leaf, and that I'll probably do a small leaf.
What happened on the new leaf in part three?
The same rhythm. A smaller number two went right on the line. Let me think, which one, I said, maybe even just 5 mm. It went in, and I kept it shallow, because logically that piece is supposed to be part of this movement and I didn't want too deep a hole. All right, that is good, I said once the line was in.
When you look from above, I said a little later, it should look much better than from an angle, and from above it should make sense. Then came the center of the acanthus with its division. It is simple, I said, but still it should look beautiful, and that division is going to roll right underneath.

The eye of that leaf took a 2 mm. A bigger one would do, I said, but 2 mm will work, and I outlined a letter S movement right away. Then the pipe, a number 11 of 5 mm from the middle, one concave and then the other, exactly the same as I'd done with all of my acanthuses in this project. This section I can chop off a little more, I said, and the second concave went in carefully. My last words in part three were that now it's just about blending, pretty much.
Blending across five lessons
Here is what I said about it in each place, with the tool I had in hand.
Lesson | Words | Tool | Point |
|---|---|---|---|
Venice Room 158 | as far as the shape, I'm happy | number two | then I took care of blending |
Chamomile, lesson four | I can do that with the knife | a knife | old lines stay easy to see |
Hazelnuts, lesson four | I'll be able to blend it better | still chopping | a big chunk in the way |
Tray of Blessing | you really need to blend that first | the dish | then chop close to design line |
Modern Acanthus 7 | blend everything to the movement already set | #2, #3 | start blending, but don't overdo it |

Where does lesson 158 sit in the room?
Near the end. Workshop 158 is the third of eight in Part 14, the last part of the Venice Room, and the course page for Part 14 tells the bigger story around them. The twelve workshops before it sit in Part 13, where the molding of this room was copied.
This is wood carving on a relief panel, one gouge at a time, the smallest of them 1 mm. Each of those parts runs about seven minutes. Every pass of lesson 158 is in them, and the whole school opens with tuition, monthly or yearly, renewing automatically until you stop it.
How it's done
- Settle the shape. Lesson 158 had me finish the concaves of the pipe and call the shape somewhat finished before any blending started.
- Pick up a flatter gouge, a number two. Mine was 8 mm, and I said any size from the bench would do. Part three added a number three as well.
- Blend each side. I blended one area, then the other side, then the spot I said needed blending also.
- Stop before you make new facets. Once the next passes would only bring more facets, I said that was the extent I wanted to take it, and I stopped there. Some cleanup I left for off camera.
Frequently asked questions
Which gouge do you blend with?
My number two of 8 mm (5/16 in) blended the first part of Venice Room 158, and I said on camera it didn't have to be that size, just whatever was on my workbench. Later in the same lesson I named a number three, somewhat flatter, as another choice.
Can you blend a carving with a knife?
Chamomile and Bow Rosette is where I did, and the knife had one advantage I pointed out. Its earlier line stayed visible, so I held the blending back until after, because those lines were a lot easier for me to identify that way.
How do you know when to stop blending?
Part one of lesson 158 ended its blending once more passes would add nothing but facets, and I said that was probably the extent I wanted to take it. On Modern Acanthus I said not to overdo it, and to blend toward a movement already set.
What to carve next