

Alexander Grabovetskiy, woodcarver, School of Woodcarving · Published 2022
How do you know which wood is waste when you carve?
Quick answer: Waste is the wood a design has no job for. In lesson 156 of the Venice Room I called it junk, then corrected myself: waste, that's what I don't need. The center line, the middle movement and both leaf divisions stayed on, because I said I wanted to keep them.
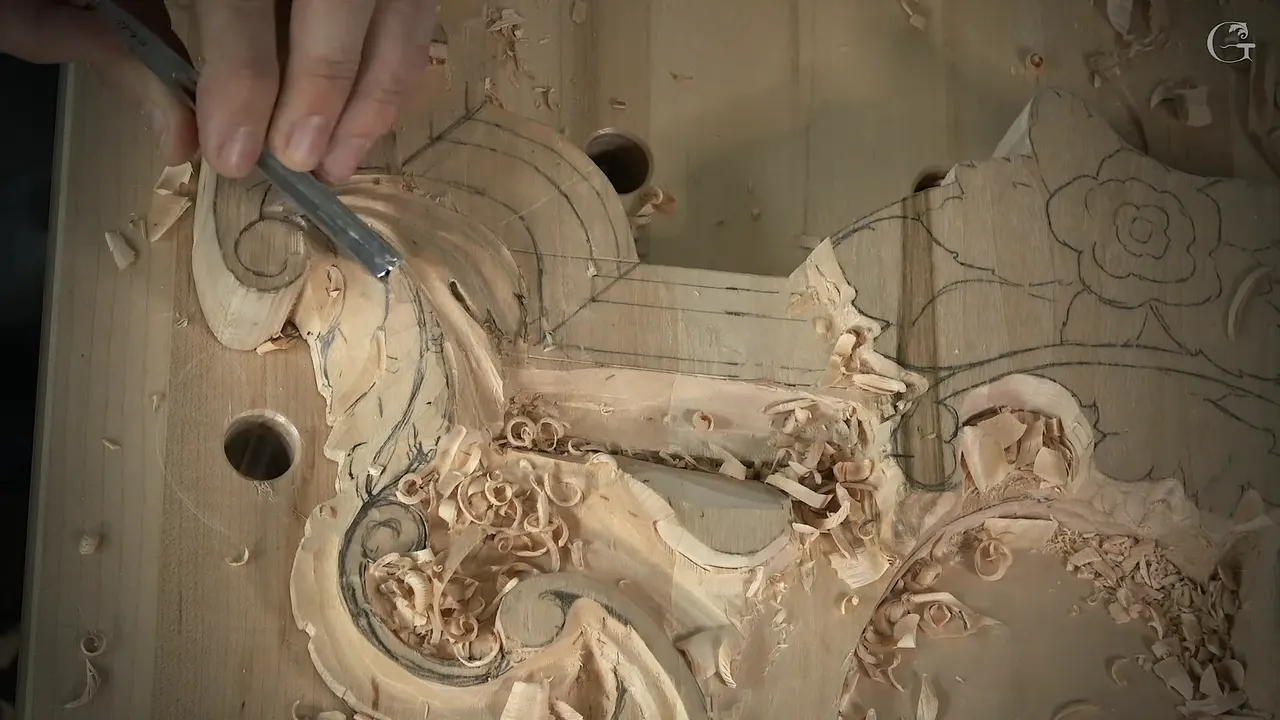
Wood carving waste is any wood your design has no use for, and in lesson 156 of the Venice Room I said it in almost those words. I had just taken one side of an acanthus leaf down and put a division back in. Take out all that junk, I told the camera, and then I fixed my own word. Not junk. Waste. That's what I don't need. Three things on that same leaf were never in danger while it came off: the center line, my middle movement, and both divisions.
Have you ever stood in front of a carved leaf and asked yourself how the carver knew where to stop? Does a chip on the floor look to you like a small decision? It is one, and this page answers it the way I answer it at the bench, with what stayed on in lesson 156 and what I called waste in nine other lessons.
Lesson 156 is short. Three parts, about 22 minutes, and most of it is carving with very little talk. So the back half of this page is borrowed from other courses, and each borrowed line is named and linked right where I use it.
The short version from ten lessons
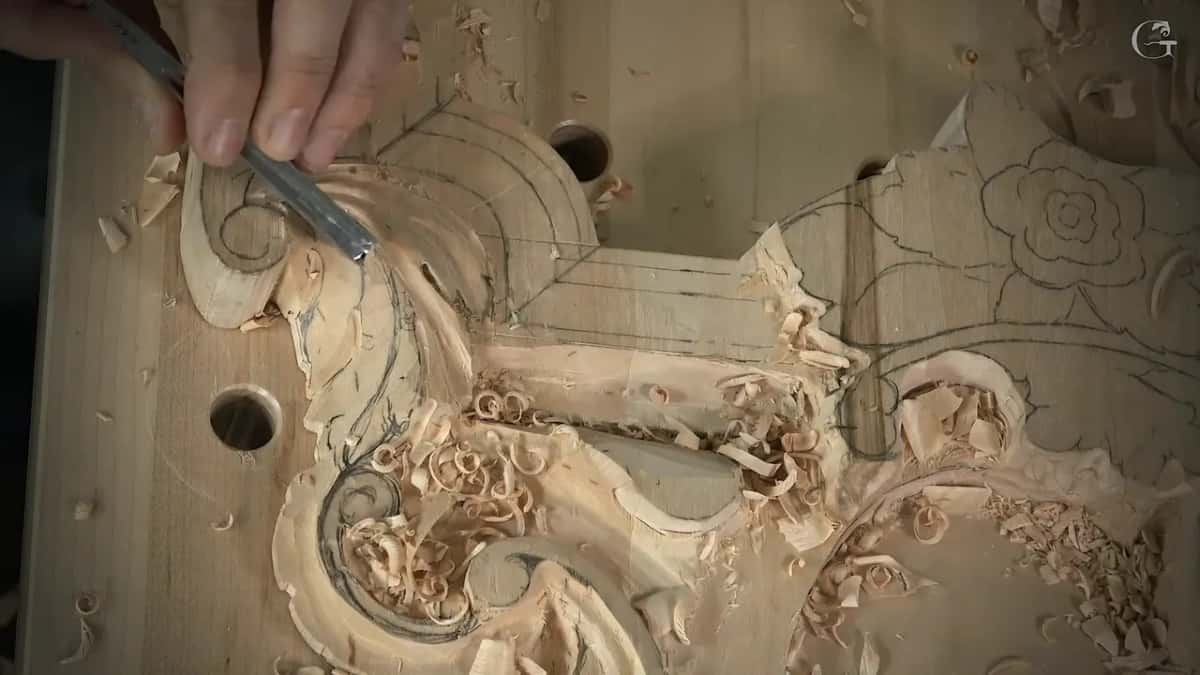
On a leaf I kept the center line and the divisions, and said I didn't need a ridge or some sharp edges.
Space left outside a V-tool outline comes off later.
Around a chamomile flower I checked the depth first, 10 mm or so (3/8 in) deep, and marked a line around it.
A smaller tool goes in where the waste fights.
Waste comes out in stages, and on one rosette I said more could come off later.
What did I call the waste in lesson 156?
Junk, at first. Part three starts with one side of the leaf going down, nicely blended, and my division going back in. Next came the line about the junk, and right after it I took it back. I shouldn't probably say it is junk, I said, but you know what I mean.
I didn't give a reason for the change of word. What I did next is the better answer anyway.
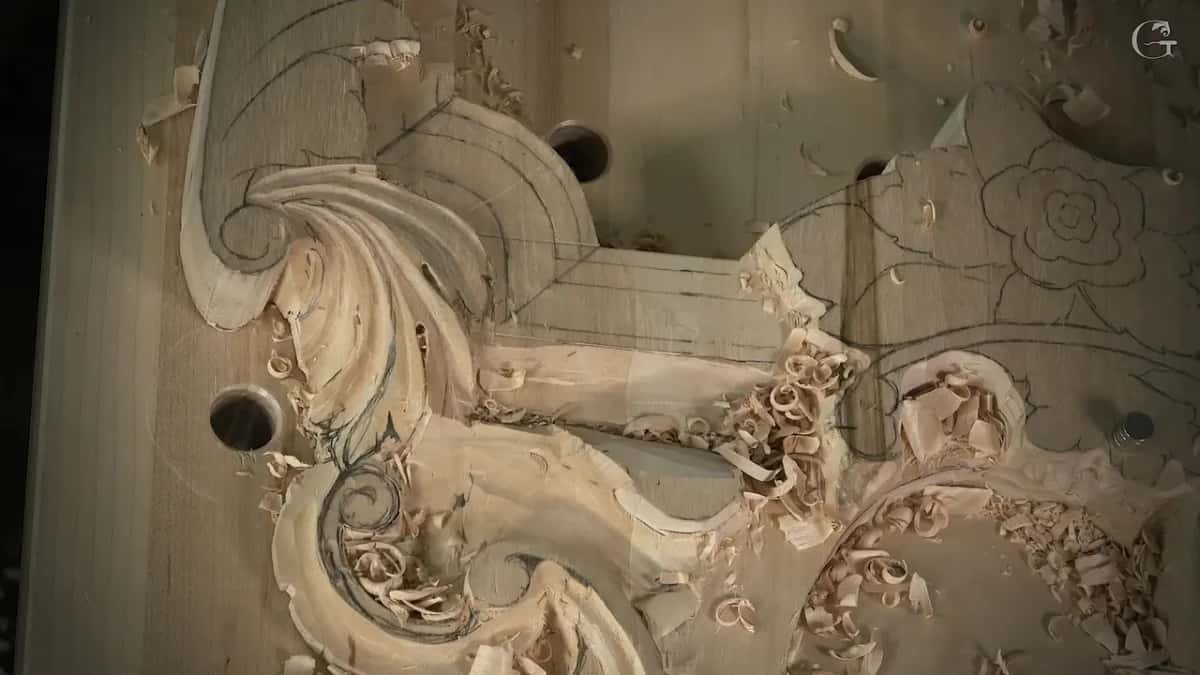
I relieved that section, that area of the leaf, with a smaller tool of about three millimeters, an eighth of an inch, and worked my way in. Every bit that came out was wood the leaf had no job for. Soon after, I set the shell so it goes right underneath this acanthus, and I said it looked like we were getting somewhere.

Which wood stays on when you carve a leaf?
Anything that holds the design stays on. For lesson 156 that meant three things, and I named each one as a thing to hold on to.
First the middle movement. In part one I was hollowing the second side of a pipe, starting with two millimeters again, about 1/16 in, when I stopped. I also don't want to lose the middle section, the middle movement, I said. That is why I'm using just a smaller tool. It was a number 2, and I added that a number 3 will work also.
Earlier in that same part, the middle of the leaf had me thinking out loud. Let's knock the middle line, the middle section of it, I said, and then: I'm not sure, maybe it's just too stripey. Maybe I'll just do a single concave, a concave on the inside of this separation. But that's also legit, so it should work. I went even more down, saw it creating a beautiful shadow, and said I was happy with that.
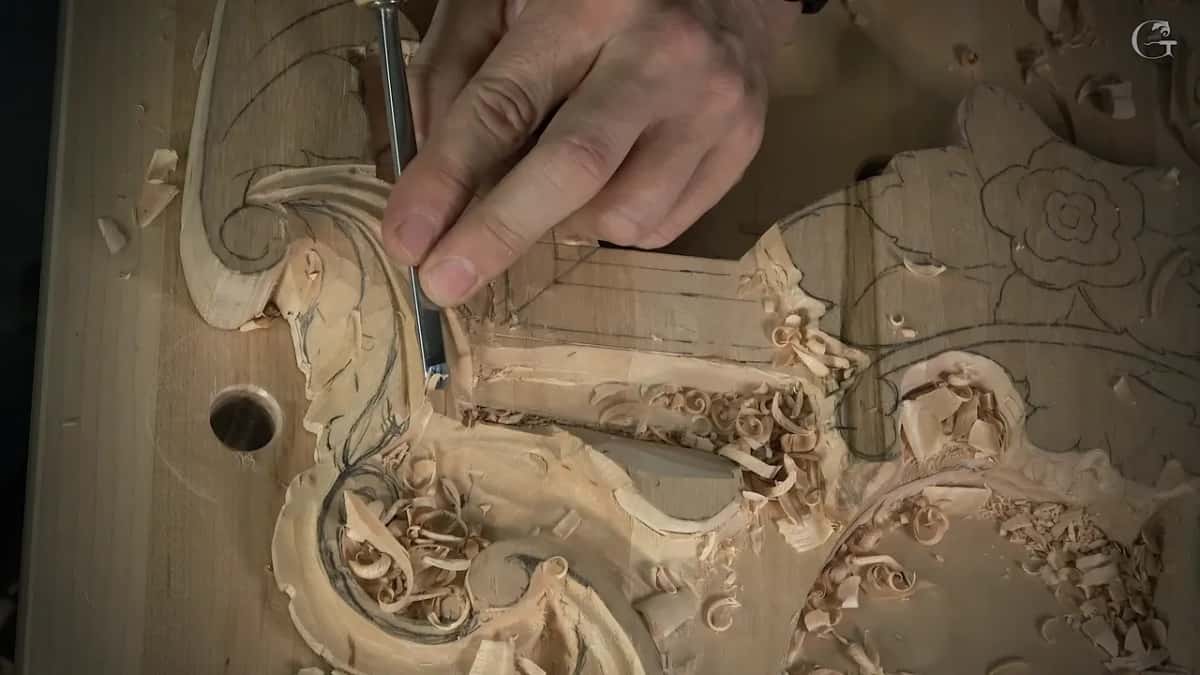
Then the center line. Late in part two I saw it slipping away. Losing my center line was the worry, and I said so, it's right there and I would rather not lose it. So I set another concave in, just to indicate the right movement, and took it a little deeper until I could say that's enough.
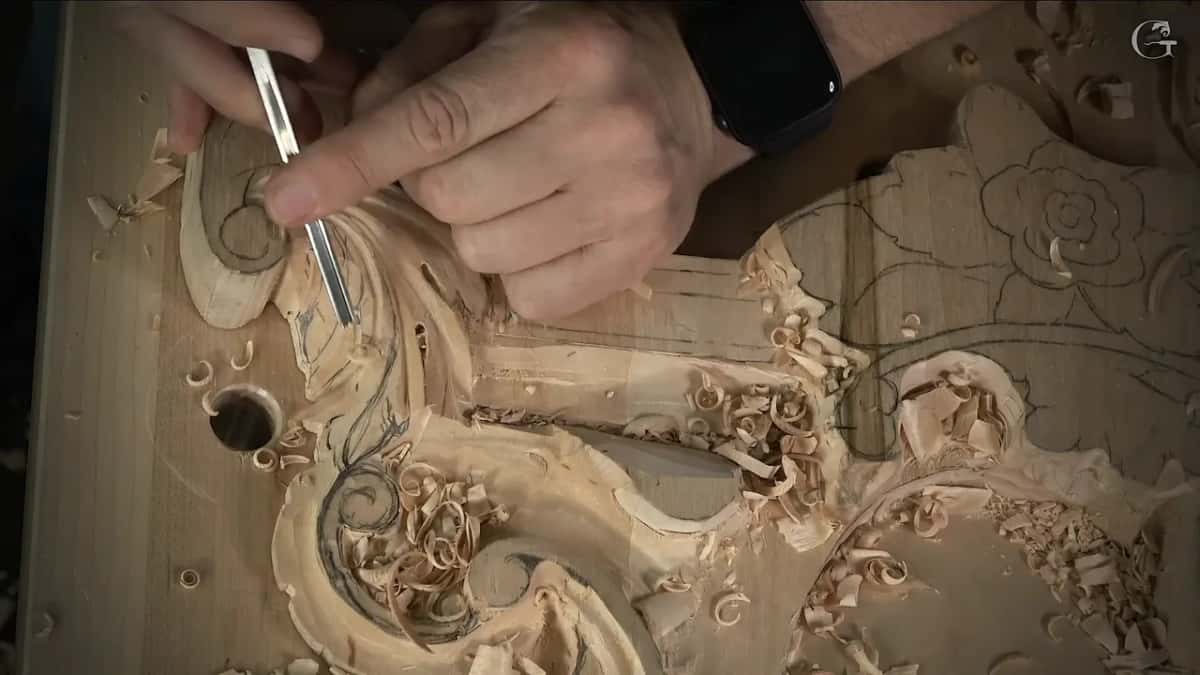
Then the divisions. A minute later I put them back with the comment that I wanted to keep them. I tried one idea and talked it over with myself. Or I should do one big one, I said, and this should be also the big one. That's probably better.
Part three opens with two words. Big and big.

What did I take off the pipes?
A ridge, some sharp edges, and the last bits after a deep shadow. Part one left a ridge behind. And that ridge, I said, I don't need, and I can take it out. Once it was gone, the pipe ran between the two points, and the part of the leaf on each side of that separation stood raised up.
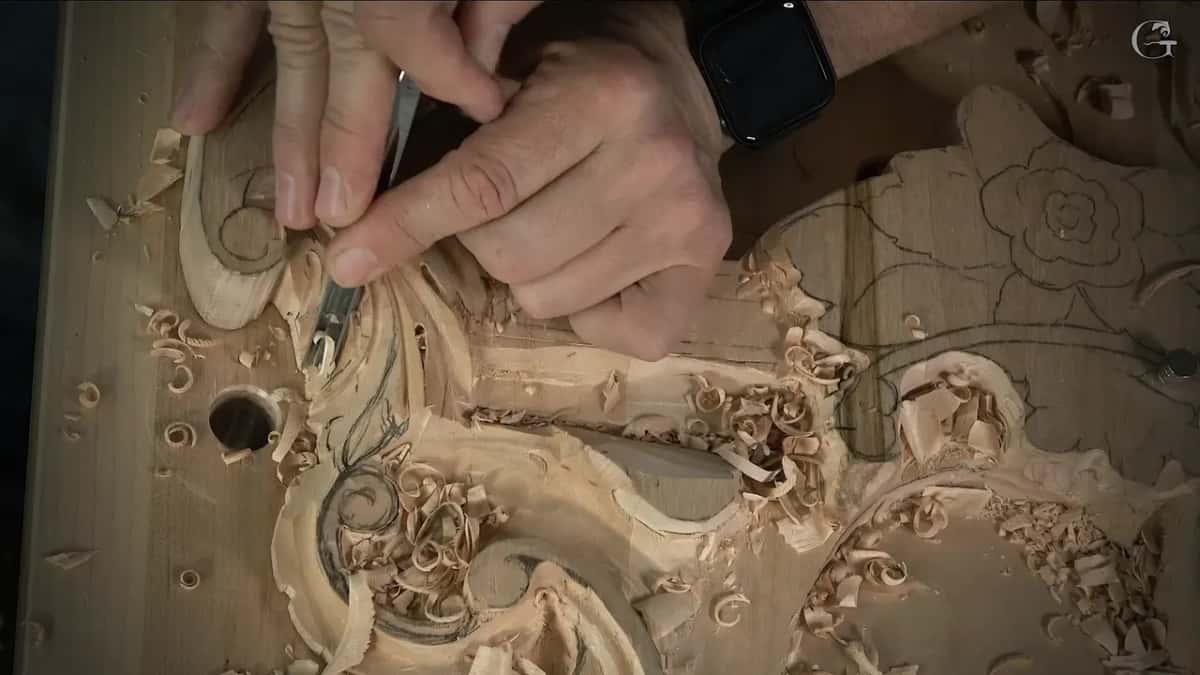
The shadow came next. To do that excavation there are multiple ways, of course, I said, and I could use just the two millimeters. I took a number 11 first, grabbed one millimeter, about 1/32 in, went toward my first pass, and made a really deep shadow. Let's clean it, I said. Take out whatever we don't need. I used a half millimeter, roughly 1/64 in, for the cleanup, and even though it was pretty clean already, I still removed some of it.
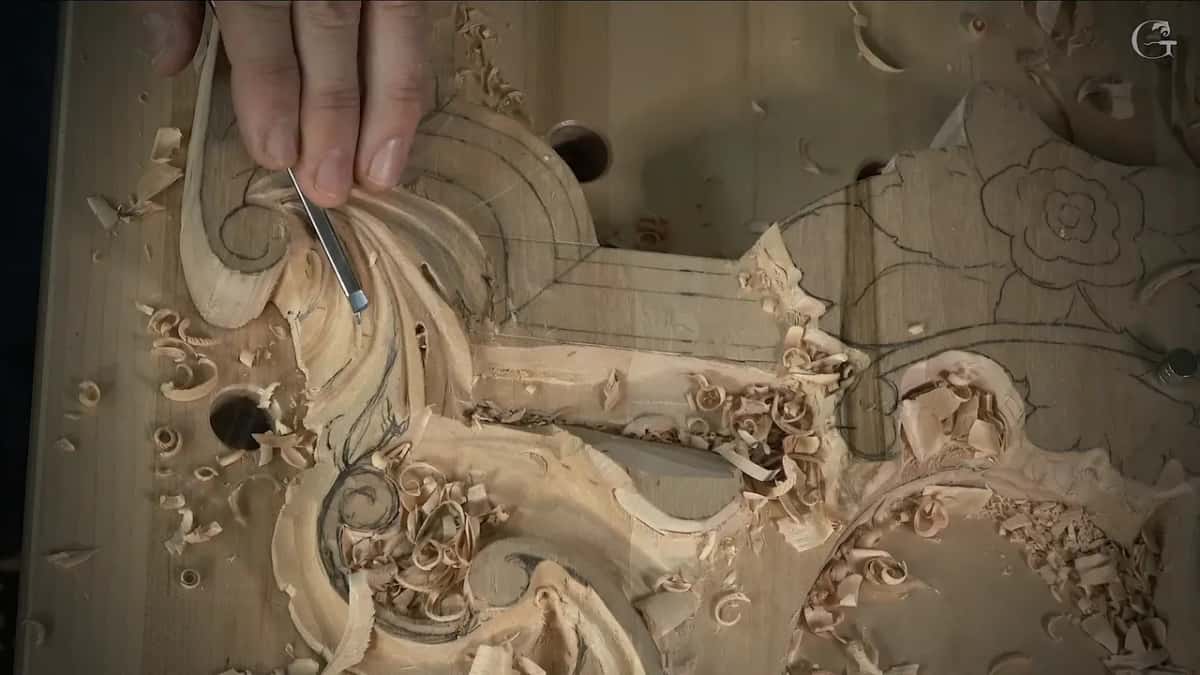
Part two has the second pipe, a huge one. I marked it in pencil first: this will be the high, and that will be a huge pipe. Both concaves beside it had to be kind of deep, because I wanted to raise up that wall and make it a solid pipe. The bigger number 11 came in, 7 millimeters, just over 1/4 in, and I told the camera that way you see it much better. After it, a number 2 of about 5 mm, which I called 3/16 of an inch.
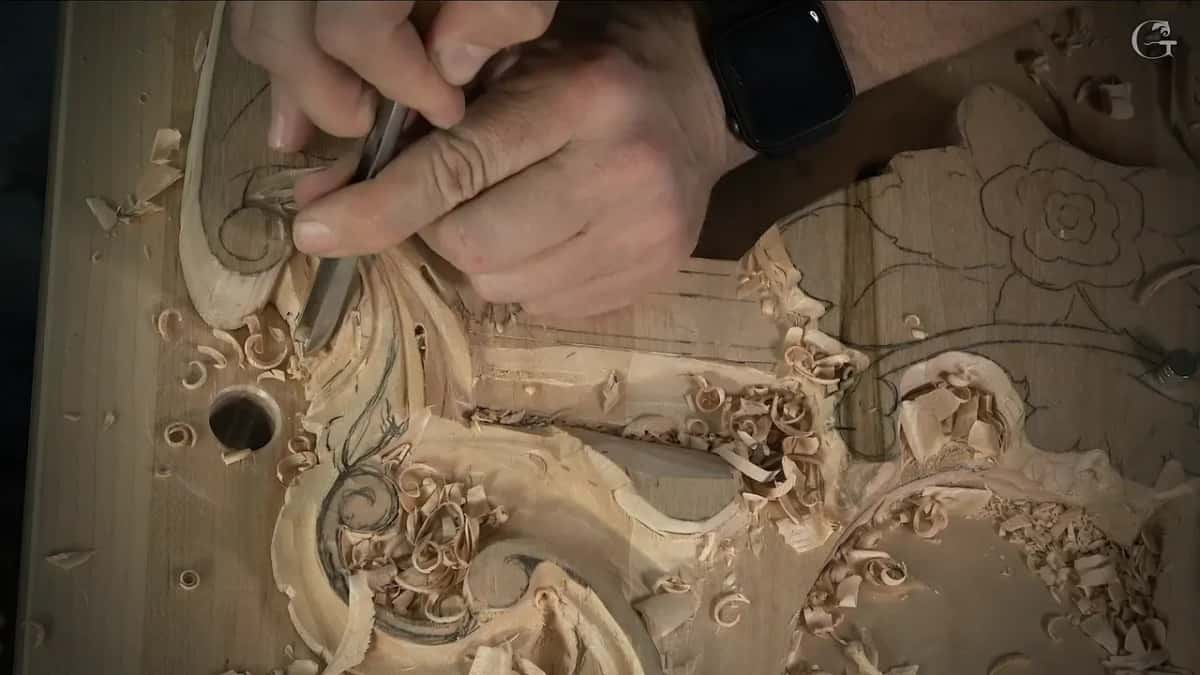
It looked choppy for a while. It's okay, I'll fix it, I said. When the pipe was done I called it beautiful, and in the same breath said I still had a lot of sharp edges. I don't really need them.

Everything lesson 156 says about waste in its own words is above. It isn't much, so I'm going to be honest with you about the rest: it comes from other lessons, where I said what waste is, where it sits, and how much of it comes out.
Where does the waste go on a new outline?
Outside the line. Early in workshop 6 of the Dining Table Apron I explained it. When you place your knife or your gouge to the line, there's a lot of tension from both sides. But if you outline it with the V-tool on the outside and leave a little space, that space becomes the waste later on. The line inside it is your main line, the main design of your carving. Once the V-tool is through, I said, you kind of relieve that side.
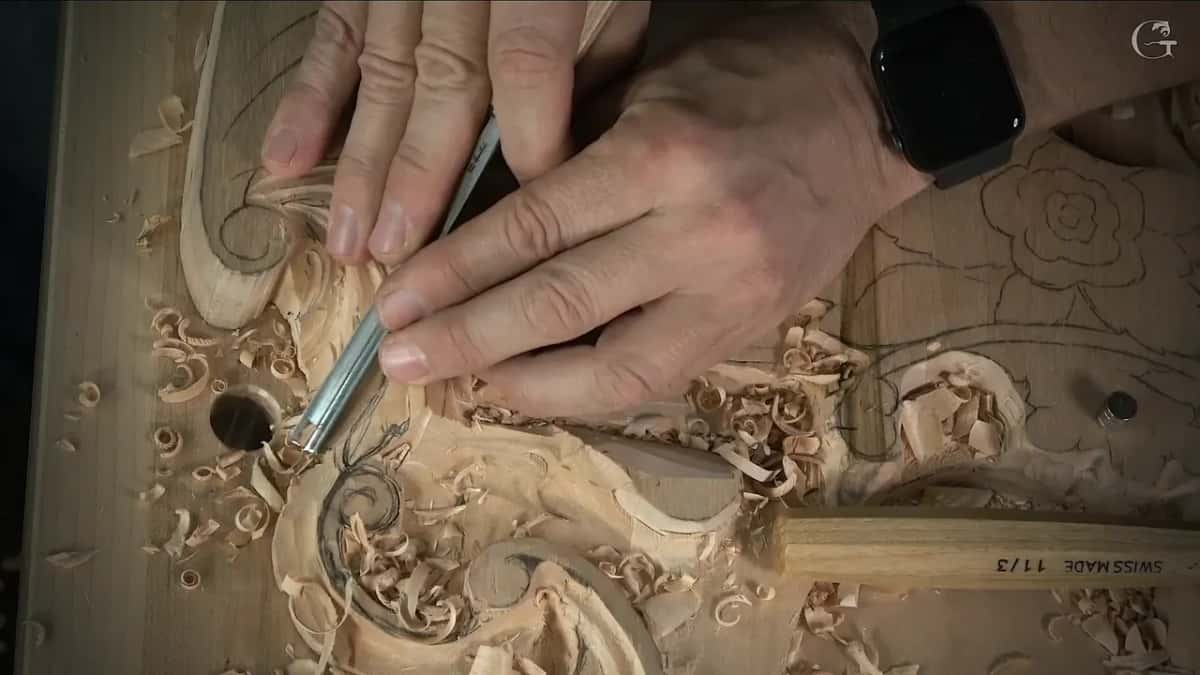
Workshop 7 of the same apron shows the waste coming off in stages, with the main outline still not made. It's initial, I said. I'm not going all the way down yet, just removing some of the waste, because I still have to make my main outline, and then we're going to clean up.
On that background I was working across the grain, and I told you I would not put my tool with the grain, although I could. It's more dangerous. You can hit the side and just snap it, and I've done it, so I was telling you from my own experience.

How much wood is waste around a carved flower?
On my chamomile rosette it was about 10 millimeters, about three-eighths of an inch, and I checked it before any of it came off. In the first lesson of Chamomile and Bow Rosette I found the highest spot, saw that about 10 mm had to come down, and marked that all around. All of that is waste, I said, and I don't need it. It ran almost all the way around the flower, so I'm safe.
Then a bigger tool, a number 8 of about 20 millimeters, three-quarters of an inch. I attacked across the grain and removed the waste, whatever I don't need, then attacked it from the opposite side. That part was meant to sit lower than the flower itself.

Here are those lessons side by side, with the waste, the tool, and what I said about it.
Lesson | Waste | Tool | Said |
|---|---|---|---|
Venice Room 156 | whatever we didn't need after the deep shadow | half millimeter | it was pretty clean, but still |
Dining Table Apron | the space outside the V-tool outline, left on purpose | a V-tool | that space becomes waste later on |
Chamomile and Bow | 10 mm (3/8 in) all around the flower | #8 at 20 mm | all of that is waste, I said |
Grape leaves vase | waste in a spot that was much deeper by then | my number 11 | be careful not to pierce it |
Venetian Flowers Rosette | junk out of a deep spot, for the shadow | 3 mm (1/8 in) | I can always make it bigger |
Tray of Blessing | waste along the vine before the cleanup | a number 7 | if it fights, you get the smaller tool |
When is enough waste out?
When the shape is there, and in three lessons I stopped and said so. The Venetian Flowers Rosette, lesson 5, has me saying I could go even deeper with a smaller tool, one-eighth of an inch, three millimeters, and drill down to remove all that junk for a really beautiful shadow. Then I called it. So that is enough. I can always make it bigger later, which I will.

Over in lesson 4 of Carving Hazelnuts I removed some of that junk and said: this is good. I'm not going to do much more right here.
My own lesson has it twice. Midway through part three I said I need a smaller one, then: that's it. I don't want to take it too much from this point. And in part two, once the center line concave went a little deeper, I said it two times in a row. That's enough. That is enough.
How deep did I go beside the volute?
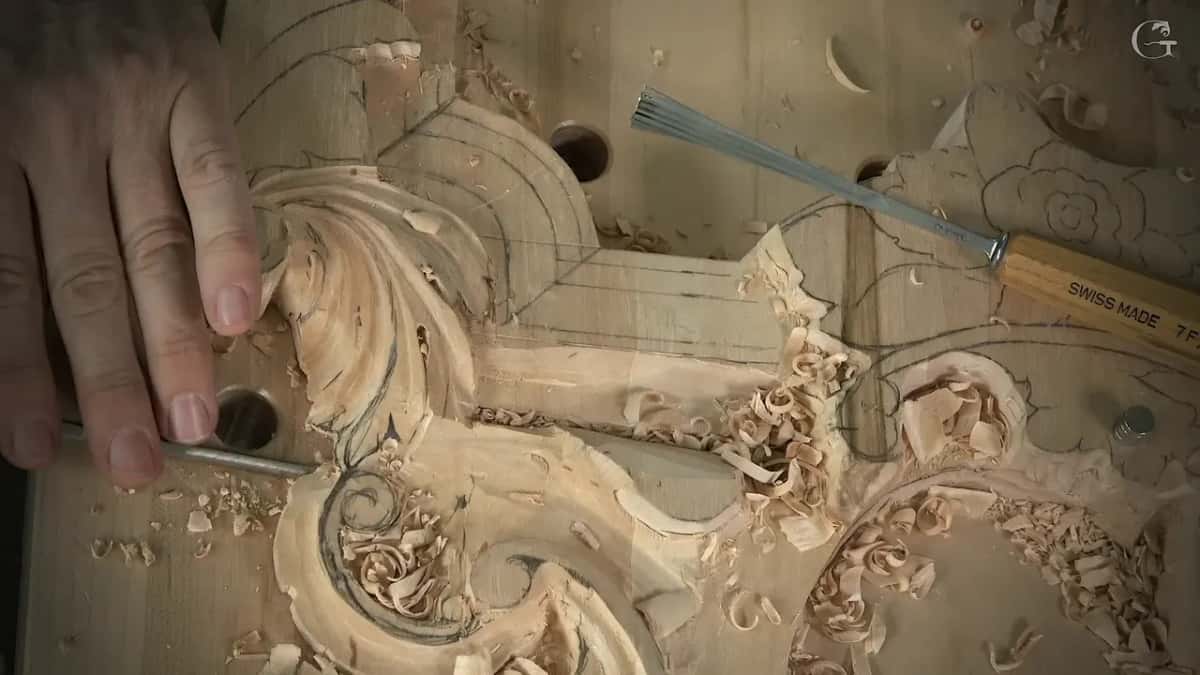
Two or three millimeters for the outline. Call it 1/16 to 1/8 in, and no more than that. Late in part three the point of the acanthus had to sit slightly on top of the volute, so I wanted a little longer point. I relieved it using a 2 millimeter number 11 and went around both sides. Then I outlined the volute itself right away, the scroll that point sits on.
My words were that I didn't want it too deep. Maybe about two, three millimeters deep, no more than that. And I made a point of adding that I was talking about the depth of the pass I was making right then.
With 2 millimeters again I brought that side right underneath. Here's my line, I said, and I'll do the same from the other side, and most likely I'll cover the camera with my hands.
What do you do when the waste fights back?
Go smaller. For the vine of the Tray of Blessing, lesson 4, the waste came off under a number 7. If it fights, I said, you get the smaller tool, like a half a millimeter or one millimeter. Clean that slightly. But again, don't overdo it.
At my own bench in 156 I put it another way. I have to relieve it with the smaller number 11, or else it will be a mistake.
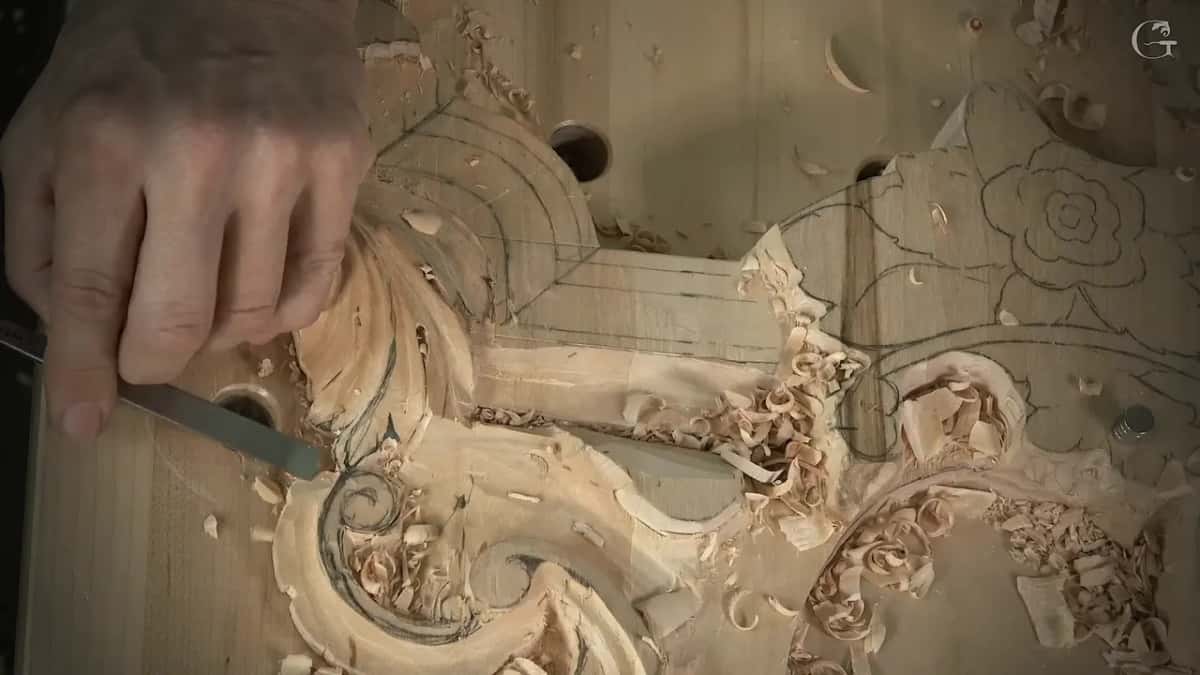
The vase with grape leaves, lesson 3, had me taking waste out using a number 11. Then came the warning: I really have to be careful not to pierce it through, because it's much deeper right now.

Is the wood you take out really waste?
Not always, and I keep catching myself on it. Back in lesson 4 of Carving Hashemi Flowers I said I call it waste, and of course it's not waste, I just remove the wood I don't need. Later, in lesson 35 of the same course, it was extra material, not junk, and that lesson's own page shows leftover wood between petals that was worth keeping. Even lesson 3 has me unsure I could call it junk, only that right now it was in my way.
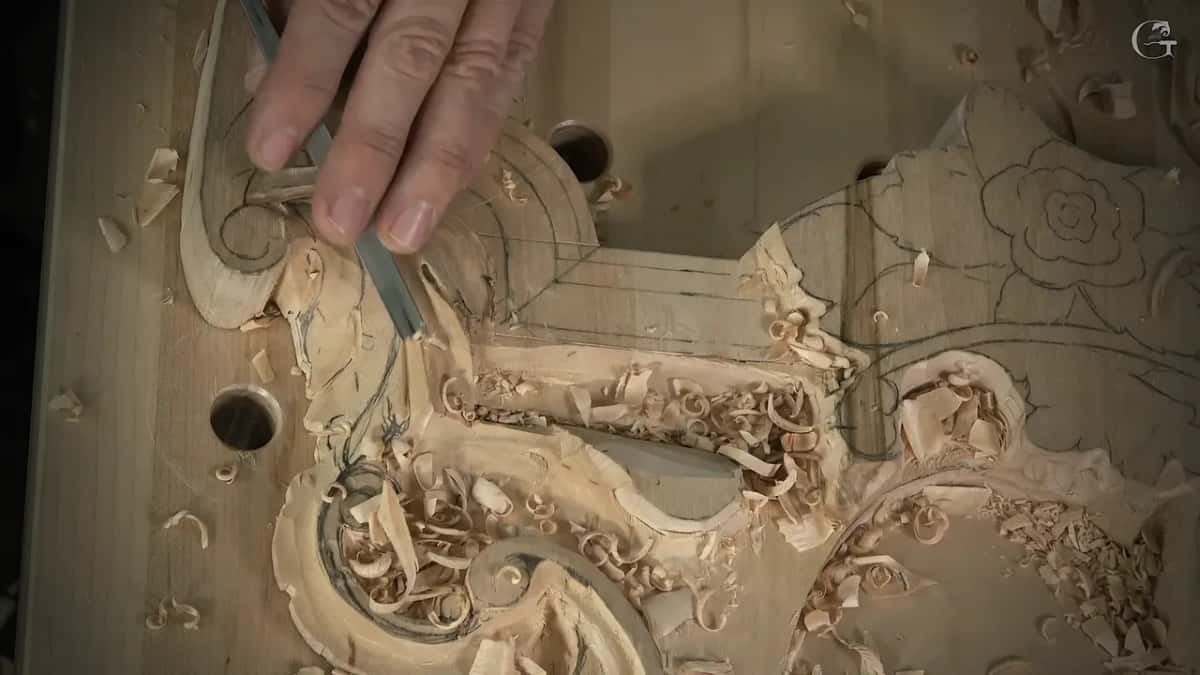
Part one of 156 ends with me looking down at the work. If you look from above, I said, it is actually a really nice movement. Smaller canvas, but beautiful.
It is one of the last eight workshops of the room, and the Part 14 course page tells the larger story of how far in under an edge I went on these sections. Part 13 is the molding this ornament wraps.
This is wood carving on a real relief panel, one volute and one leaf at a time. Every pass of lesson 156 is in its three parts, and they all open with tuition to the school, monthly or yearly, renewing automatically until you stop it.
How it's done
- Leave space outside the line. Run a V-tool on the outside of your line and leave a little space. That space is the waste for later, and the line is your design.
- Check how deep the waste goes. Find the highest spot and see how much has to come down. The chamomile flower needed close to 10 mm, or 3/8 of an inch, and I marked it all around.
- Take some of it, not all. Remove only part of the waste while the main outline is still to be made, then clean up after.
- Keep the lines that carry the design. When I was losing my center line in lesson 156, I set another concave in to indicate the right movement and put the divisions back.
- Go smaller where it fights. If the wood fights, get a smaller tool, as small as half a millimeter, and keep it light.
- Stop when it is good. Look, and stop once the shape is there. On one rosette I said there would be more later, and that I would come back for it.
Frequently asked questions
Do you take all the waste off in one pass?
Mine comes off in stages. The table apron gave up only part of it on the first pass, since the main outline still had to be made and the clean up came after. With the Venetian rosette I stopped at a good shadow and said I could widen it later.
Why leave a gap outside the outline?
Pressing a knife or a gouge right on the line puts a lot of tension on the wood from both sides. A V-tool run along the outside with a little space left relieves that side, and the space goes later as waste. Your main design stays on the line inside it.
Which gouge cleans out the last bits of waste?
A small one does. My cleanup in lesson 156 was a half millimeter after a one millimeter number 11 had made the deep shadow. For the tray course I said to get a half or a one millimeter tool when the wood fights, and not to overdo it.
What to carve next