
Alexander Grabovetskiy, woodcarver, School of Woodcarving · Published 2022
When do you need to measure instead of eyeballing a wood carving?
Quick answer: Measuring a carving rather than trusting your eye is for a shape that repeats and has to match. My molding in Venice Room lesson 160 was one. On a modern acanthus, on hazelnuts, on a vase and on two rosettes from other lessons, my eye went first and a check came later, if at all.
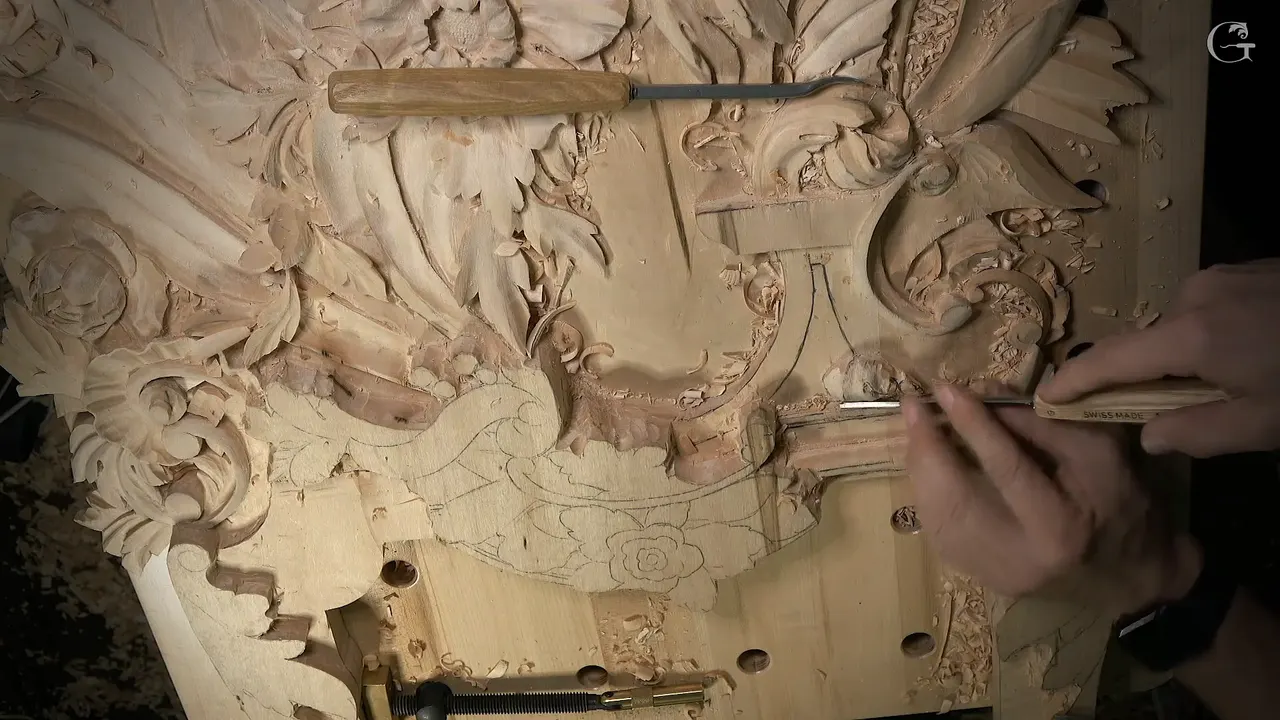
Measuring instead of eyeballing is for the work that repeats, like the molding in lesson 160 of the Venice Room. I told the camera I could eyeball it. But there was a lot of molding still to do, and I wanted every bit of it to match. Five other courses on this page show the other side, where a modern acanthus leaf, hazelnuts, a grape leaves vase and two rosettes got my eye first.
Have you ever drawn a line by eye and wondered if it was straight? Did you then measure it, just to be sure? I use both at my bench, and by the end of this page you will know which jobs I gave to each one, with the lesson where I said it.

I'm going to be honest with you. Lesson 160 is short, three parts and about 22 minutes. Most of it is me taking wood down, rounding a convex toward a center line, and laying out a bead along a molding that runs beside a carved relief panel, in a room copied from Venice. So 160 leads here. The back half is what I said about my eye in those five other courses, each line linked to its own lesson. All five are ornament, and none of them is a molding.
The first part takes the waste down near the work and starts the rounding. In the second, the convex repeats go on along the side. Part three lowers both sides of the bead and holds my reason for not eyeballing.
Eye or measure, seven lessons in six lines
In lesson 160 I said I could eyeball the molding, but a lot of it had to match.
One depth on both flanks of the bead came before any flattening.
A number 7 got tried first, to see if I'd be safe.
The modern acanthus lesson has me saying one inch didn't have to be exact, though sometimes it really is important.
A micro rosette needed no measuring at all.
For the hazelnuts I said don't worry about being exact, then check and recheck.
How close is close enough by eye?
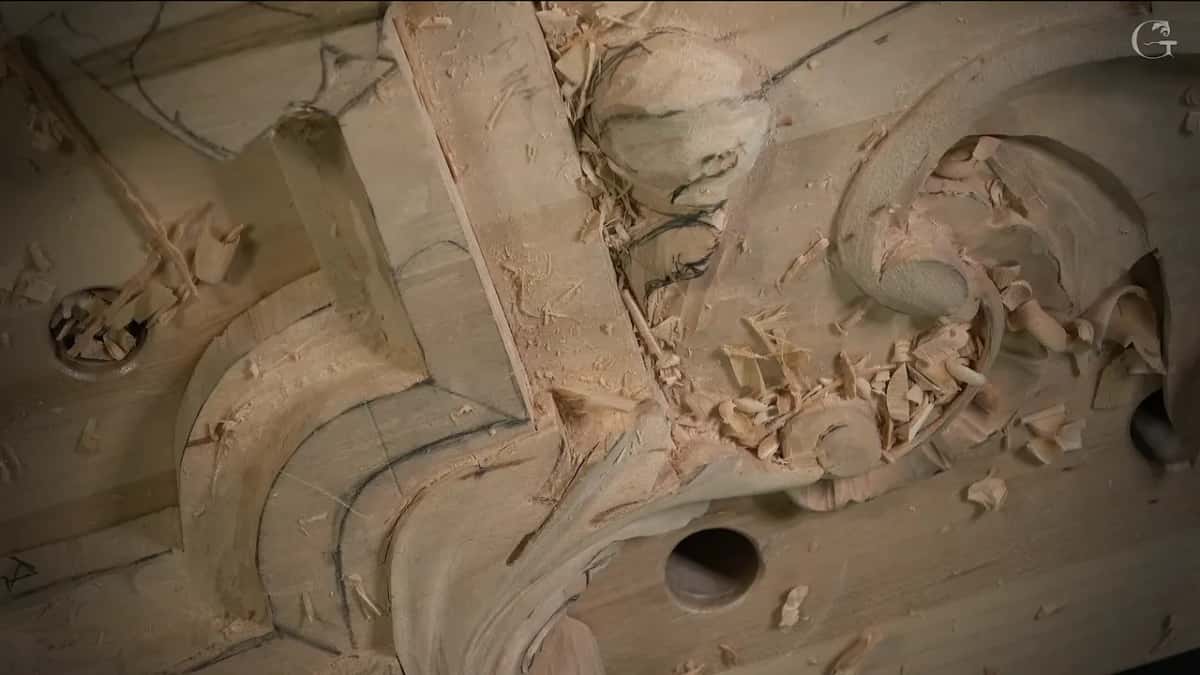
Close meant the same level in part one, and I said how close out loud. I'm not going to force it, I said. I shaved first with the side of a veiner, a number 11 of 7 mm (9/32 in), and then told you I could probably go even bigger and took a 12 mm (about 1/2 in).
Next I placed a big number 1 right on the line and went straight down. I know that way it's going to be perfect, I told you. The big tool didn't have to go all the way, so a smaller number 1 followed my previous pass with less resistance, since less material was coming out.
A smaller number 11 took more waste, in both directions, and then I said where I was. Pretty close to the same level, I said, not there yet but pretty close.
A number 4 cleaned it a little. After that the big number 1 went against the wall for the cleanup cut, and I'm pretty clean, I said, then corrected myself. Well, not I am. I am clean, but I'm talking about wood. Once the rounding had started, I told you I'm about the same level there, maybe a little higher than the other side, so I should be safe.

Part two opens the same way. I took the rounding almost to the line and said I wasn't going to hit that. I want to keep it, I said twice. The other side, I told you, could be done off camera if I needed to. A little later I called the shape preliminary and really, really close.
Why did I measure the molding in lesson 160?
A lot of molding was still ahead of me, and I wanted it to match everywhere. That is close to my words near the end of part three. If you would ask me why I'm not just eyeballing it, I told the camera, I could. Lots of that work was still coming, more than I would show, though you'd get the idea of what I'm doing.
Before that sentence I was lowering the wood on each side of a future bead. I planned about one-eighth of an inch, three millimeters, and at about 2 mm (5/64 in) I said I'd still need space for the cleaning up. Same depth on both sides first. On the second side I did exactly the same, pretty much right away. You know what, why not, I said. Then the floor between them got flattened with something somewhat flat, like a number 1, maybe a back bent gouge, and the one I picked was 13 mm (1/2 in).
My plan was to do the opposite side the same way, then just flatten it, and then we'll see. Once both had the same depth, going a little deeper to make the shape would be much easier, I told you. A quarter inch down, I said, makes it easy for me to figure out what will be there.
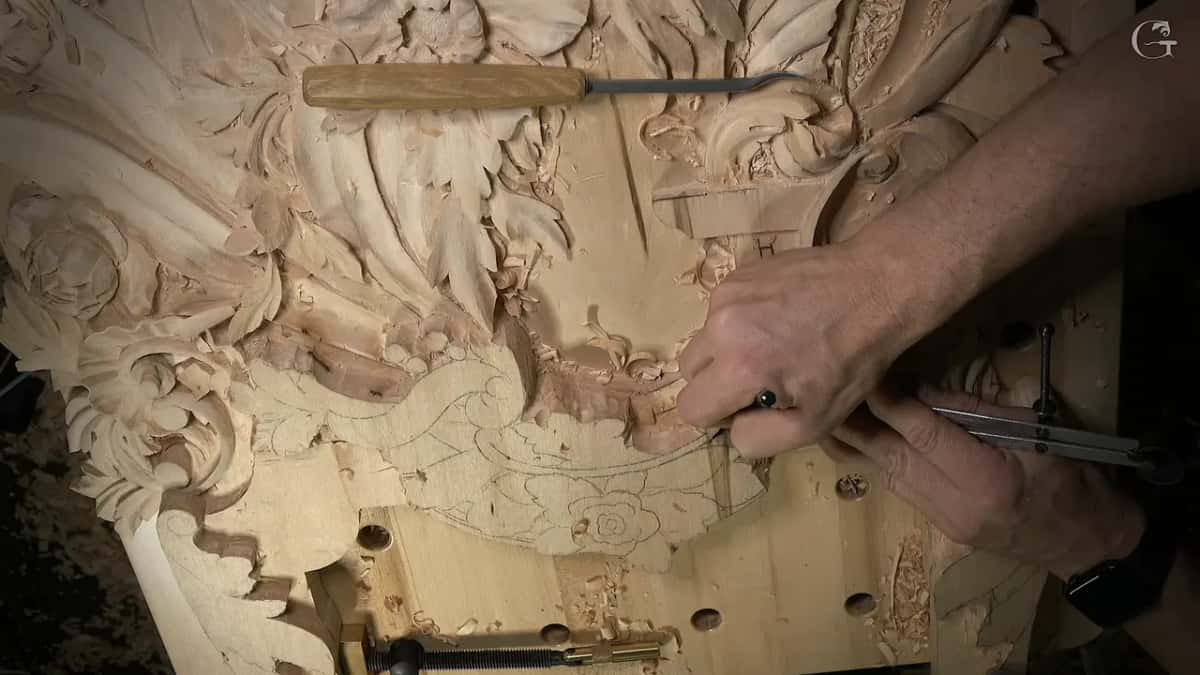
Part two ends with a size, too. I said I now needed to get this bit of the molding, about a quarter inch (6 mm), and place it right here, and the photo above has a metal tool in my hands at that moment. All the way here, I said, and that is where part two stops.
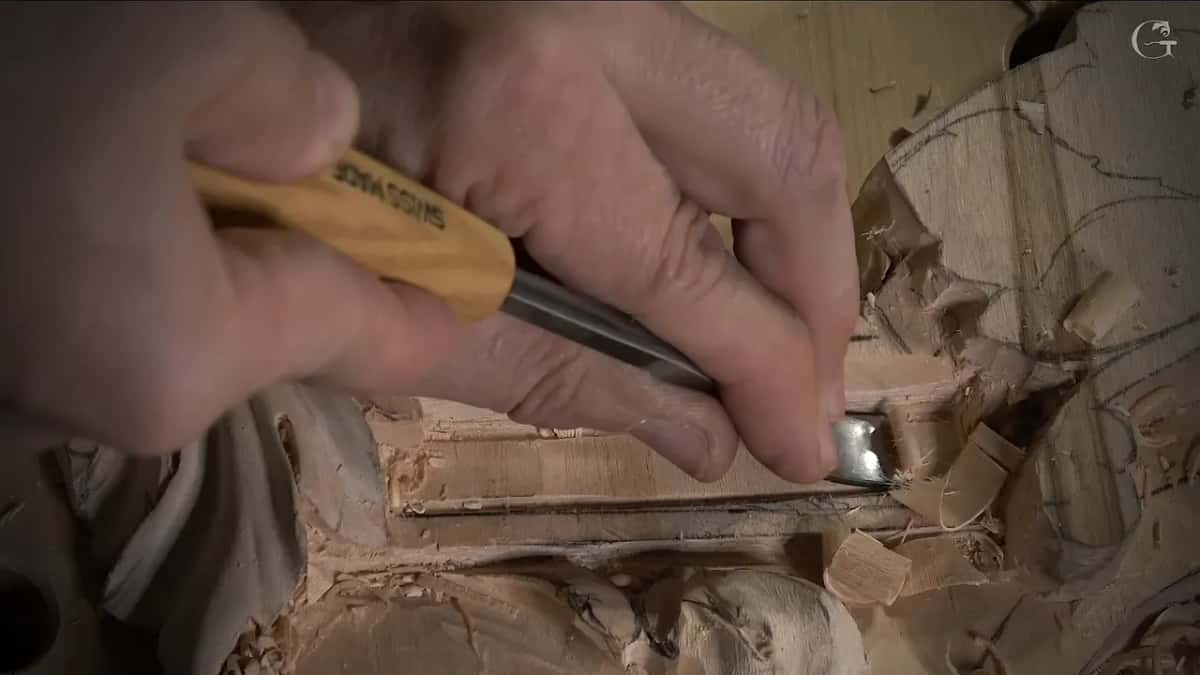
I called that tool probably one of the best for it and shaved the floor in both directions. Near the end I stopped at one spot and said it was a perfect size. Pretty much really perfect.
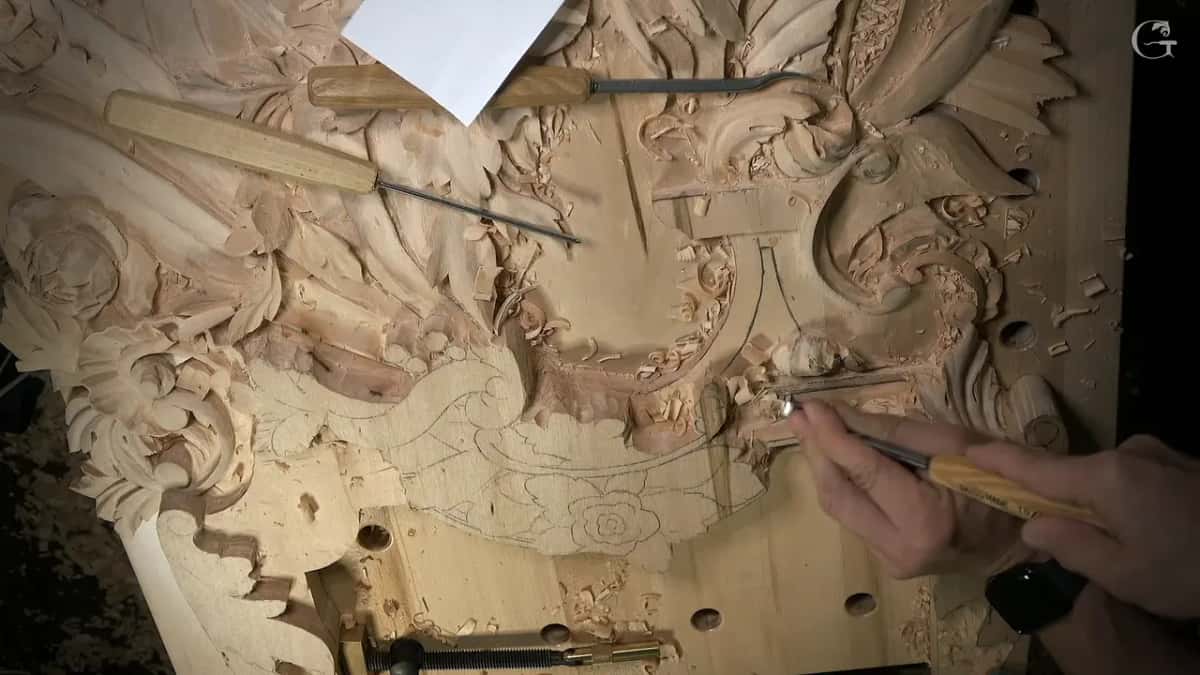
What did my eye catch before any measuring?
Twice in part three I said out loud what my eye saw. Partway through, one side of the bead looked wrong to me, and I said this side doesn't look right. I had measured. Then I looked at its height, took it back, said I'm sorry to the camera, and told you it does look right. Height came up twice in that part, once as the thing I looked at and once as what I wanted kept the same.
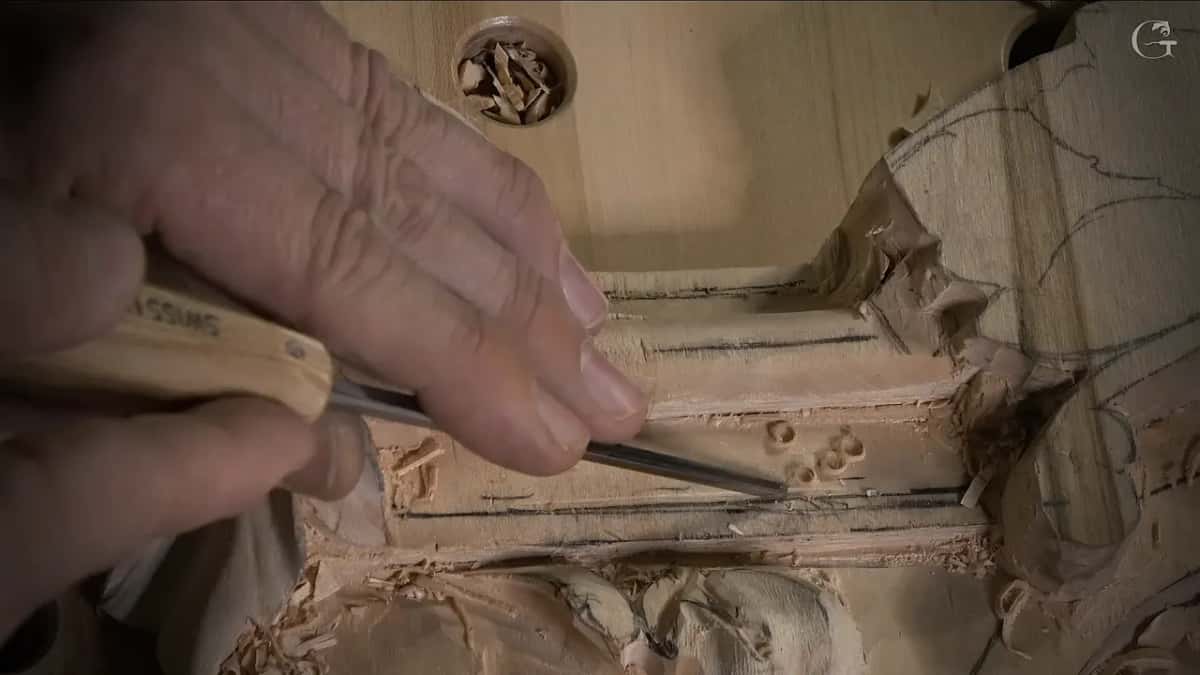
Back at the start of that part, I put down a line I said I didn't need to draw. I drew it anyway, just in case something didn't look right. A few seconds later the texture looked right this time, I said, so I had the right distance. And all of that, I said, I can clean. In part two a line I placed had come out about a sixteenth of an inch (1.6 mm) off, and the course page for Part 14 tells that story in full.
I'll admit I was afraid I had messed up badly. That was one of those areas I really didn't want to mess up, and I didn't want to change the height of the molding, which was already pretty low.
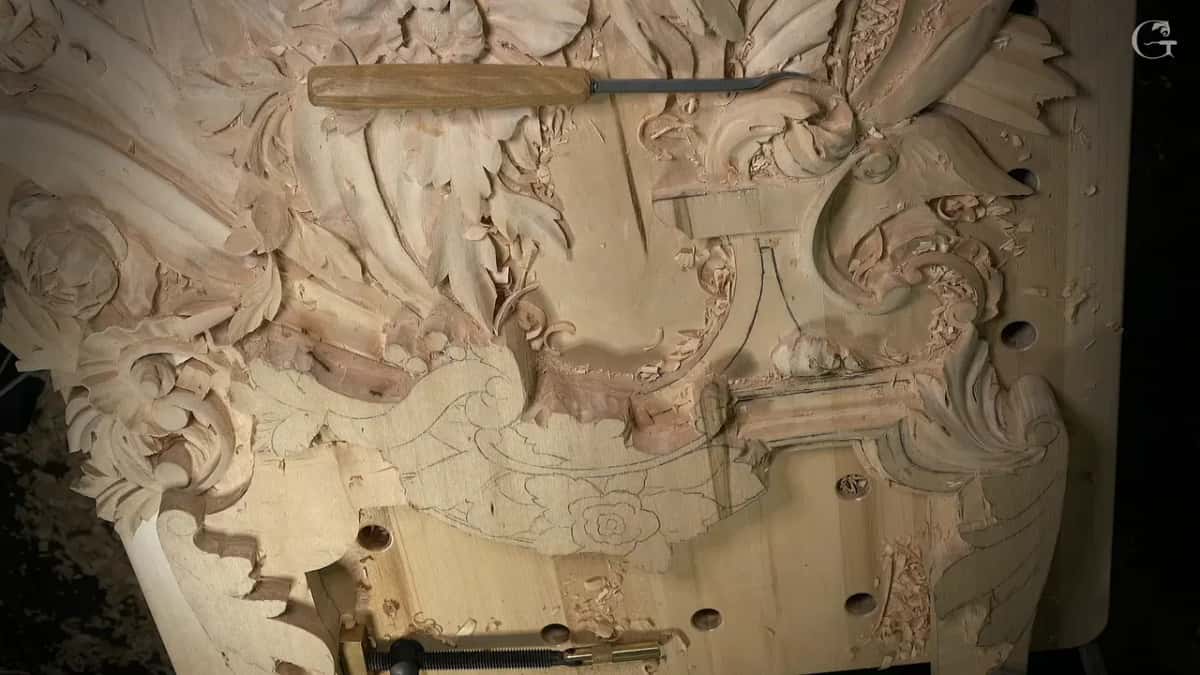
Can a gouge tell you a size?
The number 7 told me whether I was safe, back in part one. Before rounding I said I had to be really careful. I can make a mistake, I told you, so I tried a 7 to find out if I'd stay safe. It looked like I would.
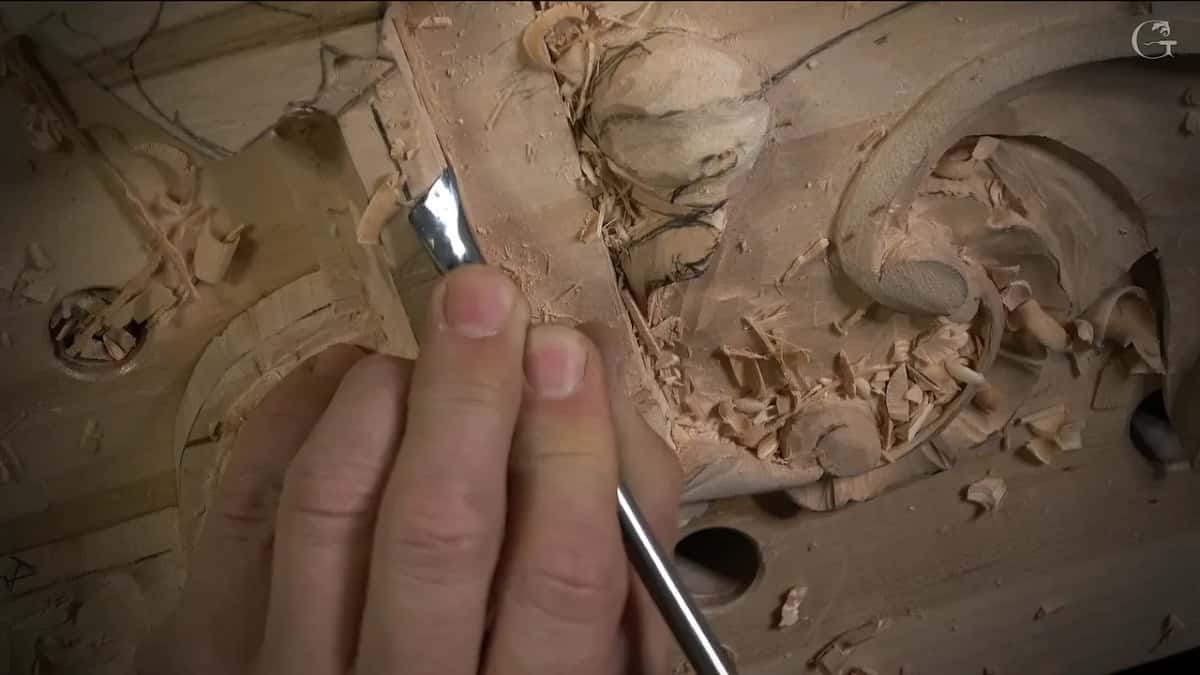
Then I marked the center line, the one line I did not want to touch. That center was my high spot. I rounded toward it with a back bent, little by little, and said even a number 5 or so would do.
I also kept a distance there and called that section the start of my fillet. That part stays straight. I was right on that level, I said, and safe to round from that area, and later I could go straight down and be in perfect shape.
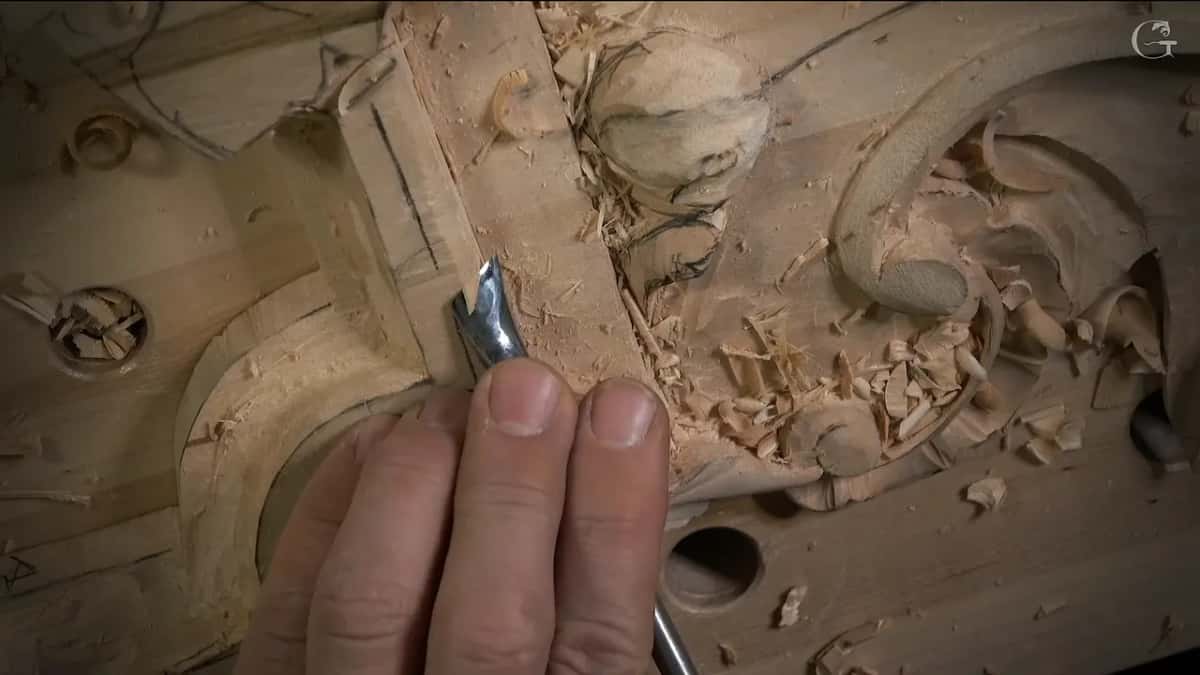
Later I checked for a bigger back bent, and I had one. This one was matching almost perfectly, except a couple of spots, which in my case was actually a really good thing. And I told you that you really don't need a bigger one, since pretty much any back bent lets you work your way in.
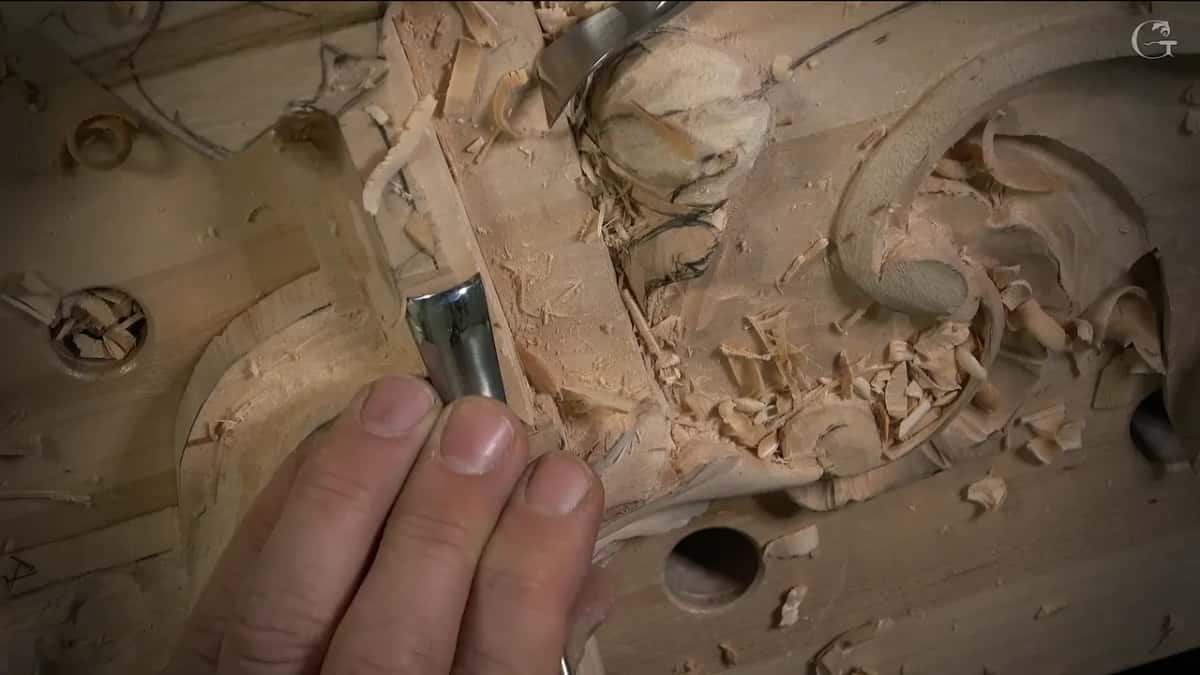
I kept an eye on how the tool went, so my middle line stayed right in the middle. The shape has a concave on one side, and I said I can lose the sense of the center there, which is not going to look good.
In part two I called out the sizes of the convex repeats as I went. About a quarter inch (6 mm) on one, a little less on the other, maybe about 4 mm (5/32 in) or so. Then maybe slightly wider right here, and a quarter inch again. To mark the line, I said I could eyeball it, but I had a really good helper tool.
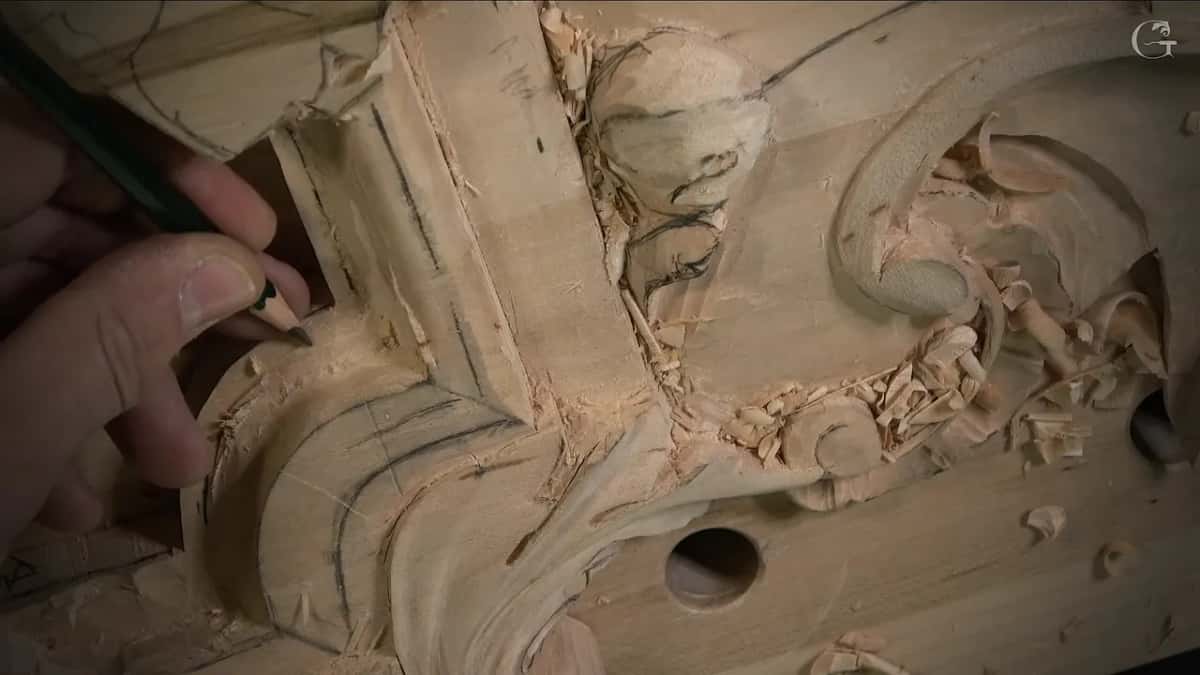
Which jobs got my eye, and which got measured?
Seven rows, one of them a molding. That row got measured, and every other row went by eye before anything else. Method says what I used, and Said holds my words.
Lesson | Job | Method | Said |
|---|---|---|---|
Venice Room 160 | lowering two sides of a molding bead | measured, matched | plenty of molding still to carve |
Modern Acanthus 1 | placing the center of the acanthus leaf | by eye | not like you building a house |
Carving Hazelnuts 4 | putting a mark down by eye again | eye, rechecked | it's got to make some logic |
Vase lesson 1 | eyeballing it again, same idea as before | by eye | my eye already sees that, I said |
Venetian rosette 6 | spacing it between those two by eye | no calipers | it needn't be perfect, I said |
Venetian rosette 5 | dividing between sections, then an approximate measure | eyeball, measure | really close with even just eyeballing |
Flower Rosette 3 | the micro carving of a small rosette | lamp, eye | nothing there needed measuring, I said |

Where did I trust my eye on ornament?
On a modern acanthus leaf, for one, and on three more pieces of ornament below. In the first lesson of Carving Modern Acanthus I was placing the center, and I said there's probably no way you can measure it, so just try to eyeball it. That course carves a leaf from a 1903 design. It doesn't have to be exactly one inch, I told you, it's not like you're building a house. Then one more line. Sometimes it's really important, just not in this case.
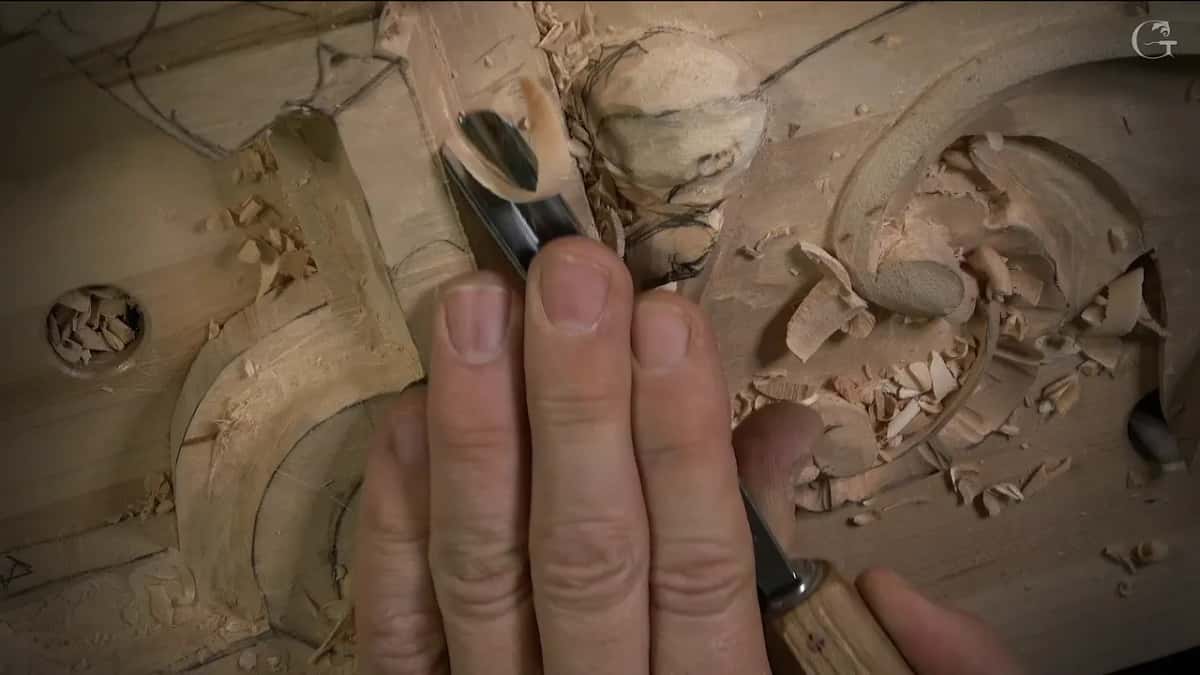
The Flower Rosette went further. In its third lesson I told you I'm not measuring because it's a micro carving, and I really didn't need to measure anything. Eyeballing would do the trick. What I did reach for was my lamp, which I use a lot when I work on the small details.
On the Venetian Flowers Rosette in lesson 6, I said I wasn't going to spend my time with the calipers, and I'd eyeball it between those two. That rosette is an oval one, in the Venetian style. Perfect wasn't required, I said. But I really wanted a dynamic movement in it.

And on the grape leaves vase, in its first lesson, I said I'd go by eye again, same idea, and if you measure it, I know I'm right on the money, because my eye already sees that. I know exactly where it's supposed to be. Four pieces of ornament, and four times my eye went first.
When does the eye need checking?
Right after telling you not to worry, on the hazelnuts, I said you also have to check and recheck. I was putting marks down in the fourth lesson of Carving Hazelnuts and said I was eyeballing it, so there was no reason for me to worry about it. One inch (25 mm), two inches and a half (64 mm), approximately right there, and again I was eyeballing it. Don't worry too much about being exact like on a pattern. But it's got to make some logic. Otherwise, I said, there will be a problem.
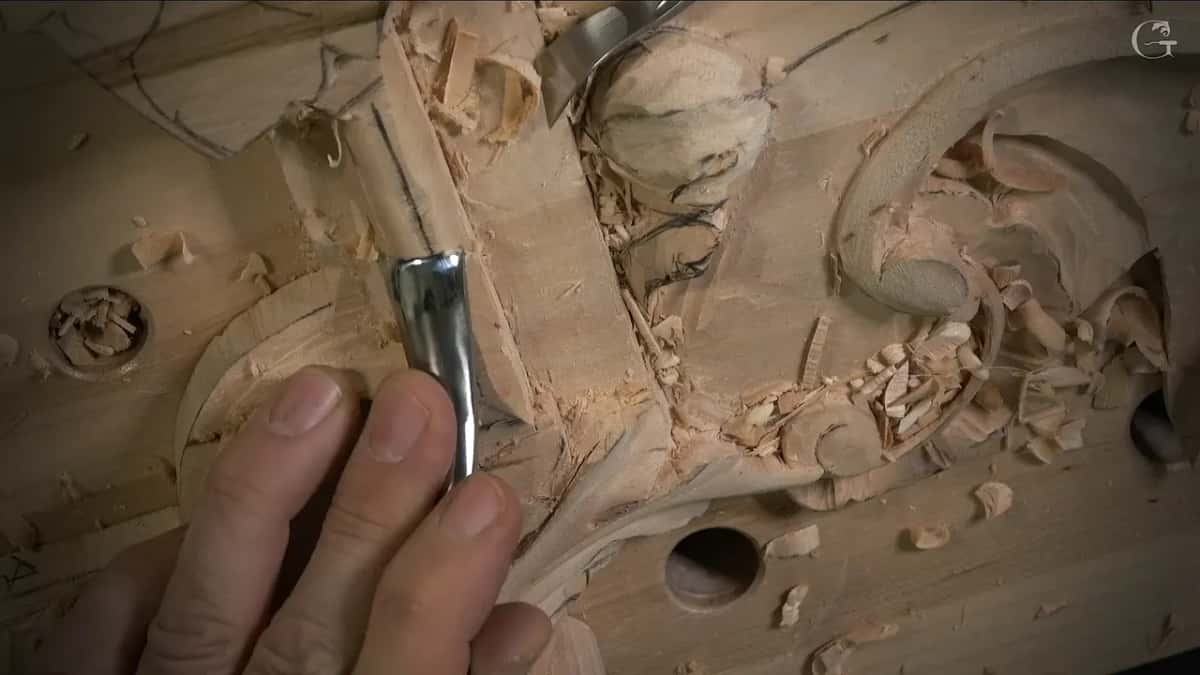
The fifth lesson of the Venetian Flowers Rosette shows the same habit from the other end. I divided between sections by eye and said I was really close with even just eyeballing it. After that I measured anyway, approximately, about an inch and a quarter (32 mm) between two spots, and went on to check. That same habit is what lesson 160 put on a molding.

Where lesson 160 sits in the room
Before it come lesson 156, lesson 157 and lesson 158, and the last workshops of this room run to 163. The course page for Part 13 tells how I copied a molding profile off an old building. Lesson 160 is a short one among them, and it's all wood carving on one room.
All three parts of lesson 160 open with tuition to the school, paid monthly or yearly and renewing automatically until you cancel. Watch where my eye goes first, then where the tool checks it. Every lesson named above has its own page, and each link goes straight to it.
How it's done
- Look, then look again. Partway through part three, one side looked wrong to me, then the height of it looked right, and I took it back.
- Draw the line anyway. Drawing it wasn't needed, I said, and then I drew it just in case something looked wrong.
- Mark the high spot. Put down the center line you don't want to touch before any rounding starts, then work toward it little by little.
- Check the gouge first. I checked a number 7 before rounding, to be safe. A 5 or so could do the same job.
- Bring both sides to one depth. Take each side of the bead to the same depth, about 2 mm (5/64 in) in my case, and only then flatten between them with something somewhat flat.
- Measure what repeats. Where one shape runs on and has to match everywhere, as my molding did, measure it rather than trusting the eye alone.
Frequently asked questions
Do you have to measure every part of a wood carving?
Not every part. On my modern acanthus I said an exact inch wasn't needed there, and that sometimes it really is important. Lesson 160 of the Venice Room had one of those, a molding with plenty left to carve and every run expected to match.
Is eyeballing good enough for a small rosette?
My Flower Rosette had micro work, and there I said measuring wasn't needed at all, since eyeballing would do the trick. My lamp was what I reached for instead, the one I use a lot whenever I work on the small details of a carving like that one.
What do you do when a part looks wrong?
I looked again. In lesson 160 one side seemed off even after I measured, until a look at the height showed it was fine after all. My hazelnuts lesson adds checking and rechecking, and I said the marks have to make some sense, or there will be trouble.
What to carve next