
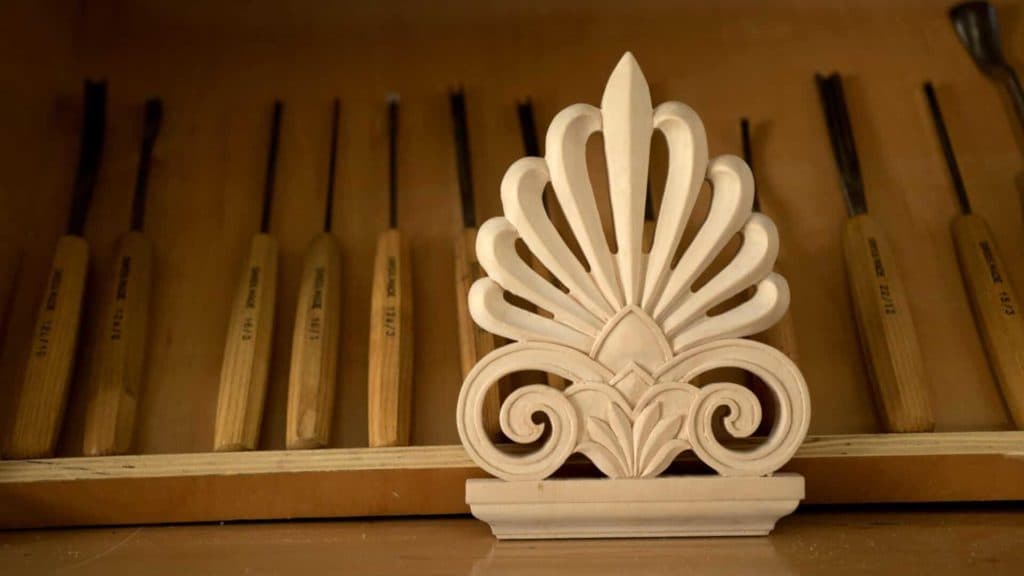
Alexander Grabovetskiy, woodcarver, School of Woodcarving · Published 2017
How do you carve a curved channel in wood by hand?
Quick answer: A curved channel carved by hand is a groove sunk along a bent line in small passes. On my Greek acroterion, number 7 gouges stamped the spiral, a knife went straight down in the mark and lay low to slice, and a number 5, a grounding tool and a number 1 chisel took the floor to 1/16 inch (1.5 mm).
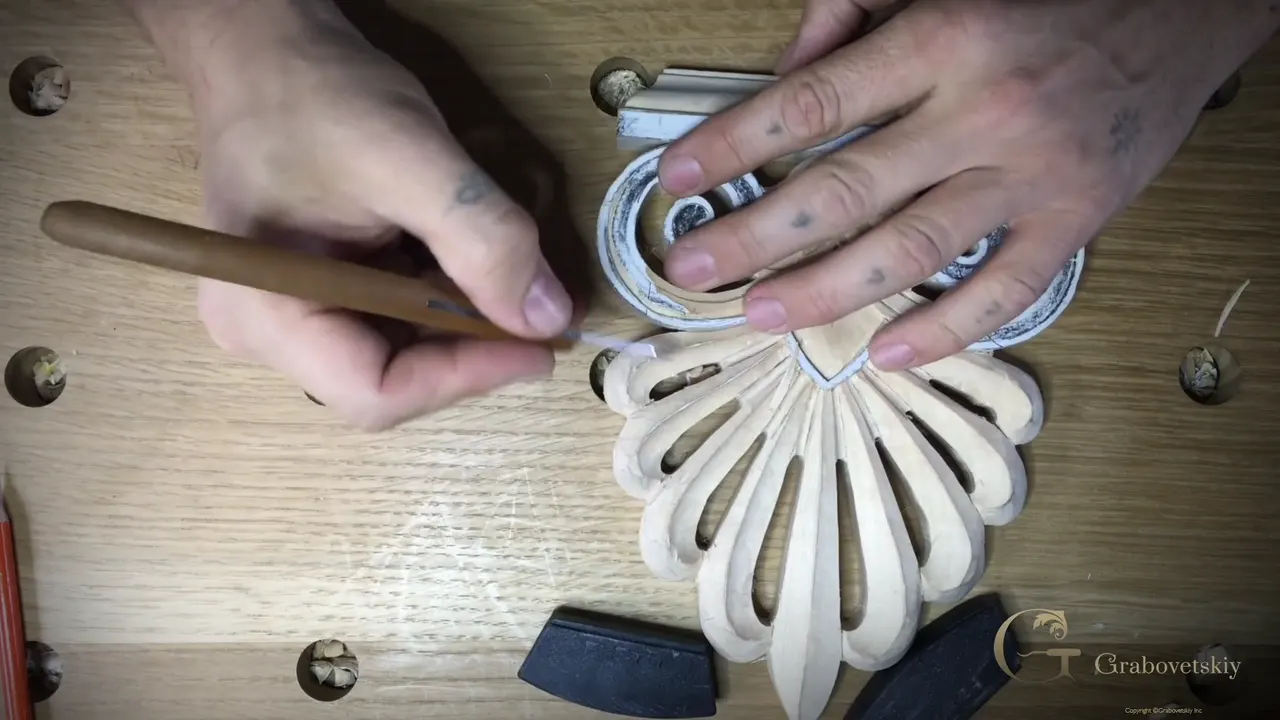
A curved channel is carved in a set order, with gouges stamping the curve and a knife going straight down into that mark, then lying low to slice a little at a time, kept shallow so the outside wall holds. That's how I carve a channel in wood when the line bends, and on my Greek acroterion a small number 7 went deeper where the grain could snap. A number 5 cleared the middle. A grounding tool and a small flat chisel brought the floor flat, about 1/16 of an inch, 1.5 mm, and the bumps the jigsaw left on the outer edge were to be cleaned up to the channel last.
I mean a channel sunk inside the board, with a wall on each side of it. Sawing a curved edge onto a board is another job. I'll keep to what I did on camera in lesson 5, pass by pass.
Ever seen a carved spiral on an old building? Wondered how the groove beside it stays so even? It comes from small passes taken in order, and you can learn that order at your own bench.
The spiral channel, move by move
The 7s stamp an outline first, the biggest one leading off.
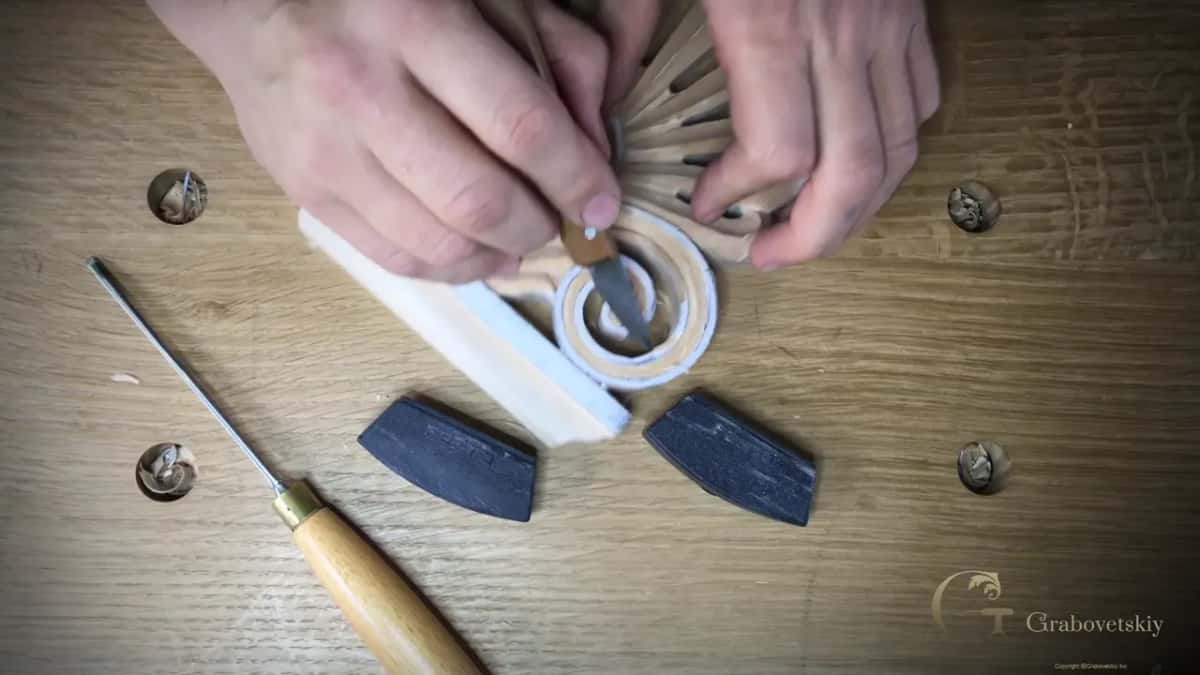
Knife upright in the stamp.
Then the blade lies low and slices, pass after pass, with almost no pressure.
Shallow early, because the outside breaks easily.
Risky grain gets a smaller 7, used carefully.
The middle comes out with a number 5, and the floor with a grounding tool or a plain flat chisel.
One depth everywhere, then a bevel at the base.
How do you carve a channel along a curve?
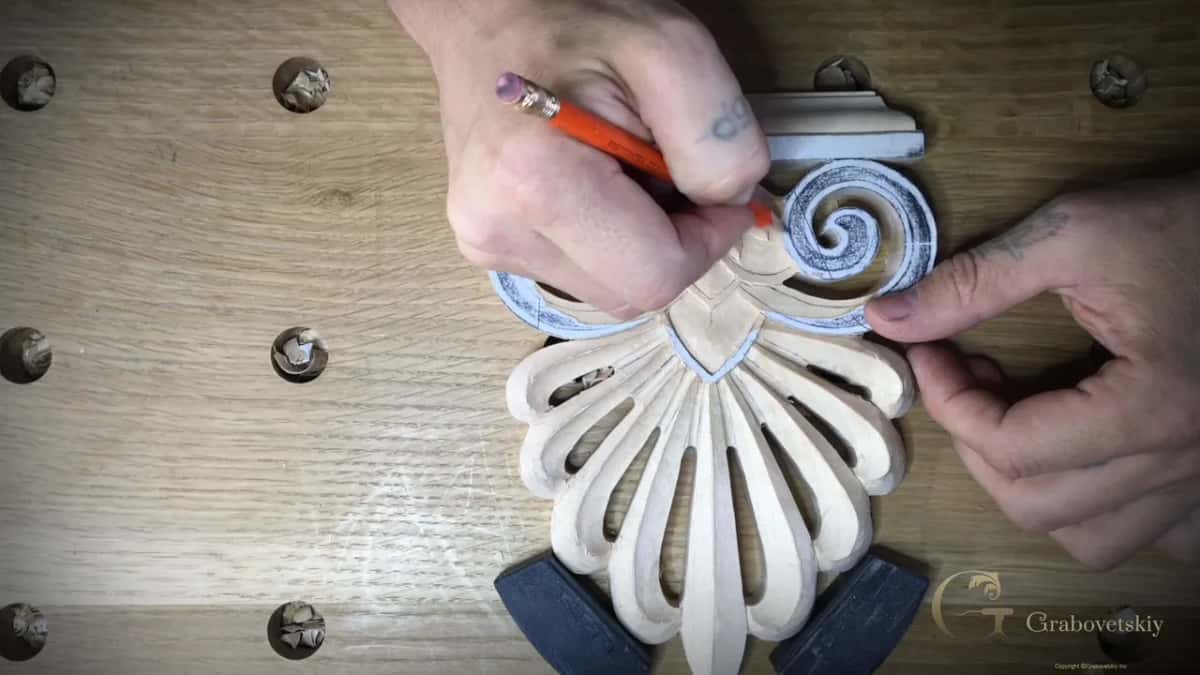
The knife does most of the work, first standing straight down in the gouge mark and then tipped down low for the slicing. Before the gouges went in, I took a pencil and went over my lines again. I wanted them really consistent.
I stamped the curve with my number 7s, the big one by Ashley Iles first and then smaller and smaller ones, and the course page tells that part. Those stamps didn't go deep. I was just making my outline.

Then the knife. I found my mark from the gouge and set the blade straight down, 90 degrees, right on it. In one spot the stamp hadn't gone in far at all, but I could still see the mark of that big gouge, and it gave me plenty of room to place my knife.
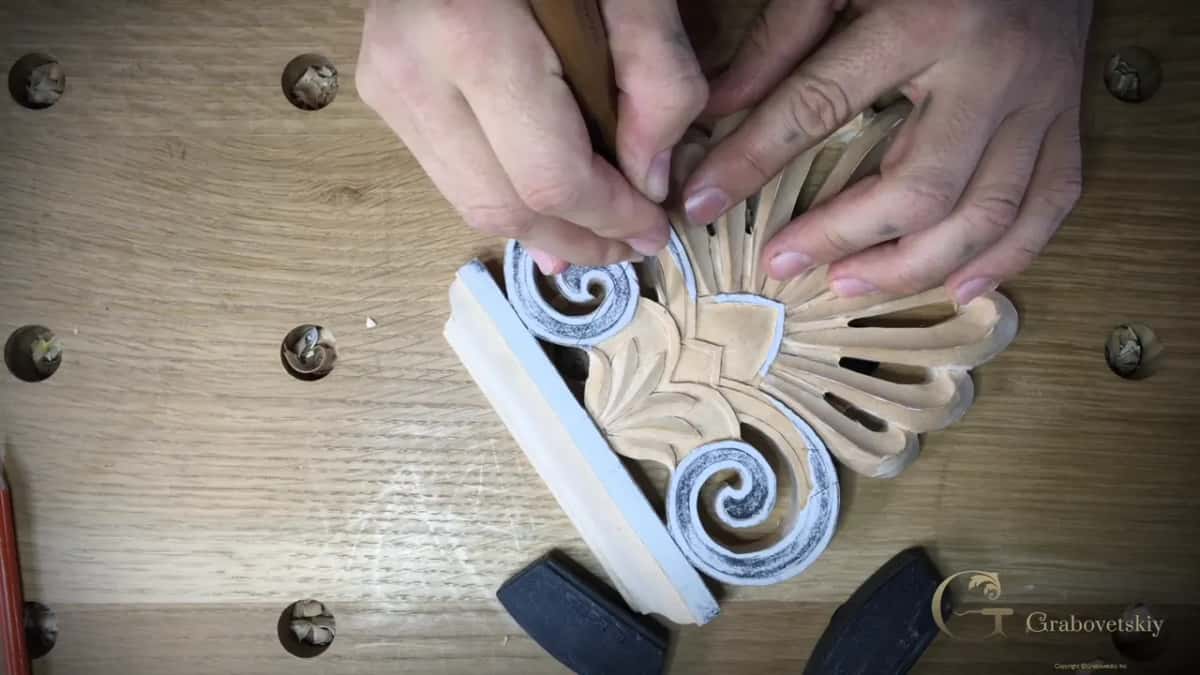
After that I changed the angle. I laid the knife really low and sliced, carefully, and that's how the channel gets made. Once the knife was done, I said the gouge would come back over that line to clean it and make it really nice.
On the plinth in lesson 1 a knife channel ran along a straight gauge line to guide the chisels. Here I just followed the line my gouge had left.
Why keep the channel shallow at first?
A shallow channel keeps the outside from breaking off. I don't go too deep with my channel, because I can easily break the outside, and that would be a huge mistake. Digging that channel, I took my time.
Even the stamps had to stay gentle. One of the little 7s I just wiggled in, and I couldn't overdo it, because it's easy to break there.

How far the knife goes is something you feel. I wasn't going to force it. I took a second pass, then kept working my way in, little by little, and while I followed that first gouge mark I barely pressed at all.
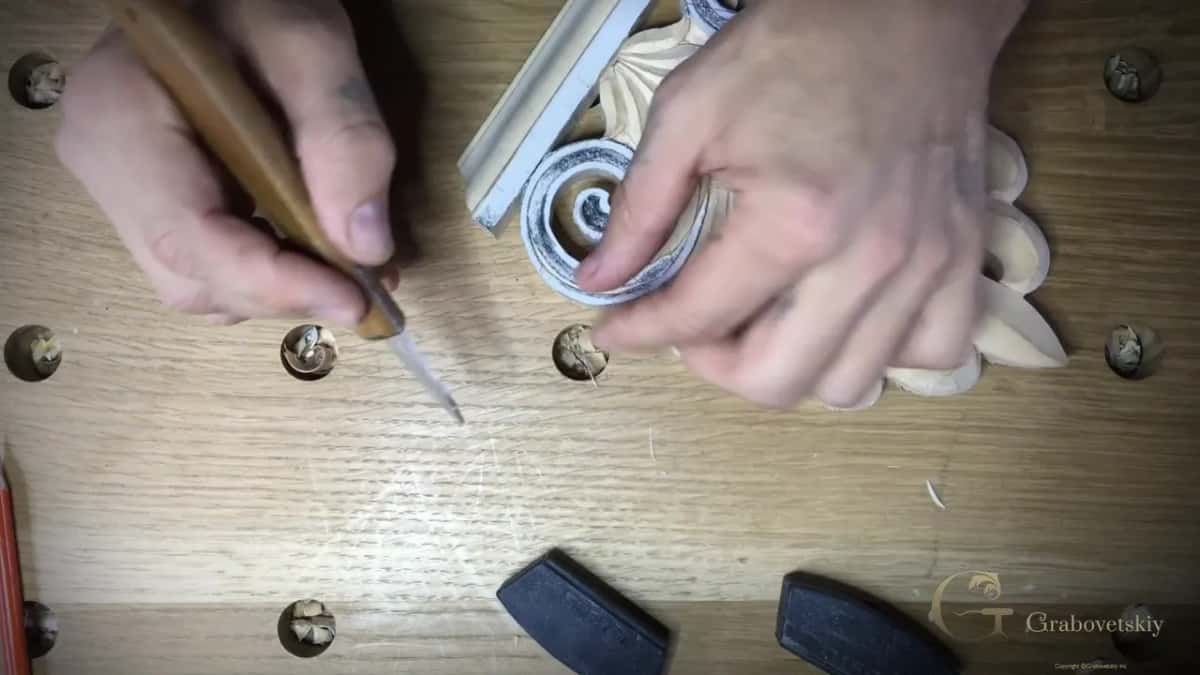
One spot needed to go a little deeper, and I picked up my small number 7 for it. I had to be really careful right there. That part can snap out if I'm not careful, because of the grain.
On the palm fan in lesson 2 the worry was the same, and the answer there was to slow down.
Which line goes first on a spiral?
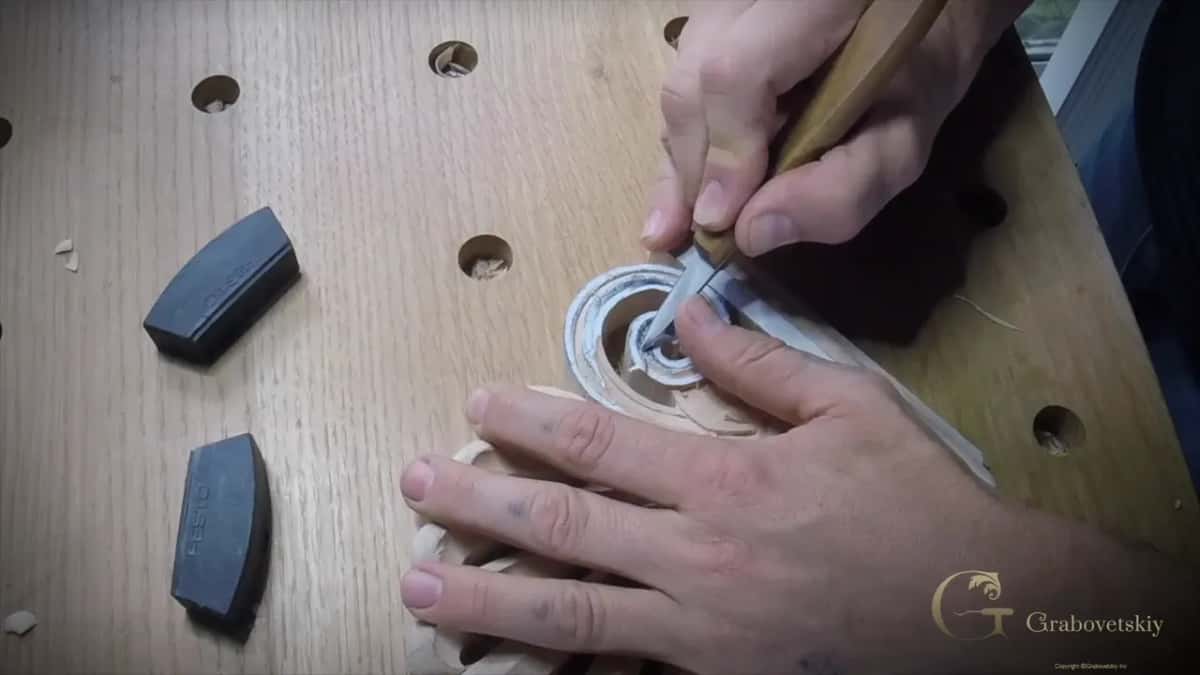
On this spiral the outside line went first, then the inside line, and the middle waited until both were in. For the inside line I used a knife alone, because I felt safe with just a knife right there. I went slowly there too and made that channel again, carefully.
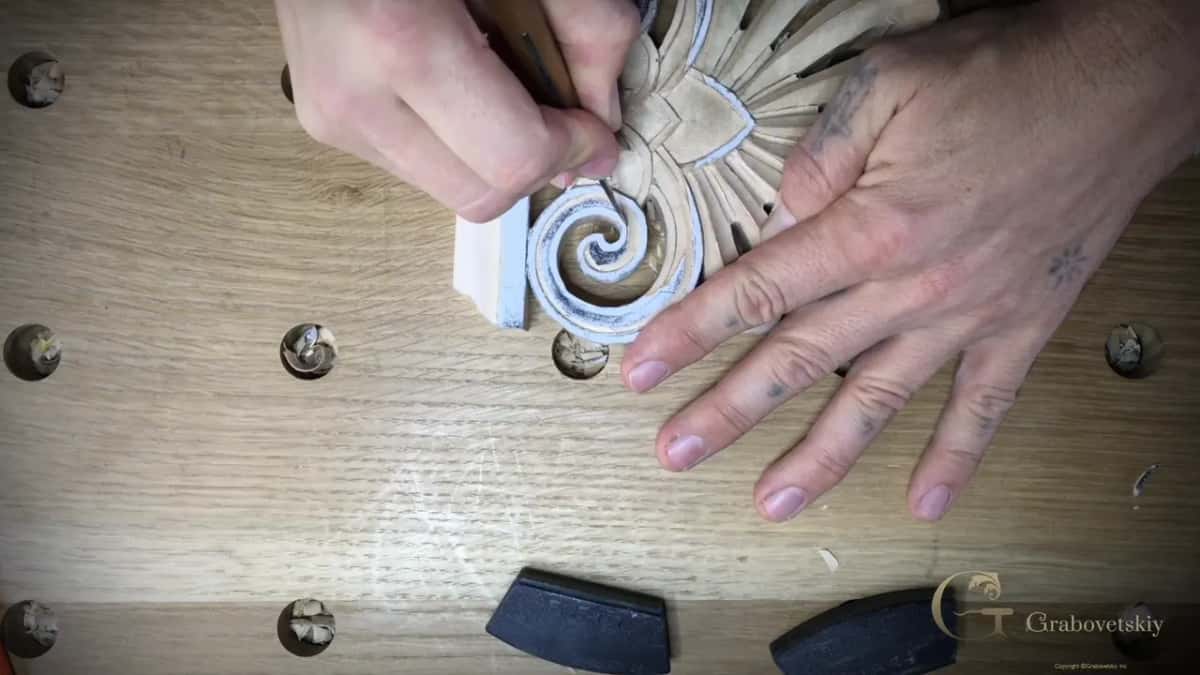
I did check whether my big gouge would fit that line. Only part of it fit, and using it like that would have been too dangerous. I still had a really nice curve line, and from there I just brought those two lines together.

What I did on one spiral, I did again on the other.
While I dug one of those outside lines, I got talking about woodworking. I love all of it, furniture making too, and I've done a lot of high end cabinet work for a living. My great-grandfather was a redwooder, which meant he worked mostly in redwoods such as mahogany and cherry, and he had his own woodworking shop. I got his genes, I said. Genetics, I mean, not my pants.
A round ring on the antique style rosette is another kind of groove, a narrow ring, and the page on workshop 2 of that course is about why a groove chips.
What clears the middle of a curved channel?
A small gouge clears it first, my number 5, about a quarter of an inch wide, 6 mm, and then a grounding tool takes it deeper. With the number 5 I was only taking off the high ridges.
I moved things so I was working closer to me, then went in from there. Only where I could reach. And I didn't think I could reach much.
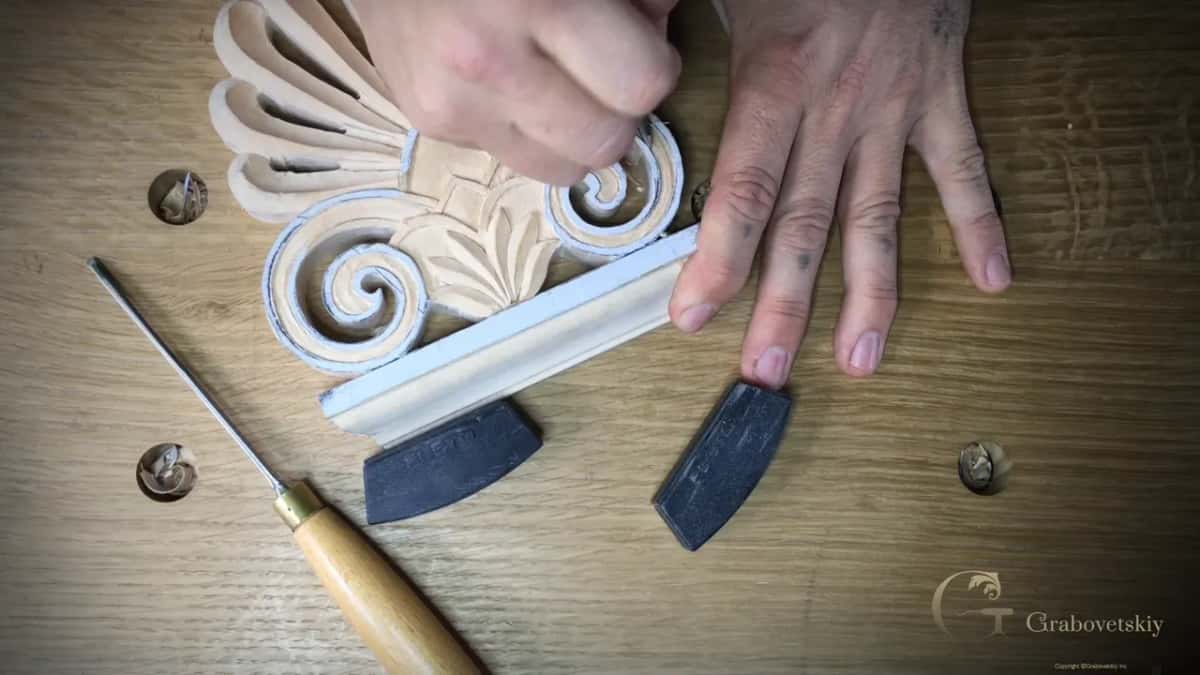
My grounding tool is about an eighth of an inch wide, 3 mm, and I said it should work really well in there. I buffed it first, then went a little deeper with it. The tools have to be really sharp here, because the channel runs across different directions of the grain and every pass should come out clean. If the order is clear by now, you can carve the whole spiral with me, start to finish.
Can a small flat chisel do a grounding tool's job?
Any flat, small chisel will do the job if you don't have a grounding tool. A set of grounding tools is nice to have, I said, but you can manage without one. I could probably use some flat chisels for it too.
I showed a number 1 with a double bevel, and then one with a single bevel. Neither is a grounding tool. If you don't have one, it isn't the end of the world. But you must have some small tools, or how else would you get in there?
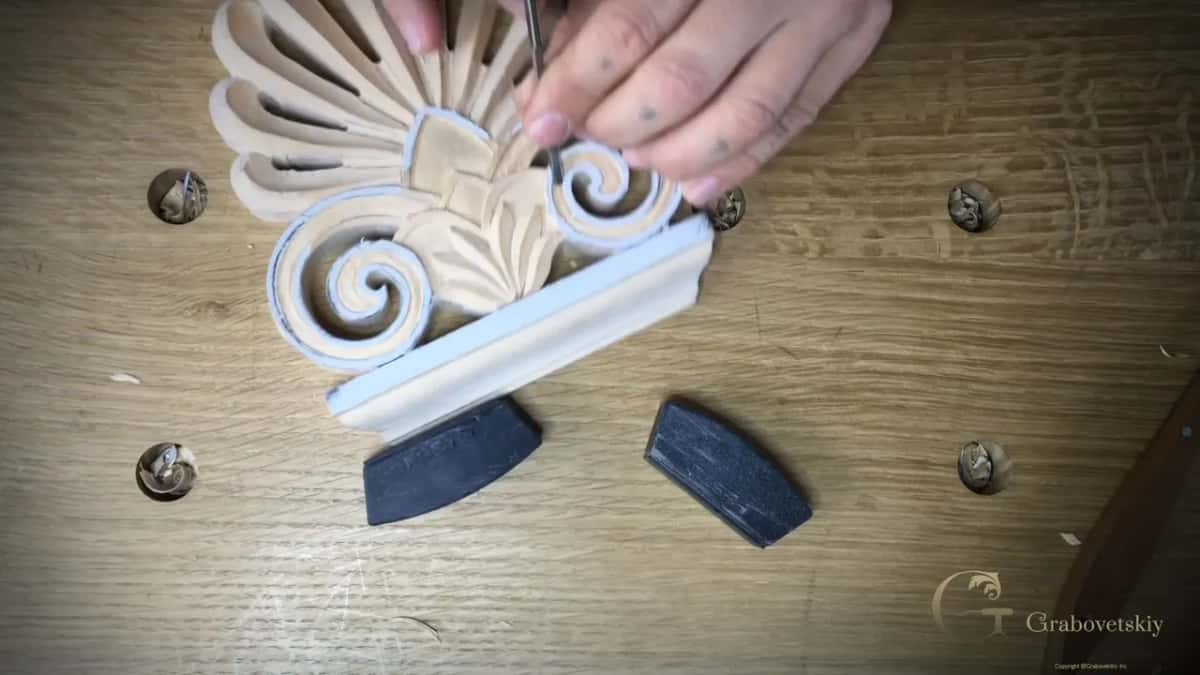
I cleaned the floor flat, side to side. One side needed a little more depth, and I went back over it with the grounding tool.
I took my time after that, because I didn't want to make any mistakes, and went chip by chip. When one side was nearly done, all it needed was a little cleaning of the facets, the high ridges or chisel marks, whatever you call them. I said I'd do exactly the same on the other side, and then we'd be completely done.
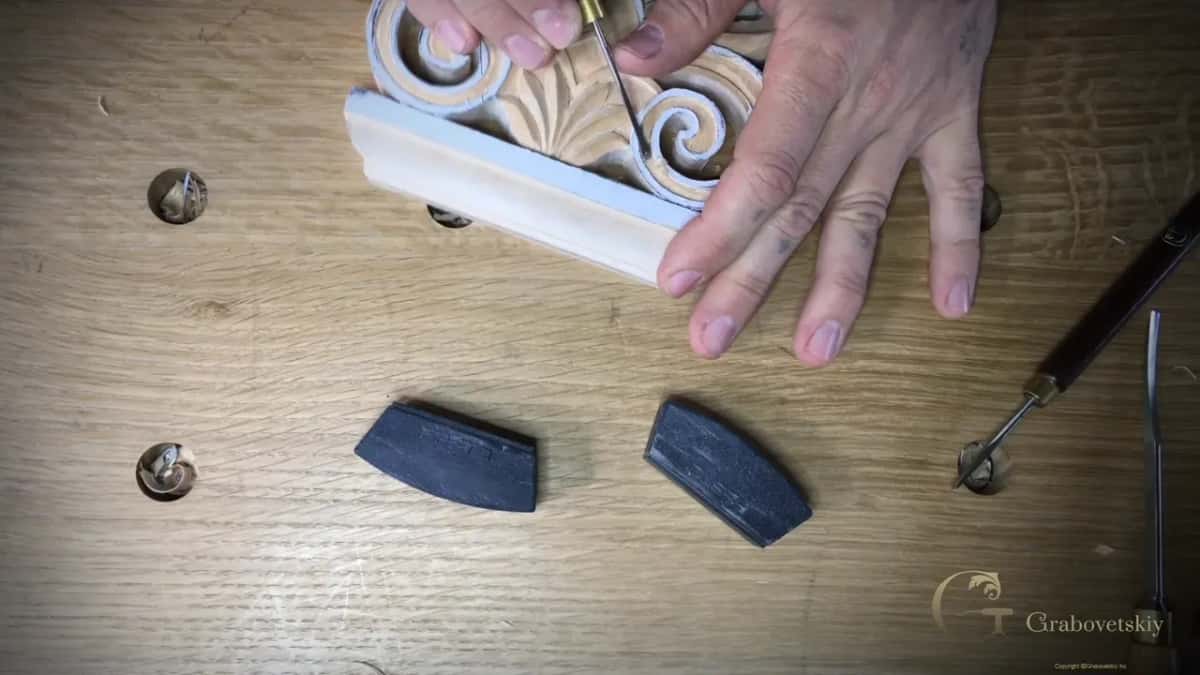
Every tool went in this order on the spiral.
Stage | Tool and size, as I said them | What it did there |
|---|---|---|
Stamping the curve | Big Ashley Iles 7 first, then smaller and smaller number 7s | An outline, nothing deep yet |
Setting the line | My knife, held straight down at 90 degrees in the mark | Followed the line the gouge left |
Slicing the channel | The same knife laid down at a really low angle | Took the channel out in passes |
Where grain snaps | My smaller 7, used really carefully in that spot | Careful, or that part snaps out |
Clearing the middle | About 1/4 in (6 mm) wide, my number 5 gouge | High ridges, where I could reach |
Going deeper there | A grounding tool about 1/8 in (3 mm) wide, buffed first | Took the floor a little deeper |
Flattening the floor | One flat number 1 chisel standing in for that grounding tool | Level across, chip by chip |
Meeting the base | A small bevel there, about 1/16 in or 1.5 millimeters | Sets the spiral apart from the base |
Marking one depth all the way round
A tiny knife mark at the depth you want gives you a point to work down to, and on this spiral I wanted that point at a sixteenth of an inch, a millimeter and a half. Mostly I wasn't measuring, I was eyeballing it. That knife mark is the other way.

I set out to make that sixteenth all the way around first, then worked my way in, carefully. The outside got the same, until I had my right depth. I didn't want to go too deep. Sixteenths, the same as I did on the inside.
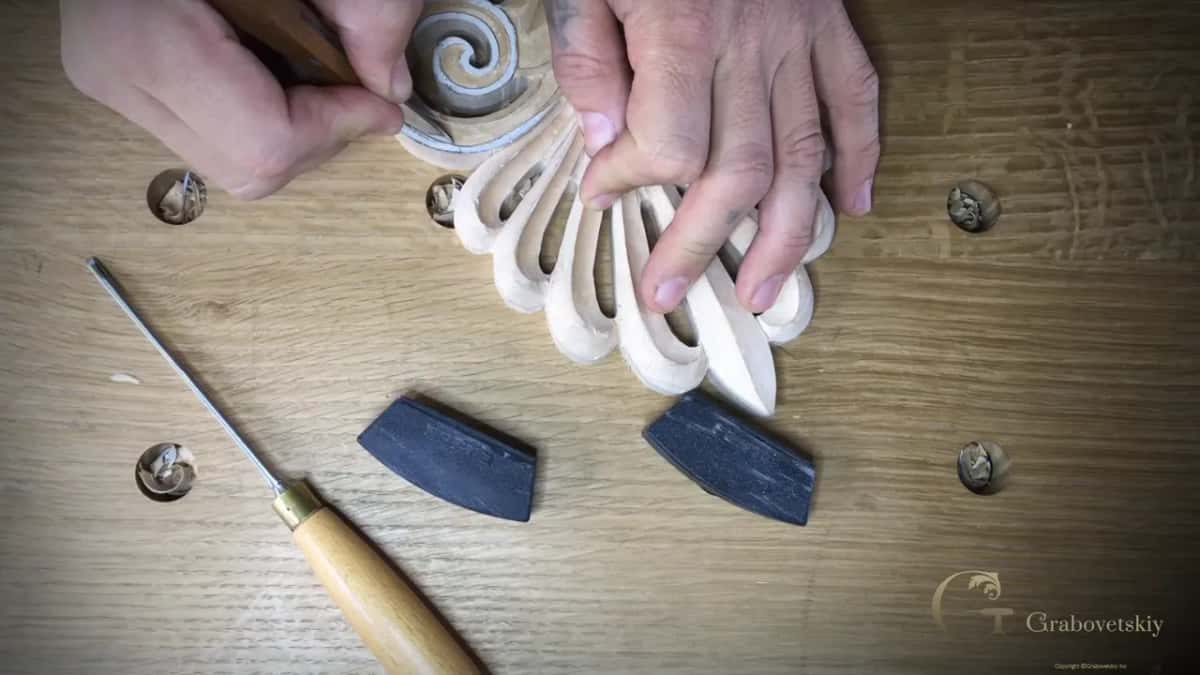
When I saw a spot that needed a tiny bit more, I worked my way along from there. Before going any deeper I wanted to see how it looked. That depth looked really good to me. One spot near the end still needed to go a little deeper, and I went back in there. Then I looked it over. It was consistent, the same sixteenth everywhere.
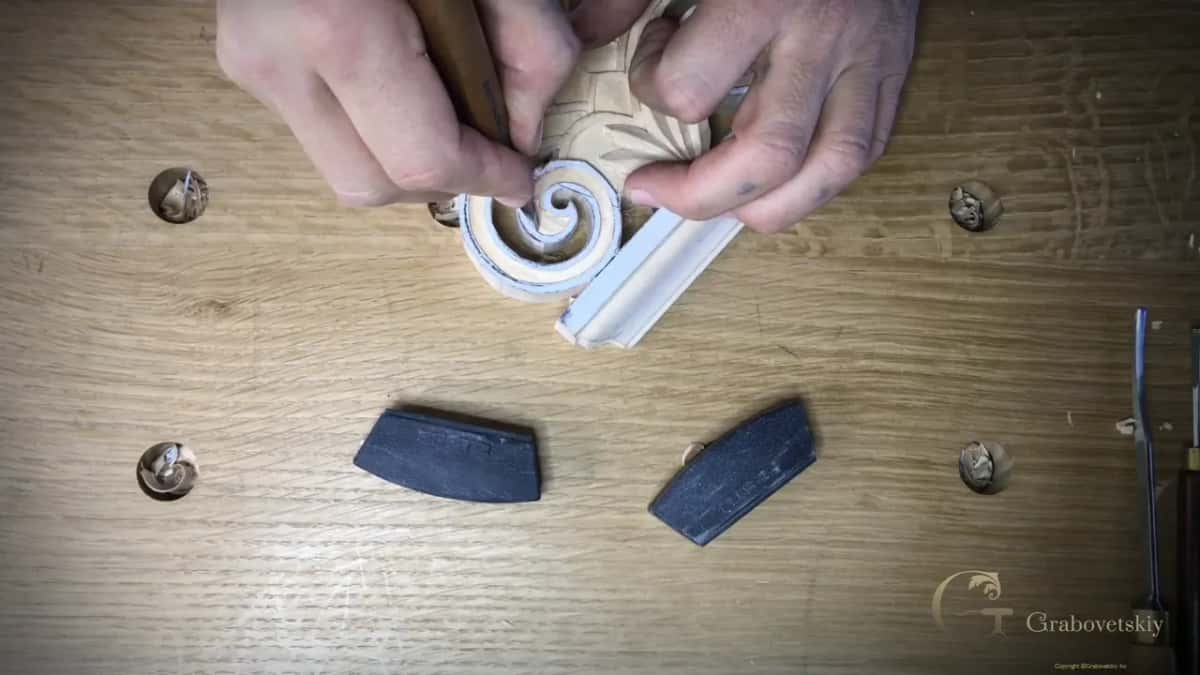
A low relief volute in lesson 30 of Carving Furniture Panel Part 2 tilts its ground inward on purpose, and this spiral keeps its floor level instead.
Why did my knife hand move higher?
The grip stayed the same, but my hand went a little higher and the knife moved away from me, with one finger doing most of the pushing. That way I could control it much better.
Before that, the knife had been coming toward me. Now my right hand was only guiding, and really I was working with two hands, the pushing finger in charge of how hard the edge went in. The grip itself, with the blade resting on my middle finger, didn't change.
Does a channel like this belong only on buildings?
A piece like this is more architectural carving than ornamental, but you can still use it on furniture, especially a copy of period or antique furniture. This one was a prototype, and my client, an architect, told me it would become some type of metal casting.
This kind of work counts as architectural wood carving, and I've done quite a lot of my projects that way. Some of it goes onto furniture as well. Take the acanthus leaf. People call it an architectural detail, but you see a lot of acanthus on old furniture, the antique pieces. I love acanthus leaves, drawing them and carving them. A simple one is easy, and the complicated ones are my real interest. There's a lot of detail in architectural carving, it can get complicated, and it all depends on the style you're doing.
Plenty of people in the school build furniture. One of you asked me for a carved door panel, the 18th and 19th century furniture kind, and I said maybe that's a good idea.
The jigsaw left a wobble on the outside
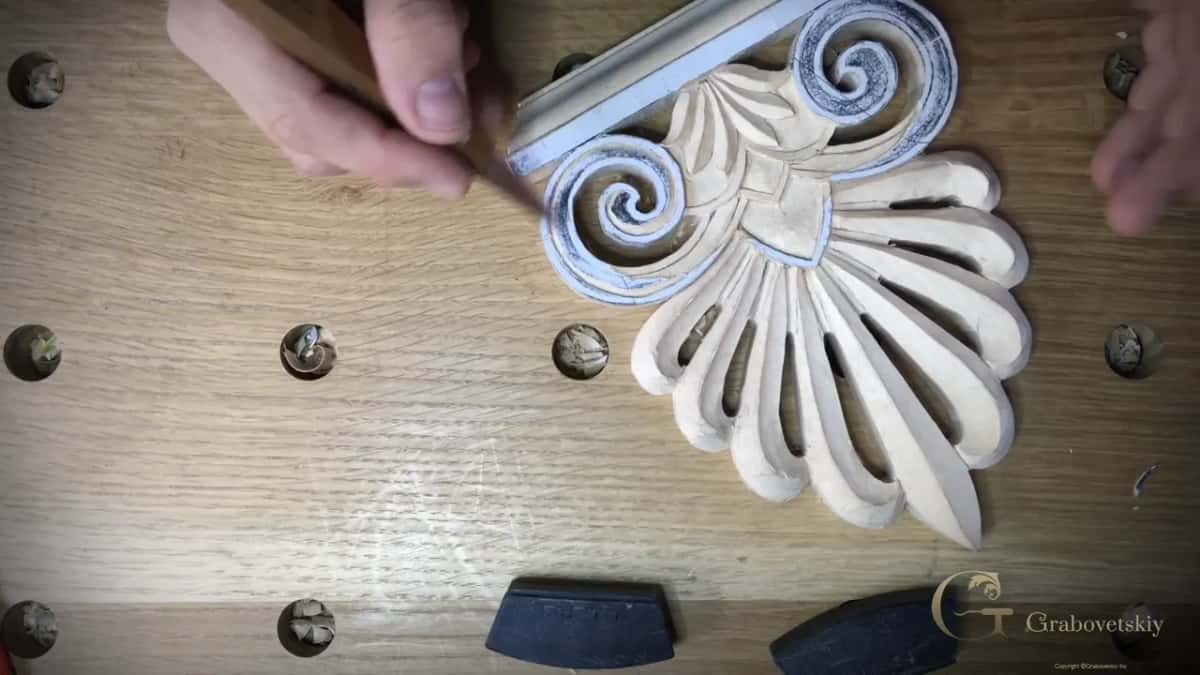
The bumps along the outside came from the jigsaw, and my plan was to get the channel perfect first and then clean the outside to that line. If you see some unevenness out there, that's all it is. Once that channel was in, I said it looked like I had the outside line done.
So the channel sets the curve, and the sawn edge gets adjusted to it.
Where does the channel meet the base?
Where the spiral meets the base I made a little division, a bevel of about a sixteenth of an inch, one and a half millimeters, so the two parts stand apart. Whether that base is even called the acroter, I wasn't sure, and I said so.
I did the same on the other side, then kept at the line gradually until it looked nicer. And I hope my client will like it, I said while I worked.

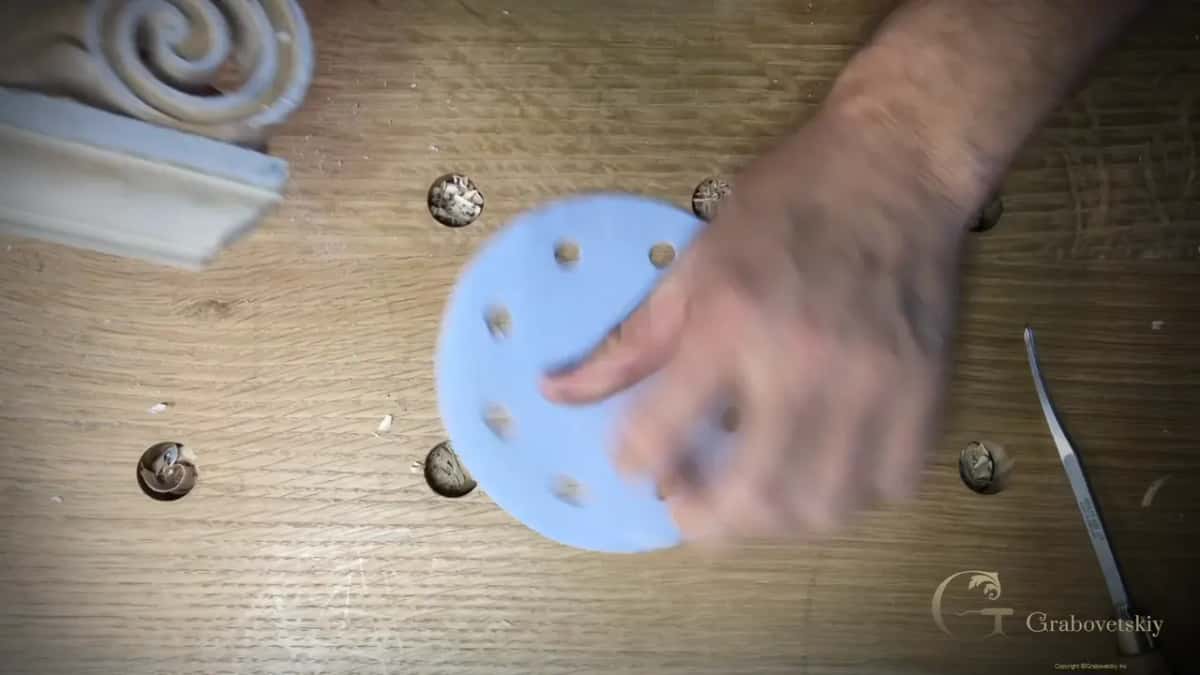
Last came the paper. I said a cabinet scraper could scrape it off first, though sandpaper does the job too, and a 100 grit rubbed gently lifted it away. Then I held the finished acroterion up for the camera.
Seen where the knife goes first? Seen where the wall can break? Lesson 5 shows the passes at my bench, including the spot I had to go back over, and the lessons map shows where it sits in the school.
If a knife is new to you, First Cuts for Beginners comes before this, and the article on a first clean groove is a gentle start. All About Tools sorts out which gouge is which. Carving Tool Sharpening keeps that knife slicing, and lesson 3 has the chip carving on the palm leaves.
How it's done
- Redraw the curve and stamp it. Go over the pencil lines until they are consistent, then stand number 7 gouges on them, the biggest first, and stamp only an outline.
- Set the knife in the gouge mark. Put the knife straight down at 90 degrees right in the mark the gouge left.
- Lay the knife low and slice. Drop the knife to a really low angle and slice the channel out in passes, a second one and then more, pressing very lightly.
- Go slowly where the grain is risky. Switch to a smaller number 7 where a piece could snap out, and keep the channel shallow so the outside does not break.
- Clear the middle. Take the high ridges off with a number 5 about 1/4 in (6 mm) wide, then go deeper with a grounding tool about 1/8 in (3 mm) wide.
- Bring the floor to one depth. Make a tiny knife mark at the depth you want, carry that depth around the whole spiral, and level the floor with the grounding tool or a narrow flat chisel.
- Divide the spiral from the base. Bevel the line where the two meet, then rub the paper off with 100 grit and light pressure.
Frequently asked questions
Do you need a grounding tool for this kind of groove?
One helps, and I picked an eighth of an inch grounding tool for my spiral. Any flat, small chisel will do the floor, though, and a number 1 cleaned it all around in lesson 5. Without some small tool of that kind, I honestly don't know how else you would get in there.
Should a curved channel be carved with a knife or a gouge?
Both, one after the other. Gouges stamp the curve and leave the knife a mark to stand in, then the knife does the slicing, and on the inside line of my spiral I trusted the knife alone because I felt safe with it there.
What breaks the wall of a curved channel?
Depth taken too soon can break the outside, and grain can make a piece snap out. I kept my first passes shallow and pressed very lightly. In the one spot the grain worried me, I went in with the little number 7, really carefully.
What to carve next