
Alexander Grabovetskiy, woodcarver, School of Woodcarving · Published 2017
How do you carve a plinth by hand?
Quick answer: Carving a plinth by hand is a short run of tools in one order. On my Greek acroterion base a knife channel went along the gauge line, a number 8 gouge went in with the mallet and finished by hand, a knife notch let the shoulder plane ride, and a block plane took the ridge.
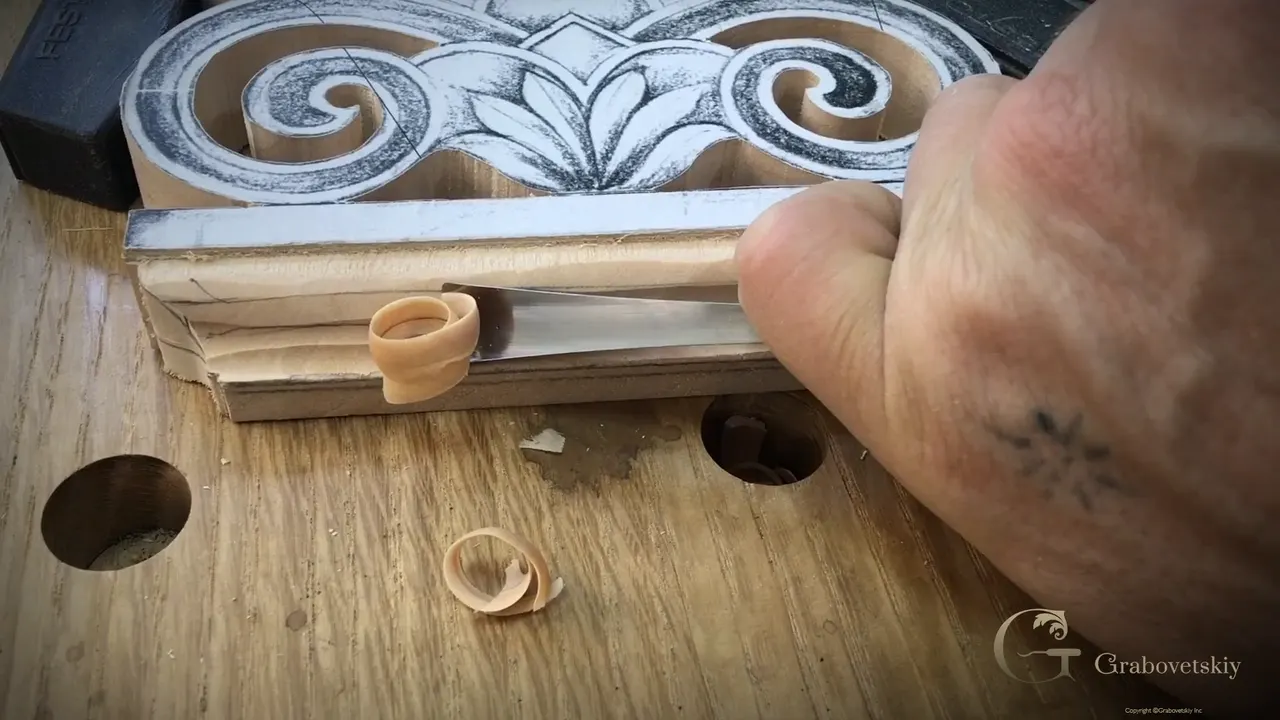
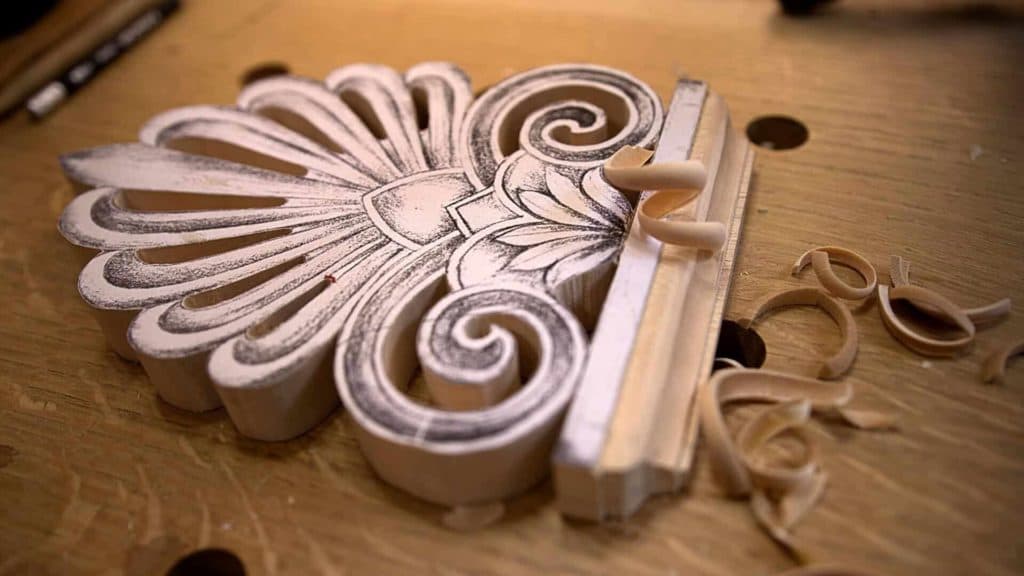
A carved plinth is the stepped base under a carved ornament, and on my Greek acroterion I carved it with a knife channel first, a shoulder plane, then a number 8 gouge and the mallet, with the last stroke pushed by hand. After that I turned the piece around to work the other way, knifed a small shoulder for the shoulder plane, and let a block plane take the last ridge. Sandpaper waits for the end grain. This is the base of a carved ornament, not the kick board under a kitchen cabinet.

I could have gone the easier route and found a router bit to make that base. That would be faking it, so everything on it was done by hand, and the base takes up the whole of lesson 1. Below I go through it tool by tool, in the order I picked them up, and I tell you where I slowed down.
Can you hold a marking gauge against an edge and pull it? Could you draw a knife toward yourself? And if I handed you a mallet and a gouge, would you tap the handle? Then you already hold the first three tools of this base.
The plinth in seven moves
An ordinary marking gauge goes on first, ahead of every chisel.
Your knife takes the gauge line deeper, then opens a small channel toward you, and the chisels follow it.
A number 8 and the mallet open up the ogee part.
The last stroke is a push by hand, with a small twist as the gouge exits.
When one end runs deeper, turn the piece and carve from the far side.
The shoulder plane rides on a little knife notch.
Then a block plane takes the ridge, every side gets one profile, and sandpaper is kept for the end grain.
What is a carved plinth on an acroterion?
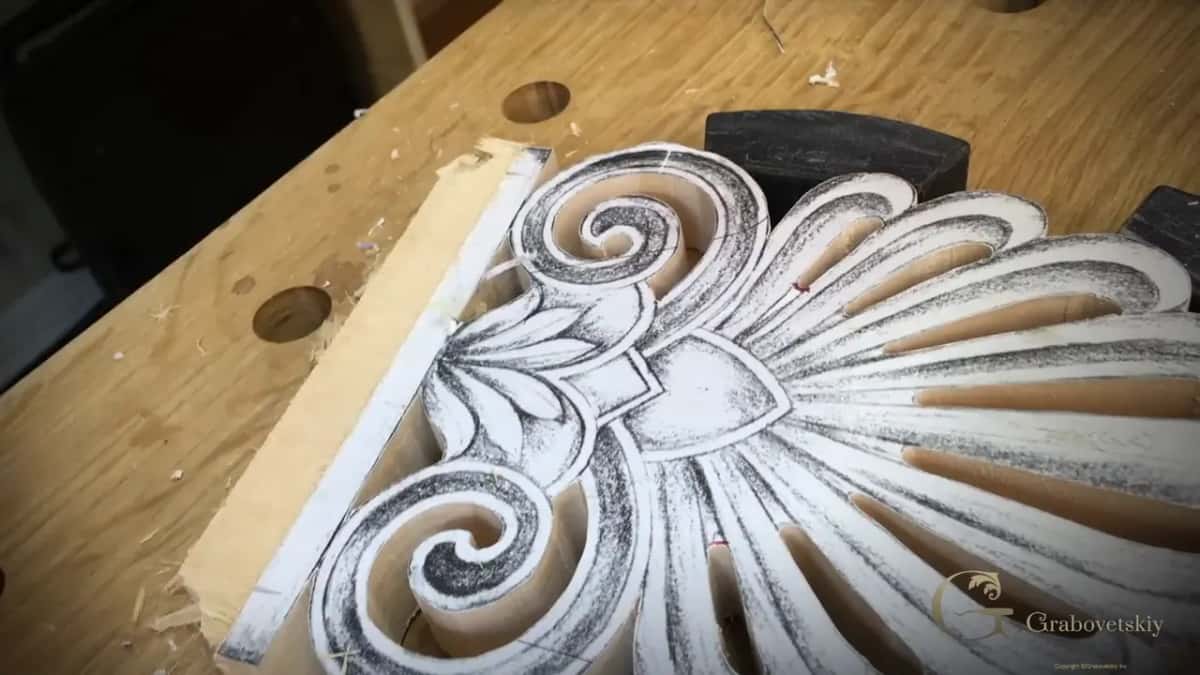
On the acroterion it's the flat base under the palm tree. That base is called the akroter, and these days we'd probably call it a plinth.
I'm going to be honest with you, I don't even know how to pronounce the old word properly. I tried acrotereion twice on camera and then said it really doesn't matter.
The palm part is a palmetto, a stylized palm tree with a swirl at each side, and the plinth sits under all of it. A client of mine wanted a prototype, and after I carved it they were going to make a form, cast it in bronze and put it on top of a building. The block is lime wood, or basswood, and my drawing was printed to the scale of the design, glued on top, and sawn around on the scroll saw.
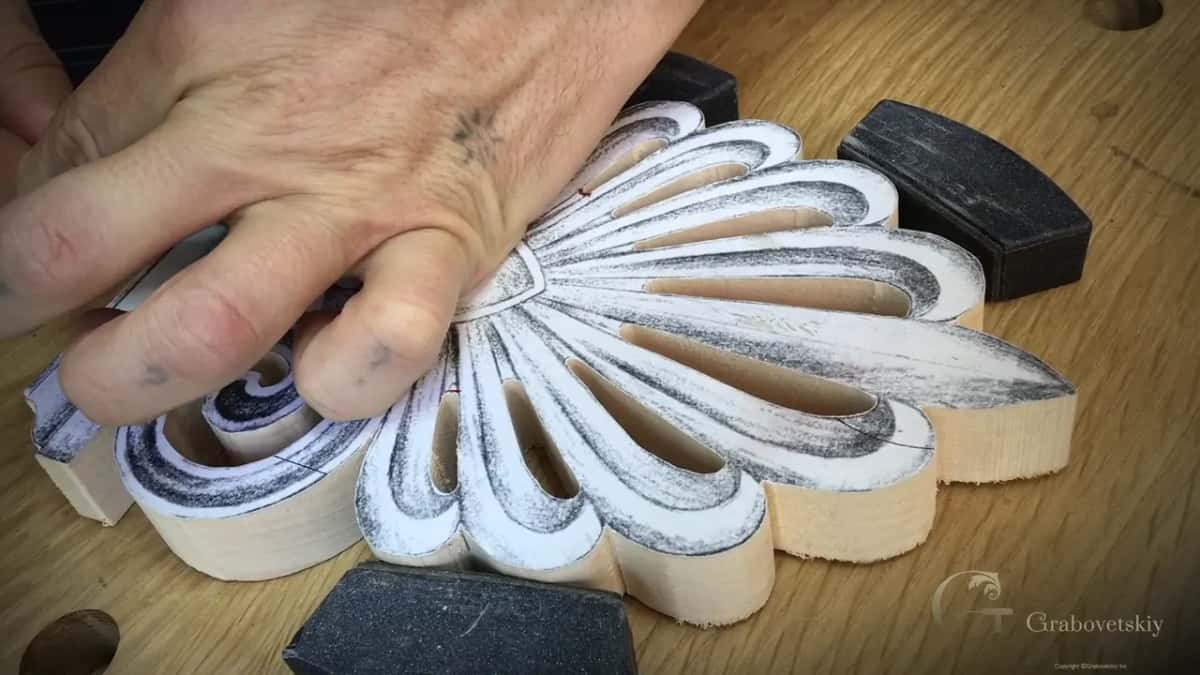
Architectural carving is actually fun to do. It isn't only for buildings either, and you can find those palmetto designs on furniture. The first step was to separate the plinth from the main design, from the two swirls and the palm part above it.
Can a small bench hold the work steady?
Mine does, and it's a small one. It's another workbench I have, about 30 inches by 21 inches (76 by 53 cm), and its top comes up to my elbow, more or less.
I drilled 20 mm holes (0.79 in) in it for my Festool clamps, and I love that system. I think it's probably a really unique clamp. The clamp drops into a hole easily, I can put it where I want on the table, and it gets so tight I can't even move it. That's why I like that system.
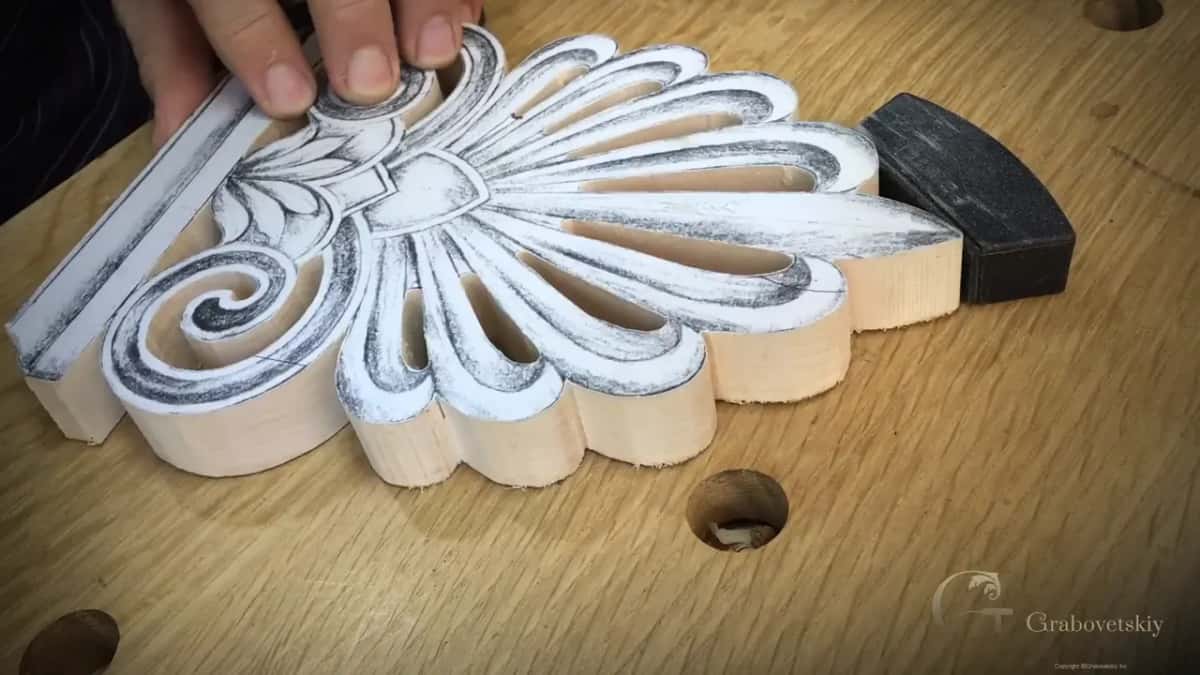
You don't need that brand. Any bench clamps will do, and there are plenty of them. Veritas is one, and in Canada you can order some from Lee Valley made for benches. For those you drill the holes at exactly three-quarter inch (19 mm), not 20 mm. Mine are 20 mm only because of the Festool clamps.
When a piece is too small for any clamp, the page on holding a small wood carving shows another way.
Where does the first line go?
It goes on with a marking gauge, just an ordinary one, before any chisel touches the wood. Ordinary, I said, twice in the first few minutes.
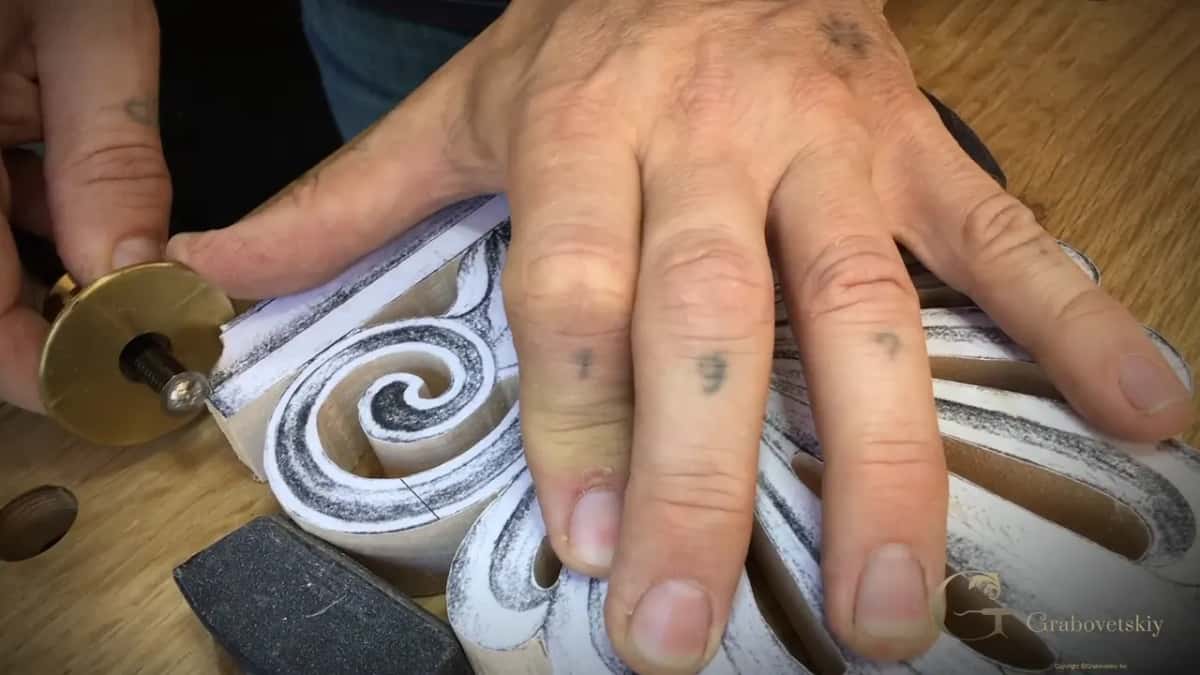
Once I said I was probably marking a line too early. After that I had to decide how deep the base would go, and I said I'd kind of eyeball it, and then I measured the part anyway.
My first line sat 9/16 of an inch (14 mm) down, and the little steps beside it came to about 1/16 of an inch (1.5 mm), carried around to the other side. Not sure if you can see them, I told the camera. Next I transferred the curve of the ogee onto the piece, the same on both sides, and checked that I was at the same plane before I locked the gauge in place.
What is the knife channel for?
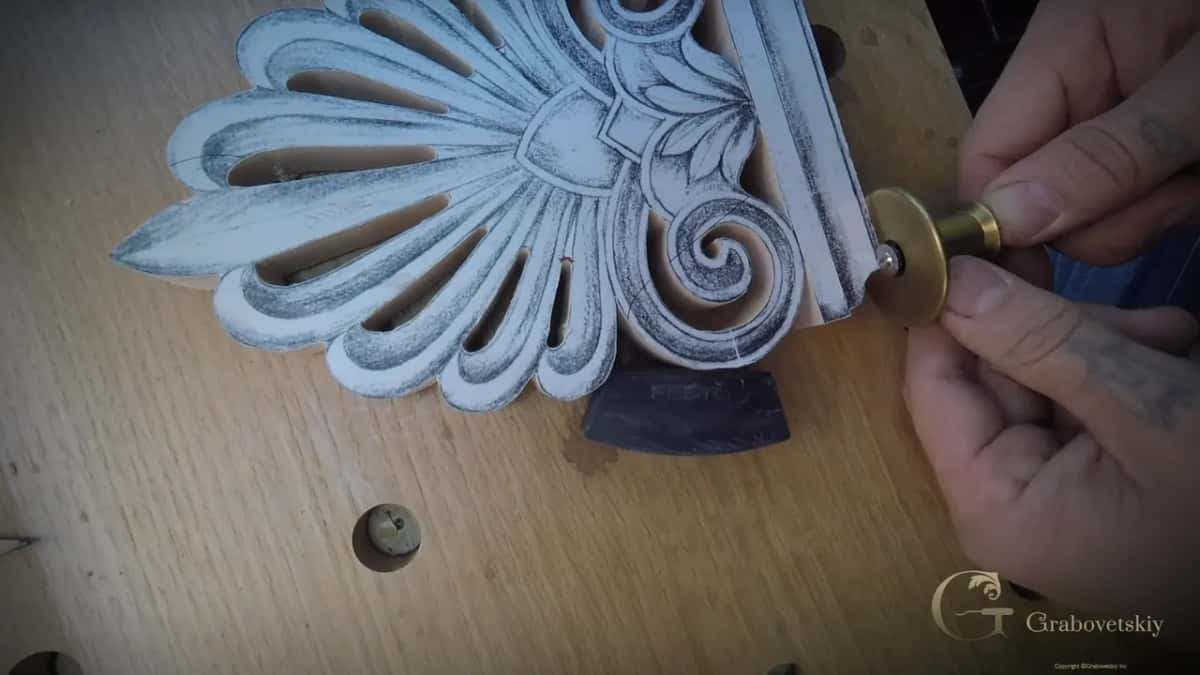
When it was time to work on the base itself, I stopped and thought about the way I was going to approach it.
A knife makes the gauge line deeper, then you angle the knife and draw a small channel, and that channel guides the chisels.
I took a cheap carving knife first and ran it down the line my marking gauge had already made, only to take it a little deeper. I angled the knife next and drew it toward myself, a small channel along the line.
That way, I said, I can guide my chisels.
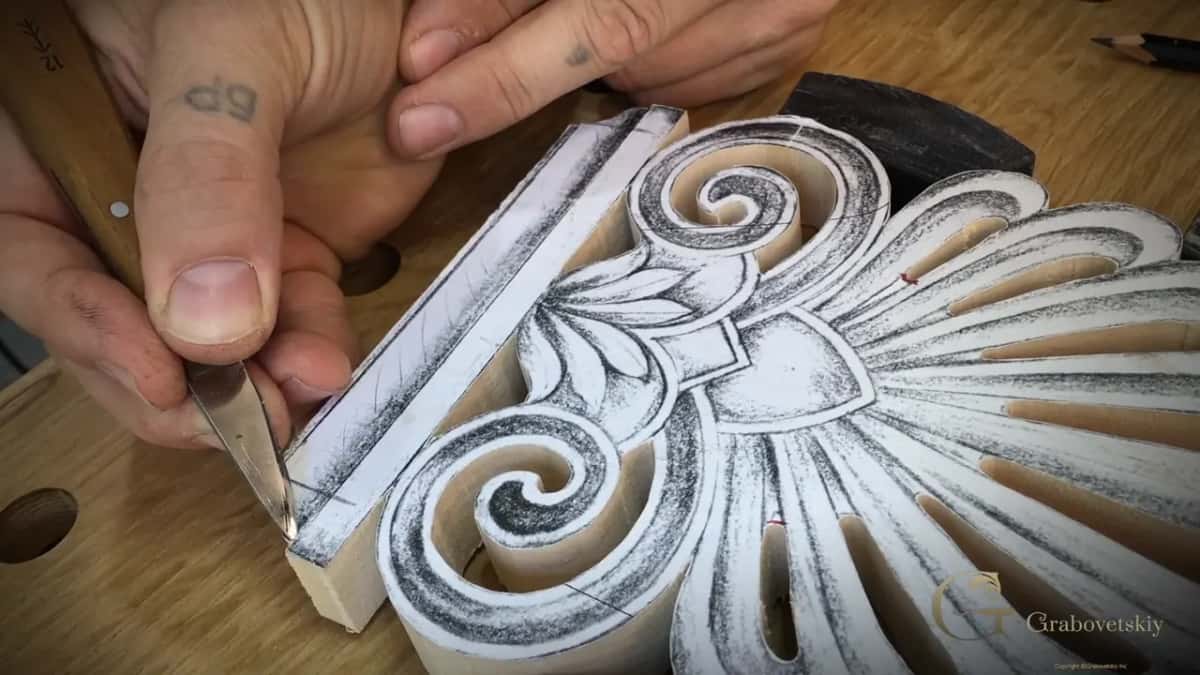
After the knife, the gauge goes back into the line and takes it deeper again. That way the line comes out absolutely straight, and on that section I made sure I wasn't going deeper than roughly a sixteenth, a millimeter and a half.
It helps when the cutting part of the gauge is really sharp. I cleaned the line with it, took it a little deeper, and made a few more passes until I was about there.
Once I had to readjust it, because I guess I didn't tighten it enough.
Which gouge goes into the ogee part first?
A number 8 went in first, about 3/8 of an inch (10 mm) wide, made by Ashley Iles.
Before it, I reset the gauge so I wouldn't go past the line on that part. I thought a number 9 or a number 8 would do to work my way in, and I said the 8 would be appropriate.
I drove it with a mallet. The mallet is one of my favorite tools in wood carving, because I can easily control it and take a little at a time, and why a mallet gives more control has a page of its own.
Here is the place to slow down. Before the last knock with the mallet I have to be really careful, because I can actually do damage there.
So I push that last stroke by hand. A kind of rotation as the gouge comes out, and it exits.
It came out nice. Then I took it deeper, with more passes.
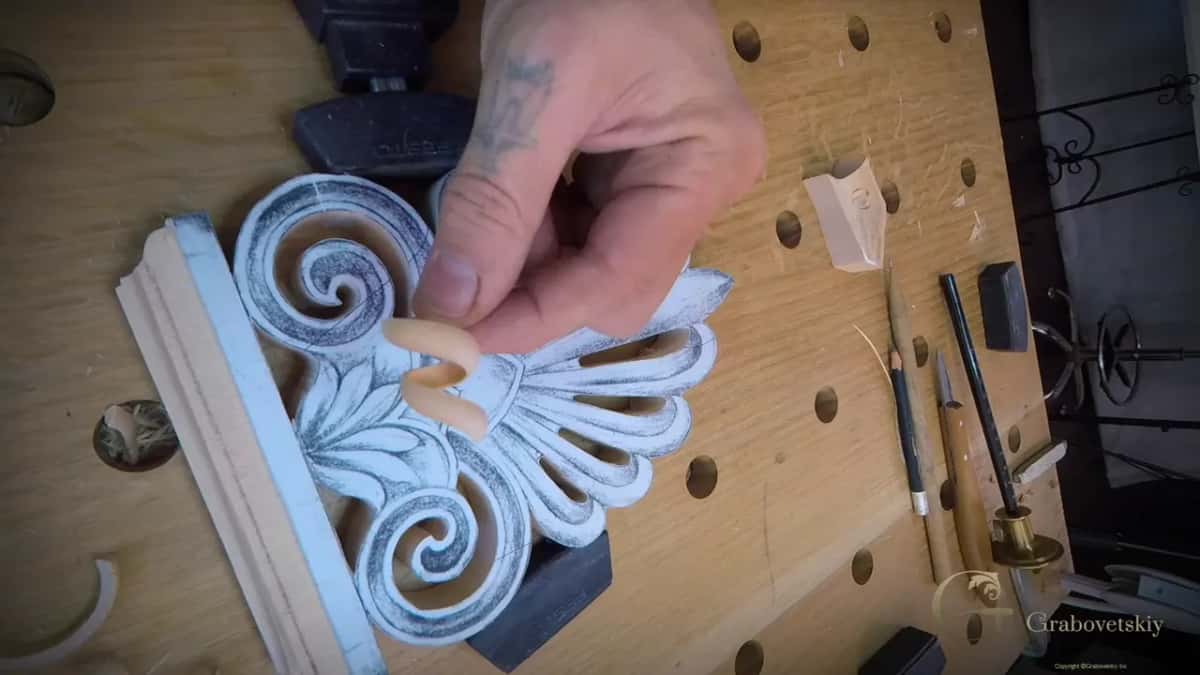
Take your time with it, control every stroke and don't rush anything. That stretch was against the grain, and the curl still came off nice, which tells me my tools are really, really, really sharp.
Does one side ever end up deeper?
Mine did, right on this plinth.
I was really close to my line, and I had to be careful now. I stopped to check, then double-checked, and I could see one side was a little deeper than the other.

I turned the piece around and carved from that side, a little closer, until it was about there. I put the tool back and turned it once more.
What gives the ogee its final profile?
A back bent gouge does, one picked because it fits the curve.
Mine was a number 25, 10 mm (3/8 in), by Pfeil. I wanted to try it, then held on and checked first, and made my line to see where it was supposed to go.
It needed sharpening. I sharpened it on the inside and gave it just a slight touch on the outside, then tried it, and it looked good.

I worked a little bit inside until I reached my line. Once that was done, I flipped the piece to work from the other side.
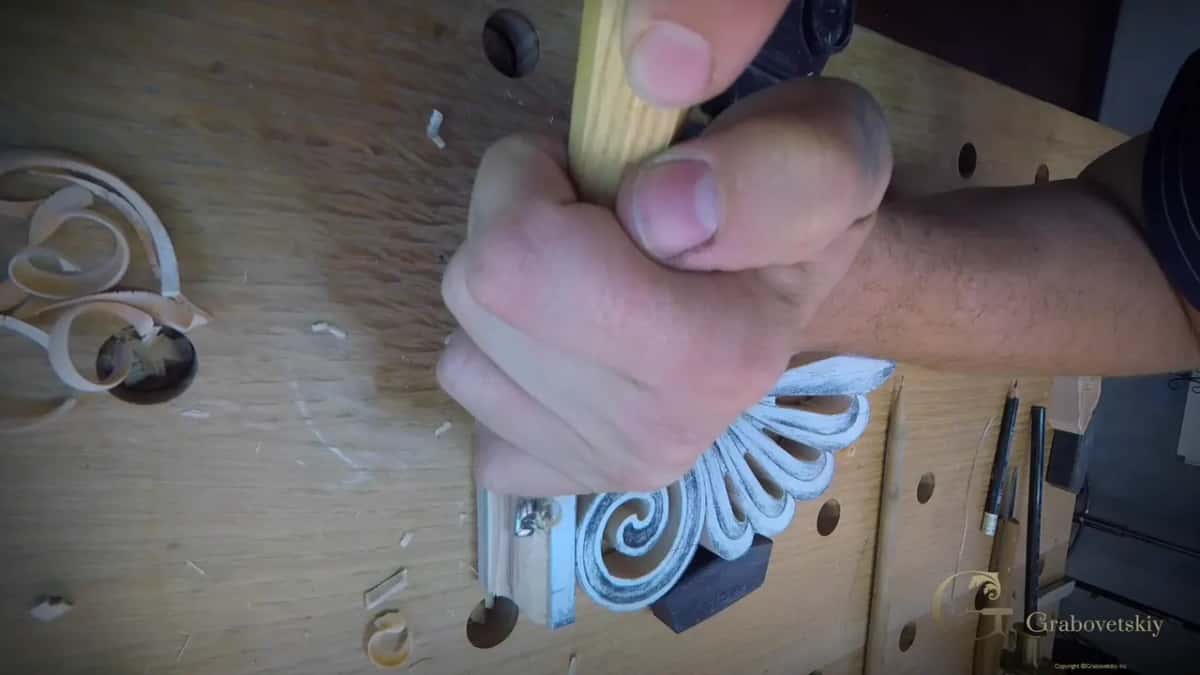
After the back bent, a number 6 by Ashley Iles followed a line I'd drawn with my middle finger, and I moved it a little toward the edge. Carving an ogee by hand has its own page, with the order I carved one in the Venice Room.
Why knife a shoulder for the shoulder plane?
It gives the plane something to ride against. Because I made that notch, I said, I knew I could ride on my piece safely.
The next section needed a line about an eighth of an inch (3 mm) in, and I did that one by the eye. Then the marking gauge went into the notch I had just made, tight, and marked it.
I looked at it and said, "Looks like I didn't do that correctly, did I? Yes, I did." The gauge got tightened again after that.

Next the knife came back, and I could see where I'd marked. I made the line a little deeper, angled the blade and made a small notch, and that notch is the shoulder for my shoulder plane, so I can use it easily.
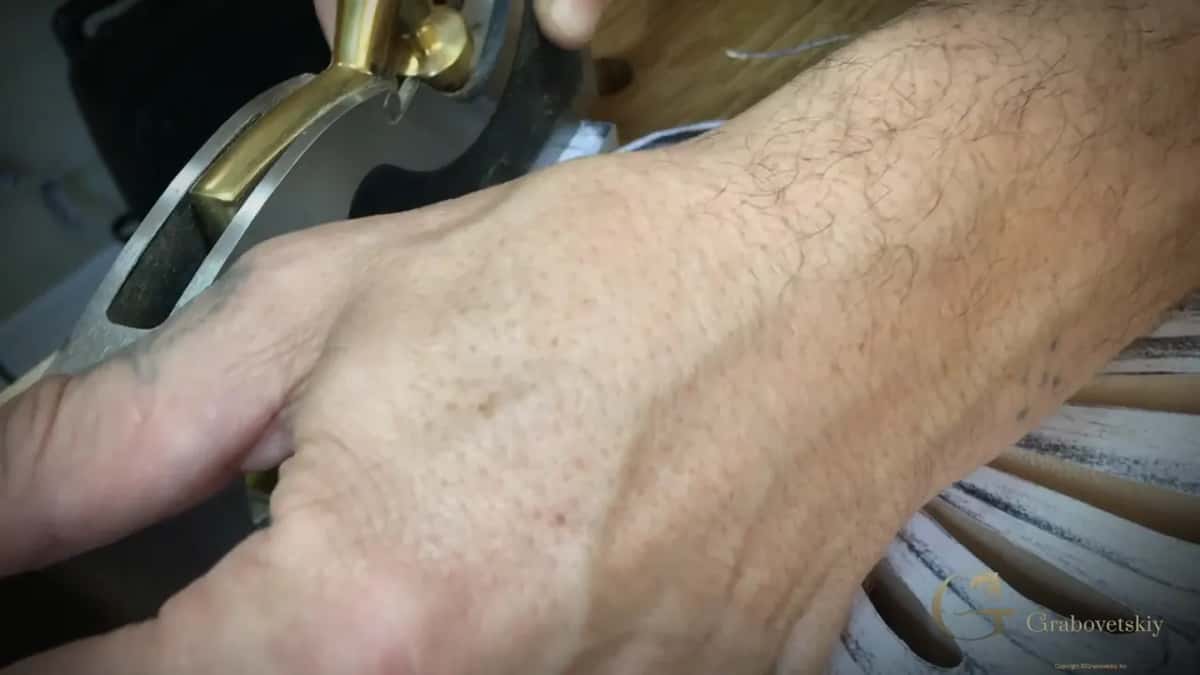
Planing went against the grain there, and it looked like my shoulder plane needed some sharpening. That section had to go about a sixteenth of an inch (1.5 millimeters) deep.
Between passes the marking knife came back to clean it. Then more passes from this side, and one more to make it cleaner, with the plane set to take a slightly thinner shaving.
Somebody would call a plane on a carving cheating, but I don't think so, and I actually like to use my hand planes a lot. The router plane, a different tool again, has a page of its own.
Which plane takes the last ridge off?
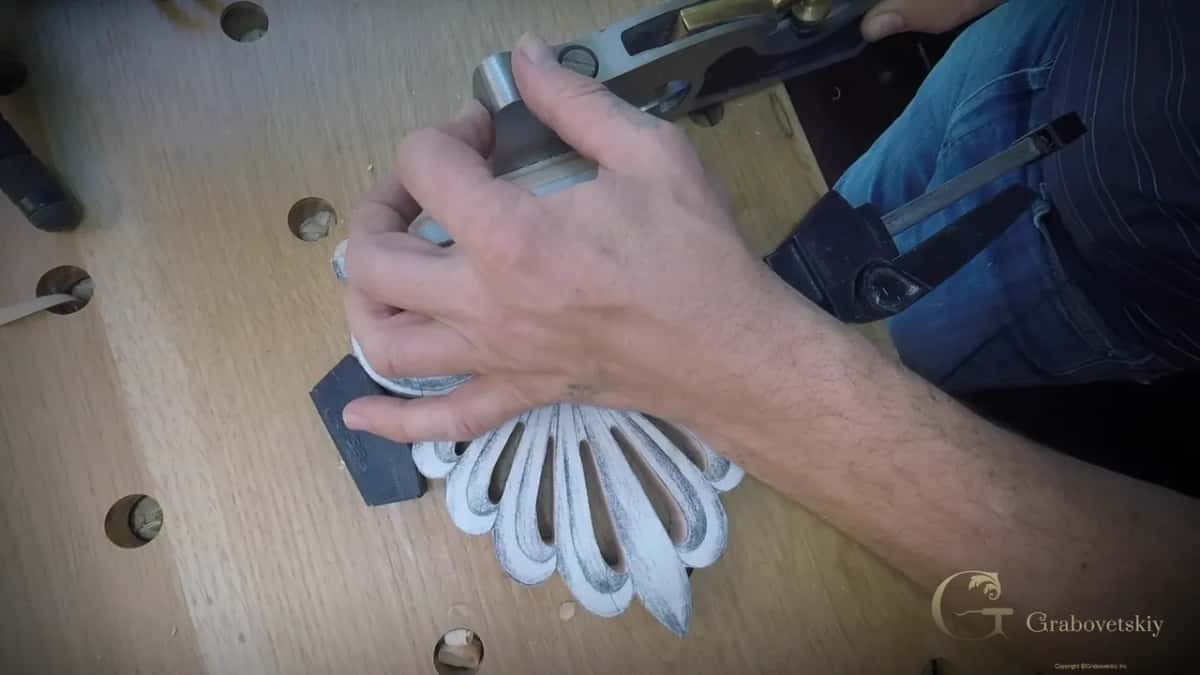
A block plane took it, and I said that was probably a good idea.
There was a ridge left that I needed to take out. I said I could actually use just a block plane, and that way the run would come out consistent.
A little cleaning, one spot made slightly deeper, one oops. I thought it was good enough.
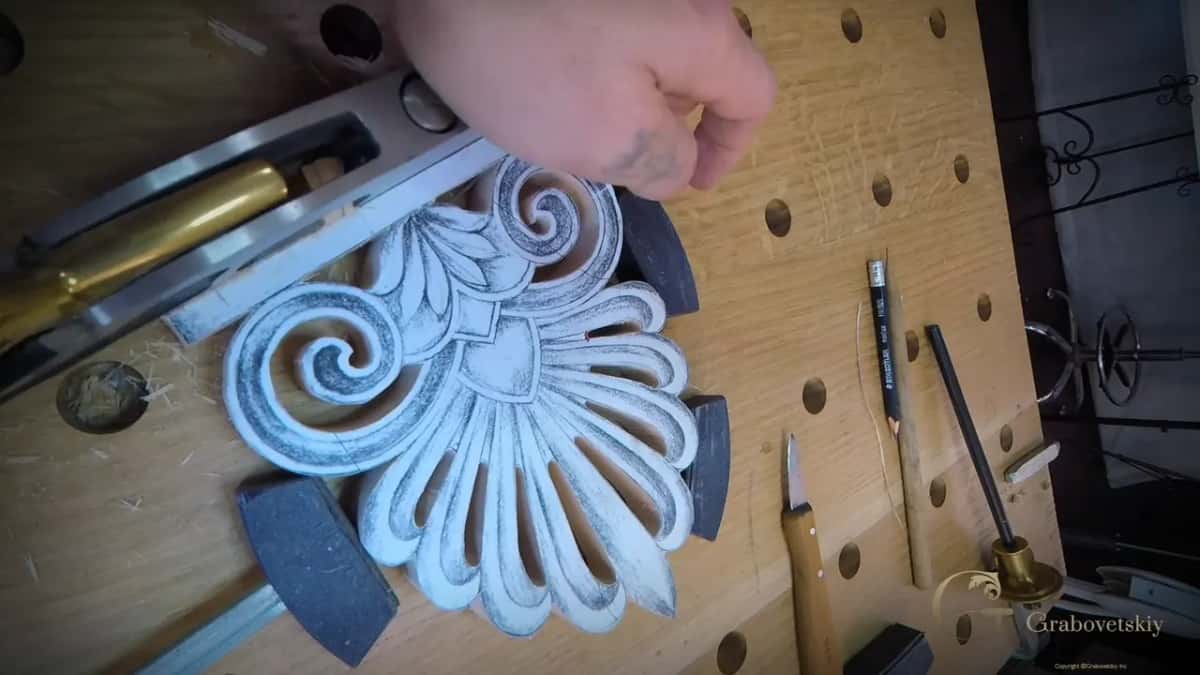
The lesson runs in five parts, about forty minutes, all on this one base. Part 1.1 has the gauge and my bench, 1.2 the knife channel and the first shoulder plane passes, and 1.3 the number 8 driven by its mallet.
The back bent comes in 1.4, and 1.5 brings the knife shoulder and both planes. Here is every tool from the base, what it did, and a few of my words about it.
Tool | Job | Words |
|---|---|---|
Marking gauge | Scored every line ahead of the chisels, then scored again | just an ordinary one |
Cheap carving knife | Deepened the gauge line, then drew a channel toward me | guide my chisels |
Ashley Iles #8 gouge | Went in on the ogee section, driven by the mallet | easily control |
My own hand | Pushed the last stroke with a small rotation to exit | really careful with that |
Back bent gouge | Gave the ogee its profile, one side then the other | fit really good |
Knife again | Made a small notch so the plane had a shoulder | ride on my piece |
Shoulder plane | Took that section down about 1.5 mm, a sixteenth | some sharpening done |
Block plane | Removed the ridge so the run stayed consistent | probably a good idea |
Sandpaper, later | Kept for the end grain, after the carving | because it's end grain |
When is the plinth done?
When the profile is right all the way, on all three sides. Three sides, one profile.
I said I wasn't going to do anything else, maybe just a touch of a back bent to take the high ridges. Otherwise I was satisfied with how it looked, and I didn't want to overdo it.
Sandpaper comes later, for the end grain, and in this case I said I have no problem with it.
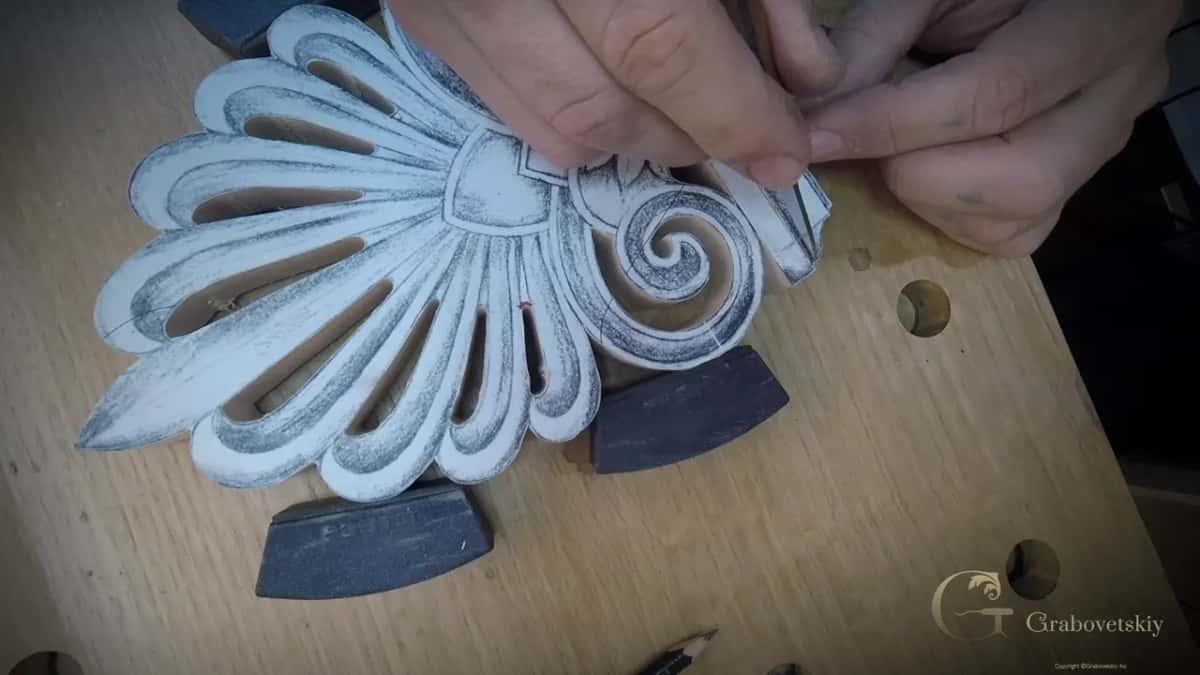
In the last part of lesson 1 the palm tree above the base still has nothing on it but my drawing. Got a gauge and an edge to hold it against? Will your hand finish one gouge run with a push instead of a knock? That is enough to start this base at your own bench.
First Cuts for Beginners is the school's starting course, and Carving Tool Sharpening and All About Tools for Wood Carving sit beside it. This base, five videos with the tools in my hands, comes with tuition to the school, and the Carving Greek Acroterion course page shows the whole piece.
How it's done
- Mark the base off first. Score the line that separates the plinth from the palm part with a marking gauge, before a chisel touches the block.
- Knife a channel, then gauge again. Run a knife down the scored line to take it deeper. Angle the blade, draw it toward you to open a small channel, and go over the line with the gauge once more so it stays straight.
- Gouge and mallet on the ogee part. Work in with a number 8 and the mallet, and finish with a hand push that lets the tool rotate out of the wood.
- Check both ends. Look again. If one end sits deeper, turn the block and come at it from the opposite side.
- Profile with a back bent. Pick the back bent that fits the curve, sharpen it inside with a light touch outside, work to your line, then flip the piece.
- Knife the shoulder, plane the step. Make a small knife notch along the line so the shoulder plane rides safely, go down about a sixteenth of an inch, which is 1.5 millimeters, with a thinner final pass, and let a block plane take the ridge. Stop once the three sides carry one profile.
Frequently asked questions
Is the plinth the first thing to carve on an acroterion?
On mine it was. Before a tool went near the palmetto, the first step was to separate that base from the palmetto and its swirls, and an ordinary marking gauge went on ahead of the chisels. All five parts of lesson 1 stay on the base.
Do you need Festool clamps to hold a carving?
Any bench clamps will do. Veritas is one maker, and Lee Valley in Canada sells clamps made for benches, which want holes of exactly three-quarter inch (19 mm). My own holes are 20 mm only because the Festool clamps need them.
Why push the last gouge stroke by hand?
Damage is the worry. Right before the final knock I have to take real care, since I can actually do damage there, so that stroke becomes a hand push that rotates a little on the way out. Take your time on it.
What to carve next