

Alexander Grabovetskiy, woodcarver, School of Woodcarving · Published 2017
How do you carve a palmette in wood?
Quick answer: Carving a palmette in wood is a run of small passes, leaf by leaf. On my Greek acroterion a pair of number 5 gouges stamped the outline, a knife freed it from its base, each leaf got a straight-down middle line with channels from both sides, and the wood below dropped about 1/8 inch.
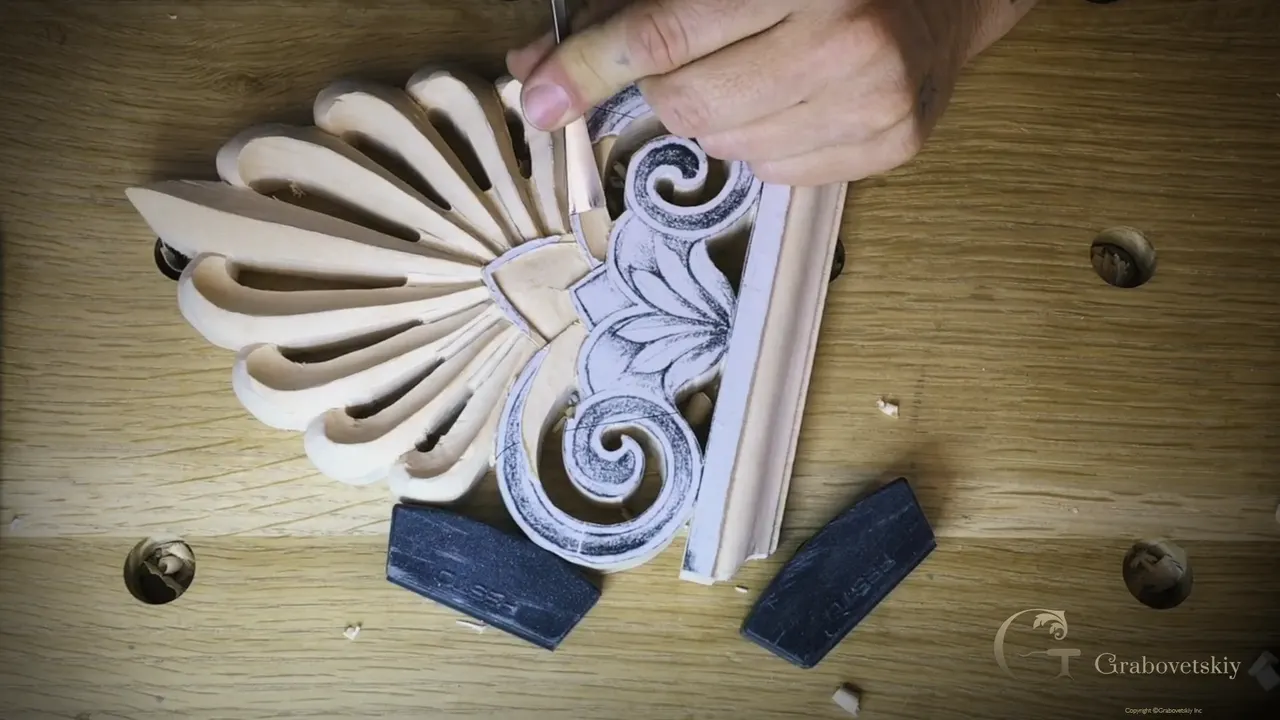
A small Greek palmette like the one between my two scrolls gets carved one pass at a time, in this order. Two number 5 gouges that fit the drawn outline stamp it in. After that the knife frees it from the base and gives every leaf a middle line, straight down, with a knife channel on either side of it. The wood under the leaves drops about an eighth of an inch (3 mm). A spoon gouge cleans up. Paper comes off last.
Have you looked at the little fan of carved leaves at the foot of a Greek acroterion and wondered where the first pass goes on something that small? Got a knife on your bench already? A knife, two number 5s and a few tiny tools carved this palmette, and lesson 4 of my course films every pass in eight short parts.
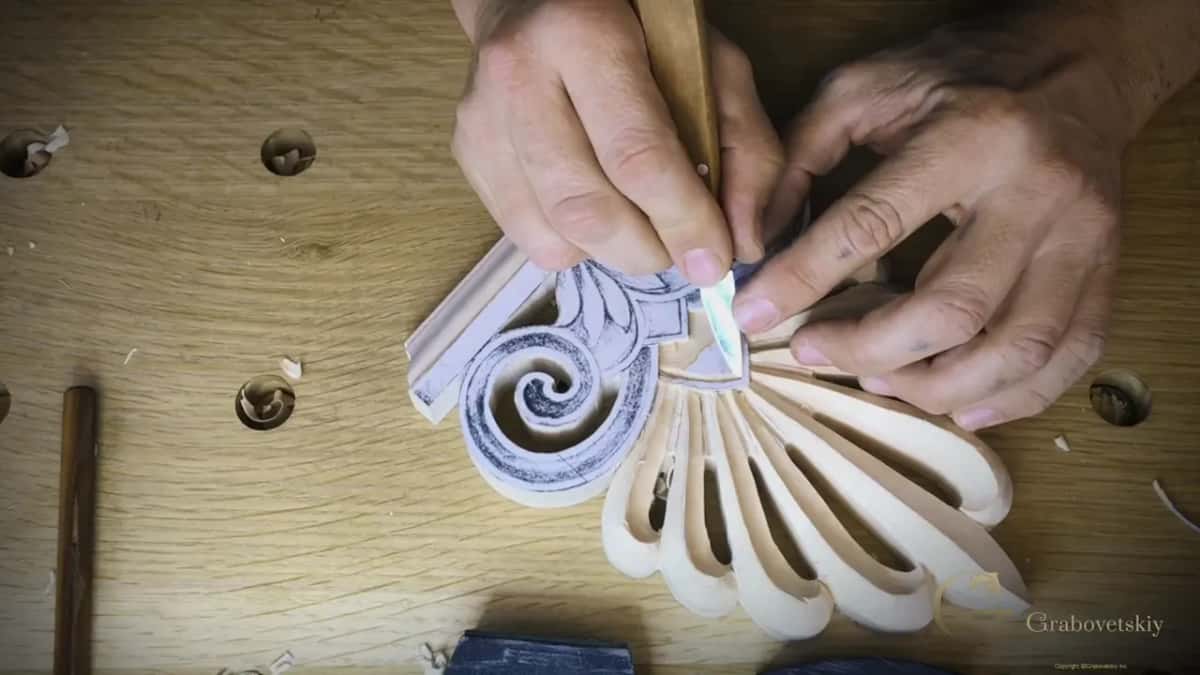
The small palmette, start to finish
Stand a number 5 on the drawn line, and when it fits, tap it in.
A bigger number 5, about five-eighths of an inch across (around 16 mm), took the next stretch of the same outline.
The ground beside it and the scrolls went down 3 mm, knife first, then a gouge and a grounding tool.
A knife channel, taken in several passes, set the palmette free of the base.
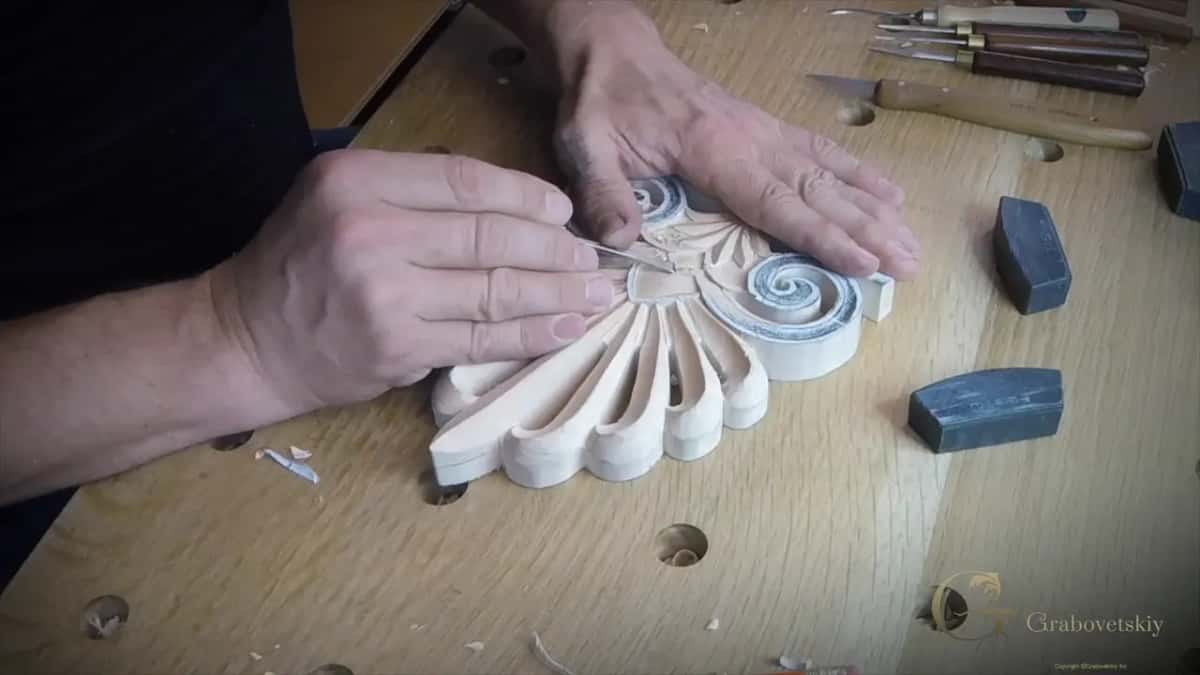
Every leaf got a middle line, knife straight down, and channels from both sides that reached the midpoint.
The knife lowered the wood under the leaves, and the paper and glue line came off at the very end.
What is a Greek palmette, and where does the small one sit?
A Greek palmette is an ornament shaped like a fan of leaves, a stylized palm, and my acroterion carries two of them, a big palm fan on top and a small one standing on the base between the two scrolls. You will also see the motif called an anthemion. On camera I called the little one a small palmetto, or a bush, whatever you call it.
The big fan was already done when this lesson began. Lesson 2 roughed it out, and its leaves got their shape in lesson 3, which is where the knife work on the big leaves lives. The base itself goes back to lesson 1. So lesson 4 picks up the middle of the piece, the two volutes curling away on each side and the small palmette standing between them, with the paper pattern still glued on top of all of it.
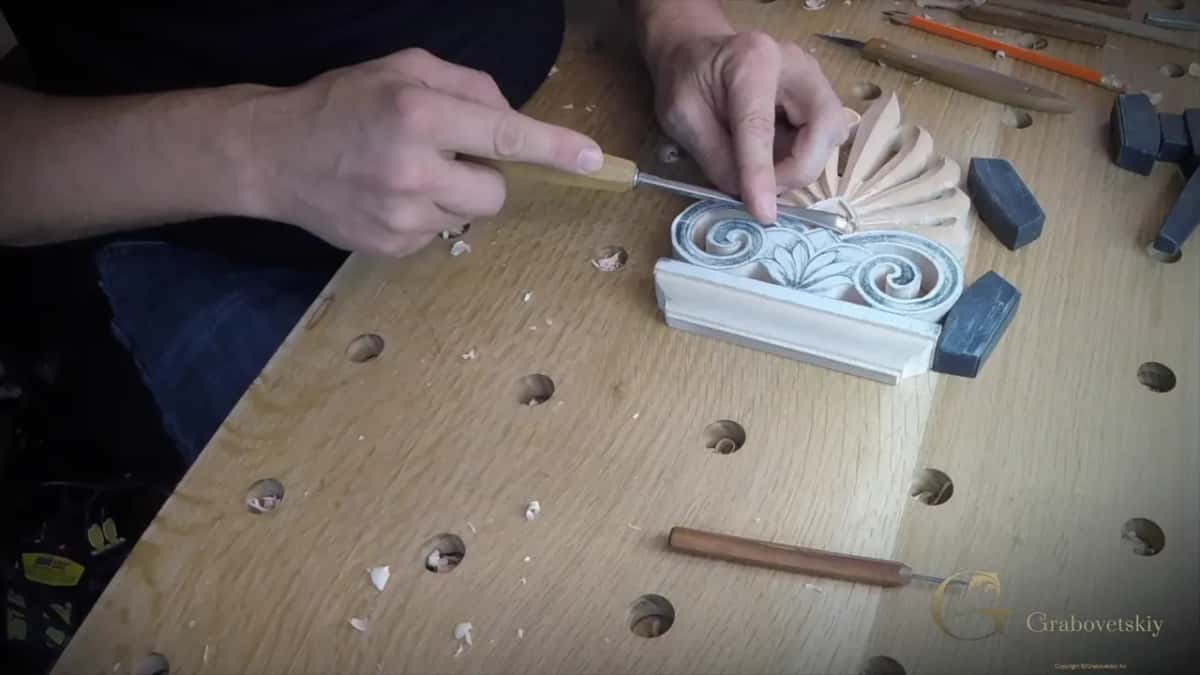
I started in the middle with just the knife. I held it like a pen when you are handwriting, and one finger pushed the blade. One slice at a time. I did not want to overdo it, and the paper pattern was still glued over everything around the blade.
Which gouge stamps the outline of a small palmette?
A number 5 that sits right on the drawn line did it on mine, and the outline took two of them, a smaller one first and then a bigger one. At the center I had just met two points with the blade tipped over into a bevel. I picked up the gouge because, as I said on camera, it is not fair to do everything by knife.
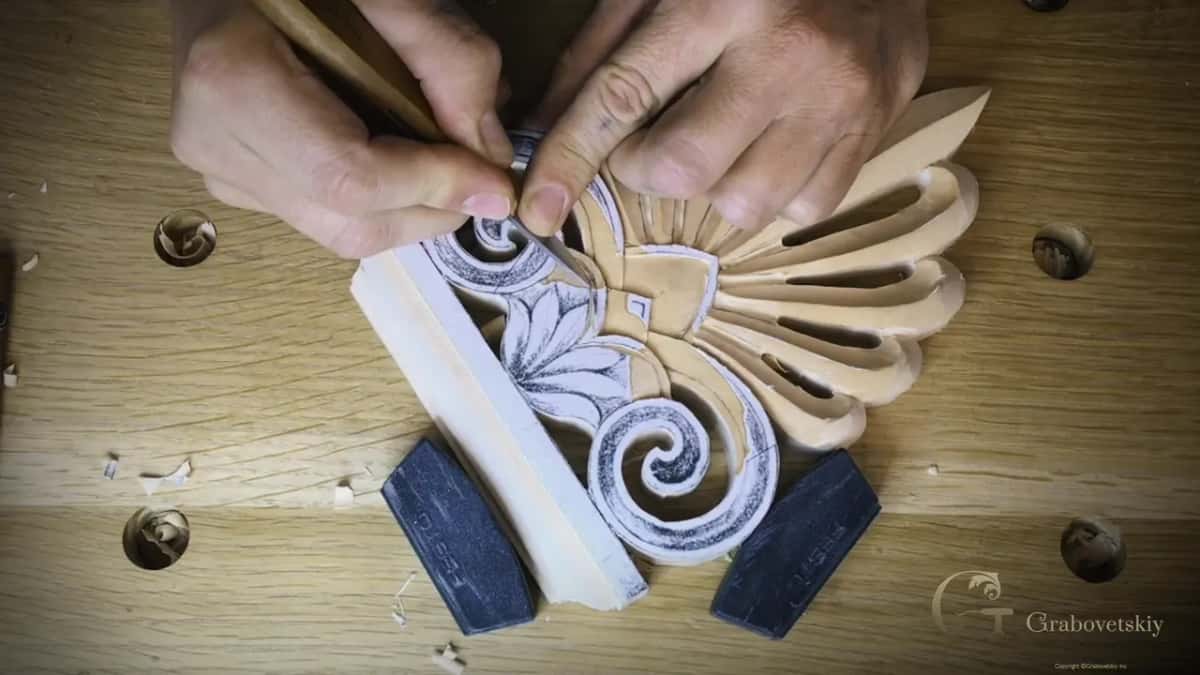
The order was simple. Find the line, make the first pass, carry it over to the other side and make the same pass there. You can see the mallet in the frames, giving the gouge a tap on its line.
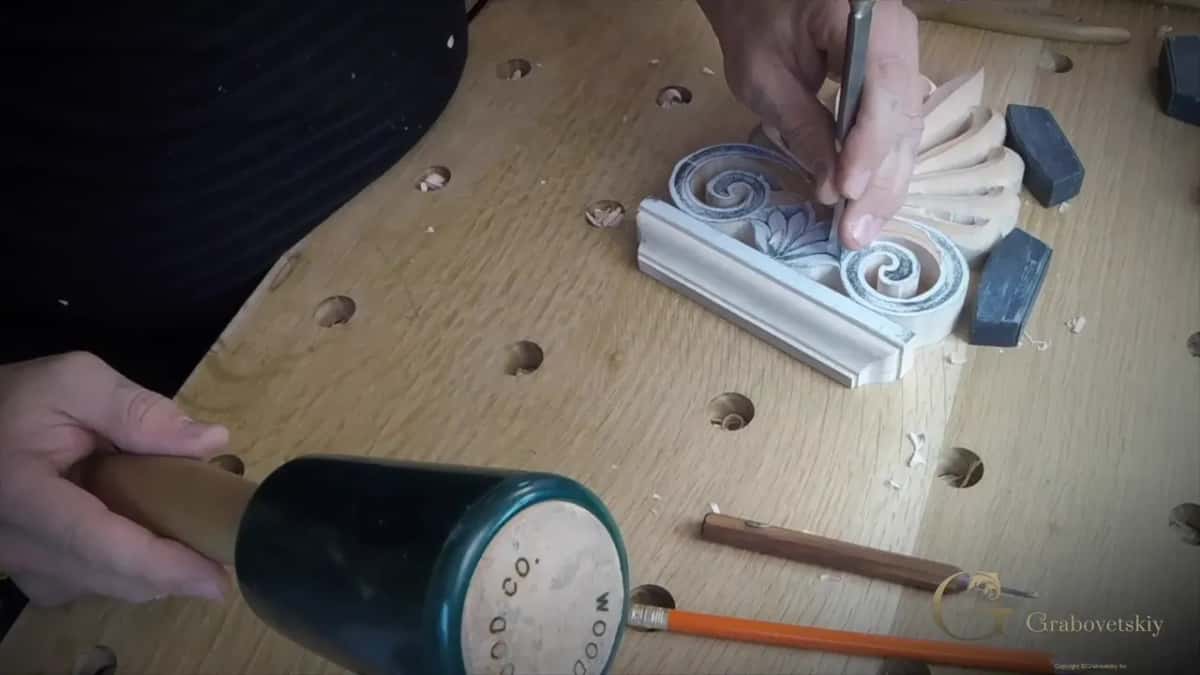
The next stretch wanted a different sweep. I checked one, and it was a number 5 also, just bigger, about five-eighths. I stood it on the line and looked. Absolutely perfect fit for this line, and that way it is going to be clean.
I'm going to be honest with you. I could have used a knife for the rest of that part too, and I said so out loud. But I need something different now and then, just for not being bored. Earlier in the lesson, on another line, a 5 was too big and so was the next smaller one, and the knife went back in my hand. Why I reach for Pfeil more often than Ashley Iles has a page of its own.
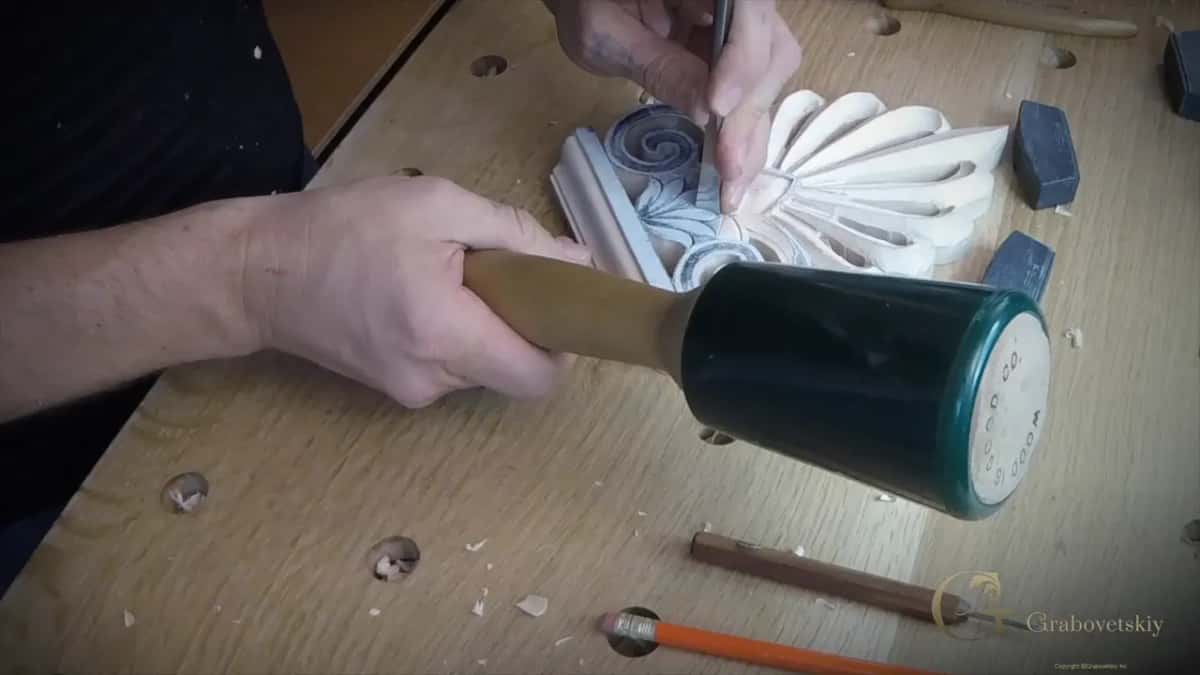
How deep does the ground go around the palmette?
One eighth of an inch on mine, 3.18 mm by the card on the screen, and no deeper than that. My goal was to go from the high point down that far and stop. In the corners, I said, that eighth would be my establishing depth point for this shallow relief.
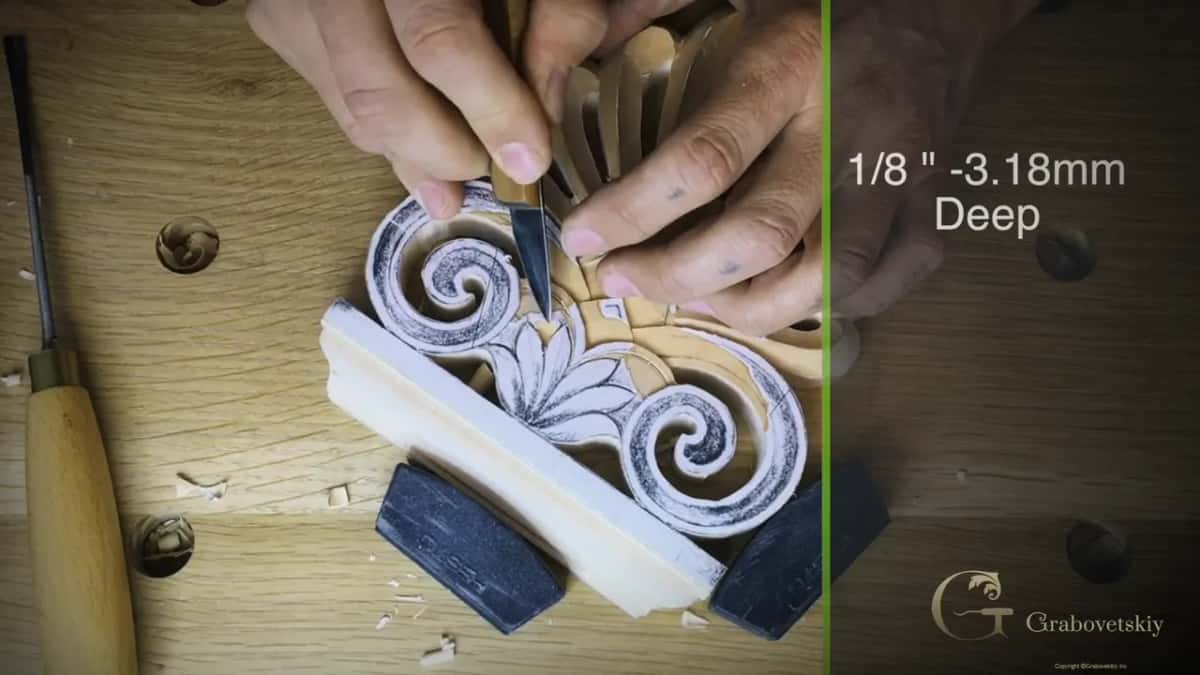
The knife went first. Angle it really low, I told the camera, until you reach it, and you kind of have to feel in your hand where your eighth is. Same again in every corner. You have to feel, in a three-dimensional world, what angle you should hold the blade at to land on about 3 mm. Really simple.
Then a number 5 by Ashley Iles took away most of that background. An Ashley Iles 5 is a little different sweep from a 5 by Pfeil, since the two have different charts, the English one and the European one. There is a big difference between sweeps, although for this job it is not that critical. After a while you stop checking what sweep you are holding at all, and you just grab the tool lying on your workbench, like a robot.
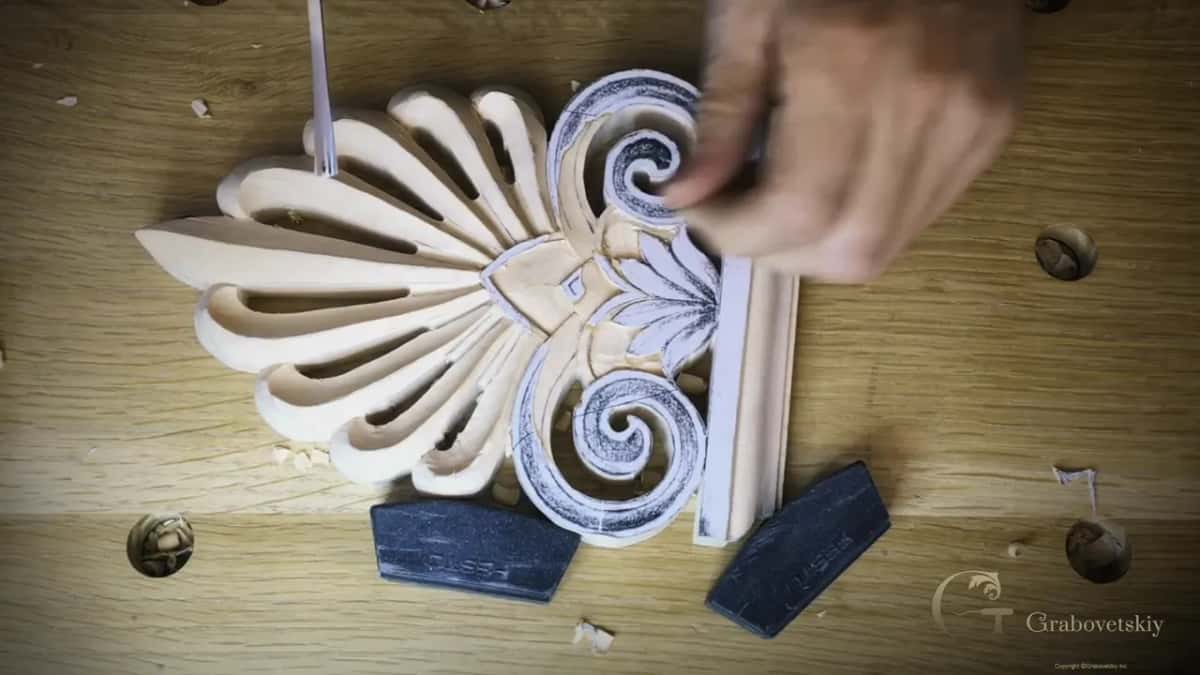
For the curl I took a grounding tool, an Ashley Iles number 3 with a slight bend in it. Excellent tool. I cleaned with it all the way to the swirl and then out through it, and I barely put any pressure on it, because I did not want to make a mistake. This part and that part are actually fragile, and you can easily snap one out if you push too hard.
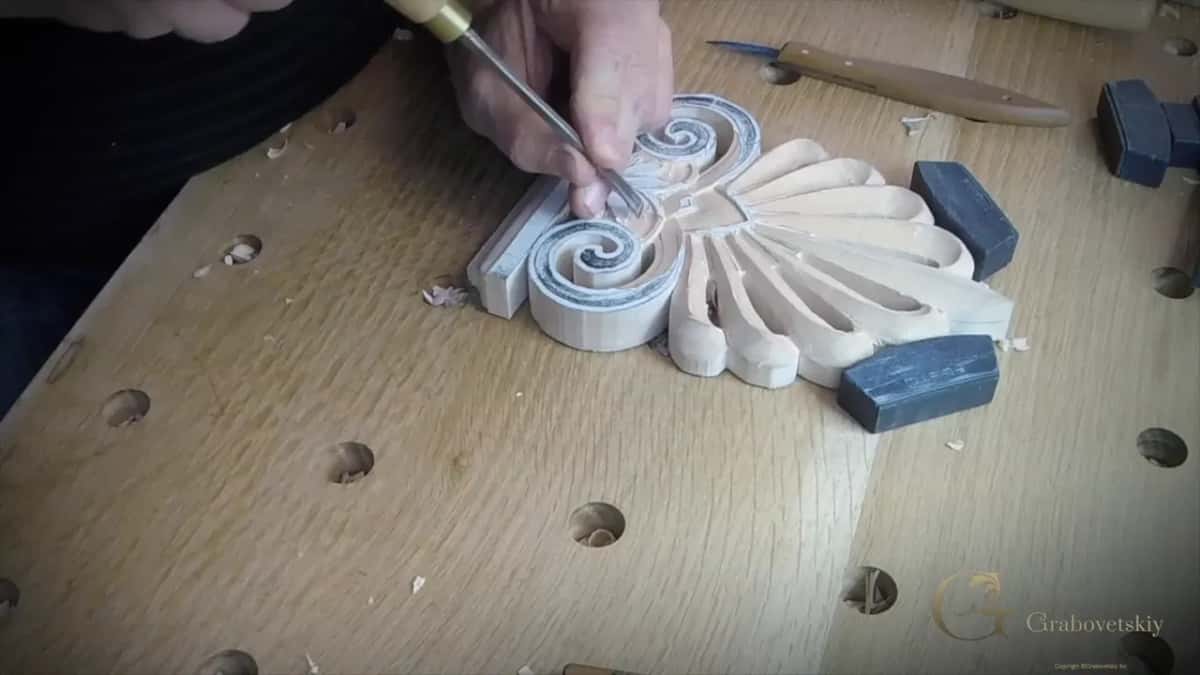
What reaches into the corners beside the leaves?
Tiny tools. I needed to get inside one section near the palmette, and I was not going to risk it, so I took a really tiny, small spoon tool. A spoon chisel, by a German brand that makes micro tools, and I use that one a lot.
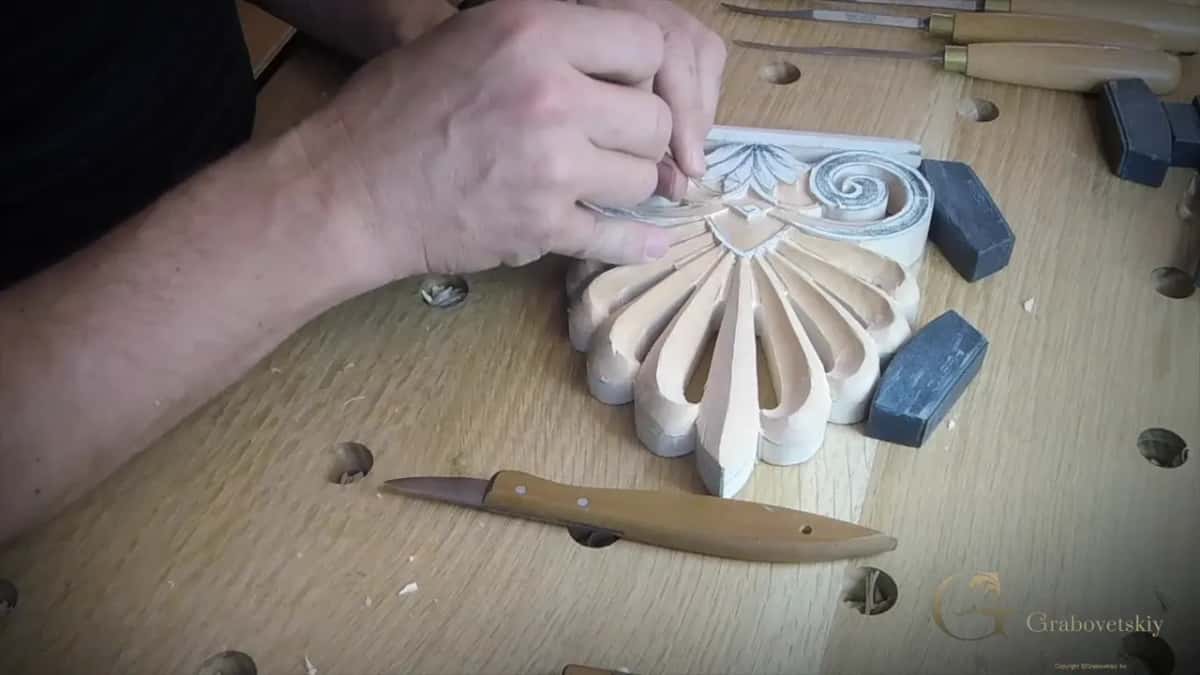
The number 5 went back after that. So did the grounding tools, since I did not think I would use them right away. That is a good habit I developed over time, to put all the tools back if you are not using them.
My micro tools came out next, the Peter Benson tools made by Ashley Iles, and a number one double bevel did the cleaning. Really nice tools. They work miracles for me. Peter Benson is a wood carver in England, the metal is really nice, and I like the way Ashley Iles handled those tools. I think I needed some sharpening by then, or just buffing the edges, and buffing is what I did. What micro carving tools are for has its own page if you want to see more of them.
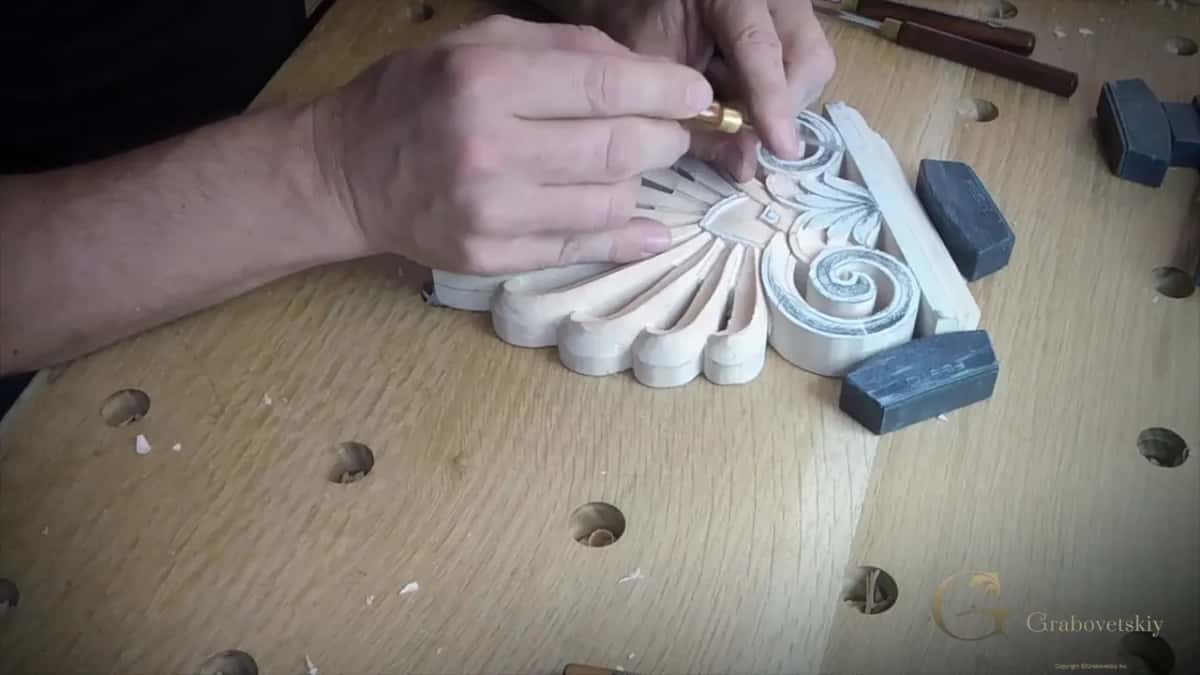
Which way do the leaves of this palmette run?
Downhill, and on this one I showed which leaf goes underneath which before the knife went in. Before that, though, the palmette had to come off its base. I carved a channel along the foot of it with the knife, carefully, about 3 mm deep, in multiple passes. Once that was done I took the ridge out and recreated the shape.
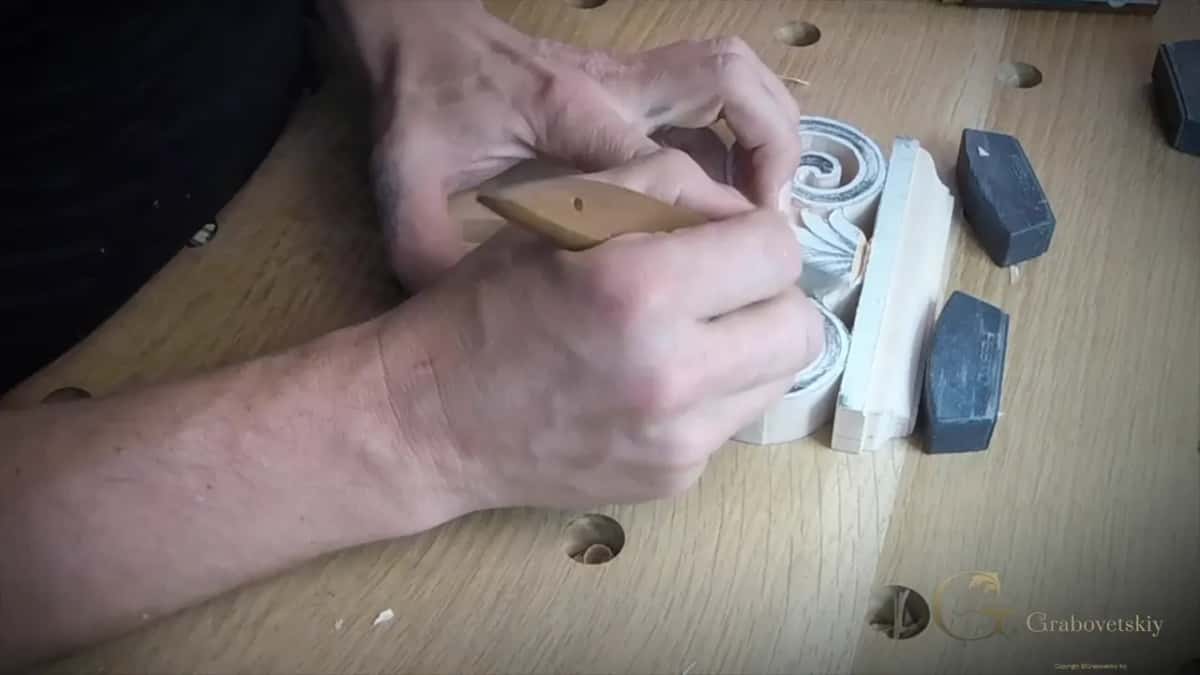
Part 7 of the lesson opens on the leaves themselves. This is going to go downhill, I said, and this one is going to go underneath of that. Those were my words for these few leaves, and how one leaf overlaps another on an acanthus is a separate lesson with its own page.
Then came the first knife passes, about mid-section, like a little zipper. Straight down, both sides. After that I recreated two lines and reestablished the middle line before going any further.

Where does the middle line of each palmette leaf go?
Down the middle of the leaf, a knife pass straight down at 90 degrees, and then a channel comes in on both sides to meet it. I started each channel exactly at the same point on both sides. A clean pass took me to the midpoint, and I double checked and took off a micro shaving more.
Rotate the piece and do the other side to the midsection. Same thing on the next leaf, and the next, finding each middle line before the blade goes near it. On one of them I was going against the grain, which I said is not the best idea, so I turned the piece around. Last came one more micro pass on each side, which took off the mass left along the middle line. It looks like I've done it, I said.

A straight pass down the middle with two angled ones meeting it is the same family of knife work that lesson 3 shows on the big leaves, so I will not walk through it twice here. Lesson 4 does it smaller. On these leaves, I said, the number one by Peter Benson, a double bevel, could do the same exact thing as my knife, and I was holding it in my hand while I said it. With the grain I went right to the middle section.
One line did not look too straight, so I fixed my midpoint and made it look somewhat the same.
What do you do when a chip will not come free?
Go round the edge again, knife in hand, instead of forcing it out. If it is not free to move out, I said, it is better to just recut the edge, not to force it, otherwise you make a mistake with the fibers. Some edges took me a couple of times.
I watched the grain while I did it. Mine ran one direction on that leaf, so I cleaned with it and rotated for the other side. I had to be really careful, because right then it was fragile, and if I pushed too much I could break it. I was just using the knife.
I could have used a gouge there, and that would have been appropriate too. But some of you probably do not have too many gouges to choose from, and the knife will do. Having them is still a good idea.
How far down does the wood below the leaves go?
About 1/8 in on mine, around 3 mm, taken down with the knife. Now I need to take this one below the leaves, I said, which means one more pass along the edge and then moving that whole section down. Same on the other side. In two spots it needed to go a little deeper, and I went back for those.
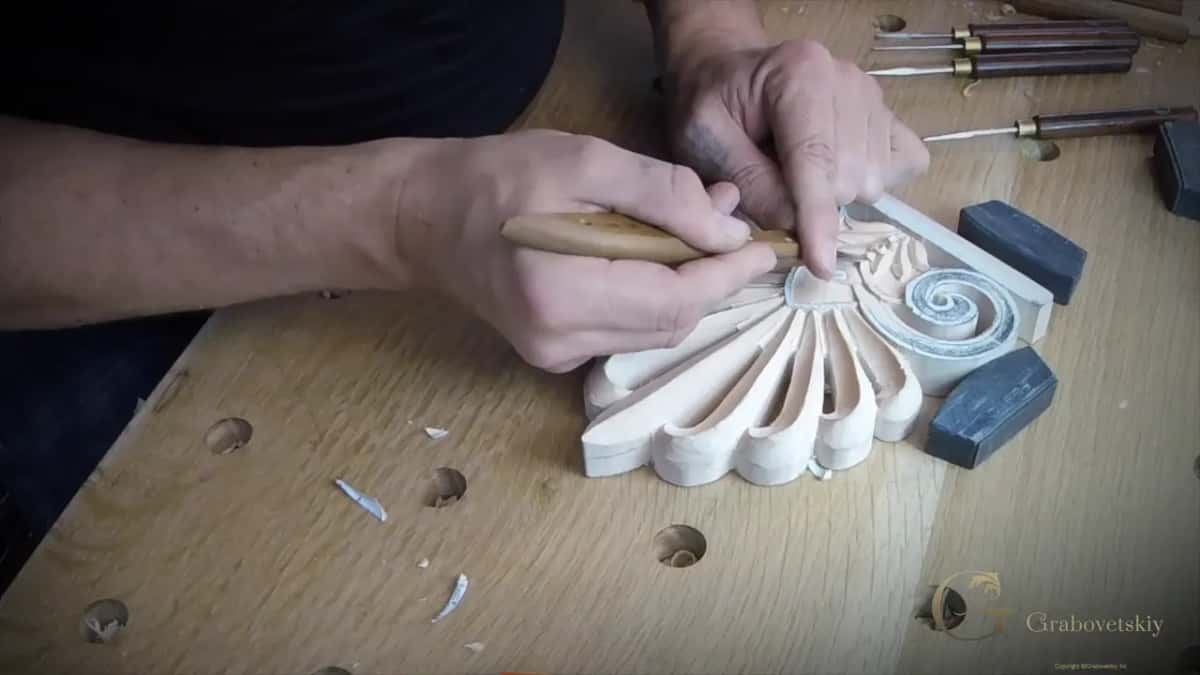
Next I reached for another spoon tool, and I corrected myself on camera. Spoon chisel, I said, and then I fixed it. Well, gouge. This one is a spoon gouge, actually, because it does have some small sweep. Spoon gouges and spoon veiners get sorted out on another page.
I still had a couple of lines on one side. So I took the knife again, carved a channel, and made it somewhat roundish.
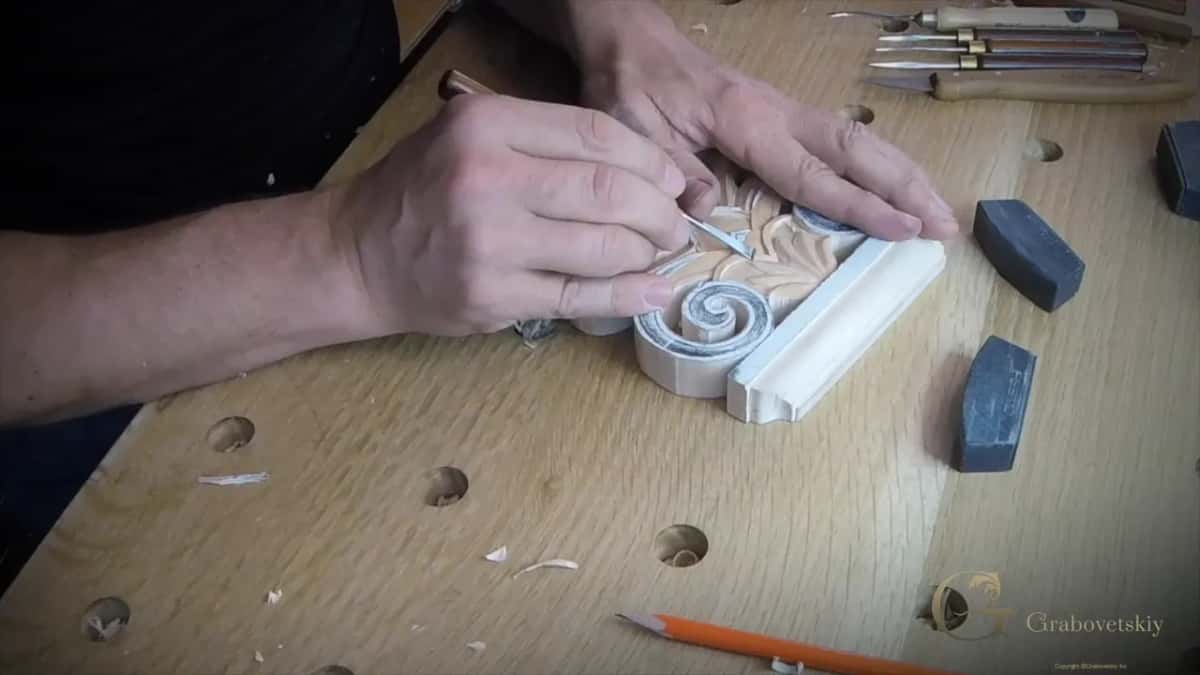
When does the paper pattern come off?
At the very end of the lesson, the paper and the glue line together, all the way. Part of the glue line had gone earlier, as I came close to the center. How I glue the pattern down in the first place, straight from the bottle, is told on the course page.
Every tool that touched the small palmette
Here is the kit that worked on the small palmette and the ground around it, with a few of my words from each moment.
| Tool | Job | Words |
|---|---|---|
| Smaller #5 gouge | Stamped the first stretch of the outline | works perfectly |
| Bigger #5, five-eighths | Fit the next stretch of that line | perfect fit |
| Number 12 knife | Lowered the ground, held at a low angle | Really simple |
| Ashley Iles #5 | Took away most of the background there | little different |
| Grounding tool #3 | Ran through the swirl into the curl | excellent tool |
| Tiny spoon chisel | Got inside one section near the leaves | micro tools |
| Peter Benson #1 | Cleaned the edges, could match the knife | same thing |
| Small spoon gouge | Tidied beneath the leaves after the knife | small sweep |
Where should you start if this is your first palmette?
Wood Carving: First Cuts for Beginners is the school's starting course. Carving Tool Sharpening sits next to it. To learn what each tool does before you buy one, All About Tools for Wood Carving is the place.
The Greek acanthus leaf, from ancient Greek architecture too, has its own course. The lessons map lays every course out in order, and the Greek acroterion course has all five lessons.
Can you hold a knife the way you hold a pencil? And stand a gouge on a drawn line to see whether it fits? Then this little palmette is yours to carve, and tuition to the school, monthly or yearly, renewing automatically until you stop it, opens all eight parts of lesson 4.
How it's done
- Find a gouge that fits the outline. Stand your 5s on the drawn line of the small palmette until one fits it perfectly, then tap it in and carry the line to the other side.
- Lower the ground by feel. Tip the knife down low and feel for the depth, then clear most of the background with a number 5.
- Clean the curl gently. Run a grounding tool through the swirl with barely any pressure, because the thin parts snap out easily.
- Free the palmette from its base. Carve a knife channel roughly 3 mm deep along the foot of the palmette in several passes, take the ridge out, and redraw the shape.
- Give every leaf a middle line. Go down at 90 degrees along the middle, then bring a channel in from each side, starting at the same point, until you reach the midpoint.
- Recut, never force. When a piece will not come free, carve the edge again.
- Lower the section beneath the leaves. Bring that section down by an eighth using the knife, tidy it with the spoon gouge, and take the paper and glue line off last.
Frequently asked questions
What is a palmette in carving?
A palmette is a fan of leaves drawn like a stylized palm. On my Greek acroterion a big one sits on top, and a small one stands between the two scrolls, right on the base. On camera I called that small one a bush, whatever you call it.
Which gouge fits the outline of a small palmette?
A pair of 5s did it on mine, a smaller one, then a bigger one of about 5/8 in, or roughly 16 mm. Each one stood on the drawn line until it fit, got a mallet tap, and the line came out clean.
How deep should the ground around a palmette be?
One-eighth inch, roughly 3 mm, and no deeper on mine. I lowered it first, the knife at a really low angle, feeling for the depth, then took most of it out with a number 5 and cleaned the curl with a grounding tool.
What to carve next