
Alexander Grabovetskiy, woodcarver, School of Woodcarving · Published 2017
What should a finished Greek acroterion look like?
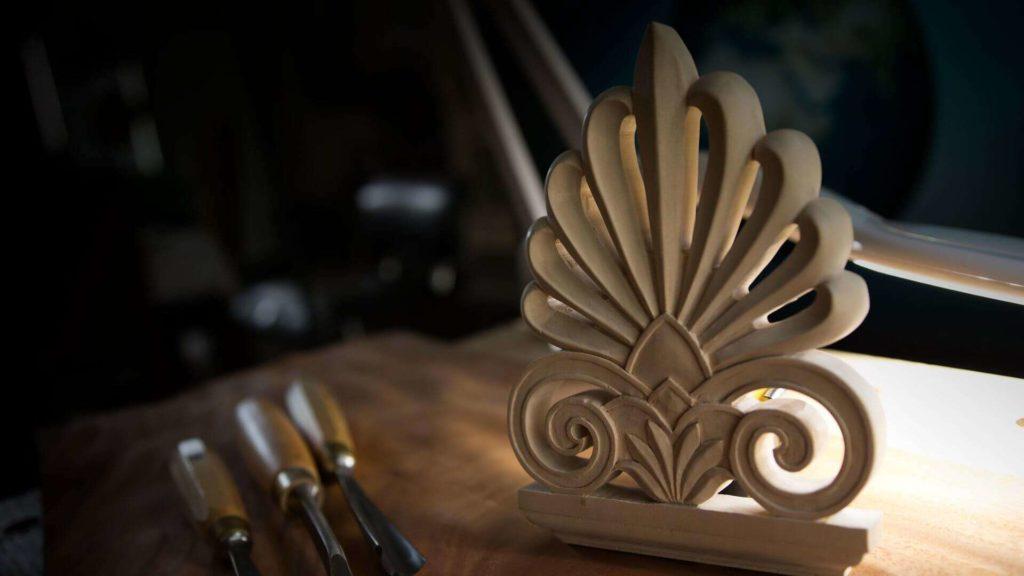
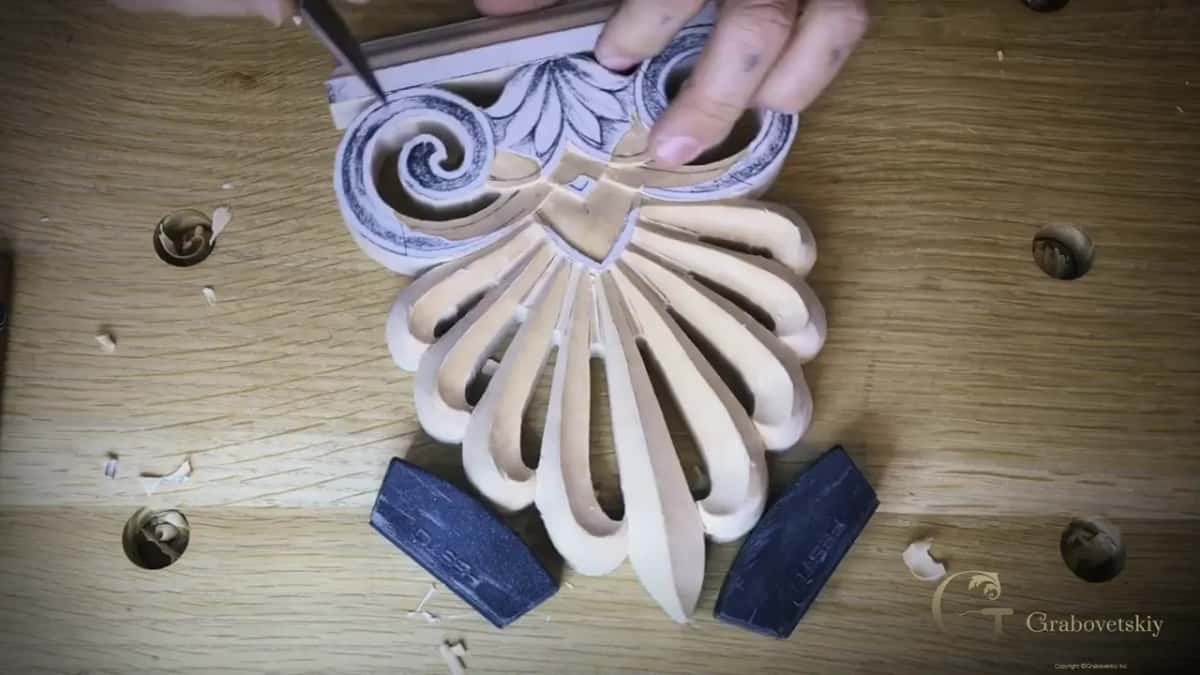
Quick answer: A finished Greek acroterion is a shallow palm fan and two swirls on a flat plinth, and on mine the left and right sides came out alike. The ogee keeps one profile on three sides, each petal ridge keeps the height of its paper line, and each swirl channel runs 1/16 inch (1.5 mm) deep.
A Greek acroterion carved the way I carved mine is a shallow palm on a flat base, and its two halves match. Both swirls sit in a channel about 1/16 inch deep (1.5 mm), and the ogee on the base keeps one profile around three sides.
The paper is off now. In acroterion architecture this ornament stands at the apex or a corner of a pediment, up on its own flat base, and mine was carved for an architect as a prototype. The design is mirrored. Several of the faults I caught on camera were one side drifting away from the other. Each section names the workshop where you can watch it.
Ever stood over a carving and felt one side was off before you could say why? Would it help to know which pair to look at first? Here is the piece one pair at a time, base first, the order I carved it in.

What a Greek acroterion shows when it is done
One ogee profile on the base.
The palm rises straight up off its base and leans neither right nor left, the way my knife went in.
Every petal ridge is a high spot left standing.
Both halves of the fan carry hollows of one depth, because where one ran deep I matched the other side to it.
The middle ground slopes, an eighth (3 mm) at one end and a sixteenth at the other.
Each swirl channel holds one depth.
A pencil line drawn by eye may wander a little.
Where does an acroterion stand on a building?
At the top. On a classical building the acroterion goes at the apex or a corner of the pediment, set on a flat plinth called the acroter, and a palmette is one of the shapes it takes. You and I would call that base a plinth, I said in the first workshop.
Architectural carving does not stay on buildings, either. While I worked on the base I said you can find those palmetto designs on furniture, and later I called this piece more architectural than ornamental, yet still something you can use in furniture, especially when you copy period or antique pieces. A lot of my own projects were architectural carving that was not that ornamental, I said, which is why you sometimes cannot find pictures of them online.
Many people ask how they did all the curves and moldings back then. A molding plane does some of it. But an ogee on a radius, or a complicated rococo form, the only way was with gouges and chisels, I said. They just carved it.
Mine is lime wood, or basswood. Both names belong to trees of one genus, Tilia, and it is a soft wood, soft enough that I was not afraid to use my knife on it.
Does the ogee match on all three sides of the plinth?
It should, and on mine it did by the end of workshop 1. One ogee profile ran the whole way round, on all three sides, and I said I was satisfied with how it looked and did not want to overdo it.
Getting there took a few checks. When I carried the curve over to the second side I made sure I was at the same plane. Close to my line I checked, then double-checked, and one side was a little deeper than the other. So I turned the piece and came at it from that side, a little closer.
Twice the check was on the tool itself. Once my marking gauge was not tight enough and I had to readjust it. The next time I asked myself out loud if I had set it wrong, and answered that I did it right.
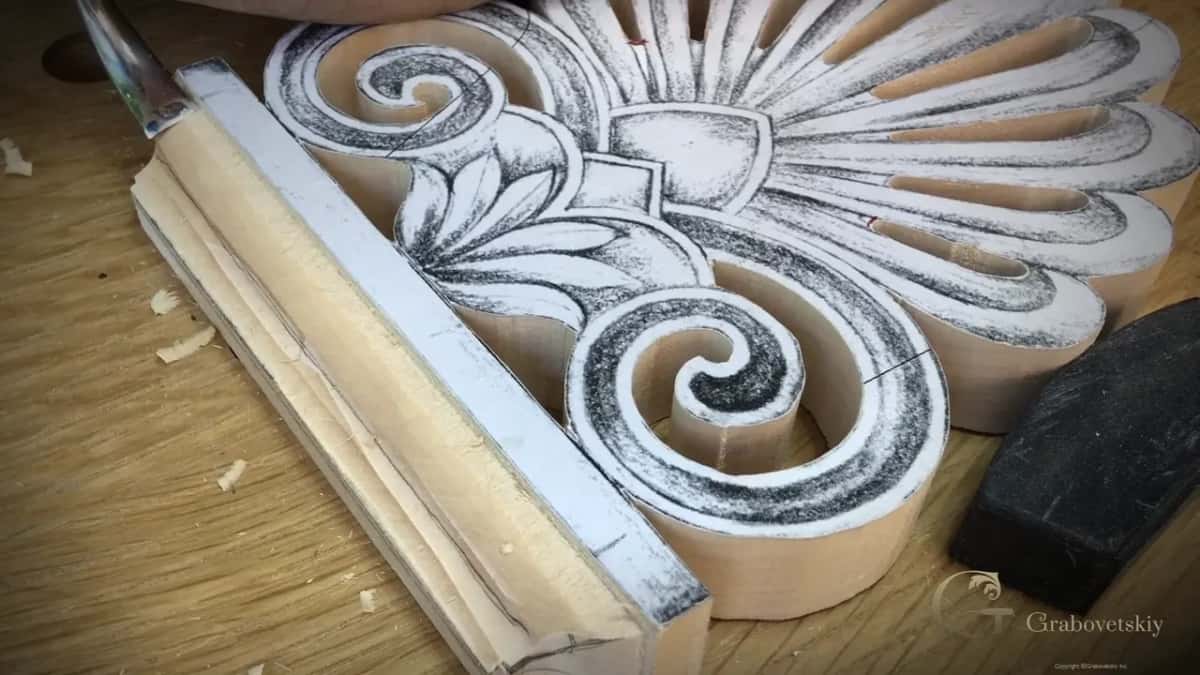
Then a ridge had to come out. A block plane took it out so the surface would be consistent, and after that I wanted only a touch of a back bent gouge to take the high ridges. End grain. Sandpaper later.

Does the palm stand straight off its base?
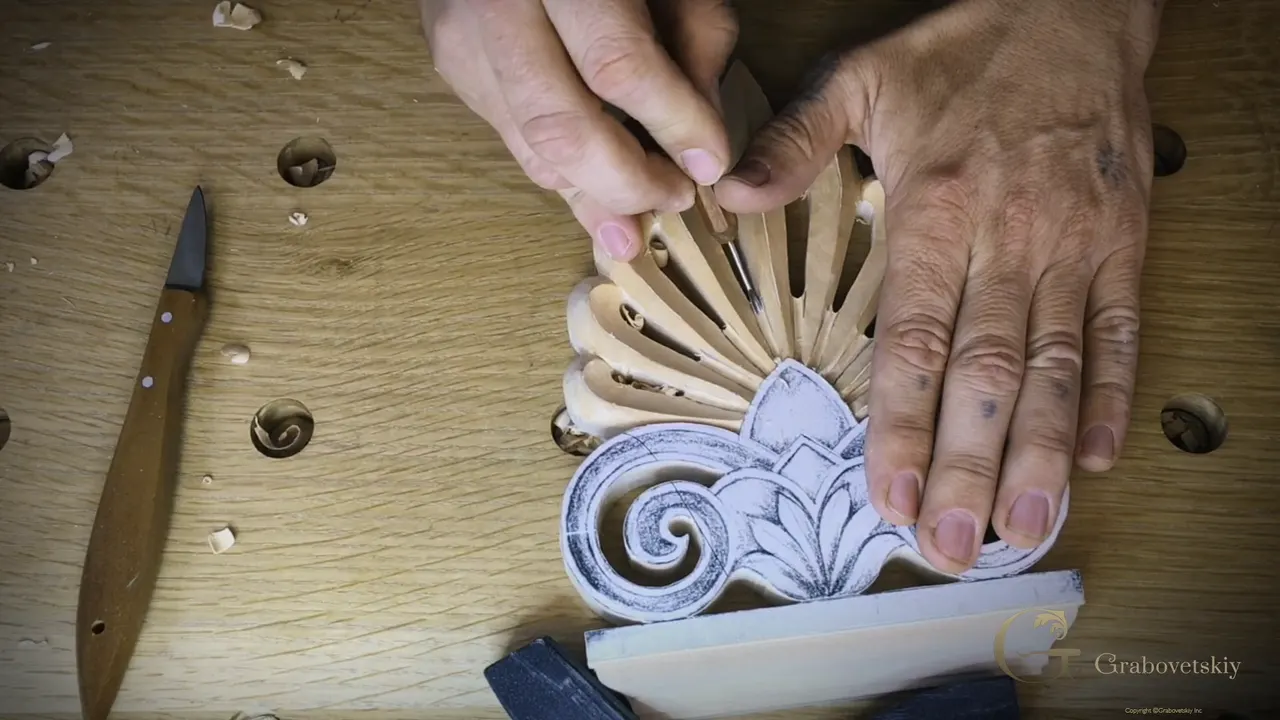
Yes, when the first knife pass goes straight down. To separate the palm from the base in workshop 2 I held a number 12 knife by Pfeil at 90 degrees, and it was really important to me not to angle it to the right or to the left. A number 4 by Ashley Iles fit that curve perfectly when I tried it, and I still chose just the knife.
Next I found a halfway point with my middle finger against the wood and drew a division line in pencil, and I said my passes would go no deeper than that line. A V tool went all the way around at just about the same depth, 3/16 of an inch, about 5 mm. On the second side I kept that same distance.

I like the idea of a palmetto. I live in Florida now, and I really love palm trees.
On the outside of the fan a number 7, one inch (25 mm) wide, gave me a surface so clean and uniform that there were no ridges to take off afterward. One pass, and it took care of itself. That was the goal.
Elsewhere a number 7 made the roundness, and some micro passes took off the facets. Late in workshop 2 I said the texture was not bad, the rough part of the outside was done, and I was happy with it right then. A little more cleaning would come later.

What should the two halves of the palm fan show?
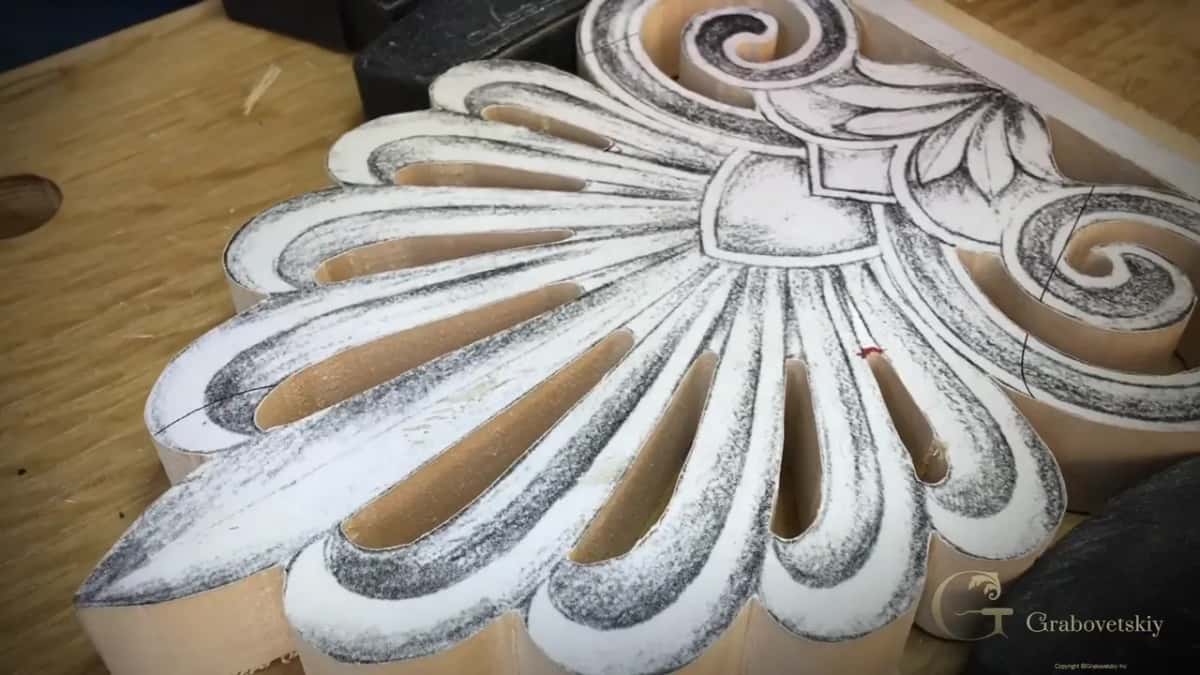
The same ridges and the same hollows, left and right. In workshop 3 each petal ridge stayed where the paper sat, because that ridge is my high spot, and I did not want to go any lower than that.
Where the knife leaned in on a petal, I said it was really important to hold the same angle, so it came out consistent on both sides. It was raining outside while I worked on those leaves. I could hear it.
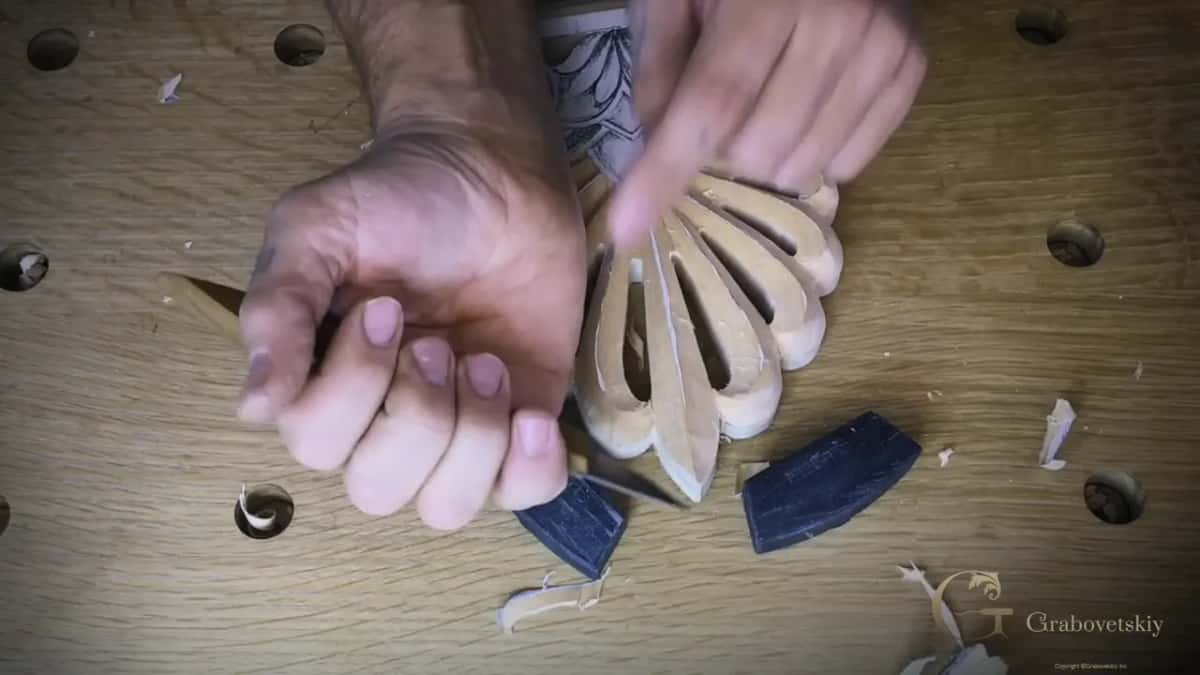
Beside each ridge goes a hollow, and those hollows give you the shadow line. On one of them I went a little too deep, an easy fix, but it meant I had to recreate the other side exactly the same. On another petal one side needed lowering, and then I was not too happy with what happened there, because the grain went up and changed direction, so I had to clean it.
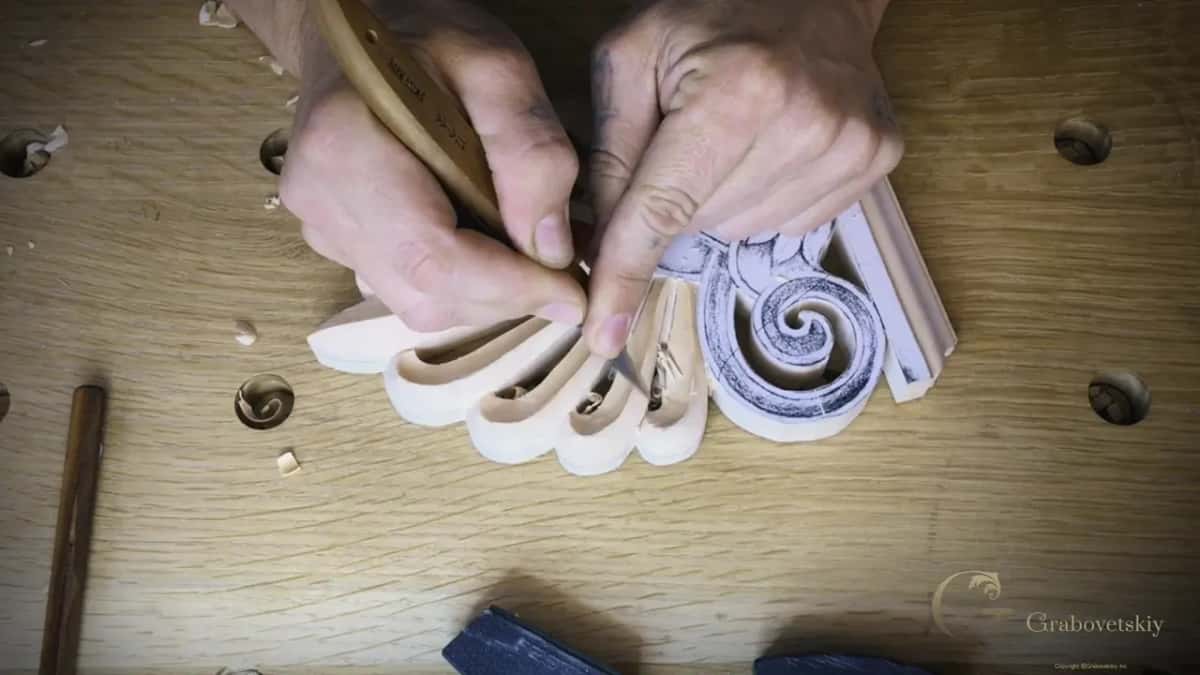
Late in that workshop I reestablished the concaves with a small gouge, then a smaller one, then an even smaller one. Earlier I had said a small gouge would later recreate the true line, the flow line. By the end of workshop 3 I was happy with the shape.
How even should the ground be in the middle?
Even side to side, and shallow. Inside the middle section, in workshop 4, I went no deeper than 1/16 of an inch on the inside, about one and a half millimeters.
One stretch of ground slopes, near a sixteenth at one point and 3 mm, about an eighth, at the other end. Later I took that area gradually down to sixteenths, in this section and on the other side, and I said it was going to be consistent.

Of one spot I said I could lower it a little more, and the same on the other side. For the background my goal was an eighth of an inch down from the high point and no deeper, and the corners set that depth point. I eyeballed a corner at an eighth and still said that a double-check was maybe a good idea.
A number 5 by Ashley Iles is a little different sweep from a number 5 by Pfeil, because the English chart and the European chart differ. Not that critical, I said. There comes a moment when you grab the tool off the bench without even checking the sweep.
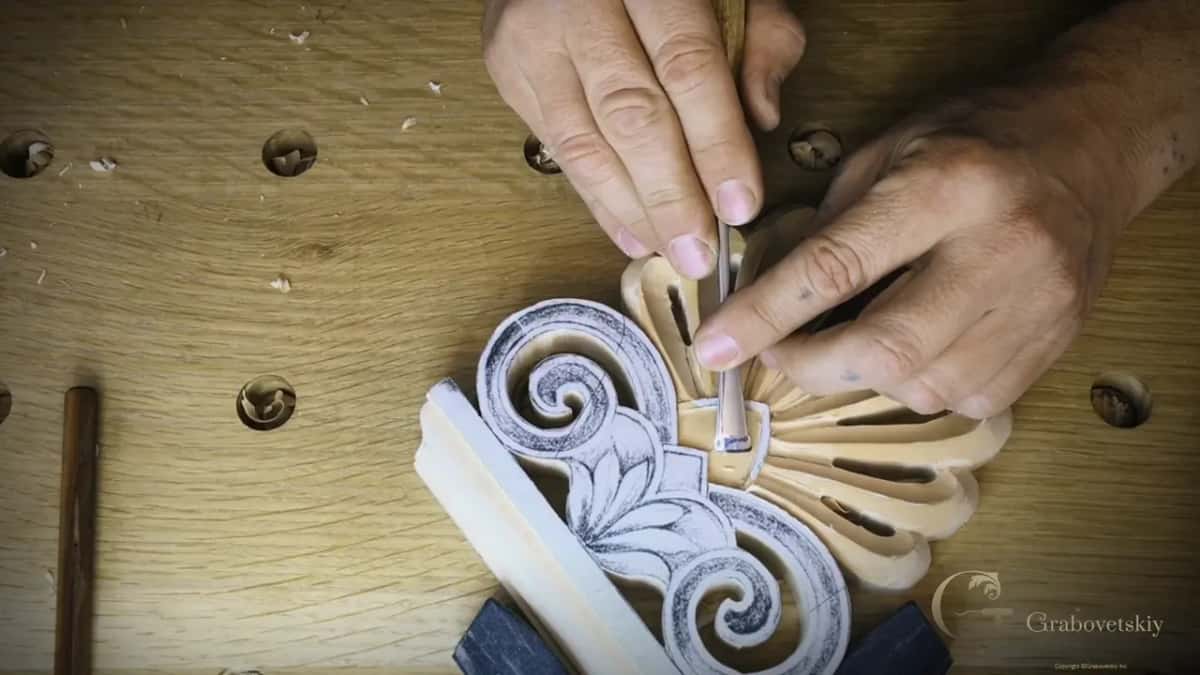
Can a line drawn by eye be a little off?
It can on this piece. I drew one pencil line by eye at an eighth of an inch, and I said that even if it was not going to be perfect, that means a human being did it by hand.
After my smoothing passes in the middle I double-checked for anything left over. It was pretty clean, except one really tiny ridge. That ridge bugged me a little bit, I said, but it does not look bad at all.
Right after that I tried a number 5 on the next line. Too big, and the smaller one was still a little too big, so I said the knife would be quicker, and that way I would not miss my line. A moment later came an oops, and I said I should not have done that. Later, with the grounding tool, I said one leaf needed to be a little smaller.

What does the small palmette at the bottom show?
A little bush of leaves at the end of the base, every leaf with its middle line. Its leaves run downhill, one going underneath the next, and my first knife marks down the middle looked like a little zipper.
One line there did not look too straight. So I fixed my midpoint and took that line again, to make it look somewhat the same. Below the leaves the wood drops about 1/8 of an inch, 3 mm.
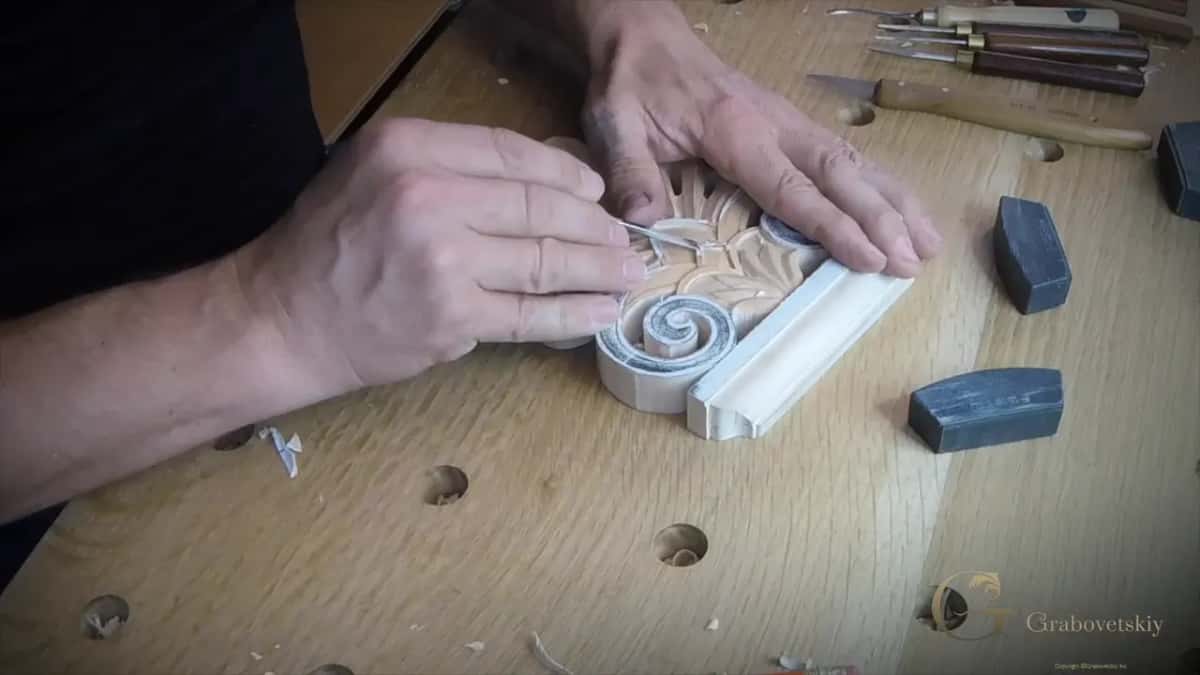
It is fragile there. If I push too much I can break it, I said, and mostly I used just my knife on that part, though a gouge would be appropriate too.
Do both swirls sit at the same channel depth?
On mine they do, a sixteenth deep the whole way. At the start of workshop 5 I redrew the swirl lines in pencil, because I wanted them really consistent before any gouge went in. After the gouges marked the curve, the knife followed, and I said I would clean it with the gouge to make that line really nice and straight. I was not going to force the knife, I said, and made a second pass instead.

Slice by slice I worked the channel until the depth was consistent everywhere around the swirl, the inside line first and then the outside. When the first side was pretty much done, I said the other side would get exactly the same, and then it would be completely done. At 1/16 I said I would check how it looked first and then decide, and it looked really good to me, which was how I had imagined it at the start.
Looks like it is consistent, I said near the end. Sixteenth of an inch everywhere.

Then a small bevel, roughly 1/16 deep, divides the base from the swirl, so the two parts stand apart.
Are the thin parts still whole?
They should be. I went carefully there. Beside one curl I barely put any pressure on the grounding tool, because that part was fragile and you can snap it out with too much force. I did not go too deep in the swirl channel, because I could easily break the outside of it, and that would be a huge mistake.
Grain made one more spot risky, a part that could snap out if I was not careful. My big gouge would fit only partially on one curve, and using it there would be too dangerous, I said.
Seven parts to read on the piece
Part to read | What it shows when it is done | Main tool |
|---|---|---|
Plinth ogee profile | One profile on each of three sides | Back bent |
Palmetto and base | Straight down, no lean to either side | Pfeil knife |
Palm fan halves | Ridge left at paper, matching hollows beside | Small gouges |
Middle section ground | A sixteenth on this side and that | Fishtail gouge |
Small palmette midlines | Down the middle, both halves somewhat alike | Mostly knife |
Two swirl channels | A sixteenth deep, the same all round | Knife slices |
Whole carved surface | Clean passes, ridges gone, paper lifted off | 100 grit |
What is left on the surface at the end?
Very little. On one side of the swirls, toward the finish, all it needed was a little cleaning of facets, high ridges or chisel marks, whatever you call them. Earlier, on the fan, a number 7 took off the big gouge marks, and in workshop 4 I put back the tools I was not using, a habit I developed over time, and buffed the edges of my micro tools before cleaning. Edges like that are the subject of Carving Tool Sharpening.
The paper and its glue line come off completely, and a cabinet scraper could do it, I said, though sandpaper will do too. The last thing I did was show my final work to the camera. All about tools for Wood Carving covers the tools.

Would you like to watch each of these checks happen at the bench? Want to see which tool made each line? All five workshops are in Carving Greek Acroterion, the lessons map shows where it sits among the rest, and your Tuition opens every one of them. On this Final Assessment page you upload one photo of your work, and I review it.
How it's done
- Look along the plinth. Follow the ogee around the plinth. One profile should run the whole way, with the plane's ridge gone.
- Check the palm against its base. My first knife pass went in at 90 degrees, so the palm should rise straight up off the base and lean neither way.
- Compare the fan side by side. Ridges stay where the paper sat. Where one hollow ran deep, carve its partner on the other side to match.
- Read the middle ground. Sixteenths here, sixteenths there, a millimeter and a half.
- Look at each palmette midline. If one looks crooked, fix the midpoint and take that line again until the halves look somewhat alike.
- Run around both swirls. Each channel should hold a sixteenth, roughly 1.5 millimeters, inside line and outside line, the same on both swirls.
Frequently asked questions
Does a Greek acroterion have to be symmetrical?
The design I carved is a mirrored one. Two swirls, a palm fan with a left and a right half, and a base with an ogee on three sides. On my piece the depths agreed side to side, though a pencil line I eyeballed could still wander a little.
Is a tiny leftover ridge a fault?
On mine, one stayed. After the smoothing passes in the middle section I double-checked for anything left and found one really small ridge. I admitted it bugged me a little, said it doesn't look bad at all, and moved on.
What was this acroterion carved for?
My client, an architect, wanted a prototype. The plan was to take a form from it, cast metal, and place several on top of a building. Bronze, I thought, though I said on camera I did not know the material for sure, and I hoped my client would like it.
What to carve next