
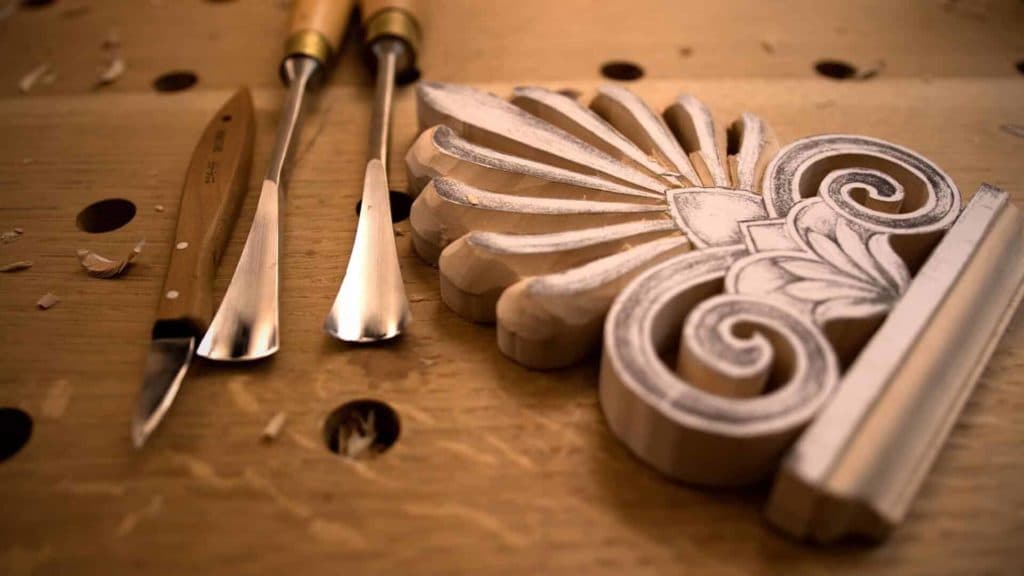
Alexander Grabovetskiy, woodcarver, School of Woodcarving · Published 2017
How do you rough out a wood carving without breaking it?
Quick answer: Roughing out safely is a matter of where you slow down. On a Greek palm fan I took my time, fixed my line with a number one, brought the mallet in only on a section that felt safe, felt the grain, and let a knife clear each side before a number five cleaned it.
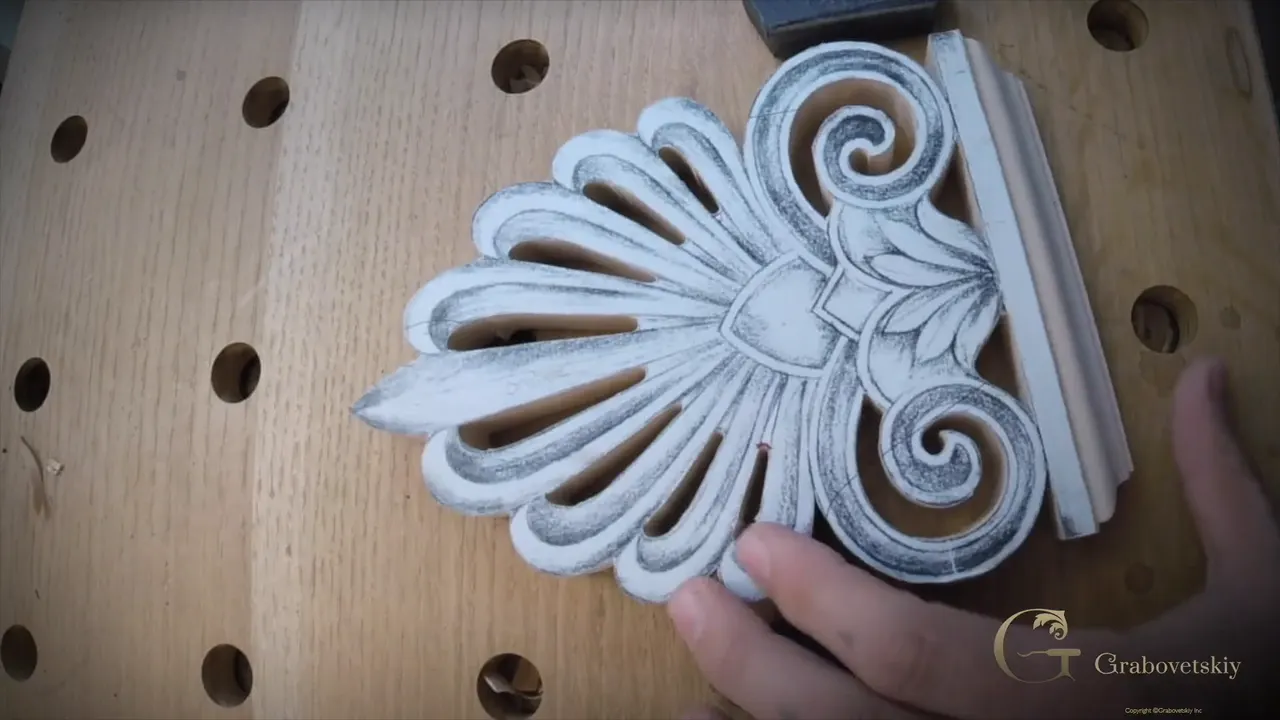
Roughing out a wood carving without breaking it is a run of small choices about risk, and on the palm fan in lesson 2 of Carving Greek Acroterion I made six of them out loud. I took my time. A number one gave me a safer extra step, the mallet came out only where I felt safe with it, and I felt the grain to keep from scrapping the wood. A knife removed the bulk of the waste, even against the grain, then a number five cleaned up behind it, and in the spots where the wood began to chip, I slowed right down.
Do you want the piece to come off the bench whole? Would you like to know which few spots on it ask for slow hands? Then follow one small fan, spot by spot.
I'm going to be honest with you about how this page is built. The base of the acroterion was already done when lesson 2 started, so all four parts go to the palmetto, the palm fan that stands on top of it. That lesson leads here. Further down you get four short lines about rushing from four other courses, each one linked where I use it.
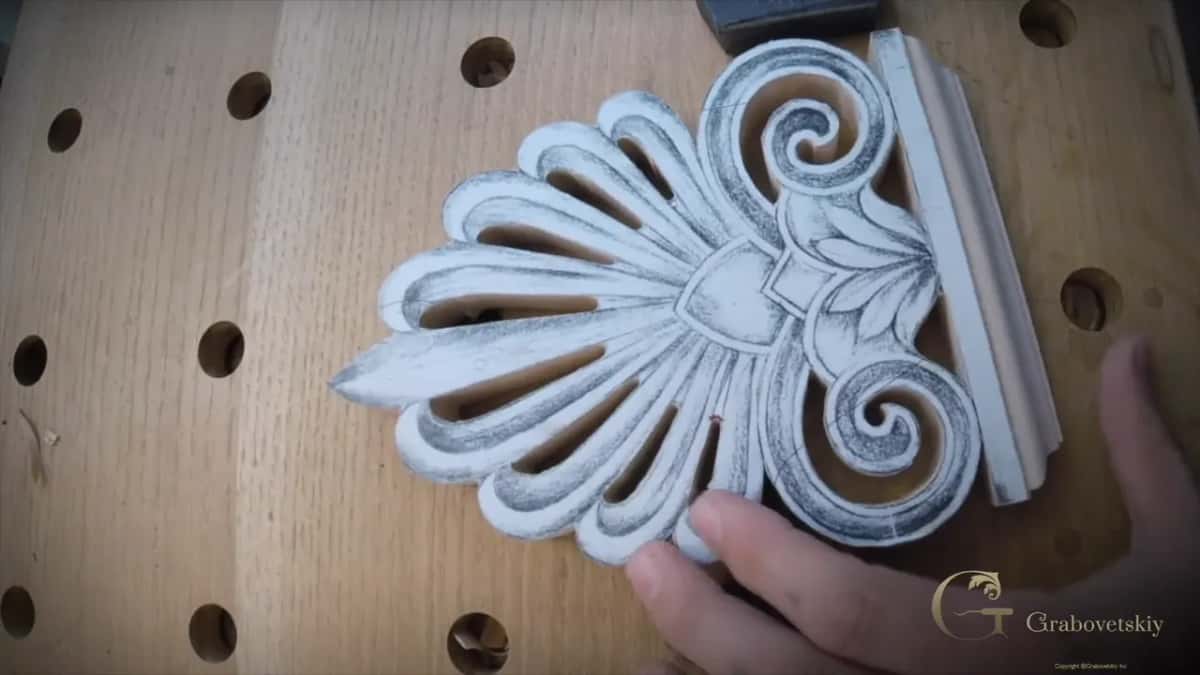
Six choices that kept the fan whole
Taking my time, since a quick move can make a mistake.
Setting the line first using a number one, a step I said I might skip and then kept, because it felt safer.
The mallet on one section only.
Paying attention to the grain along each side, because I didn't want to scrap the wood.
The knife first on each side, with the five behind it.
Slices up to the line where it chipped.
What did I do before the knife touched the fan?
Before any tool went in, I stopped and said, let me think what needs to be done first. The answer was to separate the palmetto part from the base part. So I got the piece fastened, picked up a cheap carving knife, a number 12 by Pfeil, Swiss made, and touched it up a little.
It was a soft wood, I said, and I was not afraid to use my knife on it. I gave the wood no other name in this lesson.
I placed the knife straight down and followed my line. Not angling it to the right or to the left mattered a lot to me, so it stood at 90 degrees, and I repeated that pass to separate the part.

What came off fast, and what did I leave alone?
One piece of wood there had no future. This part has to go down anyway, I said, so with the same knife I took it right down, cleaned it, and did the same on the other side.
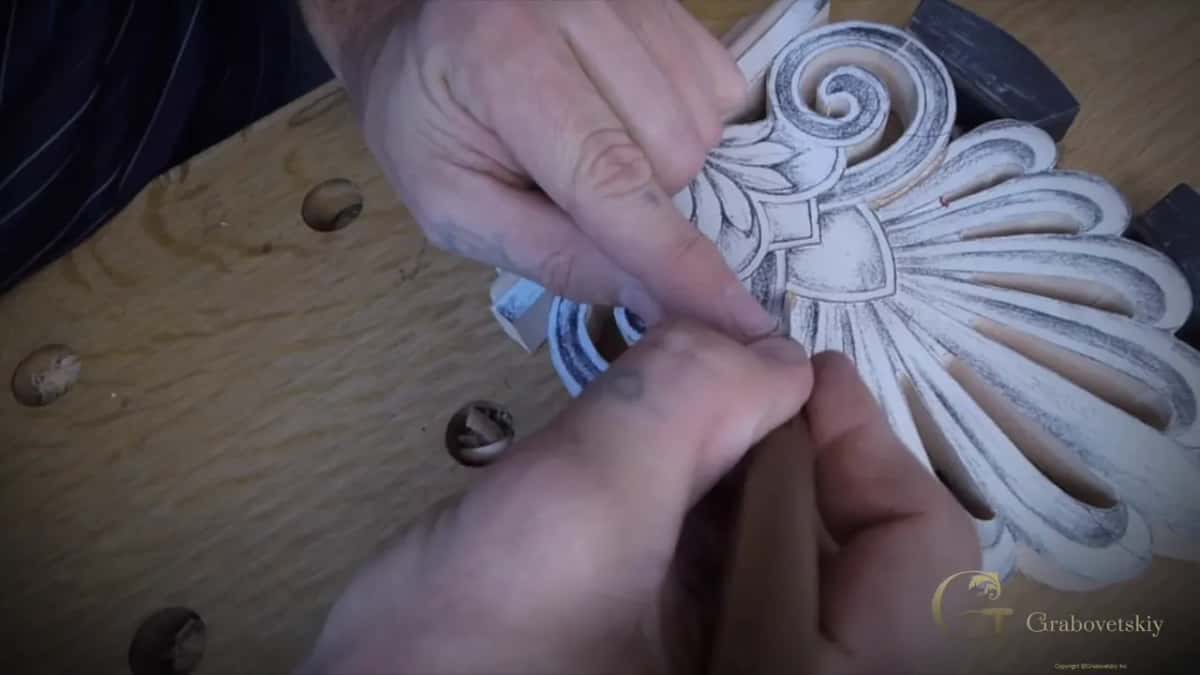
One line got very different treatment. I said I just had to be careful not to overdo it on that line right there, and on the far side I had to make sure I was not making a mistake.
So I stopped and decided how deep it was going to go. Not too deep, I said, about halfway. I sharpened my pencil, set my middle finger against the wood, found my midpoint and drew a division line, and my passes were not going past it.
While I was at it, I even found a number four by Ashley Isles whose profile fit that line perfectly, and I still stayed with the knife.
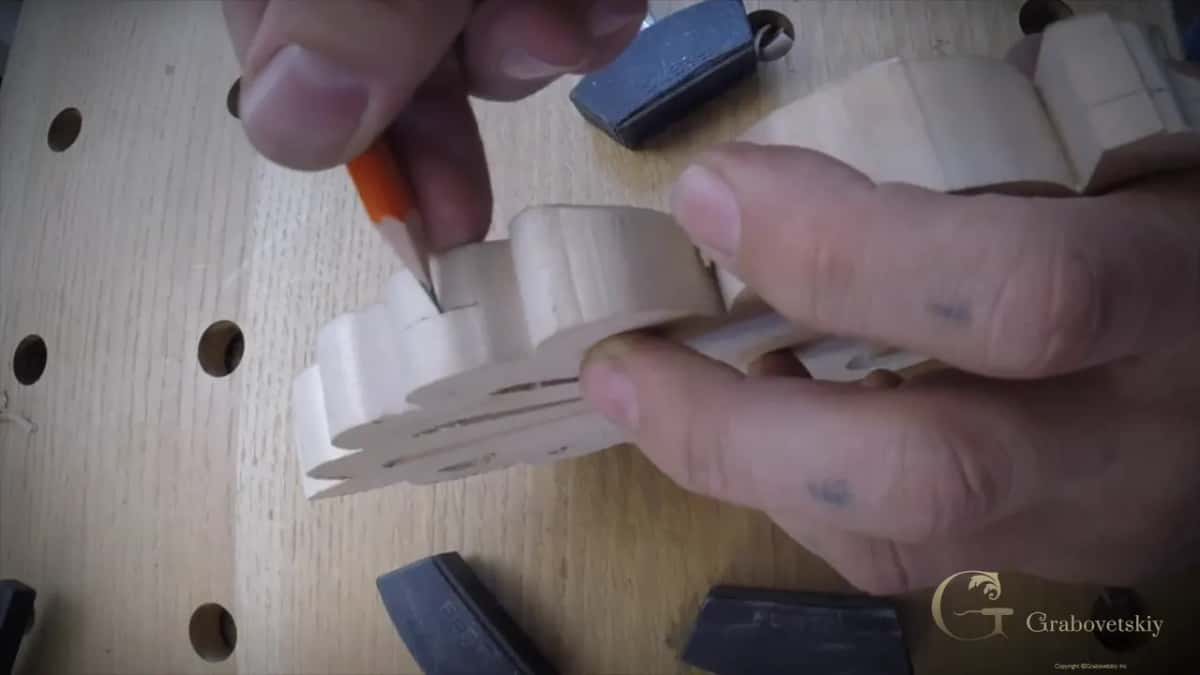
Why add a step you might not need?
With the V tool still in my hands, I went right around at about the same depth, 3/16 of an inch, about 5 mm. Those were first passes, I said, and not the final ones yet.
Then came a step I said I could maybe do without. My number one came next, to make sure I was on the same line and to set it, and I had to watch that I did not split my wood there. Maybe I could skip this, I said, but it felt probably safer for me to do it this way.
Safer won. A flat chisel took the wood down again after that, a single bevel number one, and I stopped for a second to say it needed buffing.
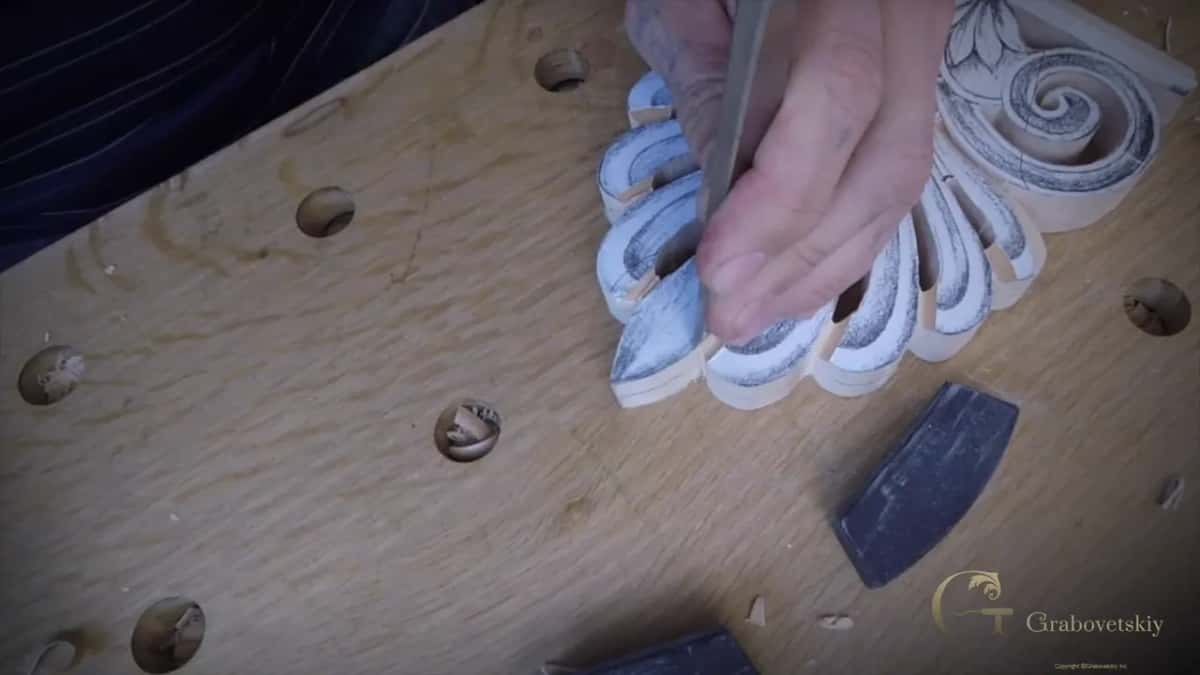
I cleaned that section and kept about 3/16 between the top and the end of the pass, roughly 5 mm. After that I turned the piece, did exactly the same on the other side, and said maybe I would go a little deeper later. It all depends how I see it.
For now, nothing went deeper than 3/16. A split that runs along the grain right into your design is a different worry, and I talked about it in workshop 75 of the Venice Room.
When did the mallet come out on the palm fan?
I talked about the mallet at two points in this lesson. Along the line between the fan and the base I tapped a V tool with it to make my first channel, and I said I was using the mallet because I was controlling with the mallet. I found it the easiest pass to control. In the picture below, from the next part, the mallet lies right beside the fan while I hold the V tool. And I added that I probably did not even need it there, since the knife had already been through.
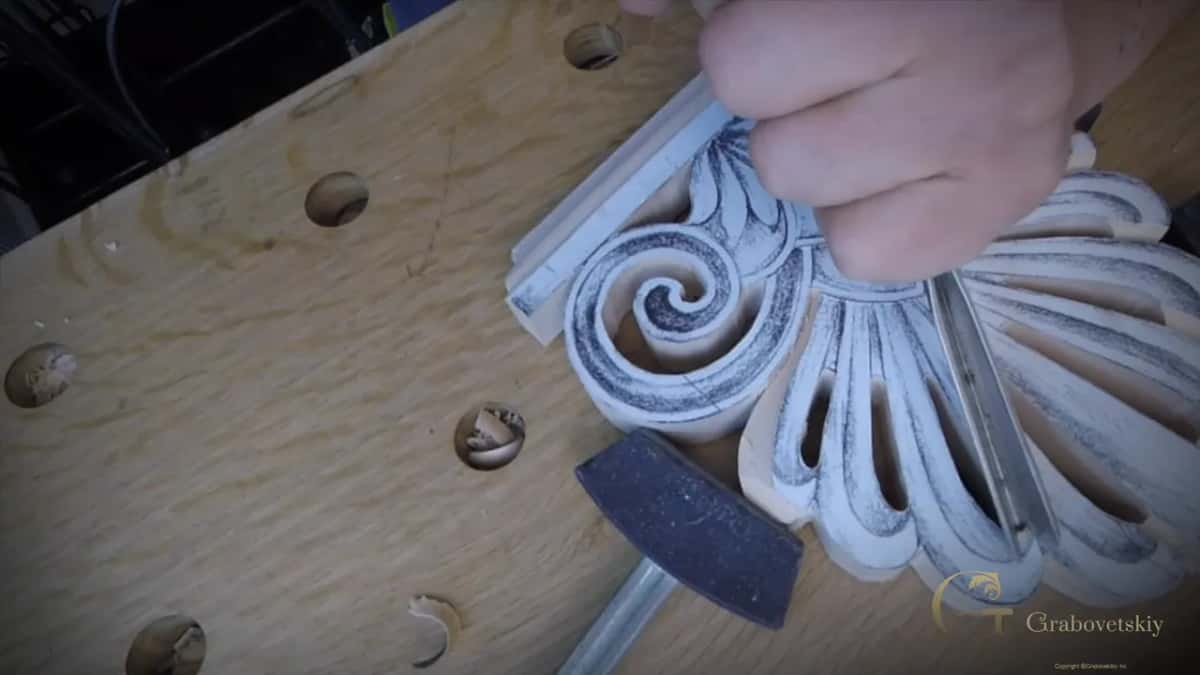
The second point came later. I was working the palmetto from the other side, so I turned it around and kept removing material until I reached my line. I don't want to break, I said. My strokes were slicing ones, and I kept an eye on that line.
At first a mallet in some of the areas was only a maybe, something that would help me. A little later, on that same section, I said I felt safe to use a mallet here, and it came out. I gave no reason for that spot beyond feeling safe there.

Here is how the piece was held while all this went on. The fan sat between Festool stop blocks placed in holes, and I did not even lock them, so whatever position my piece was in, I could set them and work at whatever angle I needed. Another Festool clamp I like, I said, can lock to my workbench really quickly, so I can work around whatever areas I need. The same words sit in two short clips in the Q and A course, Festool Stop Blocks and Festool Clamps.
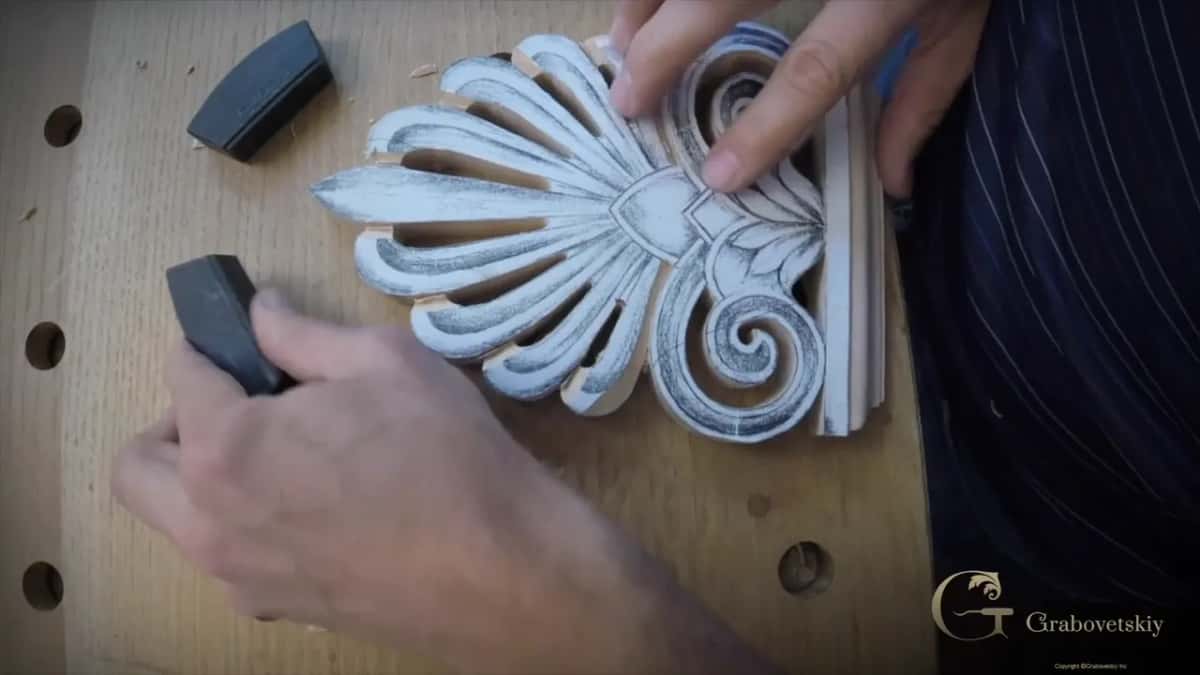
What does feeling the grain mean on a palm fan?
Before roughing the fan, I stopped to think which gouge would be the best choice, and took one of the number fives. It went in sweeping, rotating moves, and at one point I changed my direction.
Along the sides of the palmetto I had to follow my line to the end. Feeling the grain was really important there, I said, because I did not want to scrap my wood.
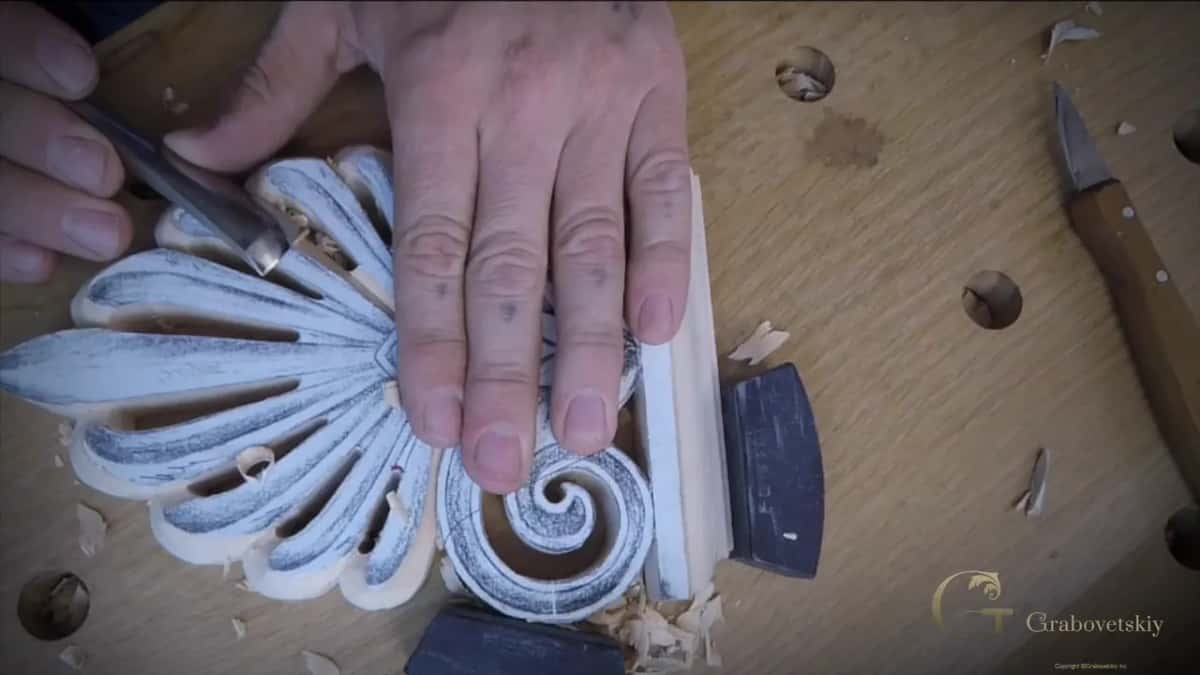
Earlier, roughing with that number five, I caught myself going a little against the grain. I should not do that, I said, and then I said I felt fine.
The grain ran right to the top of the fan. In some areas you could see it chipping, so I watched that I did not overdo it, and I made my slices to the line one after another, really carefully.
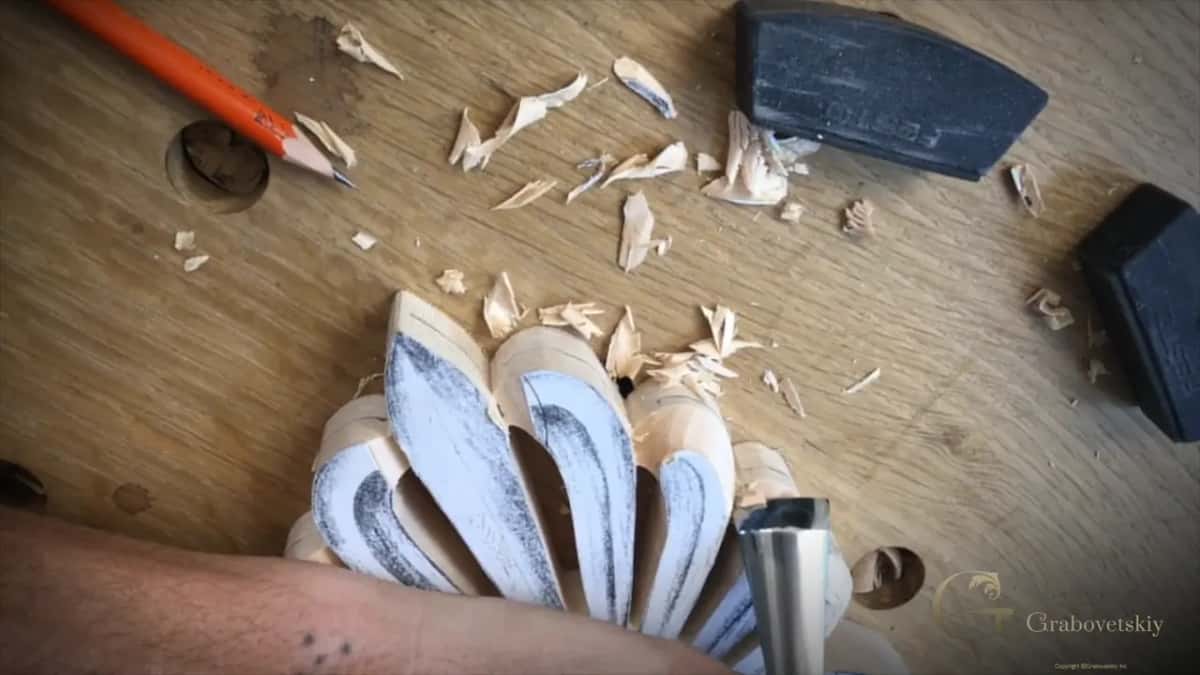
In lesson 2 of Carving Hazelnuts, talking about the areas where you have to attack into the grain, I added one short line. Don't rush it.
I like the idea of a palmetto because I live in Florida now. I am a Floridian, you can say, or a Russian Floridian, and I really love palm trees.
Why let a knife take most of the waste?
When that part was done, I said I had to work on the sides of the palmetto now, and that I had to approach it from this side, with the same gouge.
On the first side I used the knife first. Let me help myself, I said. I angled it and saw the grain was running the wrong way for it, and I said I didn't want to damage it, yet the knife still took most of that wood quickly.
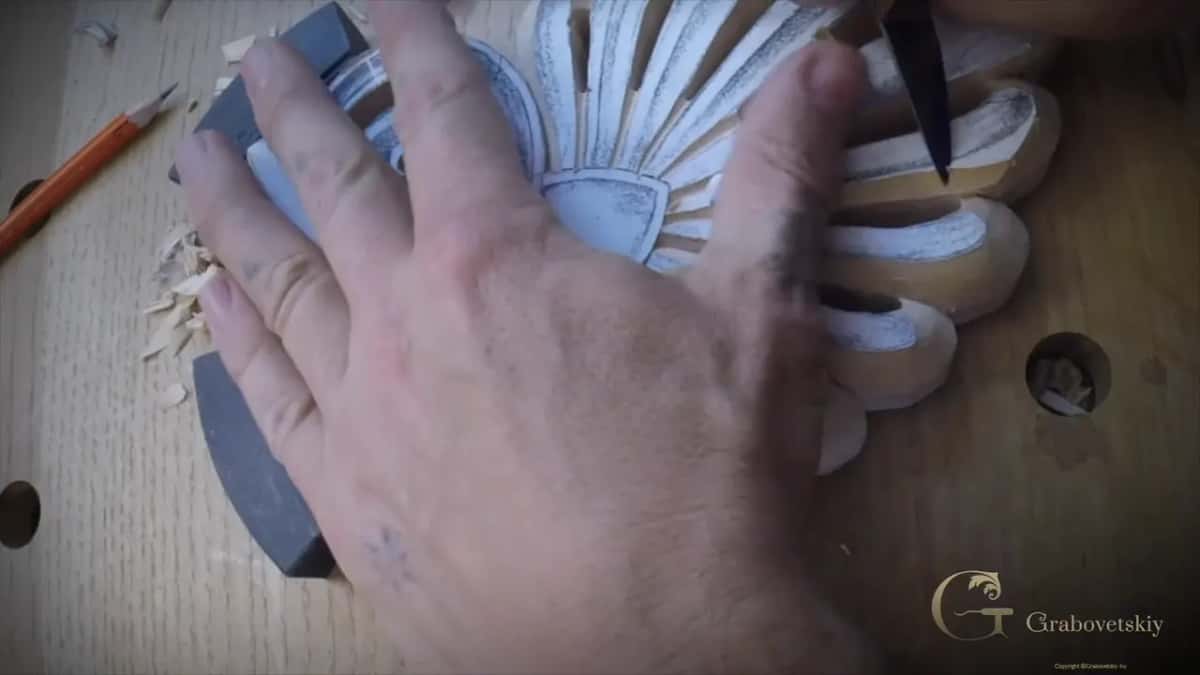
Next came my number five gouge, to clean up after it.
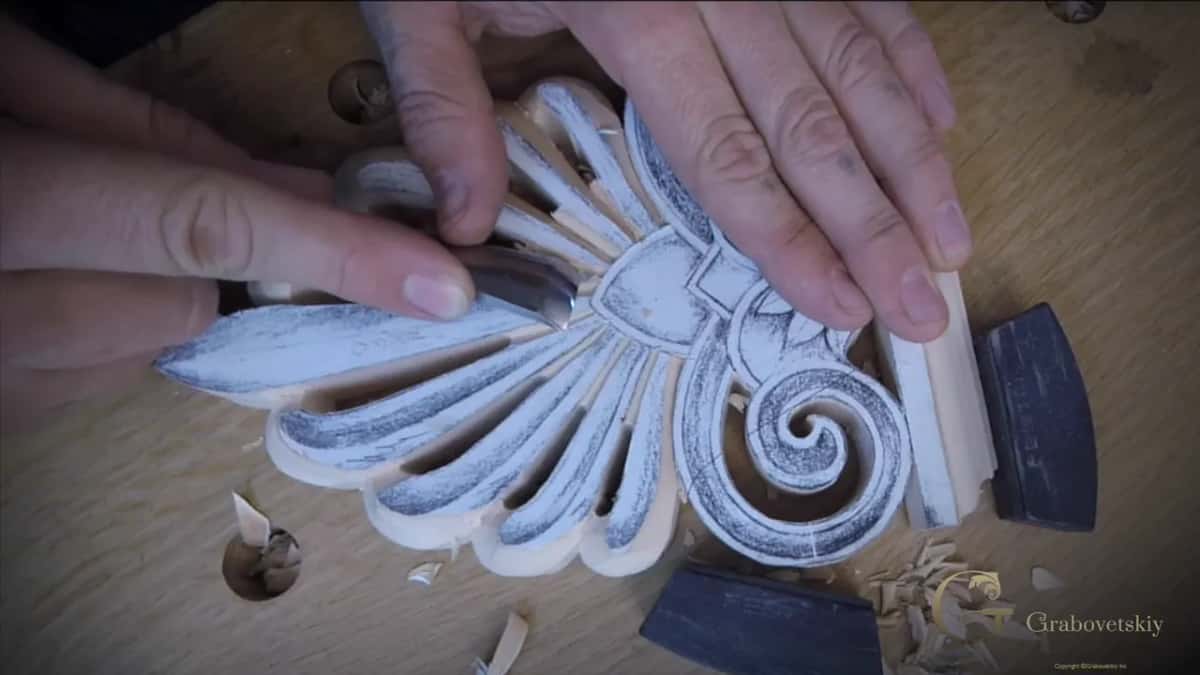
Let me kind of expedite it, I said on the second side. The knife did the bulk again, the gouge helped, and I said it was going to go much quicker that way. Back in the third part, I had looked at the side of the palmetto and thought out loud that I could probably use my knife right there.
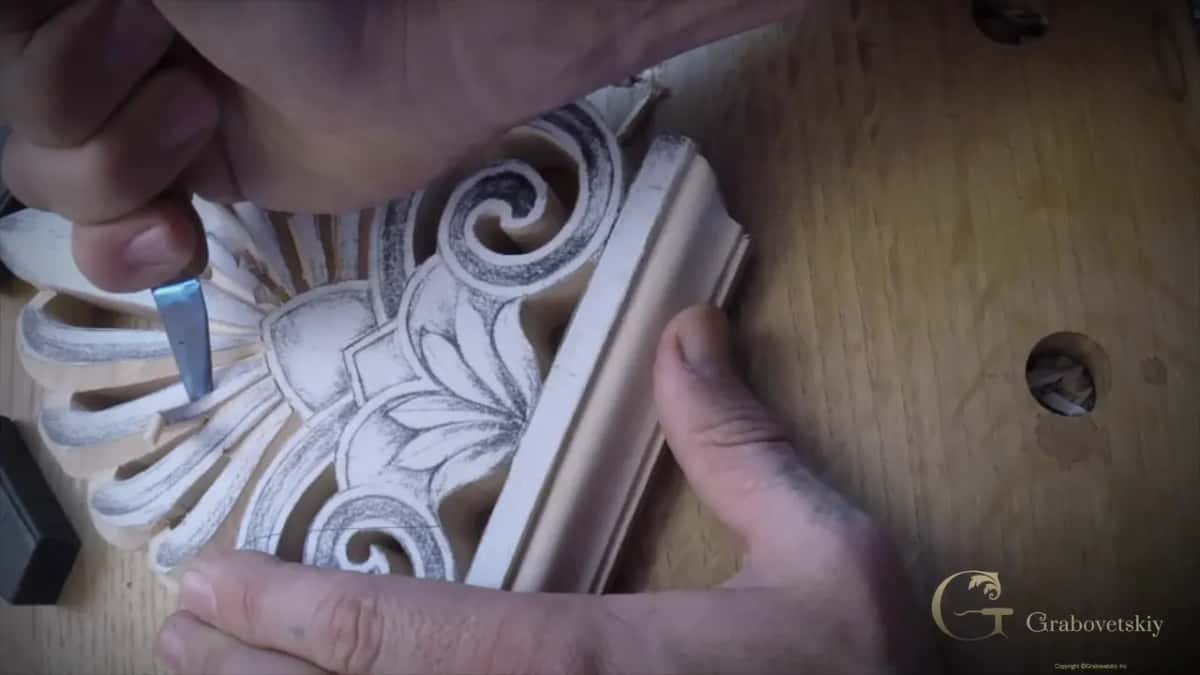
Count the words I used for danger in this lesson. Split came up at the number one, and break while I worked the other side of the fan. Scrap was the sides, damage the knife going the wrong way of the grain, and chipping the grain that ran to the top. Mistake came with rushing.
Where should you slow down when you rough out wood carving?
Where the wood had to go down anyway, I just took it down. Close to the line I kept coming back to the same few words, carefully and without overdoing it. In the fourth part I picked up my V tool again and said establishing the lines with it was a good idea, kind of carefully, without overdoing it.
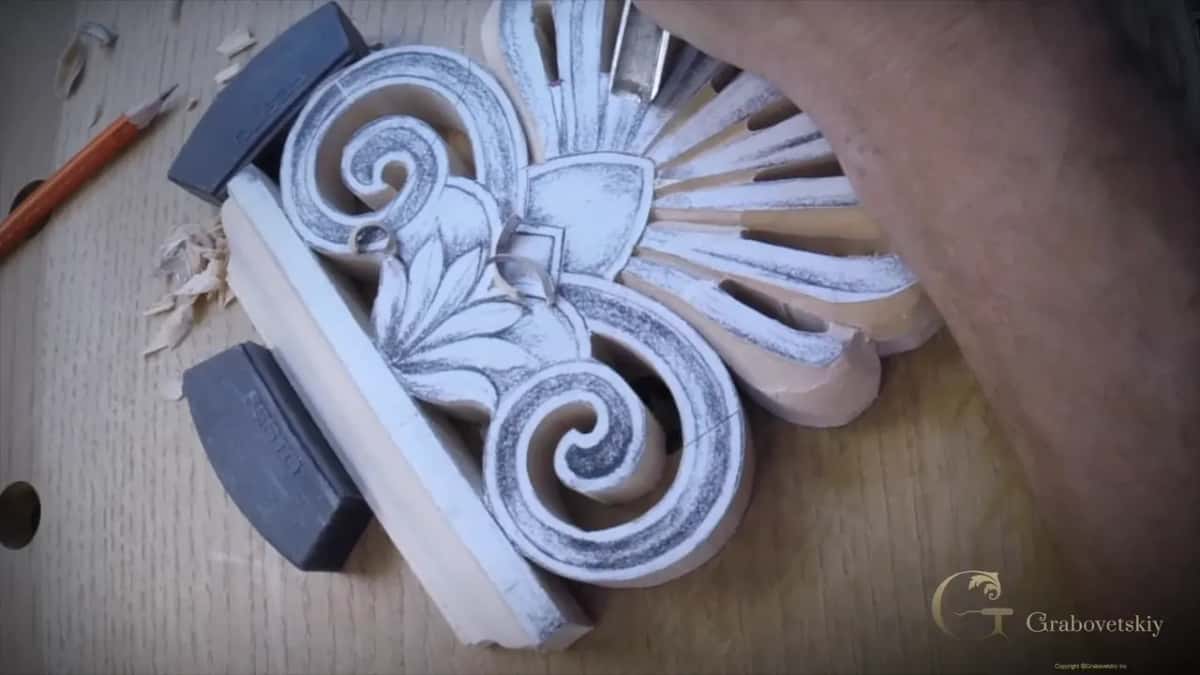
In that last part the main idea was not rushing anything, I said, because I can make a mistake if I try my moves too quickly. Woodcarving is an art of deduction, and once you take wood off, sometimes you can't fix it.
I have caught that on camera. Over in lesson 1 of the vase with grape leaves I found a little mistake, because I had gone too deep. I didn't want that, I said, and it is better just not to rush it, and to remove little by little.
Lesson 6 of the Venetian Flowers Rosette has it too. Not rushing it was really important, I said, and I asked you to keep an eye on the grain and how it is going to behave. Then I began removing wood carefully toward the concave, and I said it once more. Do not rush it.
And in lesson 4 of the Chamomile and Bow Rosette it came out as two short lines to myself. Take my time. No, I'm not going to rush.
Those four lines are short on purpose. Each one is me saying the same thing over a different carving.
When is the rough stage done enough?
I left one line rough on the palmetto on purpose. Later on I would smooth it, I said, but as of now I kept it like that, since it was the rough stage and the cleaning would come later.
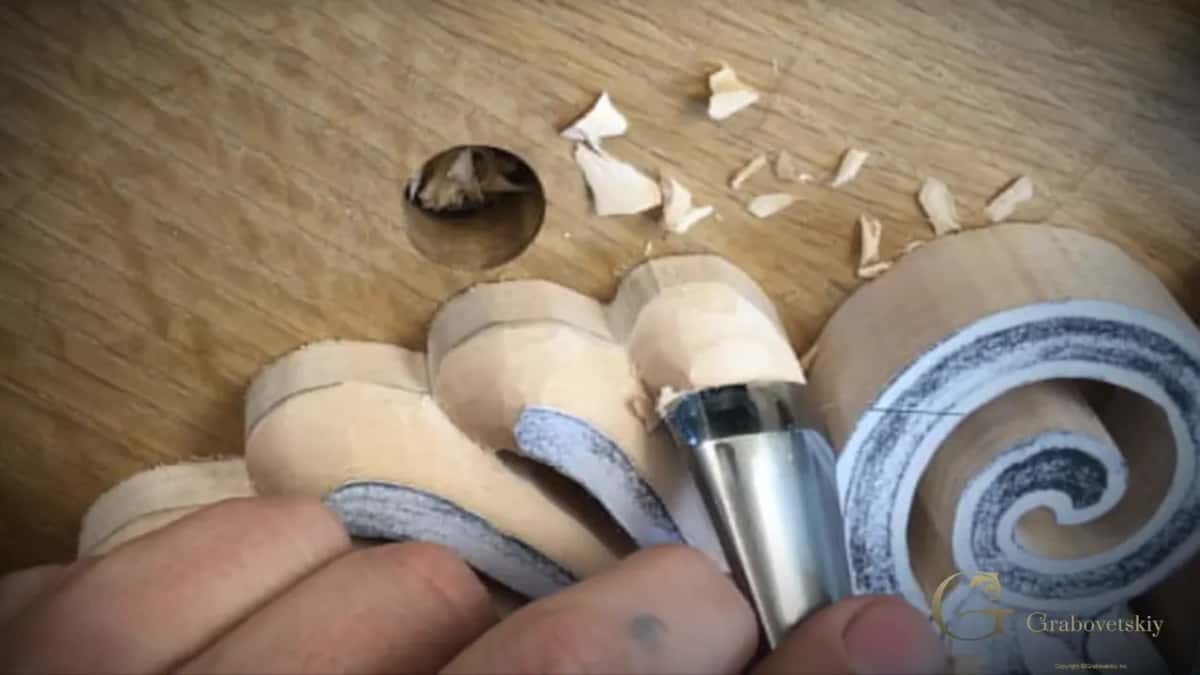
Roundness came from my number seven, and some tiny passes took off my facets, or whatever you call them. Once I said number eight, then corrected myself, number seven, for the cleaning.
Near the end of the fourth part, I made the middle pass, cleaned with the number five once more, and said we would be done with the outside of the palmetto. Then I looked at the texture and said it was not bad at all. The number seven came back to remove the big chisel marks, or should I say gouge marks, and said that should be in really good shape.

Then came the last words of the lesson. The rough part of the outside was done, a little more cleaning was still to come, and I was happy with how it looked.
The risky moments on the fan, part by part
Moment | Action | Words |
|---|---|---|
V tool channel | tapped with a mallet along the knife line | easiest to control it |
Waste by the base | took it right down with that same knife | it goes down anyway |
Setting the line | first a number one, then the flat chisel | probably safer for me |
Fan, other side | turned around, and later the mallet came in | I feel safe here |
Sides of palmetto | knife first, then the five for the cleaning | most of it, quickly |
The chipping spots | slices to the line, one by one, carefully | it's chipping right here |
Read the table from the top down and you have the order of the lesson. The left column says where on the fan, the middle one says what my hands did, and the right one holds what I said at that moment, close to word for word.

Would you like to watch these choices at the bench, close up, instead of reading about them? Lesson 2 shows the whole fan in its four parts, and it opens with tuition to the school, monthly or yearly, renewing automatically until you stop it. The course page walks through all five lessons of the acroterion, and the lessons map shows where it sits in the school.
How it's done
- Separate the fan from its base. I placed a Pfeil number 12 knife straight down at 90 degrees, followed my line and repeated the pass, then took the waste there right down.
- Decide a depth before going deeper. I settled on about halfway and drew a division line with my middle finger and a pencil, so my passes would stop there.
- Run the V tool, then fix the line. My V tool went around at about 3/16 inch, 5 mm, as first passes only. After it, a number one fixed the line, carefully, so the wood would not split.
- Rough the fan and turn it. Sweeping, rotating moves came from a number five, and I turned the piece to come from the other side, bringing the mallet in only on the section where I felt it was safe.
- Let the knife take the sides. On each side I angled the knife and took the bulk of the wood, then cleaned with the number five.
- Slow down where it chips. Where the grain chipped I worked small slices toward the line, then cleaned the gouge marks off with a number seven.
Frequently asked questions
Is it safe to use a mallet on a palmetto?
My fan saw the mallet on one section of the palmetto, the one where I told the camera I felt safe using it. Before that I tapped a V tool with it along the separation line, and I called that the easiest pass to control.
Can a knife do the roughing before a gouge?
A knife did the bulk on the sides of my fan, even with the grain running the wrong way, and then a number five gouge cleaned the surface. For the second side I worked the same way to save time, and I said it would go much quicker.
Why bother with a step you could skip?
Before roughing the fan I set my line using a number one. I said I had to watch out for splitting the wood at that spot. Doing without that step was possible, I said. I kept it anyway, because doing it that way felt probably safer to me.
What to carve next