
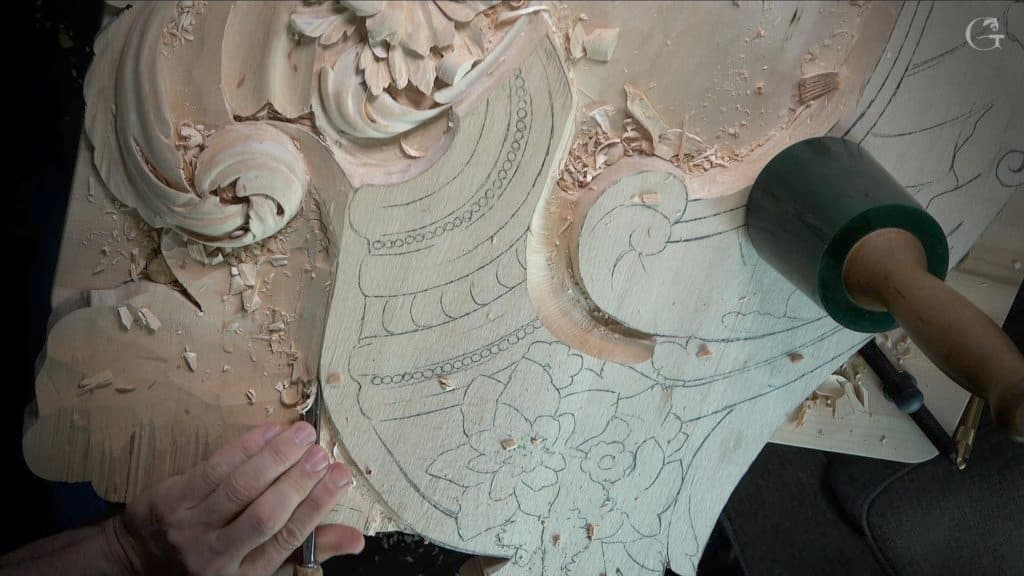
Alexander Grabovetskiy, woodcarver, School of Woodcarving · Published 2021
What is the difference between full size and European size carving tools?
Quick answer: The difference between full size and European size carving tools is length. In workshop 122 of the Venice Room, one and a half millimeters felt slightly wide for a small shell, so I took a single millimeter veiner and called it the shorter version. Shops sometimes print that length as intermediate.
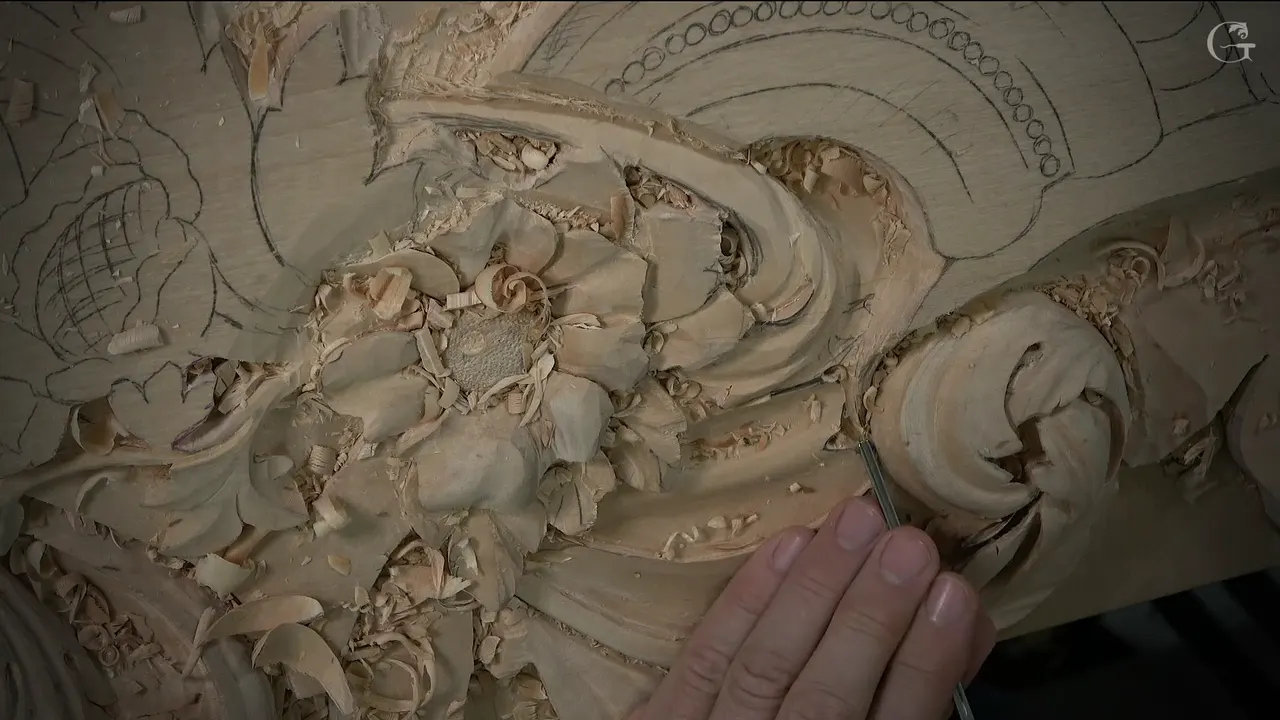
A European size gouge is a little shorter than a full size one, and the difference between them is the length of the tool. In workshop 122 of the Venice Room, a number 11 of a millimeter and a half was a little too big for one small shell. I went down to a single millimeter and said on camera that this was a shorter version, a European version. Tool shops sometimes print that length as intermediate. So Pfeil intermediate vs full size is a question about length as well, and both lengths turn up in my lessons.
Do you want to spend your tool money once? Would you like to see which length I pick up, and where? Below is lesson 122 first, and after it my own words on the two lengths from thirteen other lessons, each one linked so you can watch it.
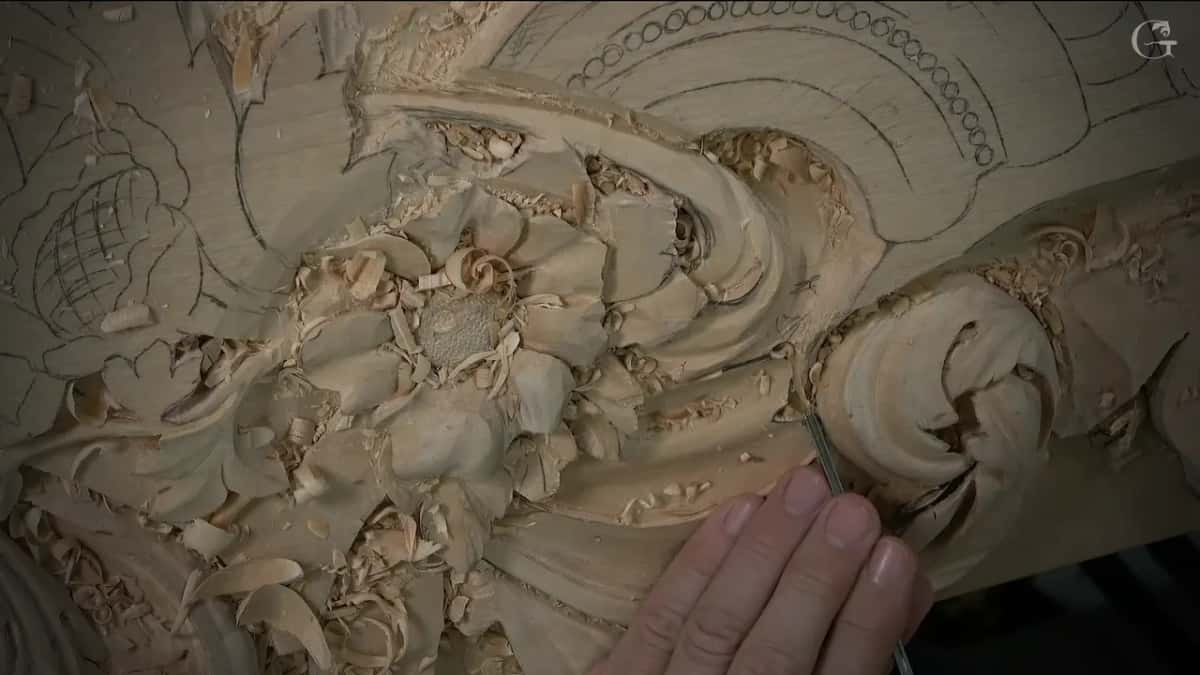
What the two lengths mean on my bench
- A European size tool carries a number and a width like any other gouge, and it is a little shorter.
- My short one in lesson 122 was a 1 mm veiner.
- Intermediate size shows up on shop labels, and I said that is pretty much English tools against the rest of Europe.
- On one Pfeil gouge, a 12 mm sweep 5, I read the letter D.
- On the lily box, a shorter tool probably meant better control.
- Even a full size tool, a small number 9, reached the smallest spots of workshop 52.
What did I pick up in workshop 122?
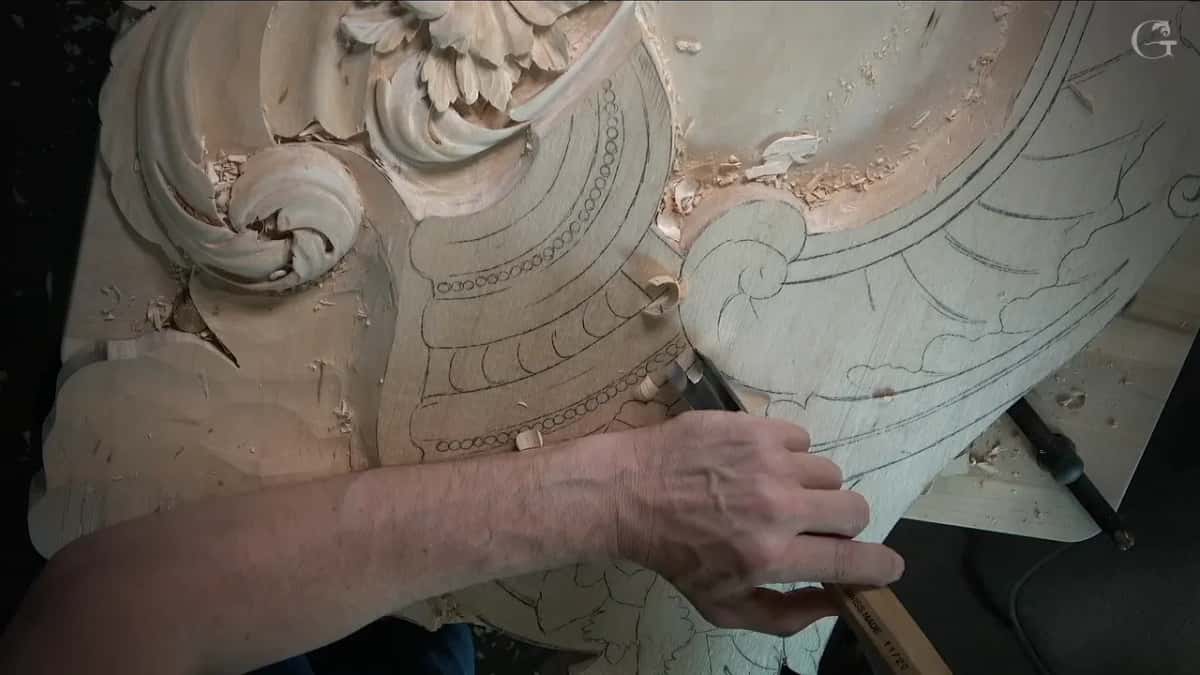
A veiner of 1 mm (about 1/32 in), the third size I tried on the same small shell. While I worked around the shell on this relief, I said out loud that I did not want to destroy the edge of my future molding, which is going to go in later. So the first tool was already small, a 2 mm eleven (about 5/64 in), and I went in carefully.
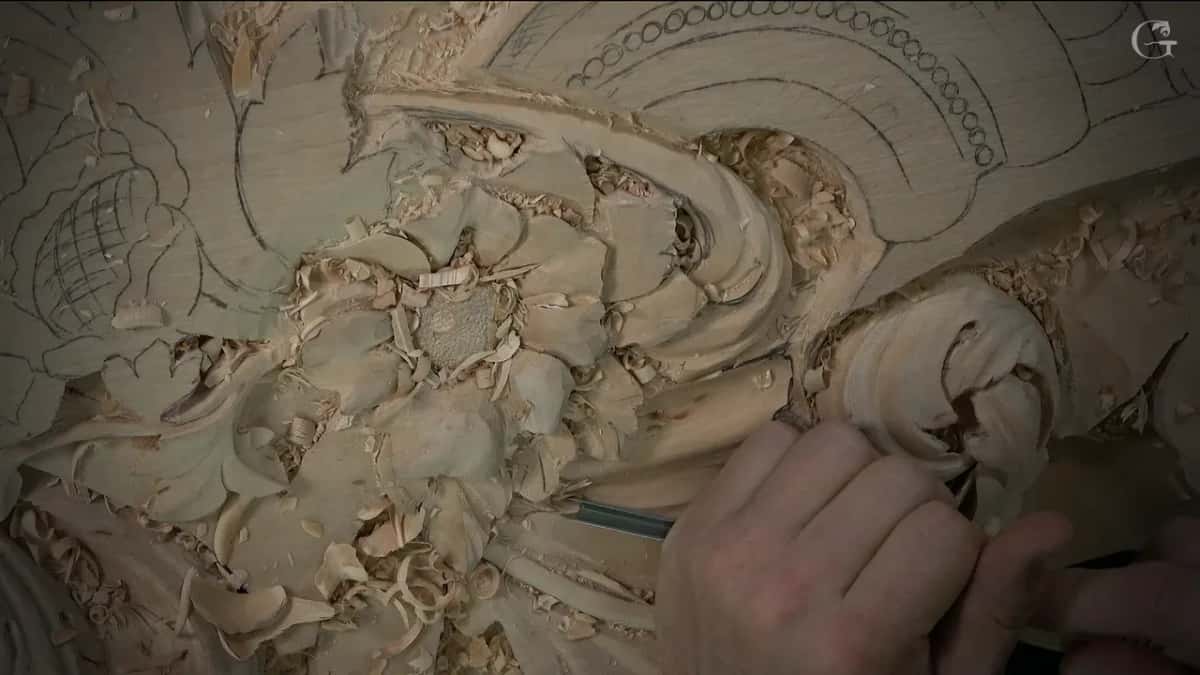
A little tricky area, I said. Not impossible.
After the 2 mm came a sixteenth of an inch, a millimeter and a half, and I told you carefully, carefully, carefully while I worked my way around the shell and then the other way too. Yes, it does take time. Even that sixteenth was a little too big for me, so I got just one millimeter, a number 11 again, and said that in this case it would be the shorter version. That's a European version.

Nothing in lesson 122 names the maker of that last tool, and I did not stop to explain the length on camera. On other days I said a lot more, and the rest of this page is those days, each one with the lesson where you can hear me say it.
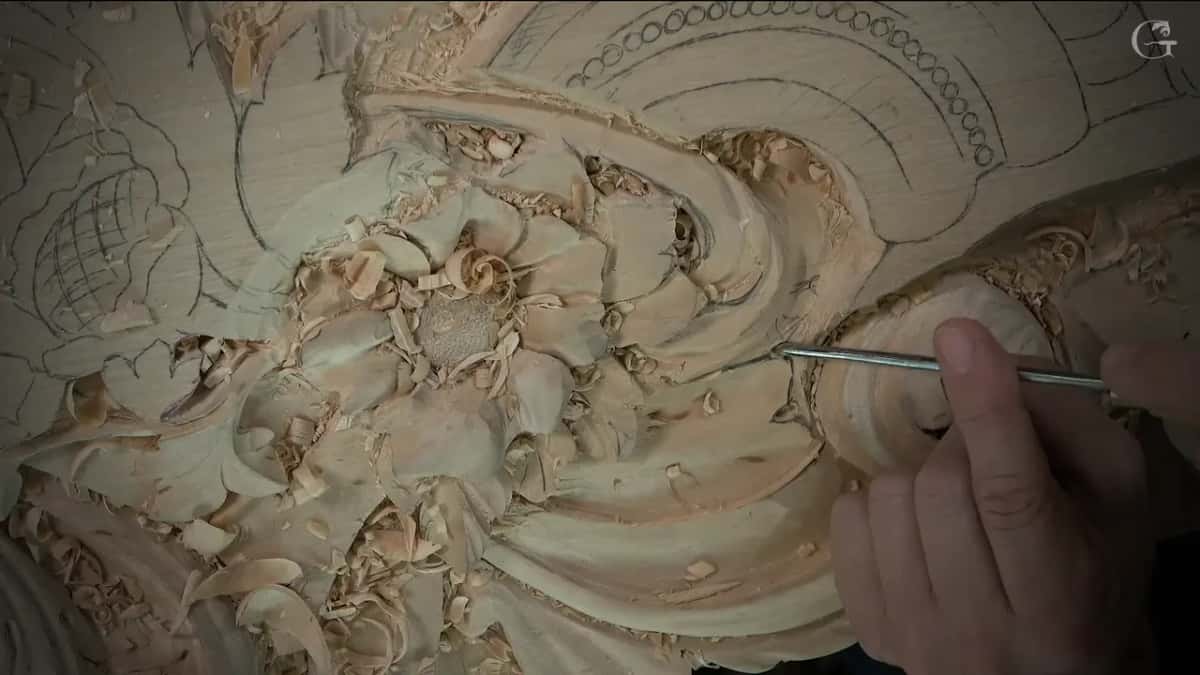
Earlier in the same part the small sizes had already been busy on another spot. The grain was against me there, and a much higher flower stood right where I would have come in from the opposite direction. I took a two millimeter U tool to dig a deeper shadow, almost made a mistake, then switched to a smaller one. Twice in a few minutes I told you I almost made a mistake.
Which other tools did lesson 122 use?
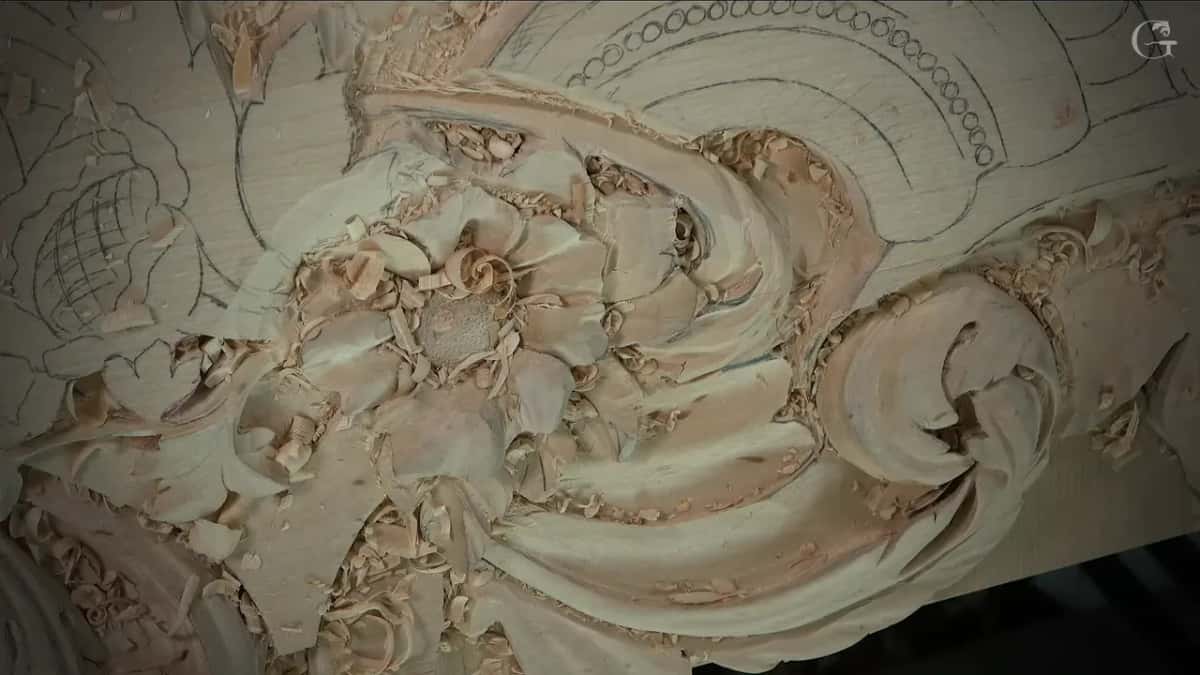
A long row of them, and only one got a word about its length. Later, in the third part, I outlined the upper part with an eleven of 20 mm (about 3/4 in) and then took a 30 mm one (about 1 3/16 in) to remove a bunch of material much quicker. A number 3 of three quarters of an inch, about 20 mm, went straight down on my line, and number 11s of 7 and 5 mm took out what I called junk and cleaned between those passes.
Back in the first part a number 7 of 14 mm (about 9/16 in) blended a ridge I did not need, and a number 9 of an eighth of an inch made a plug cut really close to my workbench. In the second part a number 4 spoon started a slope that had to stay gradual, because I did not want to rush it. Not one of those tools got the word shorter. The 1 mm did.
Pfeil intermediate vs full size, what do the two names mean?
Length, and I said it while I was working on the background of the furniture panel, in lesson 15 of that course. When you shop for tools, I said, you can sometimes see a marking like full size or intermediate size. In reality it is pretty much English against the rest of Europe, and by Europe I meant Germany and the other continental countries.
Most of those countries made their tools a little shorter before they took on the full size, the size of the London pattern tools. Then I corrected myself, because the pattern was not what I meant. The size, how long it is. I was talking about the length.
Just before that, in the same part, I told the camera why I like the size of the tool I was holding. Those words already sit on the page about knowing when a gouge needs sharpening, so I will leave them there.
How do you tell which length is in your hand?
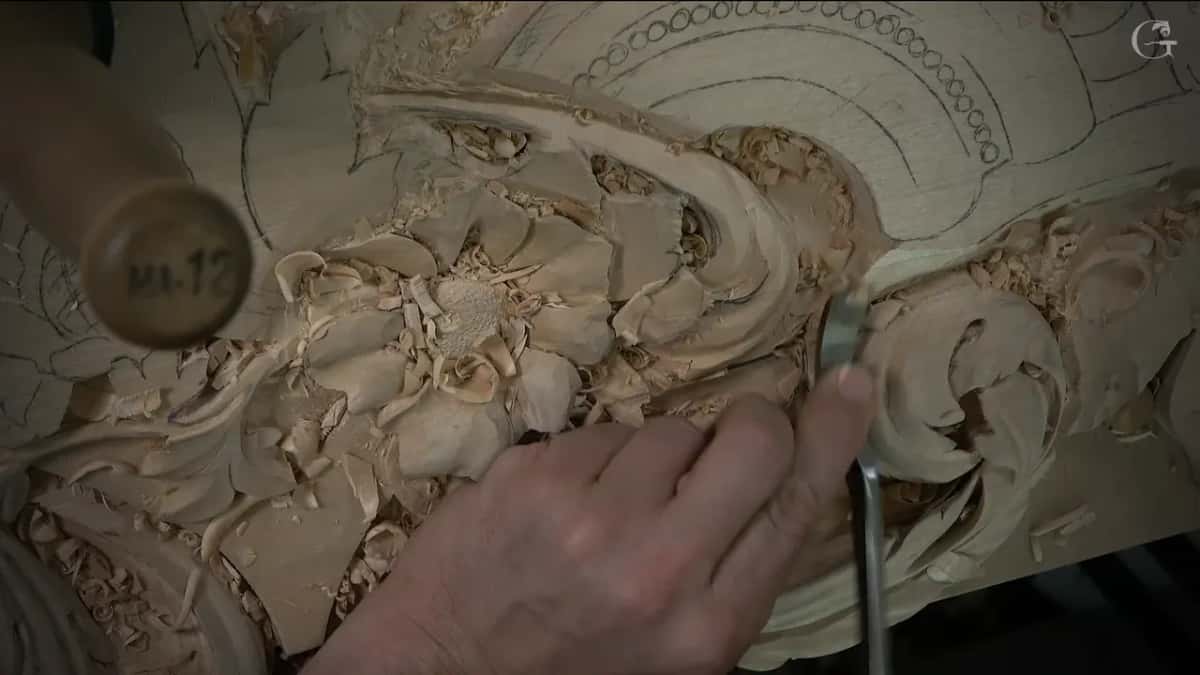
Read the marking, the way I did in lesson 18 of the furniture panel. I had checked a number 7 against my curve, and of course it did not fit. A number 5 of 12 mm was just perfect. That tool was a Pfeil, and I said it was marked D because it is a short version. European size, I should say, I added a second later.
One lesson earlier, number 17, I picked up a veiner of 3 mm (about 1/8 in) and said the same thing with other words. A shorter tool, European size, by Pfeil, Swiss made. Carefully, I said.
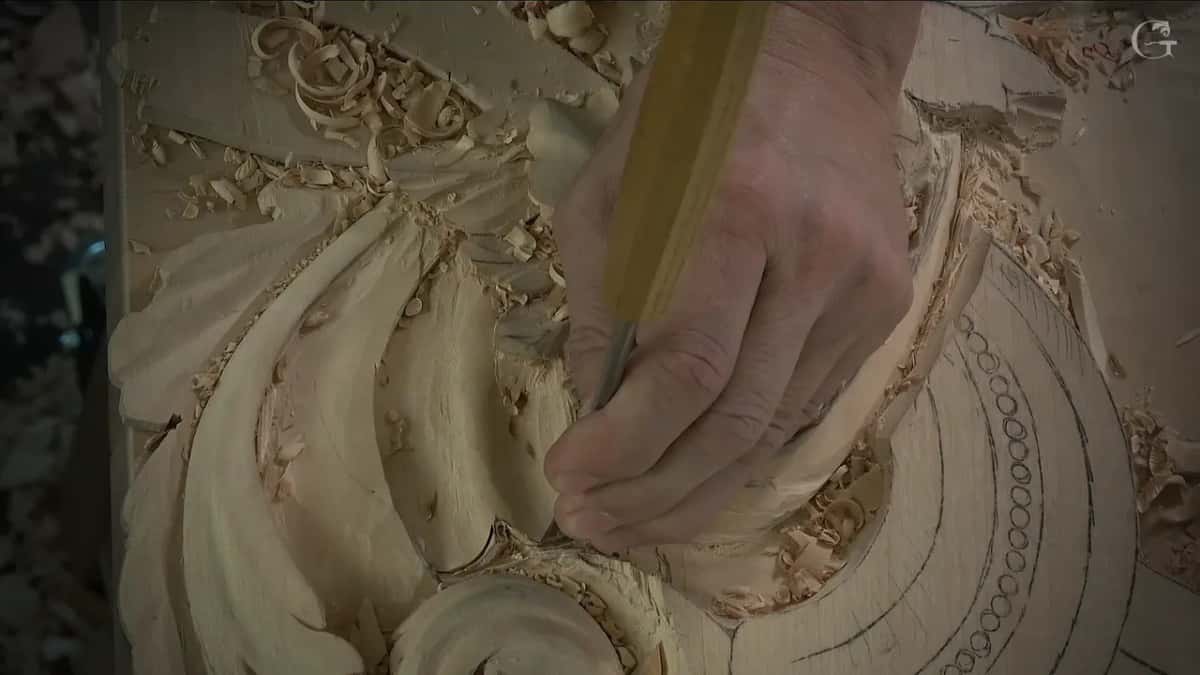
The acanthus leaf in the Greek style had one too. For lesson 3 of the Greek acanthus leaf I reached for a small European size V tool of 8 mm (about 5/16 in), also by Pfeil. A V tool has two parts, I said, like two chisels, and one of them should be 90 degrees down before we start digging.
The closest match to lesson 122 is the bouquet on the furniture panel. Shaping petals on the inside of a flower in lesson 23, I said 3 mm could work, but there was no reason for it. One millimeter should be enough. So I got a different one of that size, a little shorter version, European version, Swiss made, and said it was exactly the same idea. Some extra waviness on the petal did not worry me, and maybe a little more depth. After that a number 3 upside down shaved it, so it would feel like it goes underneath the one beside it.
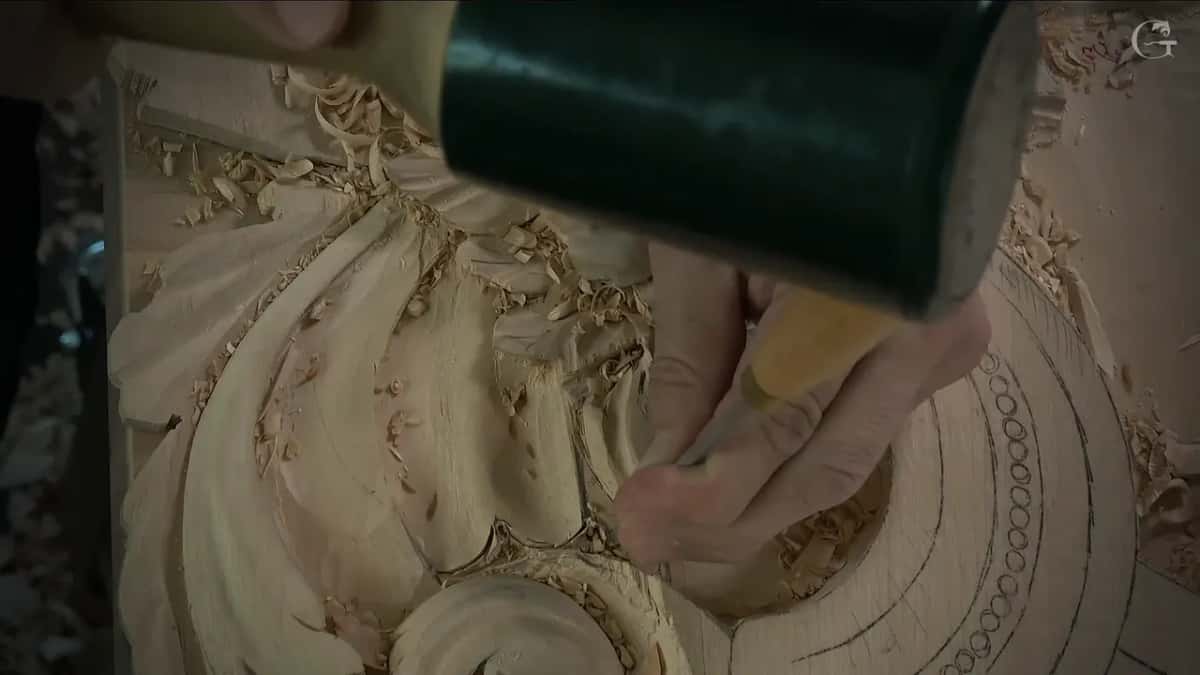
Why reach for a shorter tool close to a detail?
Control, and on the lily box I said it in almost those words. Carving the lily itself in lesson 10 of that box, I thought about a number 8 and said I could probably get better control with a shorter tool.
Back in lesson 2 of the same box, on the first layer, I was working around with an 11 of one millimeter and swapped it for a palm tool of the same number and the same millimeter. It's a little shorter, I said, and it would be easier for me to get in that area.
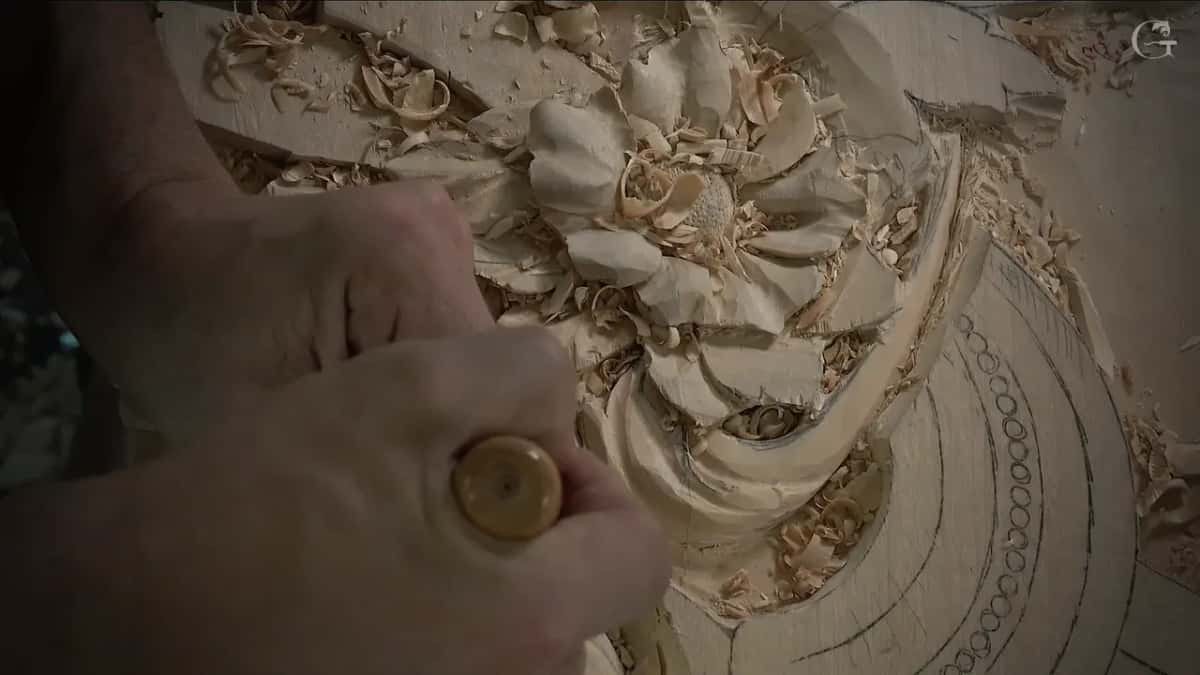
Palm tools came up again later on that box. Lesson 11 of the lily box had me about to take out the center of the lily, and most likely you work toward yourself there, because sometimes you have to. For that job, I said, the best choice would be palm tools, really short tools, since you can handle them close to the surface and control them nicely. Right after that I added something for anyone without them. Any type of tool will do, just be really careful how you use it. The one in my hand that day was a number 9 of about 10 mm (3/8 in).

What if you cannot find the smallest size?
Take the next size up, which is what I told you in lesson 16 of the Roman acanthus leaf. My tool there was a really small, tiny number 11, giving a little undercut, and I said the shadow it casts is almost impossible to see on a camera, so just believe me. If you cannot get a half millimeter, I said, I was pretty sure you could get a 1 mm one by Pfeil.
That one is European size. On camera you could see it fit pretty much in my palm, and the effect, I said, is going to be about the same, with the line just a little wider. On that scale you don't see the difference between half a millimeter and one full millimeter.
Width is a different question from length, by the way. For widths in inches there is a gouge size chart page that turns millimeters into fractions.
Do you still need the full size tools?
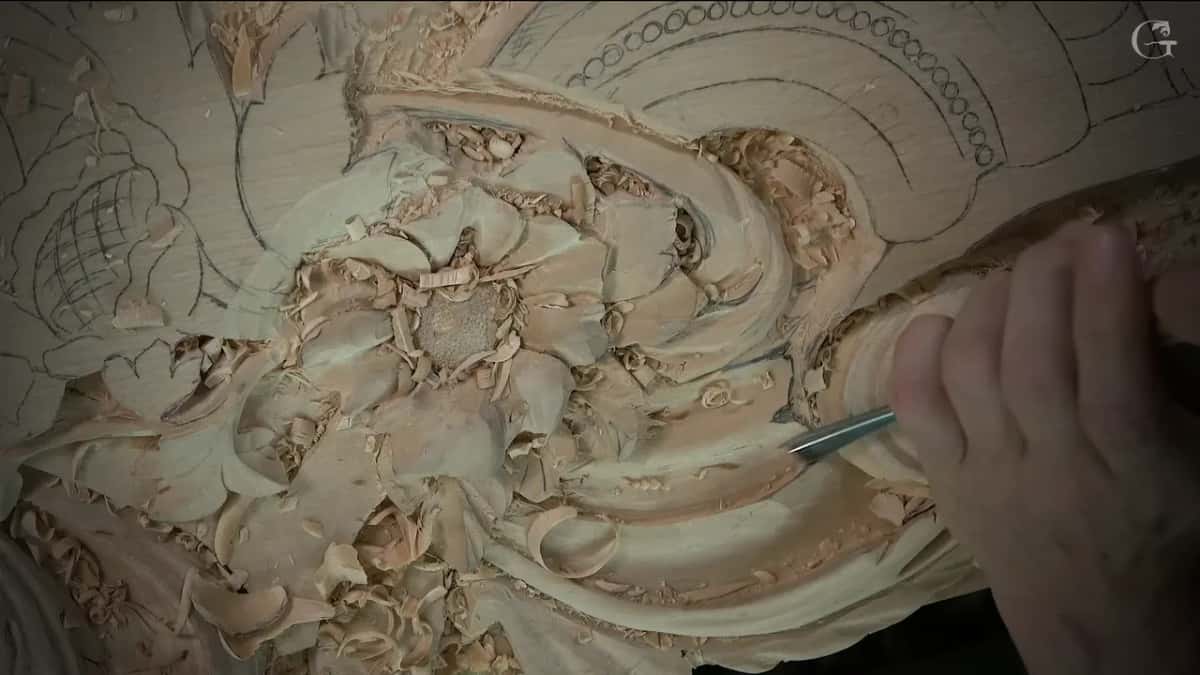
A full size number 9 took me into the tiniest spots in workshop 52 of the Venice Room. It was a small one with its edge only at the very end, and I said I really love that tool. Still a full size tool, I told you, and still it gets in there. It would not pull like that. I still had to rotate it, the way a plug cut goes in, and I said I can excavate really, really deep with it. How much material there is to take out decides it, I said, and the wood does too. Sometimes it's a good idea to start with the smaller number 9.
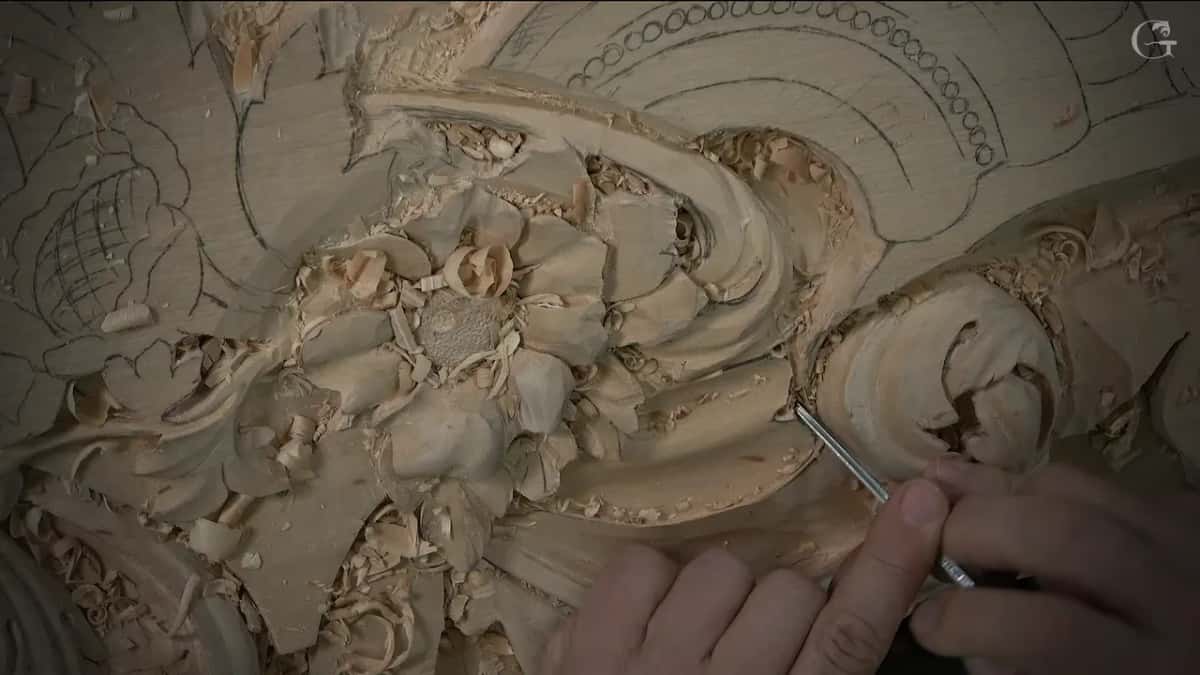
During one livestream in April 2020 I put two Pfeil tools next to each other to compare them and to show why I love one of them. Advantage number one, I said, this one is a full size. There is such a thing as a shorter version, a European size, and right here is the shorter one. After that I held up the full size again. Look how long that is.
Knives work the same way for me. On lesson 15 of the furniture panel I made a pass with a shorter version of my favorite knife and said the longer one could do exactly the same thing.
Which maker to buy first is a question of its own. I answered it on the page about why I use Pfeil more often than Ashley Iles, where Ashley Iles steel gets its due.

Where else did the shorter tools show up?
On the vase with grape leaves, in lesson 2 of that course, I brought my first pass closer to the pencil mark, and once I liked the width I took a number 11 veiner of 1 mm. In this case a smaller tool, I said, European size. With it I started undercutting a little under a stem, placing the tool straight down and then turning it counterclockwise to about 10 or 11 o'clock. Not too deep, I said, but I really need that shadow. The other side got the same, with the flute turned the opposite way.
Much earlier in that room, workshop 44 brought out a 3 mm tool again, and I said this 3 millimeters is European size, a little shorter version of tools. A moment later it was a bit big. I needed 2 mm.
Here is every tool from this page with the word I used for it on camera.
| Tool in my hand | Lesson and what I was doing | My word |
|---|---|---|
| Number 11, 1 mm | Venice Room 122, going around a small shell | European version |
| Pfeil sweep 5, 12 mm | Furniture panel 18, checked against my own curve | Marked D |
| A 3 mm veiner | Furniture panel 17, working on the background there | Shorter tool |
| Small V tool, 8 mm | Greek acanthus leaf 3, one side 90 degrees down | European size |
| Palm tool, an 11 | Lily box 2, first layer, one area easier to reach | A little shorter |
| Small number 9 | Venice Room 52, a plug cut deep into tiny spots | Still full size |
Where can you watch lesson 122?
Lesson 122 opens Part 11 of the Venice Room, and the course page carries the question for that part, how to carve against the grain without tearing the wood. Right before it comes lesson 121, the last of Part 10, and lesson 123 comes next. The small shell and its 1 mm tool are in the first of its three parts. In the third part I outline the upper part for an acanthus, and I said on camera that I had not decided yet what type of acanthus it would be.

Every wood carving lesson named on this page opens with full access to the school.

Would you like to carve right up to an edge and keep it? Want to watch the small tools do it? That first part of lesson 122 is where the short one went to work on a small shell beside a future molding.
How it's done
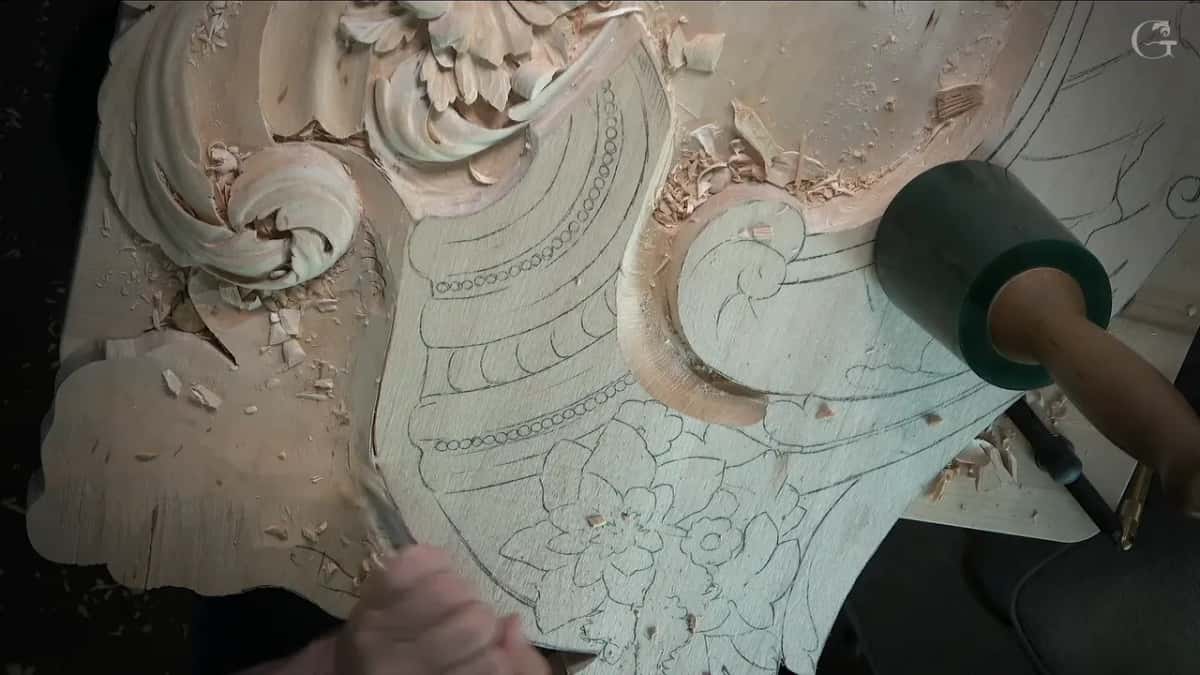
- Try the width first. My first try on that shell was two millimeters wide. Next came one and a half, and the single millimeter came last.
- Mind the edge beside you. I went carefully, three times over in my own words, to keep the edge for the future molding safe.
- Read the marking. On that Pfeil I found a D and said it meant the short version.
- Go shorter near the detail. A palm tool of the same size took over from my first veiner on the lily box. It made one area easier to reach.
- Hold the steel low. Really short tools, I said, let you handle them low on the work and control them nicely.
- Work with what you own. Any tool you own will do, I said.
Frequently asked questions
What does intermediate size mean on a carving gouge?
Intermediate describes how long the tool is. While carving the furniture panel background I said shops print full size or intermediate size, and the split is really English against Germany and the other continental makers, whose tools used to run a little shorter before they took on the London pattern length.
What does the D mean on a Pfeil gouge?
Reading the marking on a 12 mm Pfeil gouge, I said the D marks the short version, the European size. Tool sellers list Pfeil's D tools as their mid size line, so the letter tells you the length, while the number after it still gives you the sweep.
Is a shorter carving tool easier to control?
Carving the lily flower, I said a shorter tool would probably give me better control, and that palm tools let you handle the steel near the surface. Any tool works without them, I added, if you use it with real care.
What to carve next