
Alexander Grabovetskiy, woodcarver, School of Woodcarving · Published 2021
Do you need calipers for wood carving?
Quick answer: Carving calipers are a checking tool, not something you must own before you start. In lesson 131 of the Venice Room I placed a middle line at about 62 against 38 by eye, then checked it with calipers and landed right on the money. A plain strip of paper did that job in workshop 153.
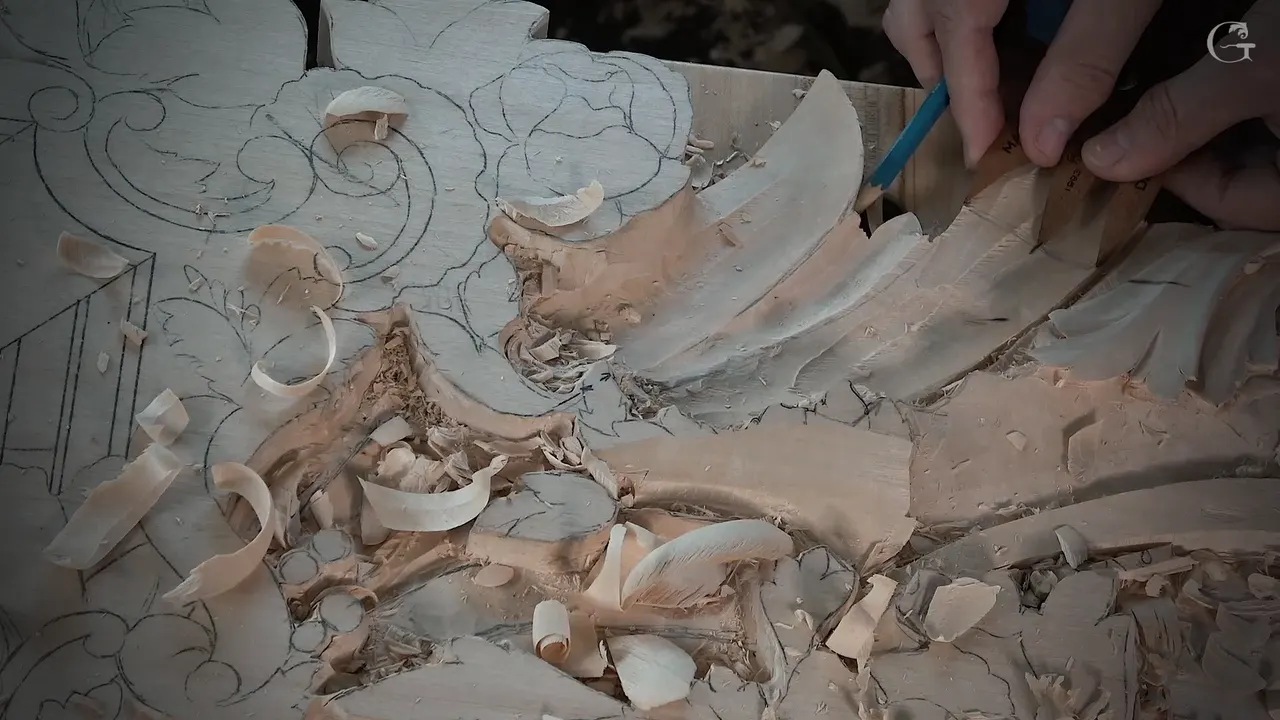
Wood carving calipers are a checking tool, and in lesson 131 they came out only after my eye had put the line down. On a leaf of the Venice Room panel I set a middle line at about 62 against 38, asked out loud whether I was accurate, and let the calipers answer. They agreed with me. I told the camera afterward that measuring was not really needed.

Is there a scrap of paper in your drawer? A pencil to draw on it? Then you have what I used in workshop 153 in place of a pair of calipers.
Lesson 131 comes first below, with the one moment a measuring tool shows up in it. After that come my own words from workshops 148, 153, 154, 159 and 160 of the same room, and from two other courses where I carved by eye. Every borrowed line links to the lesson it came from.
Calipers at my bench, in six lines
- In lesson 131 my eye put the middle line down, and the calipers only checked it.
- Am I accurate? I asked that out loud and said I didn't know yet.
- A caliper can check where a line sits, carry a distance, or show which way a mark is off.
- One check moved a line by a millimeter.
- Paper did the same job on a molding in 153, and in 159 I called it one of the best measuring devices.
- For molding that must match everywhere, I did not just eyeball it.
What did golden ratio calipers show me in lesson 131?
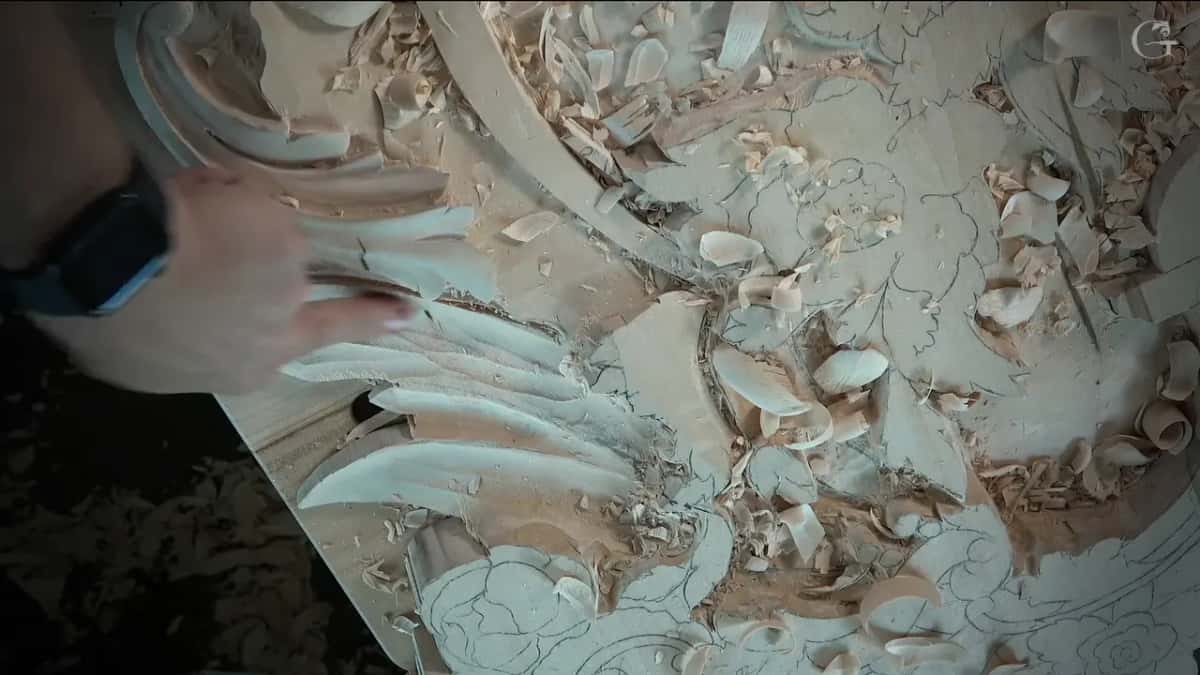
They showed that my middle line already sat right where I had eyeballed it. I took one point, then another point, went across to a third, and said I wanted a golden ratio there again. About a 60/40 rule, I said, or 62 out of 100, 62/38.
I eyeballed it. Here is my middle center line, I told the camera, with 62 on one side and 38 right there.

The honest part came next, a question I asked out loud. Am I accurate? I said I didn't know. Let's figure this out, I was only eyeballing it.
On went the calipers. I was right very much on the money. I don't know if you can see that or not, I said to the camera, but I just eyeball it, I don't really need to measure, and I'm pretty close, I know. A second time I said it, pretty close, and the center line ran all the way to the point of the leaf.
My vase course puts the same kind of caliper on a whole vase, and that course has its own page. Where that kind of line sits on a leaf is covered on the page for Part 11, so I will leave it there.
What matters here is the order. The line came first. The tool came second, and all it did was agree.
Which comes first, the eye or the calipers?
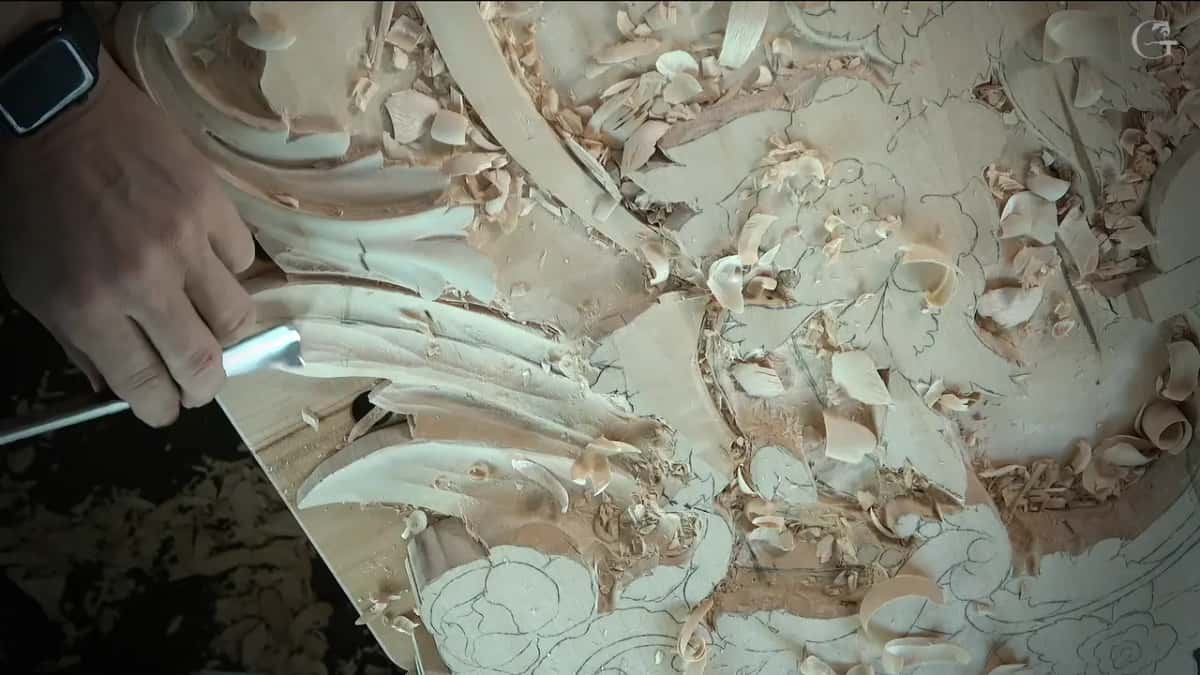
The eye, both in lesson 131 and in workshop 154 of the Venice Room. Before carving anything there I took my big number one and eyeballed where it would stand. Although I really don't have to eyeball it, I said.
What I can do, I went on, is double-check with my calipers. The caliper fell right on the line. You see that? A perfect position, I called it.
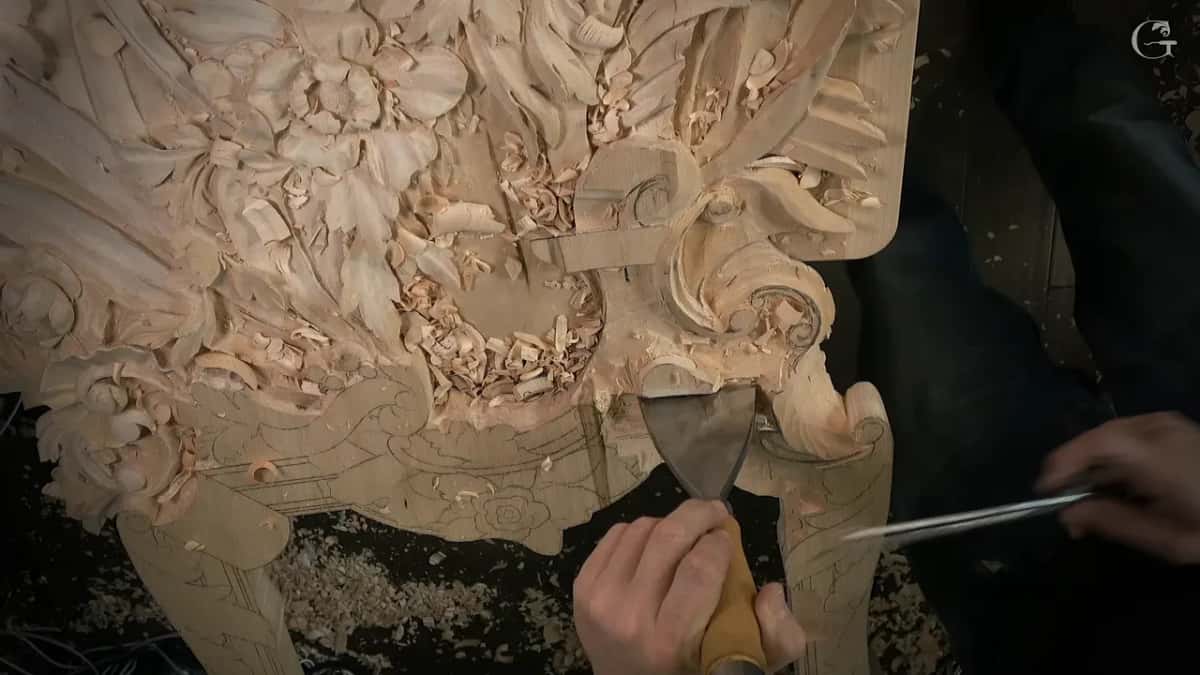
That way I know I'm not going to be even one millimeter off, I said, super accurate. A breath later came the truer line. I hope I'm going to be super accurate, I said, and after that I would establish a preliminary line.
Later in that workshop I went a step further the other way. Sometimes my eyes work much better than any of those calipers, and that is why I don't really need to do that, I said. I meant the eye alone, and both lines sit in that one workshop.
What does a caliper check on a real carving?
Where a line sits, how far a mark has drifted, and a distance you want somewhere else. Those three jobs cover every caliper moment from my Venice Room lessons here.
Workshop 148 has what I called a preliminary measure. With my calipers I got approximately the distance from the line at one point, so that it would be easier for me to reestablish the lines. But it's not a big deal, I added right away.
Carrying a distance came up in workshop 154. Use small calipers, I said, pretty much any calipers, even something like the pair I picked up. You establish whatever distance you need and transfer it. That's also legit.

A height was the job in workshop 159. For me, I said, I could use just a ruler or even just calipers, and measure whatever the distance is. Again, small ones.
Finding the center of an oval rosette is one more job for them, and my Venetian flowers page walks through it. On the butterfly plate I called calipers a really good tool to have, and that lesson's page sorts out which layout lines on a plate must be exact.

How far off was I when the calipers checked?
Roughly a millimeter (1/32 in), once, in workshop 154. Let me double-check with the calipers if I'm pretty close, I said. It looked like I needed to move slightly, so I checked again, and yes, about one millimeter this way. I could still see where I had gone before.
One millimeter is a small number, and I still checked twice before I moved.
Workshop 160 had the other kind of moment, and I will give it to you the way it happened. I made a mark, placed it, and said yes, I am off. But I need to make sure what is off, I said. I really want to make sure.
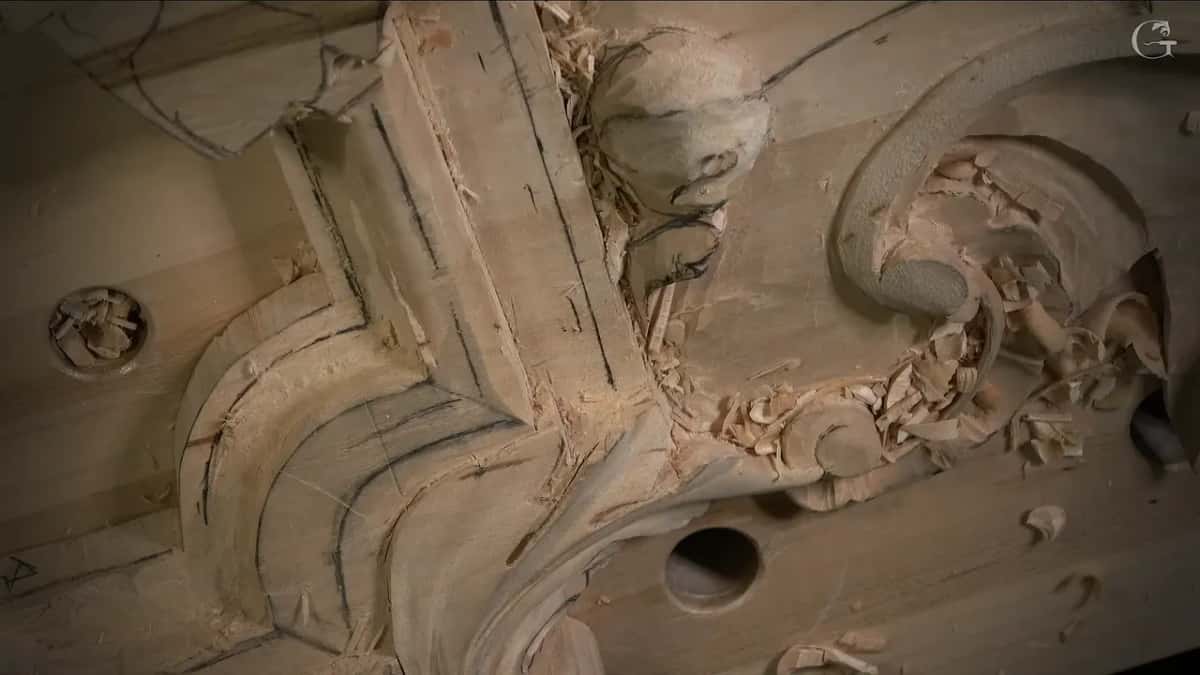
I thought out loud after that. Maybe I could just use a caliper, use a caliper and check that, which side I'm off. And I hope I didn't mess up. I know it's not too late yet to fix it, I said, but I still don't like to make mistakes.
My eye already knew I was off. A caliper, I said, could tell me which way.
Which calipers did I pick up?
Small ones, mostly, and in one spot a straight pair in place of curved. That was in workshop 154. I could use different calipers, I said about the first pair, I don't have to use this, okay.
So I can just use straight, not curved ones, I said, the straight calipers. It's also probably more accurate, I would say. I kept the word probably.
Workshop 159 brought small calipers back, or a ruler. The golden ratio pair from lesson 131 is the only special one anywhere on this page, and even that one only confirmed a line I had already drawn by eye.
Can paper do the job of calipers?
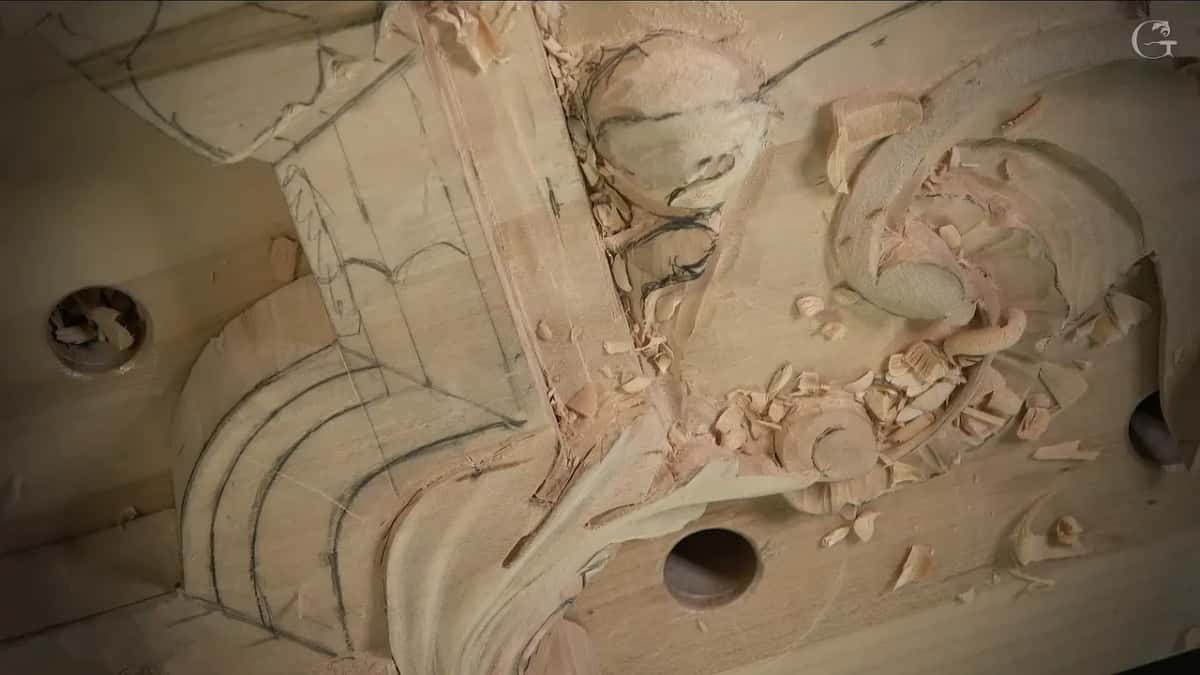
It did, on a molding in workshop 153, and I called it the easiest way. I had marks on the wood. The only way to connect those marks, I said, is pretty much to eyeball it. Or I could always measure it and use calipers.
And you know what? The easiest way to use calipers is just to use a piece of paper. I said that, and I had drawn that molding on it. Here you go, that is where the line is supposed to go. I was really close.
Workshop 159 said it more plainly still. You don't really have to use calipers, I told you there. You can use paper if you want to. Paper is one of the best measuring devices, I said, and you can carry the height right onto the side. Maybe it's even easier, I added.
My chamomile and bow rosette page has paper going where a caliper leg would not reach, underneath a flower that was already undercut.
When is the eye alone not enough?
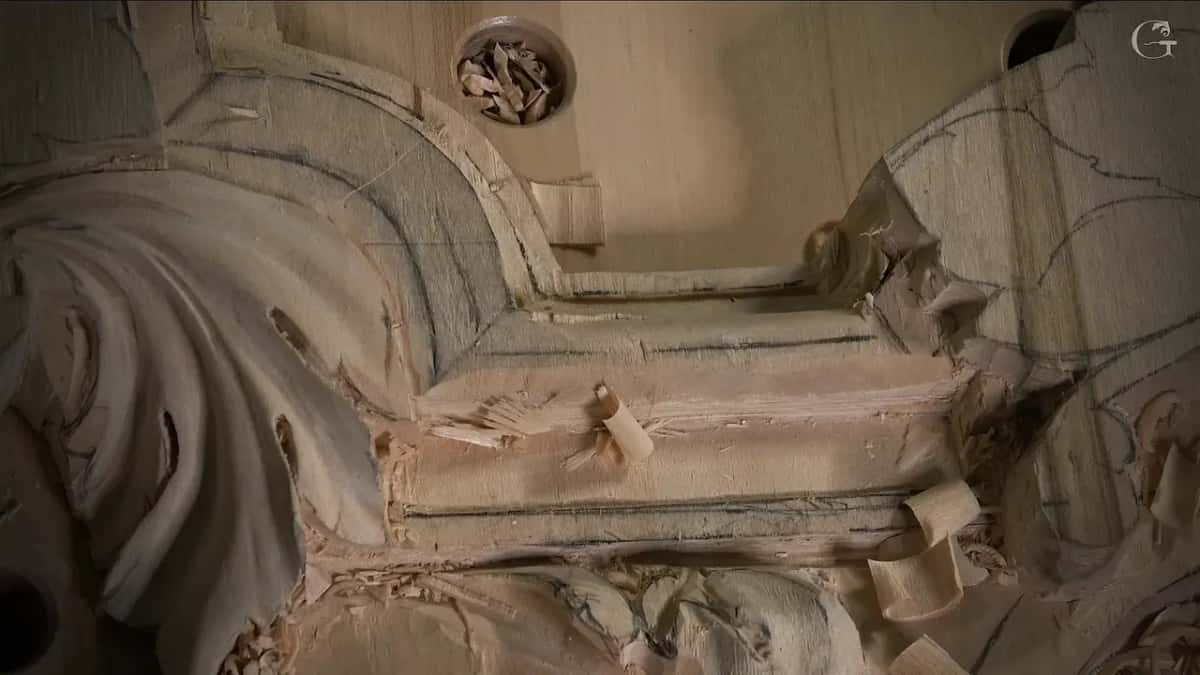
When a lot of the same molding has to match. I stopped to say so in workshop 160. If you would ask me why I'm not just eyeballing it, I said, I could. But I've got a lot of molding to do, and I want to make sure it's going to match everywhere.
A lot of that work I did not show, I told you, but you should get the idea. Then I looked at the spot in front of me. Right here, a perfect size. Pretty much really perfect.
That is where accuracy came in for me in these lessons, and I give it to you as what I did. One leaf in lesson 131 was fine with my eye and a single check. A run of molding that repeats is where I wanted every piece the same.
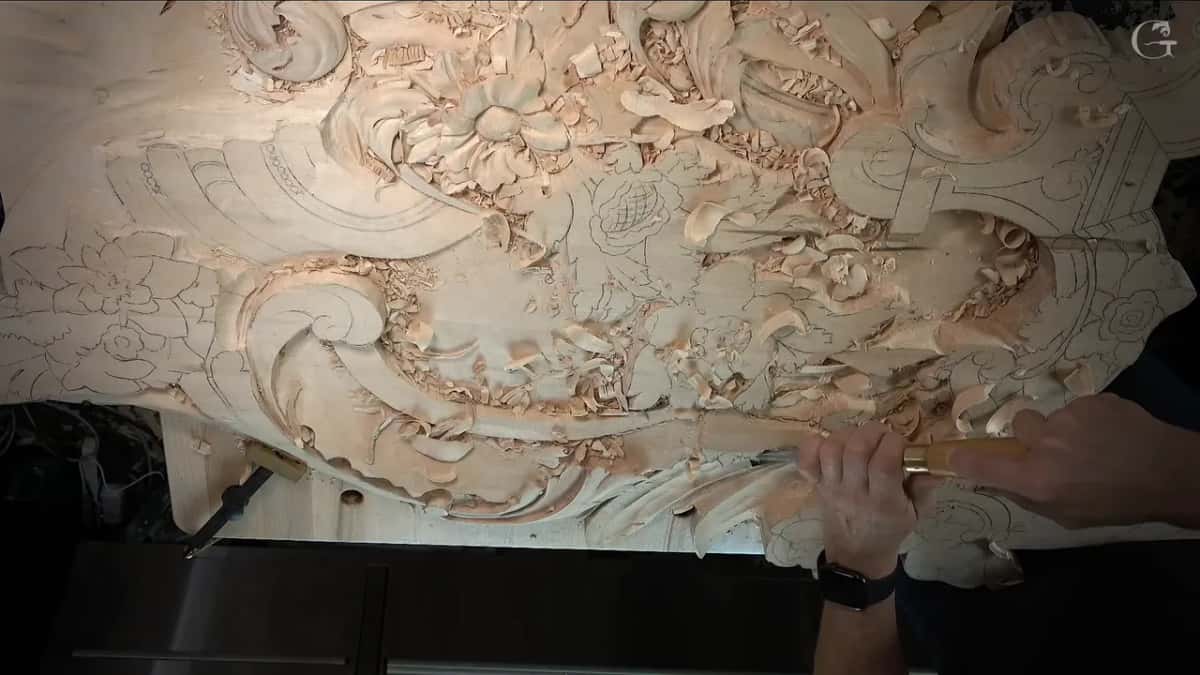
Do beginners need wood carving calipers?
Only if the eye makes you uncomfortable in wood carving, and even then another tool can stand in. The first lesson of my hazelnut course shows it. I drew all around at about six millimeters (1/4 in), then said that if you feel uncomfortable just eyeballing it, you could use some kind of tool like a gouge. Personally, I have no problem.
Flower work went the same way. On lesson 3 of my flower rosette course I said I'm not measuring, because it's a micro. I really don't need to measure anything there. Just eyeballing will do the trick, I said.
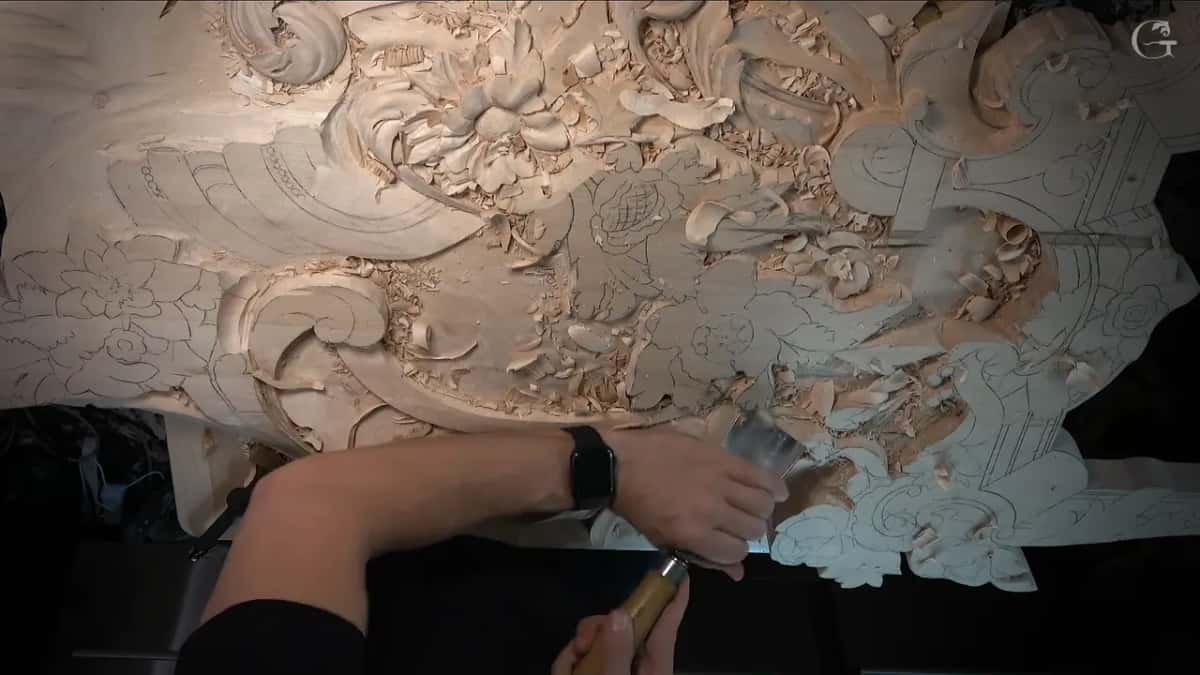
What eyeballing does for your eyes is a line from my Greek acroterion course, and it has its own page. Calipers still earned their place for a check in workshop 154. Workshop 159 calls them optional.
What did the rest of lesson 131 check by eye?
Everything after that one caliper moment. I rode the big number 2 over the leaf and hit the high spots, and that way I knew the movement was really gradual. I went at it from the opposite side as well. A wide flat tool riding like that has a page of its own.
Right after the calipers my eye had already caught a movement that needed work. I have to fix a little bit this movement a little later, I said, or I can actually take care of it right now.
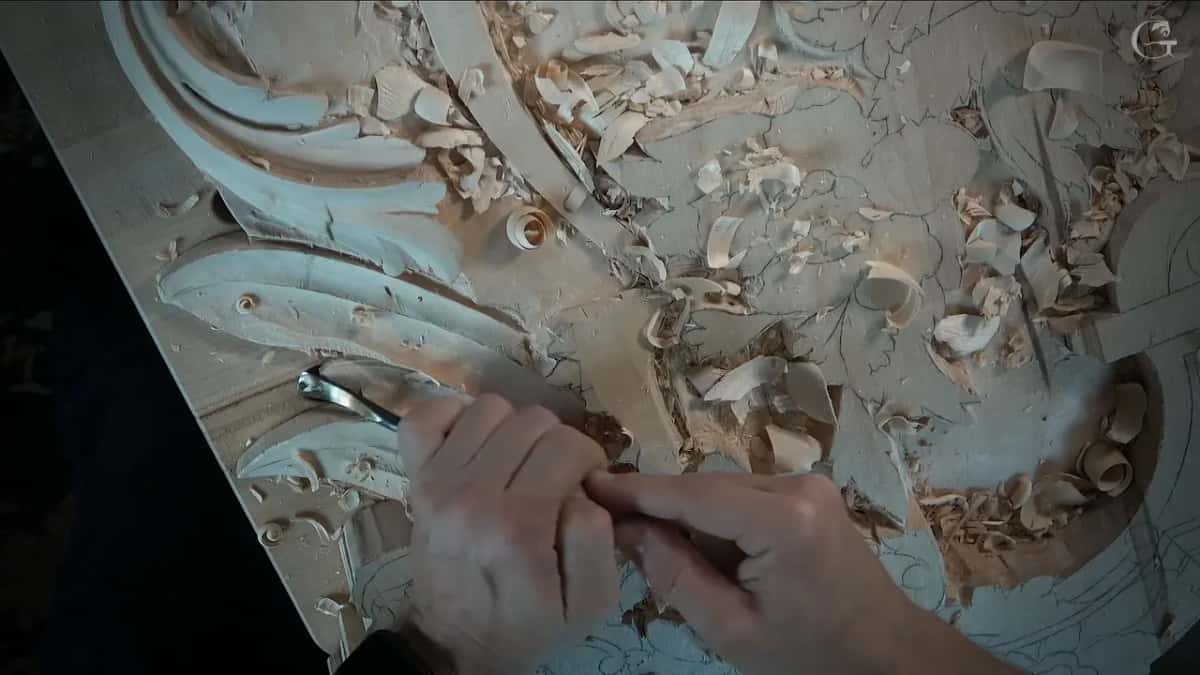
In the second part the check was shadow. After a pass underneath with a small number 11, I said you should already be able to see how it deepens that shadow.
The end of that part was an eye call too. I looked at my edges and said it's nice already, but it could be always nicer. A little nicer.
Early in the third part I took a big number 7. Just much quicker with the bigger tool, I said. That takes me a couple of seconds, I said, and I can redraw everything and redesign if I need to. Later in that part the new lines went on freehand with a blue pencil.
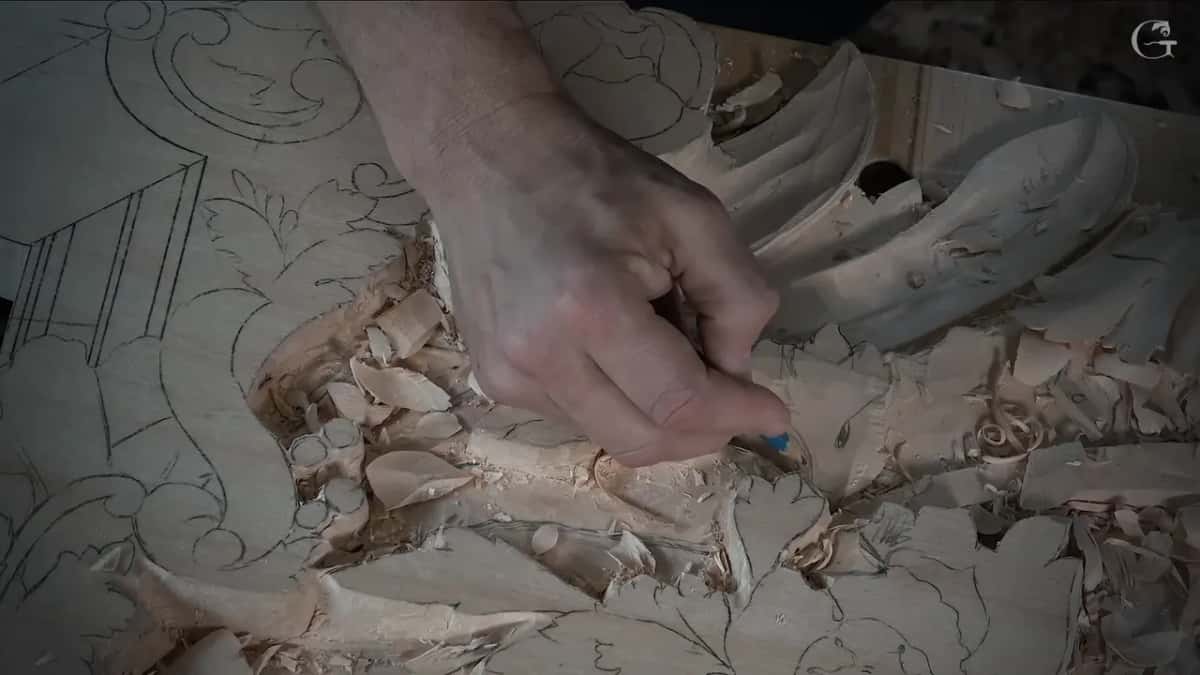
Further on I brought one leaf close to the height of the long leaf, because it has to feel like it lies right on top of it. Maybe about one-eighth of an inch, 3 millimeters higher, I said. That number came with a maybe in front of it, and I left the maybe in.

Each check in these lessons, side by side
Here is every measuring moment from this page in one place, with the tool and what I said about it.
| Which lesson | What the calipers or paper checked there | The tool | What I said on camera |
|---|---|---|---|
| This lesson, 131 | The middle line, drawn by eye first | Golden-ratio pair | Right very much on the money |
| Venice Room 154 | The spot for a line before the chisel went | My calipers | Yes, about one millimeter this way |
| Molding lesson, 153 | How close a molding line really was | Drawn paper | I am really close, I said |
| Height check, 159 | A height you can carry onto the side | Ruler, paper | And maybe it's actually even easier |
| Mark check, 160 | Which side of my own mark was off | Maybe a caliper | I hope I didn't mess up |
| Early lines, 148 | The distance from a line, taken early | My calipers | But it's not a big deal |
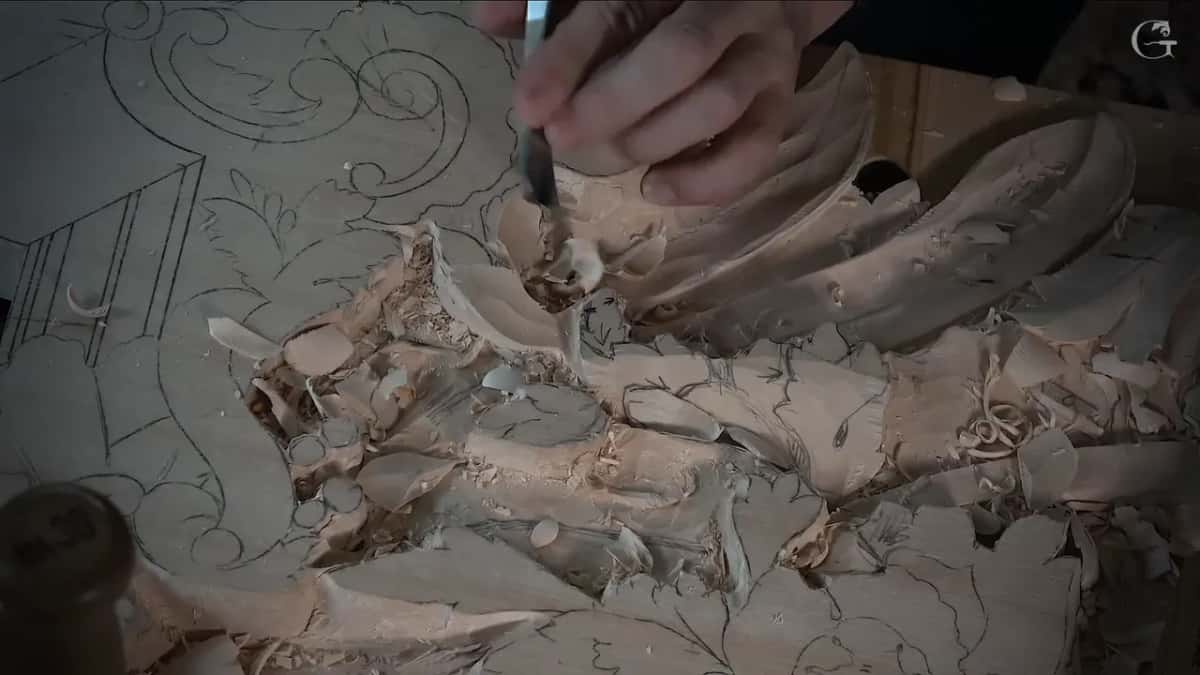
Where can you watch lesson 131?
Lesson 131 closes Part 11 of the Venice Room, right after lesson 130. The calipers show up about a minute and a quarter into its first part, just after I name the middle center line. The rest of that part belongs to the leaf and the big number 2, and the other two parts are about shadow and one leaf laid on another.
The Venice lines I quoted from workshops 148 to 160 sit in Part 13 and Part 14 of the same room, next to the acanthus and the ornament around it. Every lesson named here opens with full access to the school, whether it is this relief panel or the smallest flower.
Got a pencil? And some paper? Then you have what I used to check a line in workshop 153.
How it's done
- Put the line down by eye. Set the middle line by eye. Mine went on a 60/40 split in lesson 131 before any tool came out.
- Check it with calipers. Bring the calipers to the line and see where they fall. The caliper landed right on it in workshop 154.
- Find which side is off. If the mark is off, check again and read which way. One second look in workshop 154 moved a line by a millimeter.
- Carry a distance over. Set small calipers to the distance you need and transfer it, as I said you can in workshop 154.
- Use paper when calipers feel awkward. Draw the shape on paper and hold it where the line should go. That was the easiest way on a molding, back in workshop 153.
Frequently asked questions
What are calipers used for in wood carving?
On my Venice Room panel they confirmed a middle line placed by eye, carried a distance over to another spot, and showed which side of a mark was off. Once, during workshop 154, a check sent a line over by roughly a millimeter.
Can you carve without any measuring tools?
Lesson 131 used my eye everywhere except one check with calipers. On a small flower rosette I said I was not measuring, since the piece was micro work. For a hazelnut I drew a border at about six millimeters by eye.
Are straight calipers better than curved ones for carving?
During workshop 154 I put one pair aside and picked up straight ones, not curved, for a single distance. Probably more accurate was how I put it, and I kept that word probably. My lessons here rank them no further than that one job.
What to carve next