
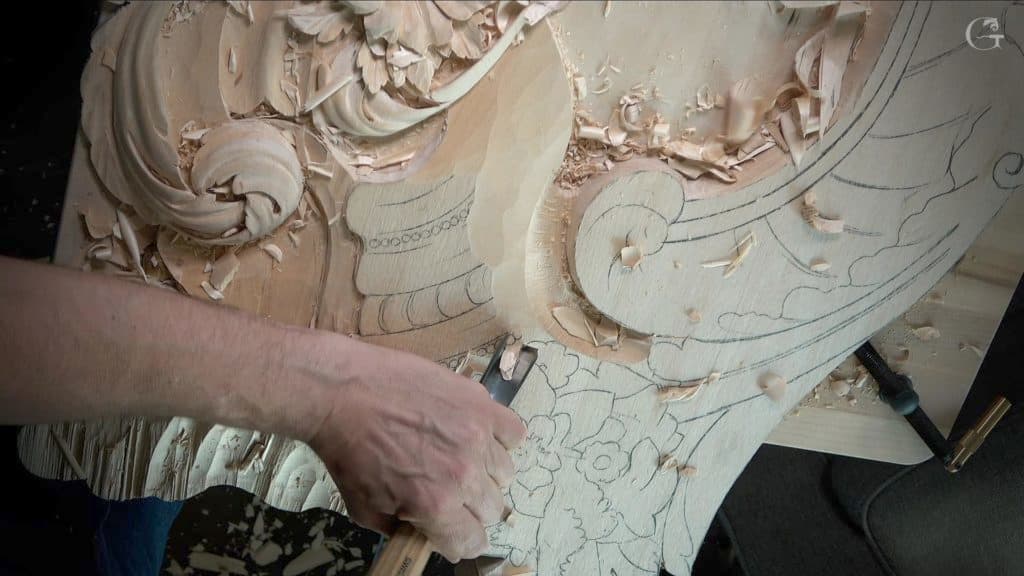
Alexander Grabovetskiy, woodcarver, School of Woodcarving · Published 2021
Can you use a carving gouge like a knife?
Quick answer: Using a gouge as a blade is a matter of the lean. In lesson 123 of the Venice Room I tipped a number two over on the inside of a corner to undercut it, and said to use that just like knife. It takes a lot more control.
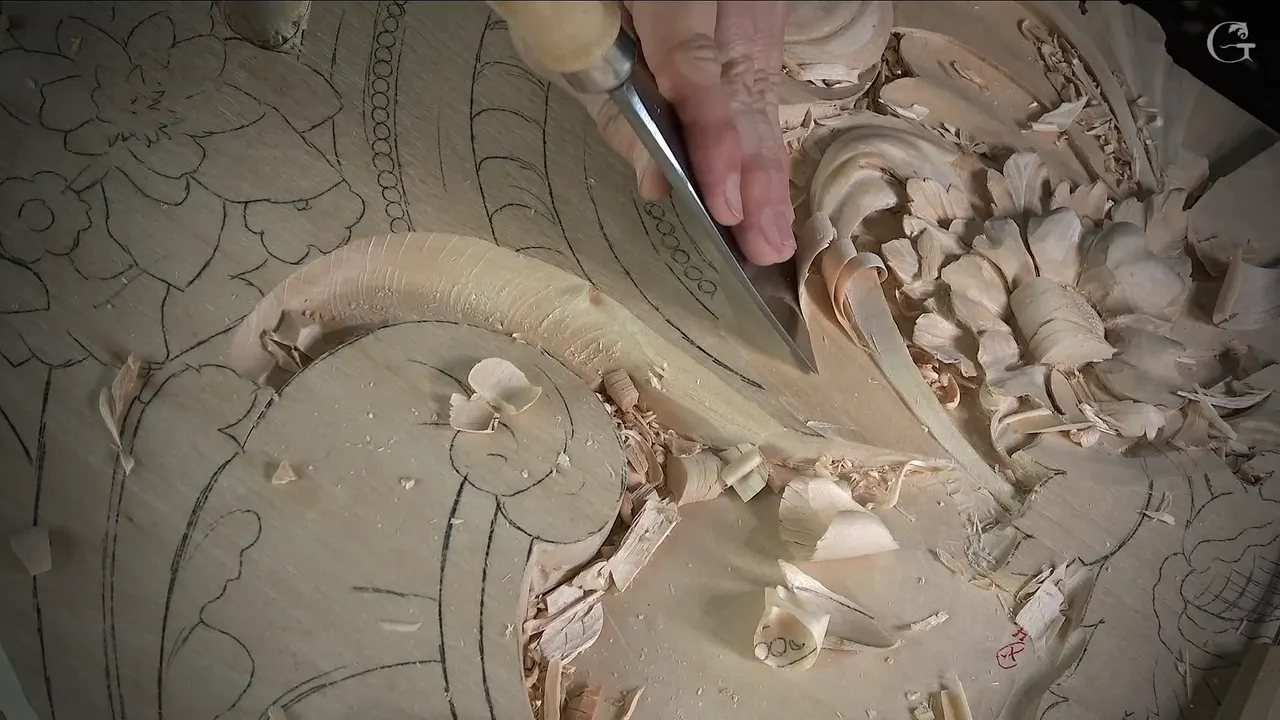
Knife work with a carving gouge is leaning a flat gouge over until one part of its edge slices the wood the way a blade would. I did that on camera in lesson 123 of the Venice Room, using a number two leaned in under a corner, and I said out loud what I was doing while it happened.
Most of how to use a gouge chisel is plain digging and chopping, and this lesson has plenty of both. My page here is about one small move inside it.
Have you ever sliced something thin with only the tip of a knife? Did you tilt the blade a little to get there? A gouge can take that same tilt.
Below is lesson 123 first. After it come my words on the same move from nine other lessons, each one linked so you can watch it yourself.

Ten seconds of lesson 123 and what they show
A number two leaned in on the inside of a corner for an undercut, in part three of lesson 123.
Leaning it asked for much more control.
On a tray in another course, just the corner of a number two carved the first line, and I told the class a knife would be better if they had one.
A big gouge can act small when you work with only a piece of its edge.
My small double bevel number one is a chisel I love for the same kind of work.
Can a gouge really slice like a blade?
For part of the job, and the part I mean comes late in lesson 123. In the middle of its third part I had a corner where one surface had to look as if it went right underneath the one beside it. I want to make it feel like it's going right underneath, those were my words.
Earlier in that part the plan had changed a little. I decided to add a curved part and repeat those movements, because I thought it would look much better, and then I lowered one side so it would run all the way underneath the acanthus. Beautiful movement right here, I said.
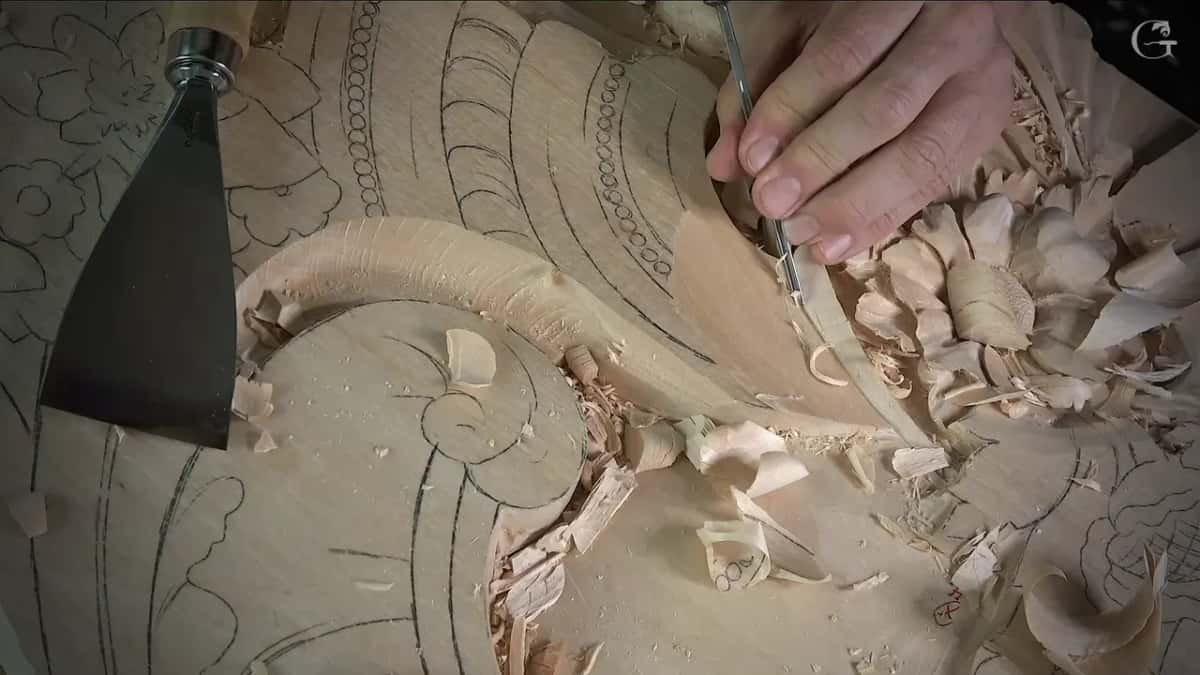
Then came the corner. First a small number 11 of 2 mm (about 5/64 in) went in and made the line there a little deeper. Otherwise, I said, it would be a big mistake.
The number two came in next, following after the eleven, and I leaned it and let it go under a little bit. Like I said, I want to make it feel like it is going right underneath, which means this corner needs to be lower.
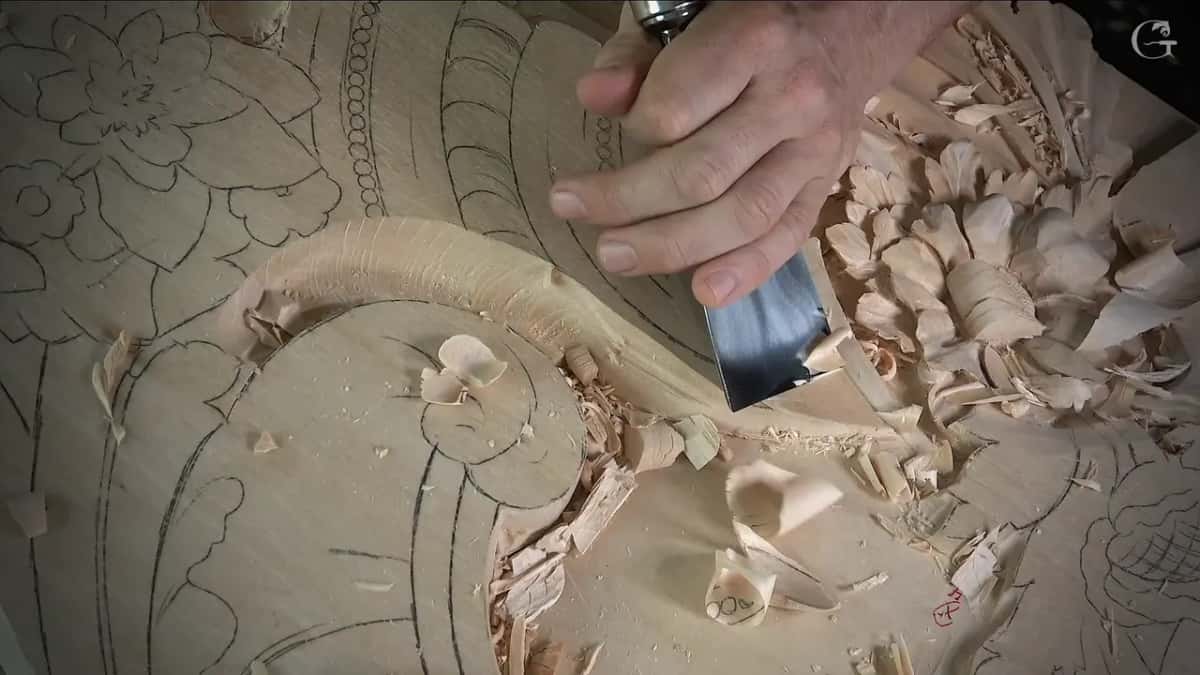
That was the first lean. With the same number two I leaned a little bit on the inside and made an undercut, and I told you plainly what the tool was doing. Use that just like knife, I said, just like that.
Same tool. Different lean.
What did I say about control once the gouge leaned?
That I had to control a lot more, and that I did not want to overdo it. I came at the corner again from another position first, and then I said it out loud to the camera. But now I have to control more.
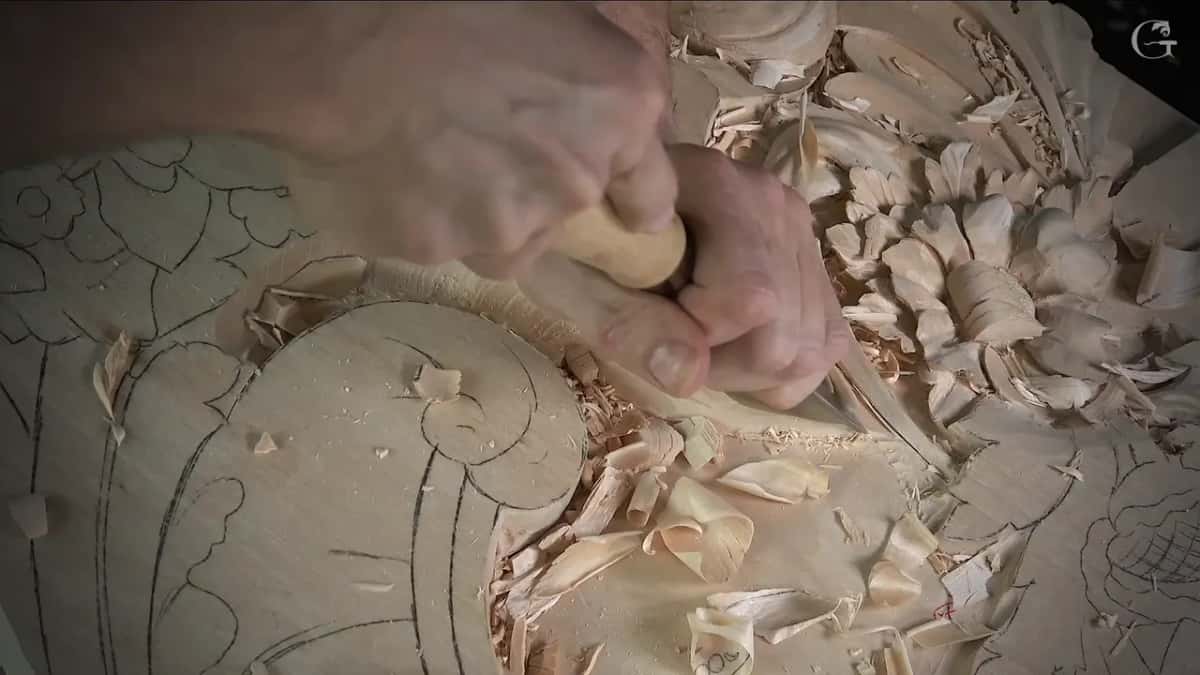
A few seconds later came here you go, that is what I'm after. Then I took a look from above. It looks very good, in my opinion, I said, but I need to also blend this side.
Losing the details did not scare me while I blended, because I do have an iPad drawing and can always recreate them. And the shadow line I could see there, I called beautiful twice.
After that the same number two, the big one, went back to plain work and moved gradually along the surface.

One honest note about the camera. Close up, I was not sure you would be able to catch what my corner was doing, so I told you that you can see it from above instead. A mallet sat in the way in the second part, I did not see a slight area, and I messed it up a little bit. I apologized for it on camera and carried on with a number seven of 14 mm to make some corners.
What else did the number two do in lesson 123?
Ordinary jobs, in all three parts. The same tool did quiet work all through the lesson before it ever leaned in.
In the first part a number three had just cleaned an edge, and I needed a little bigger tool. I took a number two to see if it would fit better. Yes, it is, I said, and then I went even bigger, a number two of 40 mm (about 1 9/16 in).
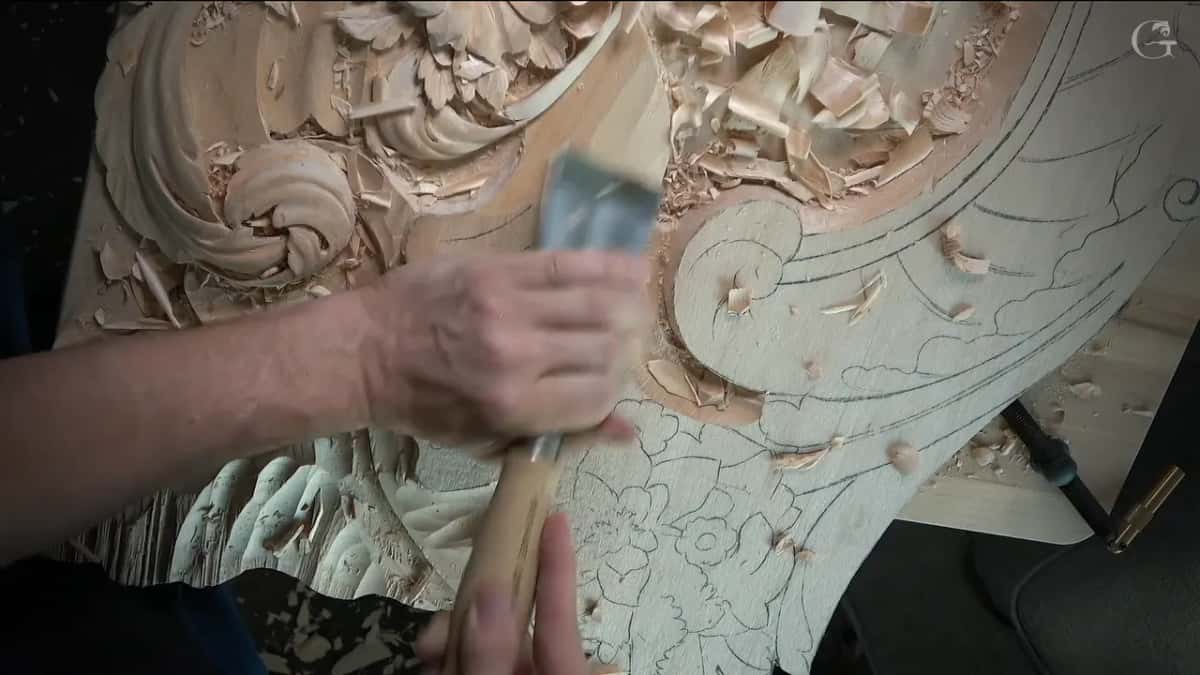
The second part did not need much cleaning, because that area still had to be developed later. A little bit I could hit with the number two, and I said a number two or a number three will work there.
By the third part a number two of 60 mm (about 2 3/8 in), which I called huge, scooped a surface so it came down gradually. The course page for Part 11 already tells that story.
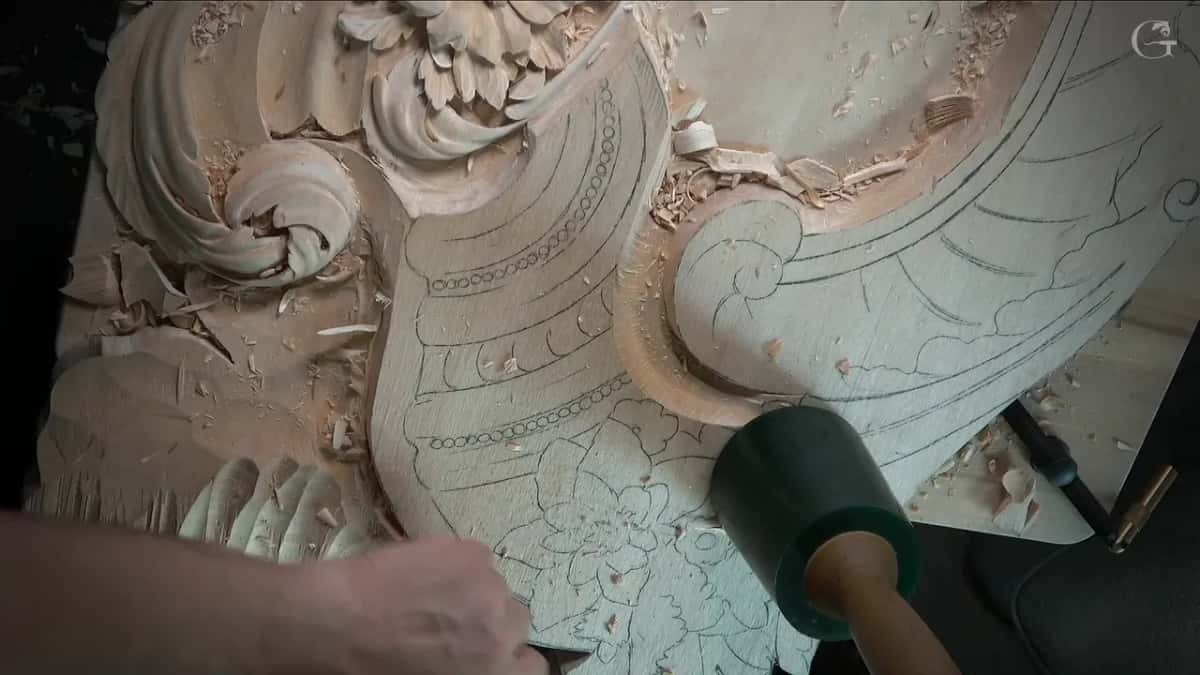
Around the number two, other tools did the heavy digging. A number 11 of 30 mm (about 1 3/16 in) took off a chunk of material I did not need. A 15 mm eleven, about five-eighths of an inch, got closer to the edge, and a number seven of 14 mm, about half an inch, chopped little by little. A skewed number three by Henry Taylor went into the corners, and I said I love it because it is slightly bent.
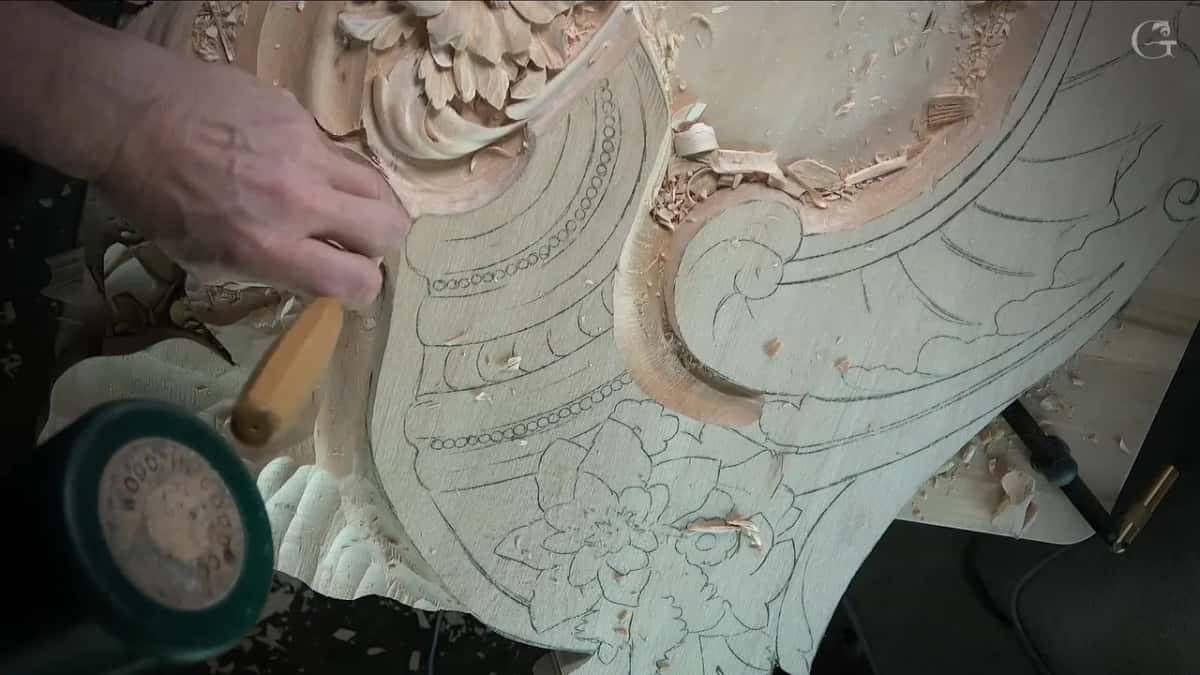
How to use a gouge chisel with only its corner
Use one corner and keep it shallow, which is what I asked of the class on the tray of blessing, in lesson 8 of that course. We were starting a first line near the edge.
I had them place a second line about a 16th of an inch away from the edge, a little bigger, 1.5 or 1.6 mm, and keep an eye on the distance between the two lines. Then I picked up the tool for the first pass along it.
If you have a knife, it's actually better, I said, but number two will do. I took the number two. You use only the corner of it, pretty much the way you use a knife.
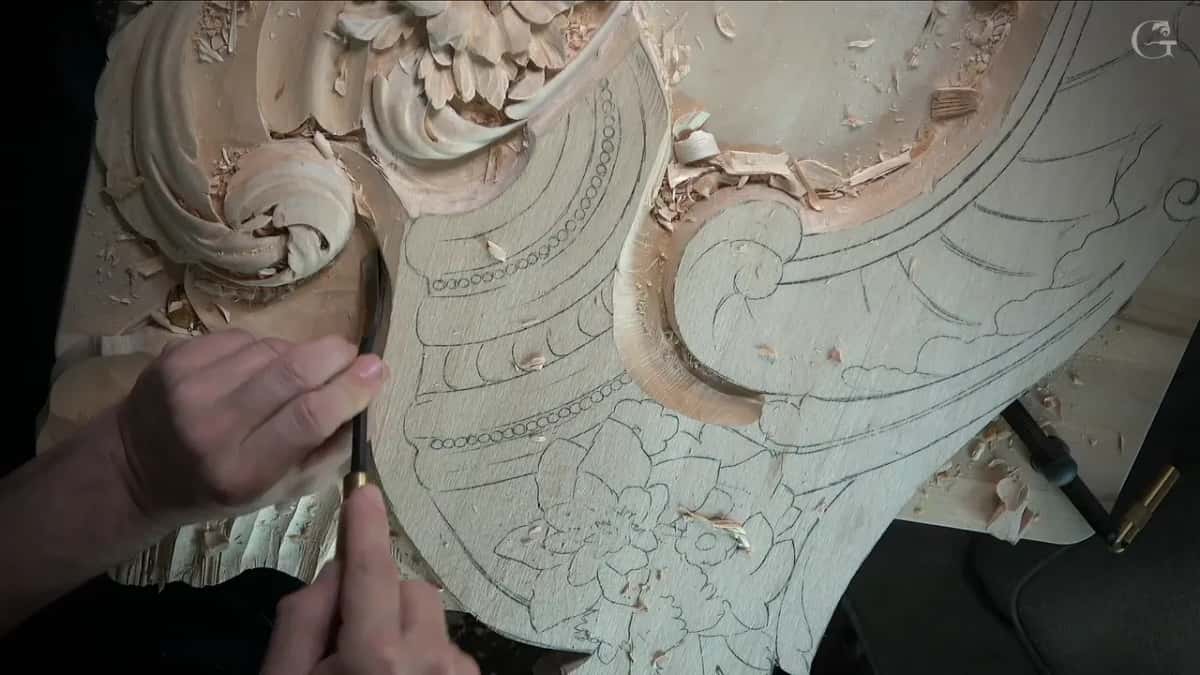
The pass leans outward a little instead of going straight down. When the word undercutting came up, I corrected it and said I was going toward the outside. A question about a V groove came next, and I said no, it was my first pass, the same as a V groove would be but not one.
I like the number two for that line because it naturally follows the motion. One finger steered the motion, and my pinky sat solid on the board, because that is really important.

Try not to slip. Do not go too deep either, and take the most care at the end grain, where you do not want to chip it. Only the corner, I kept telling them, and keep the same angle on the other side as well.
Every lesson named on this page opens with full access to the school, so you can watch each of these moments for yourself.
Which part of a big gouge works like a small one?
A single part of the edge, which is what I showed in lesson 5 of the Byzantine acanthus. The tool was a big number nine. A smaller one could work, I said, but the bigger you have, the better.

My tool went right to the edge of a leaf so it would look light and almost airy. Do not take too much material in the middle of the leaf, I said. Get more of it on the sides, and be careful if the grain fights you.
Then came the line that belongs on this page. When you use a big tool, you can use just the one part of it, and it becomes really a small micro-tool that you bring to the edge.
I left about one millimeter, or one and a half, roughly a sixteenth of an inch, and said we can come at that later from the opposite side and finish it the way a knife would. Beautiful outline, I said. That leaf was acanthus in the Byzantine style.
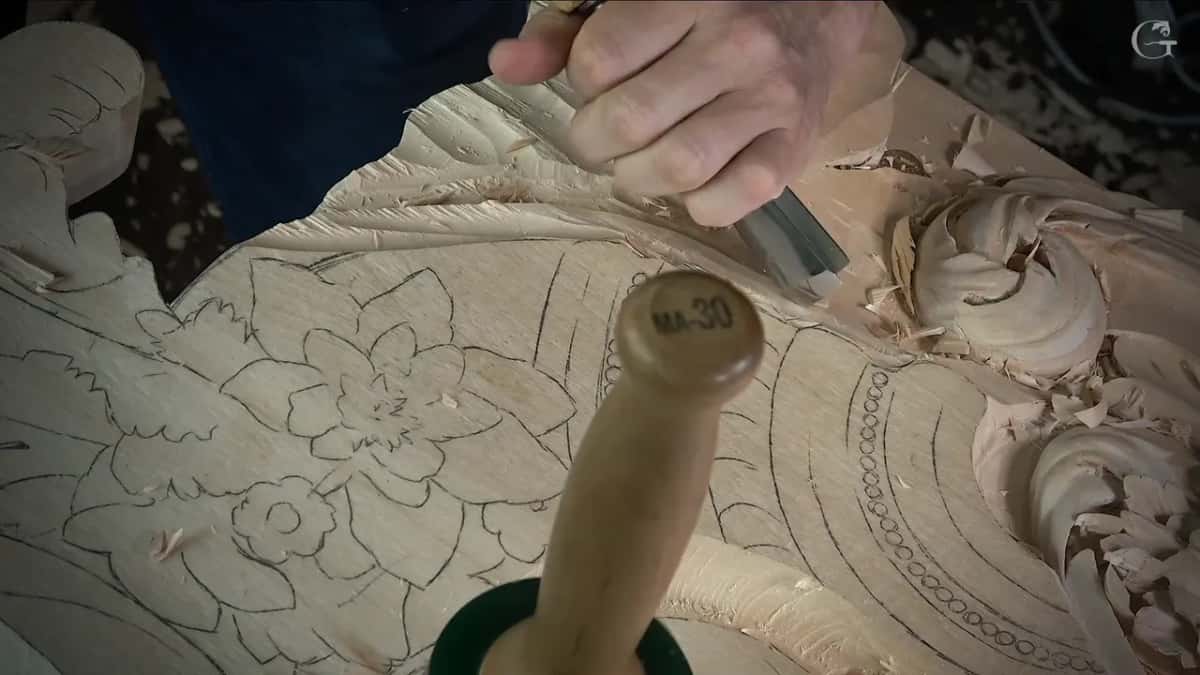
Is a knife better than a gouge for this kind of work?
On the tray I put the knife first for that line, and then I used a number two. In other lessons I have said the two tools can do the same job.
Two ridges had to become high spots and then one big convex in lesson 8 of the Byzantine acanthus. Flatter tool, like number 2, I said, and then, if you have a knife, exactly the same operation. Just attack that from the right point.
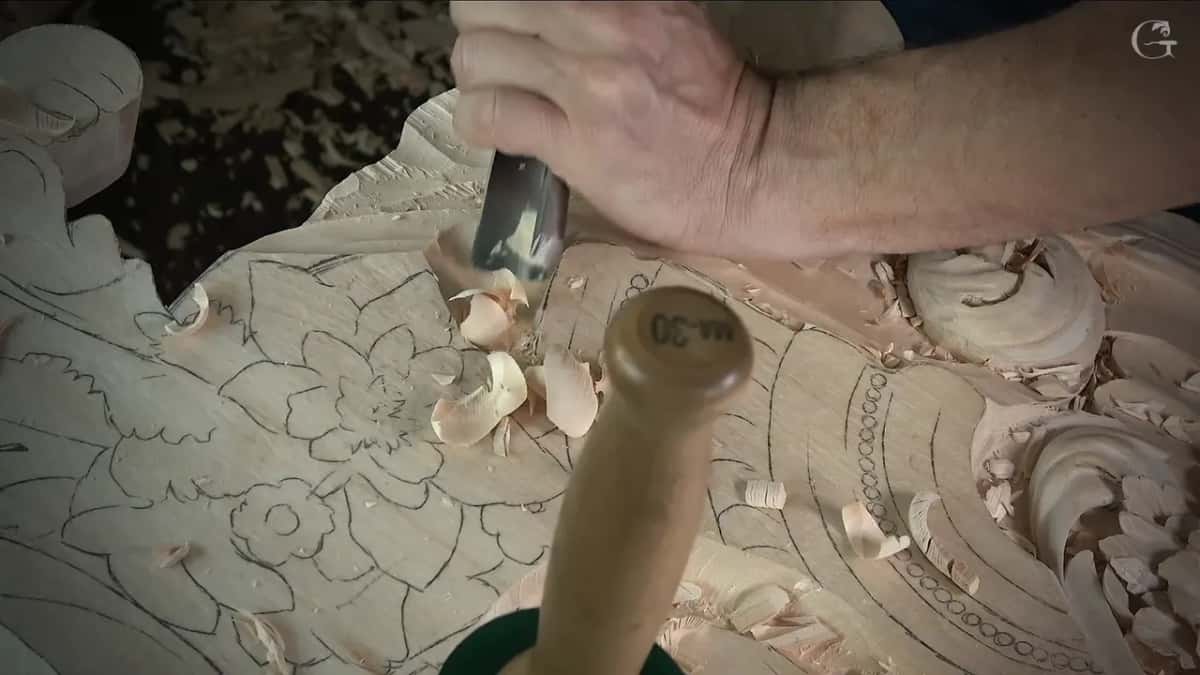
Just because of the camera, I said, if I rotate, you are not going to be able to see it. Two lessons later, in lesson 10 of the same course, I was going to blend a surface either with the flat number 2 or, well, I said, I'll take just a knife, whatever.
The mirror of this question, a knife in place of a gouge on a deep relief panel, has its own page from workshop 72 of the Venice Room.
Where does a chisel with two bevels come in?
Under an edge, and in small spots where a big tool is not as convenient. Two lessons of mine show it.
Flowers in the upper right corner were my job in lesson 20 of the furniture panel, above a molding I had just shaved a little lower. I could use a router plane right now, I said, but that was okay. I knew how deep I was supposed to go, and I said I was safe.

I still wanted to see an undercut under that spot. For it I took a number one with a double bevel and said that's a 16th of an inch, then went on its side the way a knife goes in. Barely anything came out as waste after that, and still you could tell the element goes on top of that molding, by maybe about half a millimeter.
Refining small forms in lesson 10 of the Roman acanthus leaf, I said I really love to use a double bevel number one in some of my carvings. I can do a lot of stuff with it. The one in my hand was the small one, and small tools are handy where the big tool is not as convenient.

A skew chisel number one works pretty much the same way, I said in lesson 11 of the grape onlay, and in the cutting board class for beginners, workshop 16, I added that a number two in the UK would be a skewed chisel.
When does a really flat tool clean up after the rest?
At the very end, once the facets are all that is left. What remained in lesson 9 of the floral and molding panel was pretty much just a cleanup, all those facets to take out and blend with small tools.
I did that part off camera, since you really don't have to watch all that cleaning process. The tool I named was small, like a spoon but flat, really flat, pretty much like number one, almost a knife.

My own lesson 123 does the same. Now it's all about cleaning, I said in its third part, which I can do off camera, because you really don't have to watch.
Seven tools that did knife work, side by side
Here they are together, each with the lesson where it happened and the words I used on camera.
| Tool | Where | Word | Detail |
|---|---|---|---|
| Number two gouge | Venice Room 123, leaned inside a corner | like knife | and I had to control more |
| Number two, corner | Tray of blessing 8, the first line | only corner | a knife is actually better there |
| Big number nine | Byzantine acanthus 5, taken to the edge | small micro-tool | about 1.5 mm left for later |
| Flat number 2 | Byzantine acanthus 8, blending into a convex | same operation | a knife works exactly the same |
| Double bevel one | Furniture panel 20, undercut above the molding | a 16th | on top by half a millimeter |
| Small double bevel | Roman acanthus 10, refining the small forms | a chisel | handy where big tools are awkward |
| Really flat tool | Floral and molding 9, facets off camera | flat spoon | flat, pretty much like number one |
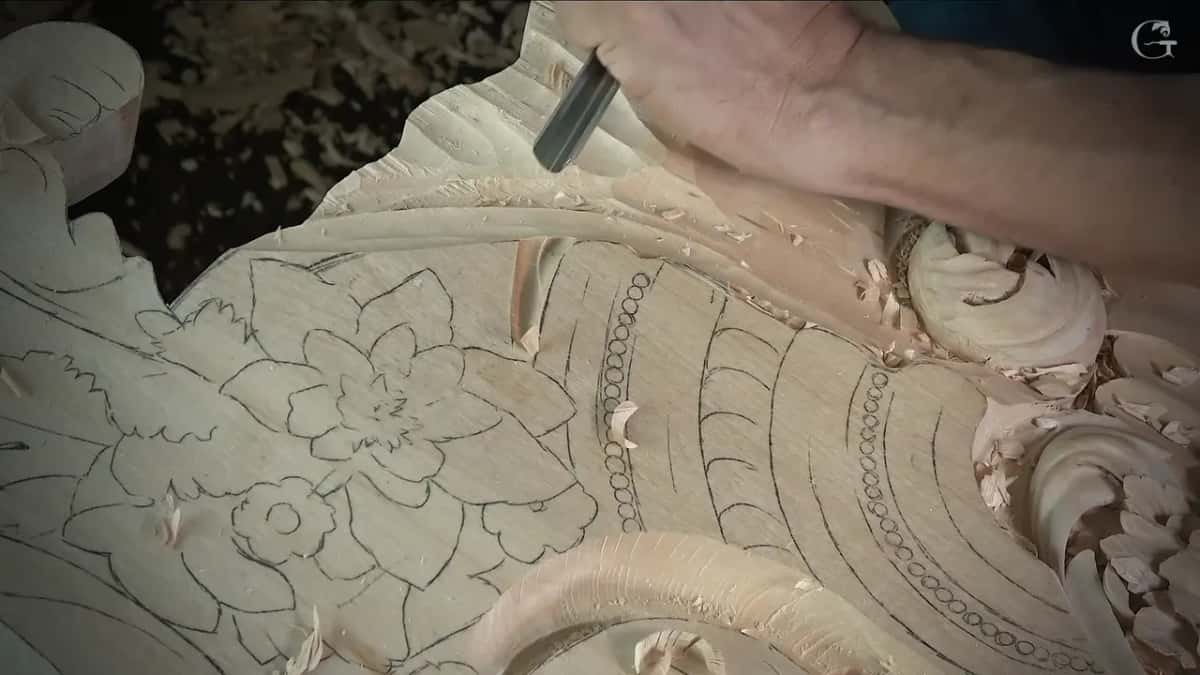
Where can you watch lesson 123?
Part 11 of the Venice Room starts with lesson 122, and lesson 123 is its second workshop, with lesson 124 right after it. The course page for that part asks how to carve against the grain without tearing the wood.
The corner and the leaning number two are in the third of its three parts, about four minutes in. The knife line itself takes about ten seconds of the video.
Would you like to see that corner slip in under its neighbor? Part three of lesson 123 is waiting.
How it's done
- Mark a second line. Place a second line about 1.5 mm inside the edge, and keep an eye on the distance between the two lines.
- Pick up the tool. Take a knife, or the number two I used.
- Work with one corner. Let only one corner of your number two touch the wood.
- Angle it outward. Tilt the pass slightly outward rather than straight down, and follow the line around, trying to be as straight as possible.
- Brace the hand. Steer the motion with one finger and keep your pinky solid on the board. Try not to slip.
- Stay shallow near end grain. Keep it from going too deep, especially at the end grain, where it can chip.
- Match the other side. Keep the same angle on the other side of the line as well.
Frequently asked questions
What is the difference between a gouge and a chisel?
A chisel is the flat tool marked number one, and it can have a single bevel or a double bevel, as I told beginners in the kitchen cutting board class. Gouges come next on the numbers. The little double bevel one from my Roman acanthus lesson works just like a knife, but it's a chisel.
Where on the edge does the slicing happen?
Just one corner, which I kept repeating to the tray class, only corner. On a number nine I kept to a small piece of the edge instead, and said a big tool can turn into a small one that way.
How much control does a leaning gouge need?
A lot more, in my words from Venice Room lesson 123, once I came at that corner from another position. I also told the camera I don't want to overdo it, and a few seconds later I said, here you go.
What to carve next