
Alexander Grabovetskiy, woodcarver, School of Woodcarving · Published 2023
How do you carve against the grain without tearing the wood?
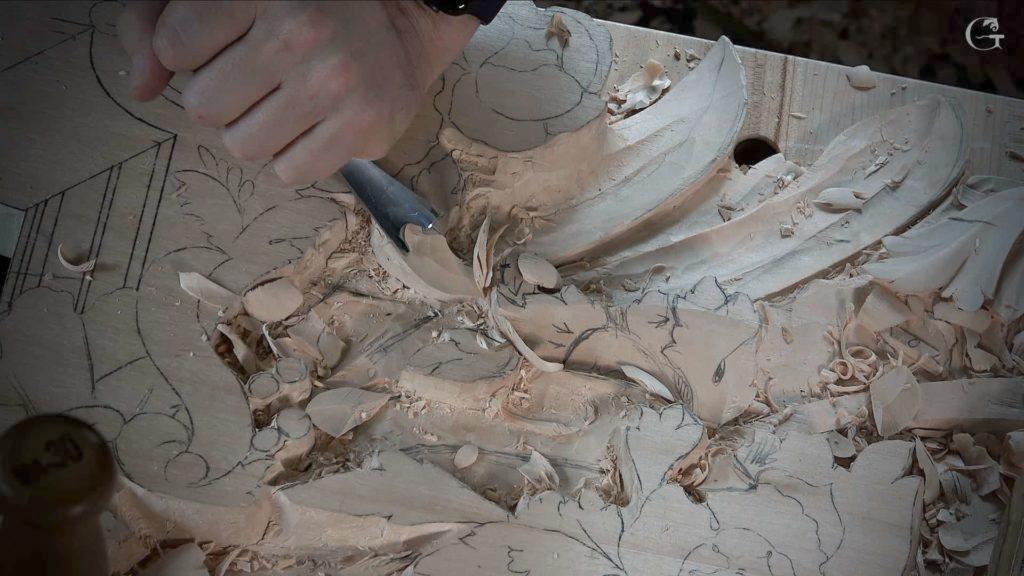
Quick answer: Grain direction decides whether a pass slices or tears, and on a curved ornament the fibres can reverse partway along a leaf. I call that place the marriage line. Cut toward it from one side, then move to the far end of your bench and cut toward it again, blending the seam where the two halves arrive.
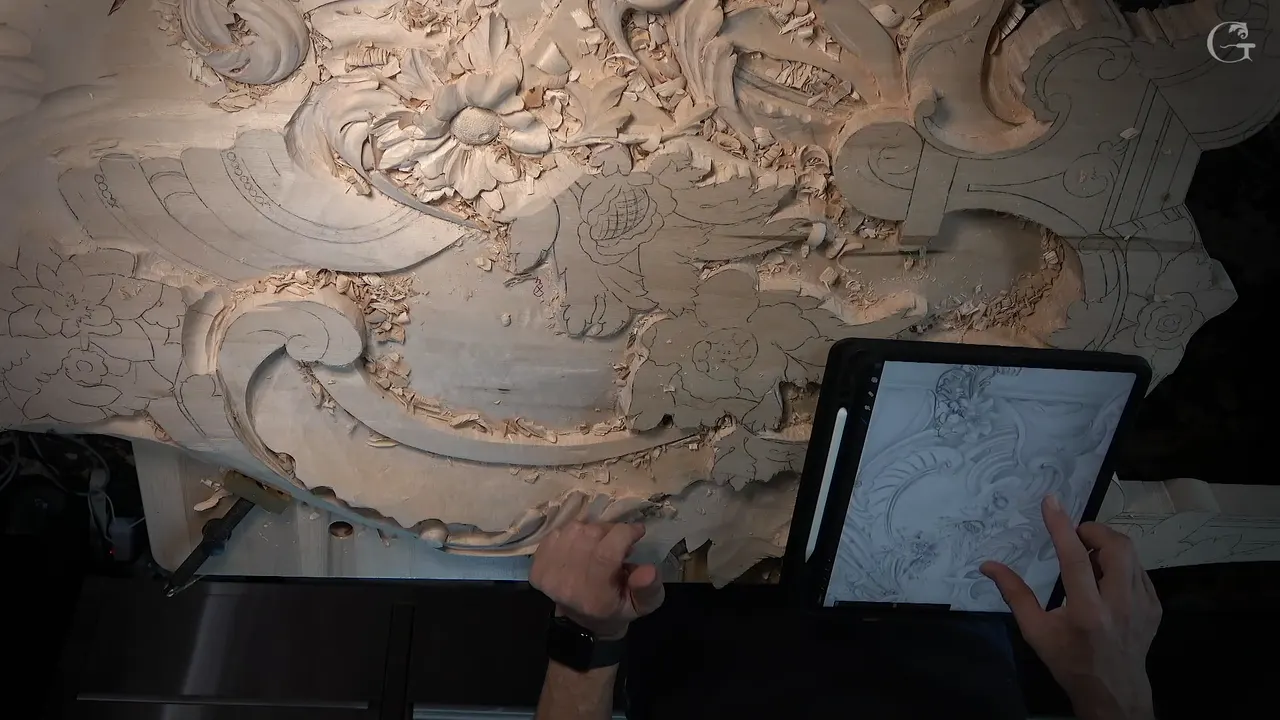
Grain direction decides whether a pass slices or tears, and on a curved ornament it can reverse somewhere along a leaf. I call that spot the marriage line. Work into it from one side, move round to the other, and marry the join where the two halves meet.
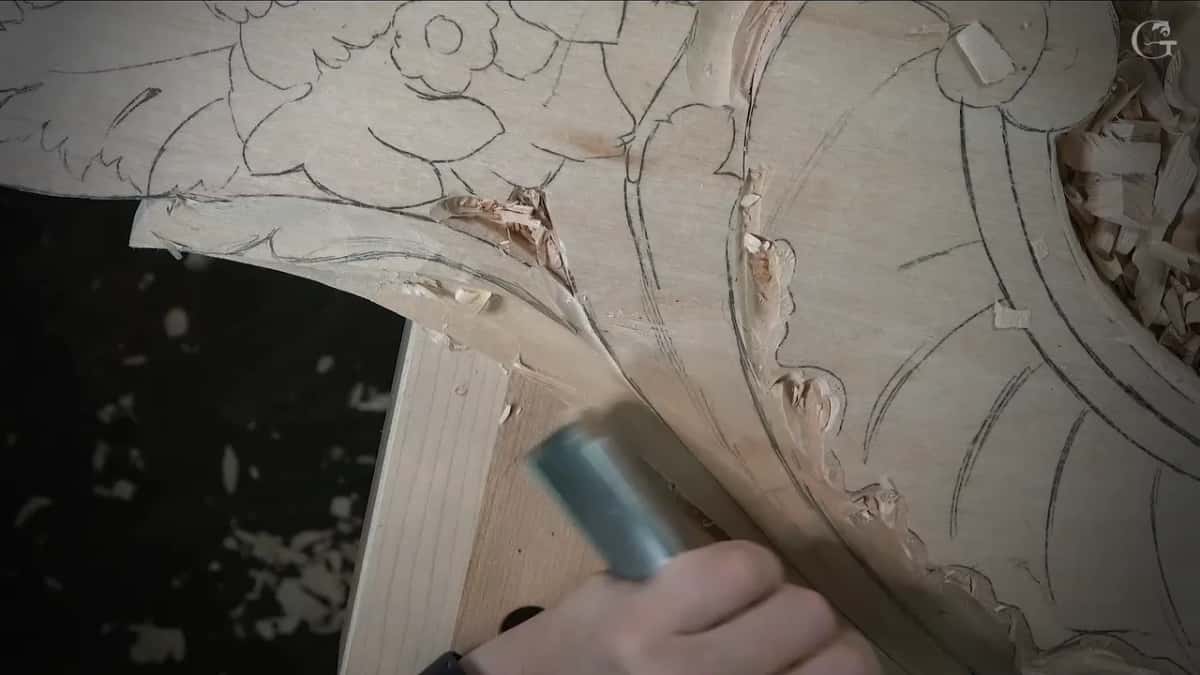
Your gouge is sharp. Your hand is steady. Partway round a scroll the wood stops peeling and starts tearing out in little steps, and you did nothing different, and nothing you can name has changed.
Nothing is wrong with you or the tool. The fibres turned. On a straight moulding you can carve the whole length downhill, but a scroll curls, and partway round it the same direction that was downhill becomes uphill. In relief carving you still have to be careful when the grain runs against you.
These ten workshops cover a long stretch of the Venice Room, and in several of them the grain is not in favor of my tool. Where it turns, and what I do at the exact place one pass has to join another without leaving a step.
Where the grain turns, and what to do there
- The marriage line is my own name for the spot where the fibres reverse under the tool. Reach it from either side and blend the join, never drive straight through.
- Force a pass at that spot and the wood splits ahead of the edge. I saw one start on this panel and stopped forcing it.
- Big tools go faster and leave a cleaner surface. My workhorse on this piece is a 30 mm number 11, and my flattening tool is a 60 mm number 2 chisel.
- My first outline pass lands right on the pencil line. The next one stays about 3 mm, an eighth of an inch, back from it.
- A sharp edge can work the wrong way with no problems. Mid job I buff mine on plain leather.
What is the marriage line in wood carving?
Partway through a curve the grain stops running with your tool and starts running into it. Approach that spot from the wrong side and the edge lifts the fibres instead of cutting them, and you get a torn step that has to be carved away afterwards.
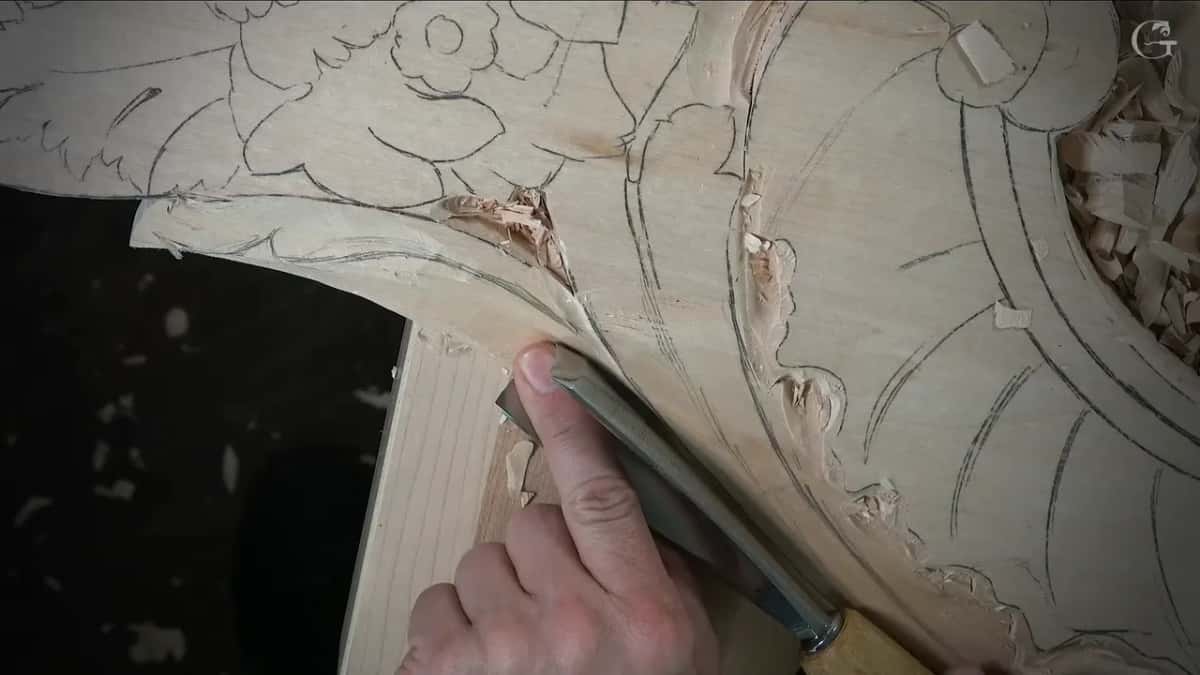
I named it the marriage line because of what happens there. Two passes have to meet, and I marry them. One pass runs to the turn. Then I shift to the far side of the bench, bring another in toward it, and blend little by little until the seam disappears.
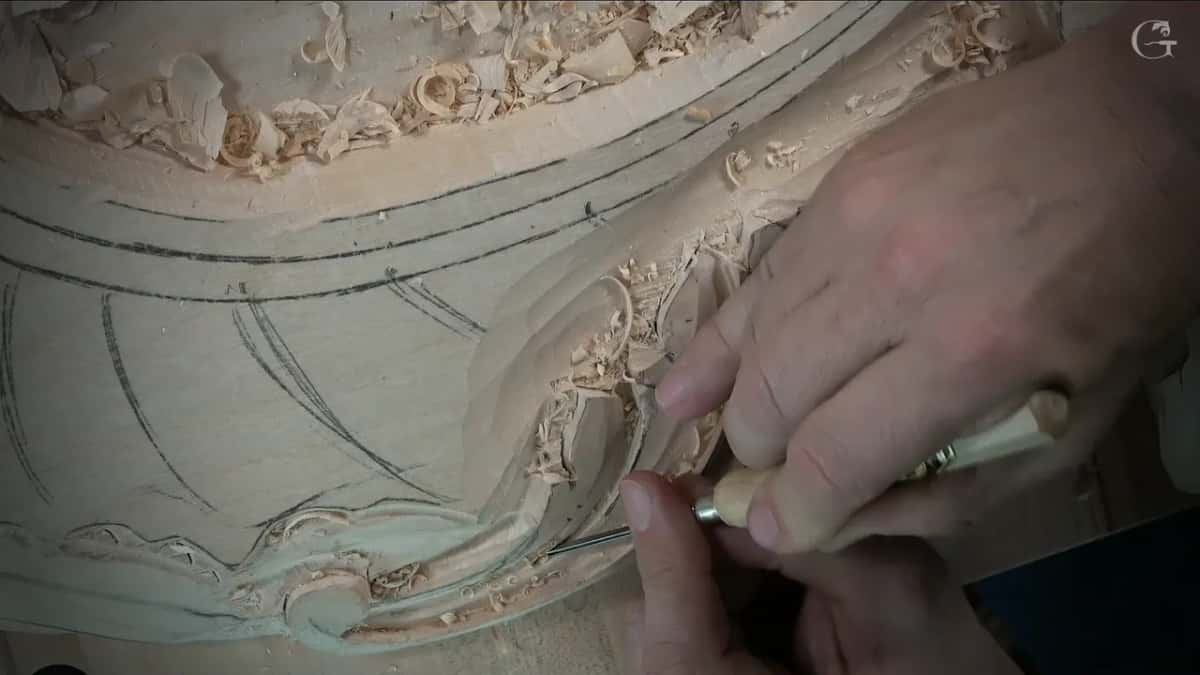
The wood warns you before it fails. On this panel a split began to run, and the smart move was to quit pushing and take all the waste out first with a big number 7. Push on at that moment and you lose the edge.
Nothing about this is exotic. Force it and the leaf breaks.
How do you meet a marriage line from both sides?
Work in small bites and let the join find itself. My first pass stops short of the turn rather than trying to run through it. Then I move myself rather than the tool, walking to the other end or spinning the piece on the table, so the second pass also runs downhill.
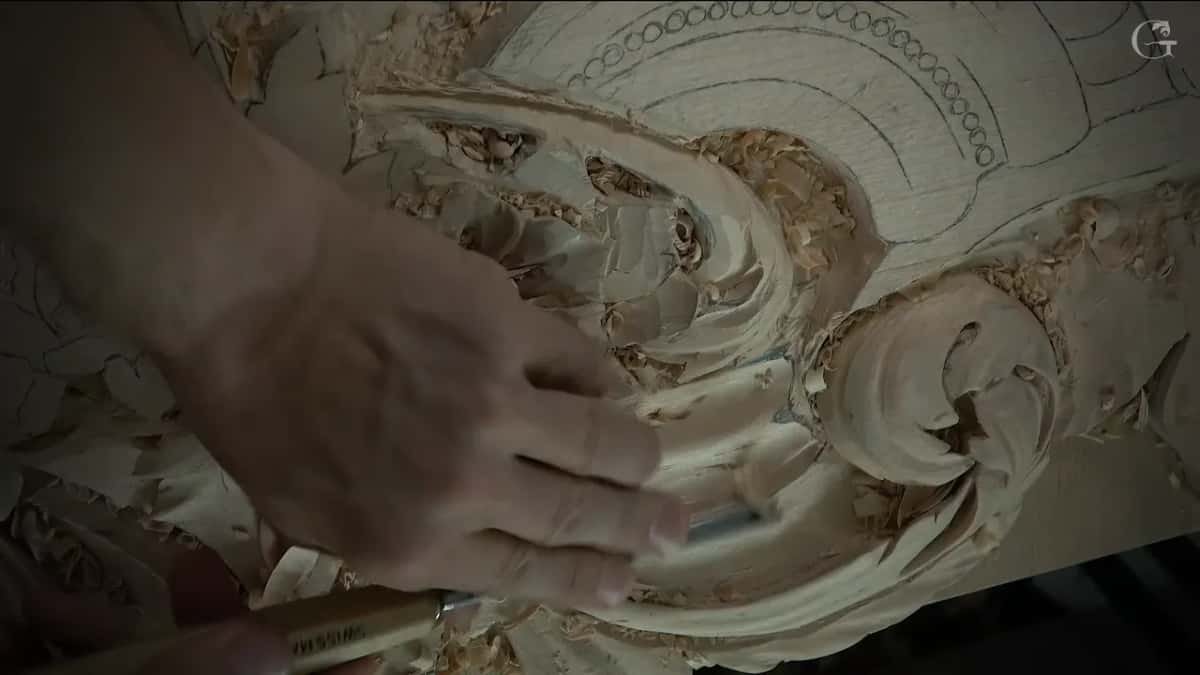
Sometimes only part of the edge does the work. On one of these leaves I used only about three quarters of the gouge to get a really good concave there. I took my time on that pass, because a marriage line sat right in the way.
My table earns its keep here. It rotates, it flips, I can rearrange it any way I want, and when a spot is not convenient to carve, I just turn the whole thing.
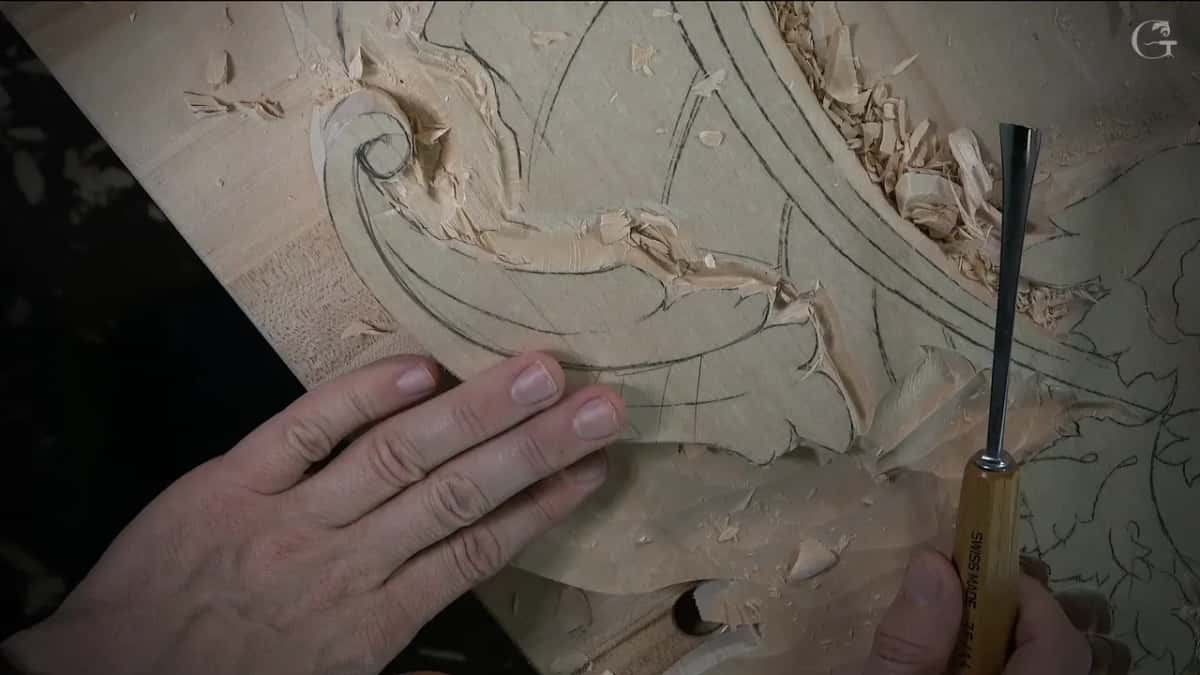
Before a secondary concave I smooth with a very flat tool. A big number 2 laid nearly level rides over the surface and hits the high spots, first one way and then back the other way, until the movement is gradual with no waviness.
| Job on this panel | The tool I actually reached for | Its size | Why that one and not another |
|---|---|---|---|
| Clearing a field | Number 11 gouge, used again and again | 30 mm | Removes waste in far fewer passes |
| Sloping a leaf | Number 7 gouge held upside down | Three inch | So the slope looks really flowing |
| Levelling a blend | Number 2 laid almost flat | Big one | Rides over and hits high spots |
| Corners and tight turns | Skewed number 3 with a bent shaft | Small | Really handy to get in the corners |
| Deepest shadow lines | Number 11 veiner after the bigger ones | One mm | Gives me even deeper shadow there |
Why do big gouges make you faster, not sloppier?
A wide tool removes a bunch of material at the same time. The bigger the tool I have, the quicker the job goes, and I say it on camera again and again.
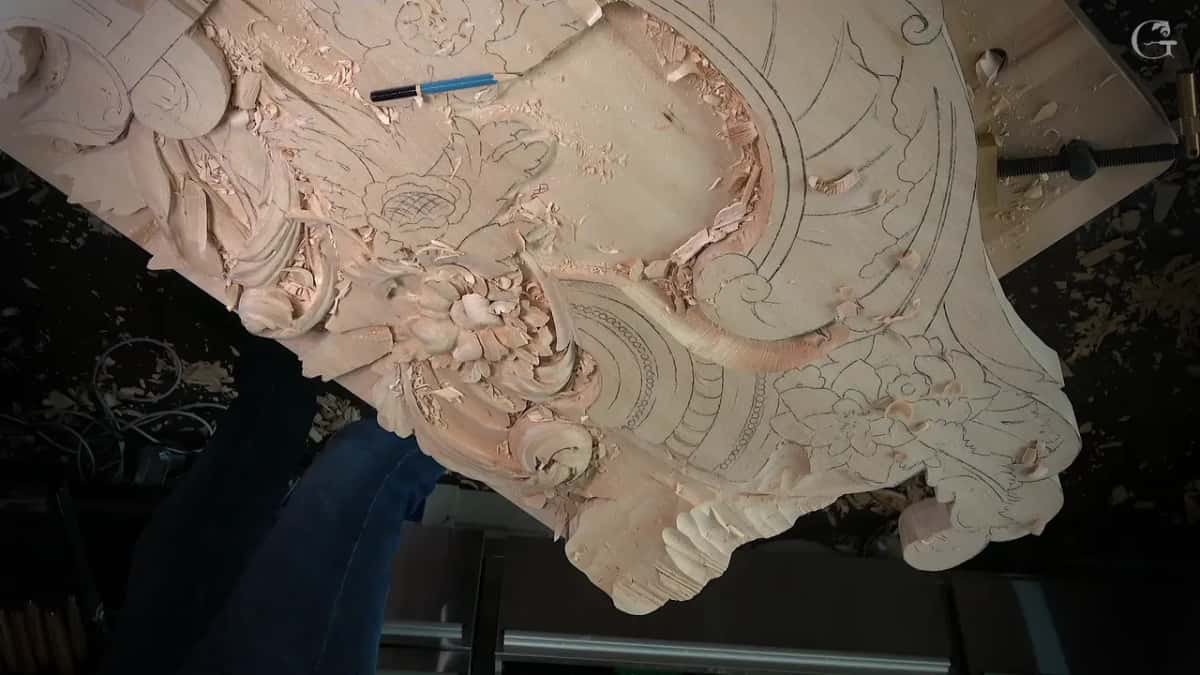
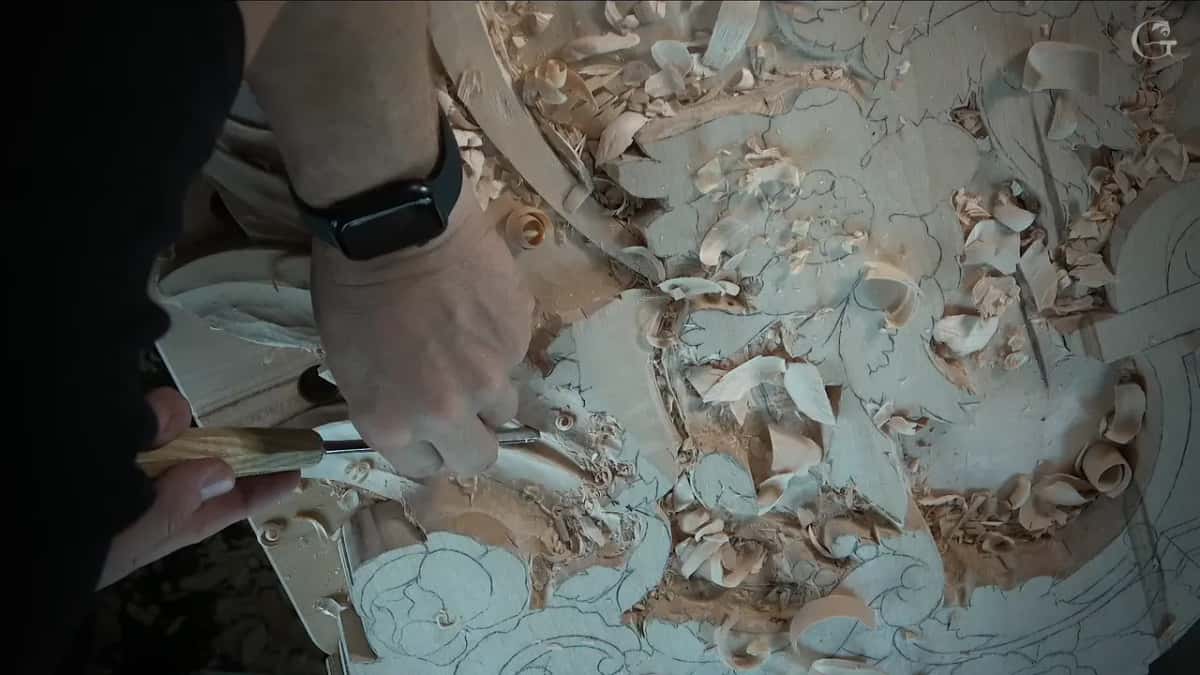
My 30 mm number 11 does most of the rough clearing here, and on the flat work I go up to a 60 mm number 2, which is nearly two and a half inches across. Huge. You scoop with it rather than carve, and the surface comes off gradual instead of stepped.
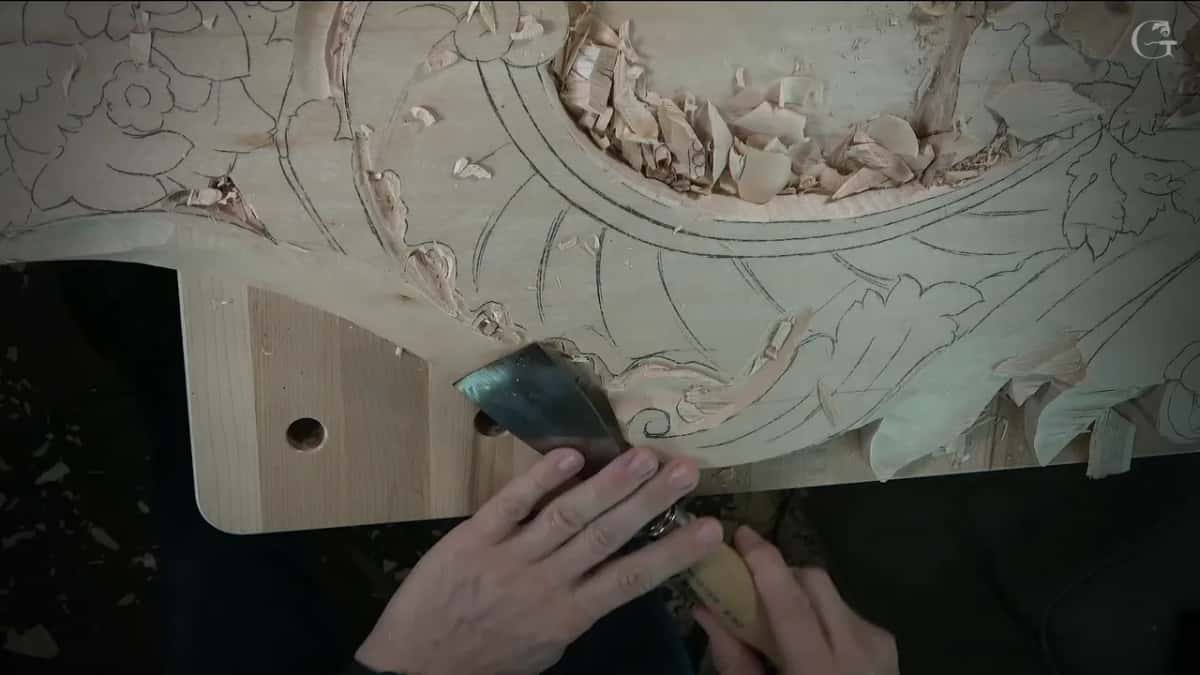
Losing a little of the drawing does not scare me. I have it on my iPad, so I can always recreate it. Behind this carving there will be a plywood back, and it is going to go on the ceiling, with crown molding connected to both sides.
One exception, and it is a real one. In a corner nothing wide will fit, and there I use a skewed number 3 by Henry Taylor. The shaft is slightly bent as well as skewed, and getting into an inside angle with it is a pleasure. That tool is really unique, and sometimes it is really handy to have.
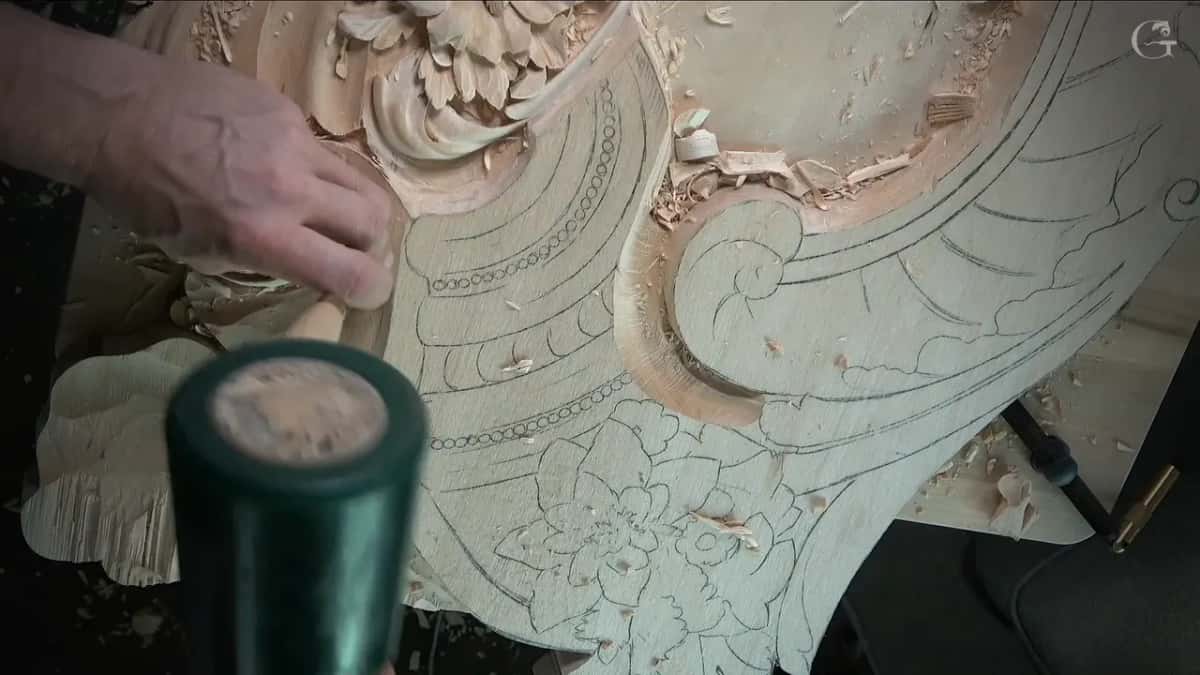
My bench carries several makers. Most of my veiners are Pfeil, a few sweeps are Ashley Iles, and the awkward inside corners belong to Henry Taylor.
What keeps a pencil line alive once the waste is gone?
Put the first pass on the line itself, before any waste moves. Then take everything down with a second pass that stays roughly an eighth of an inch, 3 mm, away from it. Two passes, and the drawing survives the rough work.
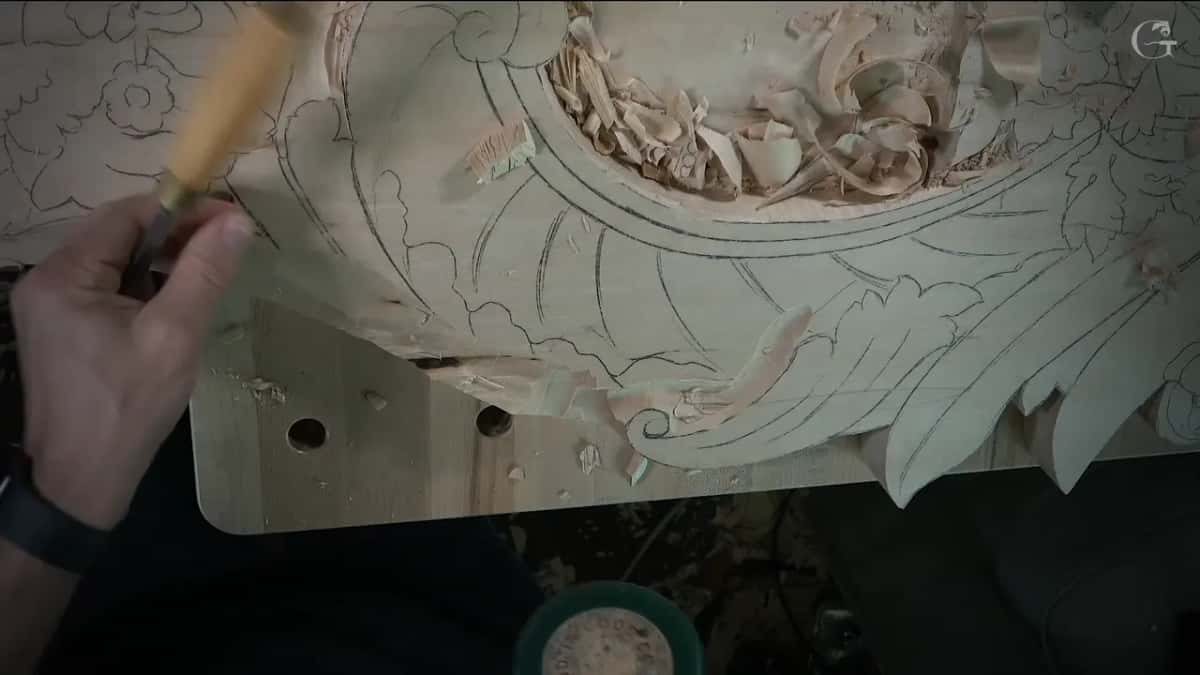
That habit runs through the whole of this room, and it is the same rule I used in part 9. Here it does a second job. Once the field around a leaf is 10 mm lower, the pencil line has gone with the shavings, but the groove keeps its place, so I don't have to figure everything out again.
Where a shape must not move at all, my outline goes straight down at 90 degrees and stays there. Undercut it by accident and there is no way to fix it. Lean it the other way and it's okay, I can fix it.
Can you place the golden ratio by eye?
After forty years, yes, and I still check. On these leaves the middle line sits at about six parts out of ten between the two edges, roughly 62 against 38, and I put it there by eye without measuring anything.
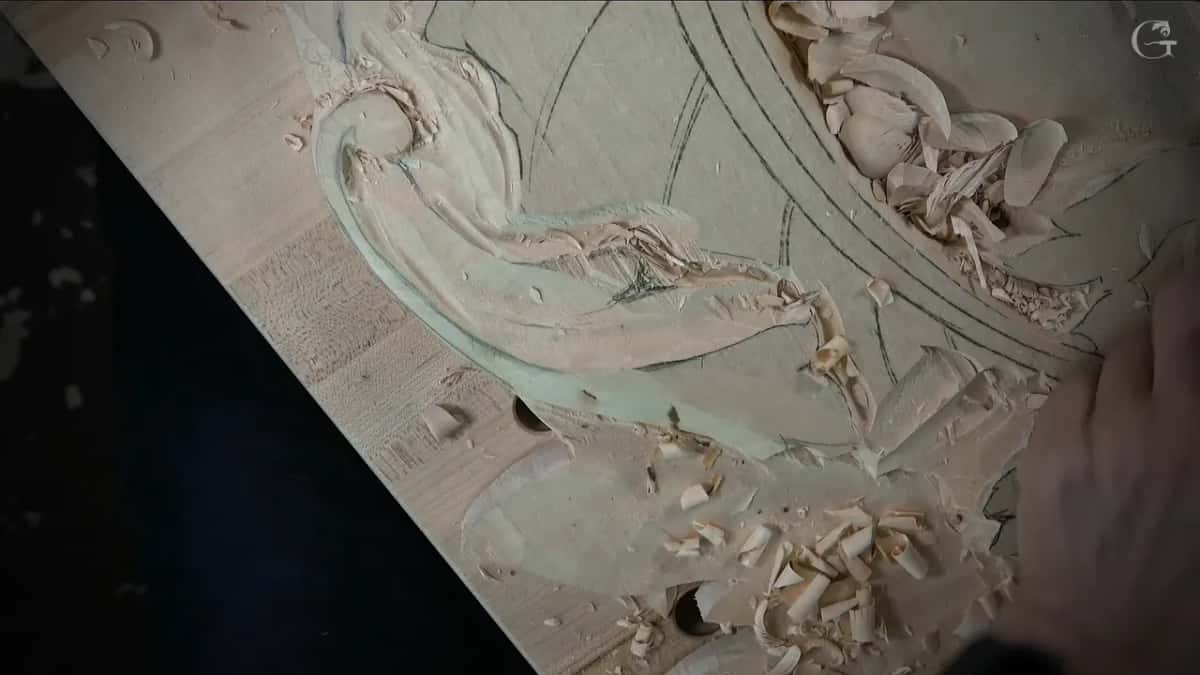
After that I reach for the calipers anyway. Mine open on the golden ratio by design, and when I set them against the line I had already drawn, I was right on the money. I set the same proportion on another piece back in workshop 127.
That middle line runs all the way to the point of the leaf. After that it is all about the shadows, because the shadow is what separates this leaf from the rest of the picture.
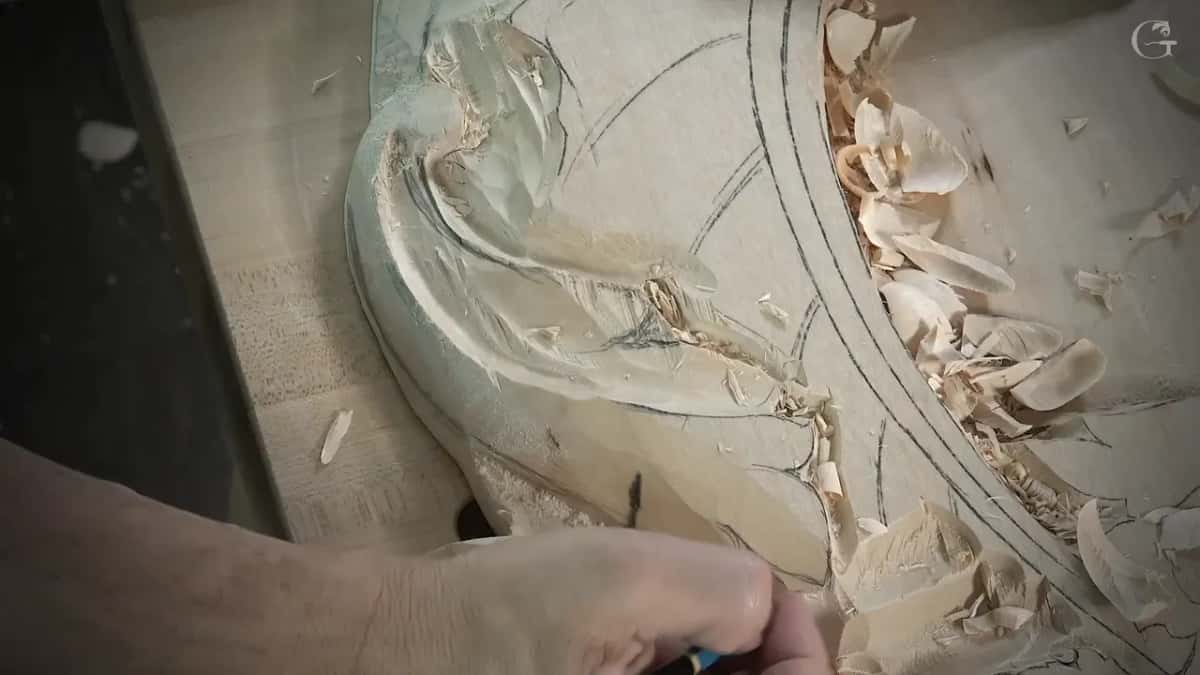
What do you do after you carve a mistake?
I look at where it happened and decide whether it matters. I carve past a line on this panel more than once, and I say so on camera rather than editing it out. Once I just moved my line a little more inward and went on.
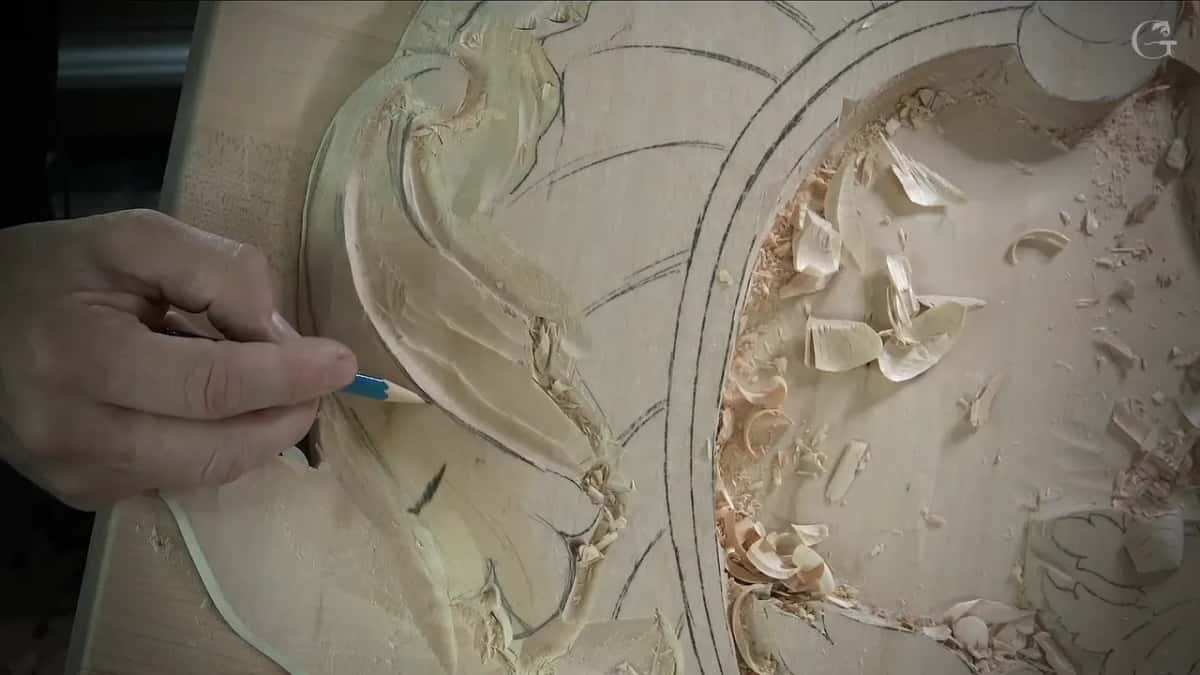
Double-checking before the pass is a good idea. Twice in these workshops I pulled up the drawing on the tablet before digging, and the first time it showed me I could make a mistake. I was glad I checked.
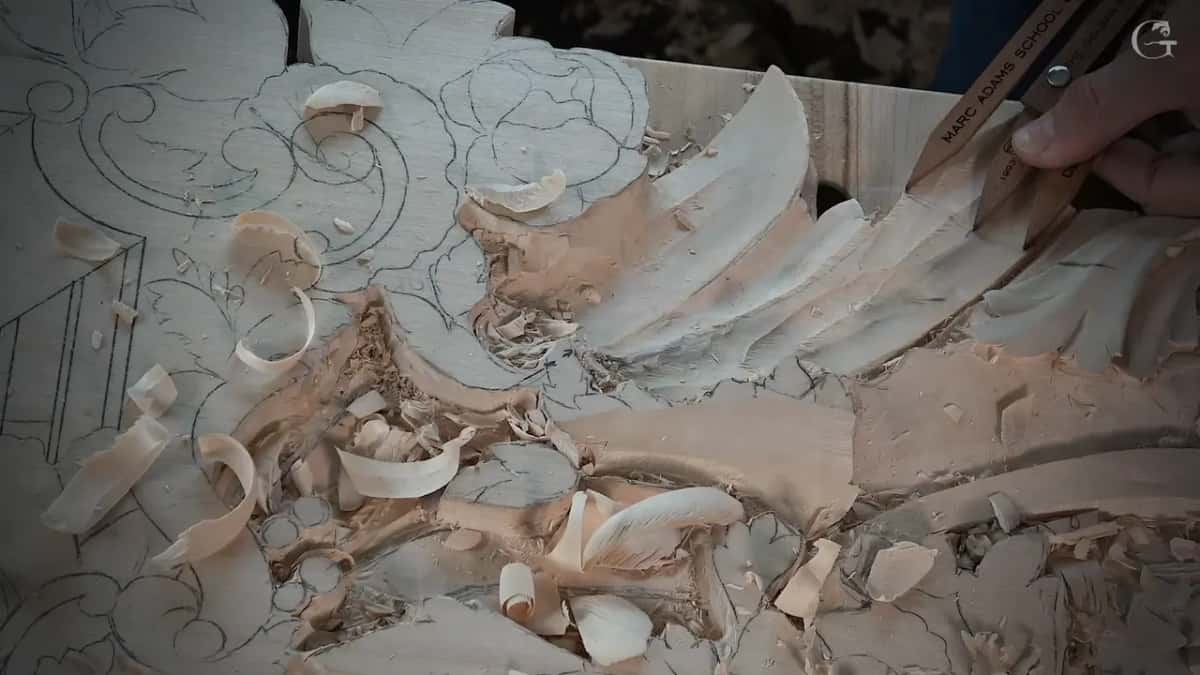
Some damage is not the wood at all. I took a rasp to the high spots and damaged my own workbench a little. No bueno, as I said at the time. I told the camera it was okay and kept working.
A chopped edge in a spot that is going to be lowered anyway costs nothing at all. I said so out loud, rather than pretending the tool never slipped.
Hurry costs me too. I was rushing on one section and it shows in two places. When the grain is against you, put the tool down, walk around and attack it from the other side.
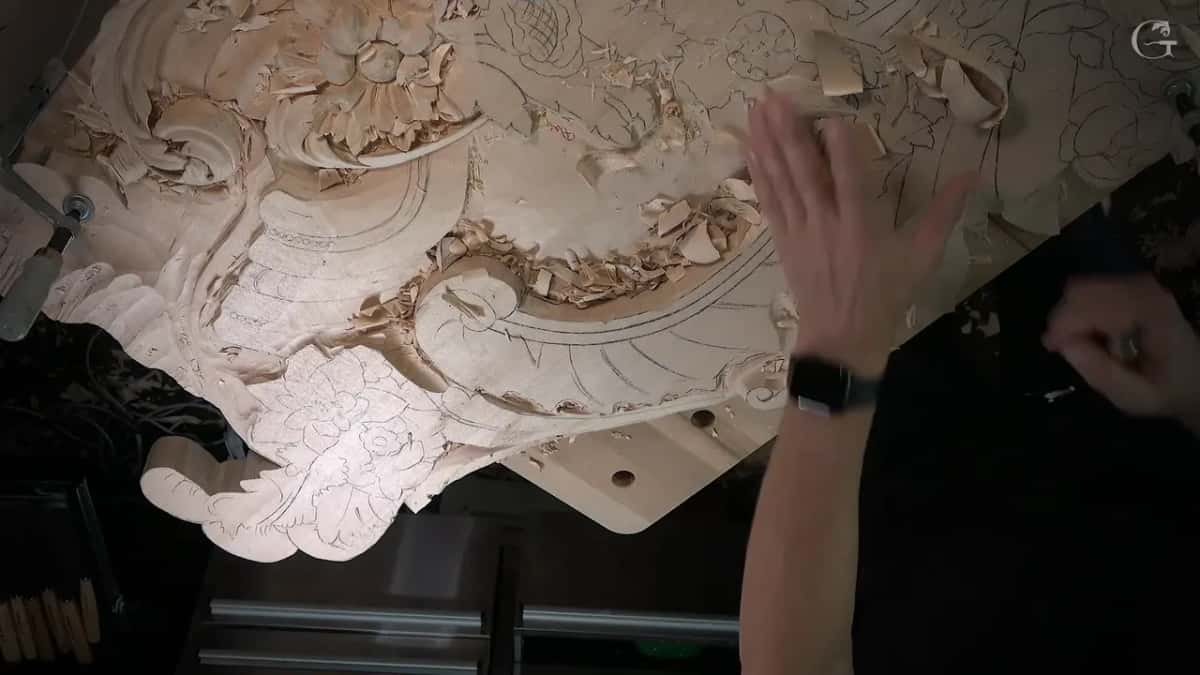
Why walk away from a section before it is finished?
Tiredness of one area is a real signal, and I obey it. Partway through this stretch I got tired of one side, walked to the other end of the panel and started removing material there instead. I wanted to see the overall picture, and sometimes it is a good idea to walk away from one area and jump on another.
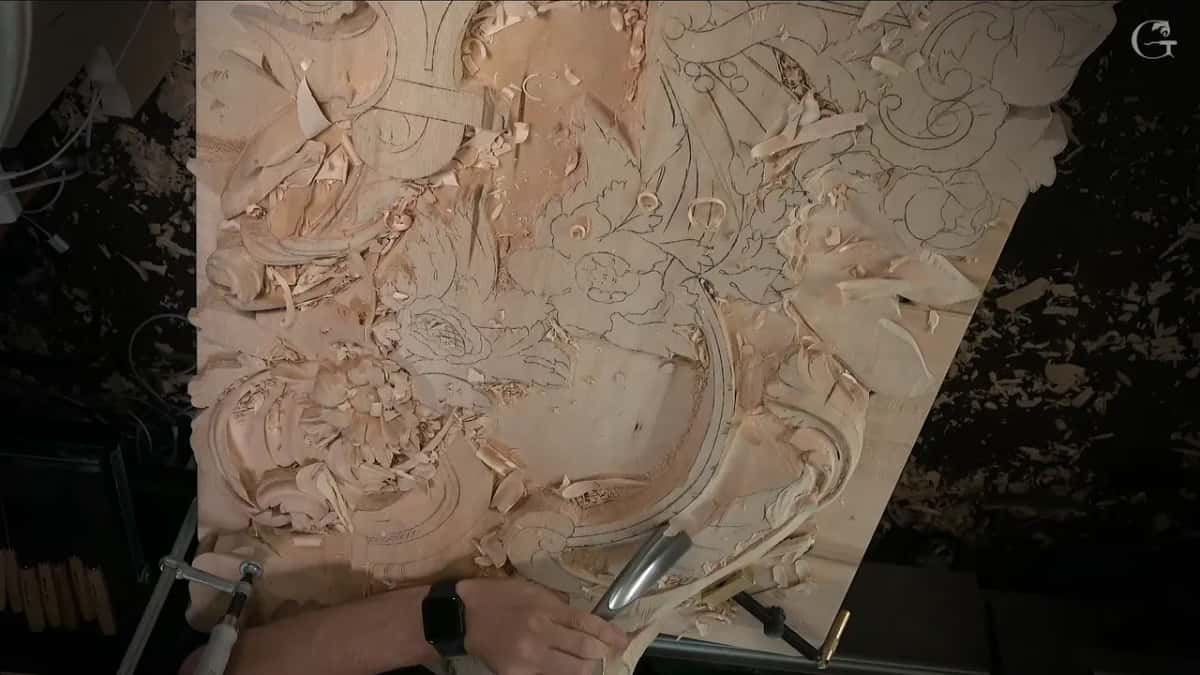
Looking is the other half of that. From directly above a shape can read fine, and then you look from the side and see a hump you have to change. I turn the table, move myself, check it from different positions, and only then decide.
The panel does not sit still for any of it. Clamps come on when it starts jumping and off again when I don't need them, and I deliberately leave a quarter inch of extra stock, six millimetres, purely as something to clamp against later.
Some of this work also happened during a live stream, so a chunk of the roughing is not on the workshop video at all. Same operation, just done in front of people. I say where that happened rather than letting a section appear finished by magic.
What makes one concave read deeper than another?
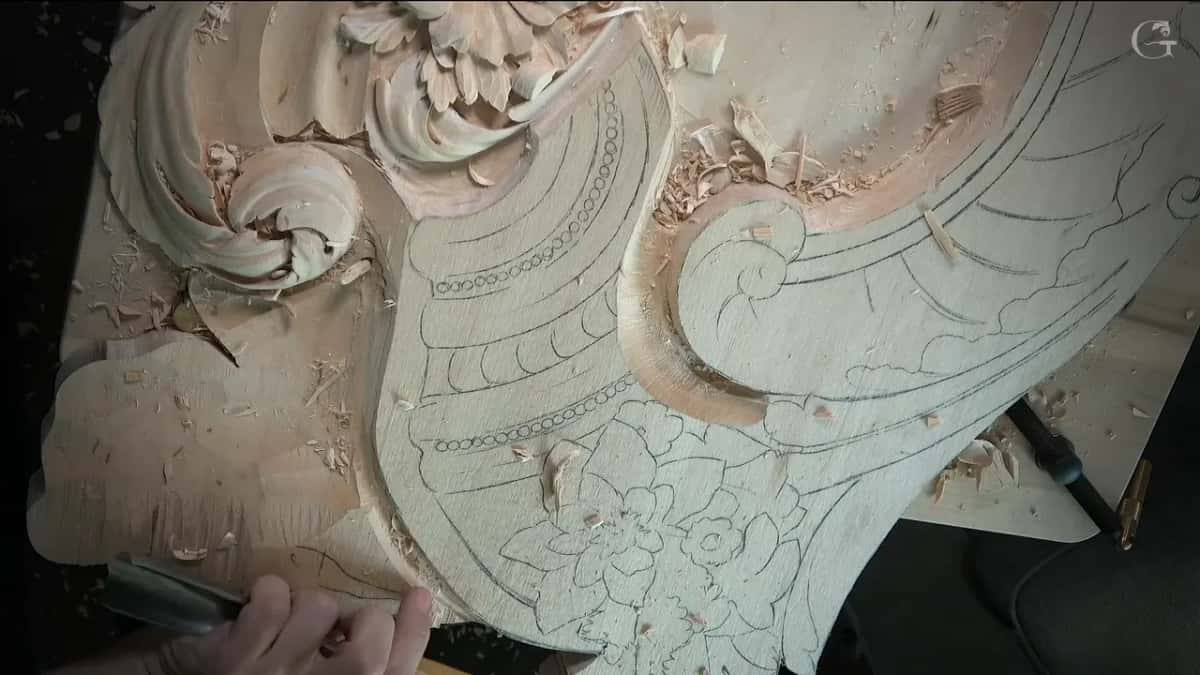
Two hollows, not one. The main concave gives the leaf its form, and then a secondary concave along one edge of it throws a second shadow inside the first. That double shadow cast is what I'm after, and the edge itself sits no more than a quarter inch, about six millimetres, above the background.
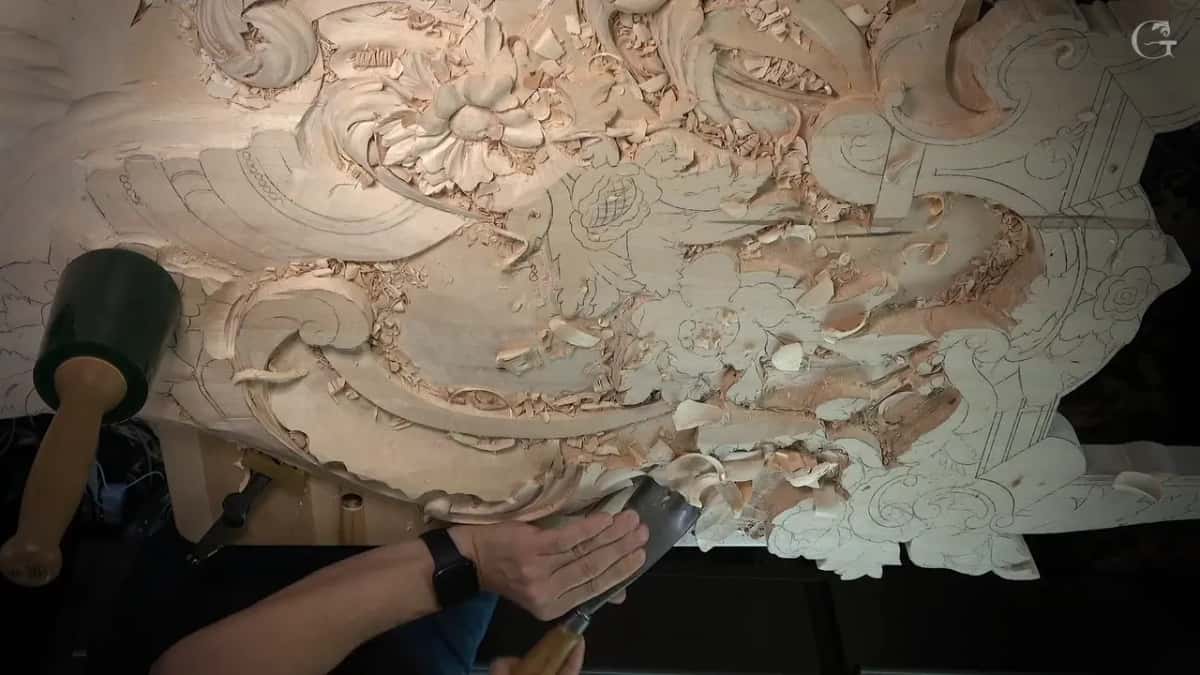
Where a spot is fragile I go at it with a number 9 and take plugs out rather than shave. If one of those breaks all the way through, no harm is done here, because the back of this panel finishes against plywood too.
My depth budget on this section runs to about 30 mm at the lowest point, an inch and three sixteenths, and I stopped nearer 25 mm so there was material left for the concaves themselves. That is about 3/16 of an inch of safety for myself.
Shadow lines get carved several times over, each pass with a smaller tool. Seven millimetres opens it, five deepens it, then four, then two, and where it really matters a one millimetre veiner goes to the bottom of the same line. Each step gives me even deeper shadow.
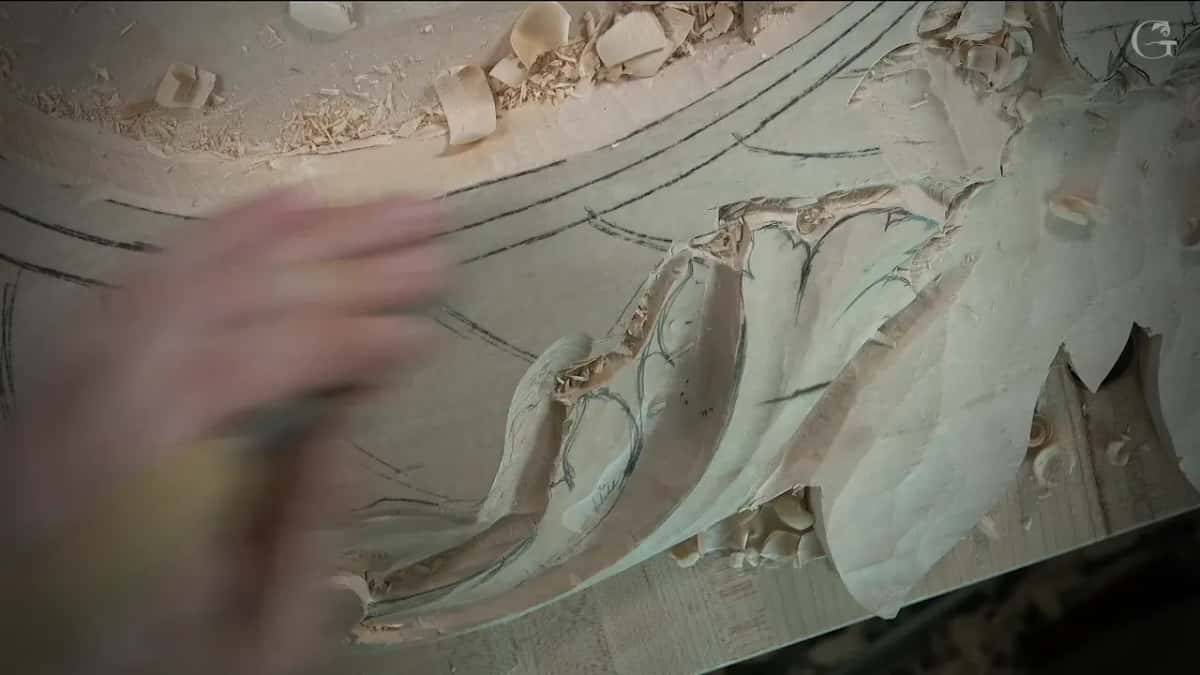
One transition on this stretch is a really interesting one. One part goes above the shell and another hides underneath it, so it reads as coming out from underneath and flipping on top.
The eye of a scroll gets the same treatment. I run a pipe to it first, then open it with a micro tool and take a half millimetre number 11 into the middle of the eye. That dark spot just pops.
Why strop a gouge in the middle of a job?
Sharpness buys you the passes that grain direction would otherwise refuse to give. Going downhill a slightly dull edge still works well enough. Going the other way, that same edge crushes fibres instead of slicing them, and the surface comes up furry.
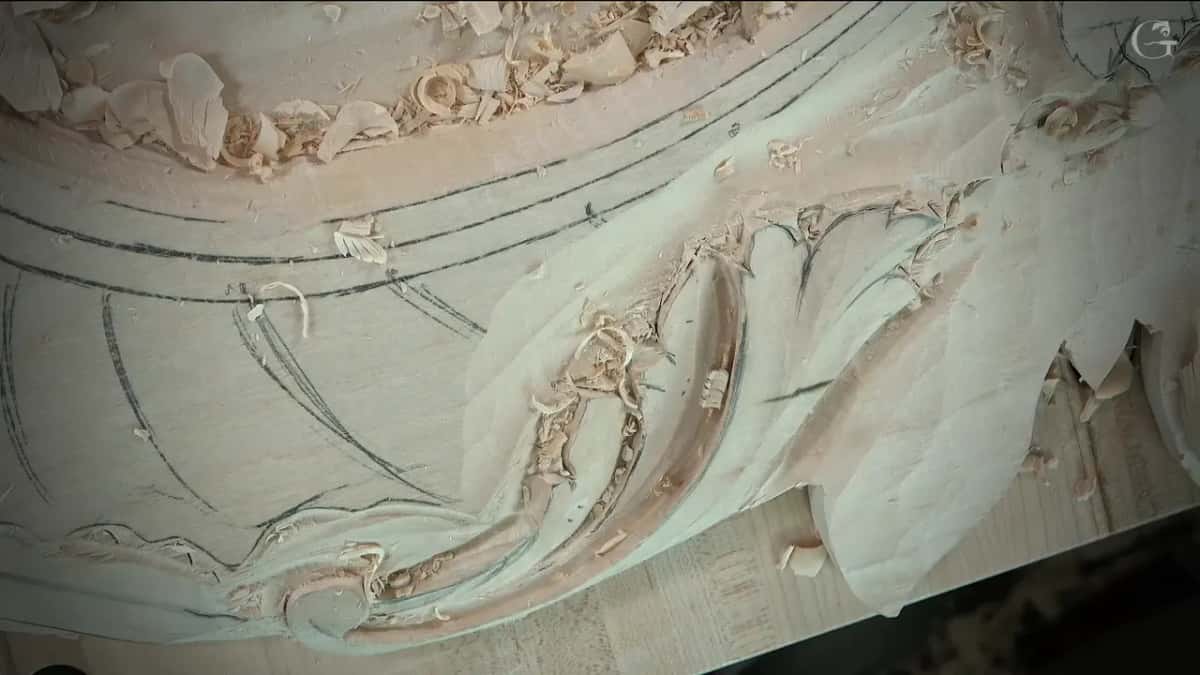
My strop is plain leather. In the middle of that pipe I buffed my tool on it and went right back to work.
Once the edge is right I can attack the awkward direction on purpose. Some passes on this panel still run into the grain, and if my tool is sharp, I should not have any problems with them.
Everything above sits on the earlier parts of this room. If you have not seen how the angle of the flute decides a wall, or how a panel gets carved right through for shadow, start with those. Never held a gouge? The first steps are laid out plainly, and full access to every workshop opens the whole room.
One last thing, and it is not advice. I say the phrase just like that far too often while I carve. I noticed on this part, and asked the people watching to forgive me, two times over.
Would you rather keep fighting the wood, or learn where it turns?
How it's done
- Read the curve before you start. Follow the shape with your eye and find where downhill turns into uphill. That point moves as the scroll curls.
- Take the first pass short. Stop the tool before the turn rather than running through it. Take your time there. Forcing it is how the wood breaks.
- Move yourself, not the tool. Step round to the far side of the bench, or spin the piece on the table, so the second pass also travels downhill into the same place.
- Watch for a split. If a split starts to run, stop. Take the waste out first with a big number 7, then come back from the opposite direction.
- Blend the two passes. Attack the join from each side, little by little, until the two passes blend nicely. On this panel the big number 11 did it.
- Strop before the hard passes. Plain leather brings the edge back. I did it right before the really small, careful passes on the pipe.
Frequently asked questions
What does carving with the grain actually mean?
Wood fibres lie like a bundle of straws, and an edge travelling along them severs cleanly while an edge travelling into them lifts and tears. Downhill means the fibres ahead are supported. On curved ornament the safe direction changes constantly, so you keep changing with it.
Why does my carving tear out partway round a curve?
On a scroll the fibre direction can reverse under your tool, and a pass that started clean finishes by lifting wood instead of slicing it. Come at that place from the opposite direction and let the halves arrive together, rather than pushing on through it.
Are big carving gouges harder to control?
That's a big tool, I know, and I still take it really carefully. It just gets the job done much quicker. My clearing tool here is a number 11, thirty millimetres across.
What to carve next