
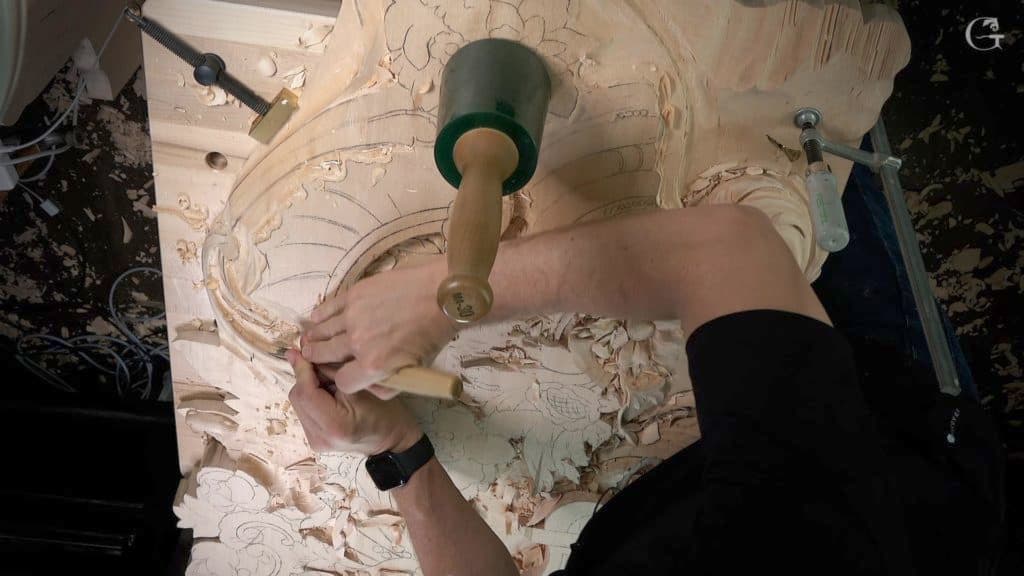
Alexander Grabovetskiy, woodcarver, School of Woodcarving · Published 2021
What does it mean to attack the wood in carving?
Quick answer: Attacking the wood is my word for choosing where the tool comes into a spot from. Lesson 128 of the Venice Room has it nine times, coming down from above on a pipe, switching to the far side under an edge, and going in carefully on one messy spot with a small tool.
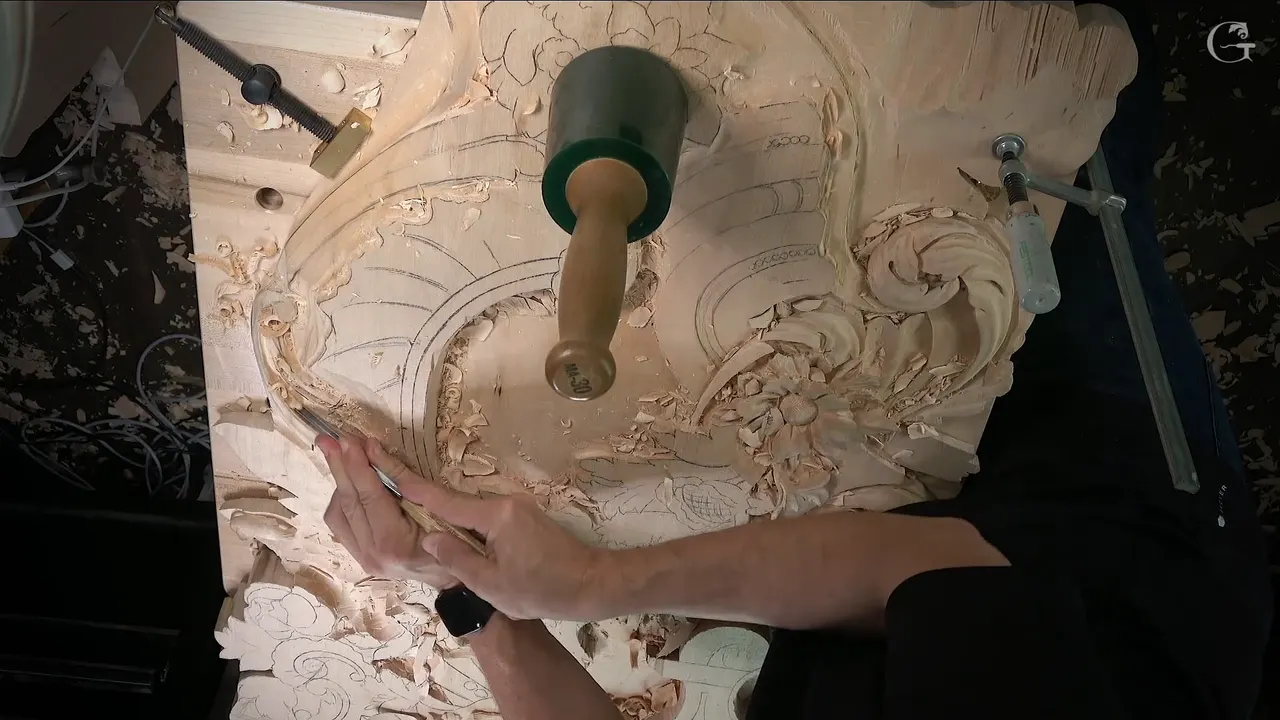
Attacking the wood, the way I use the word on camera, is picking the side or the direction a pass comes in from. In lesson 128 of the Venice Room I say it nine times. The word comes when I switch sides, come down from above, or pick up a different tool. Attack is one of the wood carving terms I say without thinking while I work, like pipe, eye and back bent.
Do you want a pass to leave a clean wall behind it? Want to know why I walk round the board? Then watch where the tool comes from in lesson 128, and listen for that one word.
Below are the nine places I said it in lesson 128, with the reason I gave on camera wherever I gave one, and then the lines from five other lessons and one livestream where I said a little more. Last comes a short list of the other bench words from this lesson, each sent to the page that already covers it.
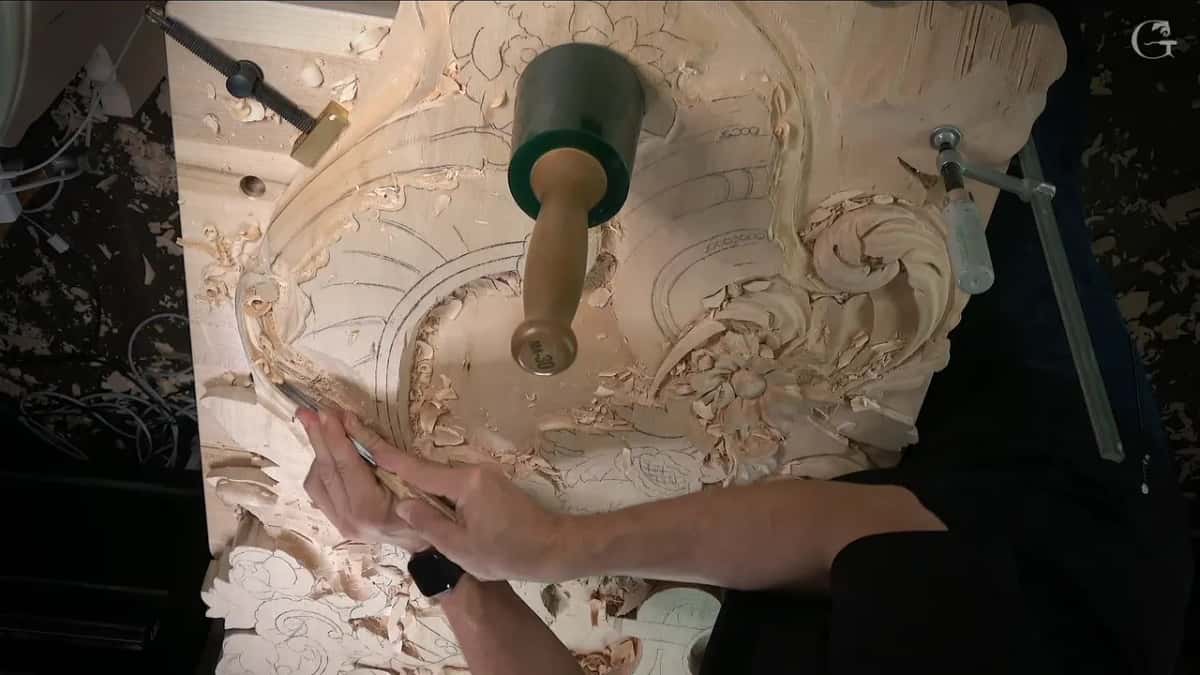
The word attack in six short lines
- Nine times across the three parts of lesson 128, and six of those times the side or the direction is right there in the same sentence.
- Twice the word came with carefully in front of it.
- Workshop 68 has the reason in one line, that one side of a gouge or veiner always leaves a clean wall and the other a rough one.
- Grain can pick the side for you, as it did on a spot in workshop 85.
- Some spots wait. Part 3 of 128 has three of those, each said out loud.
- A 7 mm (9/32 in) number 11 did one of those attacks, and a flat number 1 back bent did another.
Where did I first say attack in lesson 128?
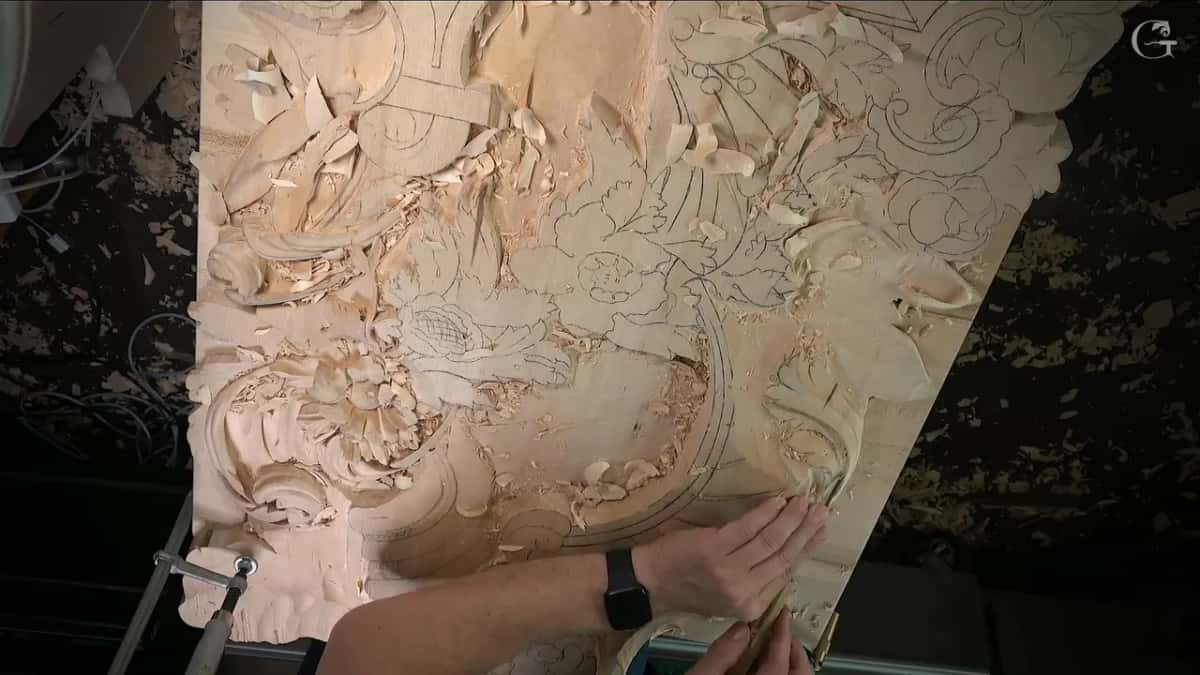
Two and a half minutes into part 1, on the long shadow line. I had already taken that line down with a 7 mm number 11, then 5 mm (3/16 in), 4 mm (5/32 in) and 2 mm (5/64 in), trying to make each pass as long as I could. At the very start I mentioned I could go even deeper there, with 10 mm (3/8 in). It would give me even more shadow, I said, and I really needed deep shadow right there. I was kind of skipping numbers, and I said so. Two millimetres should be sufficient, I decided out loud, and that, I said, was my limit.

Maybe I would attack a little bit from this side, I said next. Against the grain, but still, if my tool is sharp, I should not have any problems. That was the only reason I gave there.
Right after it I said be careful, and then I told you I was talking to myself. I was. About half a minute later came the second attack, with the same 2 mm tool, and I'd bring it all the way this way, I said.

A 1 mm (1/32 in) tool could give me an even deeper shadow there, I said, and I had to be really careful with tools that small in that area. I really liked the result, even with a little cleaning still to do inside.
Why come at the pipe from above?
The pipe did not look smooth, and I said exactly that before I changed direction. Earlier in part 1 I had decided to make an eye in that section and pipe it, starting with a number 11 of 4 mm on the left side of the tool, which I admitted was not too convenient. A 2 mm followed it, and a 7 mm with almost no concave went along the other side. I am already able to see the pipe, I said as that pass finished. Revealing pipe.

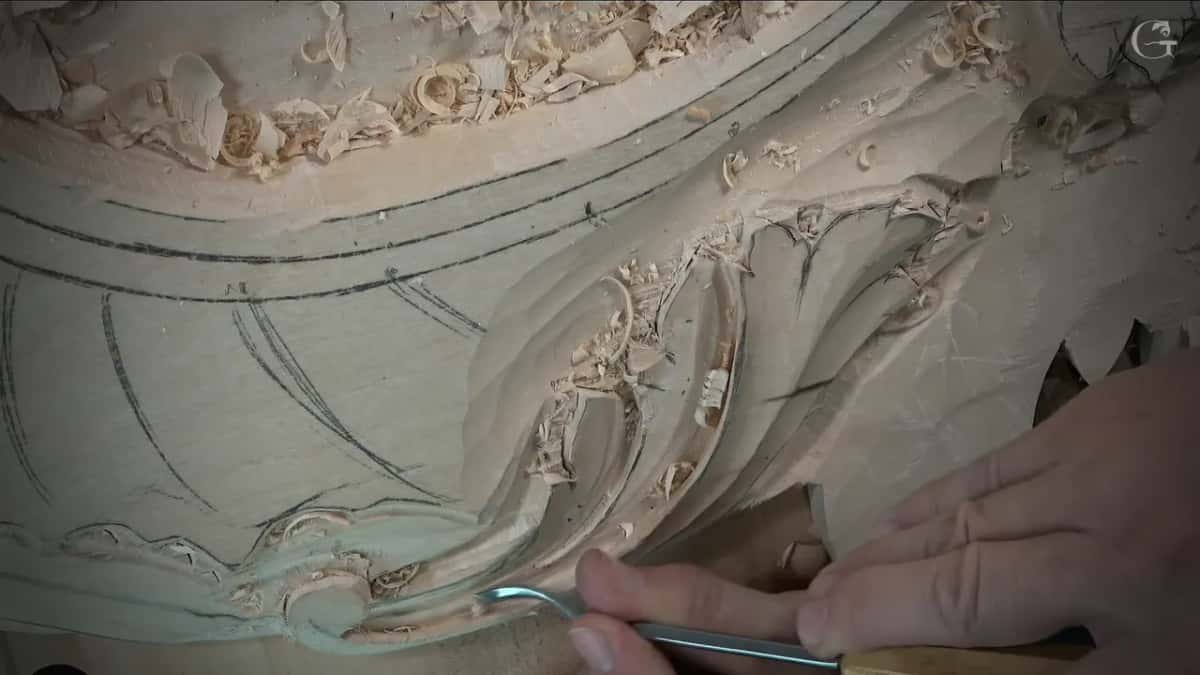
In part 2 I looked at that pipe again and said it needed to be attacked from above as well. The tool was a back bent. Six millimetres (1/4 in), a number 3 sweep, almost flat, and I blended the convex with it. What a back bent is, and what the bend is for, is on my page about back bent tools.
What happens when I turn to the opposite side?
Twice in part 2 I named the opposite side. The first time was a little undercut with the number 11, 7 mm wide, and a few seconds in I said I needed to attack that from opposite side.
I'm not going to undercut yet, I said. Final, final undercut. But a little bit. I did a little and called it enough for now.

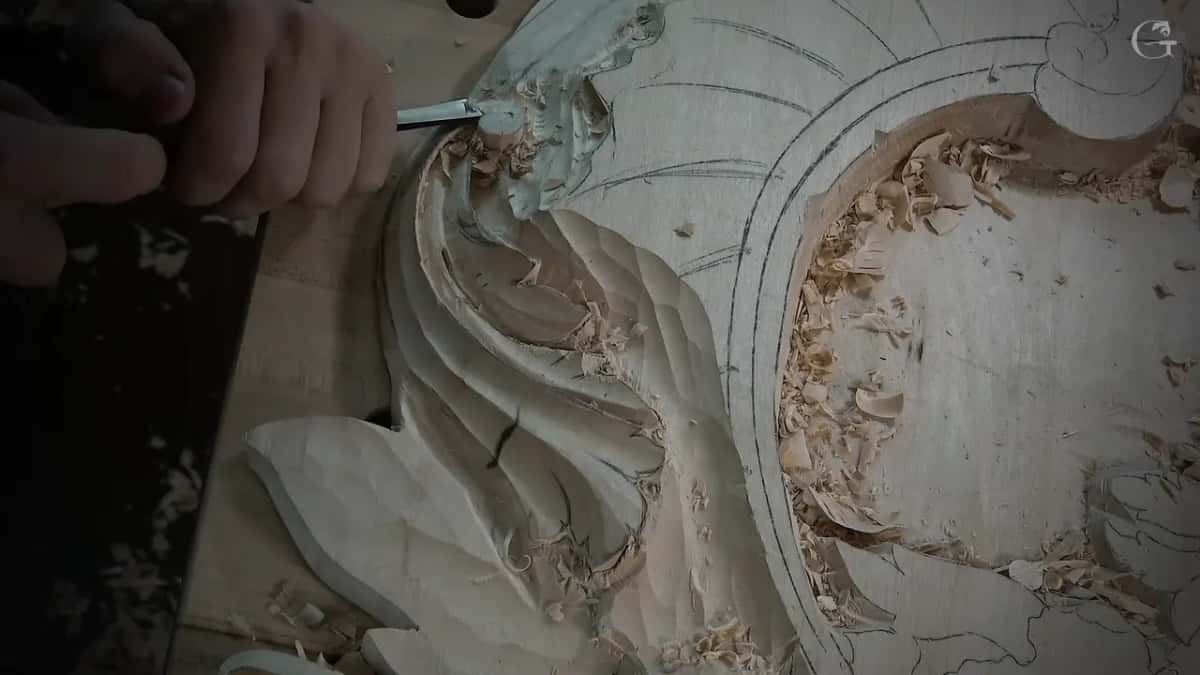
The second one was on the volute, which I called pretty much the last detail on that piece. A number 7 went round it using just one corner of the tool, and then a number 3 lowered one part that I said would not look as nice otherwise. I should probably attack that from opposite side, from here, I said. When I spoke again, I said I liked that shape.
Can you attack a spot carefully?
Twice in the first minute and a half of part 3, and both times right after I called one place a messy area. First I took a 1 mm tool and said carefully attack this side. Next came a back bent, and it had to be a flat back bent, like a number one. Again the words were carefully attack like this.
Carefully and attack sit next to each other in that sentence. Twice.
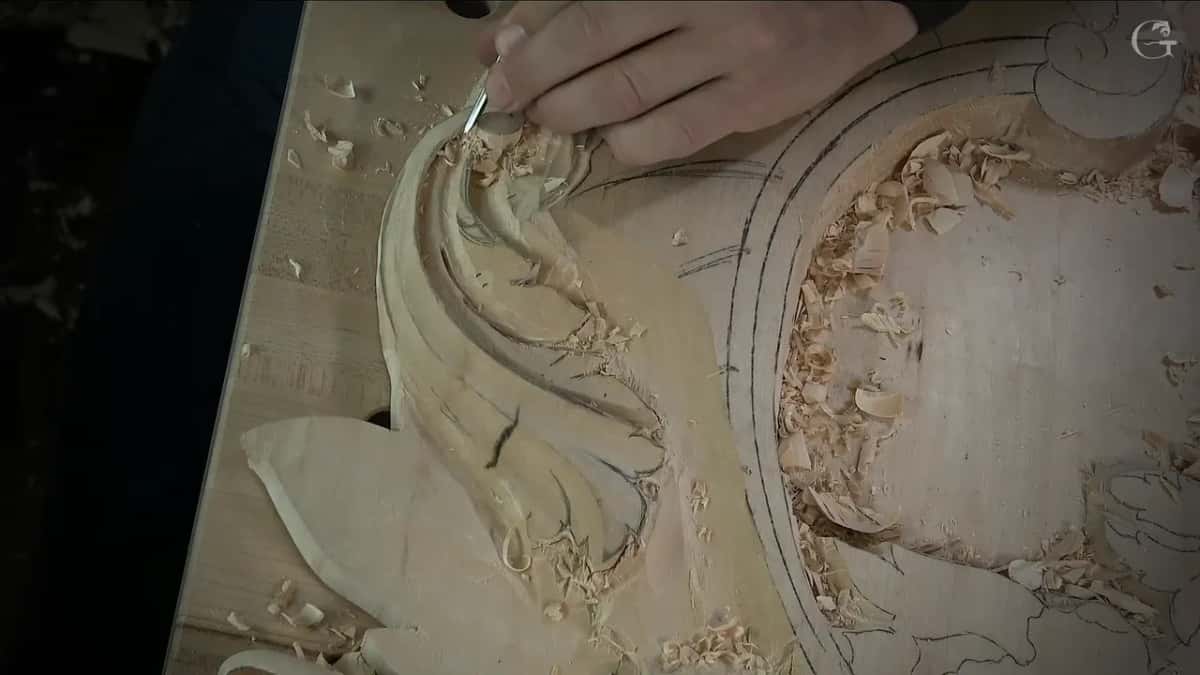
The micro tools came after that, and then an even smaller tool, a number 3 at 1/8 of an inch (about 3 mm), to attack that spot and clean it. Micro carving tools have a page of their own, from workshop 78.
Another side of that spot, I said, I could take care of a little later. A double check followed, and it looked okay to me, it looked good.
Why come at one spot from two sides?
One side of a gouge or a veiner always comes out clean and the other side comes out rough, I said in workshop 68 of the Venice Room. Every time I use one, I said. So that is why you are going to attack from two sides.

In workshop 39 I said the same about any gouge or any veiner, that this is why I have to attack from two directions. It actually gives me really nice movement, I said right after.
Lesson 128 shows it more than once. The shadow line got two attacks from one side after the first passes, the pipe got one from above, and the undercut and the volute each got one from the far side.
When does the grain decide the side?
Grain decided it for me in workshop 85. If you would ask me why I do not attack this way, I said there, the grain direction is just like that, you just do not see it, and that way is uphill.
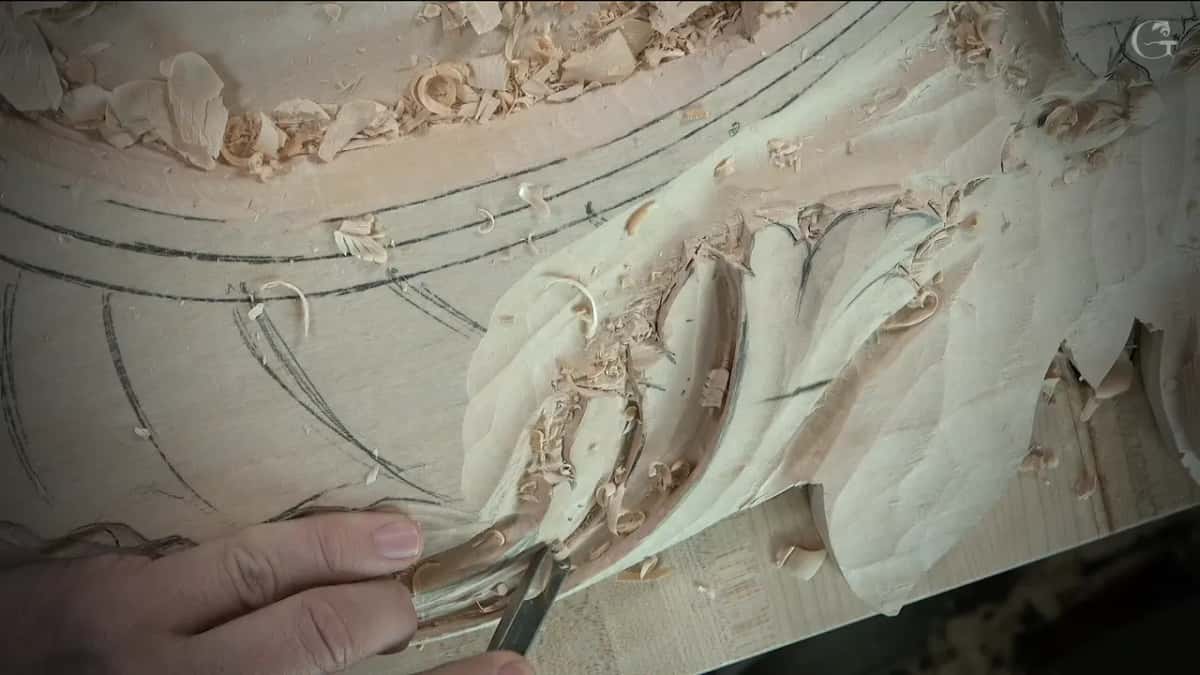
In lesson 128 I still took one pass the other way, into the grain, and the only thing I asked of the tool before it was that it be sharp. Where the grain turns on a curved ornament, and how I meet that turn, is the subject of the course page for Part 11.
Do you have to attack every spot right away?
On the Floral and Molding panel, lesson 12, I had just done the opposite side, exactly the same idea. And I told you why I did not attack the inside right away, because I knew I was going to have a chance to clean everything.

My own lesson waits too, three times in part 3. One section I would not touch yet, I said, and a little later I left another side for later on. About one more section I said that later on I'd create a really deep shadow there, for the overall effect, because without the shadow it would not look as nice.
What does an attack fix?
A movement got fixed that way in lesson 2 of Acanthus over Moldings. One spot was not appealing, I said, and it did not have a really gradual movement, and that is why I had to attack it and make it really gradual.
Lesson 128 gives two more. The pipe got its attack from above after I said it wasn't smooth. Late in part 3 I said I'd undercut right there and take care of that section, because it looked really rough. Don't like it, I said.

Here is every attack from lesson 128 that names its side, in one table.
| Spot | Move | Tool | Words |
|---|---|---|---|
| The long shadow | came in from one side, then again | Two millimetres | maybe attack a little bit from |
| The little pipe | came down on it from above instead | Back bent | also, because it doesn't look smooth |
| Under an edge | came at it from the opposite side | Seven millimetres | I'm not going to undercut yet |
| Round the volute | went back in on the far side | Number three | opposite side, from here, I said |
| A messy spot | went in carefully with the small tools | One millimetre | take one millimeter and carefully attack |
I showed the finished detail from above in part 2. Super happy, I said. It kind of blends together with this movement, although this movement goes underneath, but still it just continues movement.
Wood carving terms I say at the bench in lesson 128
Attack is one word. Lesson 128 is full of others, and most already have a page, so here each gets one line in my words and a link where one exists.
- A back bent came out twice, once 6 mm and nearly flat and once a flat number one, and the back bent page says what the bend is for.
- Micro tool is what I called the one I took to excavate the small eye, maybe about a sixteenth of an inch, like a millimetre and a half, and workshop 78 has more.
- Eye and pipe were what I chose to add to that section in part 1, and what they mean on an acanthus leaf is on the pipe page.
- One corner of a number 7 went round the volute, and lesson 123 is where a corner gets explained.
- Skipping numbers is what I did with the number 11s, and how I pick a gouge size is on the workshop 18 page.
- Safety was the 3/16 of an inch (about 5 mm) I said I'd leave for myself before removing a lot of material, and how deep to go when roughing has its own page.
- My first pass on the future shell would go right on the line, I said, and lesson 124 is where I named a first pass that is not an undercut yet, the preliminary cut.
- Canvas is a word from lesson 126, and that page says what I mean by it.
- Veiner is the number 11 family, and in part 2 a 1 mm veiner and then half a millimetre went over the small eye until you could see that dark spot pop.
- Strop meant leather, just leather, at the end of part 1, once I said the tool didn't look sharp anymore.
- Indication is how I described the second pass along the pipe, almost no concave, just indication of concave.
- Light and shadow play is why I added that pipe at all, when I said I did not really have to (chiaroscuro is the painters' word).
- Walk around is what I said right before I carried on with that pass on the other side.

Some names change with the country. In a livestream in April 2020 I said that in the UK you do not call it a V tool, it is a parting tool, and it is still the shape of the letter V.
A general glossary of woodworking covers plenty of shop words. The ones above are the ones I said out loud while carving this lesson.
Where does the next attack start?
At the very end of lesson 128, on the future shell. Let me attack that future shell, I said, and that shell has to go right from underneath and go out this way. That is going to be the acanthus, I said, and the shell is going to go underneath.
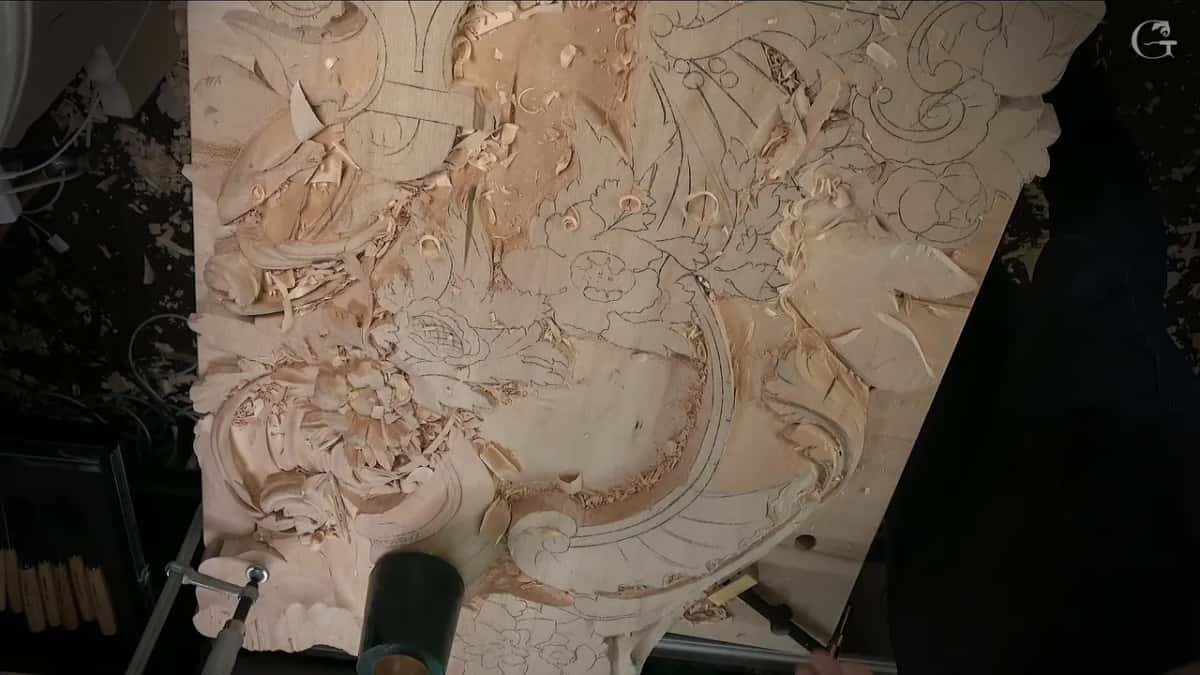
I got the spacing roughly where it should be, and it looked like I needed to make some changes. The spacing was not a big deal, I said, since I could always redo it. Approximately, it will be right there, I said.
The acanthus head goes right on top, which means that part is going to be lower later anyway, so I said I could go ahead and remove a lot of material there, in this relief.
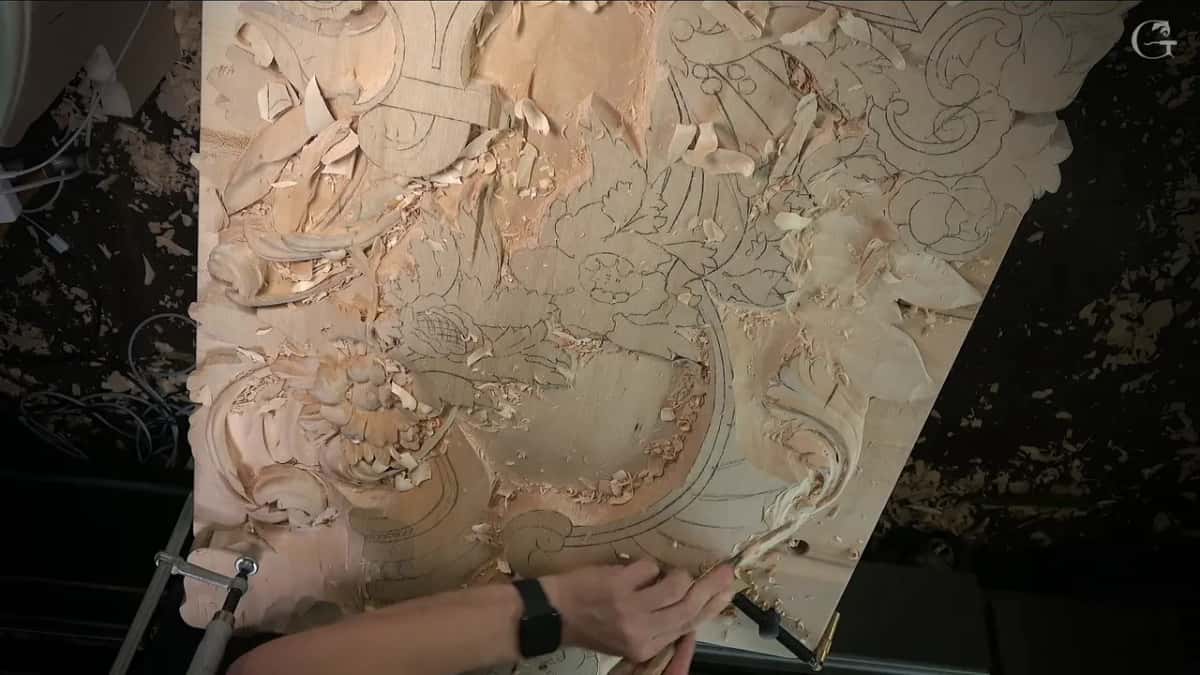
Lesson 127 comes right before this one. The one after it is lesson 129, and the five lessons and the livestream I quoted here all open with full access to the school.
Would you like to hear the word nine times in one lesson? Want to see which side each pass comes from? Part 3 of lesson 128 holds three of them in its first three minutes.
How it's done
- Look before you pick a side. Before choosing a side for the pipe, I looked at it and said it doesn't look smooth.
- Come in from above on a rough pipe. I took a back bent, 6 mm, a number 3 sweep, almost flat, and blended the convex.
- Turn to the opposite side. Beneath one edge I used the number 11, and at the volute a number 3, and both times I said the opposite side.
- Go carefully in a messy spot. Take a small tool and attack carefully, as I did with a 1 mm and then a flat number 1 back bent.
- Leave a side for later. In part 3 I said one side could be taken care of a little later, and moved on.
- Strop when the edge stops looking sharp. Once the tool stops looking sharp, buff it on leather, as I did at the end of part 1.
Frequently asked questions
When a carver says attack, what does he mean?
In my lessons it names the side the edge arrives from. In the Venice Room, lesson 128 has the word nine times, down onto a pipe, back from the far side of an undercut, and twice with carefully right before it.
Does every gouge leave a clean wall on both sides?
One wall is left clean and the other rough, every time I use a gouge or veiner, as I said in workshop 68. I gave that as my reason for coming at a spot from both sides, and in workshop 39 it gave me really nice movement.
Should every part of a carving be attacked at once?
The Floral and Molding panel is where I told you I did not attack the inside right away, because I knew I would get a chance to clean everything. Lesson 128 also leaves one section alone for now and one side for a little later.
What to carve next