
Alexander Grabovetskiy, woodcarver, School of Woodcarving · Published 2021
How much wood should you leave for a concave?
Quick answer: Wood left for a concave is extra height kept on a form where a hollow will be carved later. On the Venice panel in workshop 129 I kept roughly 5 mm, near 3/16 inch, on one side, and said the concaves would need about that much early on.
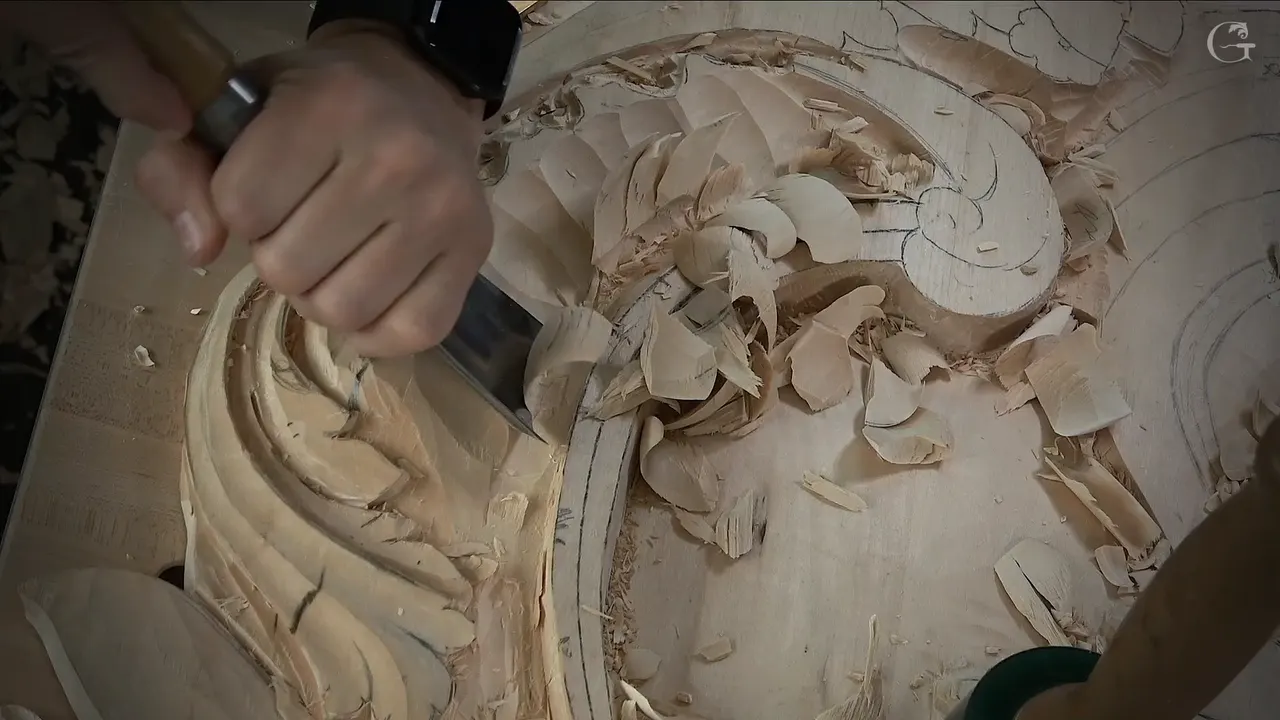
The wood you leave for a concave is a bit of extra height, kept on the spot that will be hollowed later. In workshop 129 of the Venice Room one side of my panel stayed some five millimeters higher than the other. I said the concaves were going to need about that much, at least at the beginning.
Want the gouge to have room to curve once it goes in? Would you like the hollow and the round beside it to come out of the same wood? Then keep a little height back first.
Below is what that lesson shows on this relief, part by part, with the tools I named on camera. After it come five other lessons where I said a number out loud. The numbers do not match. The side of a small olive got two millimeters, and a tray got a minimum of one.
What I kept back for the concave, line by line
- One side stayed about 5 mm up, because concaves and convexes were coming there.
- Later I called it enough.
- The waste came off before that, under a big 7 and then the 30 mm eleven.
- A number 2 went straight down under the big mallet, and the undercut waited for later.
- Other lessons gave other figures, 2 mm on an olive and at least 1 mm or so in a tray.
- Most came with an about or an or so.
How much wood I left for a concave in lesson 129
My first passes ran close to the line. Maybe not really on the line, I said, but really close. It looked like my workbench was moving, so I said it needed to be tighter, and a panel that moves has its own page from lesson 125. The second pass stayed away from the line.

Partway along I had to change position and go really carefully. A split had started, and if I forced it and the split kept going, I told you, I would lose the edge. The story of that split is on the Part 11 course page, so here I will give only the smart move I named, which was a big number 7 to remove all that waste first.

Then came the call this page is about. I needed to leave about five millimeters higher than what I had on the other side, I said, and the reason followed right away. There were going to be concaves and convexes there, and for the concaves, at least at the beginning, I would need about five millimeters or so.
Two sentences, and back to the tool.
A concave is a hollow and a convex is a round, and on that spot I was going to carve both of them.
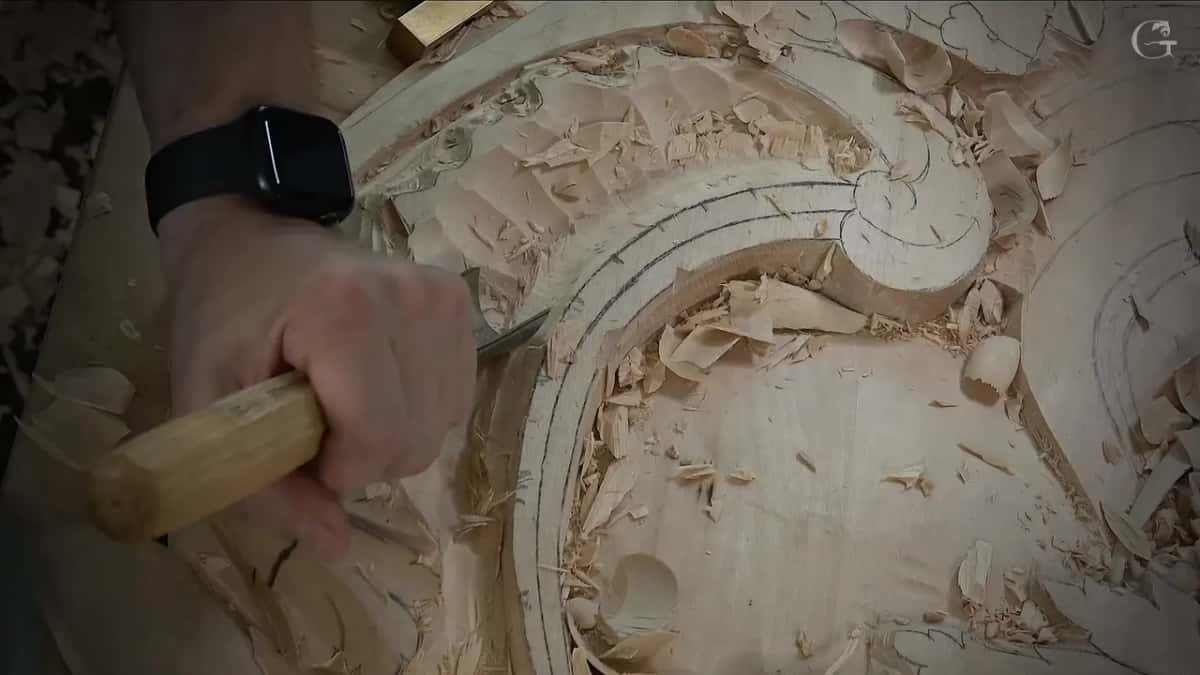
Next I took the number 11 of 30 millimeters, about 1 3/16 inches, and attacked one more time to remove all that mess, starting from here somewhere, as I put it. Let me think, I said, and then I went at one side carefully. After that came the opposite direction.

A number 2 and the big mallet came next, and I went straight down with them. Show you from above how it looks, I said, and the camera stays up there for close to a minute with no talking.
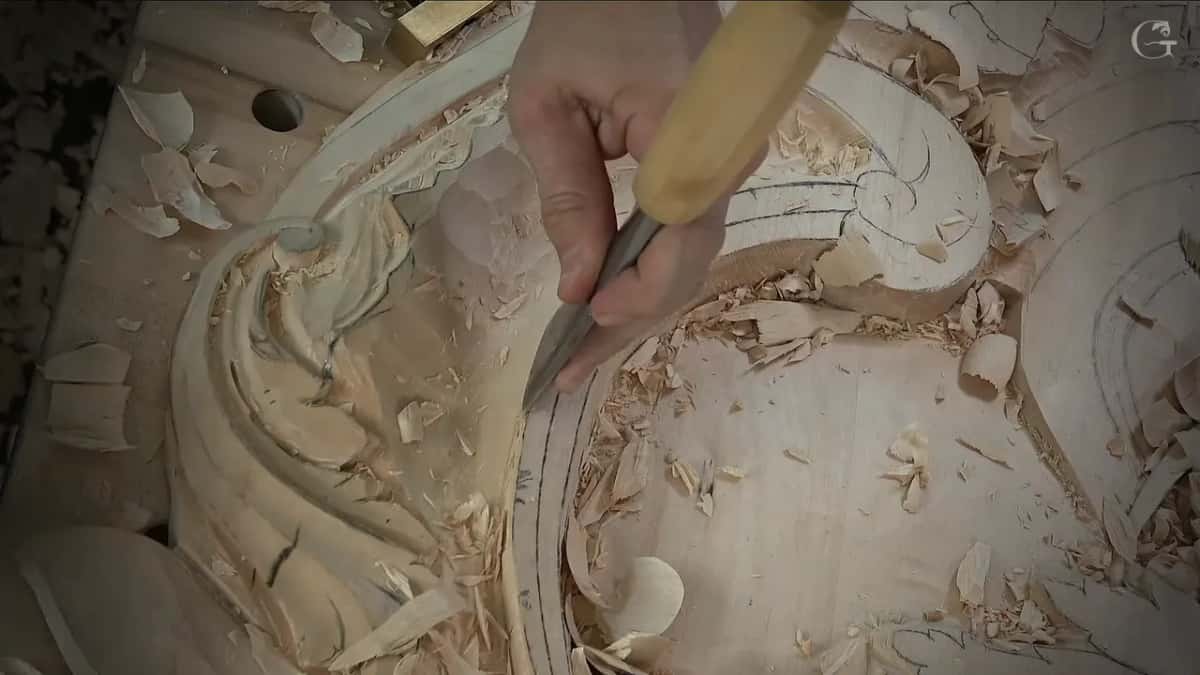
And then the 30 mm number 11 again, to remove more of that mess.

How did I know I had lowered it far enough?
I compared the height with the lowest spot right beside it, and at 5 mm or near it I called it enough.
Before that, at the start of the second part, I went to a smaller tool of about 20 millimeters, some 3/4 inch, because the 30 was a little too big for that area. A full minute of the video after that has no talking at all, only work.
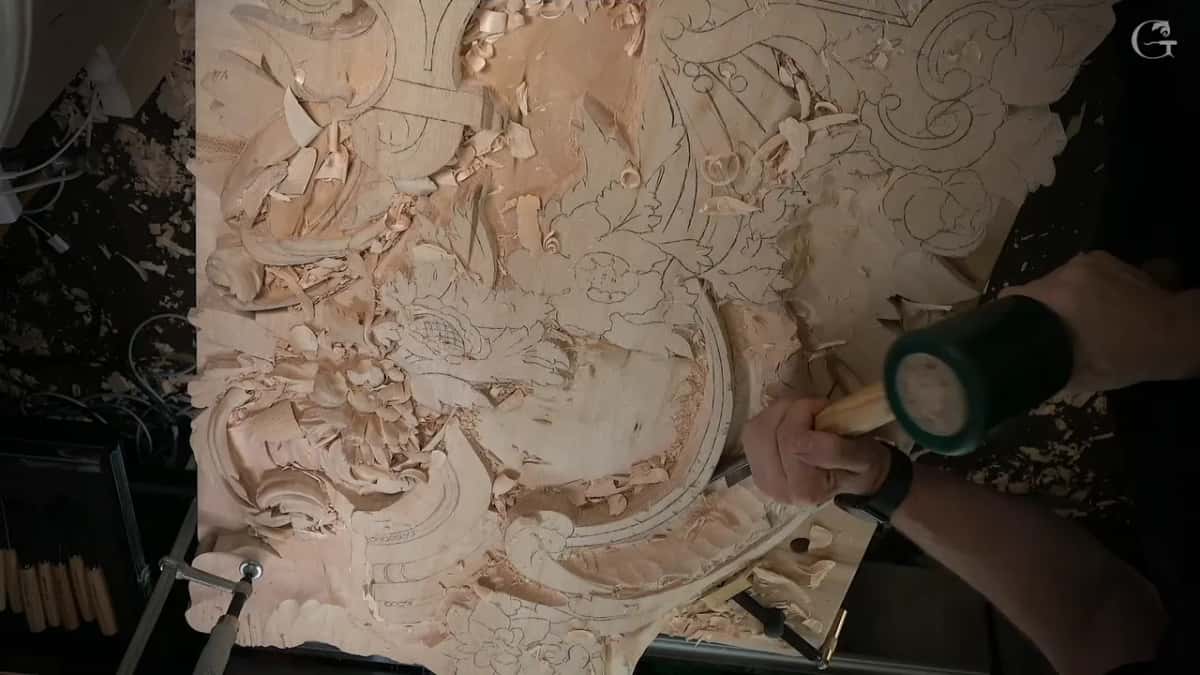
Wonderful, I said. That is absolutely wonderful.
I think that is enough, I told you. I was approximately 5 mm above the lowest spot right there, so I did not want to overdo it, and really I did not need to. How to keep from going too deep has a page of its own from workshop 70.
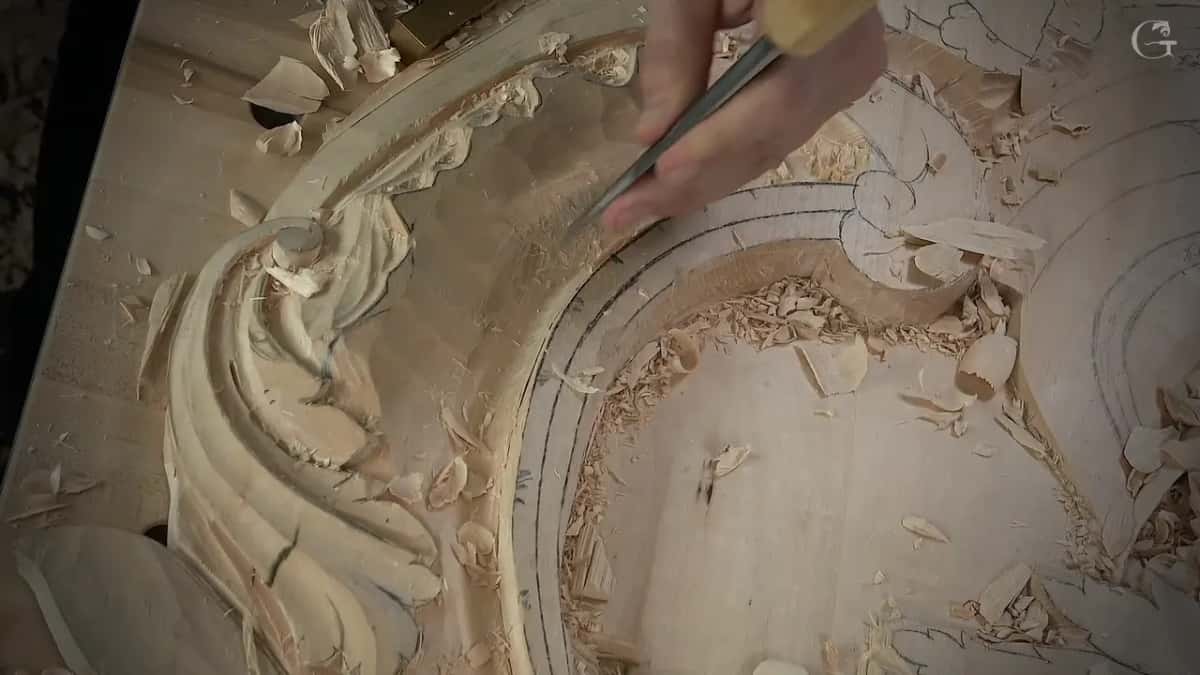
Next I hit it again with the number 2, straight down, 90 degrees. All it would take now, I said, was to clean up pretty much, before we worked on the shell itself. I liked it so far, and I cleaned that way too.
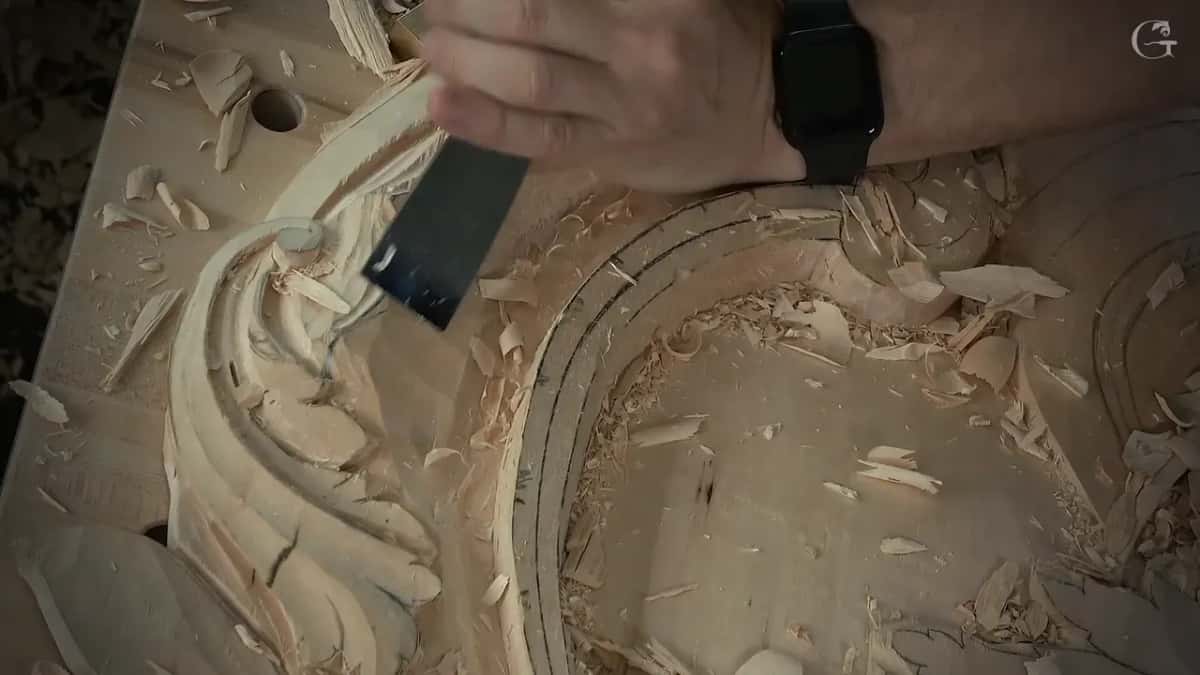
There is a shadow moment in this part as well, where a number 7 gave a little more concavity inside, and the course page tells that one.
Before the part ended I walked around the spot one more time with the number 2 and looked from above. Of course that part was going to be lower, I said, so I needed to clean that side.

What came after the extra height in lesson 129?
Undercutting was not on the list yet in the third part. There was no reason to undercut yet, because I still had to establish it. At least I needed 90 degrees right there, but just for the sake of establishing the movement of the shell. Cleaning a surface before the details is the subject of lesson 126.
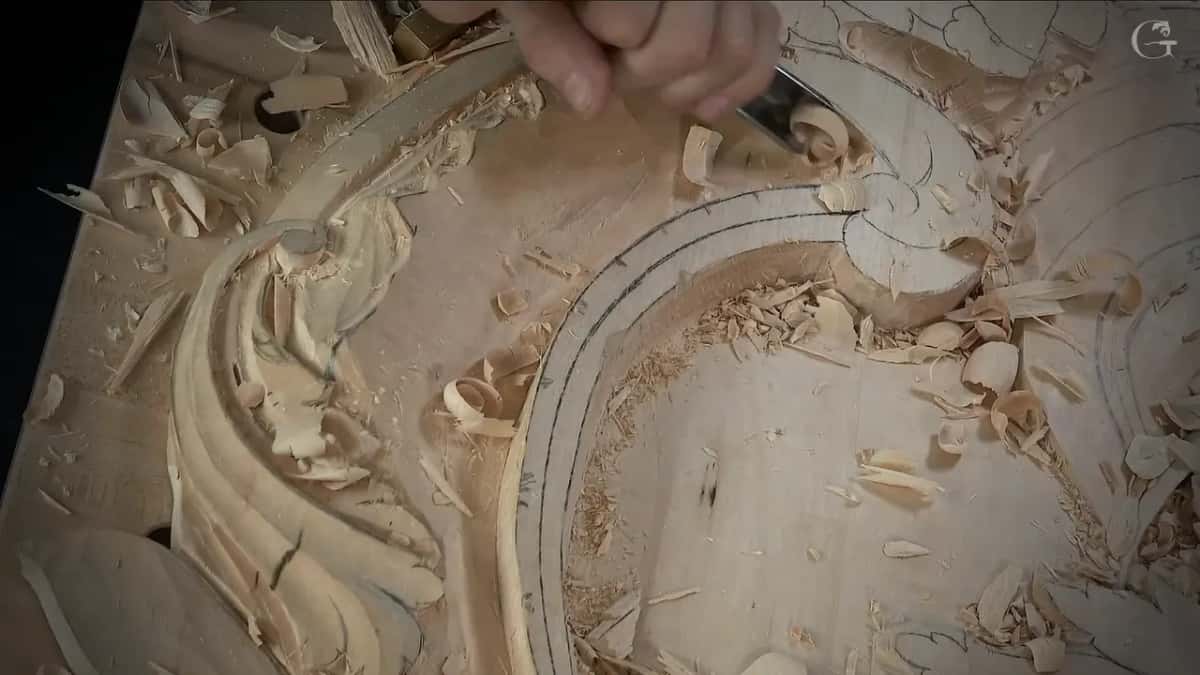
Next came a smaller number 7, and after it an even smaller tool of 5 mm. One part of this area goes above the shell and another part hides underneath it, and I said that transition would get my care later on. I don't know if it makes sense or not, I said, but it will make sense a little later.
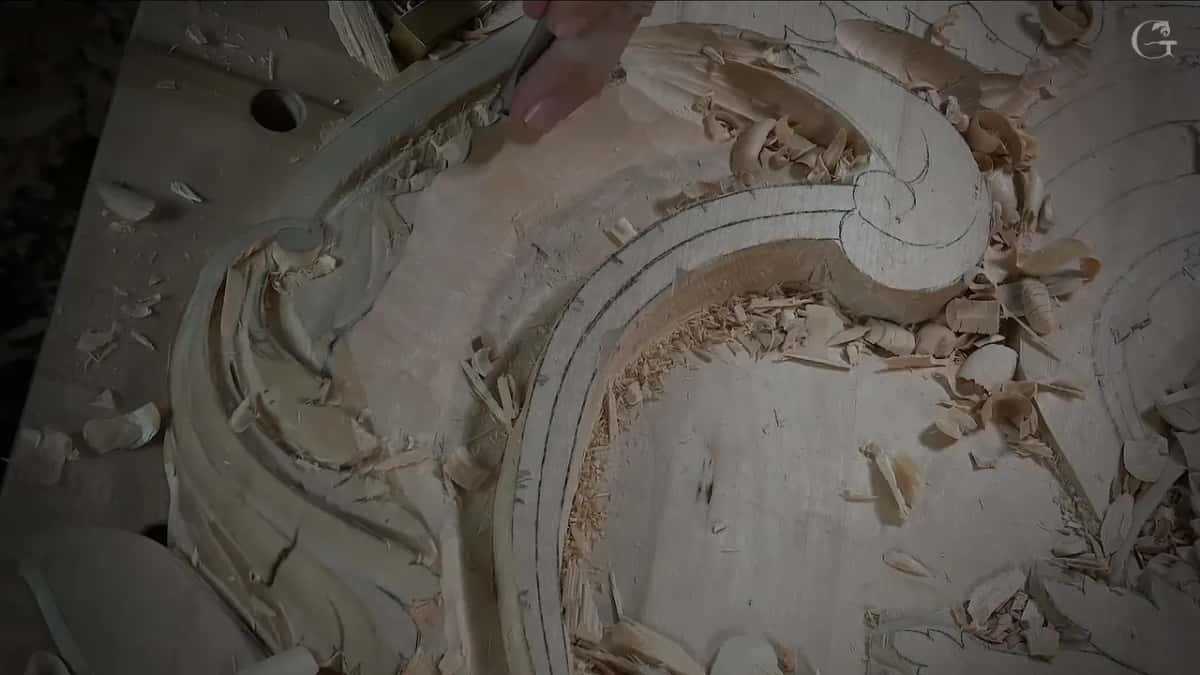
Much of the rest happened off camera. The way to clean it, I said, was to chop down, chop down and clean it, and you really do not have to watch all that. For a much quicker job I took a bigger number 9 of about 20 millimeters, about three-quarters of an inch.
Catch the idea, I said. Just get the idea.

One more drop had its own reason. That part would be lower, so I could chop right away much lower, because the head of an acanthus has to lay right on top of it. I double checked that I had my 90 degrees, and said the whole thing would be lowered to that point.

At the very end I said it twice. I am happy how much material we removed.
A concave in a molding is lesson 58, and a concave carved inside another concave is lesson 91.
Where else did I leave five millimeters for a concave?
On a Byzantine acanthus leaf, in lesson 7 of that course, I gave the same number with students in the room. It was probably logical for me to attack from that side, but I would block the camera, so get an idea. Every pass we made there was still a slicing one. The tool for that blend was a number 9 of 20 millimeters, about 3/4 inch, and the blend started from almost nothing while I rotated it carefully.
We blended from the high point nearly down to the bottom, leaving approximately five millimeters or so, 3/16 of an inch, on that side. The line was next, and we blended from it without touching it, to make what I called a concave-y starting point. Oh, wonderful, I said a moment later.

That part stayed untouched on purpose. We wanted it to blend together, I explained, so it looks like it is the same piece. I asked if it made sense. Going a little deeper right there did not worry me, I said.
The other side got the same treatment, again approximately five millimeters and a concave-y look. Then I asked everyone to get rid of whatever marks they had, and said removing that part would wait. What waited for later was a dome effect on the inside of that wall, I said, with the middle line brought through so everything blends back again. I left it rough, to be finished nicely. Always concave, convex, concave, I reminded them.

Earlier in that part I pointed at a channel made with a 3 mm number 11. Look from above, I said, and you will not be able to see it, because it looks absolutely like a solid piece.
When is it enough for the concaves?
A Hashemi flower is where I said it plainly, in lesson 49 of that course. Lots of concaves were going in at the same time there, with a number 8 of five millimeters.
I called that another technique for when you work on a flower and do commercial work with a lot to get through. Use the same tool as much as possible, I said, until there is nothing left for it to do, and then move on to another one. It would be much quicker, I thought, and I would come back and undercut after.
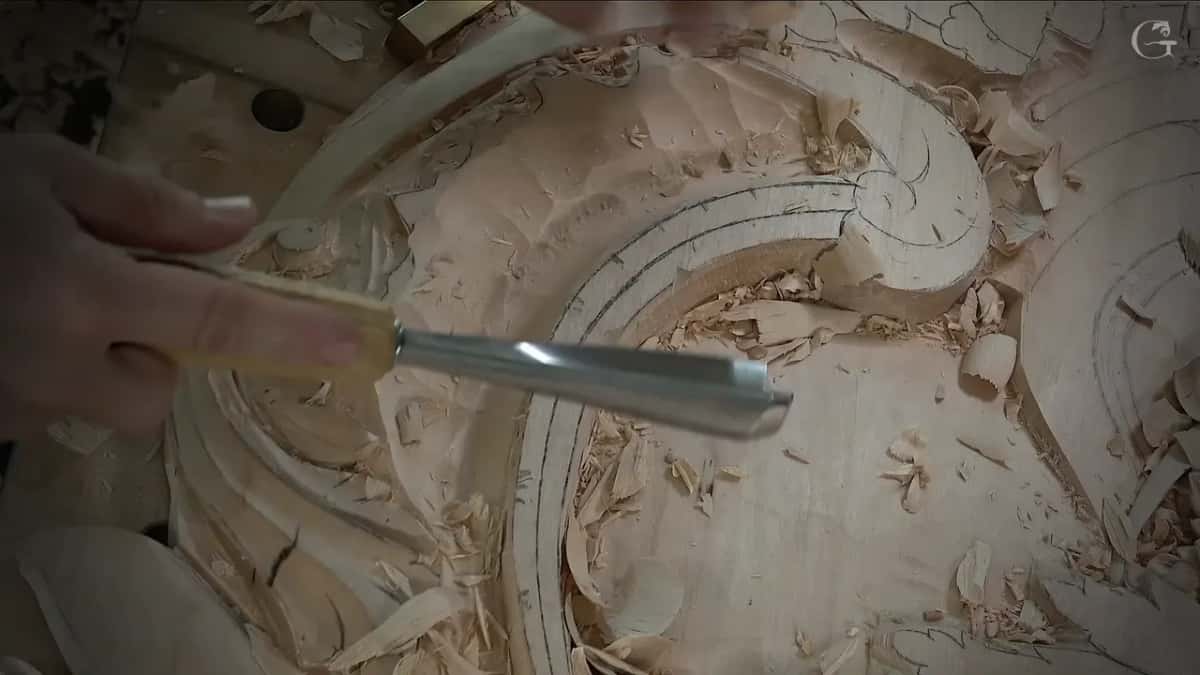
There is no limit, actually, how extreme you want to go, I said. Then I stopped and said it. It's enough for the concaves.
The next tool was a number 11 of one millimeter, about 1/32 inch, going everywhere to undercut as deep as possible. Now I do have a form, I said. Some spots still needed the number 8 again for the undercutting, and then I went back to the number 11. What was left on that flower was the cleaning and the refining of every petal, and I said I would do that off camera. Not too many of you even try flowers like that, I said later in that part.
Once you do try flowers like that, I went on, you have some level of confidence, and believe me, you don't need to see all the steps of cleaning. For the cleaning I named small tools like a number 5. With that same 5, I said, a rough petal can get a middle convex and an outer concave, and it will look absolutely different. I can actually do a deeper concave, I added, and take those facets out.
Why leave more wood on a thin part?
Small parts got their own numbers. Over on the olives in lesson 13 of the Lily Box, one spot had only one millimeter and the side had two, about 1/16 inch. From the side it is actually logical, I told you, to keep it a more rectangular section, and I was not sure that was the right way to explain it.
I could leave one millimeter there too, I said, but logically I did not have to, because two millimeters there would create more stability. It would not be as noticeable either, since the olive would get a nice roundness. That roundness was a fillet, a chamfer first, or several chamfers until it just became a fillet.
Squareness could differ all around, I said, since it is seen from the side. The same idea went on all four sides, and I asked you to be really careful, since we were talking about spots just 1 millimeter thick. I still had some tool marks to take care of. It's just so fragile, I said. So fragile. I don't want to overdo it.
A tray brought a different worry. In lesson 1 of the Tray of Blessing, in what I called the hogging out stage, I said that from that point on you can excavate deeper. Just don't go all the way through the material, I said, and leave at least one millimeter or so.
What each lesson left, side by side
In lesson 2 of the Byzantine acanthus I left about 10 millimeters, near 3/8 inch, above the surface of a dish, which is a roughing measure, a different thing from height kept for a concave, and I said you can only detect it.
| Lesson | What I left | The reason I gave for it on camera |
|---|---|---|
| Venice Room 129 | Five millimeters up on one side | Hollows and rounds were coming there |
| Same panel, later | About 5 mm over the lowest spot beside it | Enough, and no need to overdo |
| Byzantine acanthus 7 | Near 5 mm, 3/16 of an inch, each side | A concave-y starting point |
| Byzantine acanthus 2 | About 10 mm over the surface of the dish | You cannot measure it, only detect |
| Lily Box 13 | Two millimeters on the side of the olive | More stability, hidden by the roundness |
| Tray of Blessing | At least one millimeter or so | Not all the way through |
Six rows, and three of them say five. Each figure went with one spot and one piece of wood.
Where can you watch lesson 129?
Lesson 129 sits in Part 11 of the Venice Room, in three parts, with most of this on camera. Part one is where the split shows up and the five millimeter call gets made. The 20 mm tool and the check against the lowest spot are in part two. Part three ends on the lowering for the acanthus head. Every workshop in the room opens with full access to the school, on a plan that renews automatically each month or each year.
Got a spot on your own board where a hollow will go? Keep a few millimeters back there, and lower the rest of the wood carving down to it.
How it's done
- Take the waste off first. Where a split could run, I took a big number 7 and removed that waste first. The 11 of 30 mm went over it again.
- Keep the concave side higher. That spot stayed some 5 mm up from the other side, because the concaves would need it.
- Go smaller where the big gouge is too big. The 30 mm was a little too big for one area, so I switched to a 20 mm.
- Stop at the height you kept. At that height I said it was enough, and that I did not need to go further.
- Look at it from above. I showed the spot from above, walked round it with the 2, and looked down on it again.
- Lower the rest to that point. Later a number 9 took the area down, I checked my 90 degrees, and said the whole thing would go down to that point.
Frequently asked questions
How thick should the wood stay above a concave before you carve it?
On the Venice panel in lesson 129 my figure was five millimeters, near 3/16 inch, with an or so on the end. A Byzantine leaf got the same figure in another lesson. Other spots got other numbers, ten on a dish and two on the side of an olive.
Can you measure the extra wood with a ruler?
During the Byzantine dish lesson I told the class the height is something you can only detect. For lesson 129 I compared the height with the deepest point next to it and called that height enough. Both numbers came with an about or an approximately.
Why keep one part of a carving higher than the rest?
Hollows and rounds were still coming on the higher side of my panel, so I kept extra wood there. The concaves needed room at first, I said. Right after that the 30 millimeter number 11 attacked once more to remove the mess.
What to carve next