
June 30, 2024 · Updated August 15, 2026
By Alexander Grabovetskiy — Master Woodcarver · Founder, School of Wood Carving · 10 min read
Wood carving tips that matter, and what really makes a master carver
Key Takeaways
- Reasons outlast recipes. A carver who knows why one shape exists can build shapes nobody showed him.
- Sketch the profile, hollow then ridge then hollow, or you are carving an outline onto a flat board and hoping.
- Thickness is cheap. Glue a fresh blank over the finished lower layer instead of buying stock deep enough for everything.
- Walk four feet back. Every fault announces itself at that distance and none of them do at arm's length.
- Sandpaper rubs out the facets that catch light, which is exactly the evidence that a hand made the piece.
Wood carving tips are worth very little on their own. What separates a carver who is getting better from one who stalls is understanding why each move is made, not collecting more moves. I would rather you knew the reason behind one cut than the recipe for twenty.
Something I say to every class, usually on the first morning. I want you to understand why we do what we do, not just follow me step by step like you are driving at fifteen miles an hour and then switching gear. Steps you can copy. Reasons you keep. Below are the ones I would hand a carver who already knows which end of the gouge to hold and cannot work out why his work still looks like a beginner made it.

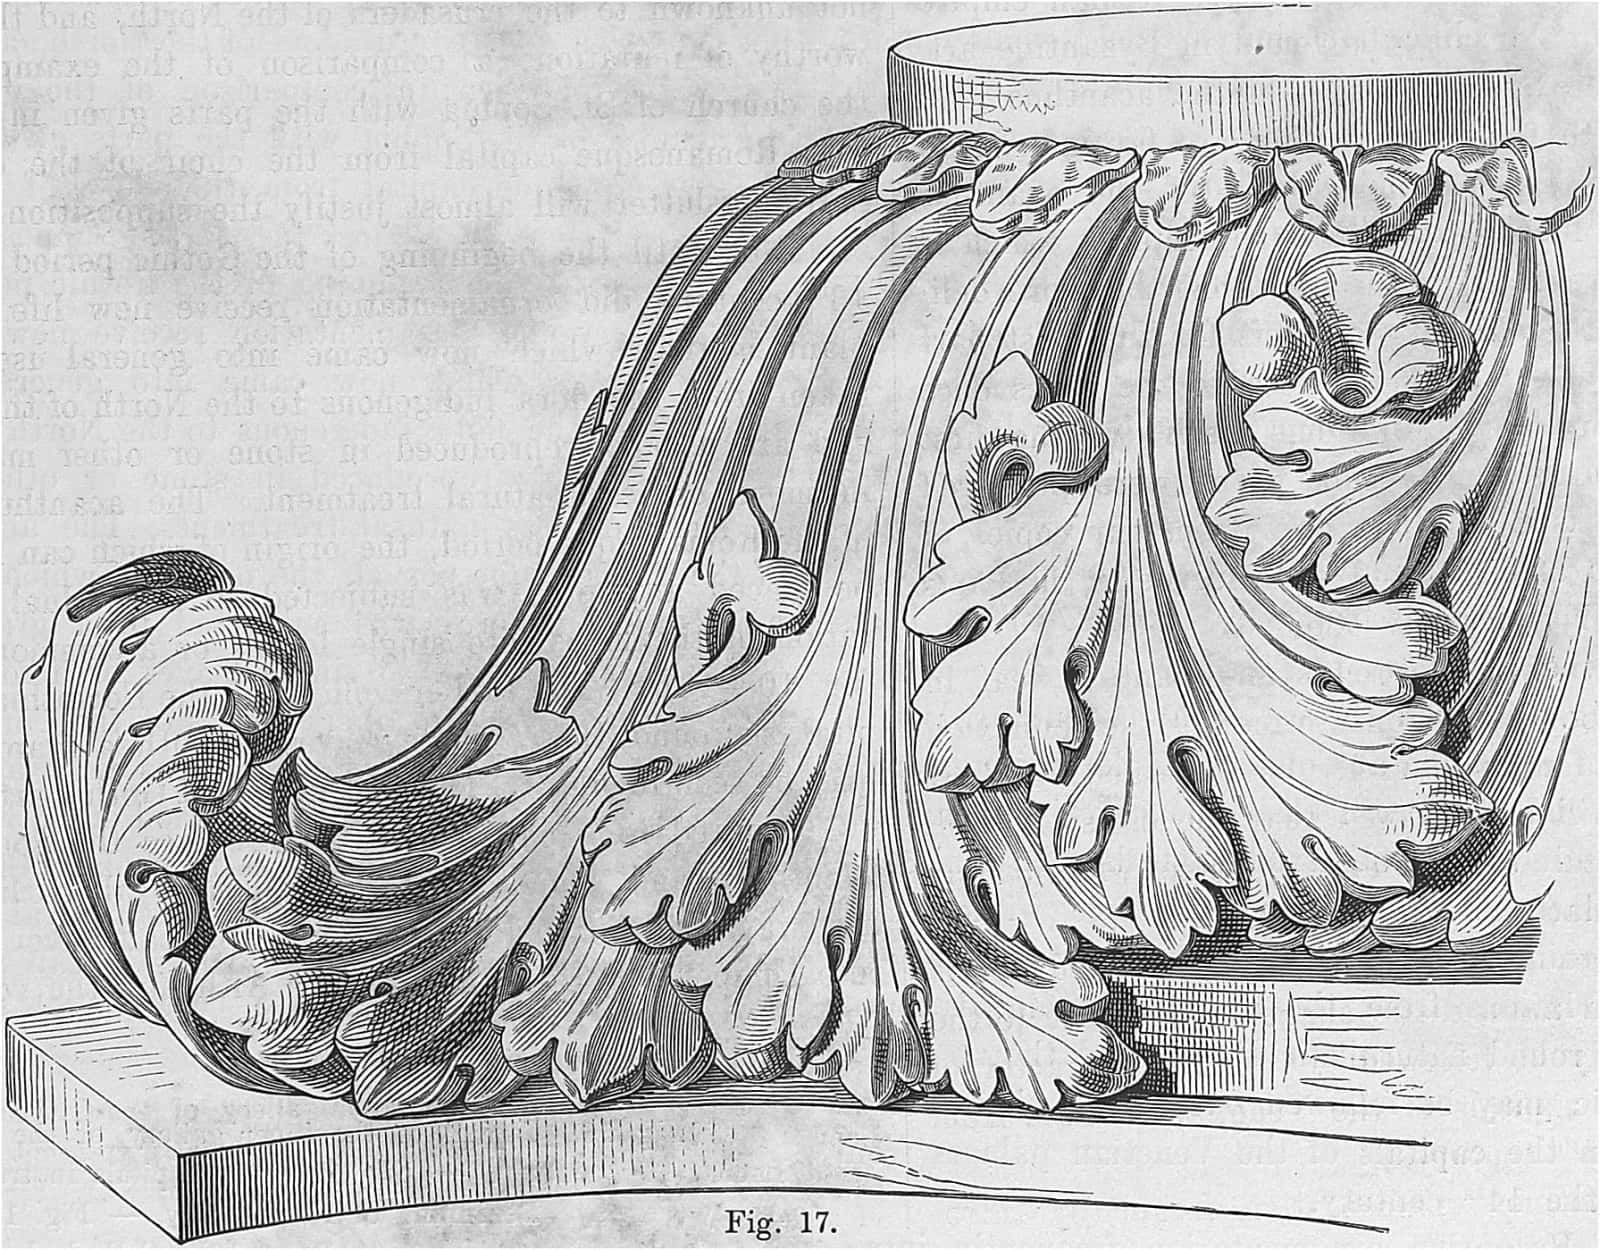
That fat rounded pipe between two hollows is not decoration. One shape, and it is what says this leaf is Byzantine and not Greek or Roman.
What actually separates a master carver from a good hobbyist?
Knowing what a shape is for.
A hobbyist copies a leaf and gets a leaf. Somebody who understands the ornament knows that the pipe carries the light and that the eye is a hole rather than a dot. He also knows the lobe has to turn back toward the middle of the sheet, which is what makes the thing look grown instead of drawn. Once you have that, you can carve a leaf nobody has ever seen and it will still look right.

I have been carving since I was six years old and I am still learning from other people. Not modesty, just what the trade is like. There is always a man somewhere doing a trick with a chisel you have never thought of.
Why does my carving look flat even when the shapes are correct?
You have the outline and not the section. The section is the profile, what you would see if you sliced the leaf in half, and it is the thing beginners never draw.
Hollow, ridge, hollow. That is a section, and it is three decisions deep before you touch the wood. Work from the outline alone and you are carving a shape into a flat board, hoping depth turns up on its own, which it never does.

Put the section on paper, small, in the corner of the sheet beside the ornament it belongs to. Every carver I know who got good fast was doing this by the second year.
What do I do differently from most carvers?
Five things, and none of them is a secret. They are just habits people skip because skipping them is faster on the day and slower over a year.
| Where it happens | What most carvers do at that point | My way | The reason that it matters later |
|---|---|---|---|
| Before a single chip has come off it | Outline, and only that | Section as well, hollow then ridge then hollow | Depth gets decided |
| Roughing out the whole first mass | Chase detail | Take the whole mass down first, everywhere | Wood never grows back |
| Getting a second layer to float above the first | Carve it from one block | Glue on | Thickness costs less than regret does later |
| Opening the eye | Reach for a drill and a bit | Carve the plug out | A drill leaves a mechanical wall |
| The last hour, when it is nearly finished already | Grab sandpaper | Come off the tool and stop | Sanding kills the ridges |
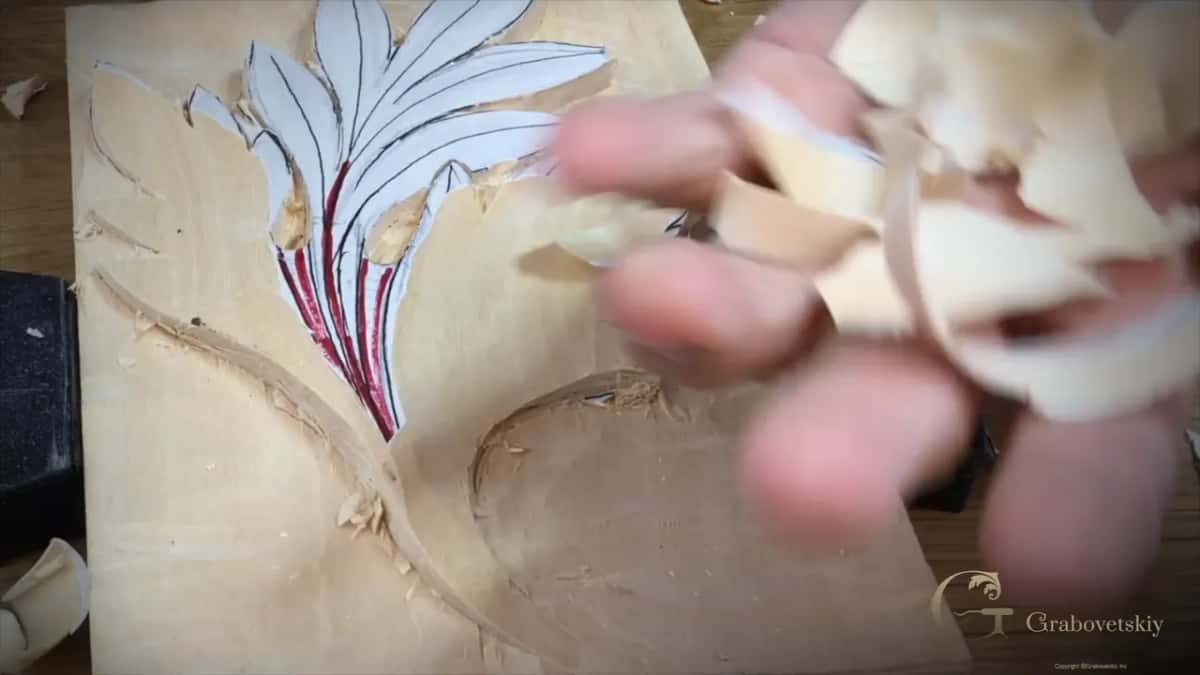
That drill row surprises people every time I say it out loud in a class. A bit gives you a perfectly round mechanical wall inside the hole, and then you have to carve that wall away again to make it look like wood rather than machining. Lifting the plug out with a small gouge from the start is quicker, and it looks like a hand did it, which it did.
How do I build a leaf in layers so it floats?
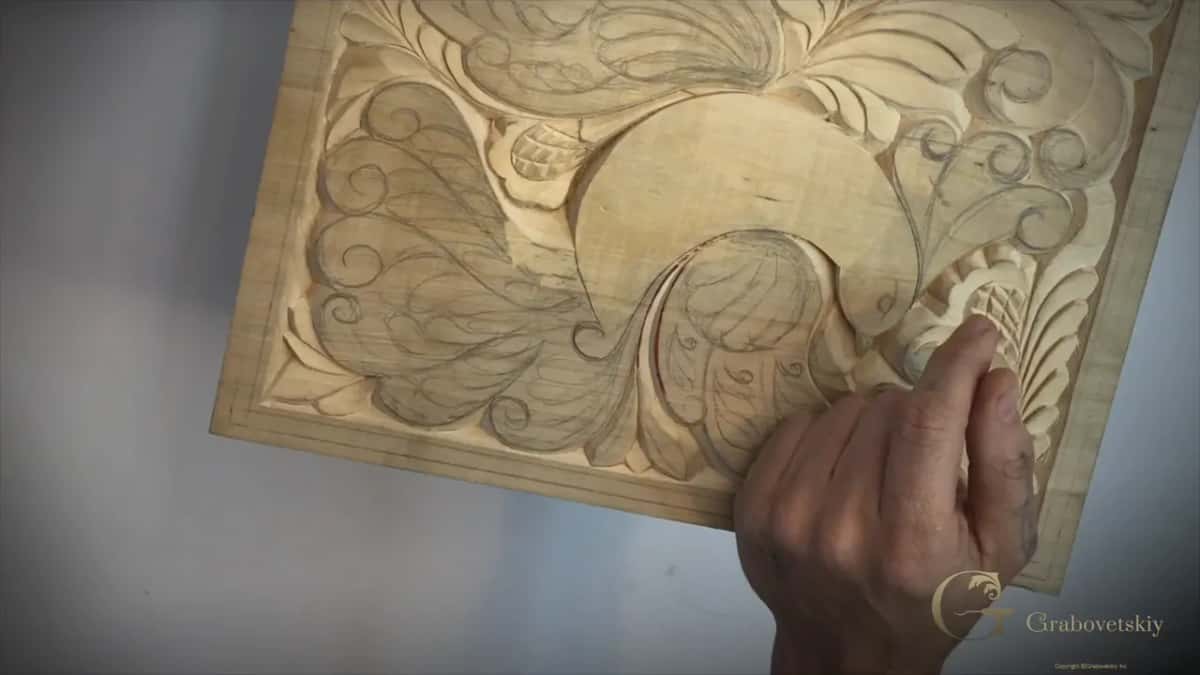
Glue a second blank on top of the layer you have already finished. Almost nobody teaches this and it is the difference between relief that reads flat and relief that reads deep.
Step 1, finish the first layer completely
Carve the bottom layer as though nothing is going on top of it. Hollows dished, edges clean, ground flat.
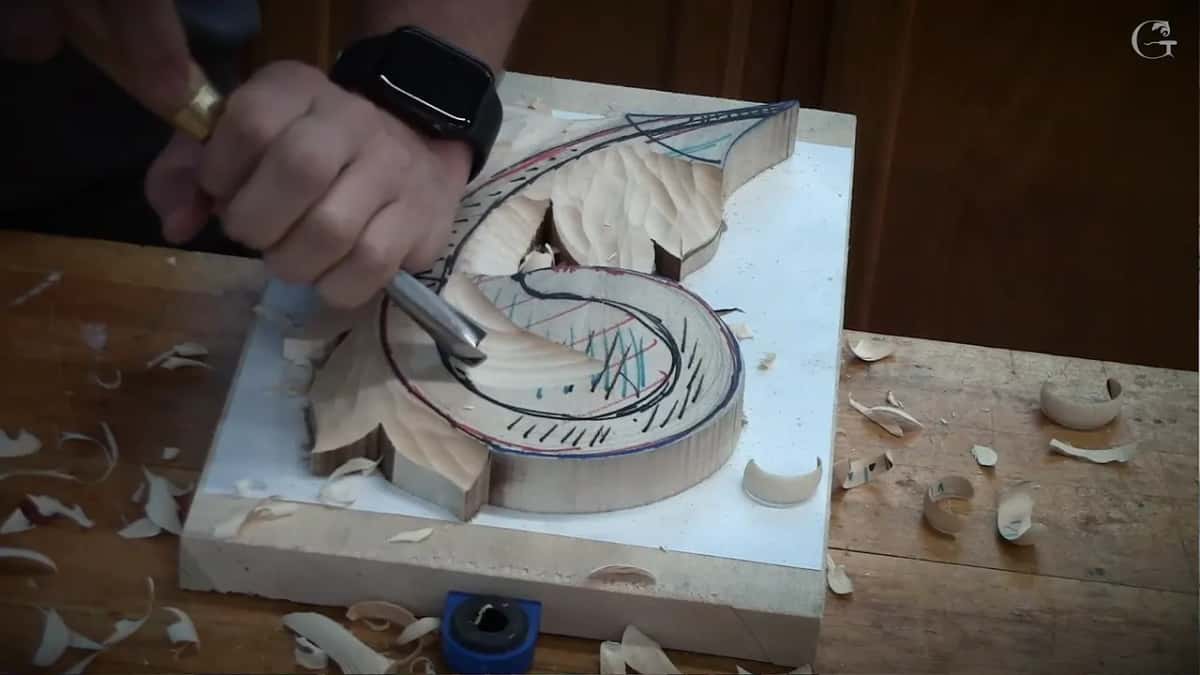
Step 2, glue the second blank down
Press a fresh piece of basswood, which is Tilia americana, onto the part that has to sit higher. Hand pressure and a little time is enough, no clamps needed on a small piece.

Step 3, draw on the new blank and dome it
Mark the outline in red so it reads over the pale wood, then take the whole blank down into a dome before any detail goes on it.

Step 4, carve the seam away
Work the joint between the two layers until nobody can find it. Done properly the glue line disappears into a shadow and the leaf looks as though it grew out of one piece.

Step 5, thin the edge and put the mallet down
Once the upper layer is thin, stop using the mallet and work on hand pressure alone. One careless pass at that thickness snaps it, and you will not get the piece back.

When is a carving actually finished?
Step away from the bench and look at it from across the room. This is a real technique and it costs you nothing.
Good practice, once in a while, is to walk back and look at the whole composition from a little distance, because at arm's length you are looking at one leaf and the viewer never will. From four feet away the mistakes announce themselves, and loudly enough that you wonder how you sat over the thing for two hours without seeing any of it. A lobe too fat. A hollow reading grey where it should read black, and a rhythm stuttering in the one place it was meant to repeat.

Light is the other half. Put a lamp low, let it rake across the surface, and every shallow place turns pale. A lamp catches more than a gouge.
What is the law of repetition, and why does it decide everything?
Ornament works by repeating a movement, with a difference every time it comes back. Straight repetition is wallpaper. No repetition is noise.
My teacher spent months on this before he let me near a leaf, and it took me years to see he had been teaching the whole trade the entire time. Design is not drawing on paper. It is the law of the space, the way a movement answers the one before it, and knowing what a tool wants to do. He taught me to think like a tool.
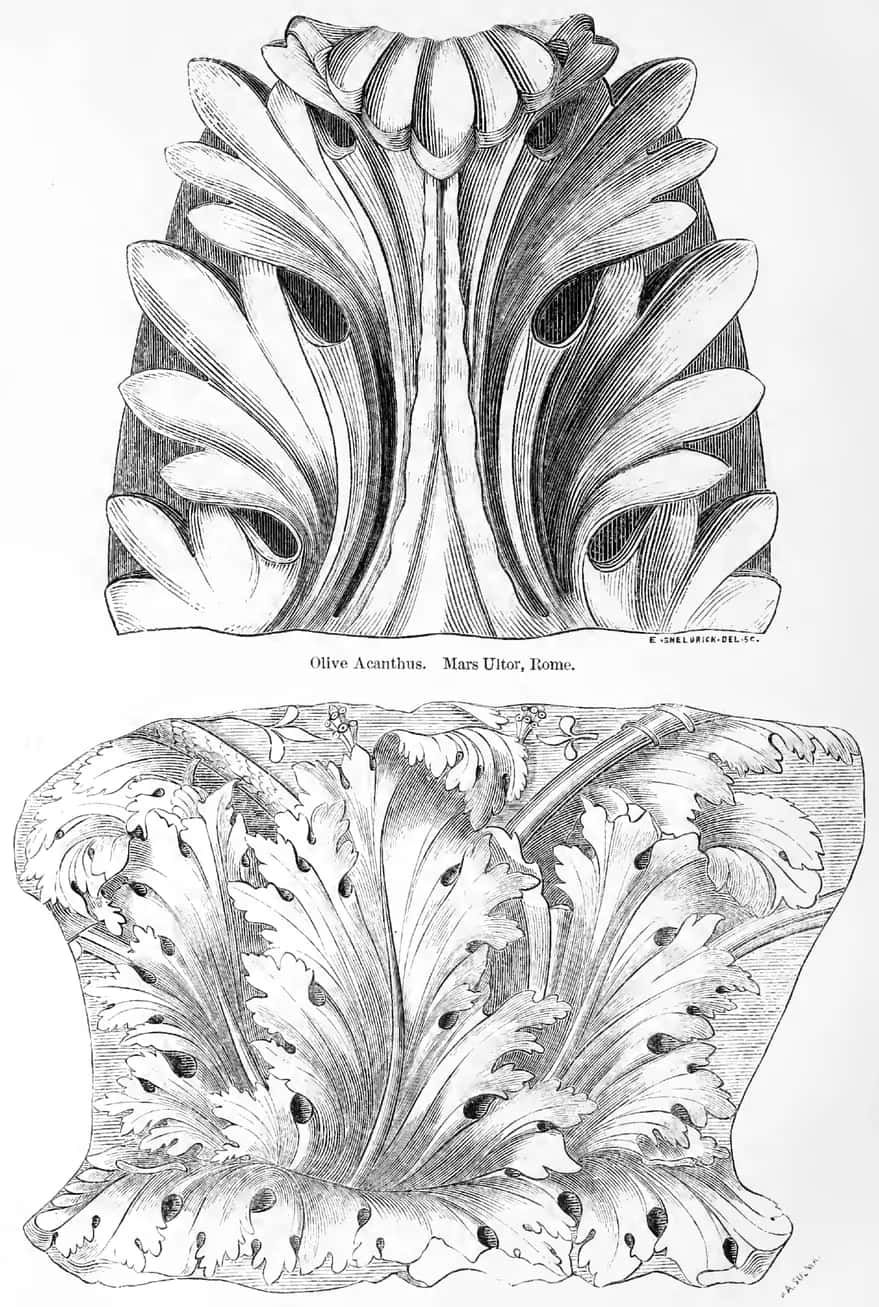
So when a panel looks wrong and you cannot say why, count the repeats. Usually one element is doing the same thing twice at the same size, and the eye reads it as a mistake without knowing what it saw. Widen one, narrow the other, and the panel settles down.
There is a fuller treatment of this in the piece on technique order, and the drawing side lives in the panel design course.
How long does this take, and can it be hurried?
It cannot be hurried, and the trade is honest about that in a way most trades are not. This is not work for somebody who wants a thing done quickly.
You will spend a long time in one small area. Scripture says the man who built the Ark of the Covenant was filled with wisdom, knowledge and understanding, and I would add patience to that list, because patience is what the wood asks for whether or not you brought any. It builds your character. Nobody warned me about that part either.

The approach has not changed in two thousand years. Same tools, same setup, same thought process, and the only question that matters is who is better, the ancient carver or you. A CNC router cannot undercut and a 3D printer gives you a shape without the tool marks, so the old way is still the only way to get what you actually want.

I went through the timeline properly in how long it takes to learn, and the two genuinely hard parts in what is actually difficult.
Where should I put my practice time?
Sharpening and drawing, in that order, and it will feel like avoiding the real work. Both of them are the real work.
Everything else is repetition you will get through. A dull edge crushes fibers ahead of it, and a flat drawing gives you nothing to carve toward, and no amount of hand skill saves you from either, which is why sharpening comes first. The sharpening course exists because that one skill takes years, and All About Tools for Wood Carving covers which sweep matches which drawn curve. A Pfeil number 7 at fourteen millimeters will do more of your work than any set of fifty.

For the acanthus families themselves, which run from Greek through Byzantine work, the Byzantine acanthus course is where the layering above comes from, and the Greek leaf is the better starting point. Beginners belong in Beginner in Carving first.

Here is the sanding question answered properly, since it comes up every single class.
The whole library is in the course catalog, more than three thousand lessons. Tuition is Yearly Access at $200, which renews automatically every 12 months until you cancel, or Monthly Access at $25, renewing automatically every month. The school is a 501(c)(3) non-profit, so part of what you pay supports orphans and widows. My commissioned work sits at grabovetskiy.com.
You do not need another tip. You need the reason behind the one you already have.
Frequently asked questions
What is the fastest way to improve at wood carving?
Sketch the section before you carve, and keep the edge properly sharp. Those two habits change more in a month than any amount of extra bench hours, because both of them decide the result before your hand does.
Should I sand a wood carving?
I come off the tool and stop. Sandpaper rounds over the ridges and facets that catch light, and those marks are what tells a viewer a hand made the piece. Scrape rather than sand if a surface really needs cleaning.
Can I carve a second layer instead of using thicker wood?
Gluing a fresh blank over a lower layer you have already finished is standard practice and it is cheaper than buying stock thick enough for the whole thing. Carving the joint away afterwards makes the seam vanish into shadow.
Why do carvers say drawing matters more than carving?
The drawing decides the depth, the rhythm and where the shadows fall, and the gouge only executes it. Ornament that was designed badly cannot be rescued by good tool work, though the reverse is often survivable.
What gets me from copying to designing my own ornament?
Learn the law of repetition first, which means repeating a movement with a difference rather than duplicating it. Once you can see rhythm on a page you can build your own leaf, and it will look correct to people who cannot say why.
Do I need many gouges to carve well?
One knife and a handful of sweeps carry most work. Buy a gouge when a drawn curve asks for it, since the sweep of the tool should match the curve you drew, and a wall of tools bought up front mostly goes brown in a drawer.