
December 8, 2020 · Updated August 15, 2026
By Alexander Grabovetskiy — Master Woodcarver · Founder, School of Wood Carving · 11 min read
Carving walnut, is it good wood for the job?
Key Takeaways
- This board runs about two and a half times stiffer than lime under the edge.
- No dye belongs on it. Oil, and the tree does the rest.
- Grind a middle angle, closer to the soft setting than to the oak setting.
- Small elements let go.
- Buy at a hardwood yard in quantity, and always ask how the stock was dried.
Walnut is good carving wood, but it is not beginner wood. It runs harder than basswood, so carving walnut asks for a sharper edge and a lower bevel. What you get back is color that needs no stain, a grain fine enough to hold a crisp edge, and a board that forgives you when you run the wrong way.
Years ago I took a job where the whole house was walnut. Not the ordinary black stock, and not European either. This was something else, a purple walnut, and I know exactly how that sounds. Doors two and seven eighths thick. Baseboards, casings, every stick of furniture in the place, all out of the same purple stock.
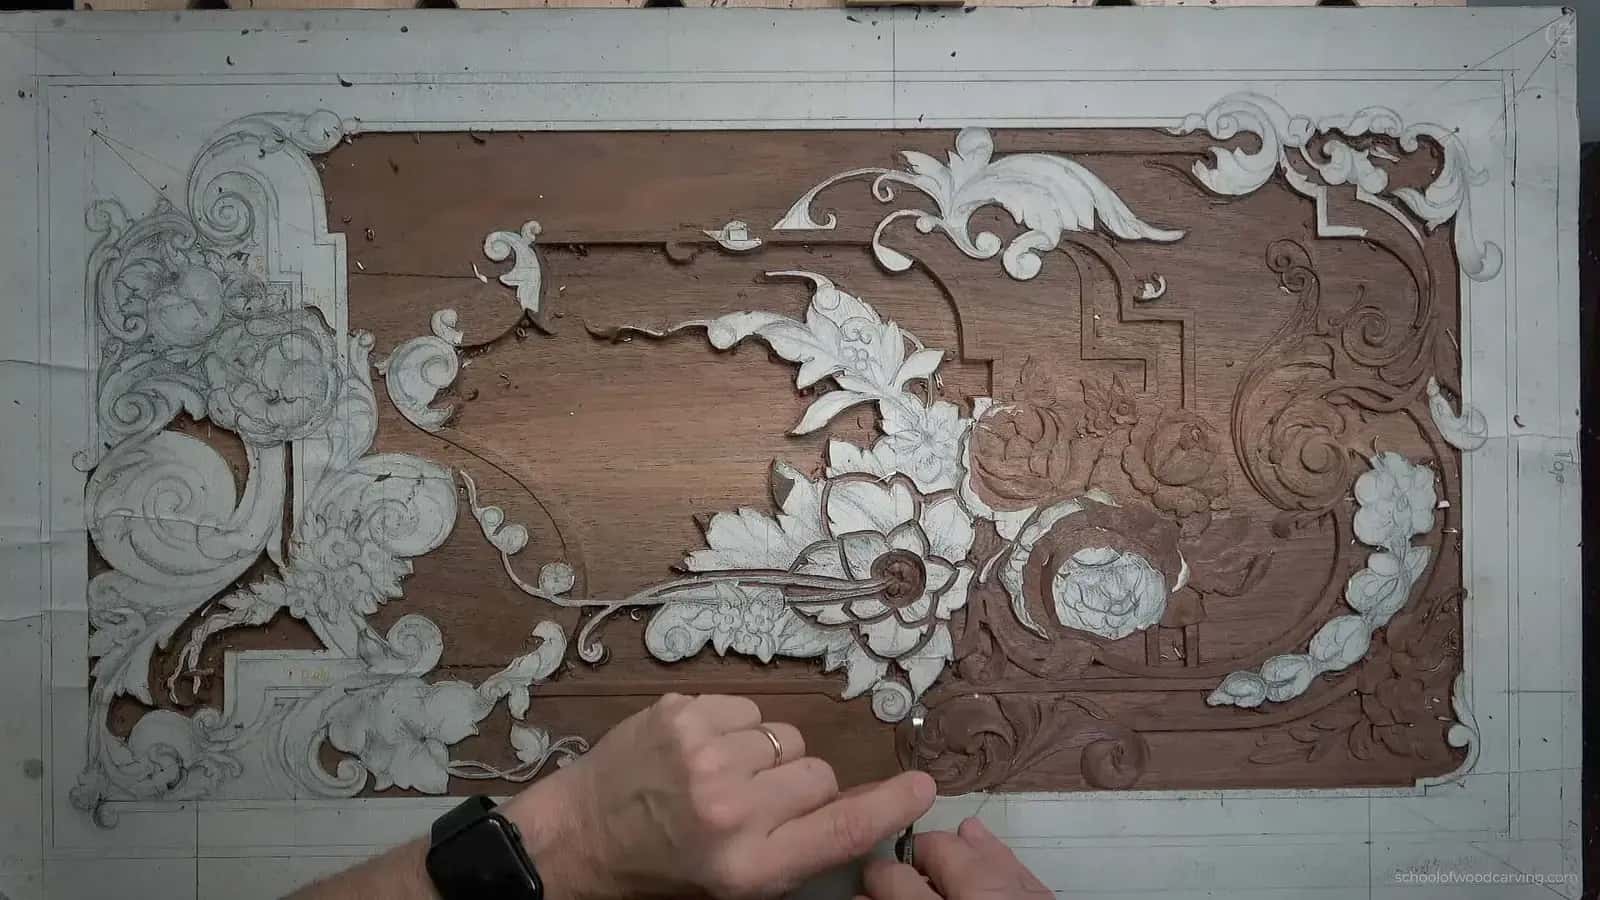
When the job ended I had leftovers I could not use. Beautiful boards. So I carved a furniture panel out of them, and that panel is the reason I can tell you exactly how this wood behaves under a gouge instead of quoting a chart at you.

Somewhere it goes pinkish. That grey, purple or reddish cast is listed on the heartwood of this species, so I was not imagining it.
Is walnut harder to carve than basswood?
Yes, roughly two and a half times harder, and the number is public. The Janka test presses a steel ball halfway into a board and records the force. Basswood comes in at 410 pounds. The same test puts walnut at 1,010.
In the hand that difference is smaller than it sounds. A walnut is a little harder than lime wood and basswood, though it is not really hard, and my knife just does not dig as deep on the same push. You feel it in your shoulder after an hour, not in your first pass. What actually changes is your margin for a dull edge, which drops to about zero.

The drawing for that panel, held up on the bench before a single line went onto the board.
What does walnut give you that basswood cannot?
Color you never have to fake. Basswood is pale, almost white, and every beginner project ends with the question of what to put on it. Walnut arrives already brown, sometimes chocolate, sometimes grey, sometimes carrying that purple cast, and the finish is oil and nothing else.
A second gift nobody mentions. It is hard to make a mistake in this wood. Forgiving, is the word. You can sometimes run against the grain and nothing bad happens, where a bad piece of oak would cost you a whole lobe. I love this wood. Walnut, I should say.
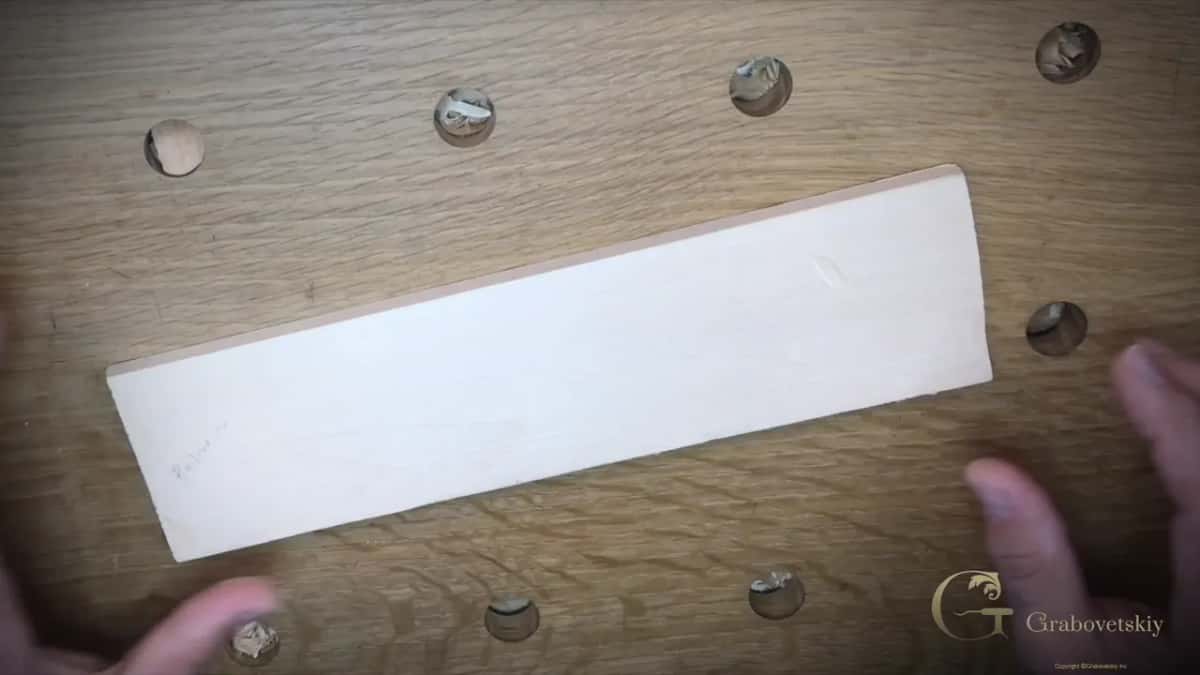
Basswood, for comparison, and it is wonderful stuff. It will simply never look like the board above without a can of something.
| Which board | Janka hardness measured in pounds force | Under the gouge | What I actually use the board for |
|---|---|---|---|
| American basswood, Tilia americana | 410 pounds force, softest on this whole list | Slices away like cold butter | Every beginner project, and any fine hair detail work |
| Juglans nigra, walnut | 1,010 pounds force, well over twice basswood | Crisp, crunchy | Furniture panels, where the color works |
| Red oak, which every lumberyard in America stocks cheap | 1,220 pounds force, harder still | Open pores fight you, ray fleck confuses detail | Big architectural work only |
| Black cherry, darkens with age and light | 950 pounds force | Stable and straight grained, machines beautifully | Small boxes |
Those four numbers come from the red oak and black cherry entries in the same database. Read them next to my own notes on choosing carving wood and you will see where I disagree with the charts.
What bevel does walnut need on a gouge?
A medium bevel, leaning toward the low side. Different woods want different grinds. Soft basswood takes a low bevel that slices fibers like butter. Oak wants a higher, stronger grind. Walnut sits between them and wants something closer to the basswood end.

Working the edge before the wood. The angle on that bevel decides how the first pass feels.
Sharpness matters more here than on any soft board. My very first lesson in the school was sharpening a gouge, before any student ever touched a design, and I did that on purpose. Tools that arrive sharp out of the box stay that way for maybe half an hour of real work. Reshape them from day one instead of hoping. For the whole method, a tool set piece helps, and the sharpening course walks through every step, and a shorter piece covers which tools a beginner actually needs.

Sketching the angle out on paper. Faster than arguing about it, and cheaper than grinding the wrong one.
Where does walnut fight you?
In tiny detail, because this board is a little crunchy and very small elements just break off. Nobody warned me about this before before my first walnut commission.
Design for the material, the way the old rule books tell you to. A hair thin tendril that survives in basswood will snap out of a walnut panel the moment you undercut the leaf beside it. So I keep the smallest elements a shade fatter, I undercut less deeply than I would in a soft board, and I plan the whole ornament knowing which tools I own. That is a different way of drawing than fine art drawing, and it is most of what the panel design course covers.

A fine veiner opening the relief line just outside the pencil, which is where the shape gets decided.
How do you carve a walnut panel step by step?
Seven stages, and three of them happen before any wood is touched. This is the order I used on the purple panel, and the order I would use tomorrow.
Step 1, draw the whole ornament full size
Draw it at the finished size, on paper, with the border bands measured in. The stock is expensive enough that you do not want to be deciding anything once the board is in front of you. I redraw more than I carve, and drawing the leaf is its own skill.
Step 2, pick the board for its grain, not its price
Look for straight, regular grain across the face. The database people say walnut is easy to work when the grain behaves, and that planer tearout shows up in figured stock. Figure is lovely on a table top and a nuisance under a gouge.
Step 3, sharpen everything before you start
Every tool you plan to use, stropped to the point where it takes a curl off the corner of a scrap without pressure. Doing this halfway through a panel is how good carvings get ruined.

A square cornered gouge leaving a clean vertical wall beside the molding, which only happens with a fresh edge.
Step 4, transfer and set the borders
Get the design onto the wood, then run the marking gauge along the edges to fix the moldings. Those straight lines are the frame every curved thing inside gets judged against.

The brass gauge riding along the drawing, laying in the straight lines the ornament will sit between.
Step 5, outline and drop the ground
Relief the outline first, then take the background down to one even floor. A router plane is honest work here. Uneven ground reads as a mistake from across the room even when every leaf above it is perfect.

The ground has to finish at one level, and here is the tool that gets it there.
Step 6, model the forms
Now the flowers get their domes, the petals get a hollow beside a ridge, and the leaves start to turn. Walnut holds these shapes crisply, which is exactly why furniture makers keep coming back to it.

A shallow hollow rolled into the petal, with the ridge beside it left standing as the high spot.
Step 7, texture, undercut lightly, then oil
Roll the small tools under the lobes for shadow, but stop earlier than you would in basswood. Then oil. No stain, no dye, nothing that pretends the board is something other than what it is.

The whole turn happens in the wrist while the tool keeps travelling.
Where do you buy walnut, and what should it cost?
Your local hardwood lumberyard, almost every time. Search for a hardwood lumberyard near you, then go in person.
Buy more than one board on the same trip, the same way you would hunt any carving board. Yards sell by the board foot and the price drops with quantity, so a single small piece is always the worst deal in the building.
A woodcraft store is the second option and carries walnut in small sizes at a markup. Online is the third, and you are buying a photograph. Expect walnut to run roughly double what you pay for oak, basswood or cherry. Call that my own buying over many years, not a published index, so treat it as a ballpark and check your own yard.

Cleaning the slope of a volute. Walnut takes a corner like this and keeps it.
Ask whether the stock is kiln dried or air dried before you pay. Drying method changes how a board moves after you carve it, and the Forest Products Laboratory handbook is the free reference for the whole science.
Why is walnut so expensive?
Supply, mostly. Black walnut is a slow grower, harvest rules limit how much comes down, and the furniture trade wants every straight log for veneer and table tops long before a carver gets a look at it.
One old habit is worth knowing too. Nowadays, if there is a little sap in a board, people cut that out and throw it away. It was not the case back then. The old shops used more of the tree, and a carver willing to work around a sap streak can still buy boards other people walk past.

Oak for comparison, under a mallet and a V tool. You can feel the difference through the handle.
Grinling Gibbons carved most of his famous work in lime, not walnut, and if you look at his later pieces they are finer than his early ones. He owned more tools by then. More tools means more shapes you can make, which is the plain reason my own tool wall keeps growing. David Esterly spent his career on Gibbons and wrote the book I hand people.

Under the bench lamp you can finally see what I was talking about at the top of this page.
Here is a walnut headboard I carved by hand, so you can see what this stuff looks like once the work is done.
To watch a whole panel become a finished carving, start to end, look at the furniture panel course is. The lion head onlay follows the same road with an animal on it. Access renews automatically every 12 months, and you can stop it from your own account page whenever you like.
Frequently asked questions
Is walnut good for a first carving project?
Not really. Start on basswood, learn to sharpen, and carve two or three finished pieces before you spend walnut money. It punishes a dull edge in a way that soft stock never does, and beginners quit over that without knowing why.
Does walnut need stain or dye?
No, and staining it is close to a crime. The heartwood already runs from pale brown to near chocolate, with grey or purple streaks in some boards. Oil brings that up. Anything else buries the reason you paid for the board.
What tools work best on walnut?
The same gouges you already own, ground to a medium bevel and stropped often. I reach for a fishtail more in walnut than in basswood because it gets into a corner without wedging. Skip nothing on sharpening.
Can I carve fine detail in walnut?
Some, but less than in lime or basswood. This board is crunchy, and hair thin elements snap when you undercut around them. Design a little heavier and the panel will still read fine from a normal viewing distance.
English walnut or black walnut for carving?
Both carve well, and the choice usually comes down to color and to what your yard actually has sitting on the rack. The common American board is black walnut, and it runs darker. European stock tends toward a lighter, greyer brown. Buy whichever board in front of you carries the straightest grain across its face.
How thick should a walnut carving panel be?
For a relief panel like mine, an inch is plenty, and I have carved good ones thinner. Depth of relief matters more than thickness of board. Go deeper only where the design needs a shadow to live in.