
December 18, 2020 · Updated August 15, 2026
By Alexander Grabovetskiy — Master Woodcarver · Founder, School of Wood Carving · 14 min read
How to carve a lion head onlay like a master carver
Key Takeaways
- Carve the lion on its own block, then glue it to the panel. That is what onlay means.
- Ivories out of Mesopotamia and the Assyrian hunt reliefs are still the best teachers for an animal head.
- A week in modelling clay costs less than one ruined three inch glue up.
- American basswood takes hair work that no oak board will give you.
- Eyes and brow decide whether he roars. Hair is decoration laid on top.
A lion head onlay is a lion carved on its own block of wood and then glued onto a finished panel or door, instead of being cut into the panel itself. I model the head in clay first, work it in basswood, and hang the mane far enough off the ground to throw a real shadow.
My first paid lion went onto a bar panel in Elkhart, Indiana. Twenty something, and cocky with it. I ran a construction business back then. My guys hung doors and ran moldings through that 10,000 square foot house while I sat down with one raised panel, the panel you could see from the great room. By then I was certain I already knew everything worth knowing about carving an animal.
I did not.
The client was happy. I was not, and I still am not when the photos come up. Since that job I have carved lions for doors, for furniture, for fireplace surrounds, and every one of them taught me the same lesson: the order of the work matters more than the skill in my hands. Research comes first, then clay, and the wood waits until last. Below is how I do it today, along with the places where I lost two weeks learning each part.
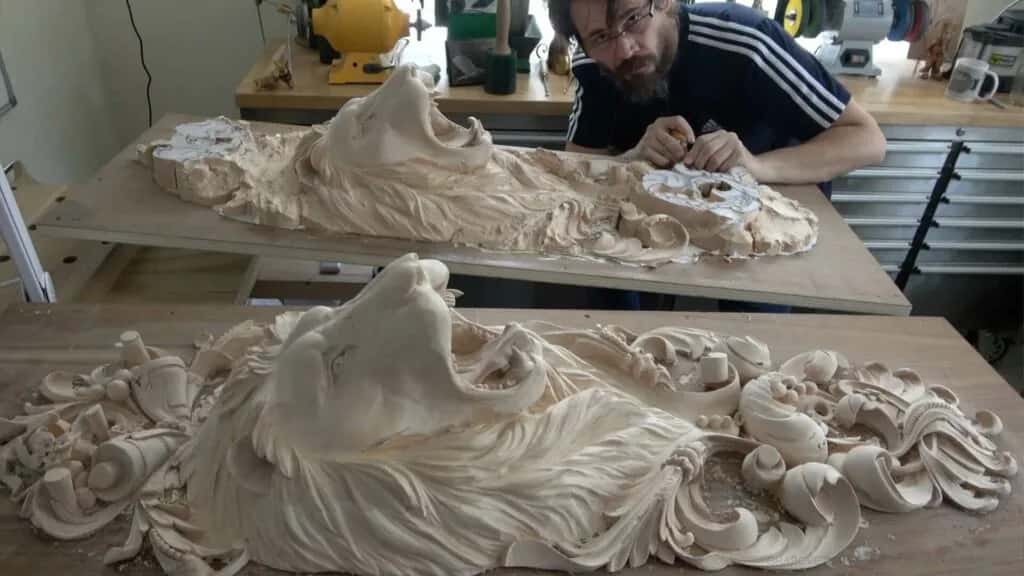
In the shop with a pair of them. The front one is done. Behind it, the twin is still under the gouge.
Why did my first carved lion come out wrong?
I went straight at the wood with no research and no model. Good tools, forty hours of patience, and I still ended up with an animal that looked like a house cat having a bad day. The mane sat even the whole way around, like a wig. Hair never grows that way.
What I skipped is the part nobody films. My teacher asked me once whether I wanted to be a master carver, and when I said yes he told me to go study what the old men did before me. Museums. Books. Old plates. Not for tracing them, but so my hands would understand what a lion actually is before they were holding a gouge over one. That habit is half of ornamental design and almost nobody sells it as a lesson.

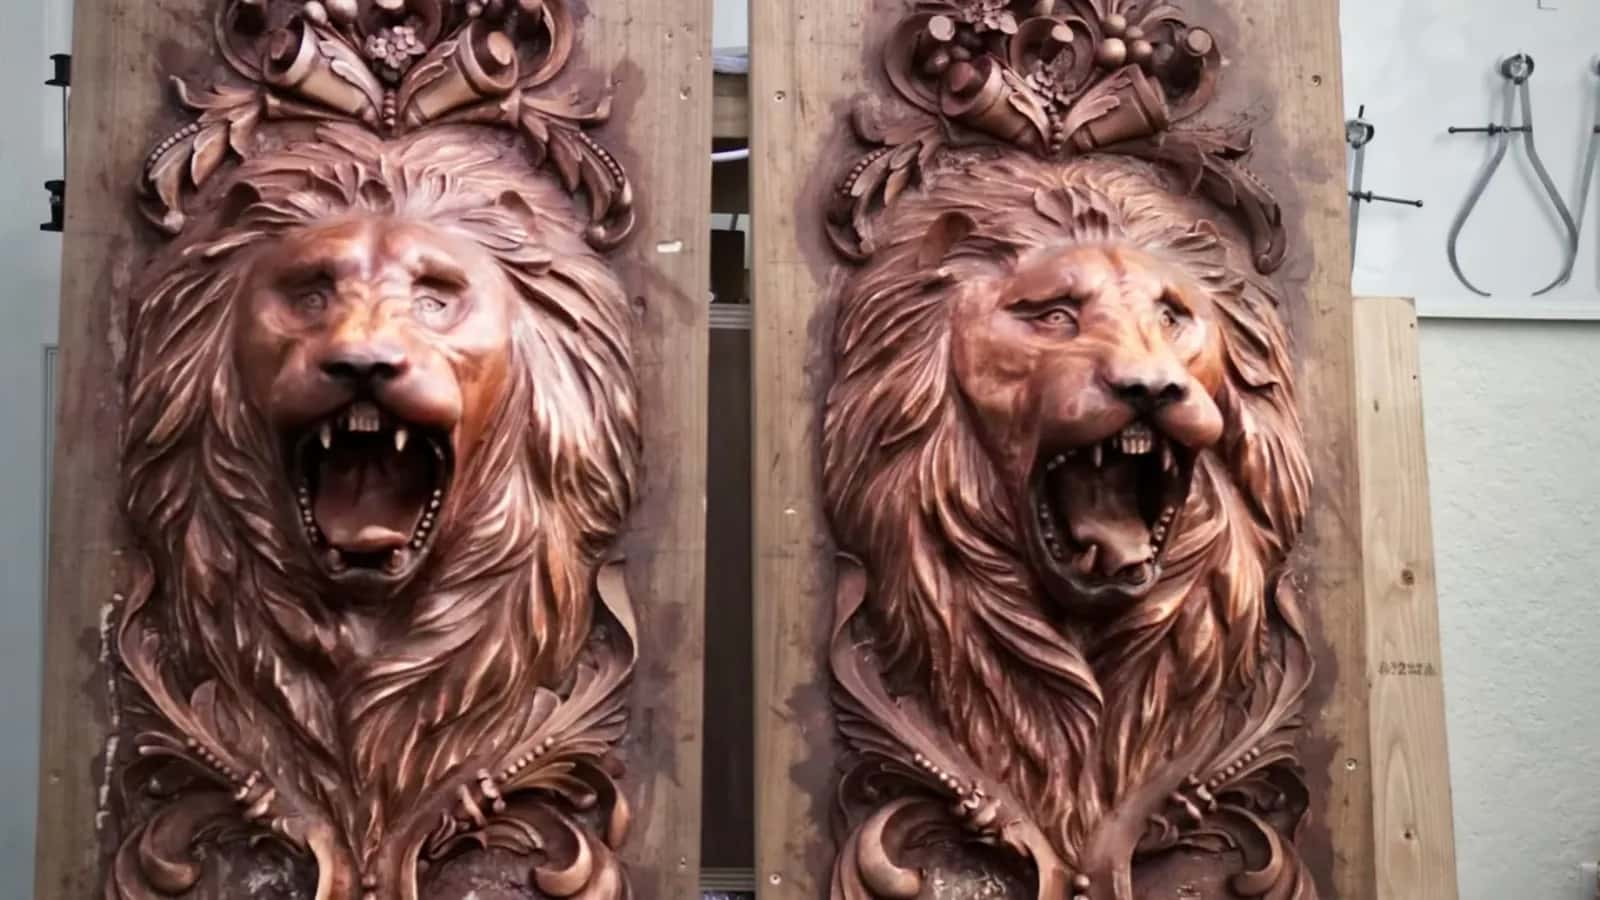
Lion onlays I carved for a client's doors, in a hallway that also holds original Renaissance work.
What should you research before carving a lion?
Two separate jobs. One is what carvers before you did with the animal. The other is what a live lion is actually built like, because the old boys were out studying cats rather than copying each other's panels.
Start with the carvers. The Metropolitan Museum in New York holds a Neo-Assyrian furniture element carved in the round as the head of a roaring lion, dated to roughly the ninth to eighth century BCE. Ivory, not wood, and just 9.5 centimeters tall. Somebody sat in a small shop three thousand years ago and solved the exact problem you are about to solve. Many pieces like it came out of the burnt palace at Nimrud, where they decorated furniture, chariots and horse trappings, and the palace entrances there were guarded by winged lions weighing up to thirty tons. Then study the lion hunt reliefs of Ashurbanipal, carved around 645 BC for the North Palace at Nineveh and now in room 10a of the British Museum. Nobody has beaten those animals since. Watch how the muscle moves under the skin.
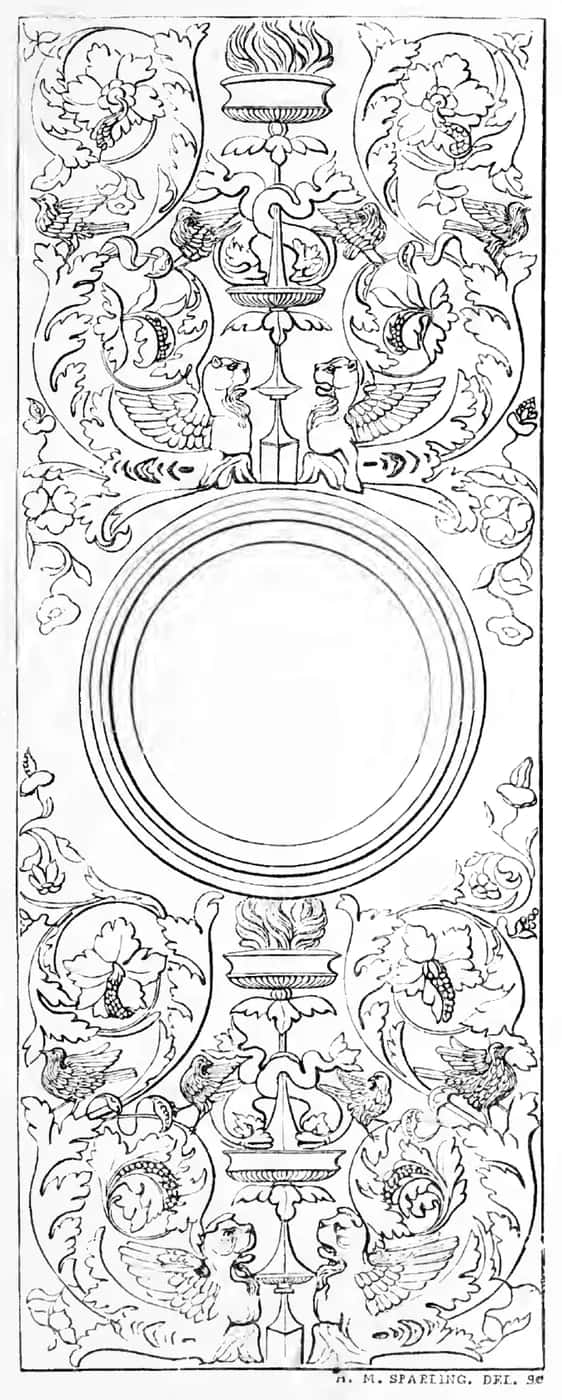
An old printed ornament plate with two pairs of winged lions sitting back to back beside flaming urns and acanthus scrolls.
Now the animal itself. Until I went looking, I had no idea that lions are not one shape. African lions carry a long face and a heavy mane. The Asiatic lion, still hanging on in the Gir Forest in India, wears a thinner mane and its ears stay visible through it. Smithsonian zoo staff report that mane length and color come down to age, genetics and hormones. A young male and an old male are two different carvings.
I keep a Persian cat with a flat little face, and where I grew up in Russia the cats looked nothing like her. Lions run the same way.
| Where to look | African lion, the one I carve most | Asiatic lion |
|---|---|---|
| Length of the muzzle in profile | Long and heavy | Shorter face, blunter through the nose bridge |
| The mane | Deep enough to bury both ears | Thinner, ears visible |
| Depth of stock the design will need | Three inches | Two inches carries a small head |
| Where it belongs | Doors, fireplace surrounds, anything seen from far | Small furniture |
I picked the African cat for my school course, because a roaring African head reads from thirty feet away, and that is the whole job of an onlay on a door.
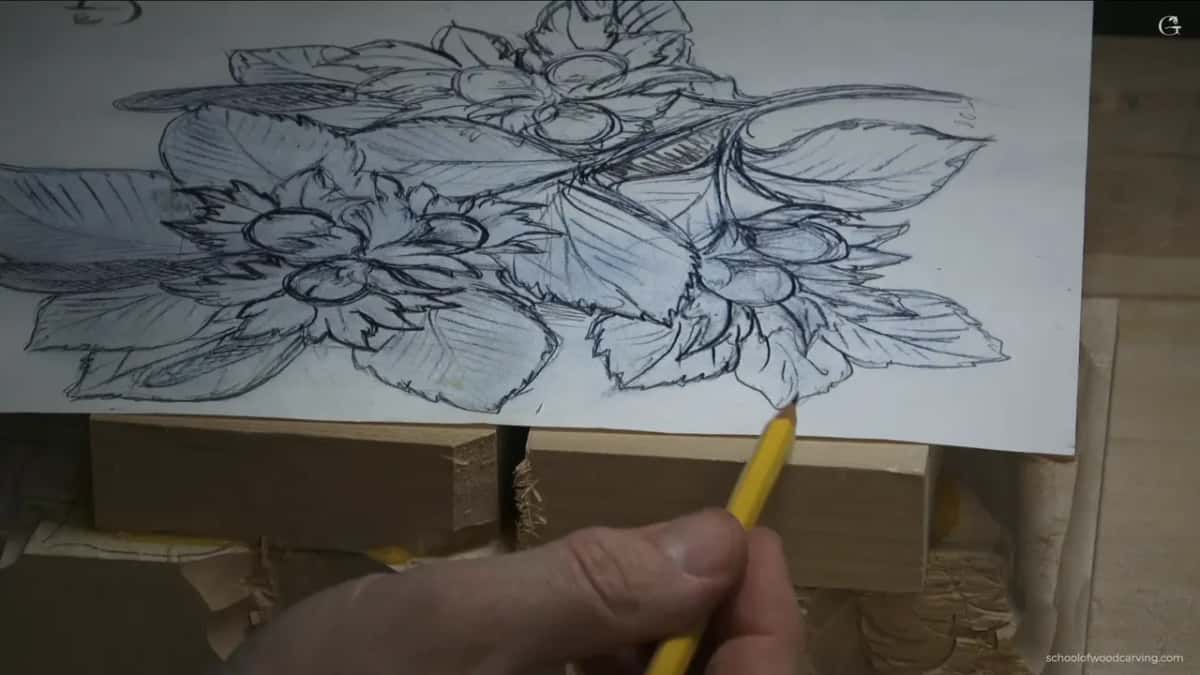
Planning the deep hollows on paper first, so the finished piece throws a real shadow instead of a gray smudge.
Do you really need a clay model before carving a lion?
I model every one of them in clay, and I am not sorry about the extra week. In a livestream a few years back I confessed it to my students, because this craft carries a myth that a real carver walks up to the block and starts digging. What I told them was simple: before I touched my gouge, I had to model it.
Clay buys three things a drawing cannot. Your client can finally see the idea, because paper is just a 2D and most people cannot read a drawing at all. You can walk around a model and study it from the side, from the back, from below, which is exactly where an acanthus pattern pulled off Pinterest leaves you stranded. And your brain warms up. I compare it to the gym, since nobody who lifts seriously walks in cold and grabs the heavy bar, and your brain cells are a physical thing too.
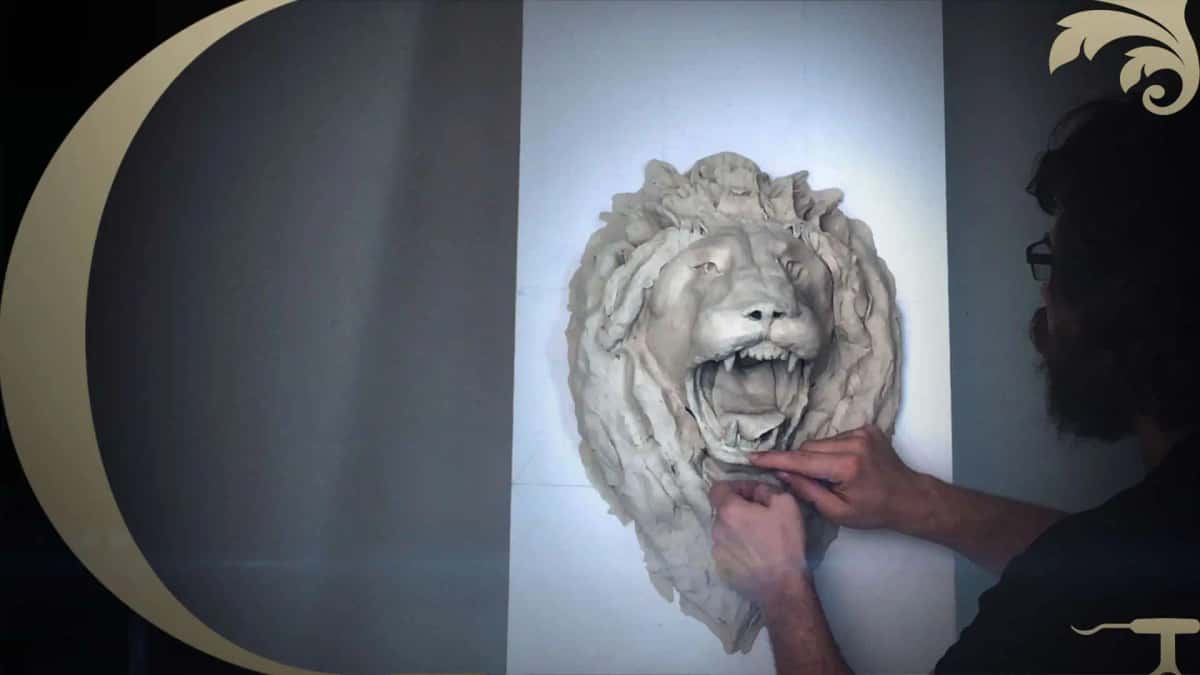
The clay lion mounted on a vertical board, a hand pressing the mane into shape under a work light.
People ask whether I see the finished carving inside the block, the way Michelangelo supposedly did. I used to say yes. Sounded good. It is not the fact, and most sculptors back then worked from models too, including him. Bernini left small models in wax and terracotta you can go and see today, and Italians even have their own word for them.
One head ate about 50 pounds of clay, roughly 22 kilograms. The empty bag is still somewhere in my shop. I could buy a plaster cast instead, anywhere from twenty dollars to two thousand depending on the design, but then what do I own? A cast that sits on the bench collecting dust while I work. I would rather own the model I made with my thumbs.
Somebody on YouTube watched that clip, saw the hair I had at the time, and left three words under the video: "Lion carves a lion." I had to. Actors get into the role, and this trade is no different.
What wood holds a carved lion best?
American basswood, and it is not close. Tilia americana works in any direction, holds a paper thin edge on the mane, and it is odorless, which matters once a panel goes into a dining room.
The Wood Database puts it near the bottom for hardness among American hardwoods, and that softness is why it takes fine hair work. Grinling Gibbons made most of his famous garlands in lime, the same family of tree.
An animal head needs depth. Three inches of stock is a normal starting point for a door panel, and no lumberyard will hand you a clean three inch basswood board, so you glue up. Face glue two or three boards, keep the grain running the same way through all of them, clamp hard, and wait for squeeze out along the whole line. The Forest Products Laboratory wood handbook is where I send anyone who wants the science behind that joint.
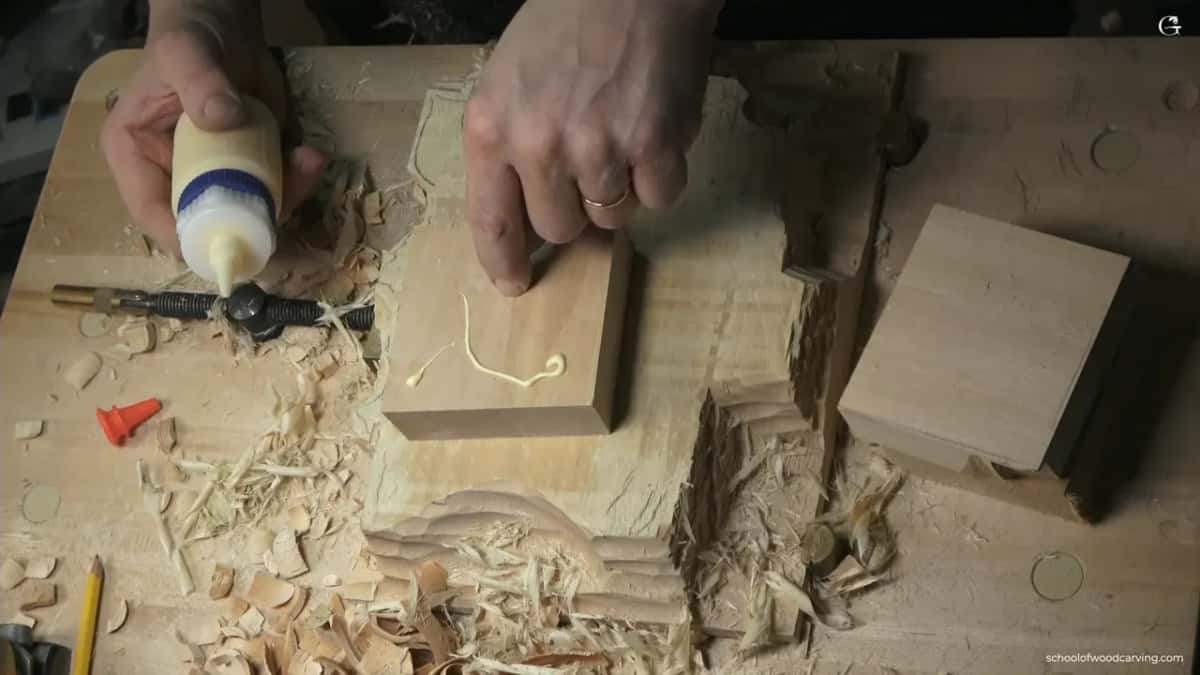
Glue going down on a basswood block. Two boards of the same species can still be different colors.
Walnut and oak will hold an animal head, and both of them will fight you in the hair. If you want to know how the species behave under a gouge before you spend money, I wrote about the best wood for carving separately, and there is a longer piece on choosing boards as well. For a first one, take the basswood.
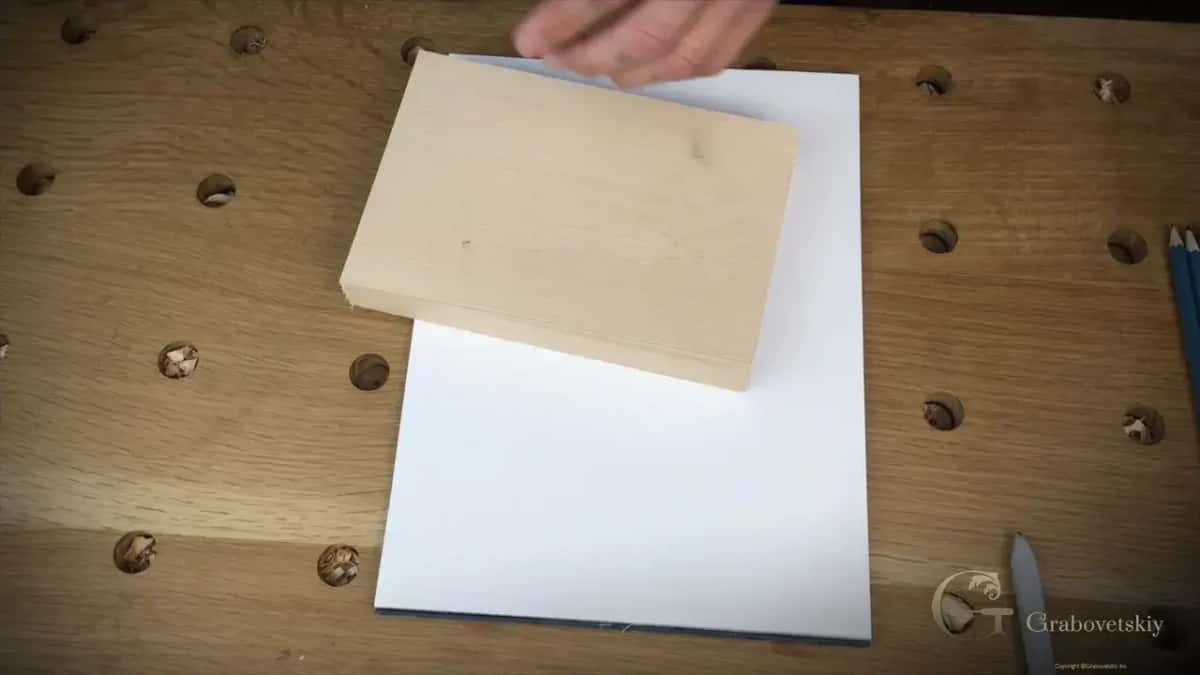
Block on a sheet of printer paper for the sandwich mount, which lets you split the carving free later without damage.
How do you carve a lion head onlay step by step?
Seven stages, and the gouge only shows up at stage five. This is the order I follow on every commission now, and the same order I teach inside the design course.
Step 1, draw him full size
Draw the head at finished size on paper, front view, and mark where the shadow lines will fall. If your panel is 14 inches wide, the drawing is 14 inches wide. Half the beginners I meet design small and enlarge later, and the proportions go wrong every single time. Learning to draw the ornament around him matters just as much.

Paper costs nothing. A block of three inch basswood does not.
Step 2, model the head in clay
Build it on a vertical board so gravity pulls on the clay the way it will pull on the wall. Photograph the model front and both sides, print those pictures full size, and keep them at the bench. I measure off the clay with calipers all the way through the job.
Step 3, glue up the block
Face glue your boards to the depth the design needs, then leave it overnight. A rushed glue line opens under a deep undercut two weeks later, when the hair is already finished and nothing on earth can save it.
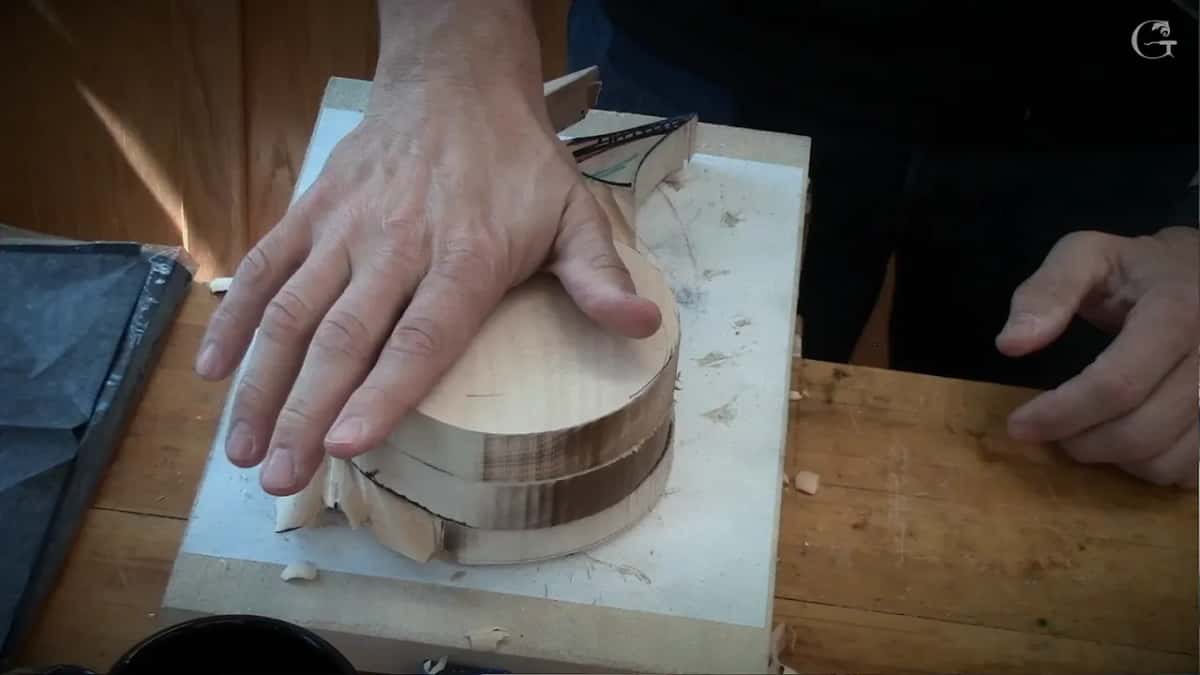
Pressing the stack down by hand before the clamps go on. What you want is a bead of glue squeezing out along the entire joint, end to end.
Step 4, transfer and saw the outline
Carbon paper the outline onto the block, then take the waste off on a bandsaw. Leave the pencil line standing. Every millimeter the saw removes is a millimeter you never have to carve.

Waste leaving on the machine, which is always cheaper than waste leaving on a gouge.
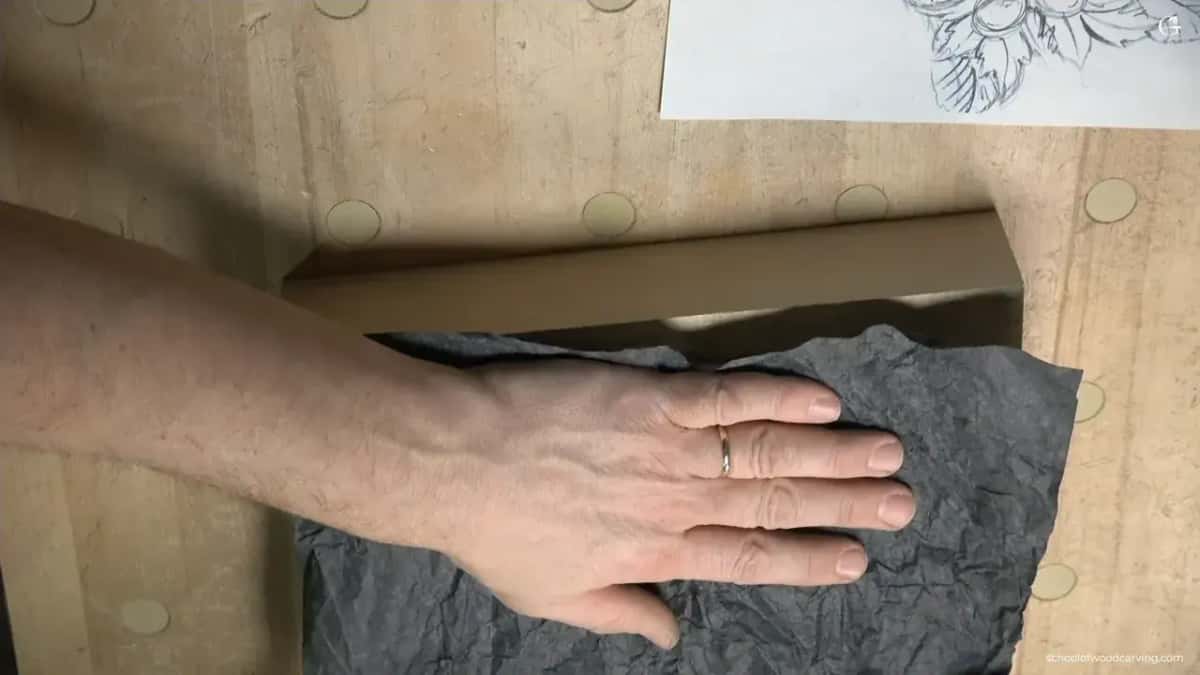
Carbon paper pressed flat on the block with the drawing above it, the plainest transfer method there is.
Step 5, rough out the big masses
Mallet and a large gouge, three levels only. The muzzle stands proudest, the mane sits behind it, the background drops away. No detail yet. This stage looks like a mess and it is supposed to. Beginners who are still picking their first tools often skip it and pay later.
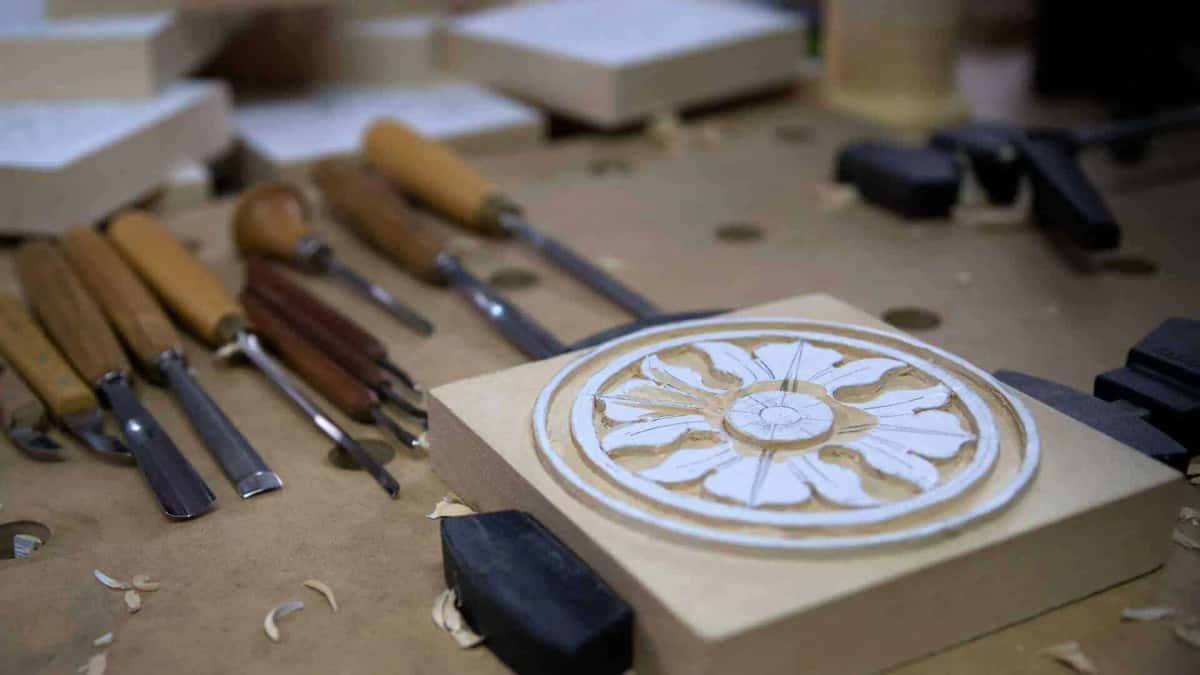
Roughing out. The forms are all still square, the tools waiting in a row along the bench edge.
Step 6, model the face and the mane
Now slow down. Eyes and the frown across the brow carry the whole animal, so those come before a single strand of hair. Then the mane goes in as locks, never as parallel grooves, each lock turning where the muscle underneath pushes it.

A turned mallet standing ready on the bench.
Step 7, undercut, then mount
Undercutting turns a flat picture into real relief, because it lets the edge of the mane float over a dark hollow. Go in with a small tool from below and never let the tip run fully airborne. A carved edge that snaps off costs a day to repair.

Undercut lobes seen close and low, the edges thinned until light passes under them.
Where do carvers lose the face of a lion?
In the eyes and the brow, long before the mane. A roar lives up in the brow, not in the open mouth, and that is where most people put it wrong.
Get those wrinkles above the eyes wrong and no amount of beautiful hair will rescue the piece, which is exactly why I keep modelling the face in clay until I am sick of looking at it.
Second place goes to symmetry. Carve him perfectly even on both sides and he looks stuffed. Turn the head a few degrees, let one side of the mane fall heavier than the other, and the animal wakes up.
Third is depth. Beginners work everything at one level, then wonder why the panel looks flat under a hallway light. 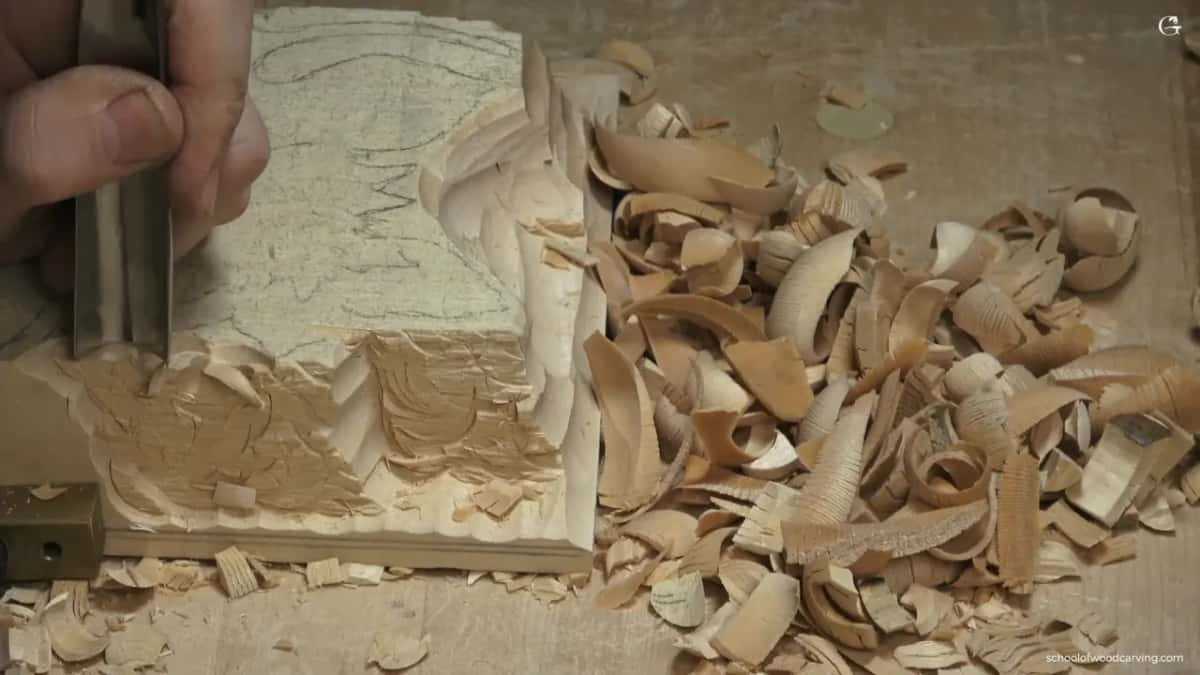
Squaring the ground behind the ornament. This is where the shadow gets its wall to stand on.
Set the piece on the bench and hit it with a lamp from the side. Shadow is the material you are really carving in, and an honest first year of practice is mostly learning to see it. The same eye decides whether the acanthus around him reads or dies.

Side light is the honest judge here. It shows what the deep work bought me, and where I got lazy.
How do you attach the onlay to the panel?
Glue, and nothing else, if the wood is dry and the back sits flat. Plane or scrape the back dead flat, dry fit it, and check the joint in raking light for gaps. Then yellow glue and clamps, or a couple of rub joints with cauls when the panel is already finished and no clamp will reach.
Keep the piece narrower than the panel field so the panel can move with the seasons. Glue it, do not run screws through a finished face from behind, and never trap the ornament inside a molding that grips it on all four sides. A corbel or bracket follows different rules, since it carries weight.
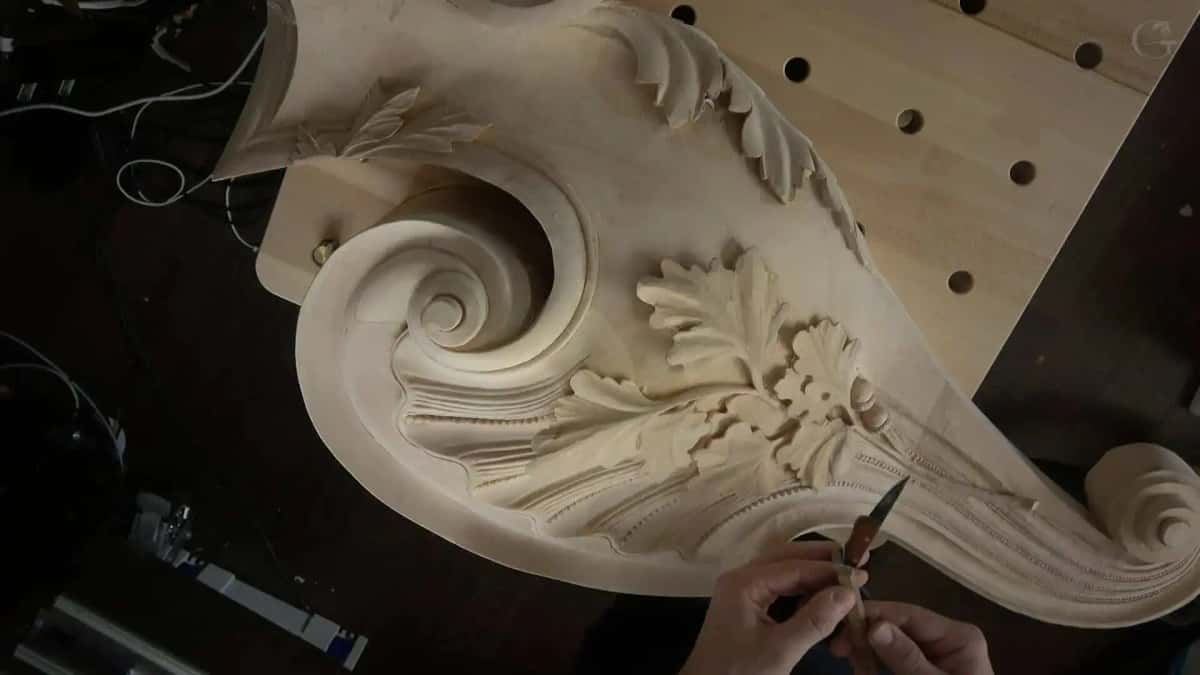
A console worked as its own piece, off the wall, on the bench, where my hands can reach behind every leaf.

The pair stood up on trestles while I bring number two around to match number one.
That is the whole method. Research, clay, glue up, saw, rough, model, undercut. My Elkhart panel had exactly one of those seven stages in it, and collecting the other six cost me another ten years and a lot of ruined basswood.
Below is the introduction I filmed for the lion course, so you can see the piece and the bench before you decide anything.
If watching it happen at my bench suits you better than reading, everything I know sits inside the school. There is the sharpening course that makes fine hair possible, and the acanthus work that usually surrounds an animal head on a real panel. Never held a gouge? Take a gentle first project instead. Access renews automatically every 12 months, and you can stop it any time from your own account page.
Frequently asked questions
What is the difference between an onlay and an applique?
They name the same thing in most shops. An ornament carved separately and then fixed onto a flat surface gets called an onlay by American carvers, and an applique by furniture makers who kept the French word. Nothing about the carving changes.
How thick does the block need to be?
Around three inches for a door or a fireplace panel, and two inches for small furniture. Depth is what lets hair float over shadow. Thin stock forces you to flatten the animal, and a flat one reads as decoration rather than as a head.
Can a beginner carve a lion head?
A determined beginner can, though not as a first project. Start with a leaf, then a rosette, then a face of some kind. This subject asks you to handle hair, muscle and deep undercutting all at once, and each of those is a skill on its own. My notes on beginner classes explain the order.
Do I have to model in clay, or can I skip it?
Skip it if you want, and plenty of good carvers do. What you give up is the chance to fix a mistake for free, since clay lets you push material back on and wood never will. On a paid commission I would not take that risk.
What tools does the mane need?
A mallet, a few large gouges for roughing, a number 7 and a number 9 for the locks, a V tool, and one small bent tool for undercutting. I would rather work with six sharp gouges than with sixty dull ones sitting in a roll. There is a whole post on tool sets if you are buying.
How long does one head take?
Longer than you think, and most of it is not carving. On my own commissions the research and the clay model together take as long as the wood does. Anybody who quotes you a flat number of hours has not carved many of these.