

Alexander Grabovetskiy, woodcarver, School of Woodcarving · Published 2021
How do you carve a ribbon bow in relief?
Quick answer: A ribbon bow carved in relief, the way I did mine on a chamomile rosette, is two loops dug out from two small holes. A single number 9 gouge made both holes. Number 11s went under the sides, and each side went down in a smooth transition instead of a flat top and a straight undercut.
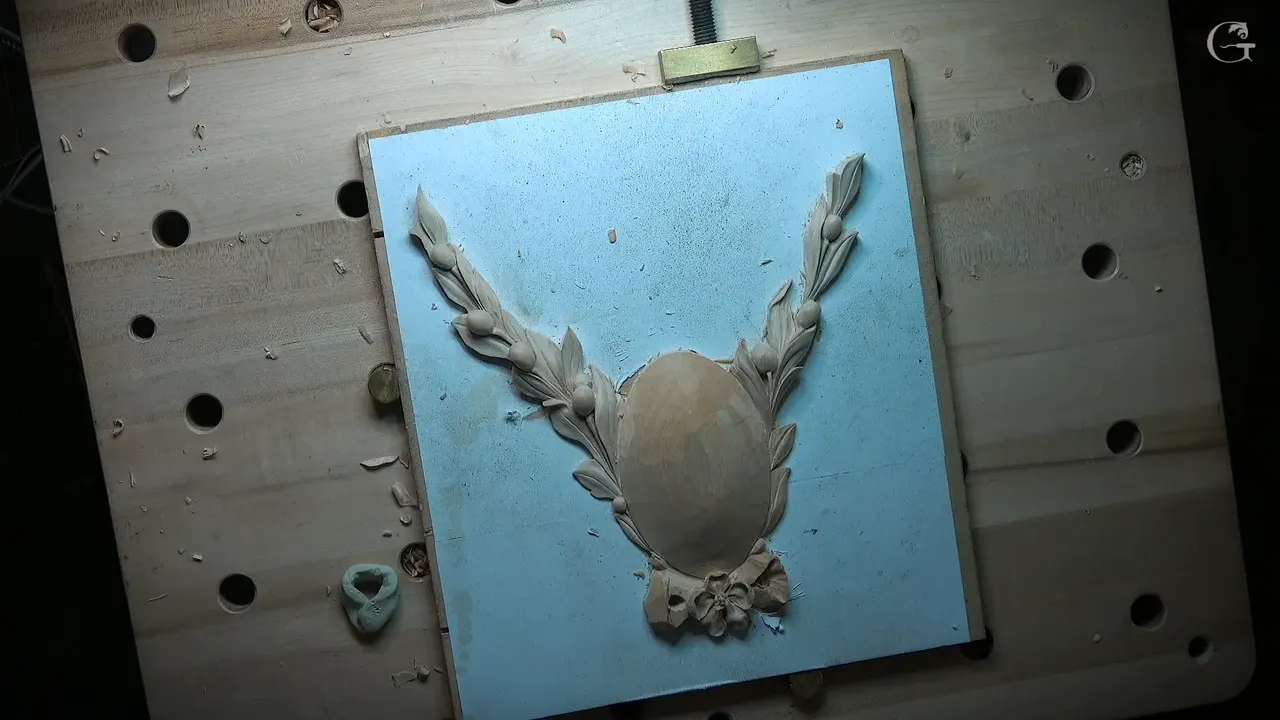
A bow of ribbon in relief, carved the way I did it on my chamomile and bow rosette, is two loops hollowed out from two small holes. One number 9 gouge, a quarter inch (6 mm) wide, opened both holes. After that my number 11s went in under the sides, and each side came down toward the ground in one smooth transition. "It cannot be just flat and then straight undercut," I said on camera.
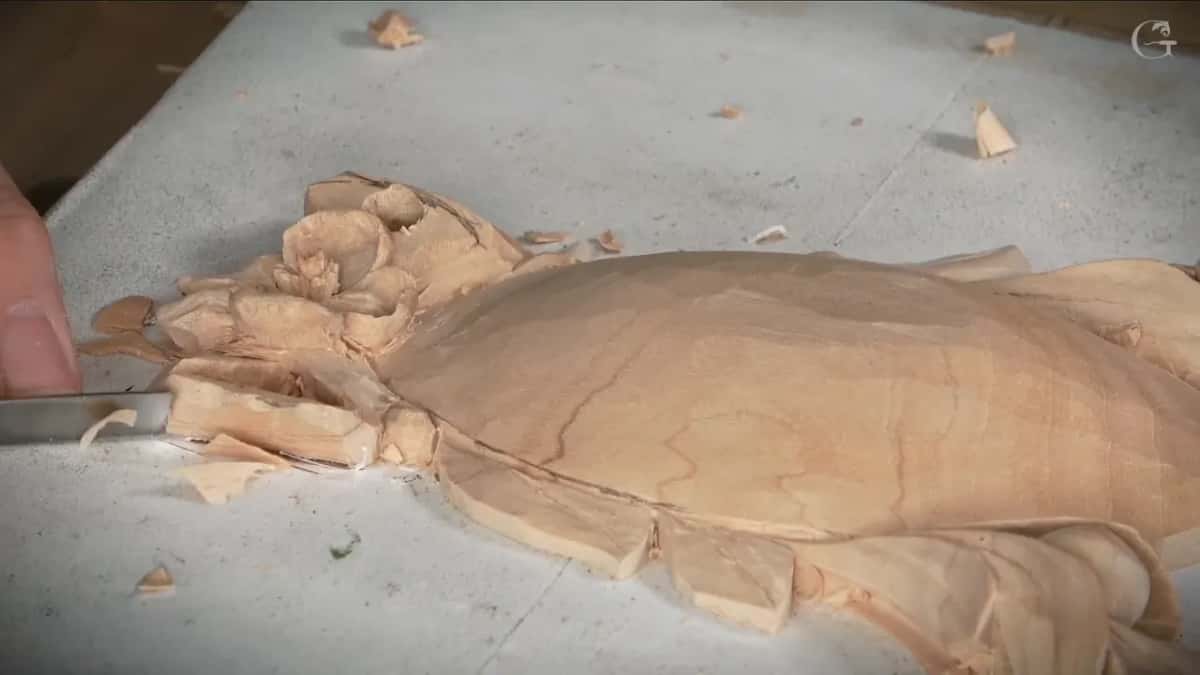
That carved wood bow takes up most of lesson 3. First one loop, then the other, and the parts around the bow sit and wait their turn.
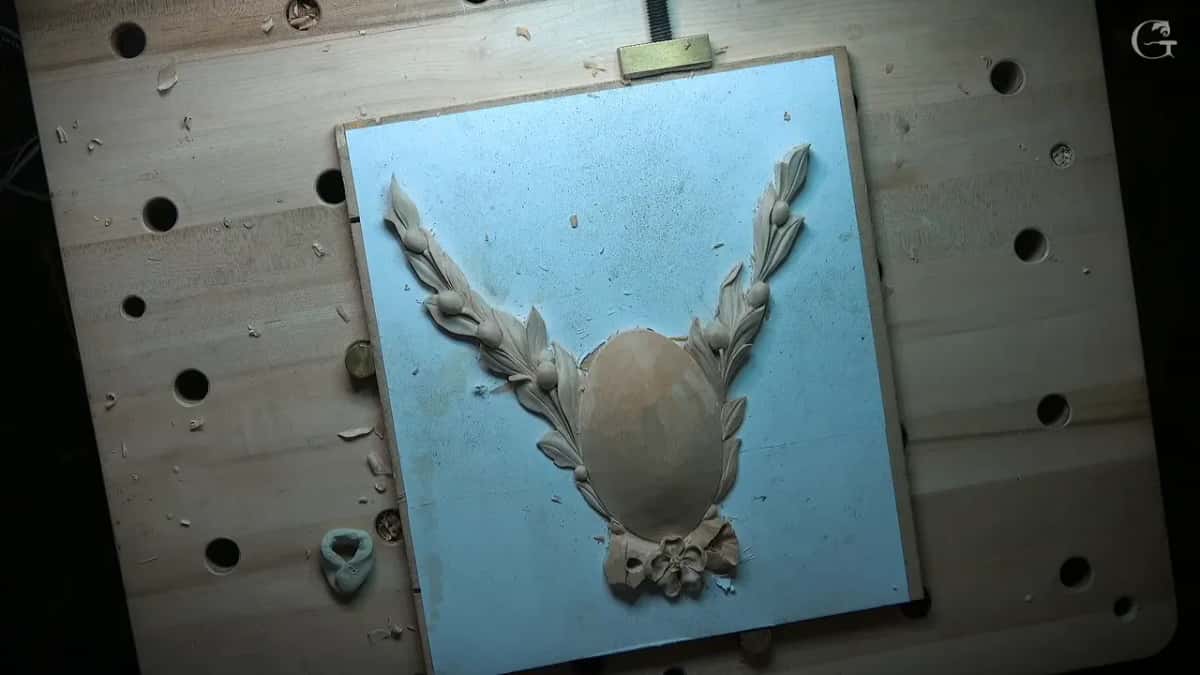
Ever tied a ribbon on a present? Seen the hole in each loop? Then you already know where the first hole goes.
I'll give you both loops the way I carved them, with the sizes I named and the words I used at the bench.
The bow in six short lines
Each loop got a hole from a number 9.
A really tiny 11 dug in under the first loop's side, and then a smaller one followed it.
Neither loop ended in a flat top with a straight drop.
Inside the second loop, the slope runs the same direction as the slope outside, which is what I called the look of reality.
One part I called waste went down to the background.
A 1 mm (about 1/32 in) number 11 made the separation cut, and only then did the parts beside the bow get any work.
Where does a carved wood bow start?
With the main shape and the corners.
My lump of clay sat on the bench as a model. "I don't need it," I said, "but I'm just showing to you the way you could work on." My own multi-bevel tool was what I said I would probably use right then, because that tool is really handy and I can quickly work around any shape with it.
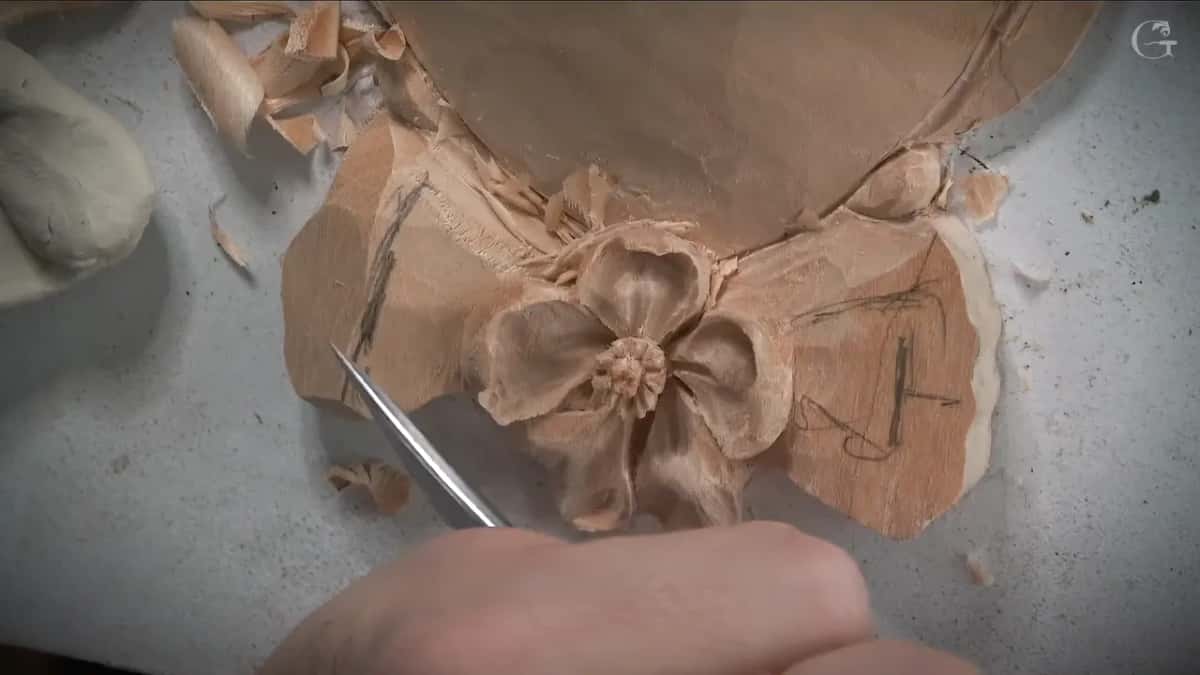
The pencil lines were still on the wood when I began.
Next I knocked those corners off, and the chips piled up on the bench while I did it.
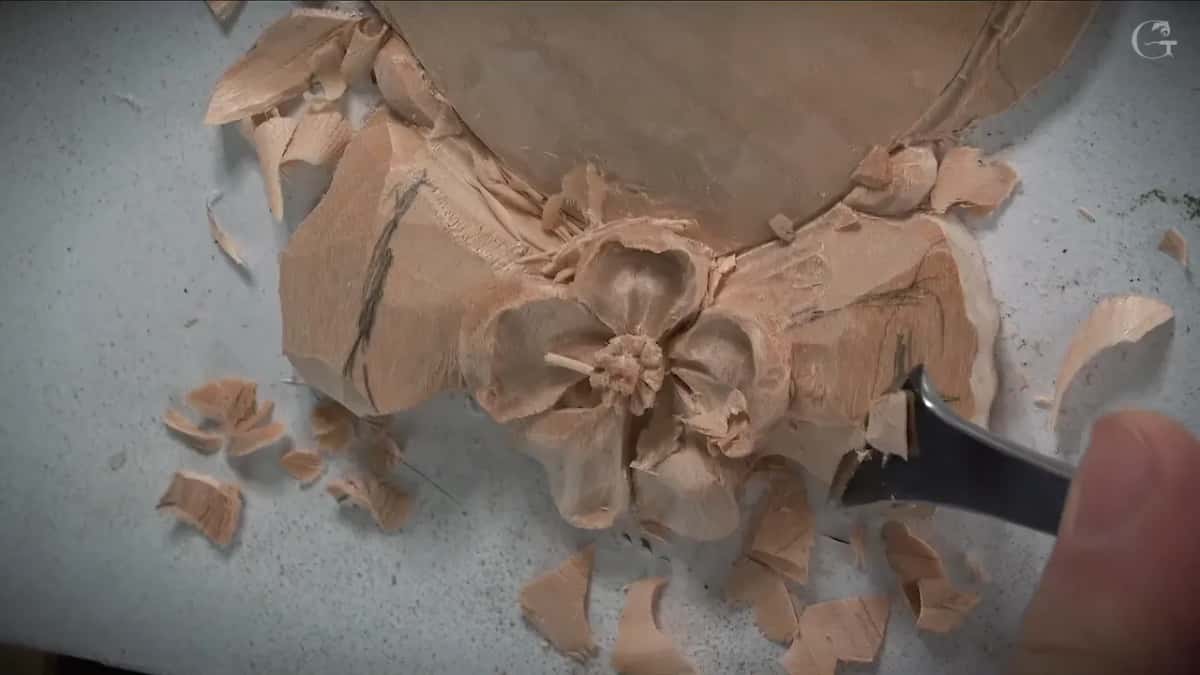
Next came a hole in the center of each loop, from that small number 9, and I said you can just use a drill for that, though I didn't think I needed one.
"Obviously, your tools, they must be super sharp," I said. "Otherwise, it's going to be a big problem." With the two holes in, it was already looking like a bow, and I had hardly worked on it yet. Keep your edges sharp before you start.
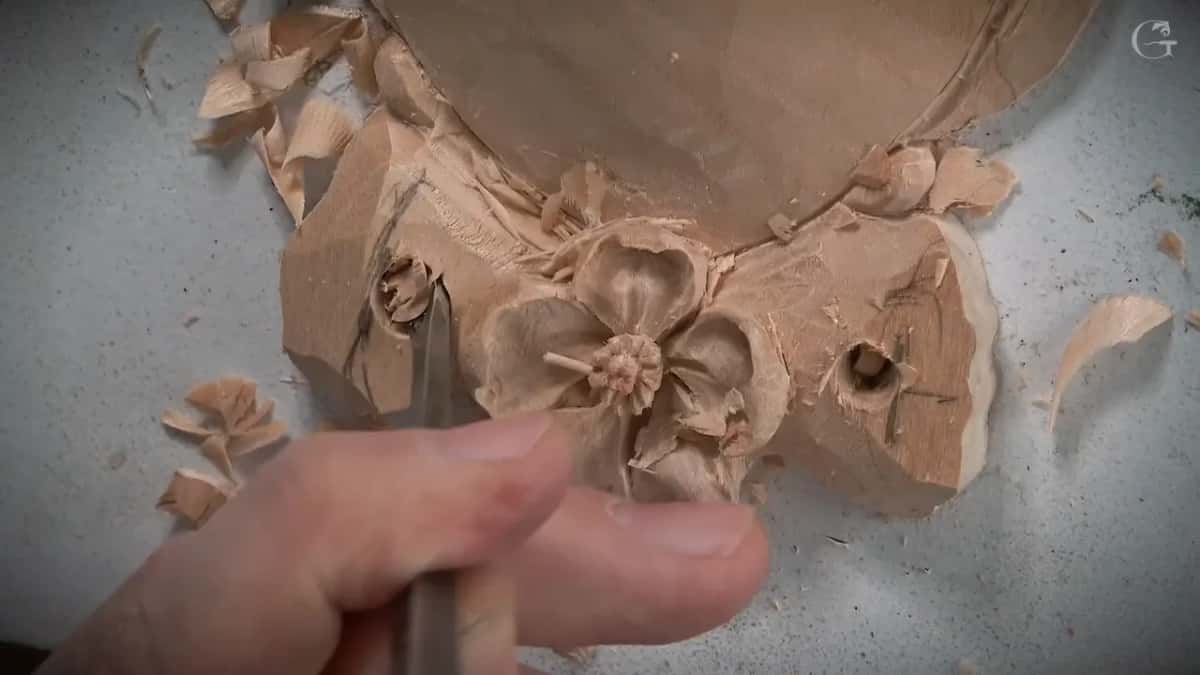
How do you hollow a loop out from its hole?
Starting at the hole, with number 11s of a few sizes.
Just because I had a model, it was much easier for me to see where I should start. I could use the same tool, I said, and then I changed my mind. "Number 11 is always better for me," I said, and for the first loop I switched to a really tiny one.
I excavated like this, and then underneath that side. Obviously I could use even smaller, so the next one was maybe 2 or 2.5 mm (about 3/32 in).
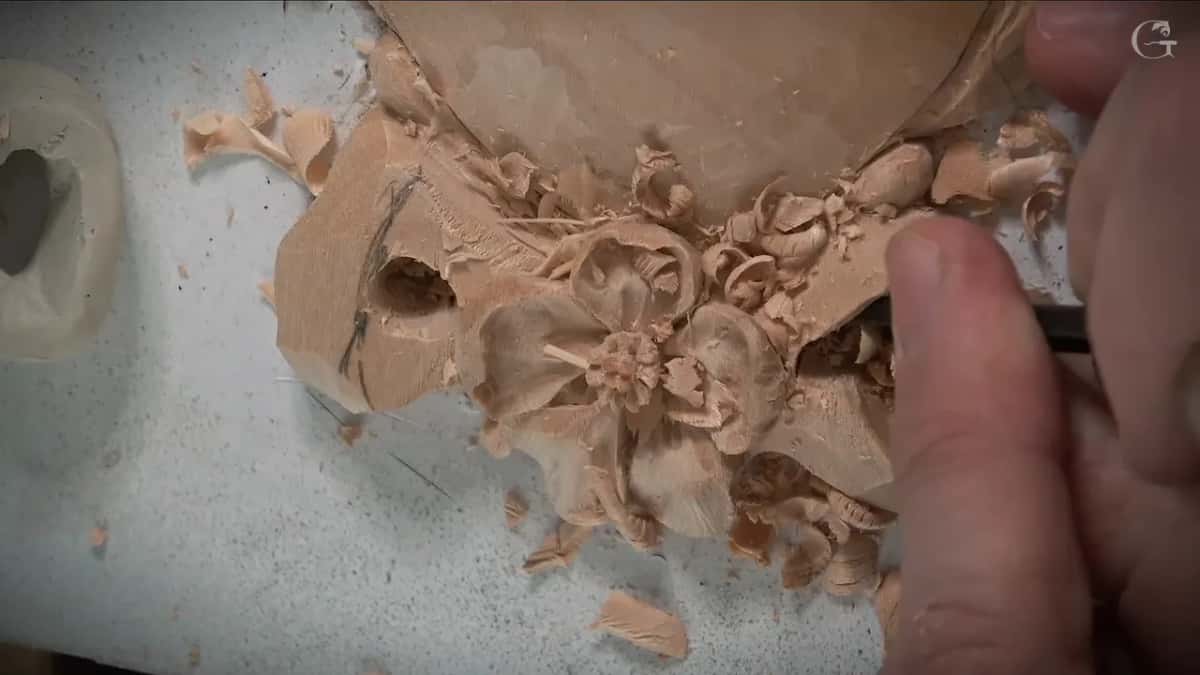
I knocked the center down after that, just on the angle, and then the sides.
My clay for the bow took me a couple seconds, I said, but it still gave a good idea where I was supposed to go in. The second loop got a bigger number 11. I thought of about 4 mm (5/32 in) first, then settled on about 6 millimeters, like quarter inch or so. "I have to create this cavity, and I have to create opposite side cavity," I told you, and those two came first.
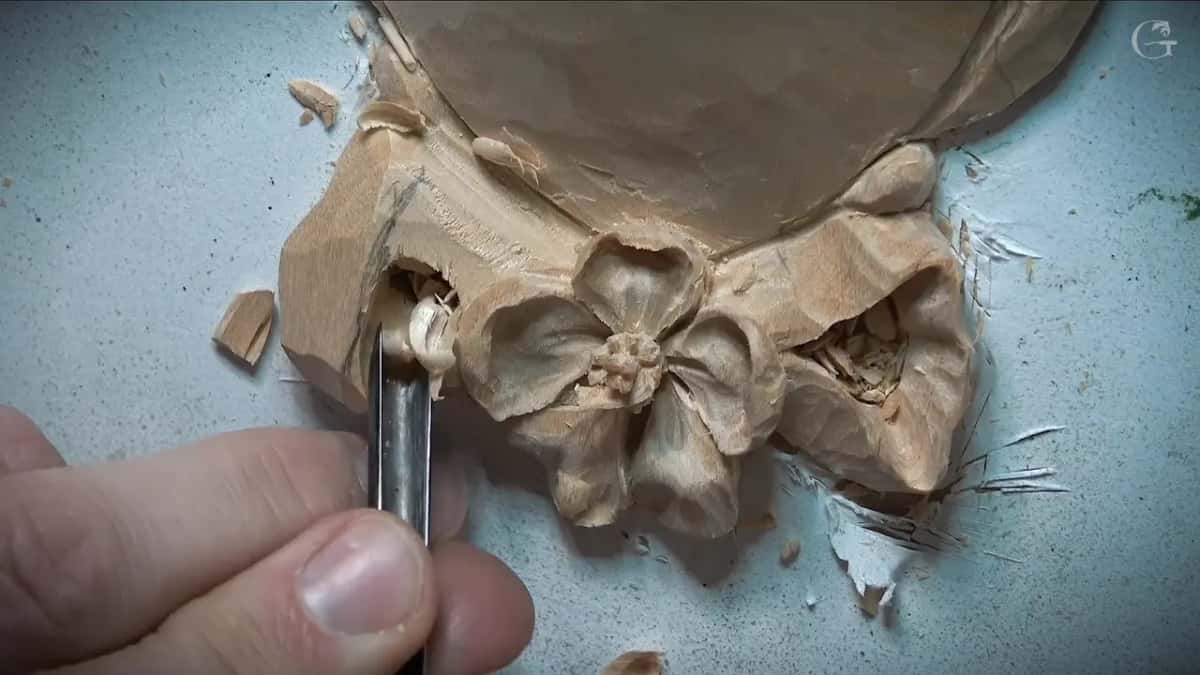
After that the center wanted opening up a little more. A smaller number 11 or a number 9 will work there, I said, but the one in my hand was an old number 3 or 5 with no markings at all, an antique with really good steel. A number 11 of 3 mm (1/8 in) came next. That one was my own tool, and I guess that day I was super happy, super excited.
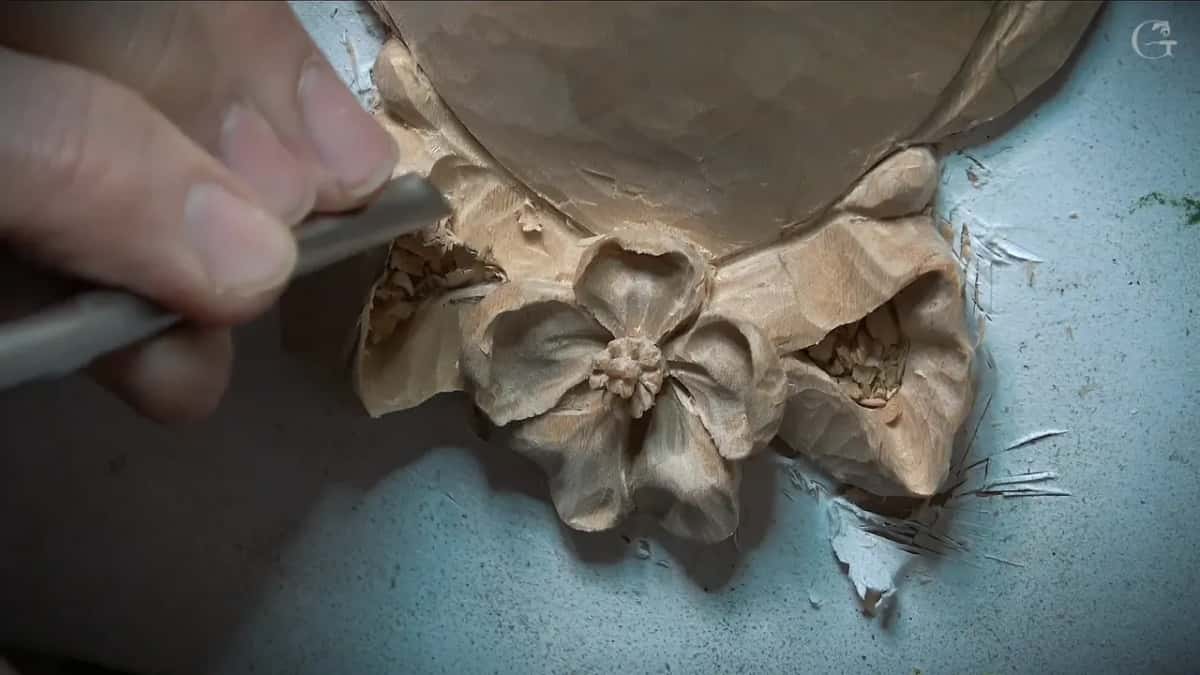
Why does the inside of a loop slope like the outside?
I said on the second loop that I have to recreate the slope from outside on inside, sloping the same direction, and that's what gives me "the look of reality, like in real life."
I attacked from the other side next, and stopped to think how extreme I wanted to go. Extremely close to my border, I decided. Why not?
"See the beautiful thing about number 11s, you can get right underneath," I said, with my tool positioned on its side so the inside of the loop came out really clean. I cleaned from the opposite side after that and took some more material out right there.
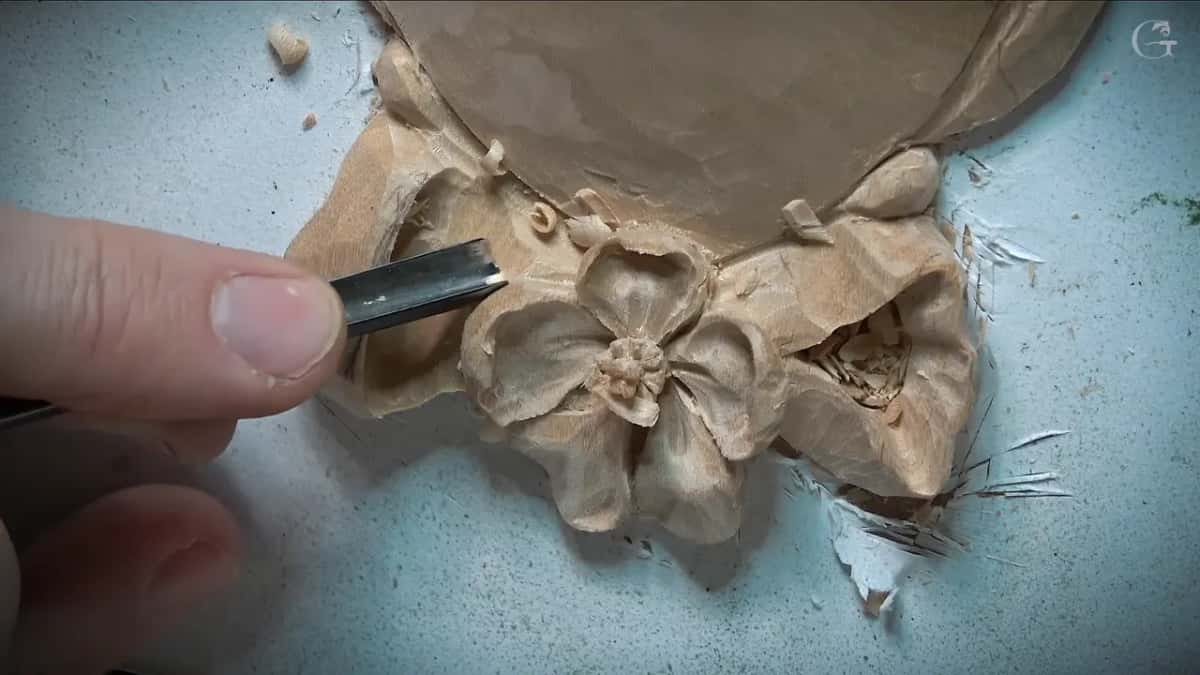
Later on that loop I made the inside a little more concave, and I said it's going to give me some more shadow.
What goes under a loop instead of a wall?
A transition, done right around.
That part, I said on the first loop, has to be transitioning underneath, really transitioning down there. That transition had to be nicely done all around. Otherwise, I said, it's not going to look nice.
The multi-bevel tool came back out for it, in a smaller size and a bigger one. "See how beautiful that tool is?" I asked you. With it I can get really underneath and get all the undercuts. I took that side down until it was almost to the ground.
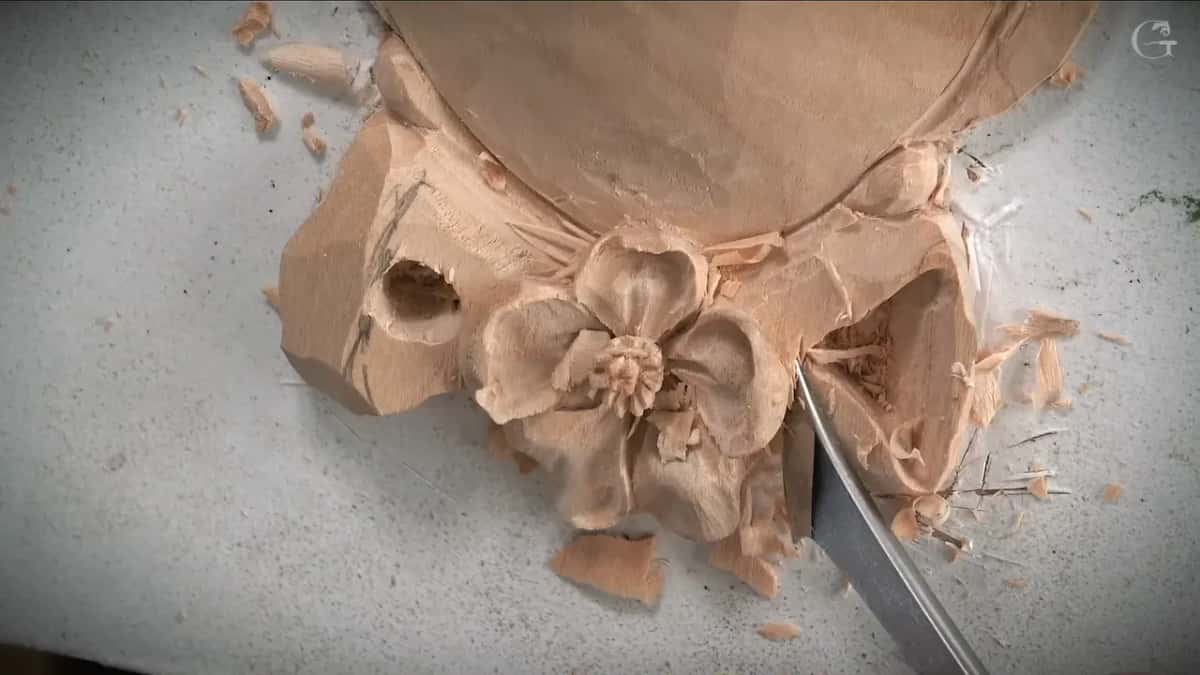
For the second loop I blended the sides so they would transition nicely underneath, and undercut this way toward the center.
With just the back heel of the same tool I carried that transition to the back side. Then I changed position and attacked with the point. "I can even work my way in upside down, just like that, and I can create super deep undercut," I said, and I got pretty much all the way to the other side. One more spot got an undercut after that, and I said that side needed blending in too.
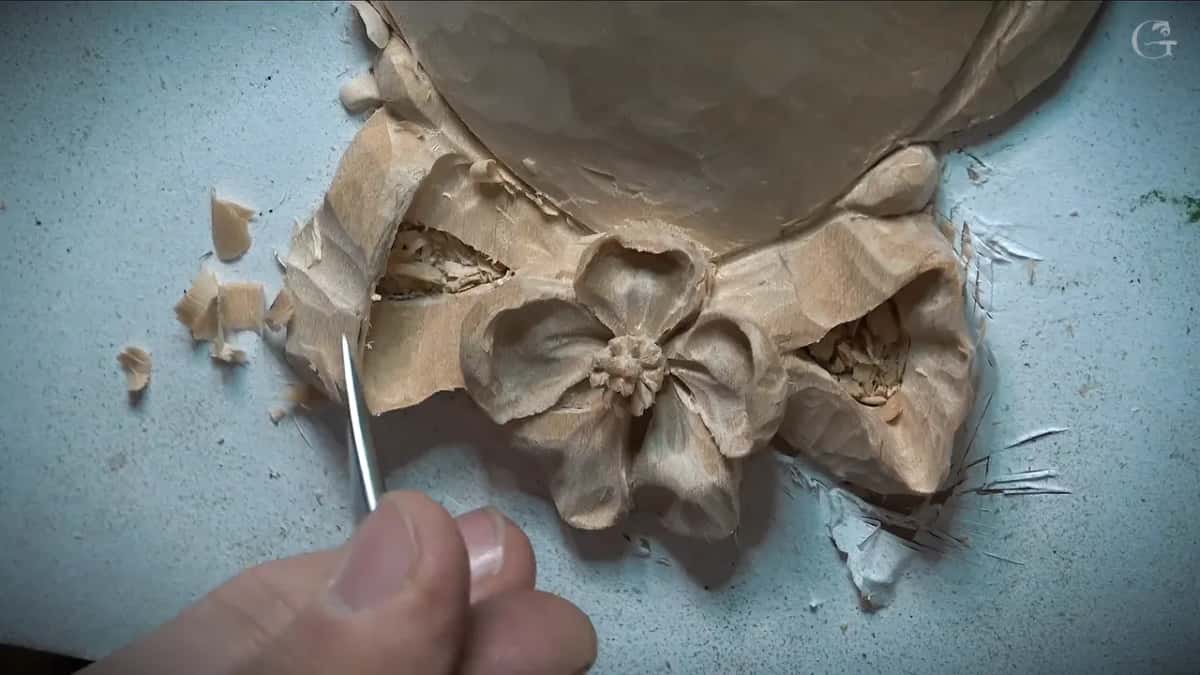
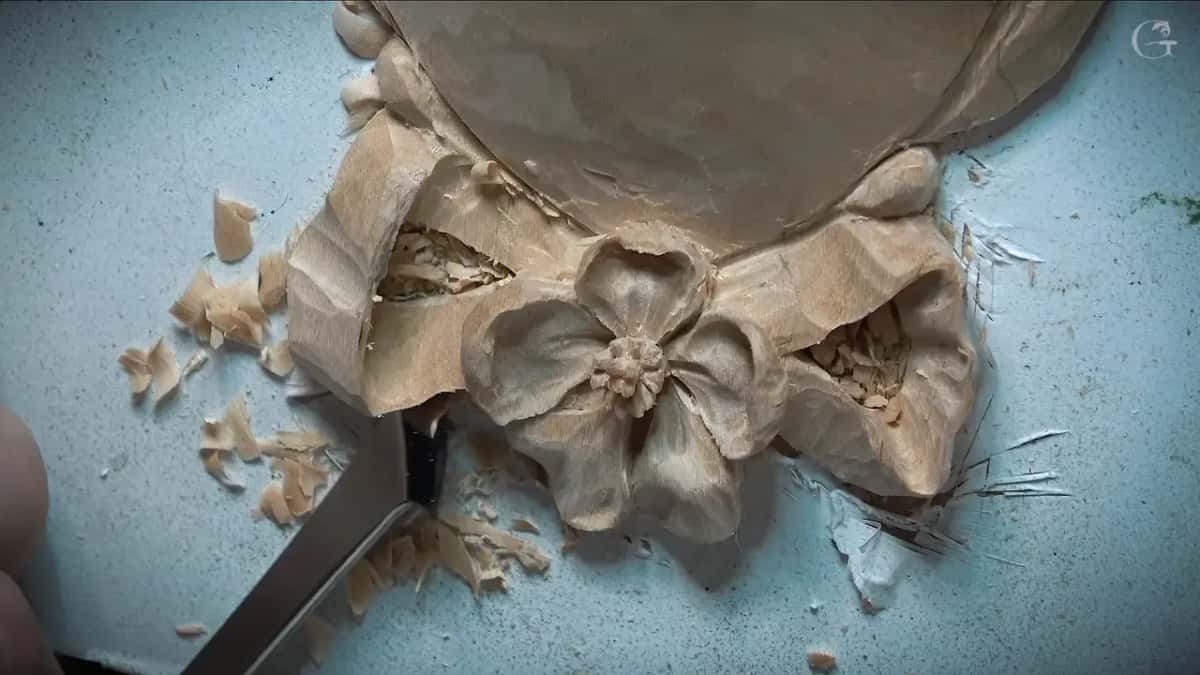
With a small tool, I can undercut right away, I said back on the first loop, and you should get an idea how it is done. A smooth change between two curves has its own page, from lesson 48 of the Venice Room.
What happens to a part that should be waste?
It comes out.
Partway through the first loop I stopped and said, "I do have a problem, I'm not sure if you see that or not." One part right there should be waste. I took it out, all the way to the background of the relief.
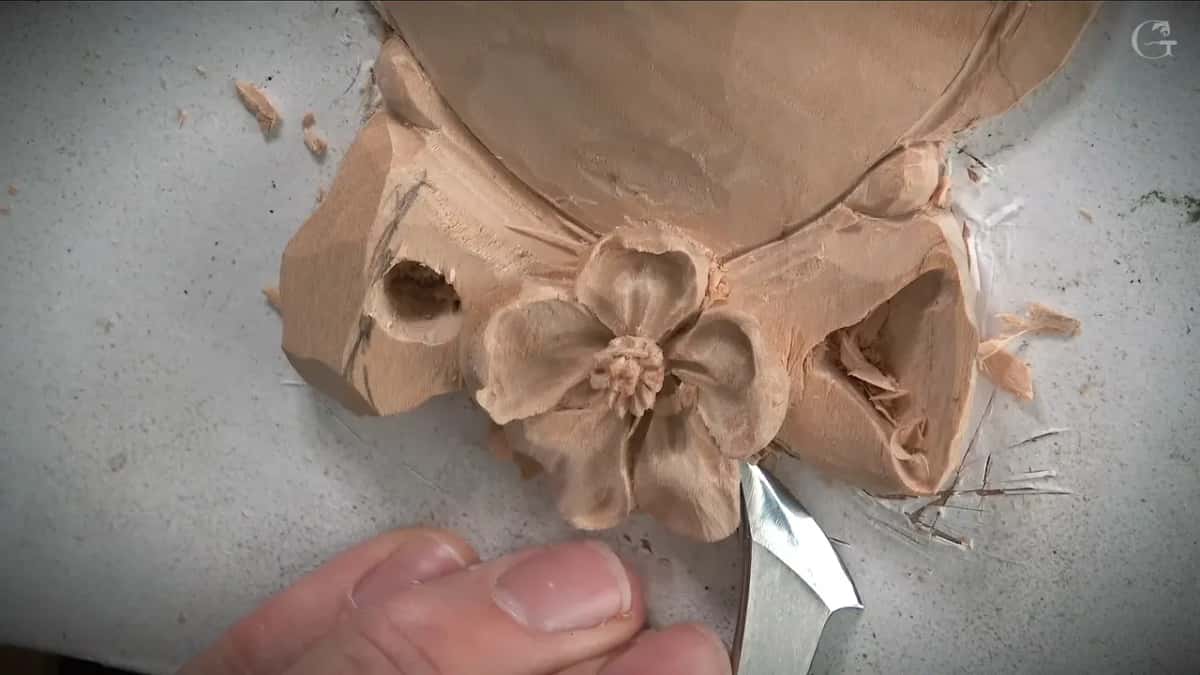
"Later on, I'll attack and clean from the backside, but for now it is good," I said. The back has its own lesson, a simple tip for back cutting.
I did exactly the same on the next side, blending it in and carrying the transition to the backside.
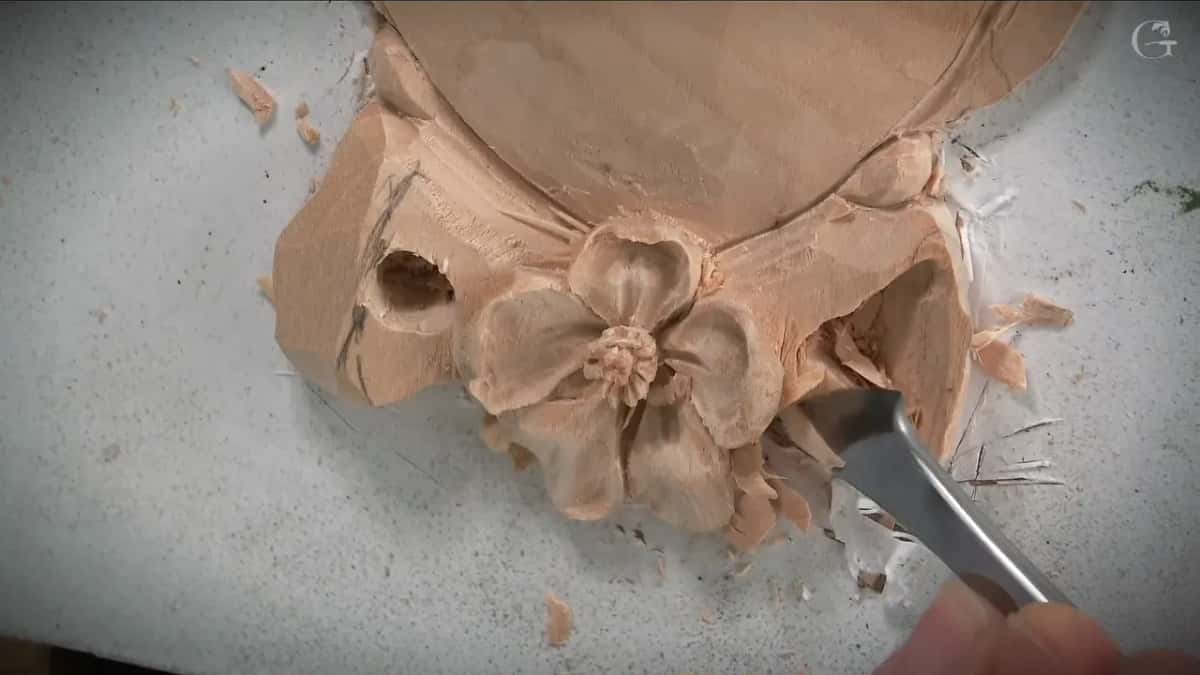
How much does one small concave add?
A bit of movement, right in the middle of the side.
That is what I said a small concave would give me there, and I made it with the same tool, just the heel of it.
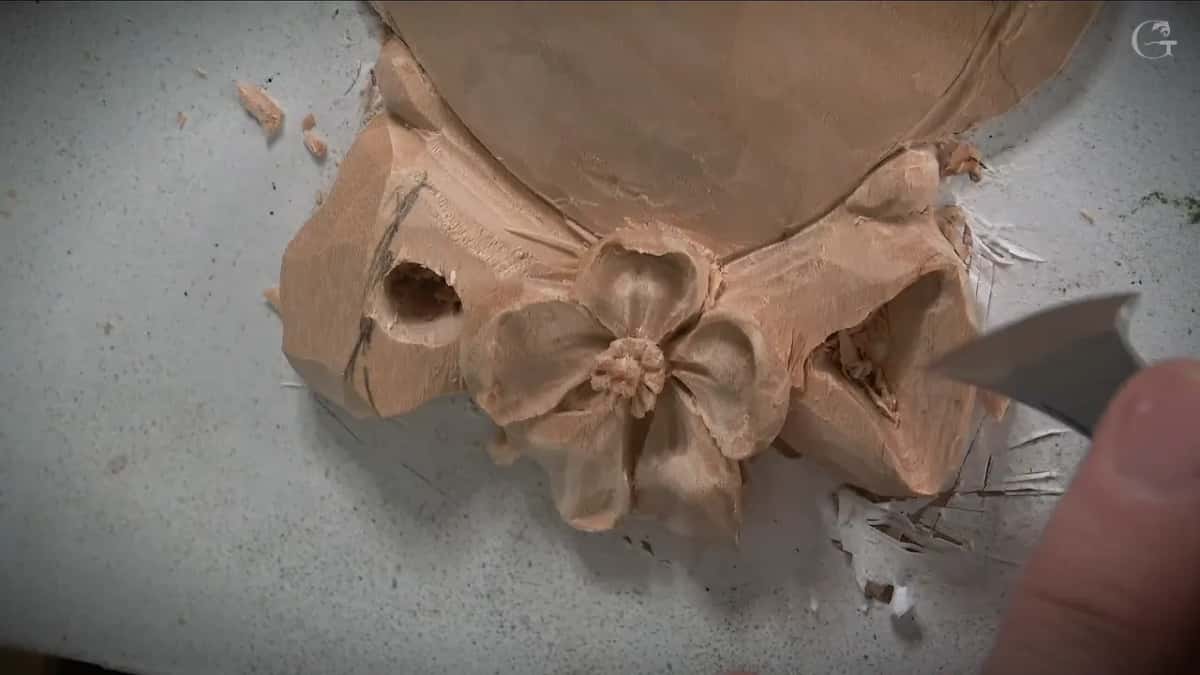
I could probably leave it, I said, just cleaned a little, but I could also take it a little more to the extreme. I didn't want to leave it like that, although it already had the look of a bow. "And most of you probably going to leave it like that. But I'll just go extra mile."
The extra mile was a couple of concave movements from a number 9 at 10 mm (3/8 in), one of my own line, set across the main lines the way Grinling Gibbons did on his bows. "Just gave to my bow a little extra something," I said.
Partway through, it got darker outside, and I stopped to readjust the lights a little.
Movement is the word I kept using on that loop. The small concave gives some kind of movement, the concave movements went across, and later I talked about exaggerating the movement on the edge.
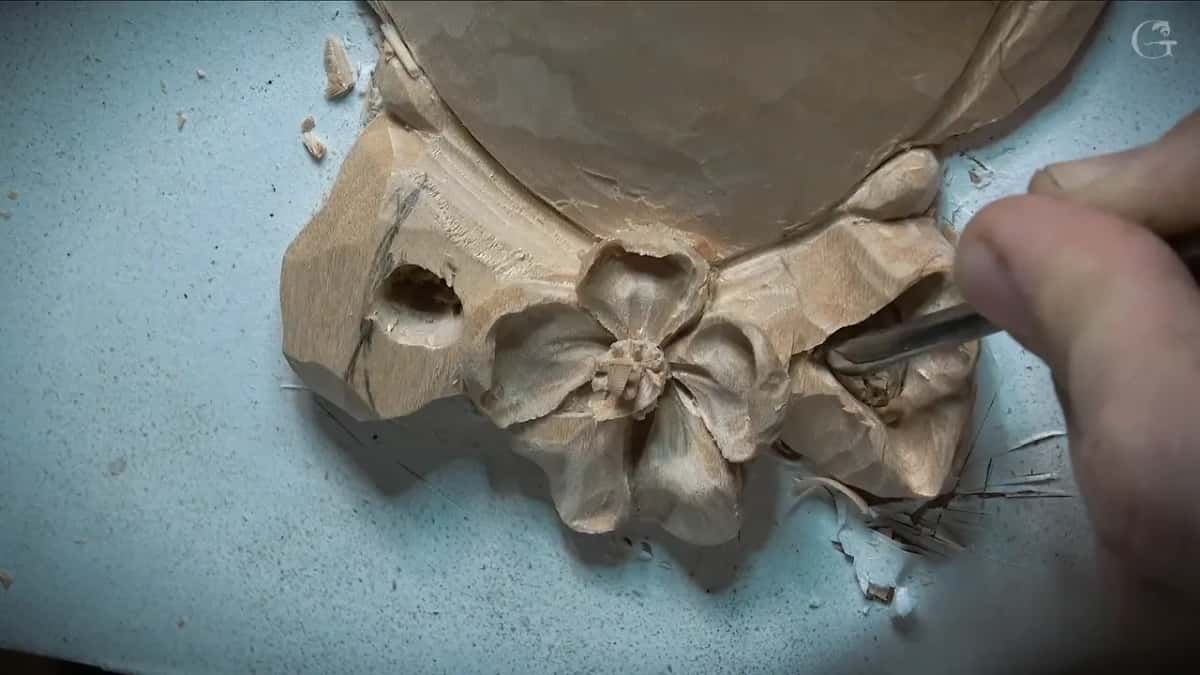
Then came a second pass on that side with the same number 9, and there was room for another right in the middle, I said. You could make some spots smoother and nicer. "You probably should, and probably I should." Right here is convex, there is another convex, and then the border on the inside needed re-establishing, I said, with a round transition on that side.
Should a carved ribbon have a straight edge?
Mine doesn't.
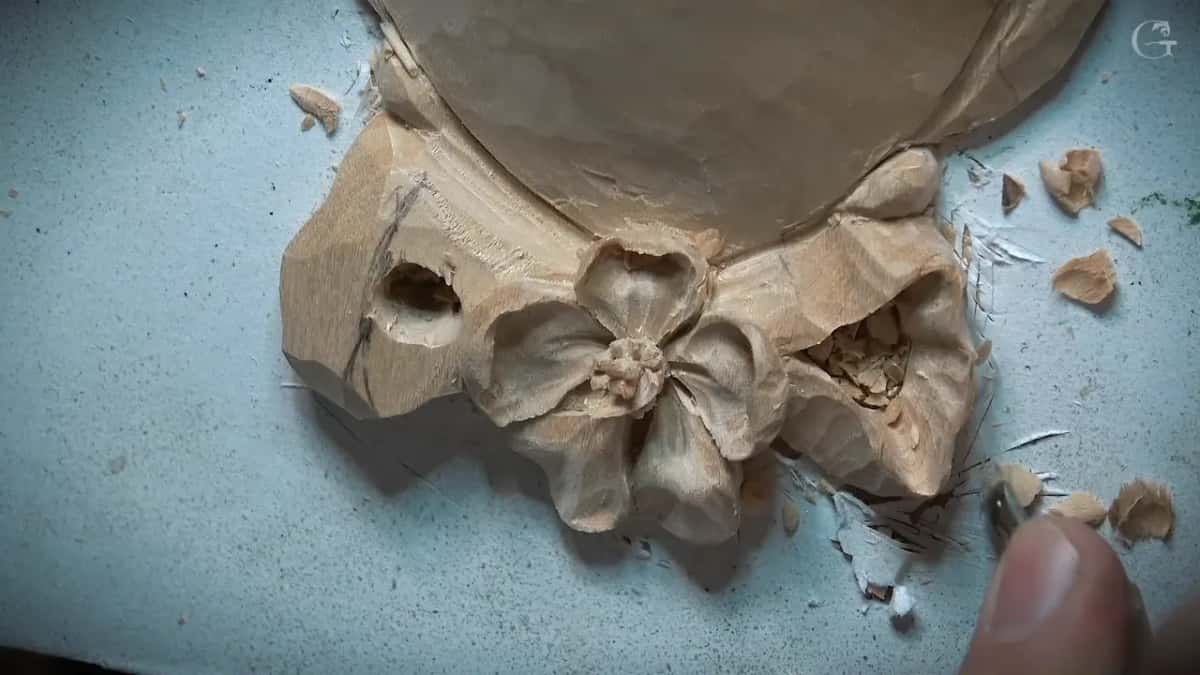
My edge is not really straight, and I said I was really happy about that. "Otherwise, it doesn't look right." I can probably exaggerate the movement a little on that side too, I said, right to the point. It doesn't have to be straight there either, I told you.
A ribbon that twists along its length is a different job, and lesson 14 of Carving Hashemi Flowers has one.
Is the mess on a half carved bow a problem?
Not on mine, and most of it waited for later.
By the end of the first loop there was a mess all over it. "Obviously, I don't want to worry about it right now," I said, "but I'm happy with this side." I would clean a little later, but I had the main shape, the main idea.
It was the same story on the second loop. We've got pretty much the second side, I said, and obviously I need to clean, and I was going to clean it a little more. I didn't want to bore you with simple operations like cleanups and so on. "So far, I love what I see," I said, and you could see the bow in it already. "Just clean up," I said near the end of it.
When do the parts beside the bow get carved?
After the bow is done.
First I made my separation cut between that detail and the bow itself, with a number 11 just 1 mm wide, about a thirty-second of an inch.
Those guys, I said, are not looking right because I left them that way. I couldn't work on them until I got that bow done. "And now it is time to work on those."
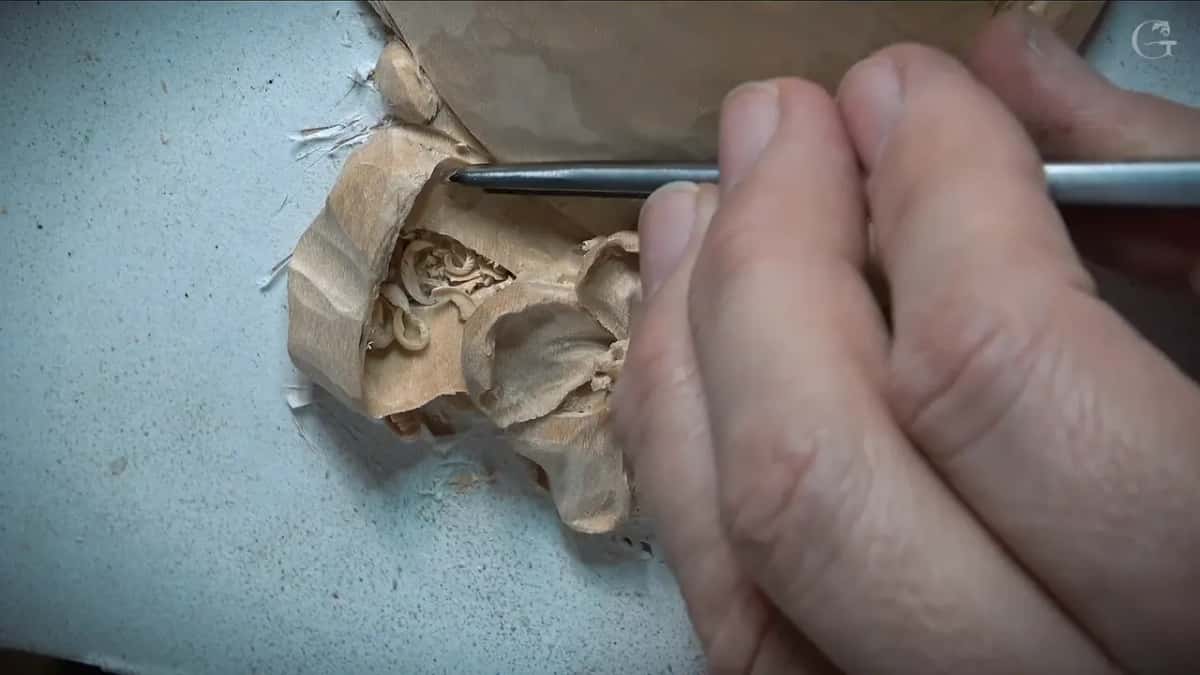
Even then I went back under the bow once more, using a number 11, for an even deeper undercut. "Even if you don't see what I do," I said. Why carvers undercut work nobody will look at has a page of its own, from the Byzantine acanthus.
A number 3 gave those two a slight cleanup job after that.
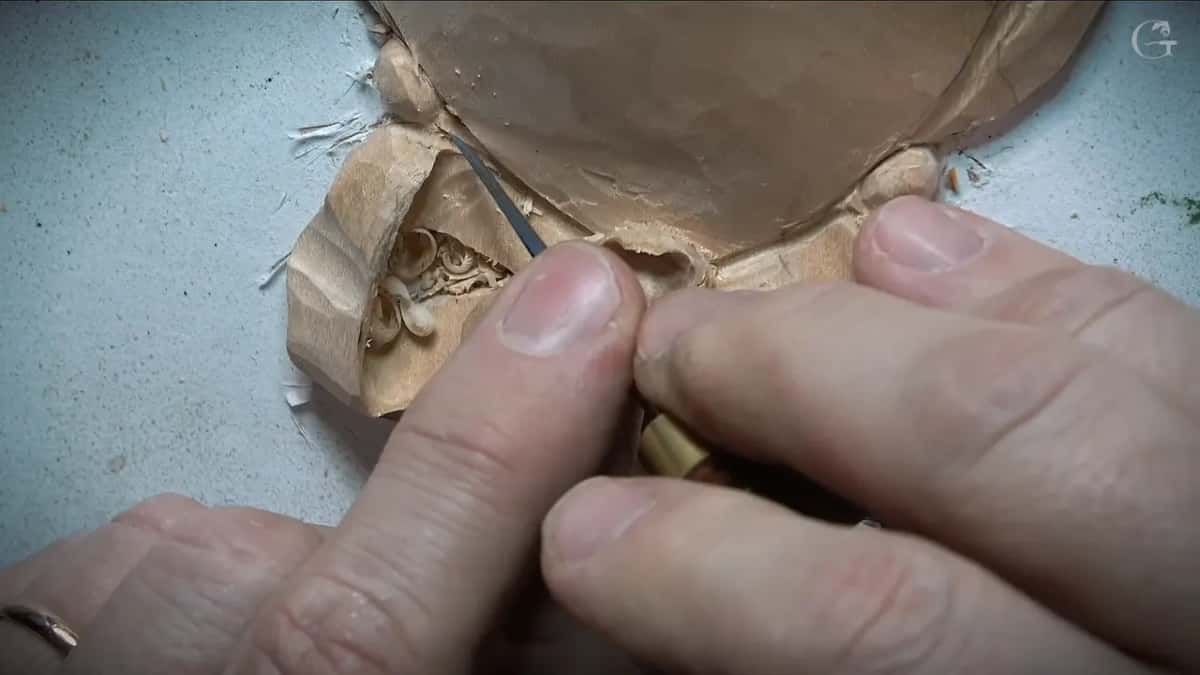
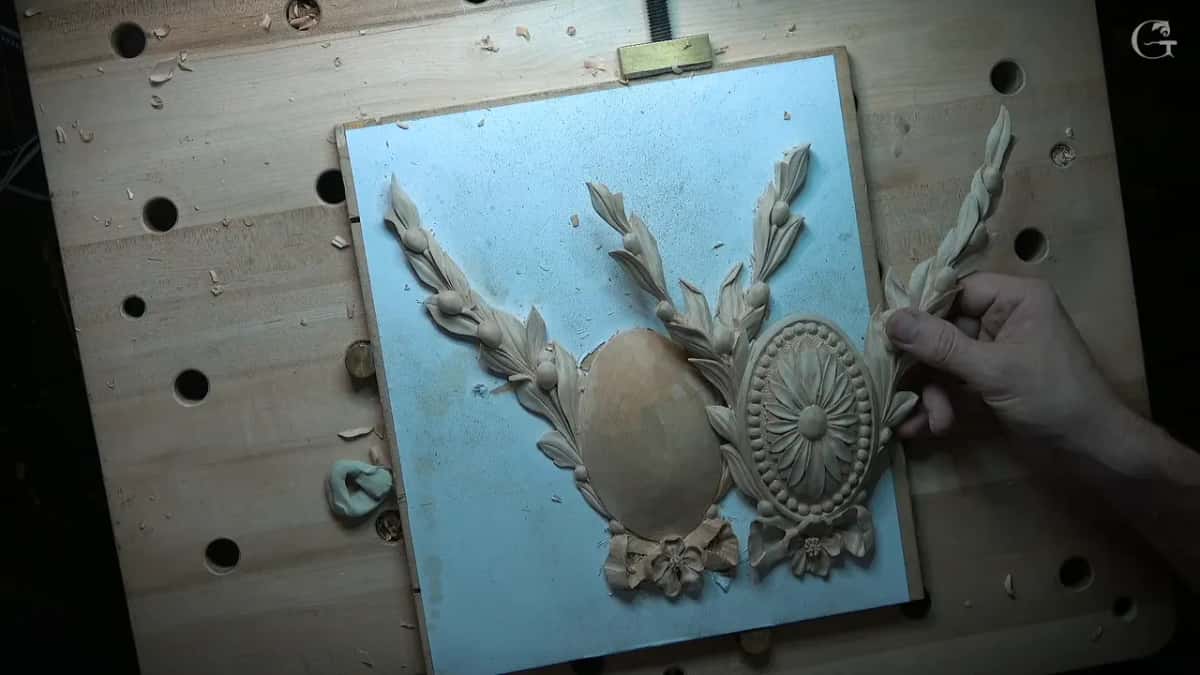
"Yes, I will spend a little more time at the end," I said, "but I think it is looking good. What do you think?" Both pieces of the pair had their bows by then, and they looked good to me. One of them already had its bead border around the oval, and the other still had a plain dome.
Which tools did the bow take?
These, in the order I picked them up.
Job | Tool | Result |
|---|---|---|
Opening both loops | Small number 9 of a quarter inch (6 mm) | Two holes |
Digging under one side | Tiny number 11, about 3 or 3.5 mm, a little over an eighth of an inch | First loop |
Going smaller there | Another 11 of maybe 2 or 2.5 mm (3/32 in) | Even smaller |
Concave movements | Number 9 at 10 mm (3/8 in), my own line | Extra mile |
Both cavities, second loop | About 6 mm (1/4 in) number 11, after thinking of 4 | Two cavities |
Center, opened more | Old number 3 or 5, unmarked antique steel | No markings |
Inside, after that | Three millimeter number 11 (1/8 in) for the center | Center opened |
Transition, then undercut | Heel of the multi-bevel tool, and then its point | Super deep |
Separation cut | One millimeter number 11 (0.04 in) | Bow freed |
Slight cleanup | Little number 3 on those two guys | Tidied up |
Any number there you don't know yet is in All about tools for wood carving.
Where else can a carved bow go?
Into different designs, I said, and you just incorporate it.
"People like it, actually, especially girls," I said, for something you make for your daughter or granddaughter, if you do have one, or even for yourself.
The chamomile flower in the middle of this bow came in lesson 1, and the berries with their stems in lesson 2, all on one rosette.
What will your own bow need first?
Two holes and a sharp gouge.
Can you draw two loops of ribbon and the knot between them on a piece of paper? Then you can open the first hole tonight.
Lesson 3 is inside Tuition and Access, filmed at my bench with both loops on camera, and the lessons map shows where this course sits among the rest of my wood carving courses.
How it's done
- Set the main shape. Carve the main shape of the bow, then knock its corners off before any hole goes in.
- Open the loops. Put one hole in the center of each loop, using a number 9 about 6 mm, a quarter inch, across. A drill can do it too.
- Dig under the first side. Excavate underneath one side of the loop with a tiny number 11, take an even smaller one after it, and knock the center down at an angle.
- Make both cavities. Open this cavity and the opposite one on the second loop with an 11 near 6 mm (1/4 in), and let the slope inside run the same direction as the slope outside.
- Let each side transition. Blend every side so it transitions underneath and never ends flat with a straight undercut. A tool's heel can carry it to the back side.
- Take the waste out. Take out any part that is waste, as far down as the background, and leave the back for later.
- Free the bow. Make a separation cut with a 1 mm (about 1/32 in) number 11 between the bow and the parts beside it, and only then go back and clean those parts.
Frequently asked questions
What size number 11 hollows a small bow loop?
Small ones, on my bow. The first loop took a really tiny one and then an even smaller one went in after it. The second loop began bigger, near 6 mm, a quarter inch, and later a 3 mm one, about an eighth of an inch, opened up the center.
How deep did the undercut beneath the bow go?
Deep enough to come out pretty much on the other side. Upside down, on the second loop, I went in with the point of my own multi-bevel tool. After the separation cut I went beneath it again with an 11, even deeper, and said you may not even see what I do there.
Why keep the edge of a carved ribbon uneven?
A straight one doesn't look right, I said. Mine came out not really straight and I was happy about it, and I said I could probably push the movement a little further on that side as well. I left the cleaning for later.
What to carve next