

Alexander Grabovetskiy, woodcarver, School of Woodcarving · Published 2021
How do you carve a berry and its stem in relief?
Quick answer: A relief berry on its stem is two small shapes carved as one. The berry is rounded with a number 3, and the stem stays in sight, runs to the berry's center rather than its top, and widens a little at the joint, with deep shadow dug beside it by tiny number 11s.
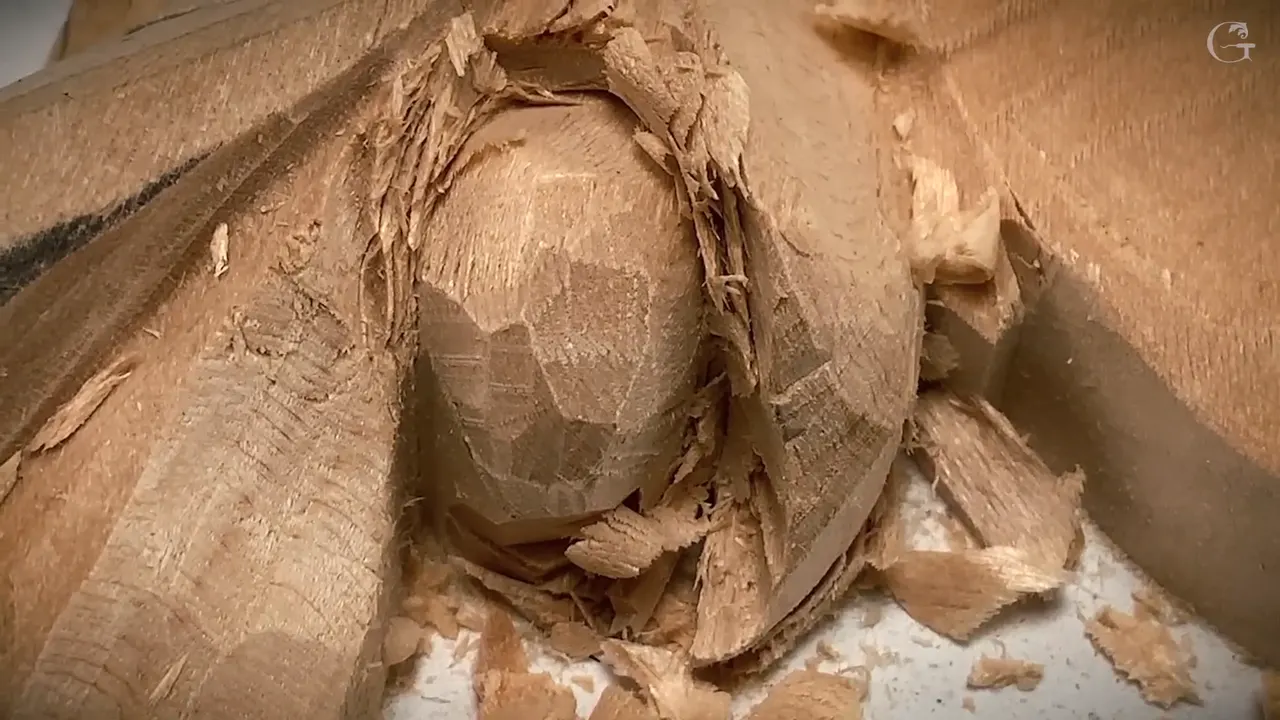
Carving a berry and its stem in relief is mostly stem work. On my chamomile and bow rosette the berry itself took a number 3 gouge about 10 mm (3/8 in) wide and some patient rounding. The stems got far more of my time. I kept them in sight, moved one to the left to follow the movement of the spray, ran them into the middle of the berry instead of all the way up, and kept one really narrow, with a little more width where it touches.
In wood relief carving this small, all I was after there was a good shadow beside the stem. I dug it with smaller and smaller number 11s, first 2 mm (about 1/16 in), then 1 mm, then half a millimeter.
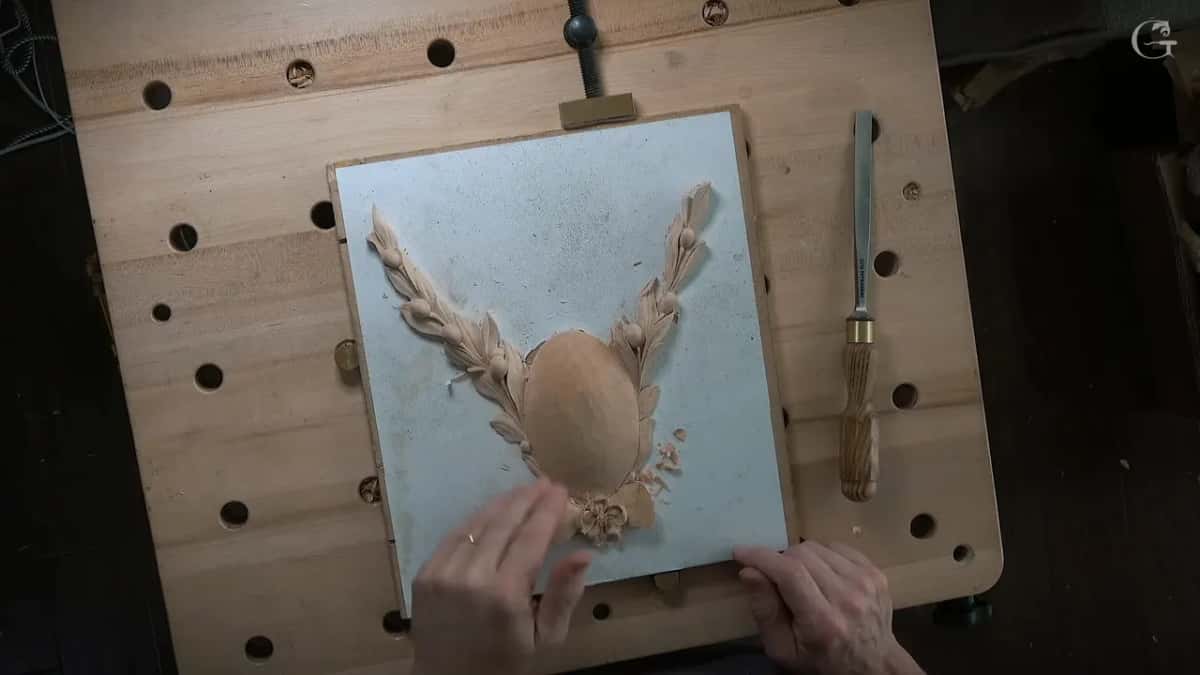
Pretty much one gouge handled the berry, a small round bump. The stem is what I fussed over, the piece I called on camera "that little thing which holds the whole thing together."
Want your berries to look like they grow there? Want the shadow beside each stem to stay dark? Then give the stem your time. Lesson 2 shows you where it goes, how it meets the berry and how deep the shadow beside it went.
What the stem needs, in seven lines
Either way works for the berry, open with its own small stem or partly beneath a leaf, and I said there's no rule about which.
A number 3 rounds it, worked around from every side.
Its stem stays visible.
Mine went left, because that made a lot more sense with the movement of the spray.
It runs into the berry and never up to the top.
Number 11s at 2 mm, 1 mm and 0.5 mm dig the shadow beside it.
Airborne is fine, I said, but probably not on this piece, because of the way it will be installed.
Where does the stem go on a carved berry?
Into the berry's middle, which I said three times in lesson 2, in three different ways.
The first time I was digging beside it, and I said the stem should not go all the way up, it has to go somewhere in the middle of the element. Later I put it as the stem being supposed to go somewhere to the center. Near the end it came out as a stem cannot go right to the top.
Which side it comes from is a second choice. I could make it right in the middle, I said, or I could make a twist and move it to one of the sides, either to the right or to the left. In my case to move it to the left made a lot more sense with overall movement, so that's where it went.
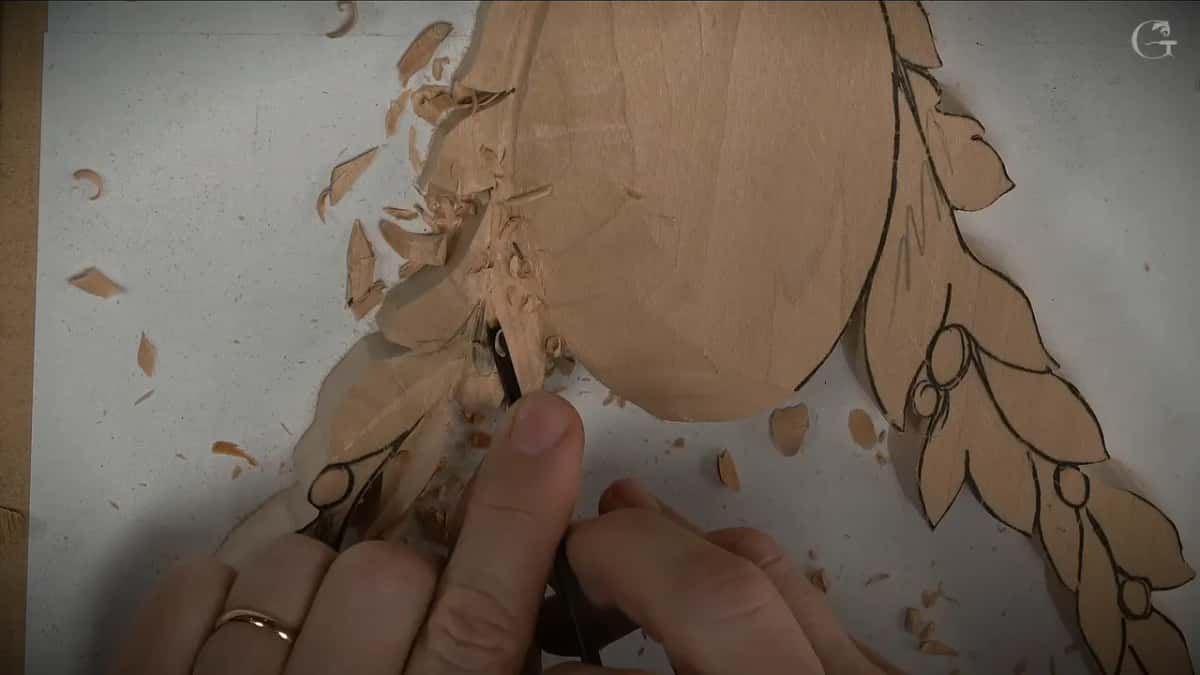
The spray has that movement all through it. When the end of it was roughed, I said it was pretty much just going left, right, left, right, the opposite directions, and that gives it a 3D movement.
The berry I did all this on was a dropping one. I didn't want to leave it long like that. I could have, I said, if it were just like an olive, but I wanted to make sure a stem would be visible.
Should a carved berry sit open or half under a leaf?
Either one, and on camera I said there's no rule about what I can do. With a pencil I showed both on the drawing.
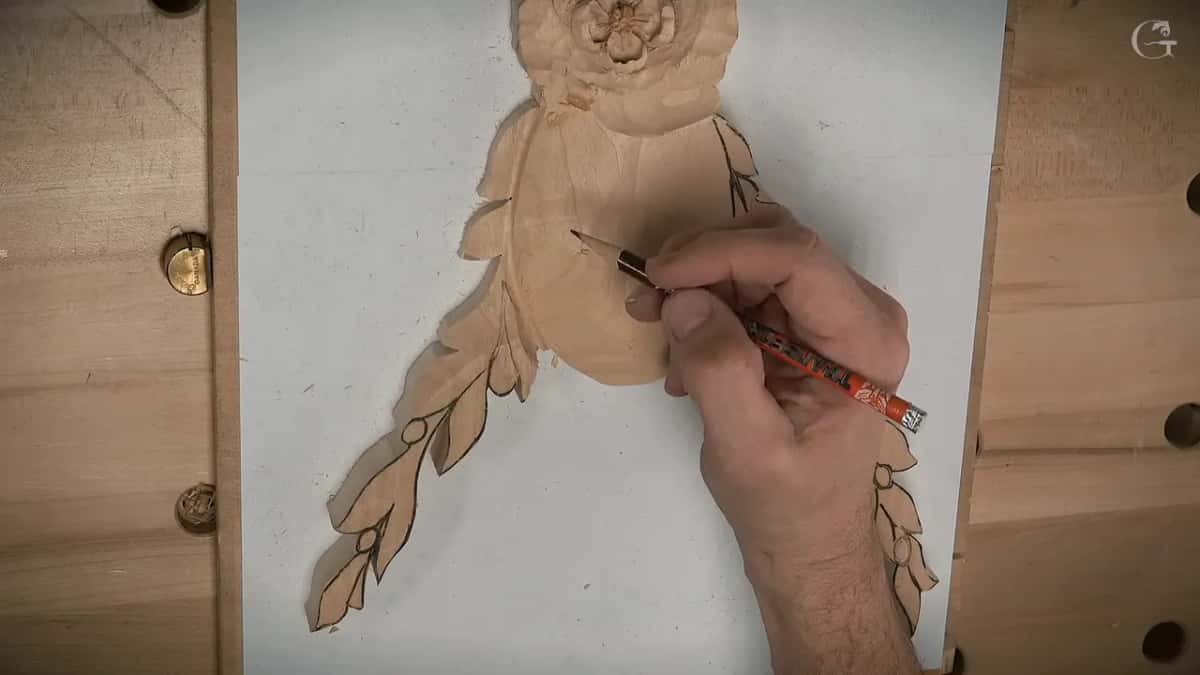
The first was an open element with its small stem, "the berry or whatever you call it," as I put it. The second was partially covered with the leaf. That second one is what I chose, probably, I said.
Then a number 11 went in, a little less than one-eighth of an inch, two and a half millimeters, and I started excavating from one side and then the other. After that I dropped the end of the leaf right down. That exposes a lot more of the berry, and the leaf ends up kind of wrapping around it.
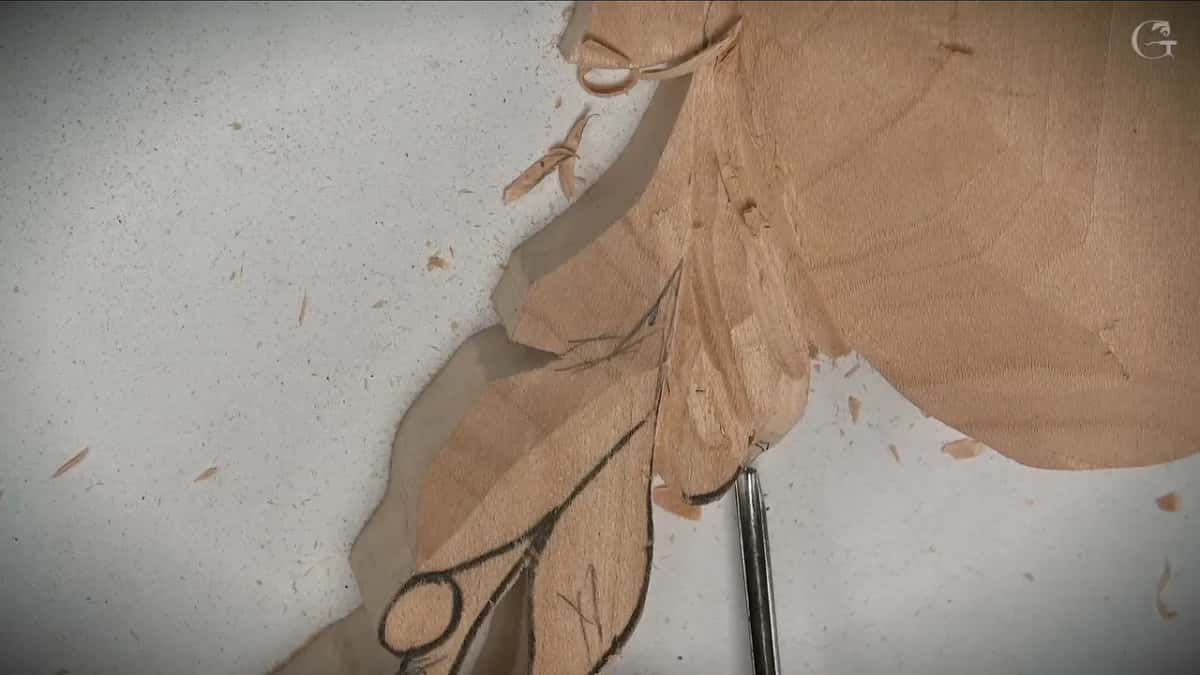
On that leaf I even excavated a twist with a number 11 of maybe two millimeters, twisting it backward, and started undercutting right away.
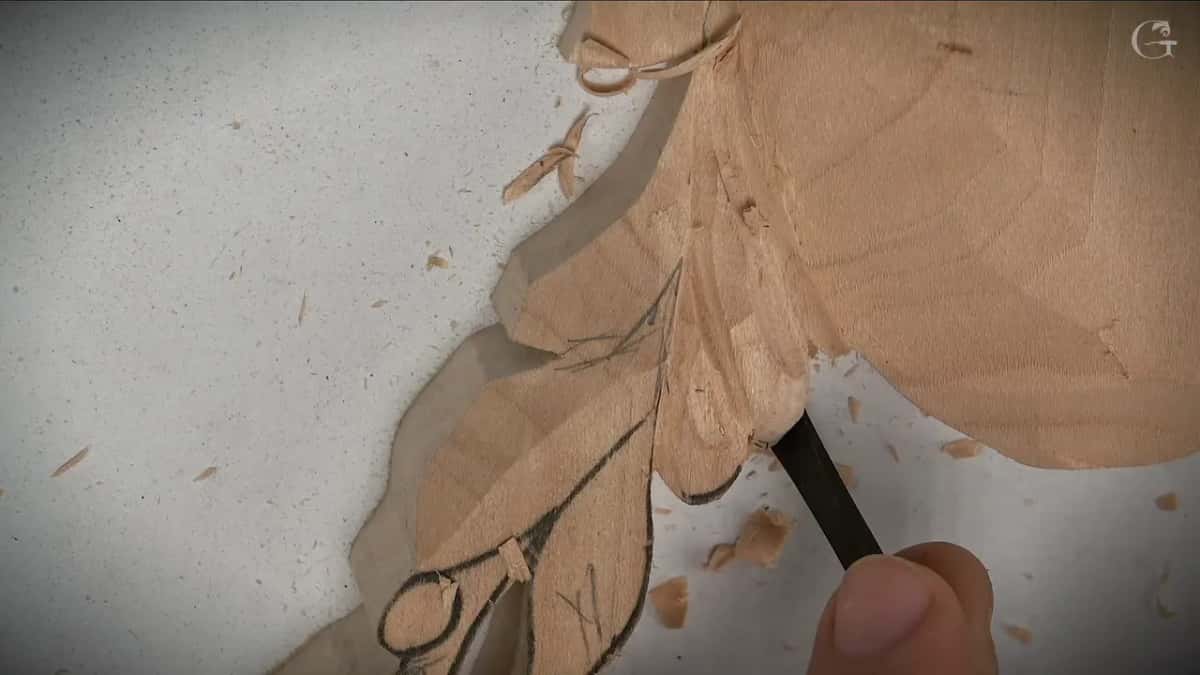
For the next berry I took a bigger flat, a number 3, and dropped the leaf beside it. Not completely. I left about 3/8 of an inch, ten millimeters, between the bottom and the edge, because there will be moldings there and I wanted some kind of shadow effect.
"Here you go," I said. "I exposed my element, whatever you call it. Berry or whatever you want to call it."
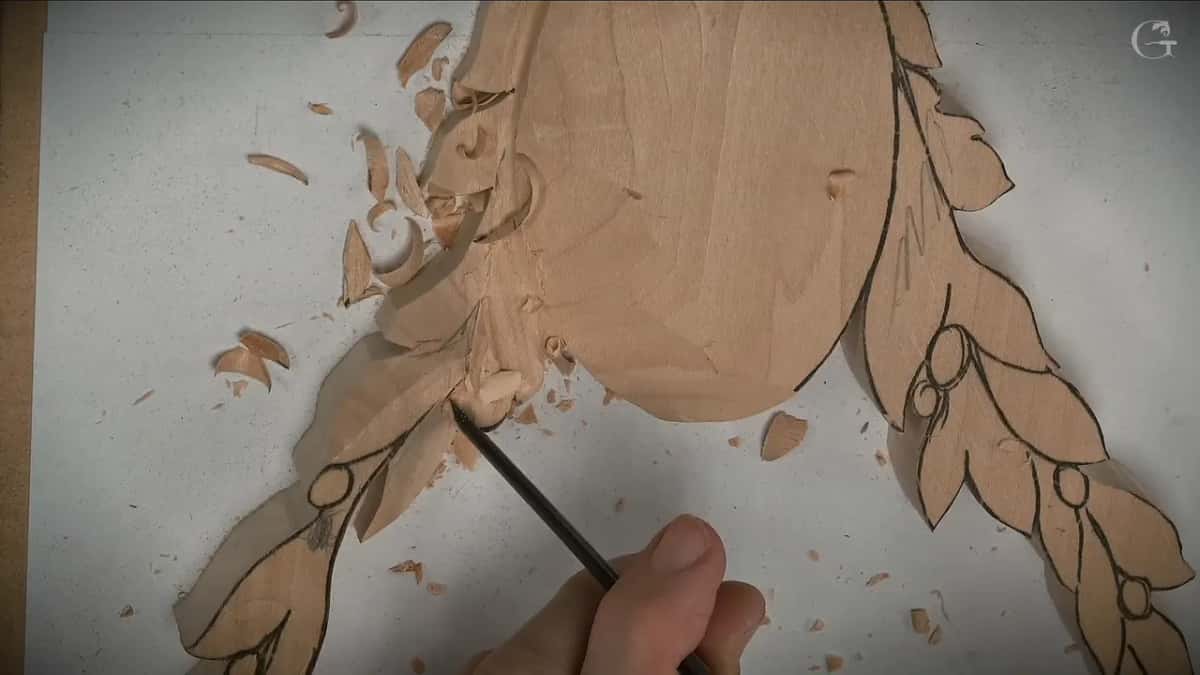
You really don't have to repeat exactly what I do, I told the camera, and you can be more creative if you wish. Just make the decision ahead of time about what you would like to see.
What rounds a berry this small?
A number 3 did it, in my case about ten millimeters, worked from all the sides. One berry had to drop right down first, just like dropping down. It was too big, so a flatter tool, that number 3, dropped it before I started rounding.
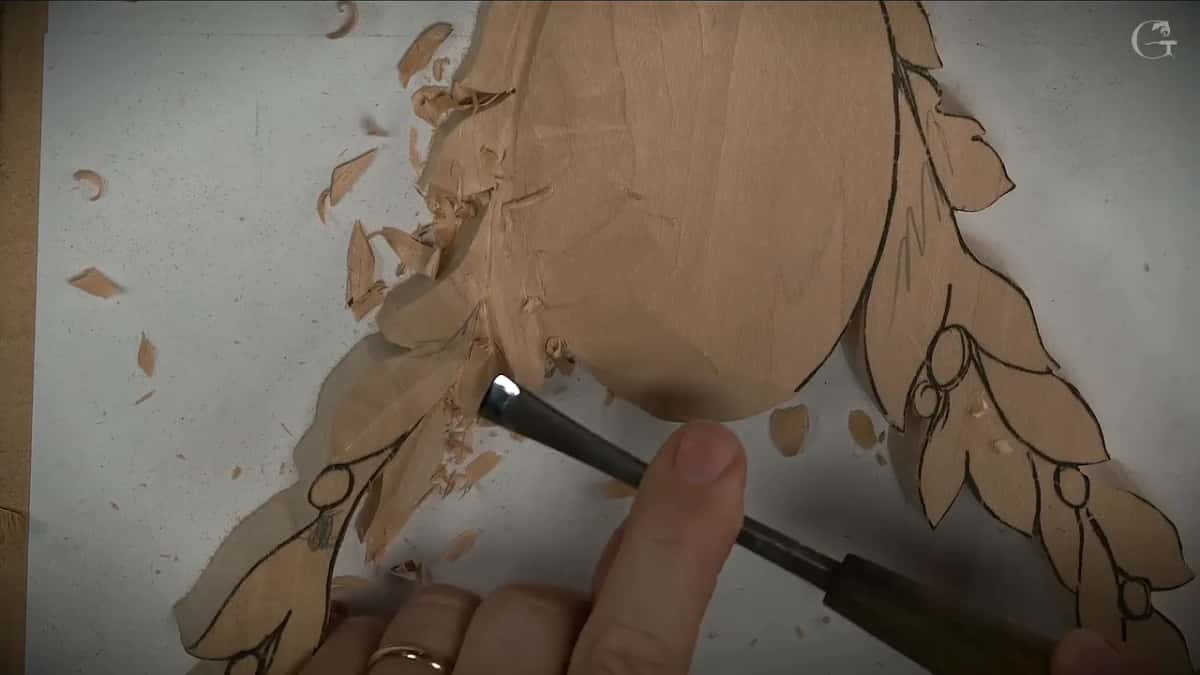
I didn't rush it. I wanted it to look somewhat roundy, if you wish, and that means going at it from every direction and switching to a smaller tool when you need one, which I said I would.
Then I held up my iPad to show it close. Really, really rounding it off, I said, with pretty much just the one tool. It's shaky footage, one hand and an iPad, and I asked people to tell me in the comments if it helps to see details that way.
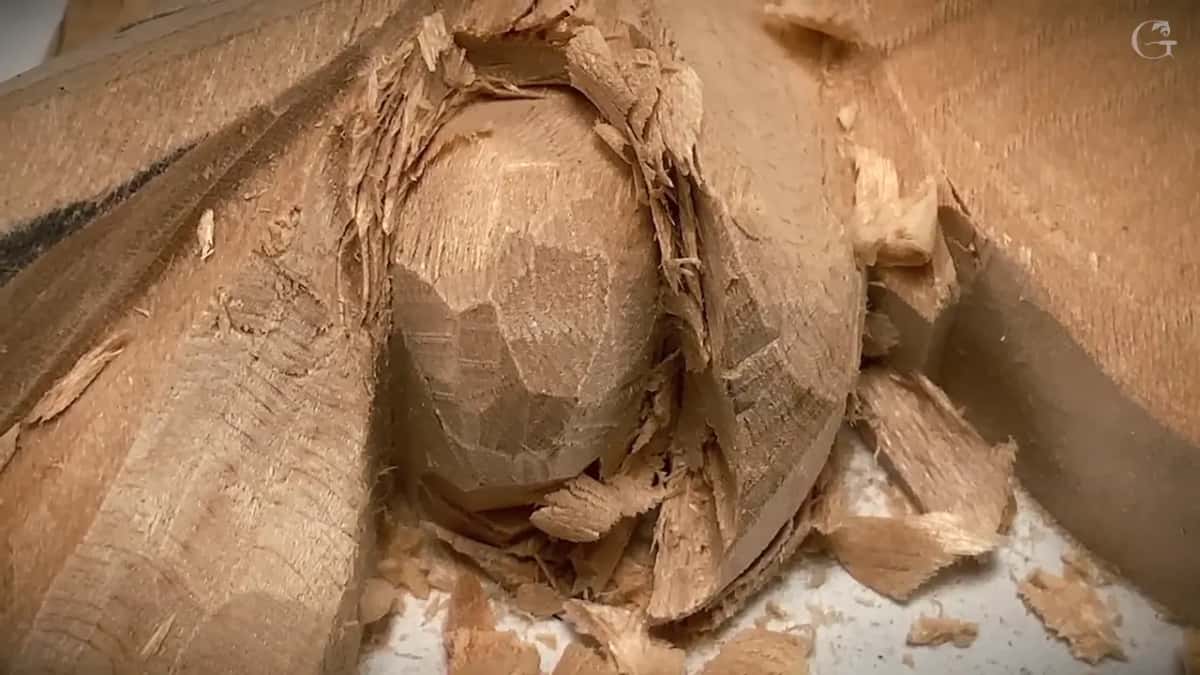
You can see the facets in that close-up. Later in the lesson I said to take out all those facets, and if a number 3 doesn't work, just get a number 5. If the 5 doesn't work, get a number 7, until you're really happy with the overall shape and it really does look round. More time you spend, nicer it's going to be.
Turning a berry into a true ball, with a groove right round it and small facets taken while you turn the work, is a different job, and Hashemi Flowers 19 has it.
How deep does the shadow beside a stem go?
As deep as you can get it, a little at a time, from every side you can reach.
I started right on the side of the stem with a narrow number 11, maybe 2 mm. I also had to remove some of the material right there.
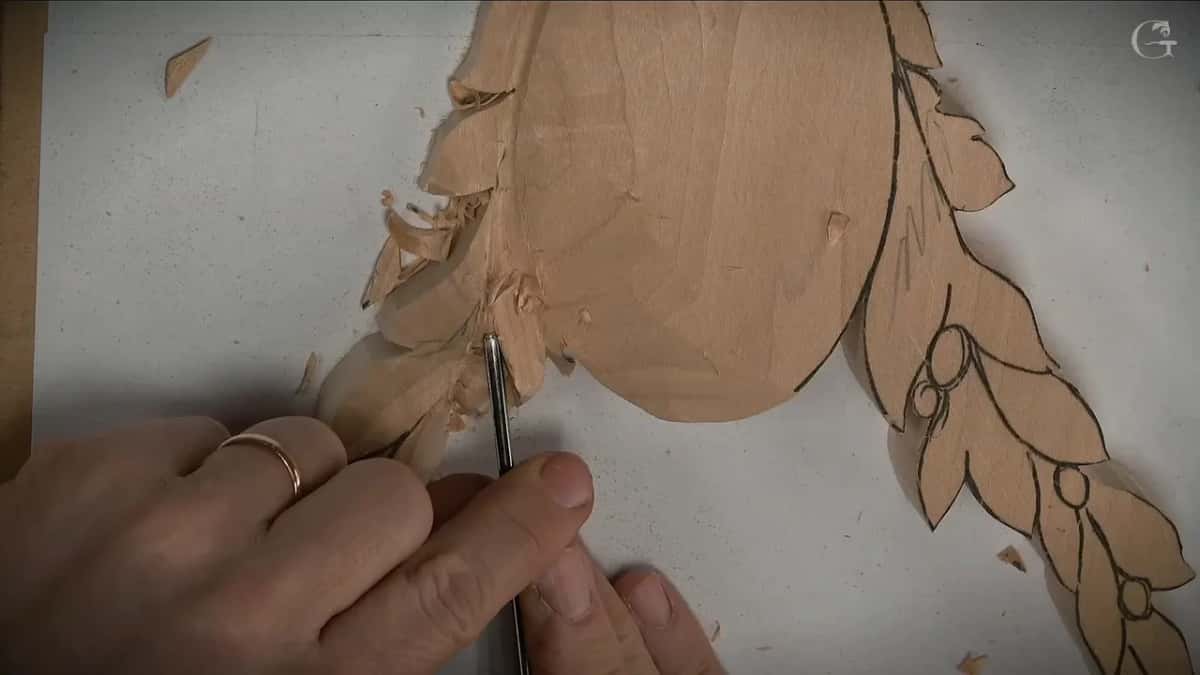
Then 2 mm again, and then even smaller, 1 mm for sure, working my way around that stem. Good idea not to rush it, I said. All I'm after is just a good shadow.
The last step down was maybe half a millimeter, excavating deeper and taking the time to create a really deep shadow.
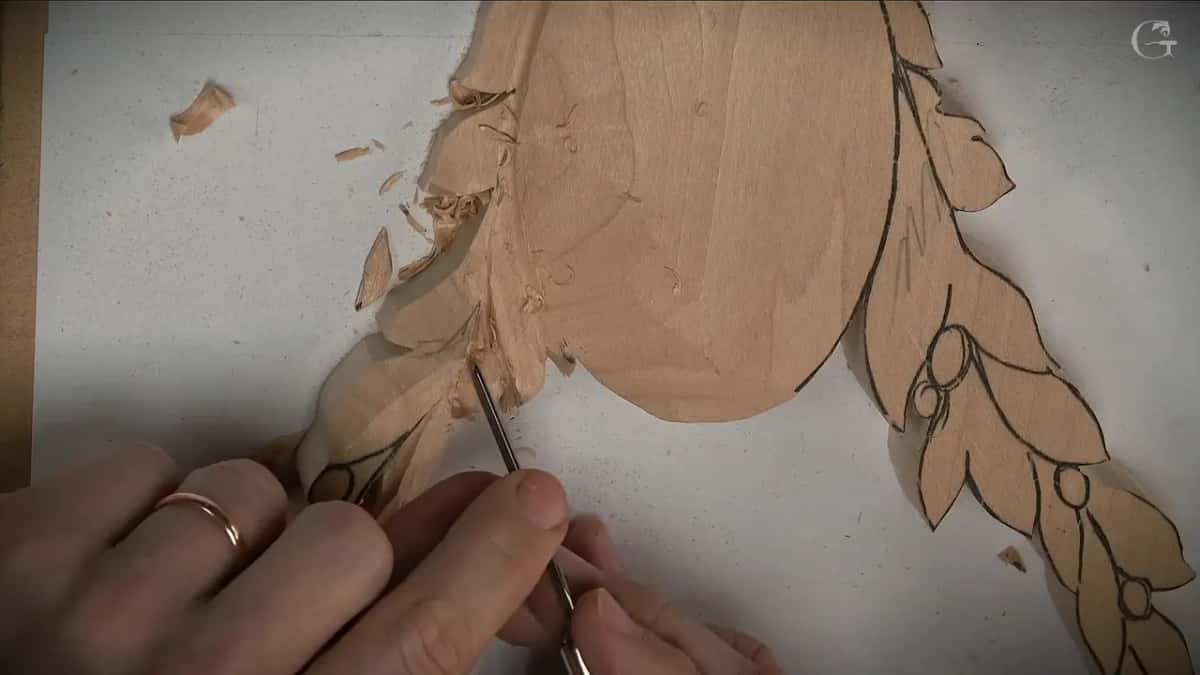
No half millimeter in your box? Small tools like a Dockyard can do exactly the same, I said. Just excavate as deep as you can, attack it from all the sides you can, and work your way in.
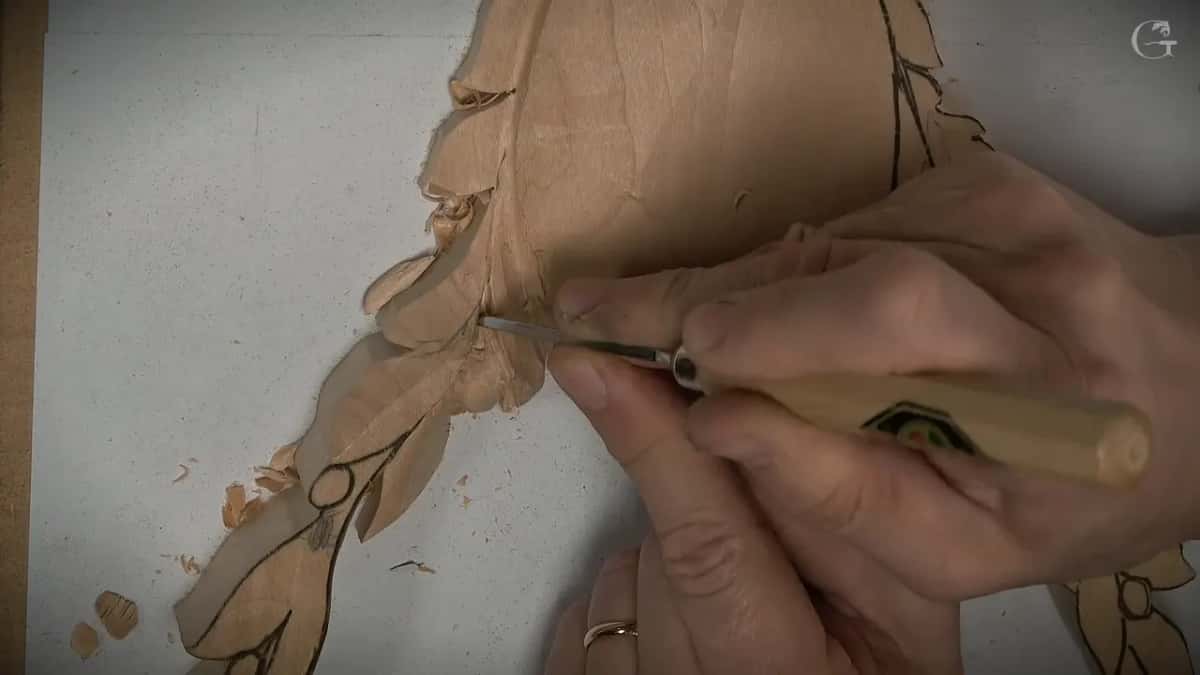
The camera couldn't see all of it. I can't set my iPad so you see exactly what I see, I admitted, and asked people to tell me if the close-ups help, or if they bug them. Just don't be mean.
What happens where the stem meets the berry?
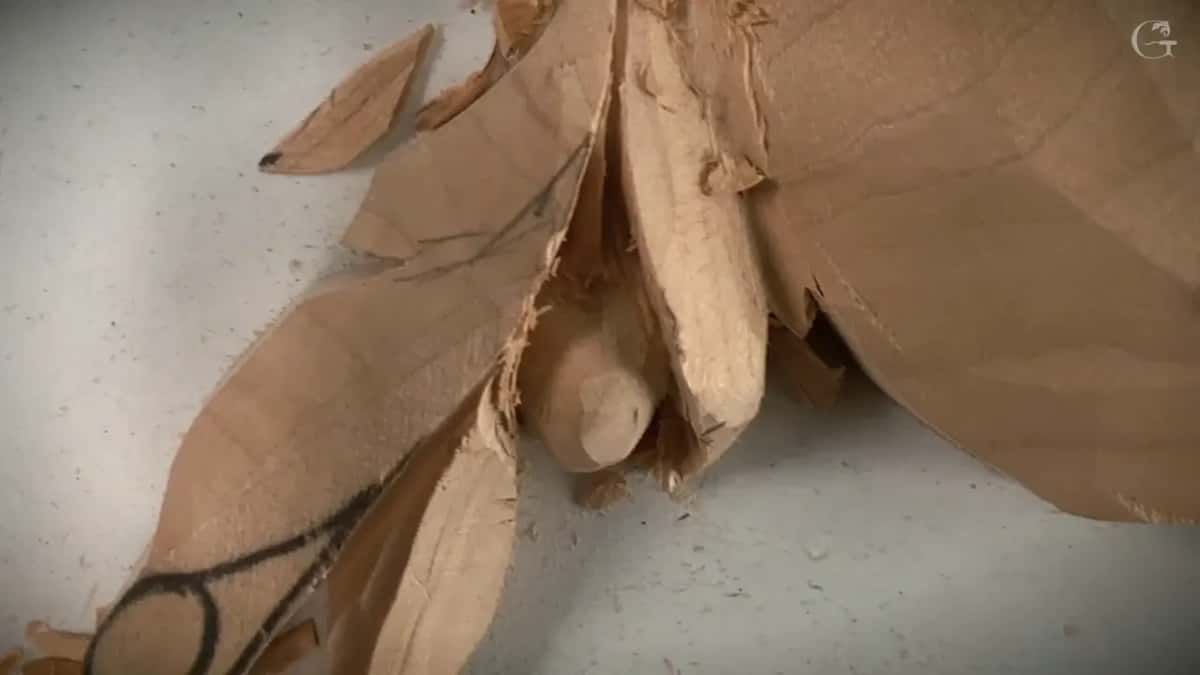
It gets a little wider there. I said a stem is really narrow along its run and a little wider at the spot where it touches, and I was happy with how this one came out.
That stem sat close to its leaf, so I had a lot less excavation on that side. A tiny number 11, like one-eighth of an inch, did the digging. A smaller tool did the rounding.
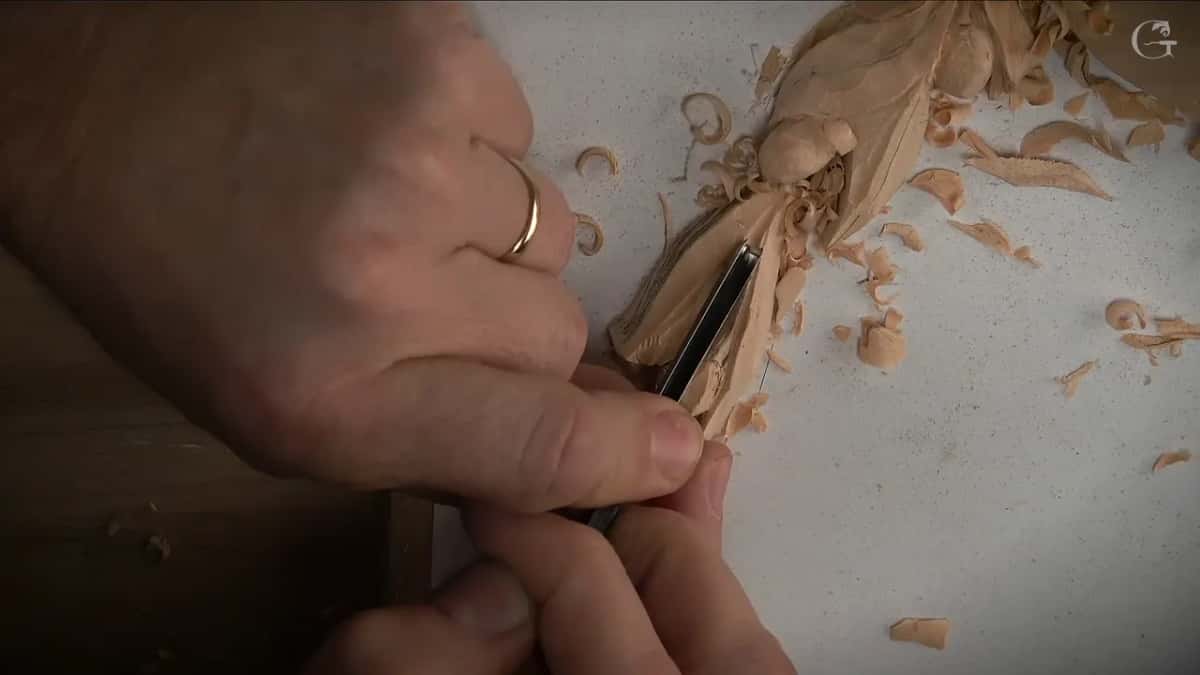
On the stem I had forgotten, I worked the joint too. As for the place it touches the main element, I said I'm going to create some kind of roundness. Just before that I said I could actually undercut with the half millimeter right there. Why not?
A flatter tool came next, just a number 3. Then, to take out all that mess, the half millimeter again is a good idea. Just hook out whatever mess you created.
On the berry from earlier in the lesson, my iPad showed the stem going right down, and I said I'd round it underneath also. A lot of cleanup was still to do, and I said I'd spend more time off camera cleaning underneath.
Olives on a thin stem are their own job, knife first and gouge second. How thick a carved branch should be is another question again.
Can a stem hide under a leaf?
It can, and I said it doesn't really matter which one hides.
I forgot to make one stem and went back for it. This time, I said, the stem could hide underneath this leaf, or this leaf could hide underneath the stem. Maybe I'd hide the stem under the leaf, since that would be a little easier to do, and every little bit helps.
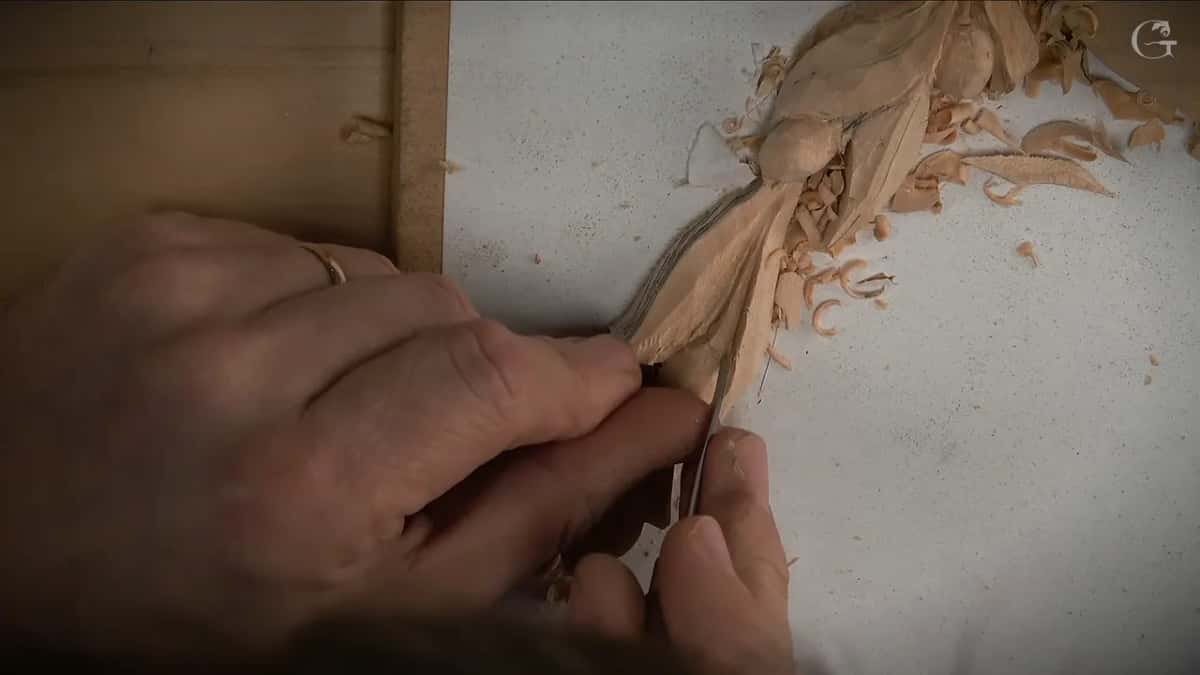
A small back bend started it. Then the little number 11, digging a little deeper and coming at it from both sides, and after that the half millimeter, deeper still.
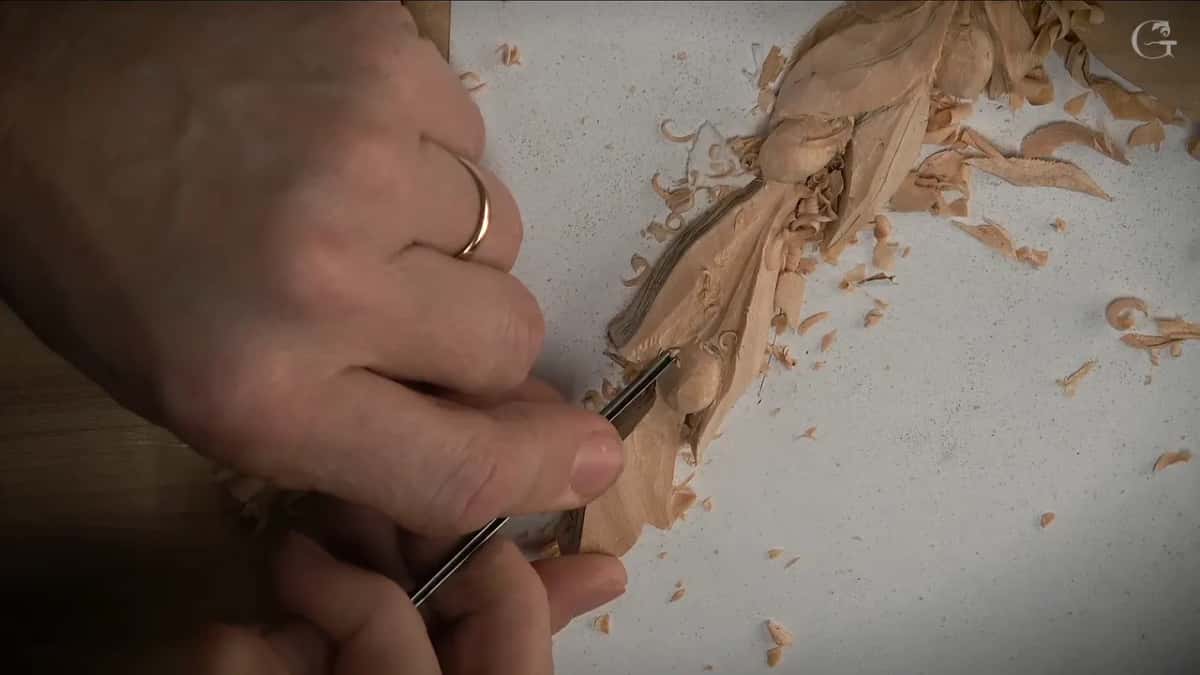
Should the berry stand free of the background?
You could make it airborne, I said. You can just go extreme and completely make it airborne, which is absolutely fine. I wasn't sure I wanted that here. Probably not, because of the way it's going to be installed, so I didn't want to risk it.
Smaller tools were next on my list, to get underneath, clean it, undercut it and so on. At that stage it's just cleanup and setting the overall movements.
With small tools, I said, you can go extreme on the stems and excavate really extremely, and that's going to look nice.
How do the leaves sit around the berry?
Lower than the berry, and wrapped under it.
When I moved on to two more leaves, I wanted one of them to wrap underneath that thing. For my taste it was a little too high. The highest spot, I said, should be right in the middle, so I wanted that leaf knocked down approximately 6 mm, about a quarter inch.
Not completely down, though. I still had to leave some space for undercutting, maybe about an eighth in that case.
One leaf goes a little underneath the next, so there's a separation line, and I carved under it for some shadow movement. That was work for a number 11 of 2 or 2.5 mm (1/16 or 3/32 in).
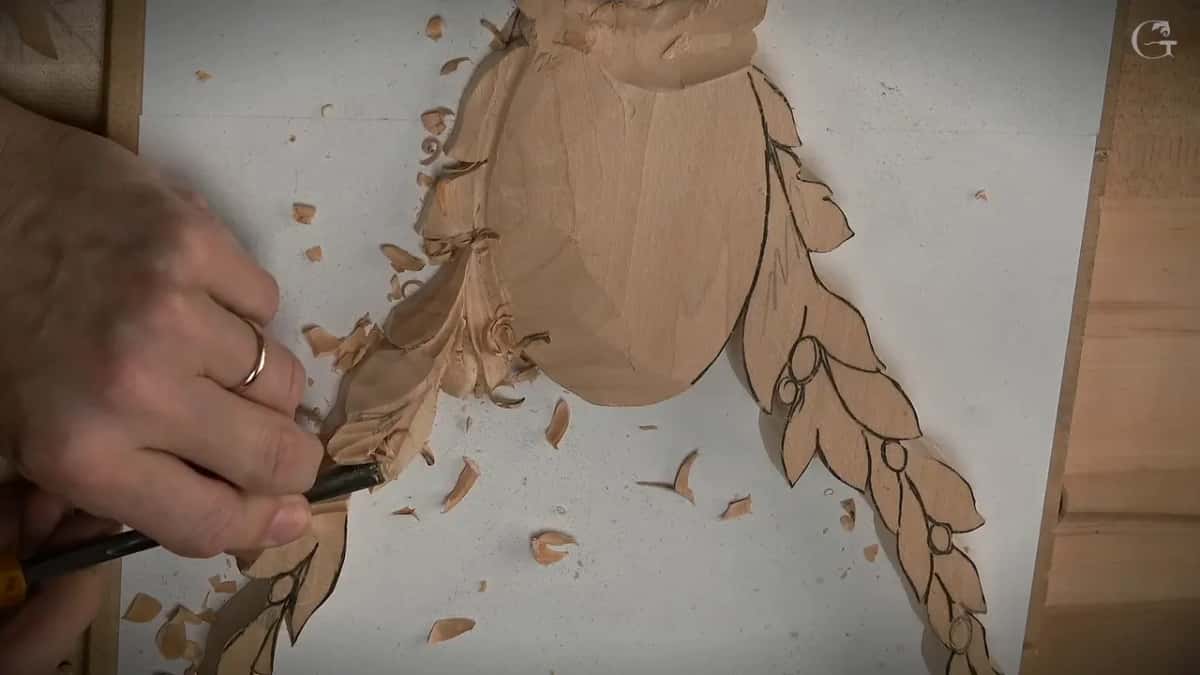
Another part could drop lower than the berry, I said. Even lower, so it grows from underneath it. With a bigger tool on it I had to be careful not to break it apart.
To get the transition nice the whole way, a knife or a flat chisel could probably do it. There are multiple ways, but I really like to use just the skews. I went right underneath and made it a really gradual movement. From the iPad you can see it just wraps around and goes right underneath, which is how it's supposed to look, in my understanding.
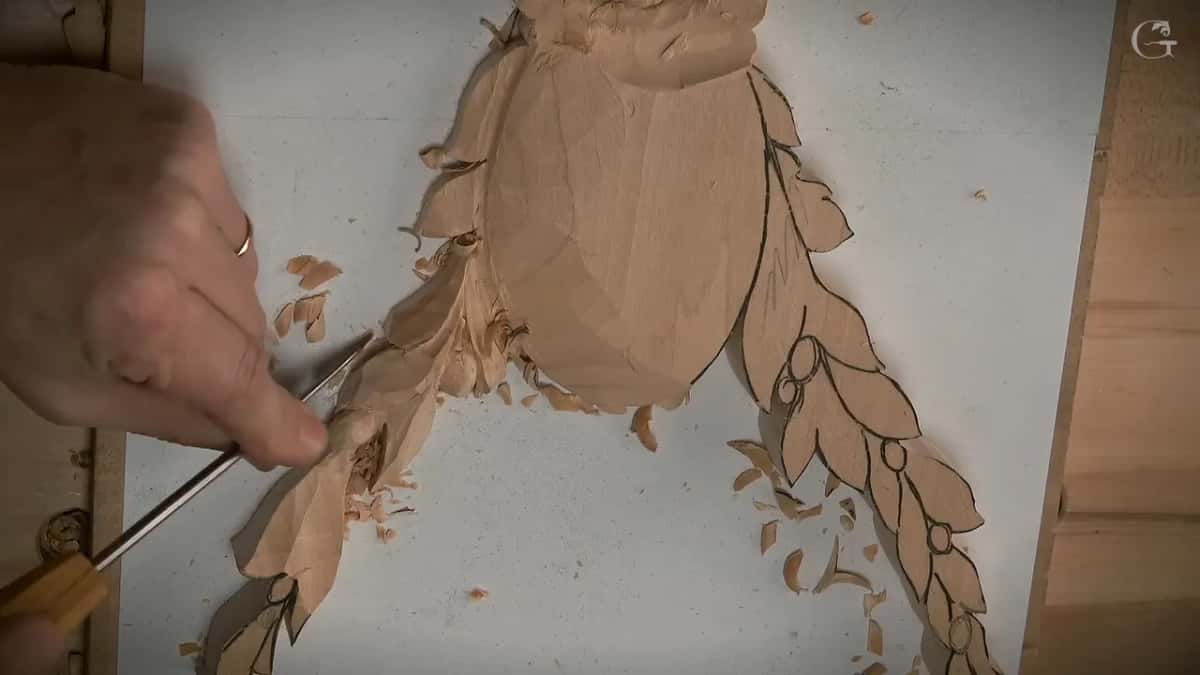
The edge of the middle part, the rosette itself, I left alone for the moment. Blending the leaf smooth happens in this lesson too, and Venice Room lesson 145 sets that beside a sharp edge.
It's almost like working with the grapes, I said. A leaf crossing over one neighbor and under another is a different trick, and Venice Room lesson 133 tells it, while the grape onlay course gives grapes lessons of their own. An overlap built from a square wall and a dropped lower leaf is on Greek Acanthus Leaf 3.
Which tools does a berry stem take in wood relief carving?
These are the main tools from lesson 2 on the berries and stems of this relief, in the order they came up.
Job | Tool | Result |
|---|---|---|
Excavating around it | Number 11 just under an eighth, two and a half millimeters | Started on each side first |
Dropping the leaf | A bigger flat number 3, stopping short of the bottom | Room for moldings and shadow |
Rounding the berry | Number 3 gouge, roughly 3/8 in (10 mm) in my case | Worked around it on every side |
Opening the stem | Narrow number 11, about a sixteenth of an inch wide | Dug right beside the stem |
Deepening the shadow | Down to 1 mm, then the half millimeter number 11 | A really deep shadow there |
Killing the facets | If the 3 fails, a 5, and then a 7 | Until it looks really round |
Stem near leaf | An eighth inch number 11, then a smaller tool | Less digging on that side |
Hidden stem start | A small back bend, then a little number 11 | Attacked it from both sides |
Shaping the joint | Half millimeter number 11 to undercut, then a number 3 | Some roundness at the joint |
Cleaning the mess | The half millimeter again, just hooking out what I made | Mess gone from around it |
The sizes come from what I said out loud on camera, with inches added beside the millimeters, so read every one as an about.
What changed when I carved the second spray?
Only two things, its length and how many leaves it carries. I did the second side off camera. It's the same leaf and the same detail, I said, with absolutely no difference except how long this side runs against that side. The other change is how many leaves I got, and how many, whatever those guys are called.
Not the eggs and not the fruits, I said. You probably know the name better.
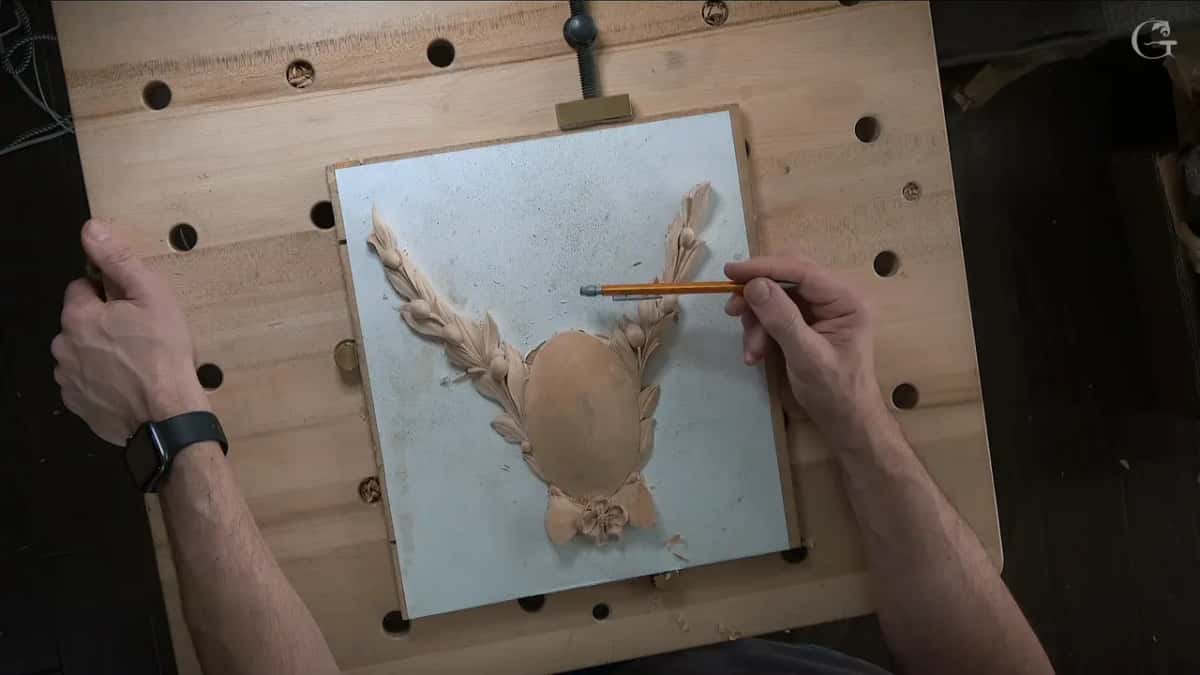
The paper method held really well, with no problem whatsoever. The one downside I showed was all the dark spots, dust and whatever, from rubbing hands and so on, until the spray turns kind of dirty and not really appealing. I'm okay with that, since that detail doesn't take me too long.
Right after that I turned to the bow. Chamomile and Bow Rosette 3 is the next lesson.
Where does your own berry start?
A pencil line comes first, the way mine did.
Got a pencil? Got a scrap of board? Then draw one berry, decide if a leaf covers it, and give its stem the time.
Lesson 2 is inside Tuition and Access, filmed at my bench with the iPad close-ups, and the lessons map shows where the course sits. If a gouge in that table is new to you, All About Tools covers it.
How it's done
- Draw both choices. Pencil the berry with its small stem showing, and again partly covered by a leaf, and pick one before the wood comes off.
- Expose the berry. Drop the leaf beside it. I left a margin above the bottom edge for a molding.
- Round it with a 3. Use a number 3, every side, no rush.
- Place the stem. Keep it visible, run it to the berry's center, short of the top, and lean it the way the spray moves.
- Dig the shadow in steps. Start with the 2 mm number 11, go to 1 mm and on to 0.5 mm, deeper each time.
- Shape the joint. A little wider where it meets. Some roundness there.
Frequently asked questions
Where should a stem meet a carved berry?
In the center of the berry, and not at its top. Mine stayed narrow along its run and got a little wider at the spot where the two meet, and I said I would give that meeting place a bit of roundness.
Do I need a half millimeter gouge for the shadow?
I used one on this stem, and I like it a lot. Without one, smaller tools can do the same job if you dig deep and come at the stem from all sides. I stepped down to it slowly, 2 mm first and then 1 mm.
Should a carved berry be left open or half covered?
Either is fine, and I said no rule decides it. I drew both options in pencil, a berry left open with a small stem and one partly covered by a leaf, then chose the leaf. Make the decision ahead of time, before any wood comes off.
What to carve next