
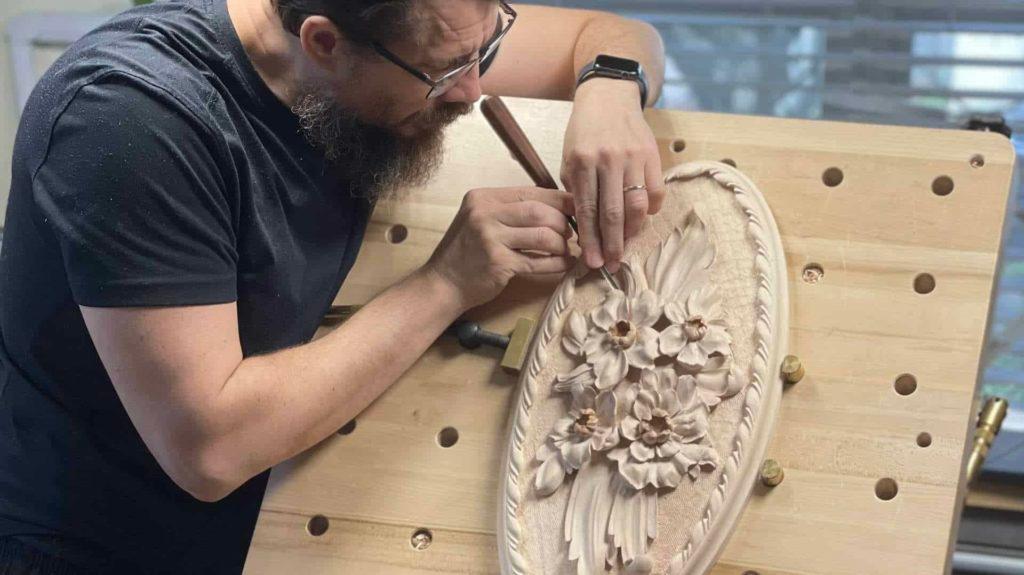
Alexander Grabovetskiy, woodcarver, School of Woodcarving · Published 2022
What goes wrong when you carve a rosette with a bow?
Quick answer: Carving a rosette with a bow is small work, so the trouble is small too. On mine the flower's middle broke away unseen, one leaf stood about 6 mm too tall, waste hid in the bow, a stem got forgotten, and the undercut beneath the main flower was missing until just before the piece left its paper.
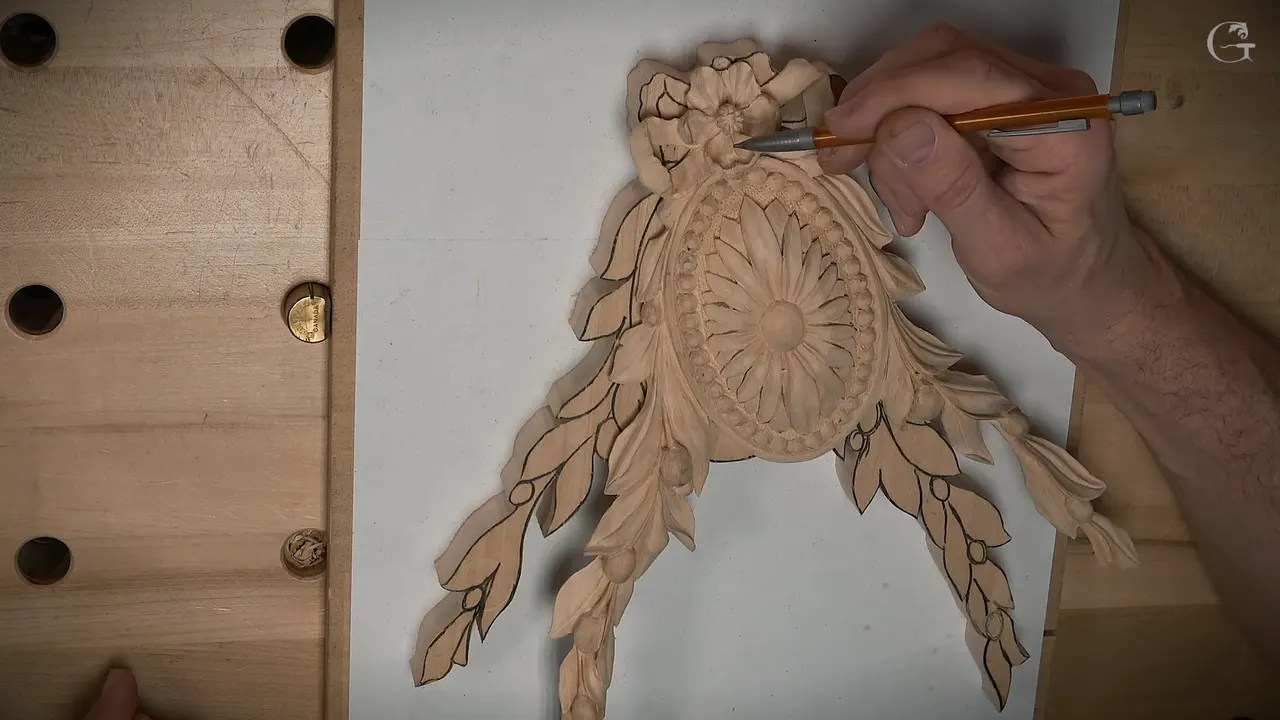
Rosette wood carving is small work, and on my chamomile and bow rosette the slips were small too. The middle of the little flower broke off and I didn't even notice it was gone. One leaf sat about 6 mm (1/4 in) higher than I liked, a stem got forgotten, a piece of waste was left in the bow, and I missed an undercut under the main flower. Each one is on camera in the four lessons of this course, and so is what I did or planned about it.
Does a small part break easier than a big one? Is a missed spot quicker to fix while the carving is still stuck to its board? Then go over the whole piece before it comes off the paper. That was my own advice in the last lesson, right after I almost didn't.
I'm going to be honest with you. These are my slips, not a student's, and every one of them is in the videos. You'll see where each happened on this rosette, how I saw it, and what came next, with the lesson it lives in.

Seven places my rosette went wrong
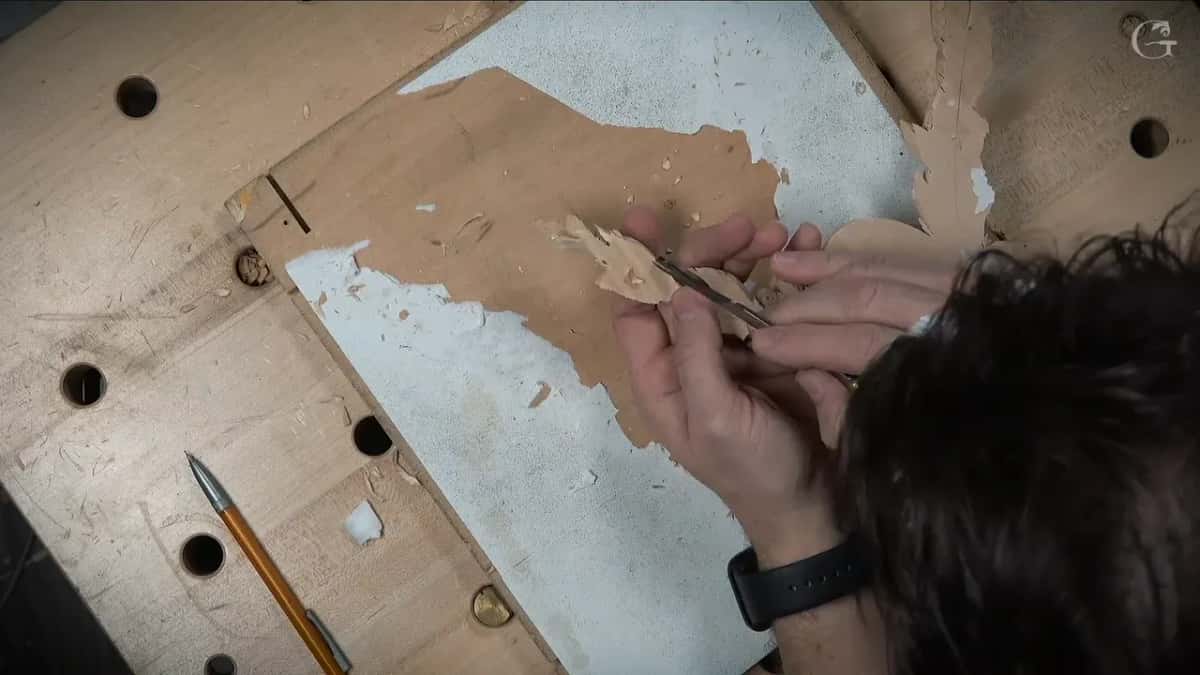
My small flower lost its middle, and I said I'd make a new one a little lower.
A wall stood on one petal. Off it went, and the edge stayed sharp.
One leaf stood higher than I liked, so about a quarter inch came off.
I forgot a stem.
Waste was still standing in the bow, and it had to go down to the background.
One concave on the big flower stayed too shallow.
Right before the piece left its paper, I found the undercut I had skipped beneath the flower.
Where does rosette wood carving start to go wrong?
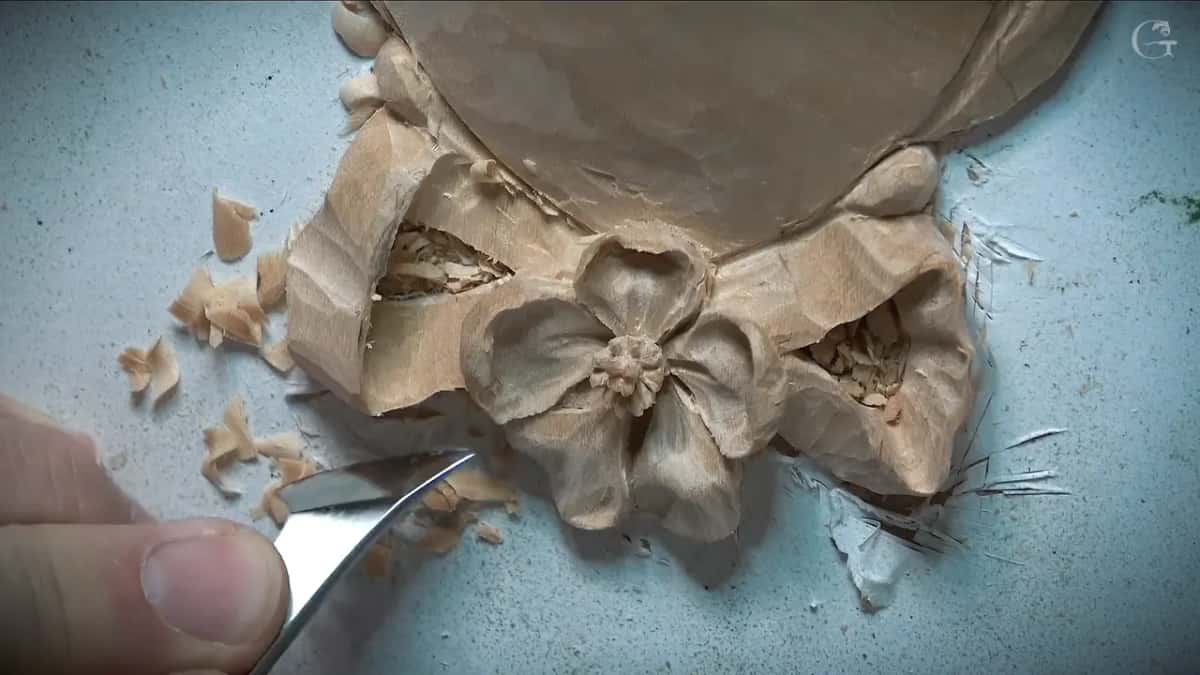
At the flower, on mine, since the flower is where I started. It's just about an inch across. And as I started on the second piece, I told you I had already changed the first one. I made that flower wider, and I said I'd probably do the same on the second, a little bit wider, though it doesn't have to be really wide.
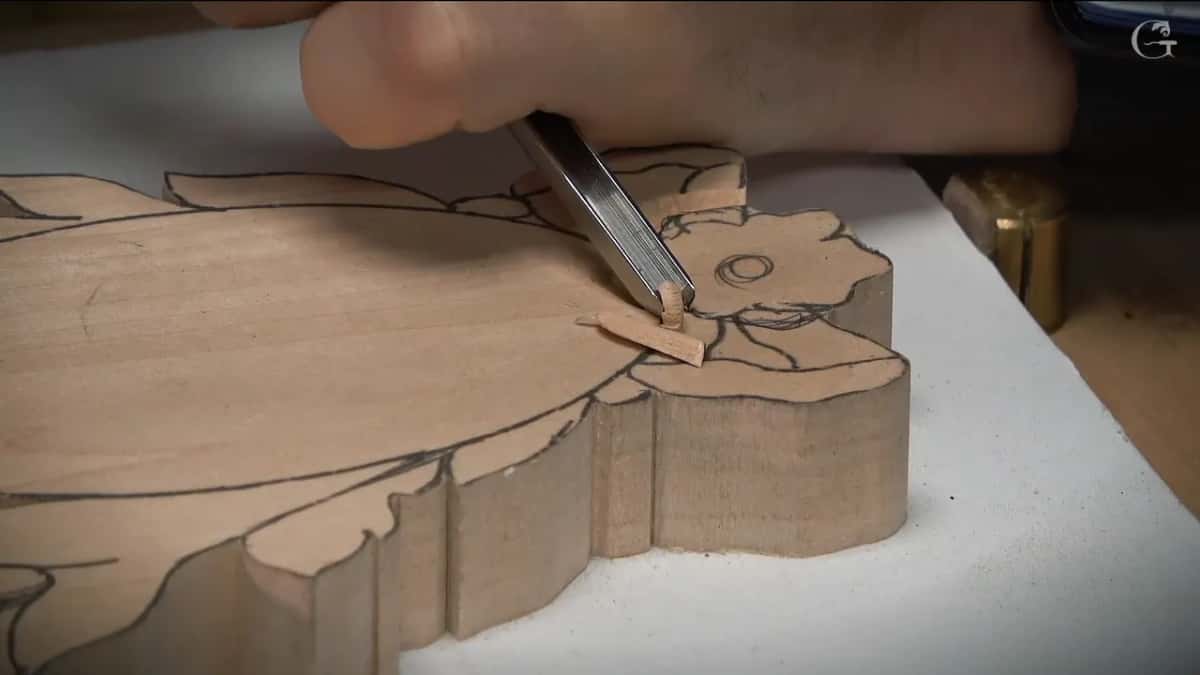
Next came a bigger tool. Taking the waste down using a number 8 about 20 mm (3/4 in) wide, across the grain, I lowered the spot right beside the flower as well. So I lost my flower, and I had to draw it again, then set it in once more, a number 11 near 6 mm this time.
Inside that flower the middle stands a bit higher than the ring around it. I went around it using a tiny number 11, about 3 mm (1/8 in), and said a Dockyard number 9 or 8 will work too. Then came the warning, in the first lesson. Just slightly lower, not much. Don't be too crazy, and don't go too low on the outside ring.
How did I lose the middle of my flower without seeing it?
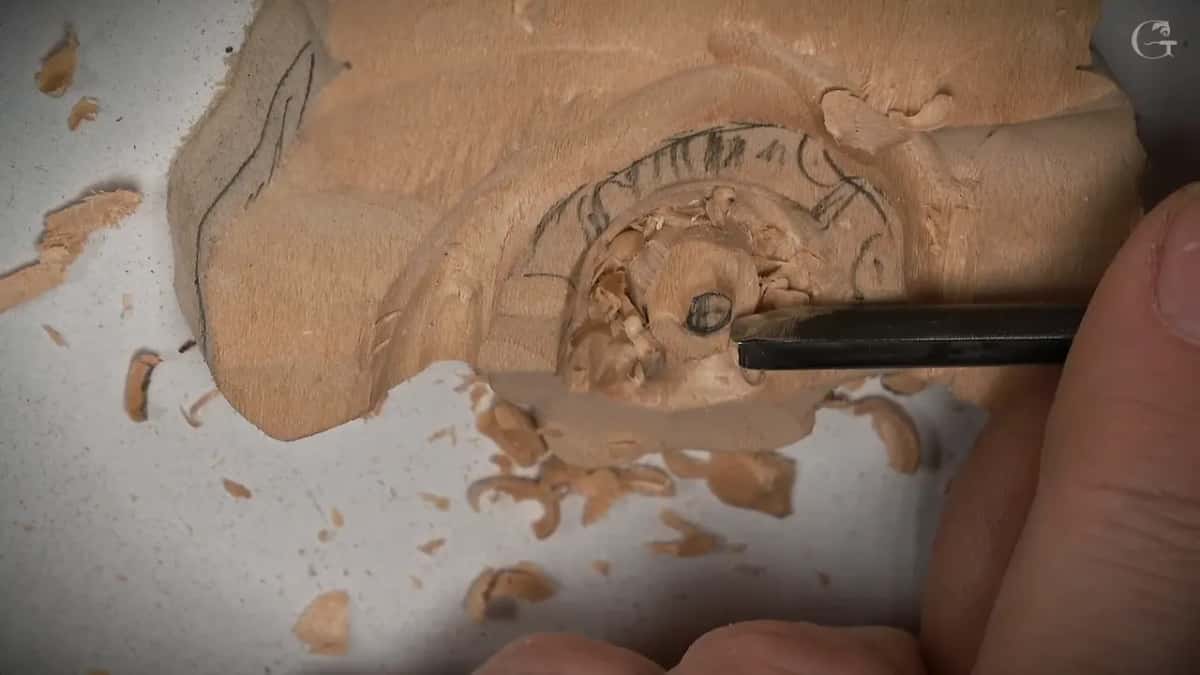
I found out later. The whole middle of that chamomile flower is only about 10 mm, 3/8 of an inch. I ringed it with straight down cuts from a Dockyard number 8 about a millimeter and a half wide, packed close, then went in with a half millimeter number 11 and a 1/16 inch chisel. While I worked, I said it out loud: I could break it really easily.
Then it moved. See, this one is moving, I think I'm going to lose it. A tiny plug cut didn't really work. A V cut and a second one across it made a small cross in the middle, the cross moved too, and that made me worry, so a couple of drops of thin super glue went into the center.
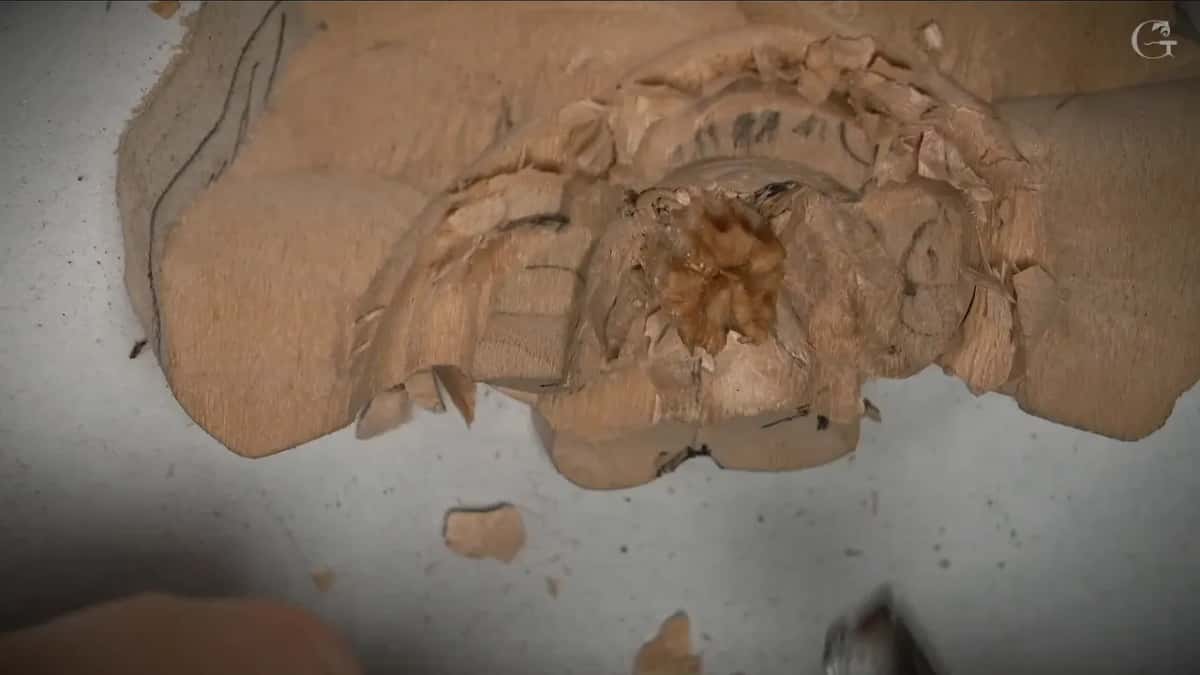
It didn't hold. A while later, shaping the petals, I said it plainly. My glue didn't hold, and I lost my middle part. I hadn't even noticed it was gone.
My fix was short. I'll recreate a little lower one, I said. At the end of that lesson it was still on my list, so I said I'd decide later, that it would probably be a cross in the center again, and that I wasn't too careful when I did that.
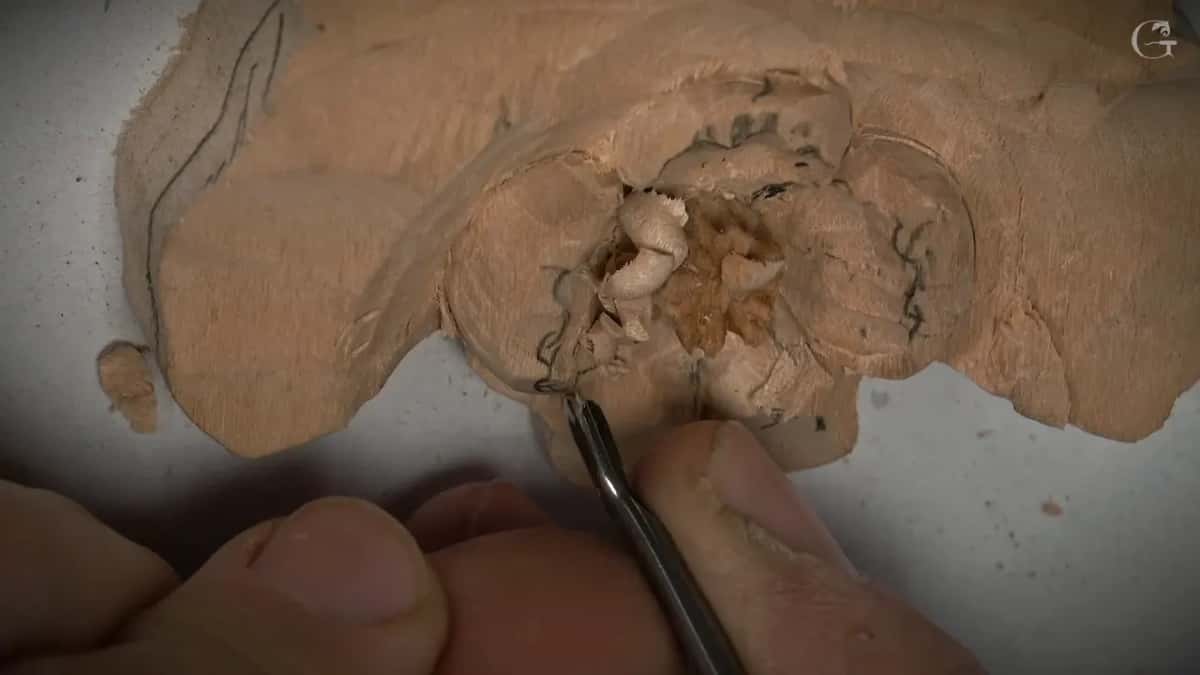
Why did I mark a petal with a marker?
To show you a wall. On the first petal I finished there was some kind of wall, which I didn't want to see, and I marked it so you could follow what I was doing.
Before the wall came off, I made sure the top of the petal wasn't flat. A few random concaves went in first. A perfectly flat top won't look good, I said. After that, a really small gouge took the wall away and left a sharp edge.
Now the marker. Don't copy me there. I'm really not encouraging anybody to use one on a project, I said, because marker ink gets deep into the wood, and once it's in, the cleanup is hard. I had to take a little more off just to get rid of it.
Last came a small concave right over the center of that petal, 1/16 inch, a millimeter and a half.
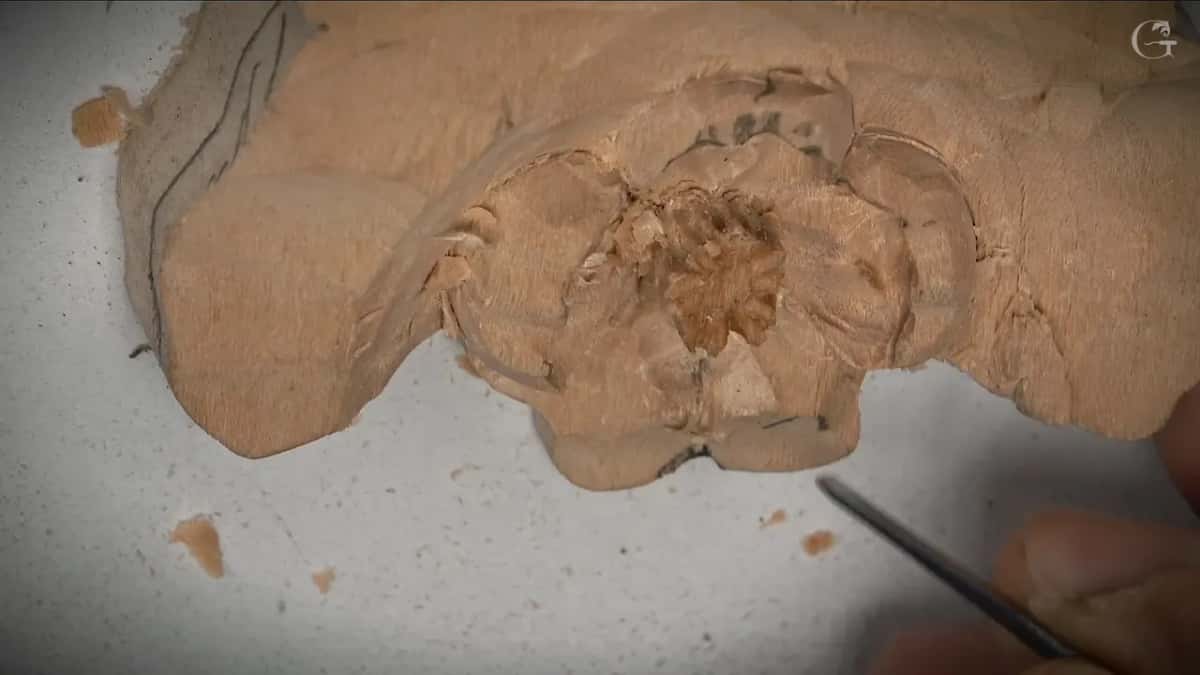
Why did one leaf have to come down 6 mm?
It sat a little too high for my taste. This leaf was supposed to wrap underneath the berry next to it, and the highest spot, I said, should be right in the middle. So about six millimeters came off, a quarter inch, and I said I could safely do that.
Not down to the ground, though. I left about an eighth of an inch there for undercutting later.
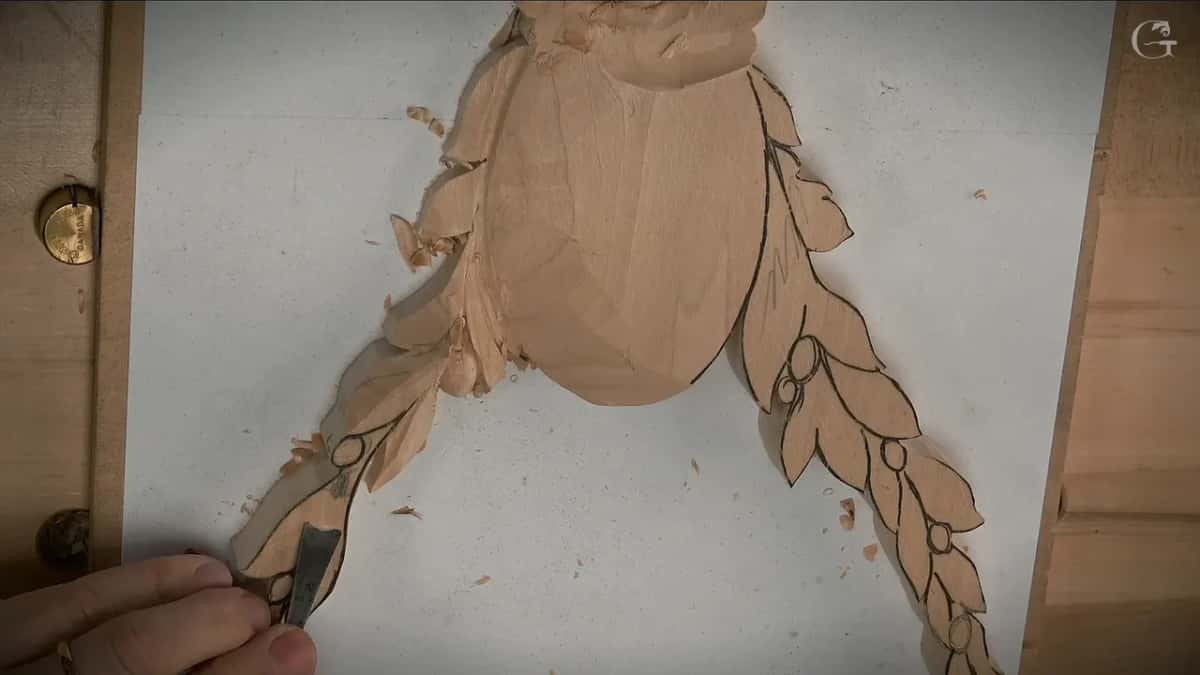
Later, on another part of that spray in the second lesson, I named the opposite worry. I don't want to be too low on this part. I still need some meat, otherwise it's not going to be able to hold itself.
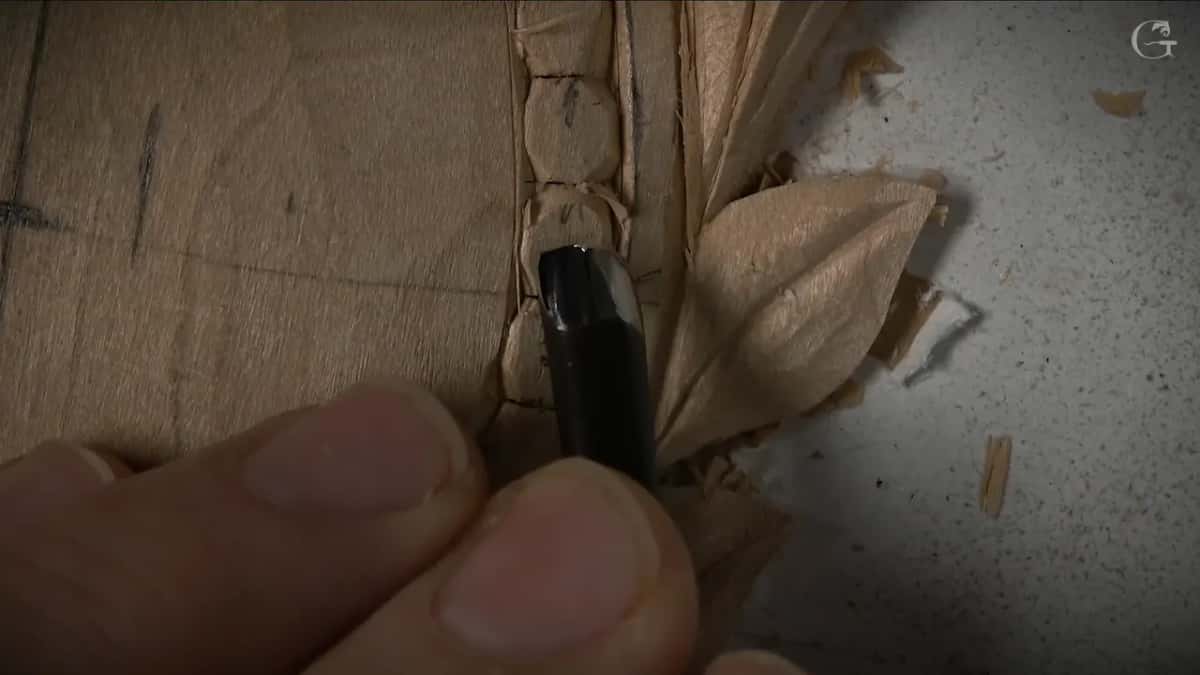
Earlier on that spray, the danger was the grain. I chopped straight down using a number 2, and with the grain running that way I said that if I chop too hard I can knock down the whole thing.
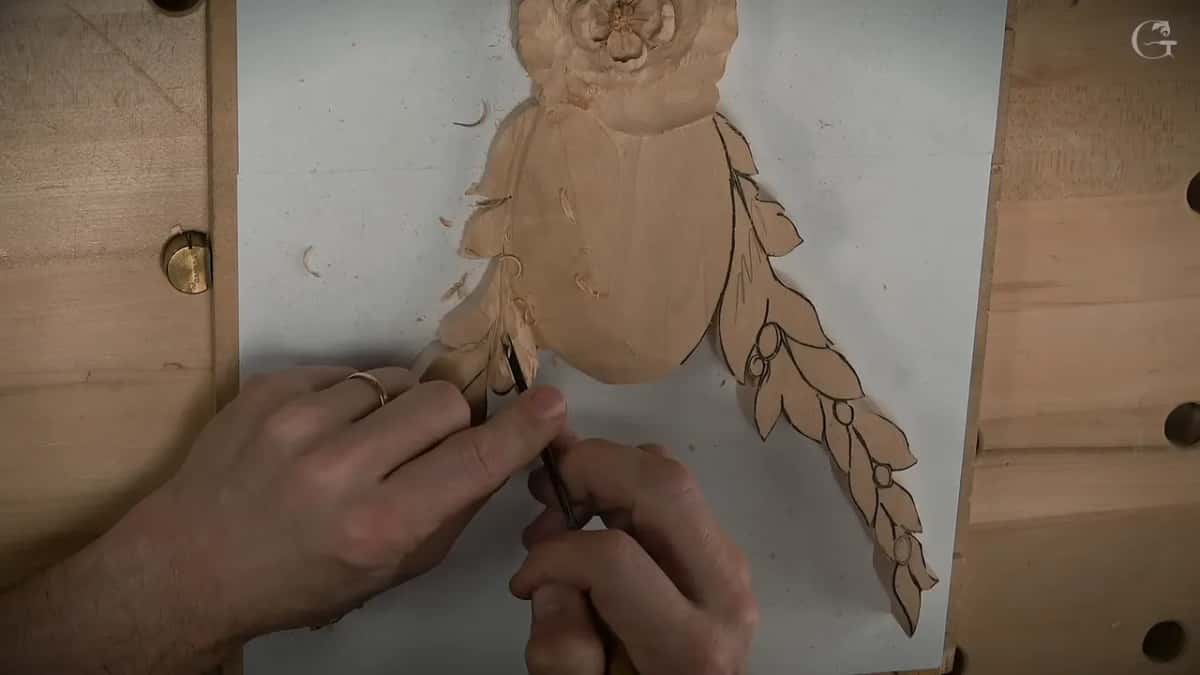
How do you forget a whole stem?
By finishing the one next to it. My words were that I was happy with the overall movement, and with the stem I had just carved, and a moment later, I also forgot to make a stem right here.
This time, in lesson 2, the stem could hide underneath the leaf, and I picked that because it was a little easier to do. It doesn't really matter which one goes under, I said. A small back bend started it. Then small number 11s went in, down to half a millimeter, digging deeper from both sides, and that same half millimeter undercut it too. Where it meets the main element I gave it some roundness, and the half millimeter hooked out the mess.
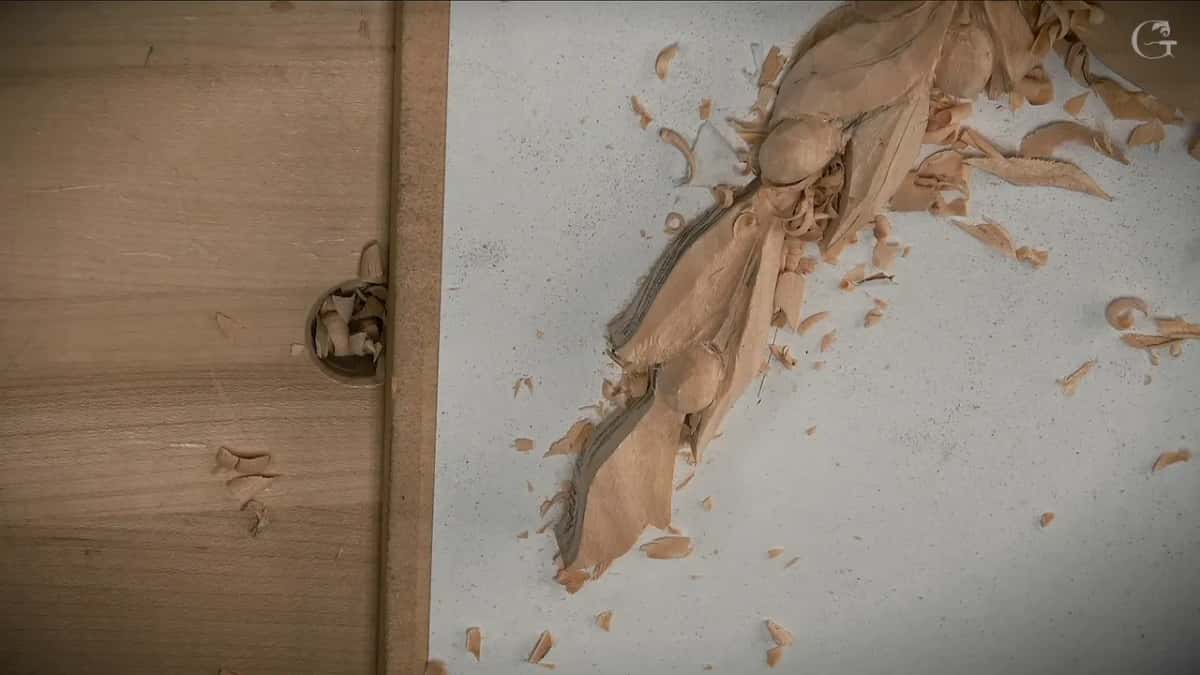
The two sprays on this piece are the same leaf and the same detail. What changes is how long one side runs compared to the other, and how many leaves and berries each one gets.
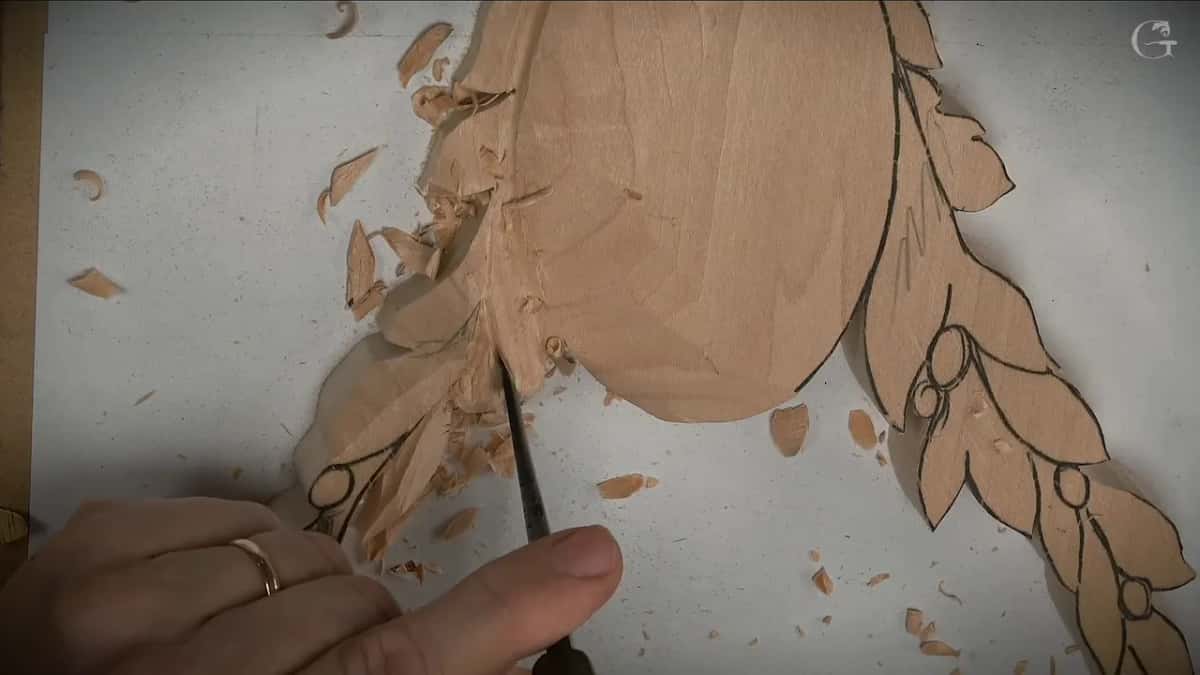
What hid inside the bow that should have been waste?
A piece behind an undercut. The ribbon bow started as two holes from a number 9, a quarter inch, and in the third lesson I worked it with my Gonzalez tool. I was telling you how beautiful that tool is, how it gets really underneath for the undercuts.
Although I do have a problem, I said. This part right here, it should be waste. I have to cut this out, all the way to the background, and I said I'd come back and clean it from the back side later.
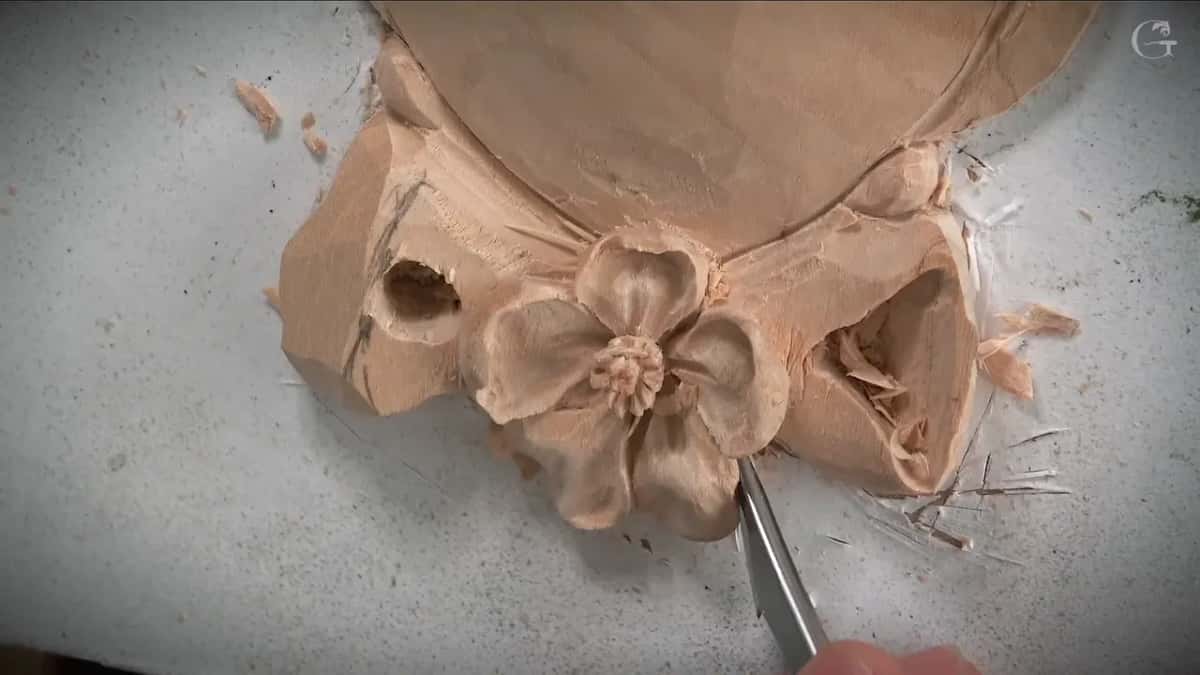
After that, the heel of the same tool put a small concave in the center of that side, for some extra shadow. The cross cuts came after, the kind Grinling Gibbons used on bows. Somewhere in there it got darker outside. I fixed the lights a little.
Does the oval inside the beads have to look like an egg?
Not on mine. The oval goes lower than the beads and blends right into them. A number 3, a flat one, took it down toward the beads, and a 6 mm number 8 went a little deeper where it needed to.
What I was trying to avoid came out in plain words. It doesn't have to look like an egg, I said, it has to be smoothly just blending toward my beads. My own Sekira, with its heel, got into the small triangles between them and made the blending a lot easier.
Cutting the beads themselves in lesson 3, the other danger was the border. Be really careful not to break the border, I said, when the gouge works toward it.
When is a concave on a petal too shallow?
When it doesn't give you enough, and one of mine didn't. Each petal of the big flower in the fourth lesson gets a deeper concave close to the dome, like a folding spot, and less of it out toward the edge. A 2 mm number 11 made it, working off its left side and its right.
Then a wider concave went over it, any gouge like a number five or seven, all blended. On one petal it fell short. Looks like this one doesn't give me enough concave, I said, so I changed to a number 5 or 6 and blended it with a slightly bigger number 11, about an eighth of an inch.

The bigger petals got a double concave, with the middle ridge a little higher. And I warned you about that one too. It won't be a really exaggerated one, so don't get too excited about it.
Before any of that, the border around the flower's raised middle could not move. Why not start with a number 7 and shape it? I don't want to lose that edge, I said. There are two pieces like this. So that middle has to match the first one, and when the dome came, a number 7 about 20 mm, I went slow near the petals. I'd rather spend a little more time and clean it later than force it and make the mistake.

Why check the rosette while it is still glued to the paper?
A missed spot takes seconds while the piece is stuck down, and it's harder once it's loose. Mine sat on printer paper and spray adhesive, over half inch plywood, and I was about to pry it off when I stopped.
Well, hold on. I forgot something. One side still wasn't done from the front, so I said I'd attack it first, completely get it done, and only then take the piece out. That was the first catch.
The second one came right after. It's a good idea to check everything before you take it out from the paper, I said, and in my case I'd missed the undercut under the flower. It took me a couple of seconds.
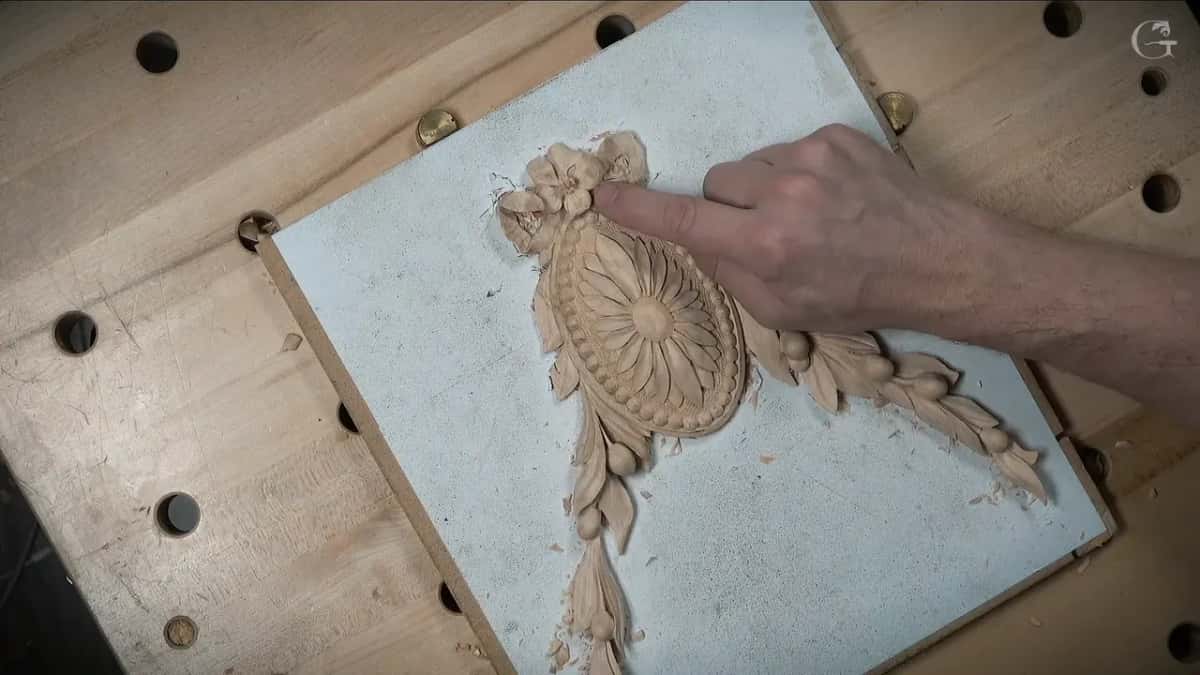
Then came the part where things break. Some sections are really fragile at this stage, and I showed you one connection that was really fragile. So I worked the Gonzalez in from different points. I didn't want to break it.
Which marks did I want off the wood?
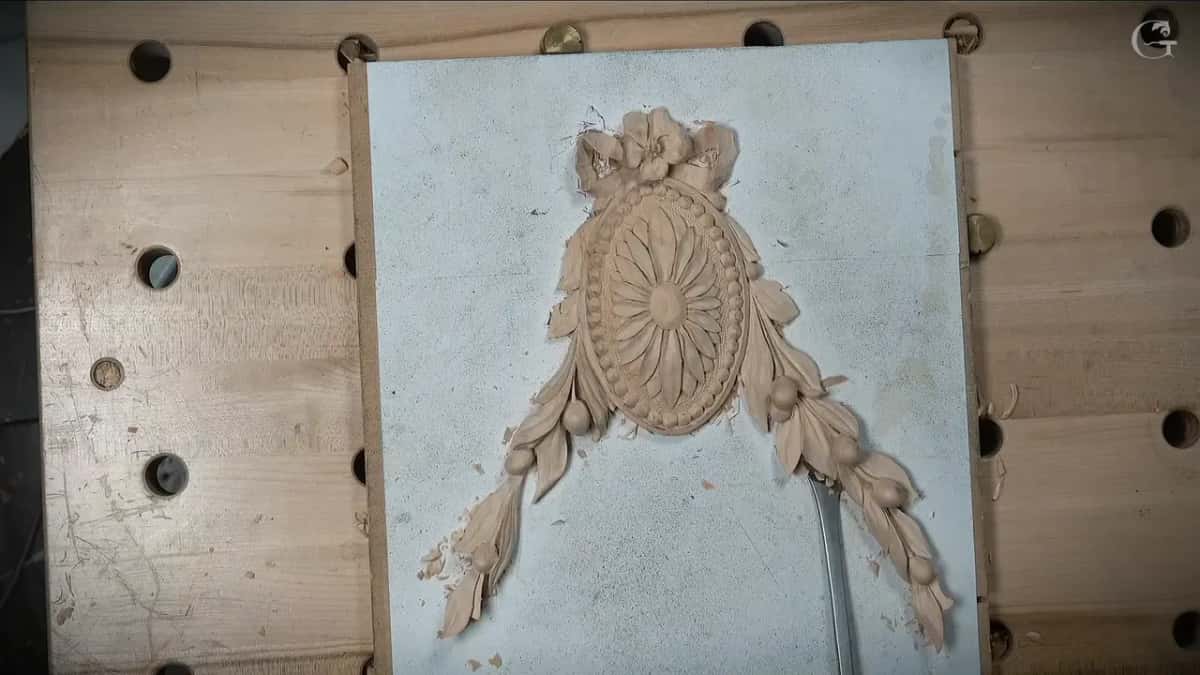
Black carbon and dark spots. The pattern went on with carbon paper, and the only problem I have with that method is how much black dirt it piles up. I left it for a while. Then, blending the petals, I took one all the way to the edge because I was really tired of that black line.
The dark spots came from the paper sandwich. Dust and rubbing hands left them on the spray, and I said it's not really appealing. But I'm okay with that, since this detail doesn't take me long to carve.
After the rosette came off, the leftover paper on the back went quickly on a 100 grit sheet, on a flat surface or just in my hand. It takes just seconds.
Which slip showed up in which lesson?
Part I checked | What went wrong on my own piece | Caught in | What I did about it then |
|---|---|---|---|
My first piece | I went back and widened its flower | First lesson | Planned the same for the second |
Center of flower | Its middle broke off without me seeing | Lesson one | Said I would carve it lower |
Top of petal | A wall stood where an edge belonged | Same lesson | Took it off, kept it sharp |
One dropped leaf | It sat too high for my taste | Second lesson | Knocked it down a quarter inch |
Same leaf spray | One stem slipped my mind back there | Lesson two | Carved it, hid it under leaf |
Inside the bow | A piece that was waste still stood | Third lesson | Had to go to the background |
Oval under beads | Rounding it could leave an egg shape | Lesson three | Blended it under the beads instead |
Big flower petal | One concave did not go deep enough | Fourth lesson | Changed to number 5 or 6 |
Beneath main flower | I had missed the undercut right there | Lesson four | Did it before prying it loose |
Where do these four lessons leave you?
With the whole piece, leaf sprays and berries and bow and beads, plus every slip I made along the way, all on film. A short list of checks for a different piece lives with the antique style rosette. And the first flower lesson is where this one starts.
Can a few small gouges carry a piece like this? Will a scrap of plywood and some printer paper hold it while you work? Then you have what this rosette starts with, and all four lessons sit inside the school's Access.
How it's done
- Keep the outside ring up. Go round the small flower's raised middle with a tiny number 11, slightly lower, not much.
- Leave each petal's center standing. Don't run your gouge over the middle of a petal. That part stays raised, like a hill, on all five.
- Lower a leaf that stands too tall. Knock it down, a quarter inch on mine, and keep about 1/8 inch (3 mm) above the ground for the undercut.
- Look for waste behind the bow. Anything there that should be waste comes out to the background, and the back gets cleaned later.
- Swap gouges for a shallow concave. Change to a flatter gouge, a 5 or a 6, then blend with a small number 11.
- Check everything while it's still on the paper. Finish each side's undercut from the front and check beneath the flower. Then pry it off carefully, from different points.
Frequently asked questions
Can the middle of a carved flower be made again?
On mine, that was the plan. Once the first center broke away, I said I'd make a new one a little lower, and later I said it would probably be a cross like before. I also owned up that I wasn't careful enough the first time.
How much lower should a leaf go when it sits too high?
Mine came down about six millimeters, a quarter inch. I stopped short of the ground, though, leaving roughly 1/8 inch to undercut later. On another part of that spray I said that part still needs some meat, or it can't hold itself.
Should I use a marker to see a wall on a petal?
I wouldn't. Mine went on for the camera only, so you could follow along, and I said I'm really not encouraging anybody to do the same on a project. Ink soaks deep into the fibers, and getting rid of mine meant taking off a little more wood.
What to carve next