
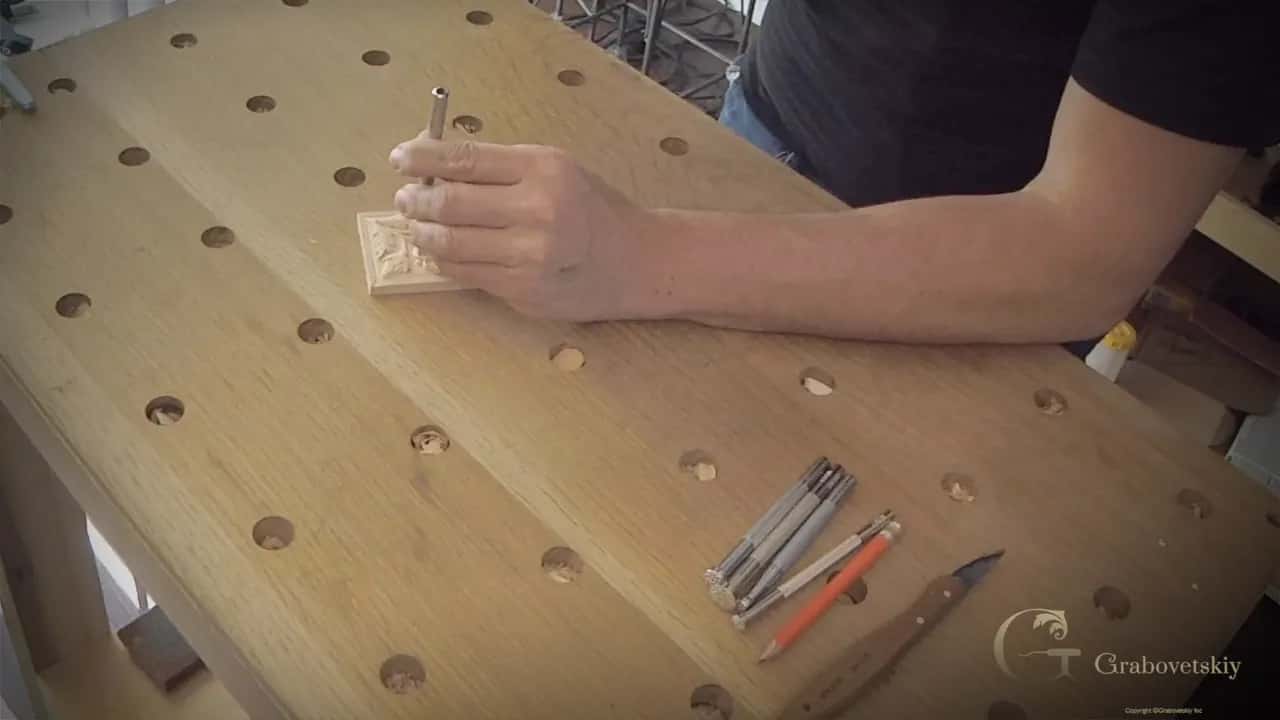
August 15, 2024 · Updated August 15, 2026
By Alexander Grabovetskiy — Master Woodcarver · Founder, School of Wood Carving · 11 min read
Wood carving tips for beginners, and the order the problems arrive
Key Takeaways
- Strop on a schedule, never on a feeling. By the time an edge feels wrong it has been tearing for twenty minutes.
- Knuckle height and one low lamp fix more first year problems than any purchase.
- Spray adhesive holds a pattern and lets go. Wood glue welds it to the fibers.
- Watch the chip. A good one curls off whole, a forced one turns to dust.
- Most panels are spoiled after they were done, by an extra hour of refining.
Wood carving tips for beginners come down to five habits: strop before you start, set your bench at knuckle height, light the work from a single low lamp, glue the pattern down instead of tracing it, and stop at three millimeters deep. Five habits, and they fix most of what goes wrong in a first year.
I watch about a hundred people a year start carving. The mistakes arrive in the same order, in the same week, on the same kind of board.
None of it is about talent. It is bench height, light, a pattern that slipped, and an edge that went dull two hours ago without anybody noticing. So this page is the list I would hand you across the bench, in the order the problems actually turn up.

What are the most useful wood carving tips for a beginner?
Strop before you start, not when the tool feels bad. By the time a gouge feels dull it has been tearing for twenty minutes and your surface already shows it.
Ten passes a side on leather with green compound takes about ninety seconds. Do it while the coffee is still too hot to drink. This one habit produces a bigger jump in surface quality than any tool you could buy, and it costs fifteen dollars once.

The second habit is a pencil. Draw the shape on the wood, then redraw it every time the lines get carved away. Beginners lose their drawing in the first half hour and then carve from memory, which is how a leaf slowly turns into a blob. Keep a blue pencil in your apron and put the lines back.
How high should the bench be and where should the light come from?
Knuckle height standing, and one low lamp beside you. Both settings are free, and both change the work the same evening you make them.
Stand up straight and let your arms hang. Where your knuckles land is roughly right for carving, which is higher than a woodworking bench and lower than a kitchen counter. Too low and you bend over and your back is finished in an hour. Too high and you lose the ability to lean your body weight into a pass, which is where the power comes from in relief work.

Light matters more than people expect. One lamp, low, from the left if you are right handed, so every ridge throws a shadow toward you. Overhead light flattens the piece and you will keep carving deeper looking for something you already had. In one Venice room lesson I said, "it's really important for me to cast some shadows", and that is the whole reason for the lamp.
What are the mistakes I see in every class?
Five, and four of them are setup rather than skill. The fix sits in the last column.
| The mistake | What it looks like on the wood | Why it happens | The fix |
|---|---|---|---|
| Carving with a dull edge | White fuzz and torn fibers instead of a bright surface | Nobody stropped | Leather and green compound, every single morning |
| Going too deep | Blown through | Depth feels like progress, and shallow work looks timid | Score a gauge line |
| Losing the drawing early on | Shapes drift | The pencil got carved away and nobody put it back | Redraw constantly |
| An uneven background surface | The whole panel reads crooked even where the shapes are right | Freehand grounding | Use a small router plane |
| Both hands on the handle | The tool jumps and the finger in front of it eventually pays | It feels natural at first | Second hand rides the blade |
Only the last one is dangerous, and it is the one I correct loudest. Your pushing hand stays on the handle. Your other hand rests on the blade near the edge and acts as a brake, so a slip travels two millimeters instead of across the bench.

What is the best way to get a pattern onto the wood?
Glue the paper straight down and carve through it. Tracing takes longer, lands less accurately, and the traced lines are the first thing you lose.

Step 1, print the design at the size it will be carved
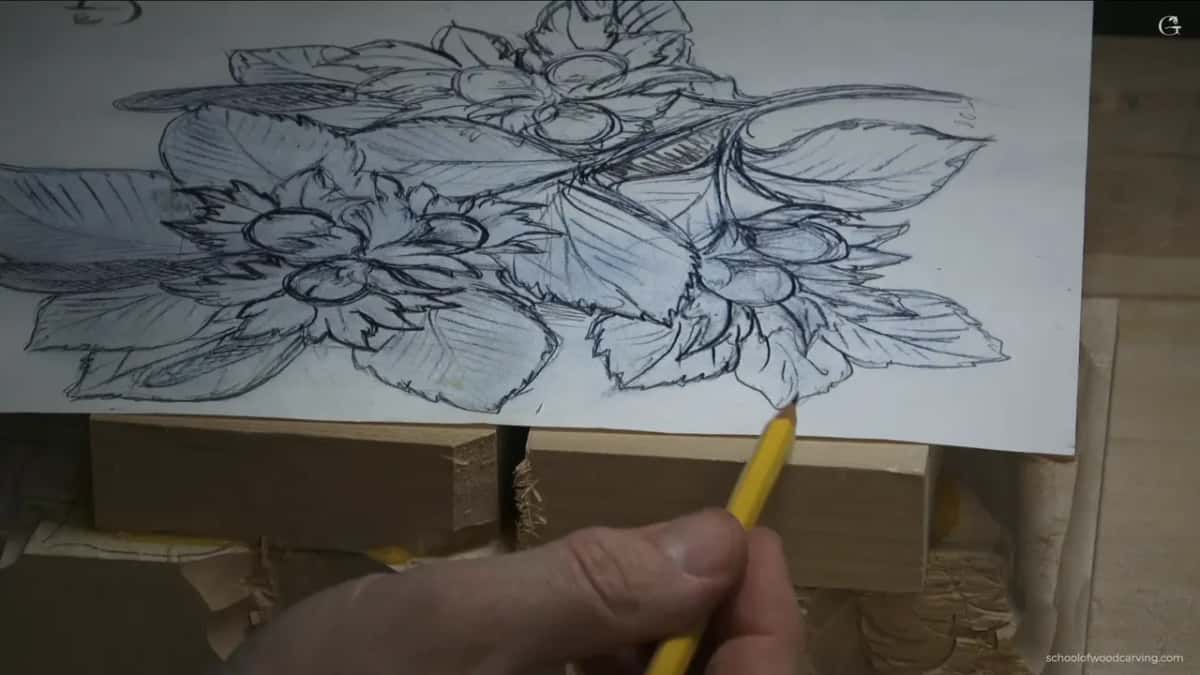
Print it on ordinary paper at the real dimensions. A hazelnut panel I teach fits a sheet of printer paper, roughly 21 by 29 centimeters, which is a useful size for a first relief because nothing is too small to see.
Step 2, trim the sheet with a knife and a steel rule
Scissors wander. A blade against a straight edge on a cutting mat gives you a square sheet that lands where you want it on the blank.
Step 3, use spray adhesive, never wood glue
A light coat of spray adhesive holds the paper down and releases when you want it to. The yellow bottle soaks into the fibers and welds the sheet on, and then you spend an evening scraping paper out of your own carving.

Step 4, carve through the paper
The paper stays on while you set in and lower the background. White patches of it survive on the high spots, and those patches are a free map of where wood still has to come off.
Step 5, leave a strip on the middle rib
On a leaf, keep the paper running down the centre rib as long as you can. It marks the highest line of the whole shape, and losing that line early is how a leaf ends up symmetrical in the wrong places.

Step 6, redraw in pencil once the paper goes
When the paper finally lifts, the drawing goes back on in pencil before any shaping starts. From there on you are redrawing every hour, and that is normal, not a sign that something went wrong.
Why does my carving look flat?
Missing hollows. A ridge only reads as a ridge when a concave sits beside it throwing shadow, and beginners carve the ridge and skip the hollow.
Depth is not the answer either. I have seen fifteen millimeter panels that read as mush, and three millimeter panels that read cleanly right across a room. What separates them is whether every high line has a dark line beside it.

Try this on a piece you think is finished. Take one small gouge and hollow the wood immediately beside your strongest ridge, no more than a millimeter, running the full length. Then put the lamp back on and look. The shape jumps forward and you did not add any height to it at all.
The same logic drives undercutting, which is the last stage rather than the first. A back bent tool slipped under an edge opens a dark line and the shape appears to float. More on reading a design for shadow in Principles of Design.
How do you keep tools working through a long session?
Strop between shapes, not between sessions. Thirty seconds on leather every half hour keeps an edge permanently, and going back to stones turns into a monthly job instead of a weekly one.
Keep the tools out of a jumble. Edge against edge in a drawer is how a good gouge gets a nick that takes twenty minutes on a stone to remove. A strip of wood with slots in it, a canvas roll, or a rack on the wall all work. Mine live on shelves in number order, and after twenty years my hand goes to the right one without my eyes.
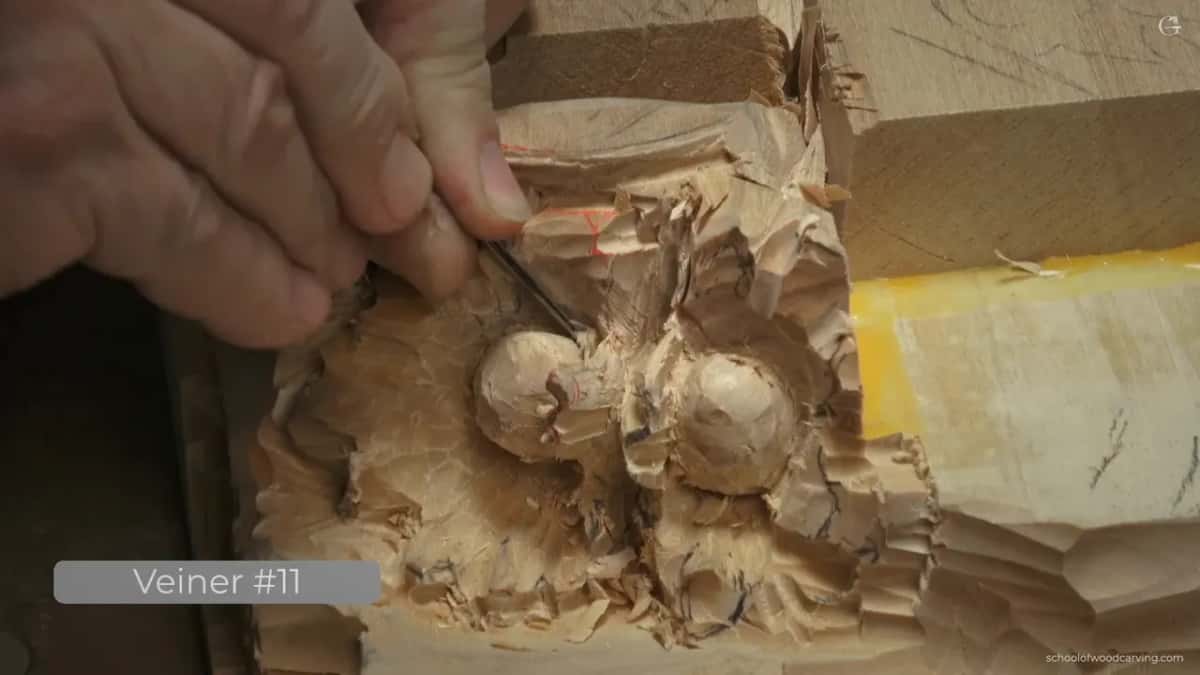
Watch the chip rather than the surface. A correct chip curls off in one piece. A forced chip crumbles into dust, and dust means the edge went twenty minutes ago. That single tell will teach you more about sharpness than any test on your thumbnail. The full sharpening ladder sits in Carving Tool Sharpening, and the tool set post covers which gouges to own in the first place.
How do you know when a carving is finished?
When another hour would only make it smaller. Every carving passes a point where more work starts removing character instead of adding any.
Put the piece on a shelf and forget about it for two days. Then come back, stand six feet off, and light it from the side with a single lamp. If your eye goes straight to the shapes, the carving is done and you can put the tools away. Should it land on a lump instead, fix that lump and stop.

Beginners spoil more work after it was finished than during it. The temptation is to keep refining, and refining a relief mostly means lowering things, and lowering things flattens the piece you just spent a week giving depth to. Walk away while it is still slightly rough. Rough carries.
What finish should a beginner use?
Leave the first few pieces bare. Untouched basswood shows every facet honestly, and you want to see what your own tools left behind.
When you do finish something, know what you are choosing. Shellac is easy to apply and easy to repair, and I use it happily. On one lily box I explained on camera why wax was wrong for that piece, since the box was going to hold a Bible and wax transfers onto paper. The finish has to suit the job the object will do.

Avoid sandpaper entirely. It rounds every crisp edge you carved and buries grit in the pores that will wreck the next tool that touches the piece. Scrape with a razor blade held at a slant instead, then burnish with an offcut of the same species. I have finished carvings that way for forty years and nothing has come along to change my mind.
What should a beginner carve, and on what?
A leaf on American basswood, four inches across. Wood Database numbers put basswood at 410 lbf on the Janka scale and calls it perhaps the most suitable species for hand carving.
Never test yourself on construction lumber. A 2x4 is kiln blasted softwood with hard summer bands and knots in it, and it will chip your edges and convince you that you cannot carve. My post on choosing a species compares basswood against walnut and white oak with the real numbers.

After the first leaf, carve a rosette, then a panel holding two shapes that overlap. Each step should add one new problem and no more. Ideas that fit an evening are collected in small carving ideas, and the full sequence sits in how to learn to carve wood. First Cuts for Beginners runs the whole thing lesson by lesson, and the basics covers grain and hand safety before you begin.
The acanthus shows up in every European style from Byzantine to Rococo, so learning it once pays for decades. Grinling Gibbons carved lime almost exclusively, and lime is the same tree Americans buy as basswood.

Buy from somewhere that will tell you what you are getting. Woodcraft and Highland Woodworking both stock carving blanks, and Pfeil in Switzerland has been making the gouges since 1902. I also teach this in a room each summer at the Marc Adams School of Woodworking, and Woodworkers Institute publishes free carving articles between projects.

Set the bench tonight, at knuckle height, and put a lamp on the left of it. Strop the knife while the coffee cools. Then draw a leaf on a scrap of basswood and see what happens. Shall we carve?
Frequently asked questions
How often does a beginner need to strop?
At the start of every session, and again every half hour of real work. Ten passes a side, bevel flat on the leather. Stones become a monthly job once stropping is a habit rather than a rescue.
What bench height suits wood carving?
Roughly knuckle height when you stand with your arms hanging. That is higher than a woodworking bench. Too low ruins your back, and too high takes away the body weight you need behind a pass.
Should I trace a pattern or glue it on?
Glue it with spray adhesive and carve through the paper. The surviving white patches show you where wood still has to come off. Yellow glue soaks in and welds the sheet to the fibers, so keep it away from this job.
Why does my relief carving look shallow and dull?
Almost always a missing hollow beside the ridge. Add a one millimeter concave next to your strongest high line, then light the piece from one side. The shape jumps forward without gaining any height.
Is a mallet needed straight away?
No. Hand pressure handles basswood at shallow depths for a long time. A mallet earns its place on harder species, on deep waste removal, or once your hands begin to tire before your interest does.
What finish works on a first carving?
Keep the earliest ones bare so you can read your own tool marks. After that, shellac is forgiving and repairable. Skip sandpaper entirely, because it rounds crisp edges and leaves grit that ruins the next tool.