
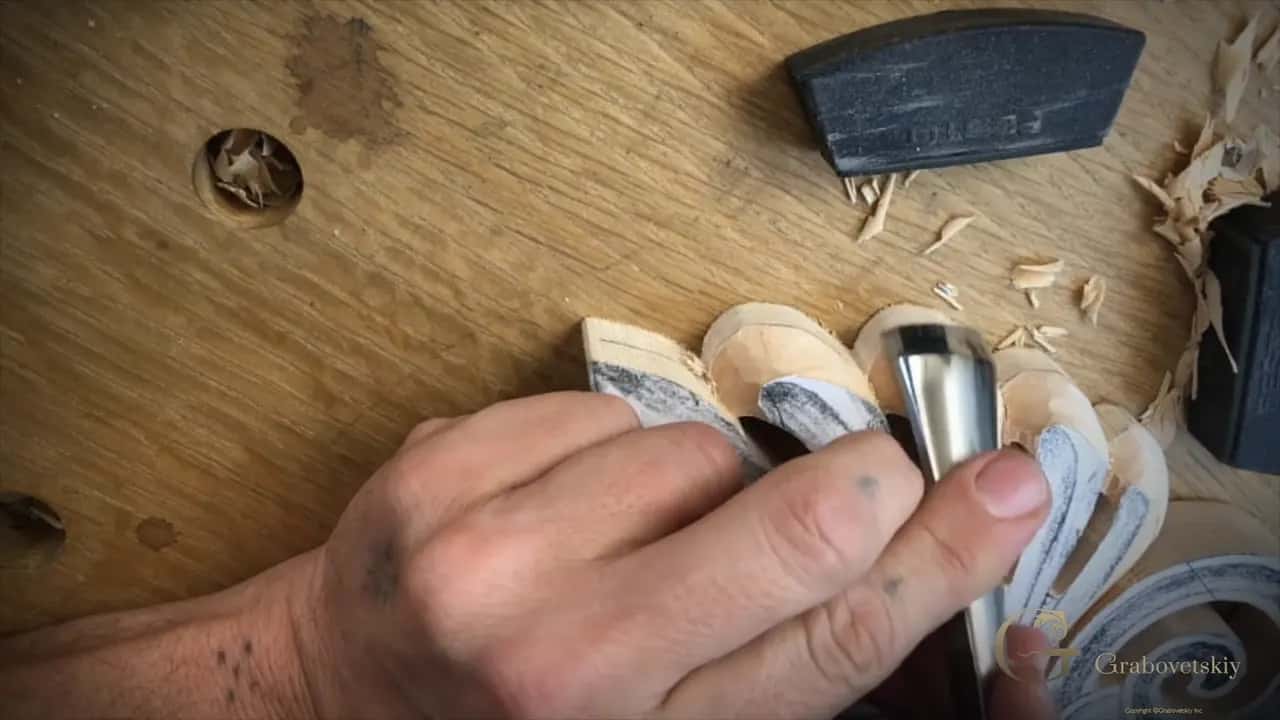
November 15, 2022 · Updated August 15, 2026
By Alexander Grabovetskiy — Master Woodcarver · Founder, School of Wood Carving · 11 min read
The basics of wood carving, and the order they actually bite
Key Takeaways
- Four things decide everything: which way the fibers run, how sharp the steel is, whether the board moves, and where your spare hand sits.
- Rotate the board, not your wrist. A single lobe changes direction four times around its edge.
- Sandpaper rounds the arris and buries grit in the pores. Scrape and burnish instead.
- An eighth of an inch of well shaped relief reads better from six feet than fifteen millimeters of mush.
- Draw, set in, ground, wall, shape, undercut. Skipping a stage costs more than doing it.
The basics of wood carving are grain direction, a sharp edge, holding the work, and one safe hand position. Learn those four on American basswood with a knife and a number 9 gouge, and every project after that is the same four things applied to a harder shape.
Ask ten carvers what a beginner really needs and you get ten lists. Mine comes from watching people fail in person, at the bench, over and over, in the same four places.
Nobody fails because the design was too hard. They fail because the wood tore and they did not know why, or the board slid, or the tool was blunt and they blamed themselves. So this is the short list, in the order it bites.
What are the basics of wood carving?
Grain, edge, hold, hand. Grain direction decides whether the wood slices or tears. A sharp edge decides whether you are carving or crushing. Holding decides whether the piece fights you. Hand position decides whether you finish the day with all ten fingers.
Everything else is technique, and technique arrives on its own once those four are in place. I have taught people who could draw beautifully and still could not carve, because they were fighting a board that moved. And I have taught a retired welder who drew like a child and carved a clean acanthus lobe in a weekend, because he listened about the grain.

Start on American basswood. The Wood Database rates it 410 lbf on the Janka scale and calls it perhaps the most suitable species for hand carving, which matches every year I have spent with it. Europeans buy the same tree as lime or linden, and it was the favoured medium of Grinling Gibbons.
Which way does the grain run, and why does it matter?
Grain runs along the length of the tree, and carving into rising fibers tears them. Wikipedia's wood grain entry lists four directions and puts working against the grain down as a poor result, chipping or tear-out. That matches what happens under the gouge.
Picture the board as a bundle of drinking straws glued together. Push the edge along the straws and it slices. Push into the open ends coming up at you and the tool lifts a whole straw out instead of parting it, and you get a white torn scar that no amount of scraping will bring back.

In the Byzantine acanthus workshop I said this while carving, and it is still the best advice I have on the subject: "feel what the grain does. If it's working against you, change the position, rotate the piece, and work opposite direction." Rotate the board, not your wrist.
The awkward part is that a carving curves. One acanthus lobe changes direction four times around its edge, so you turn the piece four times. On the Venice room I once admitted on camera, "I have to break all the rules. I'm working uphill". Working uphill is the worst position there is. Sometimes nowhere else works, so you go very slowly, in tiny bites, and you accept the surface you get.
| The tool direction | What the fibers do under the edge | The result | When I would reach for it |
|---|---|---|---|
| Carving with the grain | Fibers lie down and the edge slices them | A bright surface | Almost always, and I turn the board for it |
| Across grain | Fibers get severed rather than lifted | A duller surface that cleans up with a sharp gouge | Clearing background waste |
| Uphill, what carvers also call working against the grain | Fibers lift and tear | Torn edges, white fuzz, a hollow that reads wrong in raking light | Only when trapped |
| End grain, straight into the fibers | Fibers crush | The hardest surface to leave clean and bright anywhere | Setting in mostly |
More on this in handling different grain directions, which covers what to do when a shape leaves you no good approach at all.

How do you hold the wood so it does not move?
Bench stops, a screw clamp, or a glue block with paper in the joint. Anything that lets the piece slide costs you more time than a blunt tool does, and it is more dangerous besides.
My bench is drilled with dog holes and I drop bronze stops into them. Small blocks go between two stops so they can spin, which lets me chase the grain around a curve without unclamping anything. Bigger panels get a screw clamp at one corner and a stop at the other.
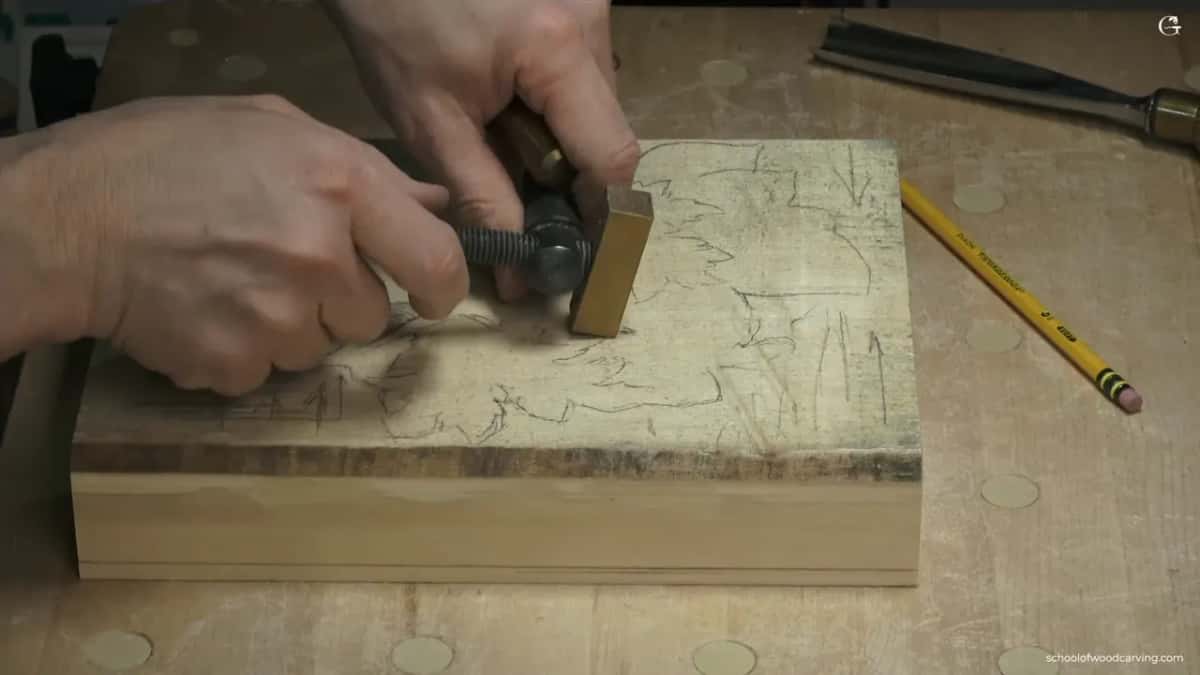
The glue block trick is worth knowing. Glue your blank to a scrap board with a sheet of brown paper between them, carve it held down flat, then split the paper with a chisel when the work is finished. Nothing clamps over the carving, and no clamp mark lands where a leaf edge needs to be. The panel in Carving Hazelnuts stays flat through nine hours of chopping precisely because nothing is clamped on top of it. Lee Valley sells the bench stops and the router plane I use most.
Where should your other hand be?
Behind the edge, never in front of it. This is the rule I say out loud in almost every class, because it is the one that sends people to the emergency room.
In the Chamomile rosette workshop I stopped to say it plainly: "Never put your hand at the front of your tool. So you will have a tendency to hold it like this. Your tool can slip and cut in the finger, so it's not going to be fun." I know that because I have done it, more than once, and the scar on my left thumb is the receipt.
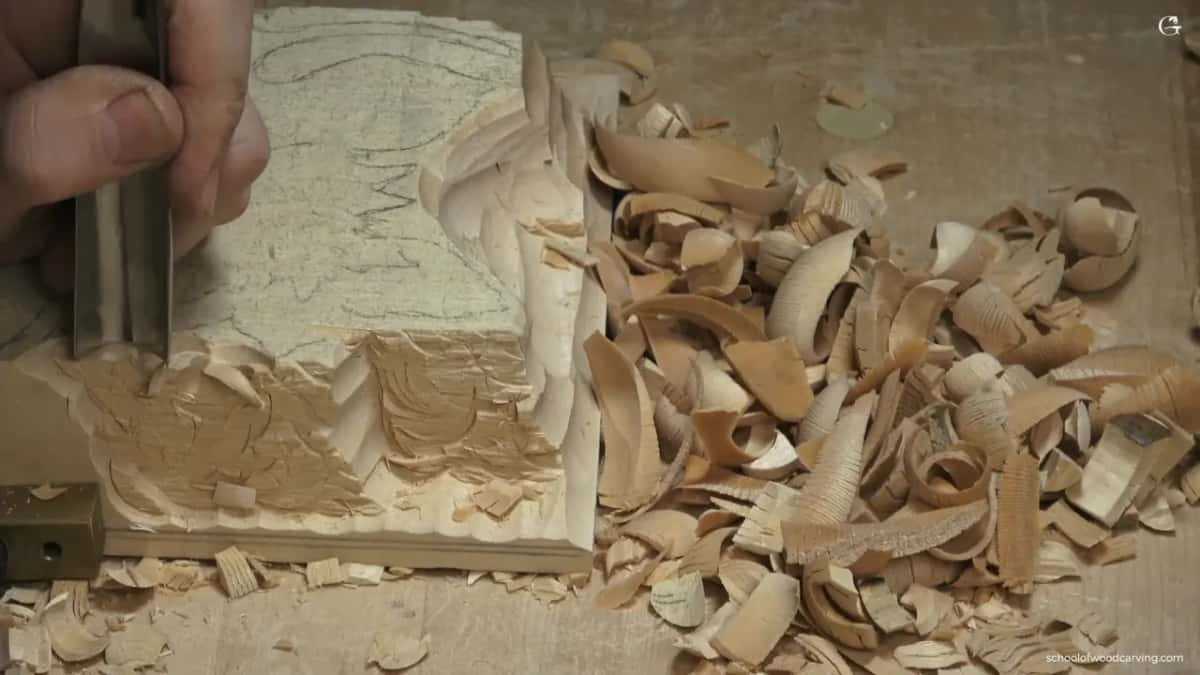
The second half of that rule is where the guiding hand goes. Carving with a gouge takes two hands. As I put it in the Byzantine acanthus lesson, "Second hand is always on the blade", and then a beat later, "don't hold two hands on the handle."
One hand pushes from the handle. The other rides the blade near the edge and works as the brake. That braking hand is what turns a shove into a controlled slice, and it separates a carver from somebody stabbing at a board. For the rest of the list, the dangers for beginners is worth ten minutes.
Why does sharpening matter more than the tool?
A dull gouge crushes fibers ahead of the edge instead of parting them. You can see it on the surface, and you feel it in your shoulder within ten minutes.
My old teacher settled this when I was young and complaining about a board. He told me there is no such thing as bad wood, only dull tools, and that sharp tools can do beautiful work even on the worst of the worst pieces of wood. He was right then, and forty years have not produced a counterexample.

A strop and green compound costs about fifteen dollars and keeps a good gouge going for weeks between real sharpenings. Ten passes a side, bevel lying flat, back to work. A powered setup from Work Sharp saves hours once you own more than a handful of tools. Grinding, honing and polishing are all covered in Carving Tool Sharpening, and honestly that is the course I would take first.
What are the first steps in carving a relief panel?
Draw, set in, ground down, square the wall, shape, undercut. Six moves in that order, and skipping one costs more time than doing it.

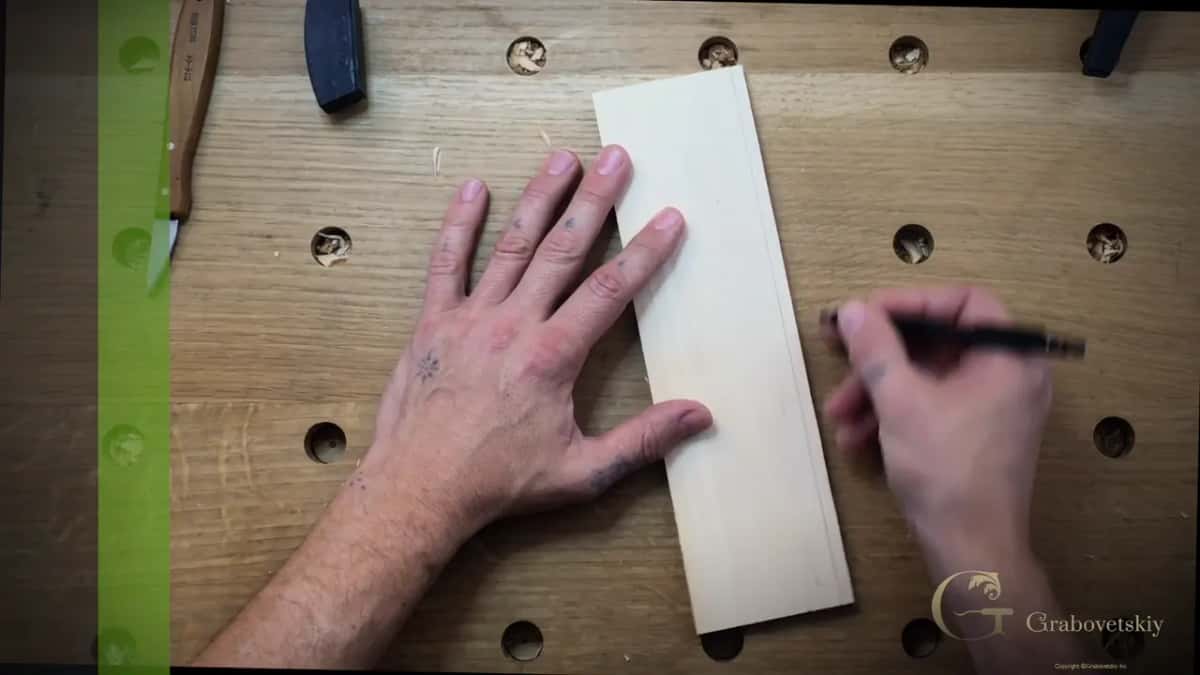
Step 1, draw the design on the wood
Pencil straight on the board, or trace through carbon paper. Draw the whole thing, not an outline. Anything you fail to decide on paper you will end up deciding badly with a gouge in your hand and chips flying.
Step 2, set in the outline
Run a veiner or a knife just outside your line, three millimeters deep to start. That groove protects the shape while the waste around it comes away. Stay outside the pencil, because the line is the thing you are aiming at.

Step 3, take the background down
A 20mm number 9 in rolling bites, then a flat gouge or a router plane to level it. Pick one depth and hold it everywhere. An uneven ground makes every shape above it look uneven too, even when the shapes are right.
Step 4, square the wall
The wall is the vertical face between the ground and your shape. Bring it to ninety degrees and stop. Undercutting this early makes the whole shape look thin from the front.
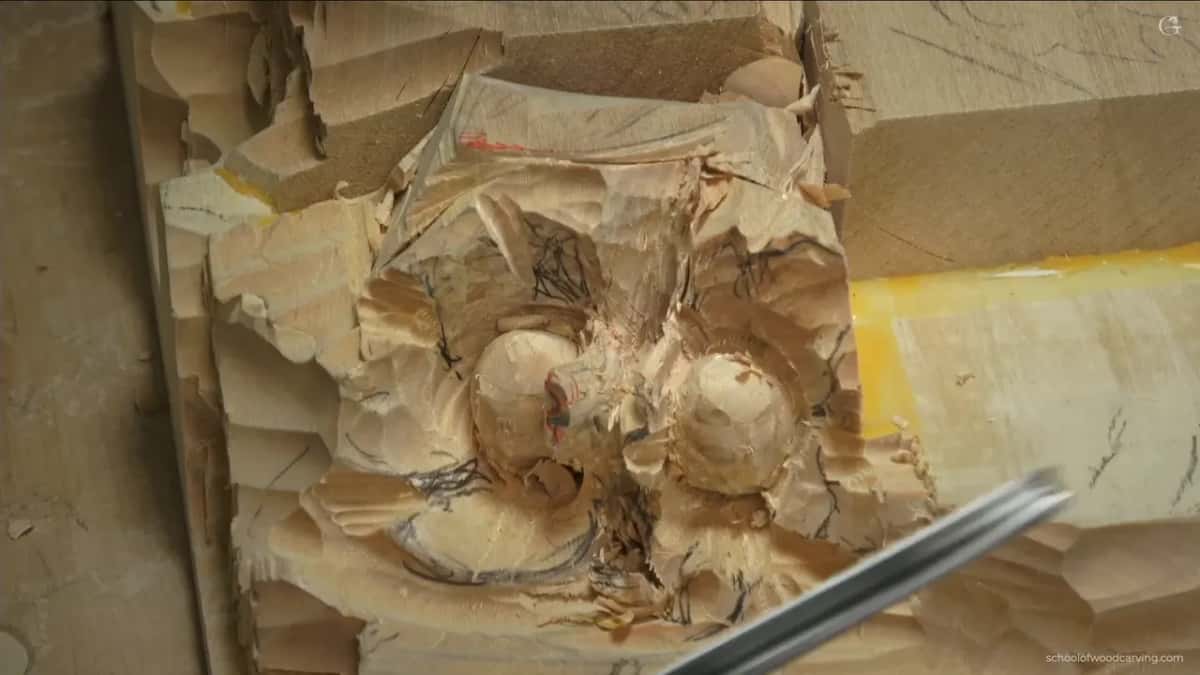
Step 5, shape the form
Now the carving becomes carving. Convex here, concave beside it, and the ridge between them is what catches light. A leaf with no hollow beside its ridge reads flat from six feet away, which is the distance people actually stand at.
Step 6, undercut for shadow
Last, and only where the design asks for it. Slip a back bent tool under an edge to open a dark line. Shadow is what makes relief look deeper than it is, and it explains why design comes before technique in my school.
How deep should a beginner carve?
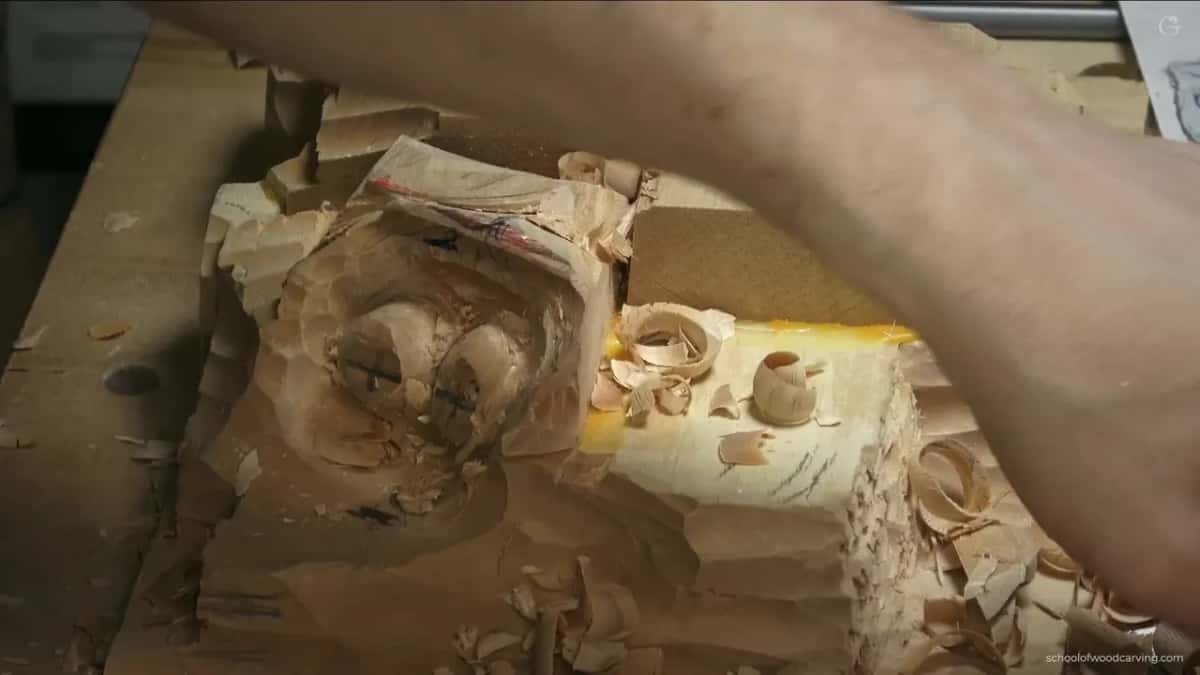
Three millimeters of relief is plenty for a first panel. Depth is not what makes a carving read well, and beginners almost always go too deep too early.
Three millimeters of well shaped work with a clean ground and one good shadow will out-read fifteen millimeters of mush. Going deeper costs you in three ways: more waste to remove, more wall to keep square, and a far better chance of blowing through a thin spot near an edge.
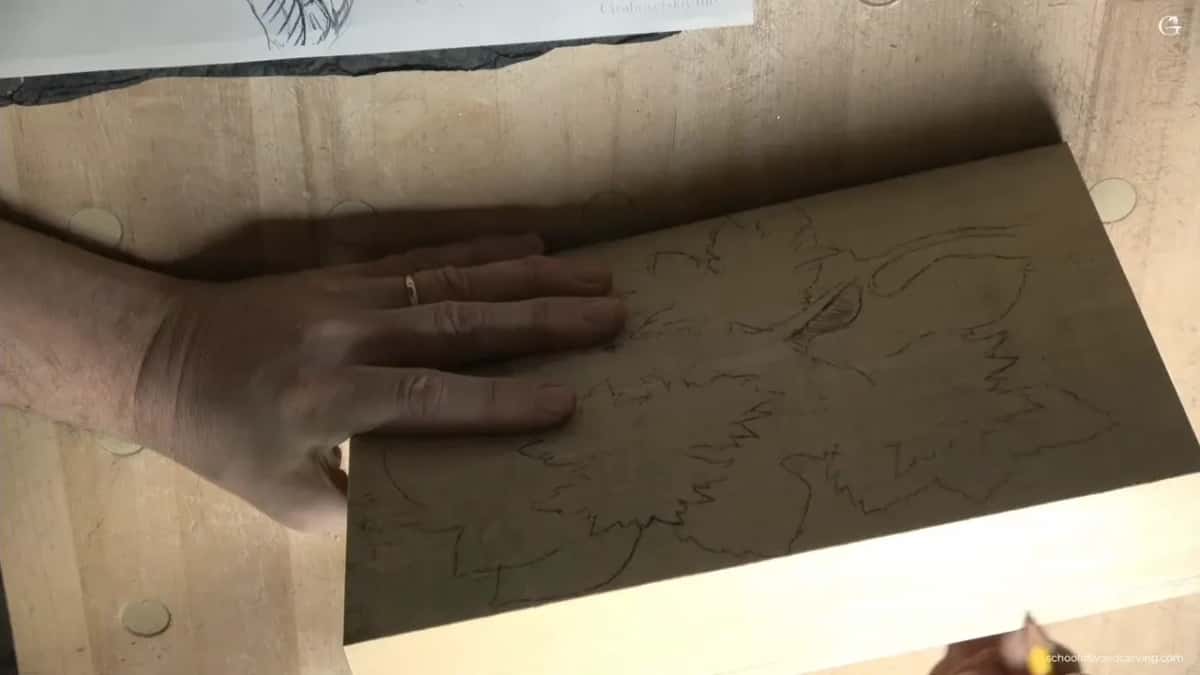
Set the depth before you start rather than while you go. A marking gauge run around all four edges of the blank gives you a scored line to work down to, and the guessing stops. The named depth categories include shallow relief, low relief and high relief with undercut edges. A beginner belongs at the shallow end for a good while.
Do you sand a wood carving?
No, and this is where woodworkers and carvers part company. Sandpaper rounds every crisp arris you carved and leaves grit in the pores that will kill the next edge that touches it.
A carved surface is meant to be a field of tiny facets left by the tool, and those facets catch light and make the piece look alive. Sand them and you get a soft, dead, plastic look. If a surface needs help, scrape it with a razor blade held at a slant, then burnish it with a piece of the same species. You see that finish on old carved work in churches and museums.

What should a beginner carve first?
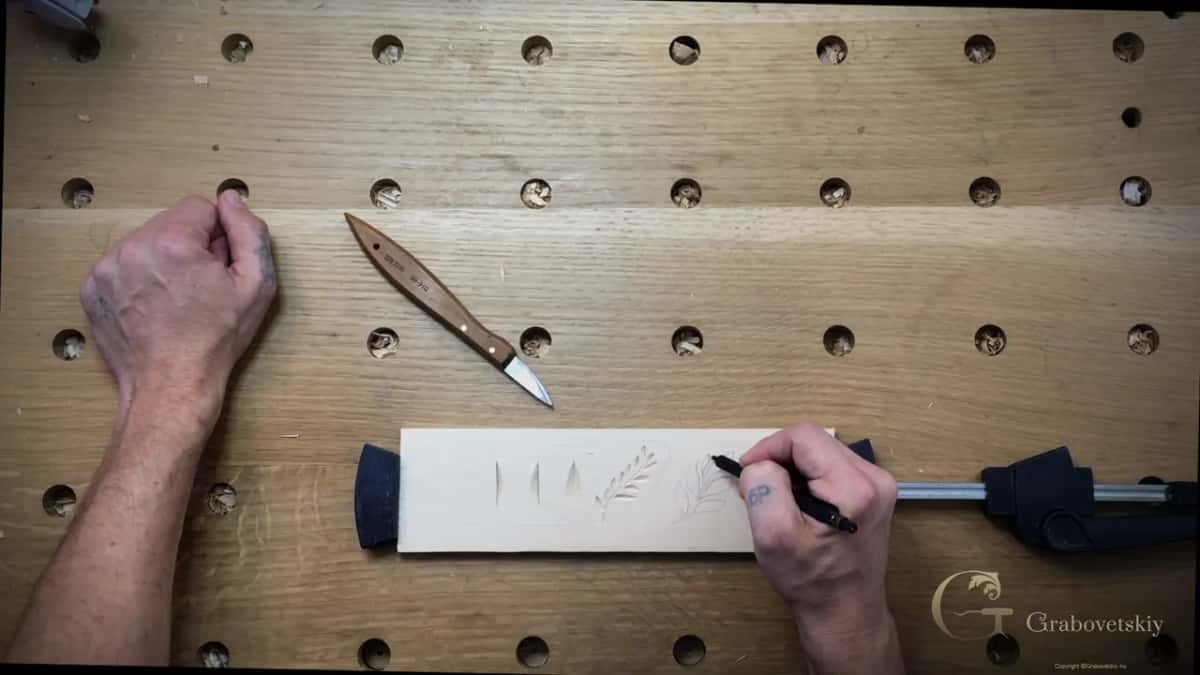
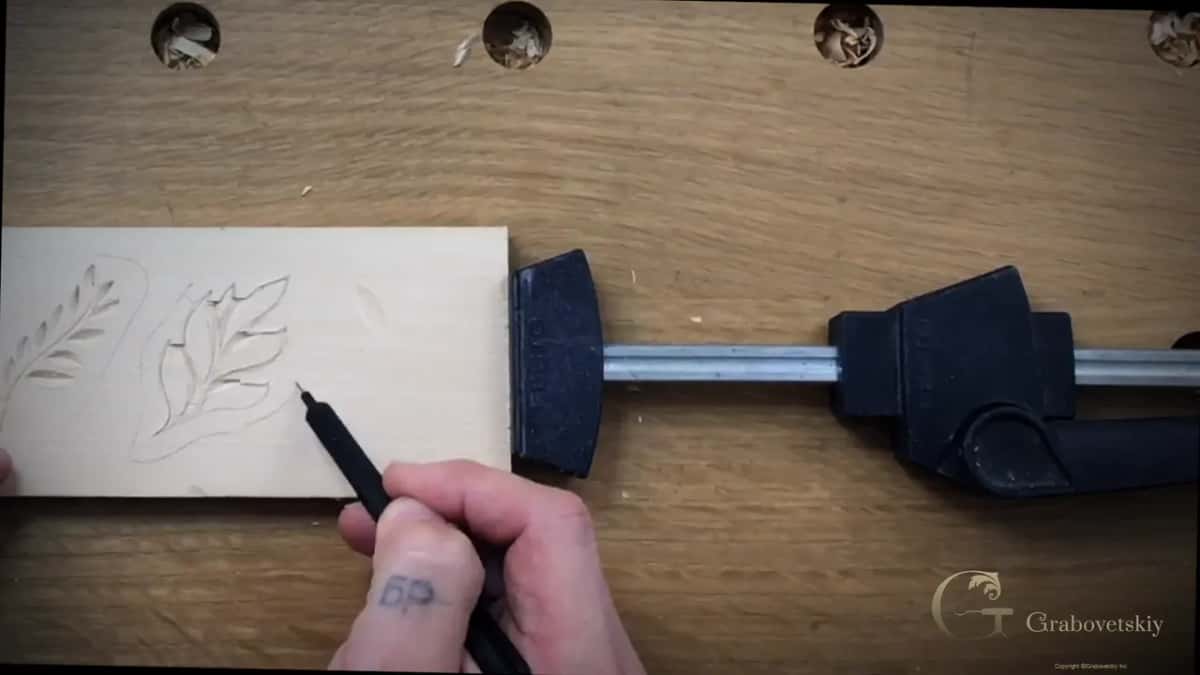
A leaf on a flat board, four inches across. One clean curve, one ground, one shadow. That project teaches all four fundamentals and takes an evening.
Skip the human face, skip the horse, skip anything in the round. A relief panel keeps one surface flat so you always have a reference to measure against, and a beginner without a reference is guessing. My First Cuts for Beginners course is built on this exact shape, and the Bird of Paradise cutting board takes it further with a single knife.
Buy tools before ambition. Four gouges will carry you further than thirty, and I laid out which four in the tool set post. If you are still weighing whether any of this is realistic, is wood carving hard to learn is an honest answer rather than an encouraging one. I also still teach this material in person at the Marc Adams School of Woodworking every summer, and Woodworkers Institute runs free articles worth reading between projects.
One more thing, and it has nothing to do with technique. Nobody arrives at this craft by accident. You have wanted to make something with your hands for a while now, and a screen has been eating those hours instead. Shall we carve?
Frequently asked questions
How long does it take to learn to carve wood?
A weekend gets you grain and grip. Six months of evenings will get you a relief panel you would actually hang on a wall. Real fluency, where the tool stops being in the way, takes years.
Can I learn wood carving without any drawing skill?
Yes, though drawing speeds everything up enormously. Trace a pattern for your first pieces and start sketching alongside them. Design is half the craft, and it is the half that separates a copy from your own work.
What is the first move in a relief carving called?
Setting in. You run a knife or a veiner just outside the drawn line so the shape stays protected while you lower the background. Traditional English carvers call the vertical face left behind the wall.
Is basswood really better than pine for a beginner?
Much better. Pine alternates soft spring growth with hard summer bands, so the tool skids and then dives. Basswood carves evenly in every direction, which lets a beginner feel what the edge is actually doing.
Do I need a mallet for shallow relief work?
Not at first. Hand pressure handles basswood at three millimeters. A mallet earns its place once you move to oak or walnut, or once you are clearing large amounts of waste and your hands start to tire.
Why does my carving look flat even though the shapes are right?
Almost always missing hollows. A ridge only reads as a ridge when a concave sits beside it throwing shadow. Add the hollow, then look at the piece under a lamp lit from one side.