
August 7, 2024 · Updated August 15, 2026
By Alexander Grabovetskiy — Master Woodcarver · Founder, School of Wood Carving · 10 min read
Wood carving pictures, and how to read one before you carve it
Key Takeaways
- A camera reports the outline honestly and lies about how far back the second layer sits.
- Raking light beats a flash photo. Shadow in the hollows is the only depth signal a flat image can carry at all.
- Print to the real measurement, press the paper down, and score your floor with a gauge before anything comes off.
- Teaching plates from the 1800s were shaded for carvers, so they hand you the section a photograph never will.
- An acanthus belongs to nobody. A photograph of one belongs to whoever pressed the shutter.
Wood carving pictures are reference images a carver reads before touching wood, not patterns to trace. A photo gives you the outline and the proportion honestly. It lies about depth every single time, because a flat picture cannot show you how far back the second layer sits.
People send me screenshots most weeks and ask whether the piece in them is carvable. Usually it is. What they are really asking is a different question, and nobody has told them it exists: how much of that carving can a photograph actually tell me, and where does it start guessing on my behalf. Here is how I use pictures on paid work, the transfer that has not changed in twenty years, and the reason your leaf keeps coming out flat.
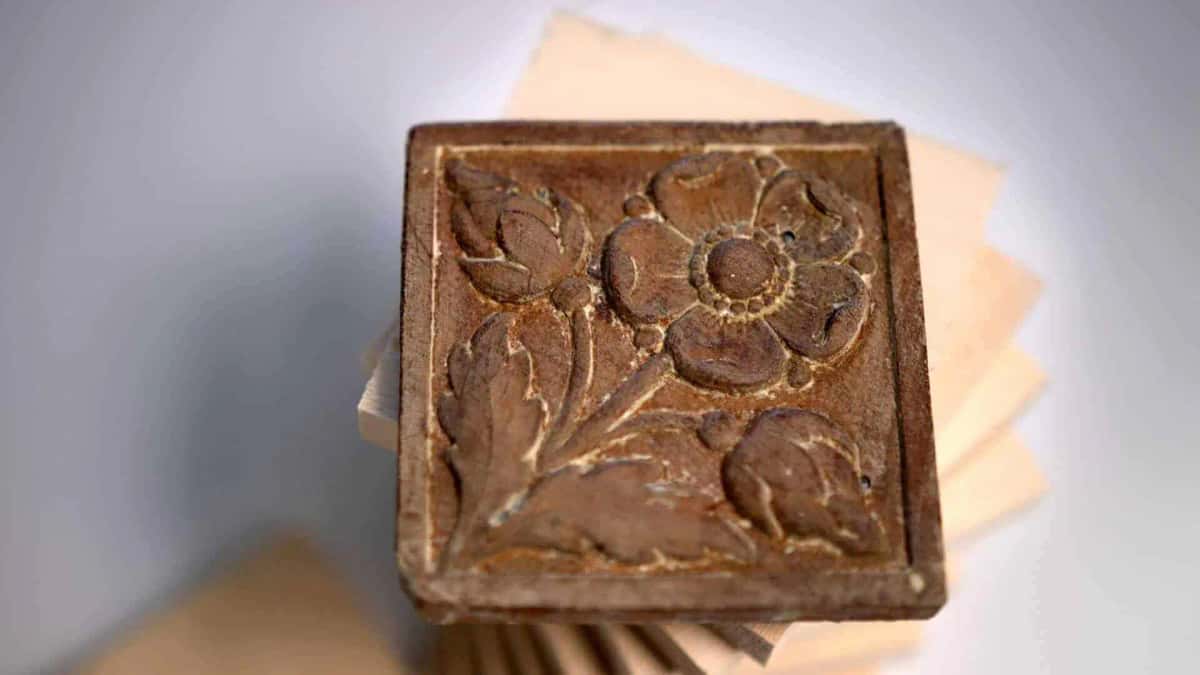
The old rosette I had to match. Worn, dark, and photographed from exactly one angle, which is how most reference arrives.
What are wood carving pictures actually good for?
A reference photo gives you shape, rhythm and proportion, and hides depth completely.
That sounds small. It is the whole problem. A camera turns three layers into one surface, so the leaf that passes behind another leaf reads as if it were painted on. You copy what you see, you get a flat panel, and you cannot work out why.

What I take out of a photograph is the movement. Where the line turns, how one lobe answers the one before it, how the spacing repeats down a border. That part a photograph carries perfectly. The rest I have to decide with a gouge in my hand.
How do I carve from a picture when there is no original?
You follow the picture for the outline and you invent the depth yourself, on purpose, from what the ornament is doing.
I had an order once for fifteen rosettes in an antique style. The client had no original piece to give me. All I had was a picture of the rosette, so I had to follow the picture and then do whatever I felt it was supposed to be. Fifteen of them, each five and three eighths inches square, one inch thick, and I made sixteen blocks because one extra is cheap insurance.
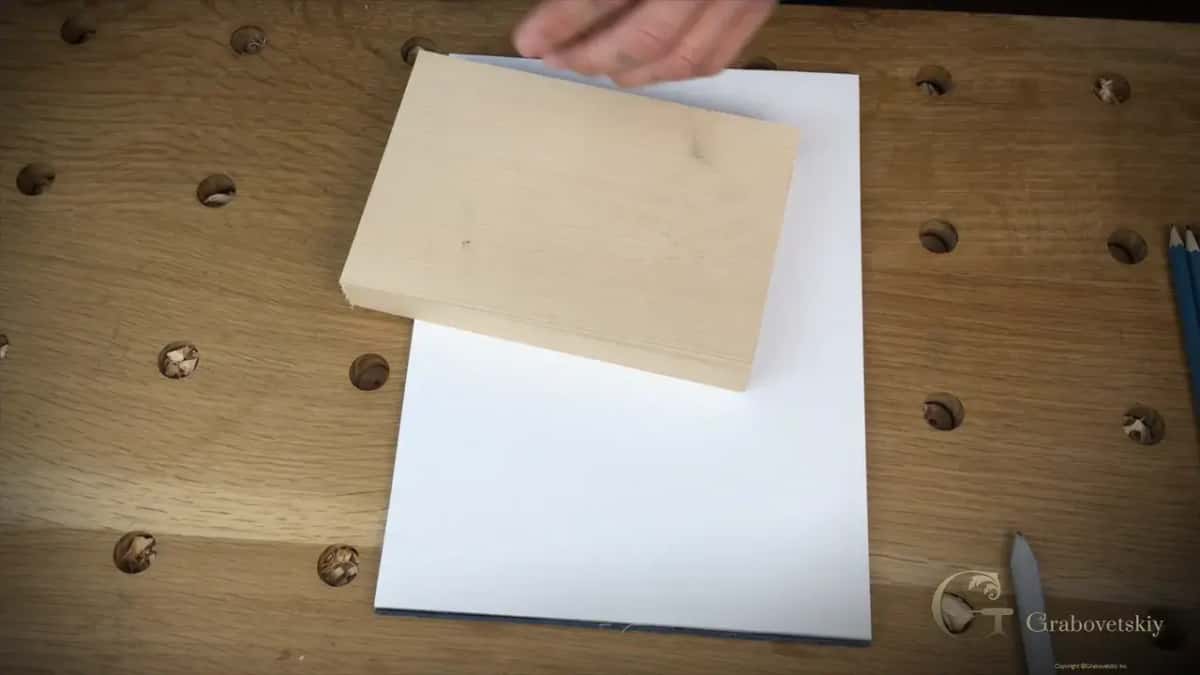
That job is the honest model for every picture you will ever work from. Your photograph decides the outline. You decide the section, which is the profile of the thing if you sliced it in half, and no photograph on earth will hand you that.

Hollow, ridge, hollow. Draw the section before you believe a picture.
What separates a picture you can carve from one you cannot?
Light across the surface, not light straight at it. A flash photo taken square on is the least useful image in the world for a carver, and it is the one most people send.
| Kind of picture | What it actually tells you about form | The gap | What I actually do with it |
|---|---|---|---|
| A straight on photo of an antique carving | True outline and proportion | Flattens every layer into one, so depth reads wrong | Trace the outline |
| A raking light photo, shot sideways | Real depth | Distorts the outline at the far edge | Read the shadows only |
| Printed plates lifted from an old drawing guide book | The intended rhythm and spacing | No wood | Follow the movement, and ignore the shading |
| Another carver's finish | How somebody solved the same awkward corner | His taste, not yours | Study it, then shut the tab |
| A 3D scan or a museum object turned around | Everything, honestly | Rare, and it is usually paywalled | Use it when available |
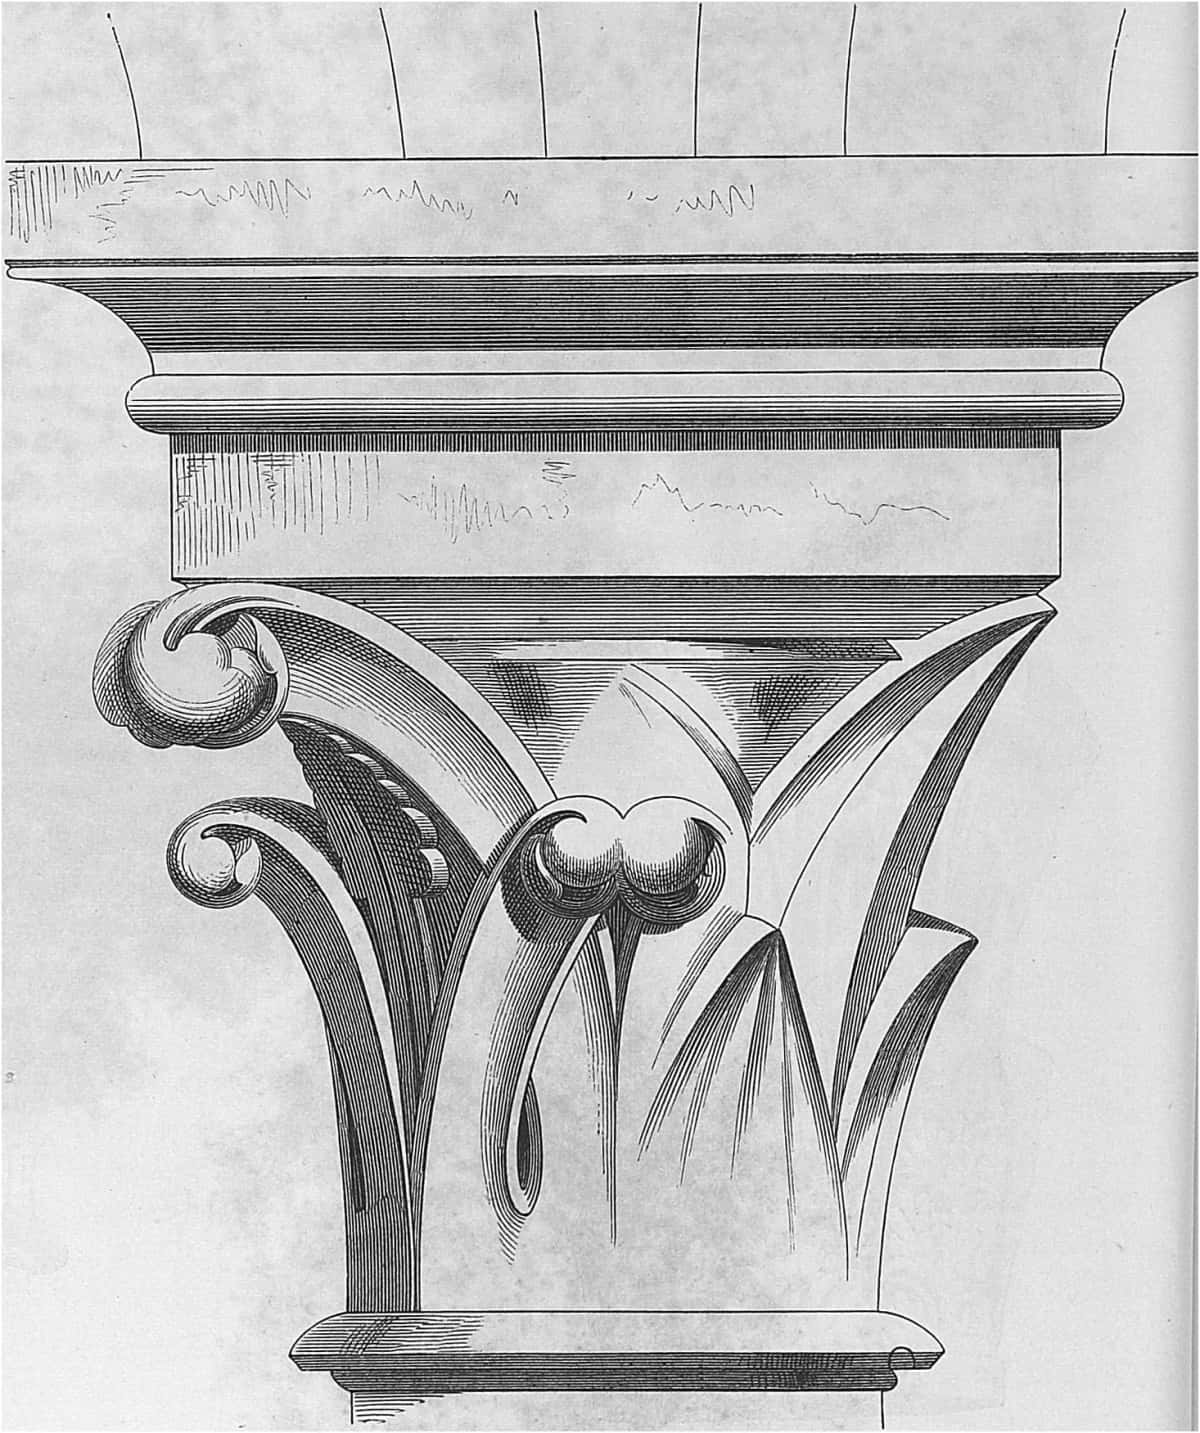
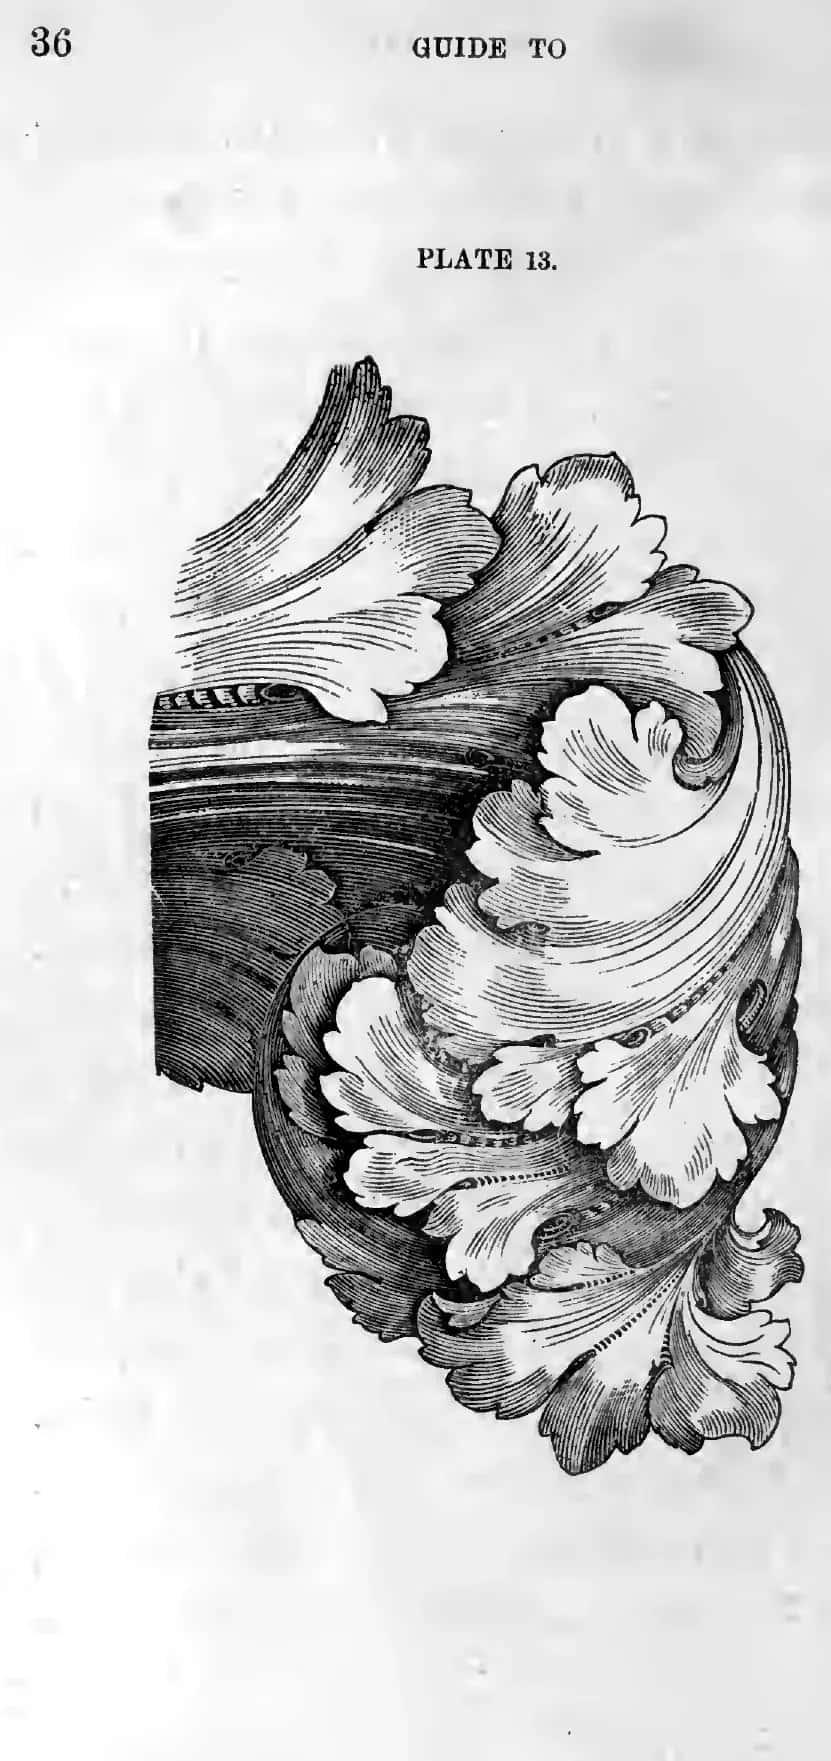
The old printed plates are worth more than most photographs and they cost nothing. Those guides shaded every lobe so hard that you can read the depth right off the page, because the man who drew them was teaching carvers rather than selling stock images.
What is the fastest way to get a picture onto the wood?
Print it at finished size and glue the paper straight down on the blank. Forget tracing paper and carbon. The glue holds better, and the sheet earns its keep by keeping your hand off the wood. I have done it this way for years and so did everybody before me.
Step 1, size the drawing to the real piece
Scan or print so the ornament measures what it will measure in basswood. For those rosettes I made sixteen copies at five and three eighths inches, then cut the squares out with scissors like a schoolboy.
Step 2, glue the paper onto the blank
Spray mount or ordinary photo mount glue holds it fine and comes off later. The paper protects the surface while you work around it.

Step 3, mark your depth before anything else
Take a marking gauge and score the background line on all four sides, two or three passes so it reads clearly. Mine on that job was one eighth of an inch. Do this now and you will never carve past your own floor.
Step 4, take the background down first
Remove the waste outside the ornament before you shape a single leaf. A small router plane makes this quick and flat, and a flat ground is what makes the carving read.
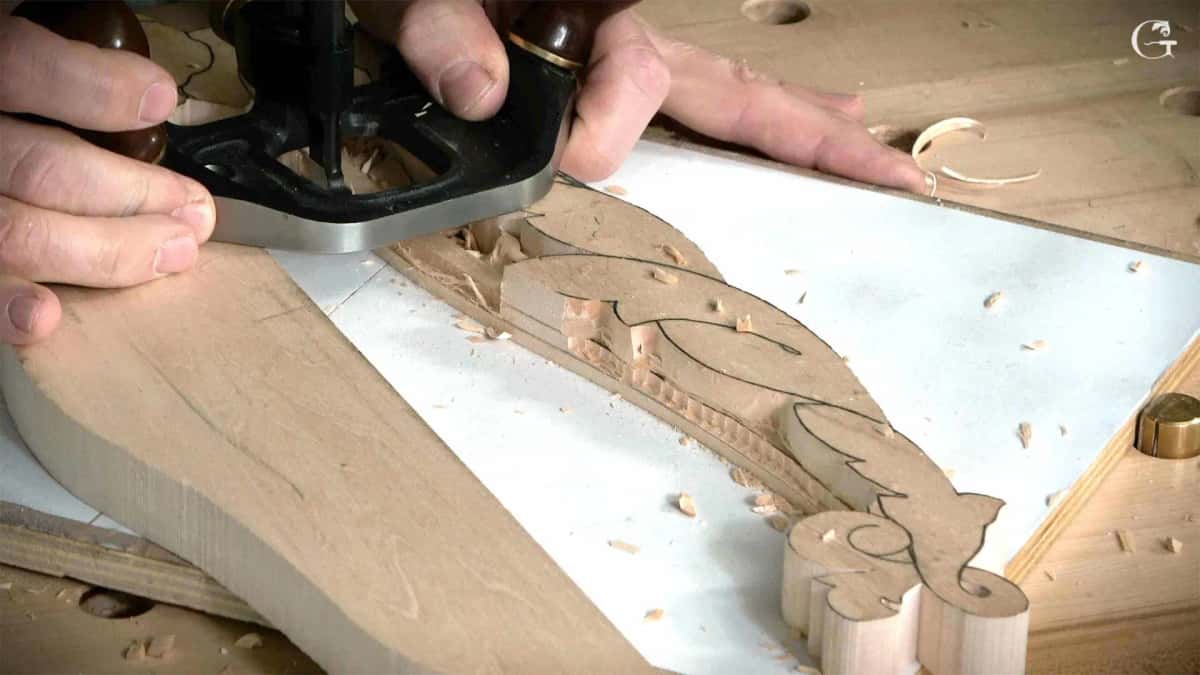
Step 5, let the paper go
Once the outline is established in the wood, the paper has done its job. Keep working to a picture after that and you will carve a drawing instead of an object.

Why does my carving look flat when the picture looked good?
You copied the lines and skipped the shadow. Shadow is not decoration in this trade. Take it away and all you have left is a tracing.
A photograph of a great carving looks rich for one reason. Somebody went deep, and then reached back underneath, so the wood throws its own dark line and holds it. Copy that photo at half the depth and you get a tracing. Same outline, no life.

This is where light and shade stops being an art-school word and becomes a measurement. Ask yourself where the sun is in the room the piece will live in, then carve the hollows so they hold dark at that angle. I go into the depth question properly in the piece on technique order.
Where do I find pictures worth carving from?
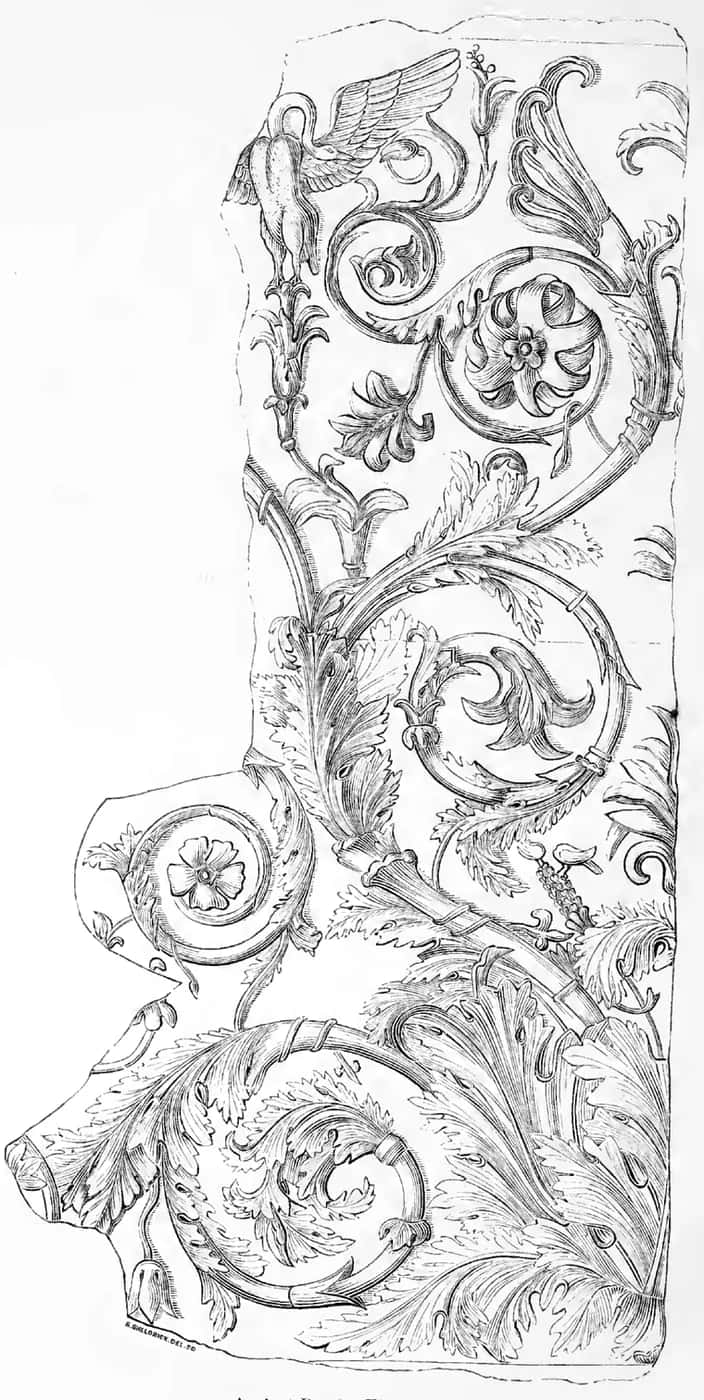
Old books beat image searches, and museums beat both. The pictures I keep going back to are a century old, some of them more than that, and none of them came off an image search.
Archive.org holds scanned drawing guides and pattern books that were printed for working carvers. Wikimedia Commons has photographs of real carved objects, many of them free to reuse. For Baroque work I look at whatever survives of Grinling Gibbons, because his limewood work is where the standard was set.
The best reference of all is an object you can turn over in your hands. When a client hands me an original I photograph it from four sides before I start, and I still trust my fingers over the file.

My own galleries are open too, and the antique rosette course follows that fifteen-piece job from the picture to the finished set. There is a wider look at carved wall panels as well, and a short list of small pieces worth a first attempt.
Can I carve an ornament I found in somebody else's photo?
The ornament is free. The photograph is not, and that difference decides what you may do with what you found.
The United States Copyright Office is plain enough about this, and I checked before writing it down. Photographs are protected work, and copyright protects expression, never ideas. An acanthus leaf is an idea about two thousand years old, and nobody owns it. The particular photograph of somebody's carved acanthus leaf does belong to whoever took it.

So carve the leaf. Do not reproduce the photograph, do not republish it, and if you are working from a living carver's piece, ask. Most will say yes and many will send you better pictures than the ones you found. Old printed plates are usually well out of copyright by now, though the rules vary by country, so check before you publish anything commercially.
How do I stop copying and start designing?
Draw the same ornament five times, and make the fifth one wrong on purpose. That is the exercise that broke it open for me.
My teacher spent months on drawing before he let me near a leaf, and what he was teaching was not drawing at all. Design is the law of the space. Rhythm, repetition, and knowing what a tool wants to do. He taught me to think like a tool.

Once you can put an acanthus down on paper from your own head, pictures change job. They stop being instructions and become an argument you get to disagree with. That shift is the whole difference between a copyist and a carver.
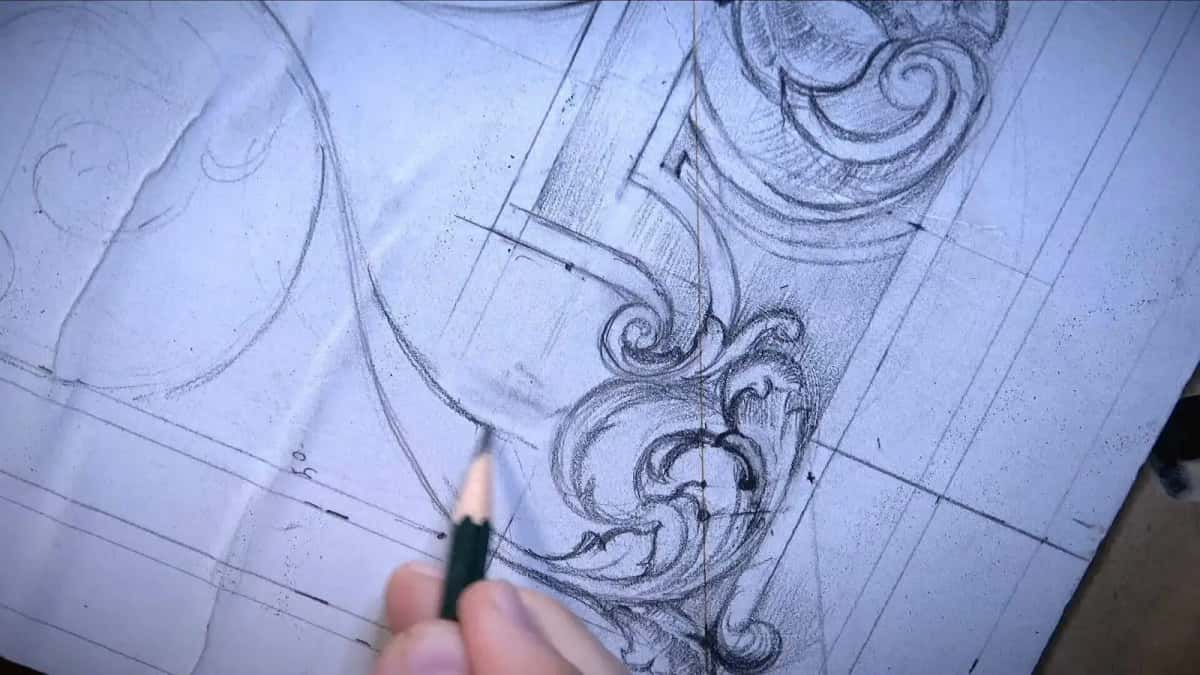
The panel design course takes a blank sheet through to a full furniture panel, and All About Tools for Wood Carving covers which gouge matches which drawn curve. Beginners should start at Beginner in Carving instead.
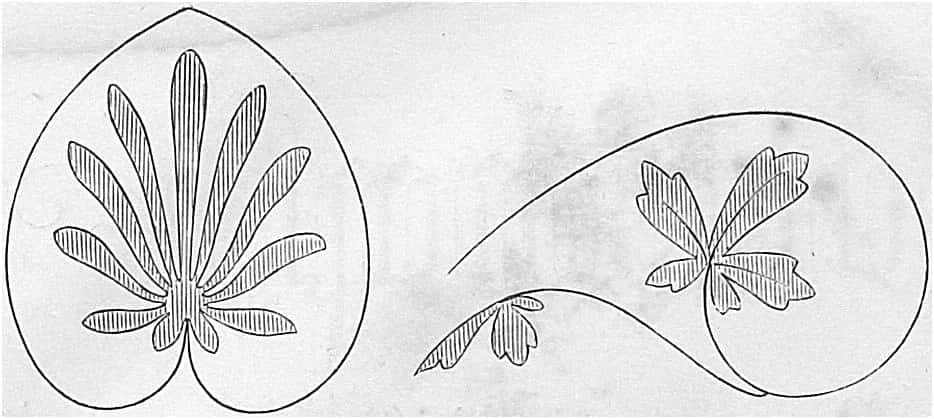
Watch how I think about a design before the wood, if that is useful.
Everything sits in the course catalog, over three thousand lessons deep. Tuition is Yearly Access at $200, renewing automatically every 12 months until you cancel, or Monthly Access at $25, renewing automatically every month. The school is a 501(c)(3) non-profit and part of what you pay supports orphans and widows.

You already have the picture. What you are missing is the section drawing underneath it.
Frequently asked questions
What makes a good reference photo for wood carving?
Light coming across the surface rather than straight at it. Raking light throws shadow into every hollow, which is the only way a flat image can hint at depth. Ask for one square-on shot as well, for the outline.
Can I trace a wood carving picture directly onto the wood?
Print it the same size the carving will be, then stick the paper straight to the blank with spray mount. It holds better than carbon paper, keeps the wood clean underneath, and peels off afterwards. Spray mount is enough.
Where can I find free wood carving patterns and images?
Scanned drawing guides on Archive.org and photographs on Wikimedia Commons cover most needs, and both are free. Plates from the 1800s serve best, since they were drawn to teach carvers rather than to sell prints.
Why does my carving look flatter than the photo I copied?
Depth, almost always. The original went deep enough underneath to throw its own shadow, and you stopped short of that. Go deeper in the hollows first, before any surface detail.
Is it legal to carve a design from a photo I found online?
Carving the ornament is fine, since copyright covers expression and not the idea of an acanthus leaf. Reproducing or republishing the photograph itself is a different matter entirely. When the piece belongs to a living carver, ask.
Do I need to draw before I can use reference pictures well?
You do, and this catches almost everybody. Until you can put the ornament down on paper from your own head, a picture is an instruction you obey. After that it becomes a source you argue with.