
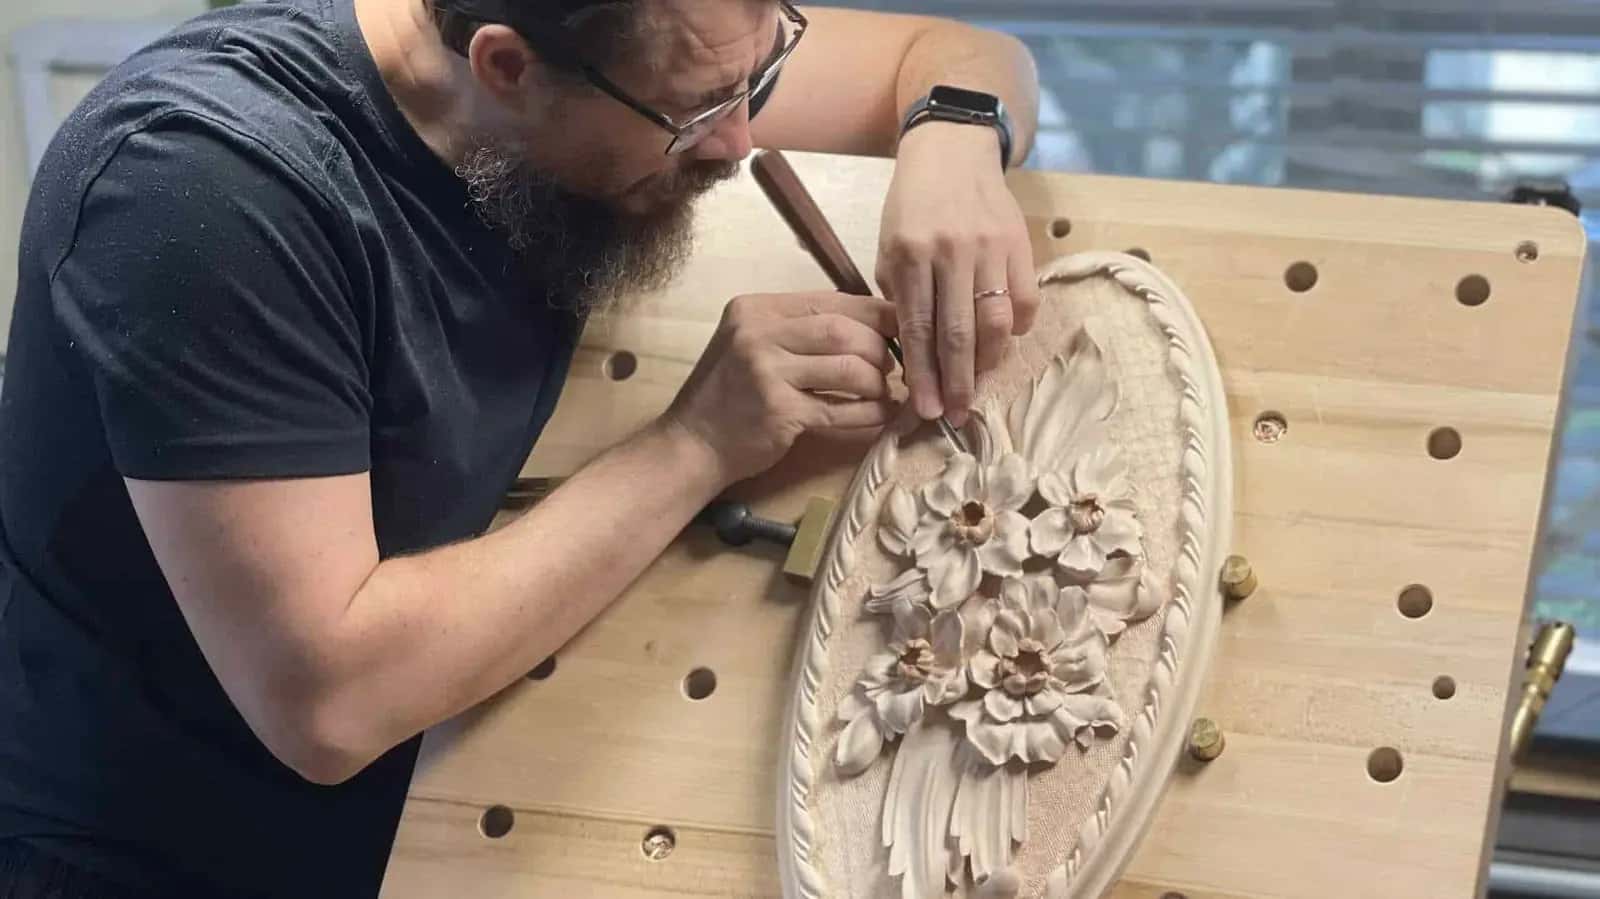
August 3, 2024 · Updated August 15, 2026
By Alexander Grabovetskiy — Master Woodcarver · Founder, School of Wood Carving · 9 min read
Wood carving classes for beginners, and how to tell a good one
Key Takeaways
- Judge a course by week one. A strop in your hand on the first morning means somebody is serious about you.
- Camera position decides everything on video. Filmed across the bench you watch a face, and the hand angle is the lesson.
- Boxed sets arrive full of straight gouges. Buy the sweep when a drawn curve asks for it.
- A room can move your wrist four degrees. Video repeats one pass forty times while you watch a thumb. Different jobs entirely.
- Ask what happens when you get stuck at home, because that is exactly where most people stop.
Wood carving classes for beginners are supposed to hand you methods that still work in ten years, not tricks you will have to unlearn. I judge one by what it teaches in the first week. Sharpening and drawing in week one means somebody is serious about you.
People email me asking whether they should take a class before they start, and honestly, the question underneath it is usually different. They want to know whether the money will be wasted. So here is what I look for when somebody sends me a course to look over, what I built into my own beginner course after students asked me for one, and the questions worth asking before you pay anybody.
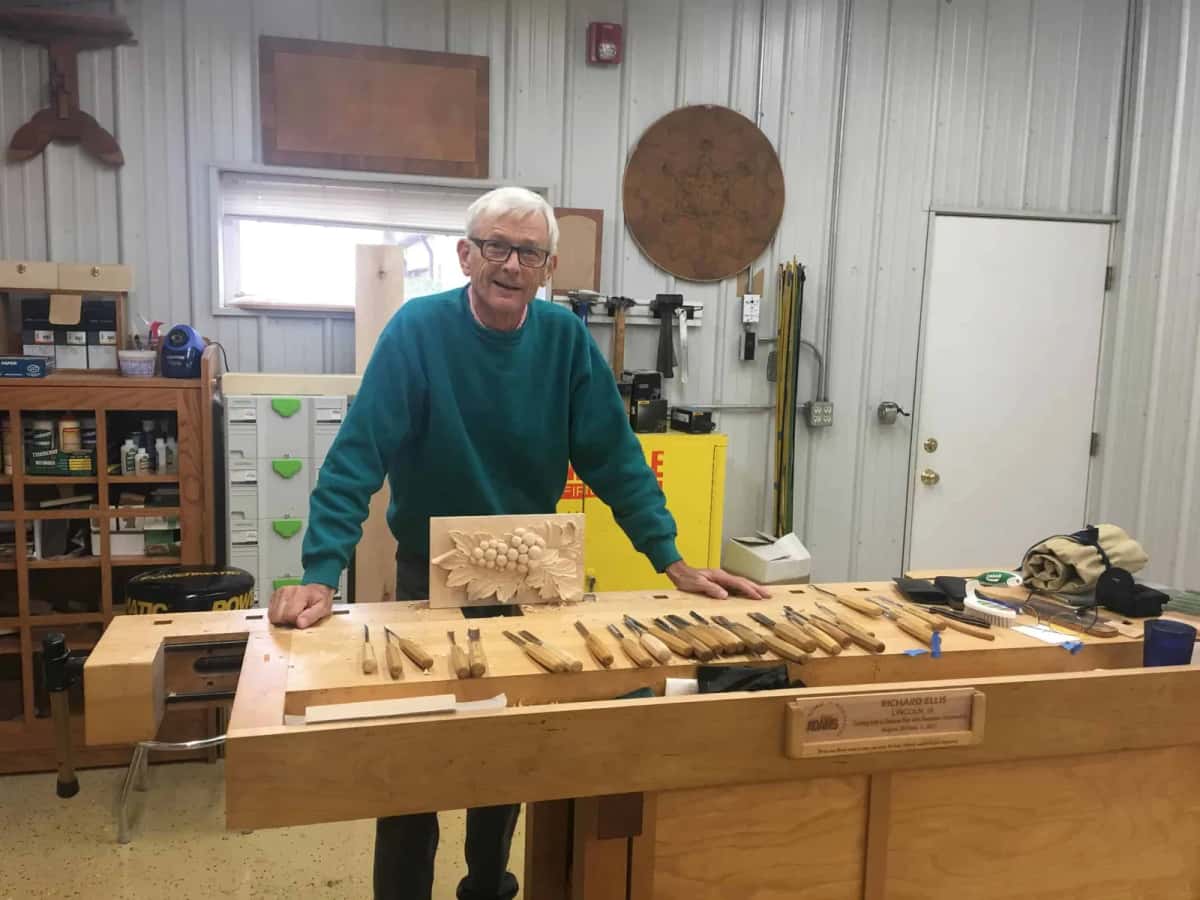
At his bench before we start, with the tools laid out and the panel waiting. Nothing carved yet.
What should a beginner class teach in the first week?
Sharpening and drawing, before anything that looks like carving.
Almost every course puts those last, or drops them into a handout, because they are not fun on day one and everybody wants chips on the floor. Then people go home, the edge goes dull inside a month, the wood starts tearing, and they decide they have no talent for it. They had a blunt tool, nothing more complicated than that, and nobody had told them how to fix it.

Grip belongs in that first week too. Where your fingers sit on the blade decides how much control you have, and a photograph cannot teach it to you. Somebody has to move your hand.
How do I tell a good beginner class from a bad one?
Look at where the camera sits, and at what the tool list asks you to buy before day one. Those two tell you almost everything before you pay.
| What to check | A class that is worth the money | Walk away | The reason this one matters |
|---|---|---|---|
| Where the camera sits during a lesson | Over the shoulder | Filmed across the bench so you see a face, not the hand angle | Angle is everything |
| When sharpening turns up | Week one, with a strop in your hand | Mentioned at the end | A dull edge is why most beginners quit |
| What you are told to buy before day one | One knife | A boxed set of forty eight tools, nothing explained | Six get used and forty two go brown in a drawer |
| Drawing, or not | You draw the ornament before you carve it | Patterns handed out | Otherwise you will stay a copier for years |
| The method itself | Holds at every level you will ever reach | Beginner shortcuts | Unlearning costs more than learning did |

That last row is the one I care about most. Students asked me for a beginner course, so I made one, and I would not really put it in that category. The thing is designed for a beginner and the approaches in it apply at any level. A method that only works while you are bad at something is not a method. It is a crutch with a deadline on it.
Should I take my first class online or in person?
In person if one is near you and you can afford it, online for everything after. The two are not really competing.
A room does one thing video never will. Somebody walks over, takes your wrist, and moves it four degrees, and your hand remembers that for the rest of your life. I teach in person at Marc Adams School of Woodworking and those seats go fast, which tells you how many people want a room rather than a screen.
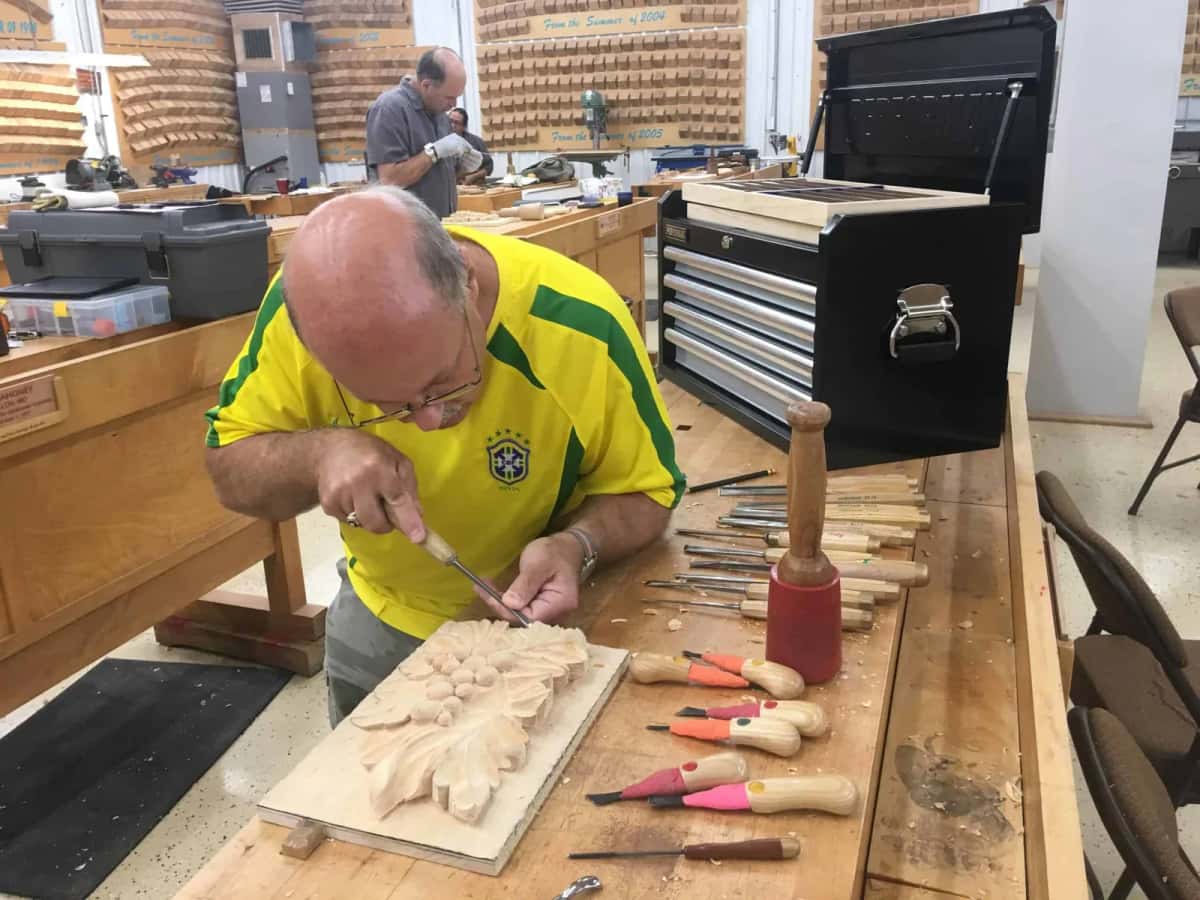
What video does better is repetition. You cannot ask a teacher to make the same pass forty times while you watch his thumb. Online you can. That is not a small thing when a movement will not come and you cannot see why. I have written more about that in the piece on carving online and on finding classes near you.
What does a first project actually look like?
Flat, small, and finished inside a week. Relief on a board, not a figure in the round.
Relief keeps the board flat on the bench, the clamps hold it, and you chase depth without fighting shape from four sides at once. A cutting board carrying one bird and some scrollwork will teach you more than a bear cub that never gets finished.
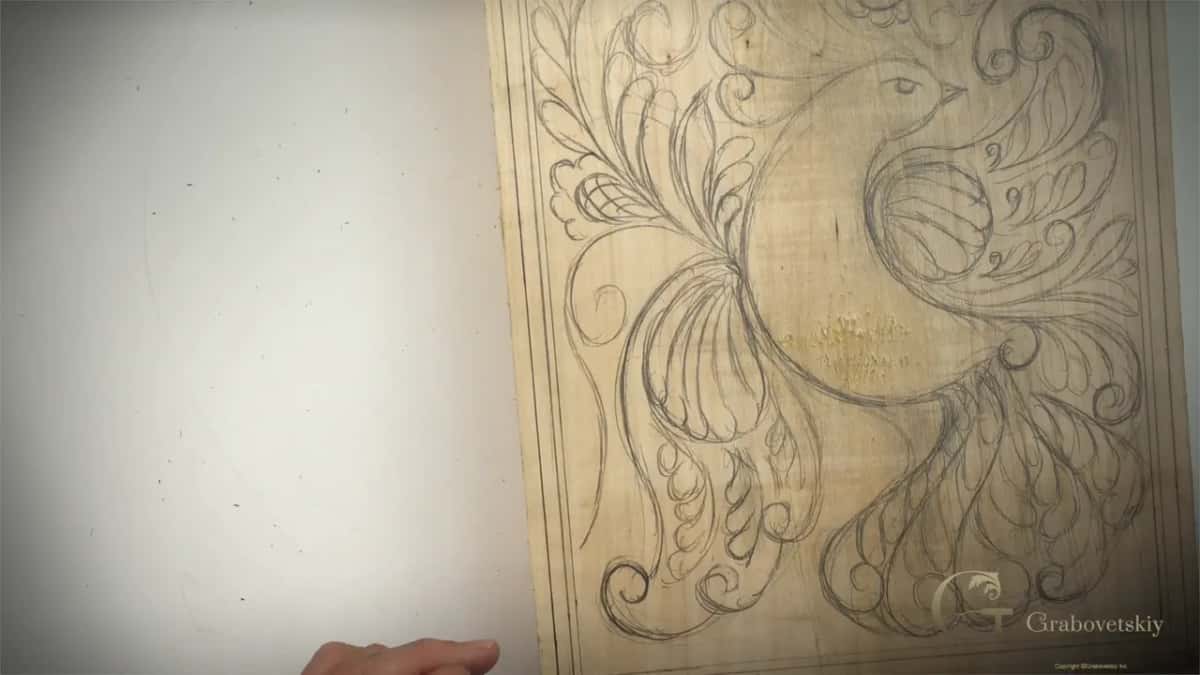
Draw the whole thing on the wood first. Every line, all the way into the corners. Most beginners draw half a design, start carving, and then find that the other half does not fit the space left over.
Step 1, sharpen before you touch the wood
Strop the blade until it takes a curl off the corner of the board without pressure. If it crushes instead of slicing, stop and go back to the strop.
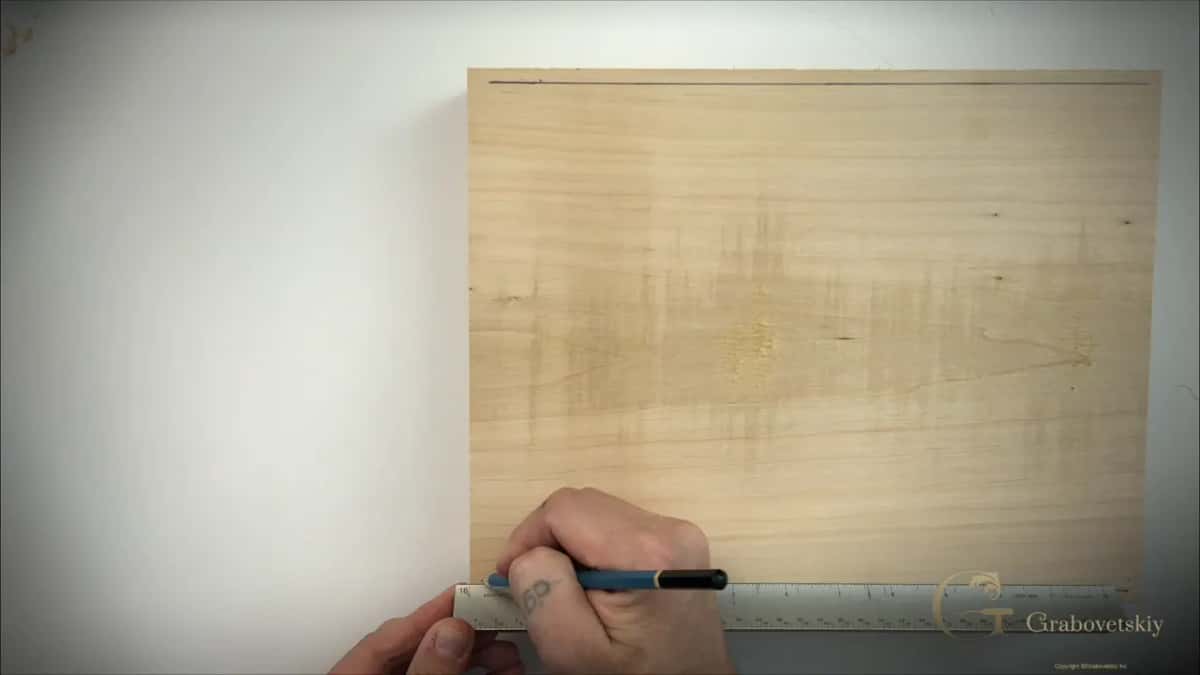
Step 2, draw the design onto the board
Border lines first, along a rule, all four sides. Then the ornament inside them.
Step 3, clamp the work so both hands are free
Never hold a piece and carve it at the same time. Clamps on a bench with dog holes, or a board screwed down, whatever you have.
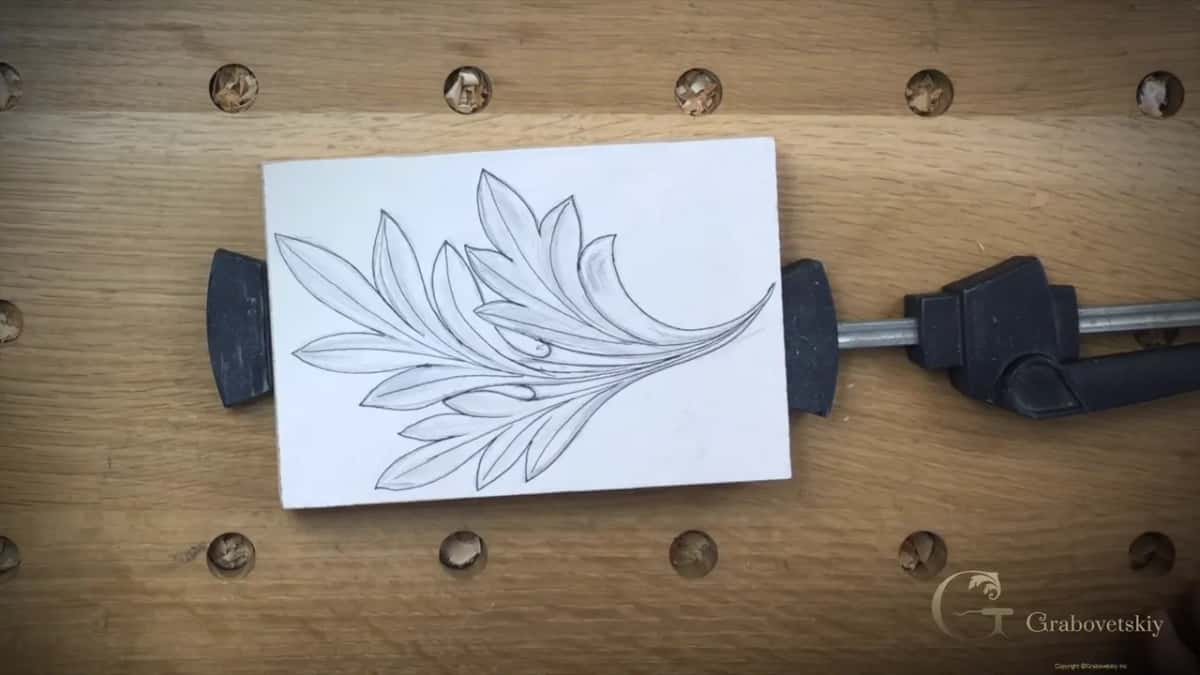
Step 4, outline before you take anything out
Track the pencil line with the blade, going slowly and never forcing it, because this single line decides whether the whole piece reads clean later on.
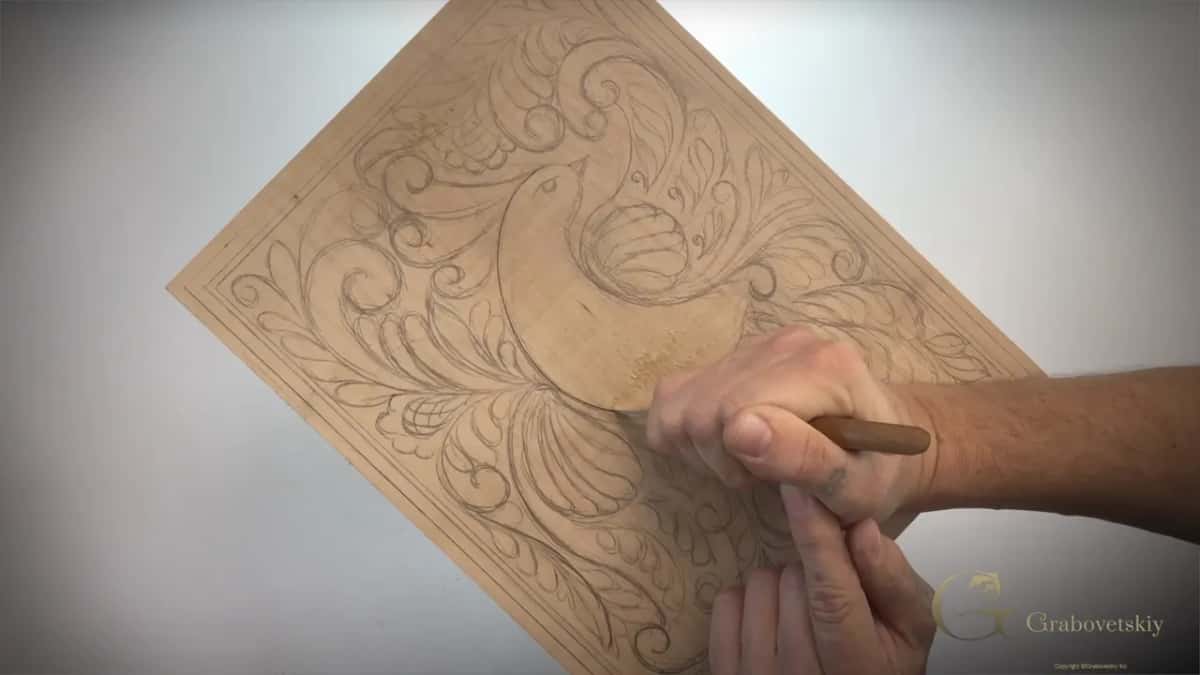
Step 5, redraw whenever the shavings take your lines
They will, four or five times on a small board. Keep a pencil on the bench and put the lines back the moment they go.

What tools do I need before my first class?
Fewer than the list you were sent. One knife, a strop, and proper wood will carry you through several projects.
When you buy a beginner tool set, from any of the usual suppliers, most of what arrives is straight gouges, and the sweeps you actually want for a curve are missing. That is how the sets are made. Buy a gouge when a drawn curve asks for one, and you will end up with a small collection that does everything, instead of a big one that mostly sits there.

Get real basswood, which is Tilia americana, or European limewood. Construction lumber tears and ruins an edge, and no class can teach around bad wood. A Pfeil number 12 is where I start most people. There is a full tool answer in the knife article and in All About Tools for Wood Carving.
Am I too old, or too young, to start?
My students run from fourteen to past ninety, and the older ones are often quicker.
Sharp tools do the work in this craft. You supply direction, not force, so hand strength matters far less than people assume, and a mallet takes the strain off a wrist entirely. I did not go to university for carving, by the way. My colleges were engineering, then marketing, then a theological university, and none of them taught me a single thing about a gouge.

The thing that stops people is never age. A dull edge and a flat drawing stop them, which is the same answer to almost every question in this trade. I went through all of that in a separate piece on what is genuinely hard about carving, and it is shorter than this one.
Which questions should I ask before paying for a class?
Ask what week one covers, and ask whether you will be drawing. Two questions, and the answers sort most courses immediately.
Ask, too, what happens when you get stuck at home, because that is where the real learning falls apart. When a course ends the moment the room empties, it taught you a project. One that still answers you three weeks later taught you the craft.

Ask about finishing too. Most beginners are told to sand, and sandpaper rounds over the facets that catch the light and make the piece look carved. I scrape instead, and before sandpaper existed people used a hollow stalk of Dutch reed for the same job.

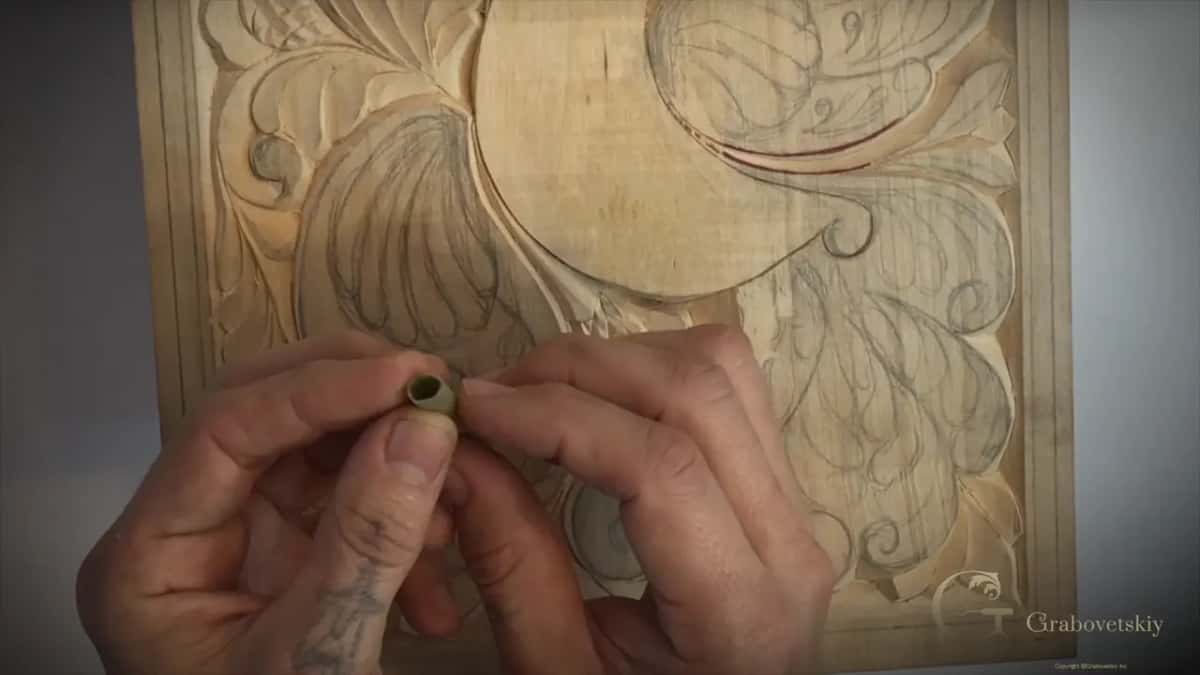
My own beginner course is Beginner in Carving, and the first project sits in First Cuts for Beginners. Sharpening has a course of its own at Carving Tool Sharpening, because that skill takes years and deserves more than a handout. If you would rather read first, the getting started guide is free.
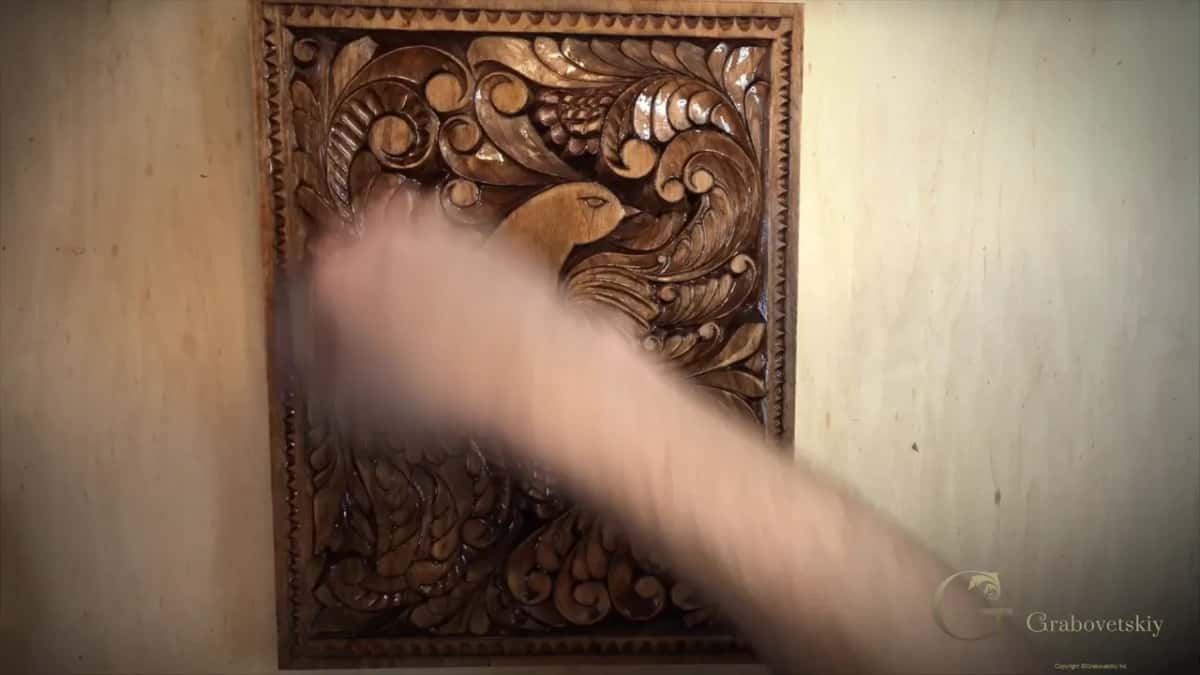
Here is what a class of mine looks like from the inside, if you want to see the room before you decide.
The whole library sits in the course catalog, over three thousand lessons. Tuition is Yearly Access at $200, which renews automatically every 12 months until you cancel, or Monthly Access at $25, renewing automatically every month. The school is a 501(c)(3) non-profit, and part of what you pay supports orphans and widows. My commissioned work is at grabovetskiy.com.
Pick the class that starts with the strop, because everything downstream of a sharp edge is easier than anybody tells you.
Frequently asked questions
Do I need a class to start wood carving?
Plenty of people teach themselves, and it usually costs them a year of tearing wood before they work out the edge was the problem. Good teaching shortens that to a weekend. What you save is a year of tearing wood, not money.
How long is a good beginner wood carving class?
Two days will give you the grips and one small finished piece to take home. Five days gets you a project you would show somebody. Either way the value is in what you keep doing at home afterwards.
How much does a beginner carving class cost?
Prices vary far too much for me to name a fair one. Judge instead by what week one covers, whether you draw, and whether the teacher answers questions after the class ends.
Can children take wood carving classes?
My youngest students are fourteen and they do well, though sharp tools need an adult nearby and real supervision. Start them on relief work on a clamped board rather than anything held in the hand.
What if I cannot draw at all?
Then the class matters more, not less. Drawing an ornament is a set of rules about space and rhythm rather than a talent you were born with, and it is taught the same way sharpening is taught.
Should I finish my first piece before starting another?
Finish it. An unfinished carving teaches you the beginning of everything and the end of nothing, and the last hour of a piece is where most of the real skill hides.