
Alexander Grabovetskiy, woodcarver, School of Woodcarving · Published 2025
Can you carve fine details without micro carving tools?
Quick answer: Fine detail without my micro tools is what I planned for the class on lesson 7 of the Tray of Blessing. A 3 mm (1/8 in) number 11 and a 14 mm (9/16 in) number 7 shaped the tendril we kept. I dropped the tendril over the leaf. And for the hole, one millimeter would also do, I said.
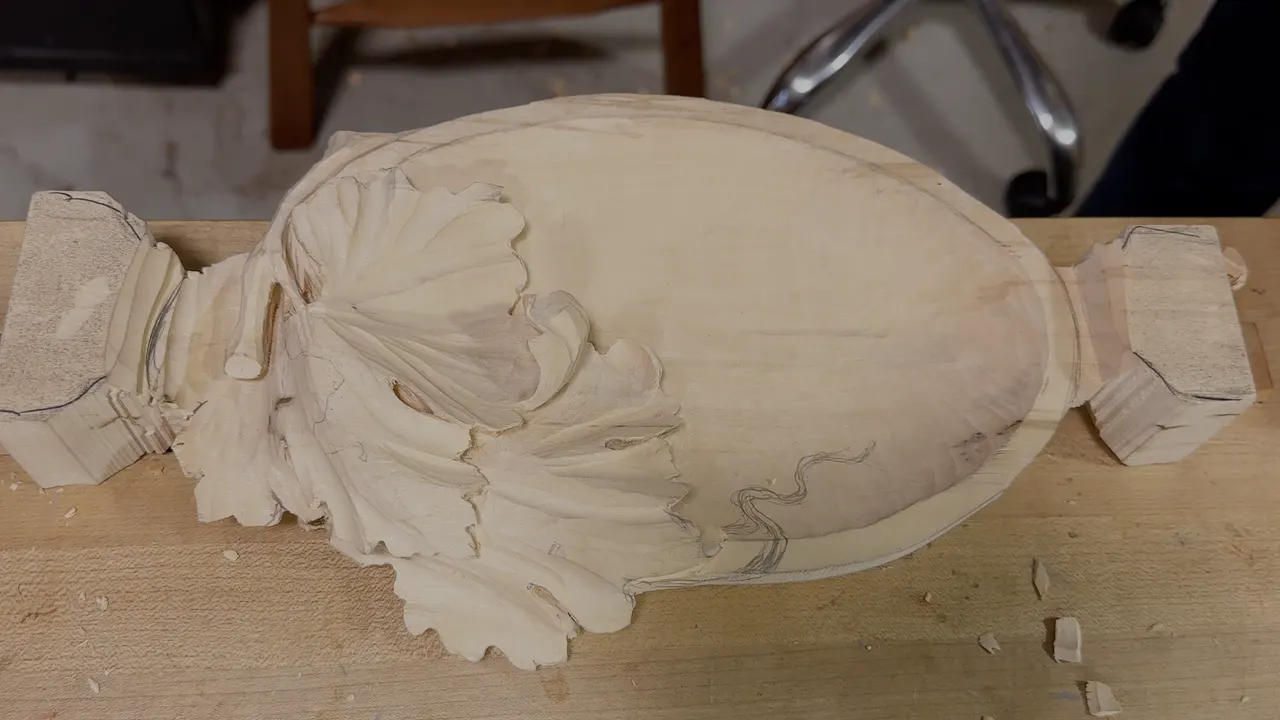
Carving fine details without micro carving tools is what I planned for my class in lesson 7 of the Tray of Blessing. I own gouges as small as a half millimeter, about 1/50 in. My class did not have tools like that, and I knew it. So I fitted the tendril to the tools they had, before any steel went in. This page is about what you can do with the small wood carving tools you already own, shown on one real tray.
Have you ever looked at a carved curl, thin as a pencil line, and asked how anyone got a tool in there? Did your next thought go to your own tool roll? Then spend one lesson at my bench, the seventh of eight.
I will show you the tendril I dropped and the one I kept, how much room I left around it, and each gouge I picked up with its size, including the one I told a student would do instead of mine.
What lesson 7 shows in six lines
I left out the tendril that would have run on top of the leaf, since without micro tools it would be hard for the class.
The one I kept got about 16 mm of room, 5/8 in, for the tools.
A number 11 of 3 mm outlined it, and at the end the same tool shaped it, working from above.
My number 7, the 14 mm one, did the shaving and the blending.
For the hole I reached for the smallest tool I had, and said a 1 mm would work too.
The goal was 1/16 inch thick, with a few spots thinner.
Do you need tiny gouges for a tendril this thin?
The tendril on this tray is a thin curl, about a 16th of an inch at the most. A student asked what we even meant by the word, and that was my answer. When you add a tendril, I told them, you also have to think how you'll undercut it from both sides.
Then came the honest part. If you don't have really micro tools like I do, it's going to be kind of hard.
I do have them, obviously, and I said so. The class had what they had. Several of my choices that day came straight from that gap, and every one of them is on this page.
Which tendril did I leave out for the class?
The one that would have come from underneath and run right on top of the leaf. A tendril on the leaf is legit, and I could see a couple of spots for it. But without the micro tools, I said, it would be hard for you. So maybe I won't do this one, but this one I'll do for sure.
At my shop it could go another way. I said I could do something wrapping around, like so, and carry it off in that direction. But again, I told them, I have to think how I would undercut it from this side, with the limitation of tools. Then I tried a different idea and asked out loud, why not?
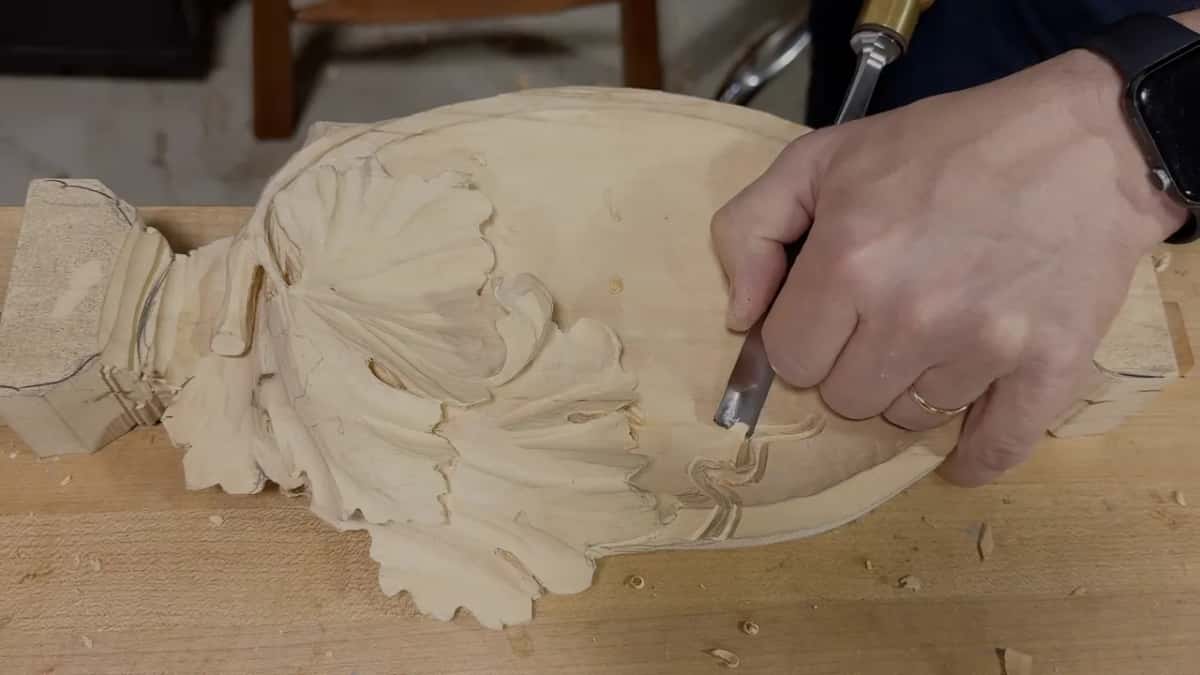
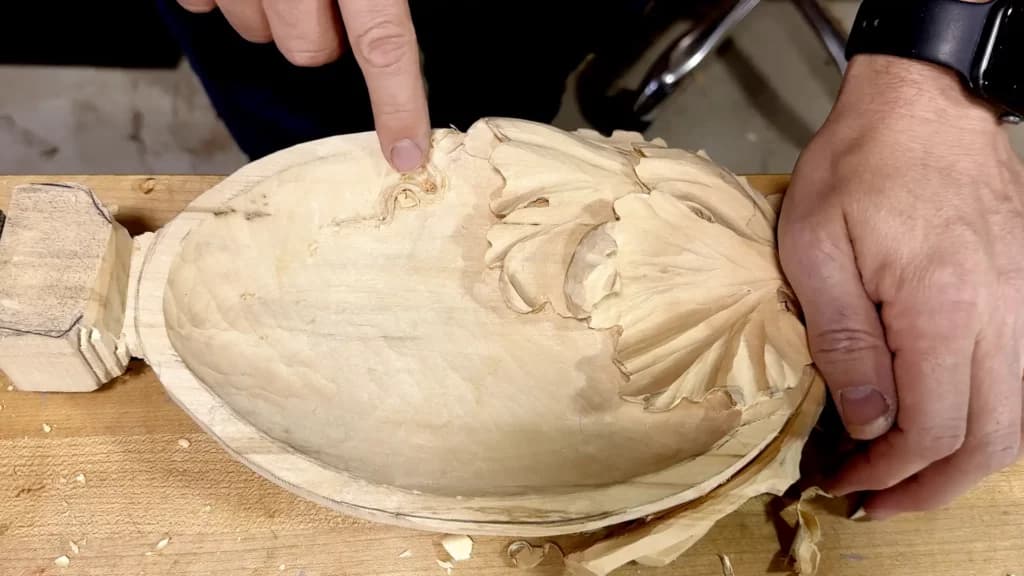
The rim was still open, too. We had not decided yet what to do with it, and that depended on the time we had that day. If a tendril wraps over the edge of the bowl, you have to do that edge first, or at least rough it out. Dropping the rim slightly was open to me too, since it's only 1/16 in.
How much room do you leave around a detail for your tools?
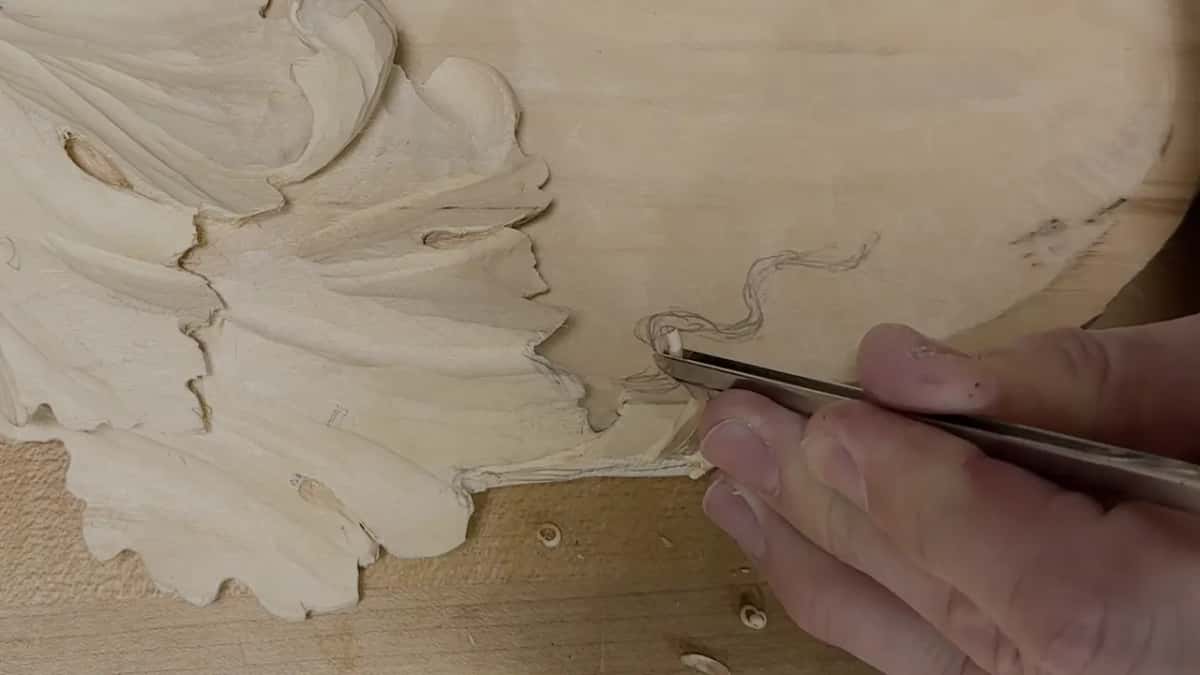
About five eighths of an inch, 15 or 16 mm, is what I left around this one. I said I'd leave more space because I think about what tools I have. Overcomplicated stuff was possible, I told them, but I didn't want it here, because of the limitation of the tools in the class we have.
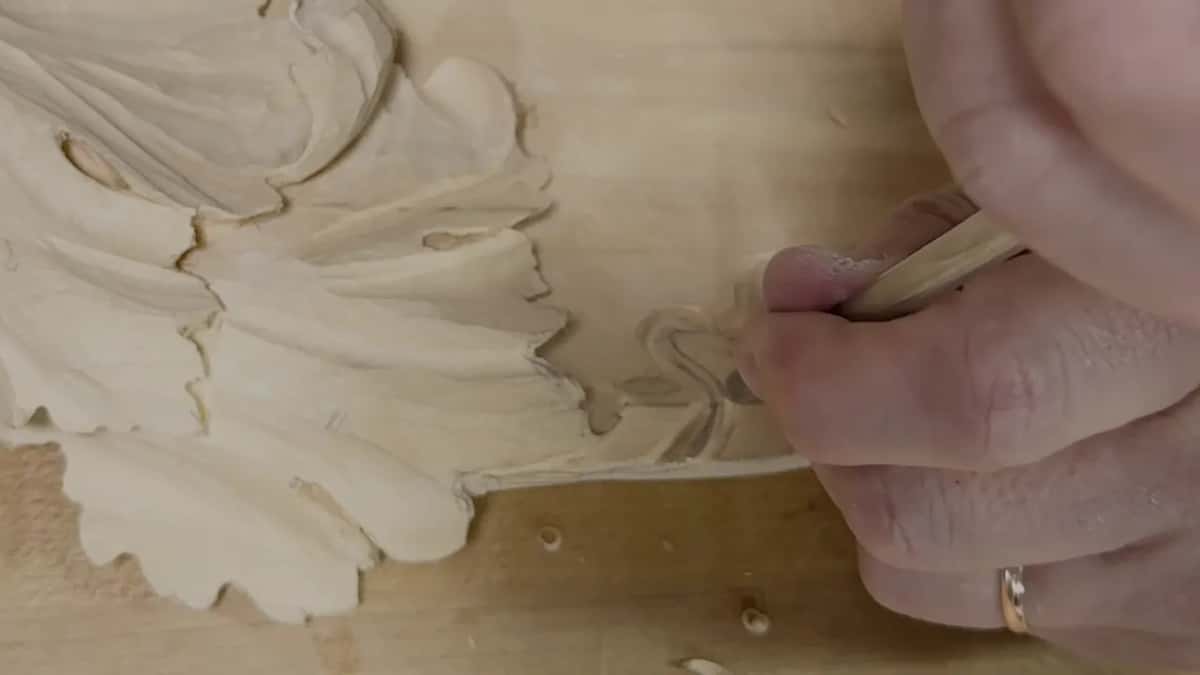
Room matters right at the outline, too. Try to place the tools away from here, I reminded them. Sometimes it's just too close, and you can butt against it.
Width was a choice as well. Even if I drew it wider, I said, I can always make it narrow later. For now I kept about an eighth of an inch, 3 mm, of spacing.
And here is what I'd change. If I had done that design from the beginning, I would have thought about the tendril and left a little more material right there. But I didn't know how well we would do, or if we would do it at all.
Which small wood carving tools did the tendril need?
The 3 mm number 11 was the main one, in my own words, with a 14 mm number 7 beside it. Two tiny gouges came in for the hole and the small undercuts, a half millimeter number 11 and a 1 mm. Each one is in the table, with what it did on my tray.
Gouge | What it did on my tray | What I said |
|---|---|---|
The 3 mm (1/8 in) number 11 | Outlined the curl a sixteenth of an inch deep, then gave it the final shape working downhill | Use that tool as the main tool. |
A 14 mm (9/16 in) number 7 | Shaved and blended the curl, and on one pass I used just its corner | Carefully, carefully. |
Number 11, 0.5 mm (about 1/50 in) | Went under the tendril at about 11 o'clock, then came back from the other side at three o'clock | One millimeter also will do. |
My 1 mm (about 1/25 in) gouge | Turned upside down to excavate upward and open the light, then went uphill from inside | Same idea, but on the micro level. |
Someone asked if the tiny one was an 11 curve. It's number 11, I said, the half millimeter one. If you need something like a number three, I added, use just the side of the 3 mm, a move I also made later and told on a page about the #2 gouge.
How do you carve small details in wood with a 3 mm gouge?
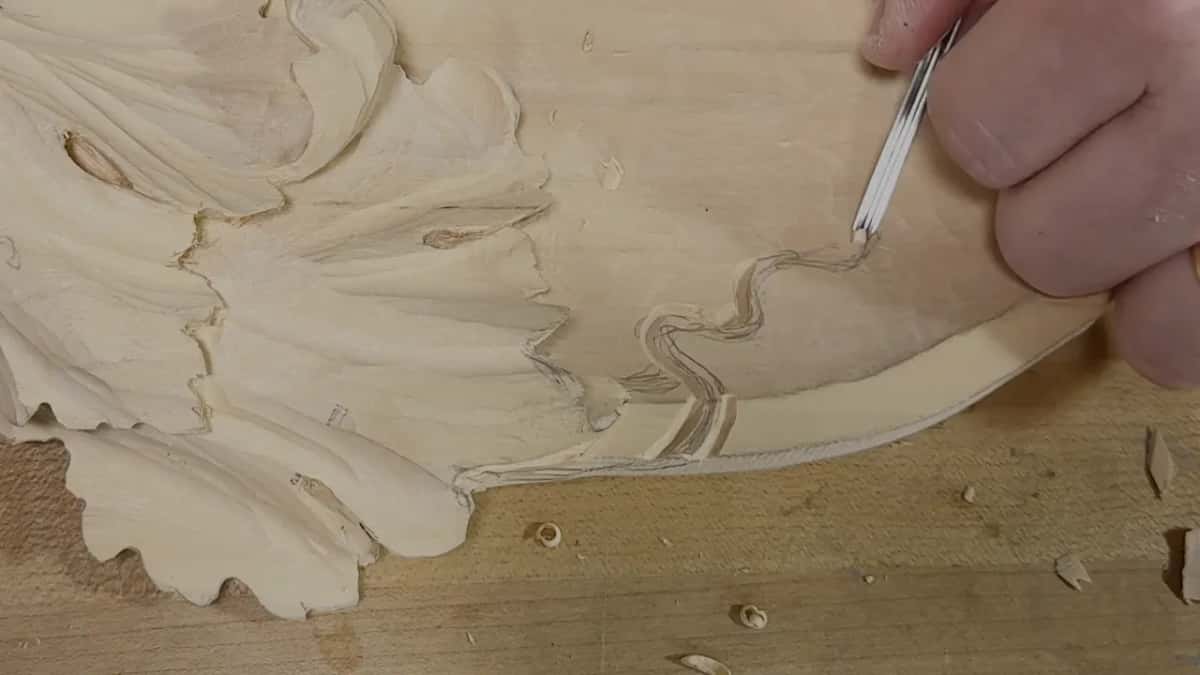
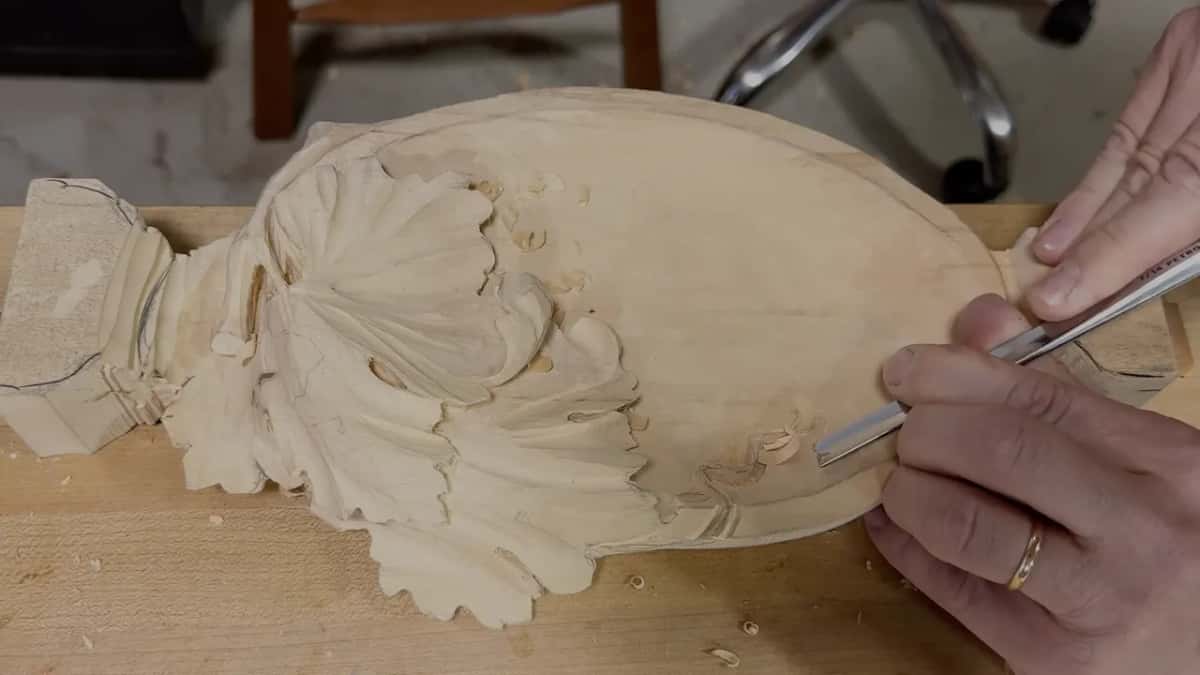
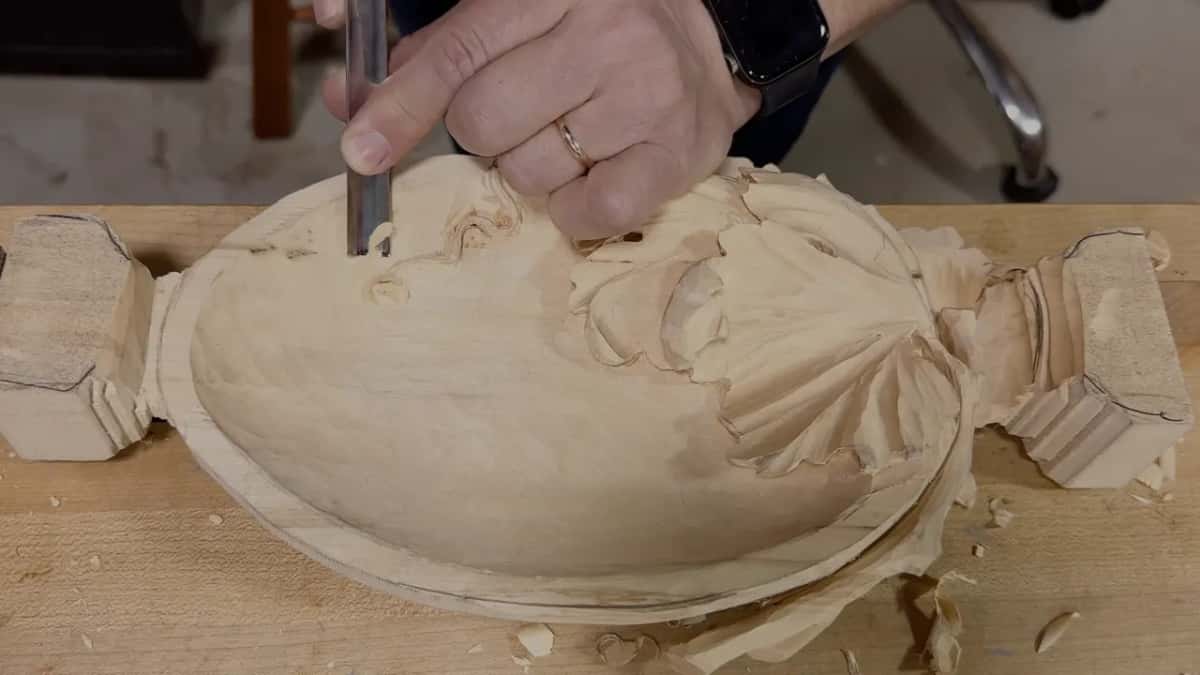
On this tray it started with the outline. I set the flute slightly to the right and carved right along the side, about 1.5 mm deep. Then I changed position and carved around the curl.
Be careful what the grain does, I told them. You feel it, because you could catch it, and this part is not as straightforward as the rest of the carving. So approach from different positions, feel what the grain does, and connect it.
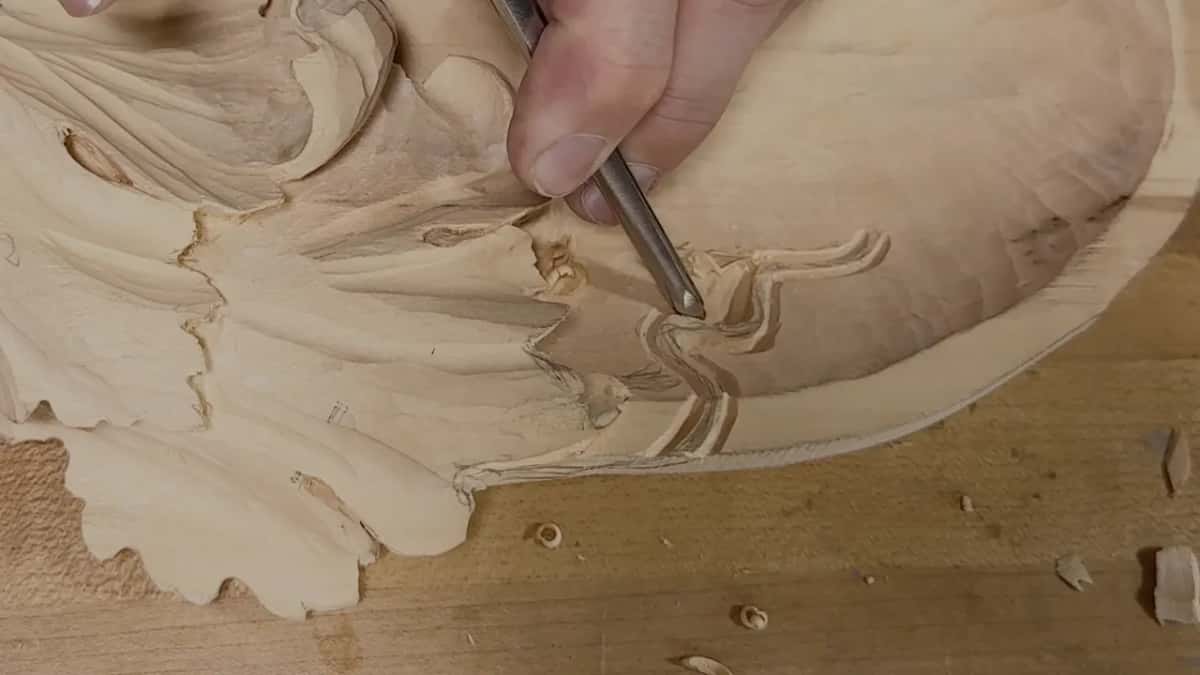
I also told them not to worry if it was not really straight or really curly right away. But don't dig too deep, unless you want part of it airborne. I pointed out how slowly I was carving, almost like slow motion. I really didn't want to mess it up.
Later the same 3 mm came back, for what I called the final or semi-final shape. I attacked from above and went downhill until I was happy, leaving only a sixteenth. Use that tool as the main tool, I told the class.
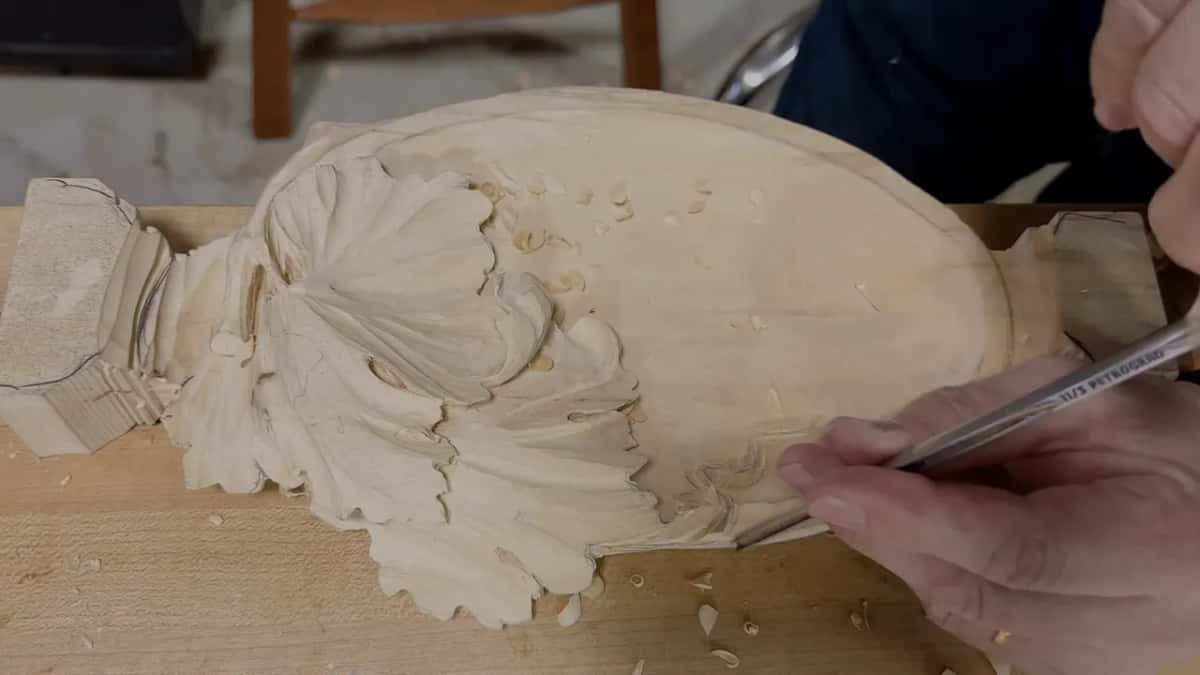
Don't overdo it, I said. It's better to see the shape from above. You can always fix it from up there, but if you just keep going on this side, you really don't know what shape you have.
What does a 14 mm number 7 do on a curl this small?
The shaving and the blending. I presented it at 45 degrees and, carefully, carefully, shaved out and blended. I could be more aggressive this way, I said, but it also depends on the sharpness of your tool. If the tool is not too sharp, it's better to attack the way I did the first time, and clean it.
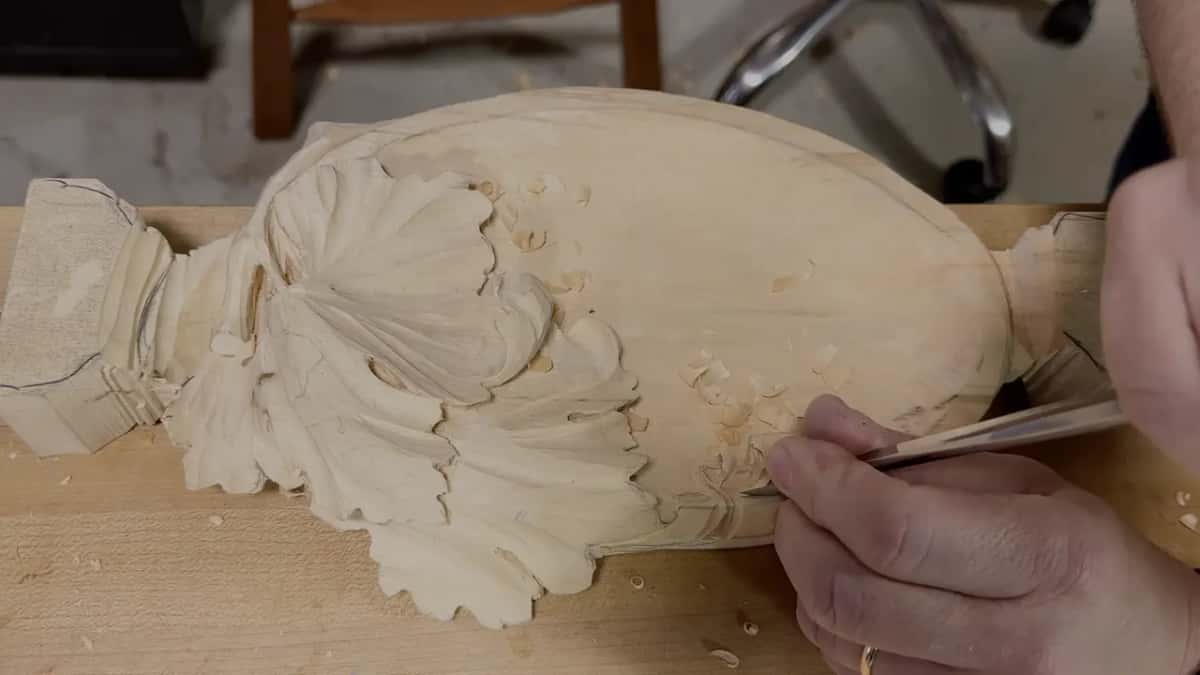
On one pass I used just the corner of the tool. The main idea, I said, is not to push too hard and not to take too much material at once. Small tiny passes, really shallow ones. You'll be able to blend it a little later, but please don't dig too deep, or you lose that overall shape.
Coming back from the opposite direction, I presented the tool at that same angle and blended that way. My hand sat solid on the workbench. Don't push it too hard, I warned, because I'm working along the grain, and you can catch it and break that tendril.
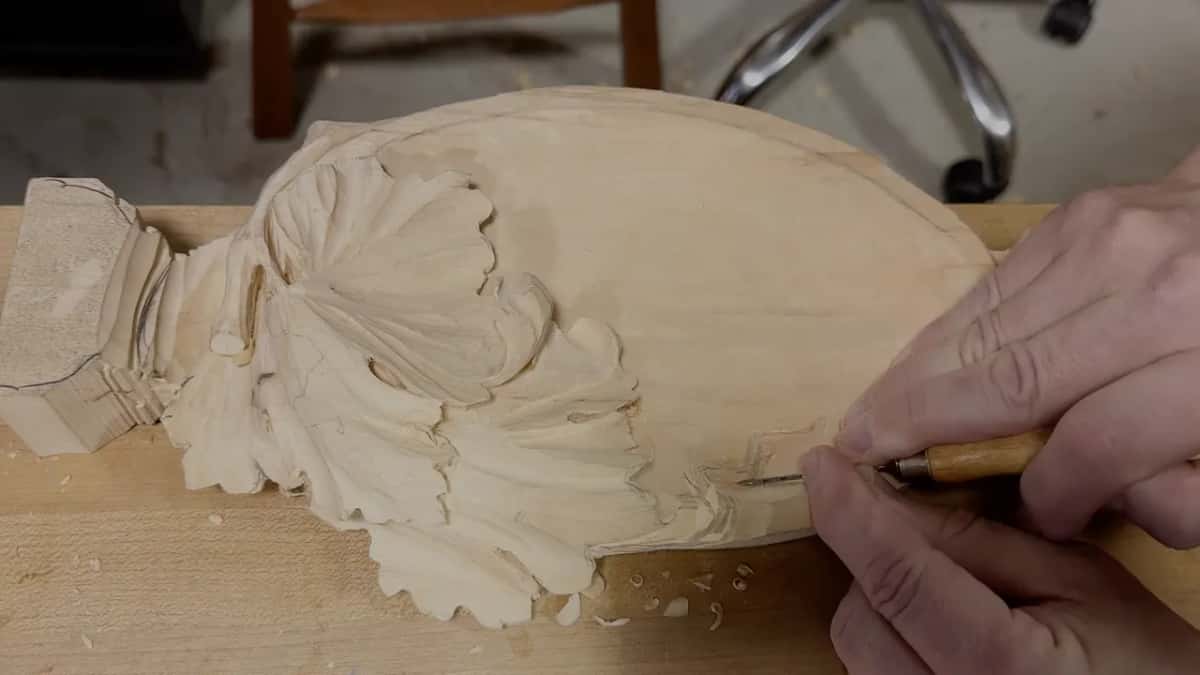
See how I'm holding my tool, I told them. In my case the left hand is in a solid place, if you're right handed, and if you're left handed it's the opposite hand.
Is a 1 mm gouge small enough to carve right through?
For this hole, I said so. I'm going to get the smallest tool I can, I said. I guess you have one millimeter. I'll get half a millimeter, but one millimeter also will do.
Before that came a bigger question, whether to make it airborne at all, and I tied it to practicality and to what you'll place in the tray. Money in it is okay. Put something else in, and you can break it.
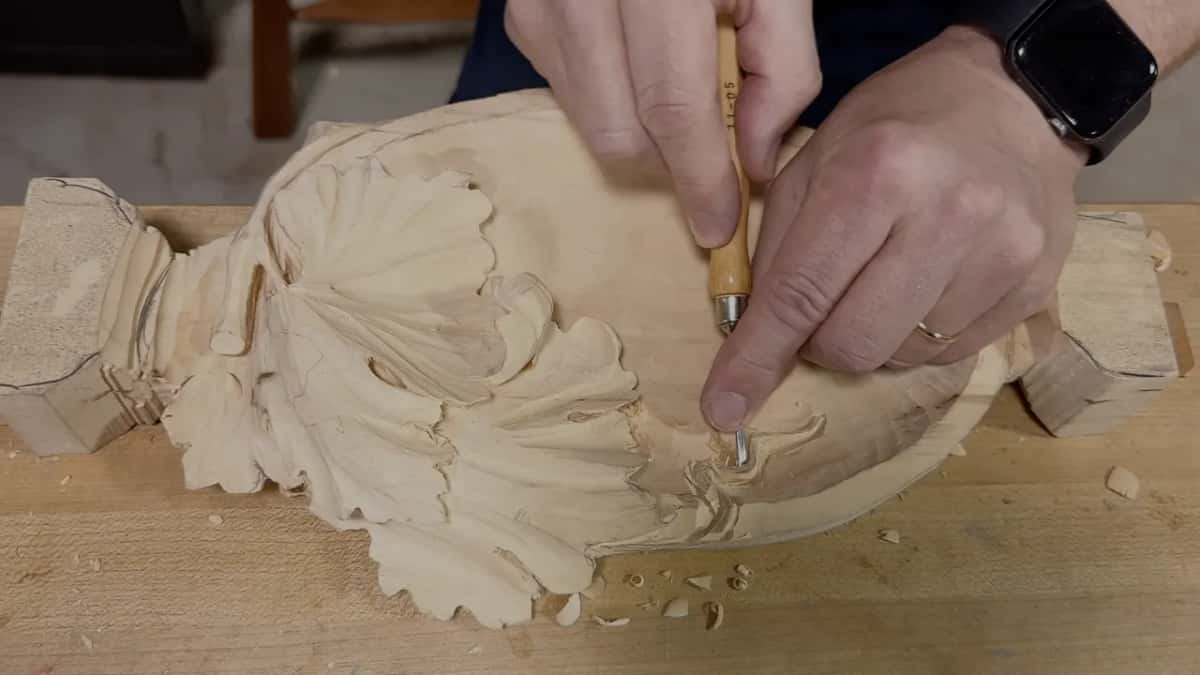
Grain decided the spot. One area was okay to make airborne, and another section would break, because of the short grain. Every time you design something airborne, I told them, make sure you do it with the long grain. Then the light travels underneath, and it just kind of pops. I asked if they wanted me to do it, and the answer was yeah.
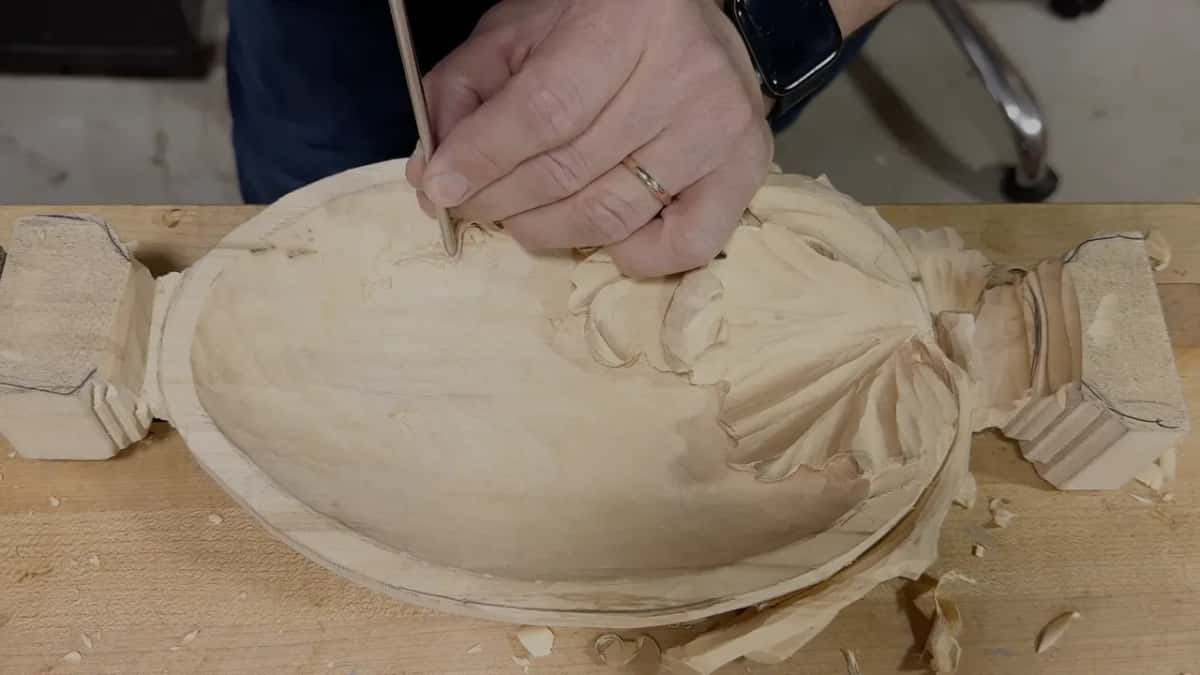
First I dropped it deeper, about an eighth of an inch, 3 mm, and excavated it from each side. After the blending, the tiny one went in with its flute at about 11 o'clock, excavating right underneath. I stayed away from making it any deeper. I was pretty much undercutting.
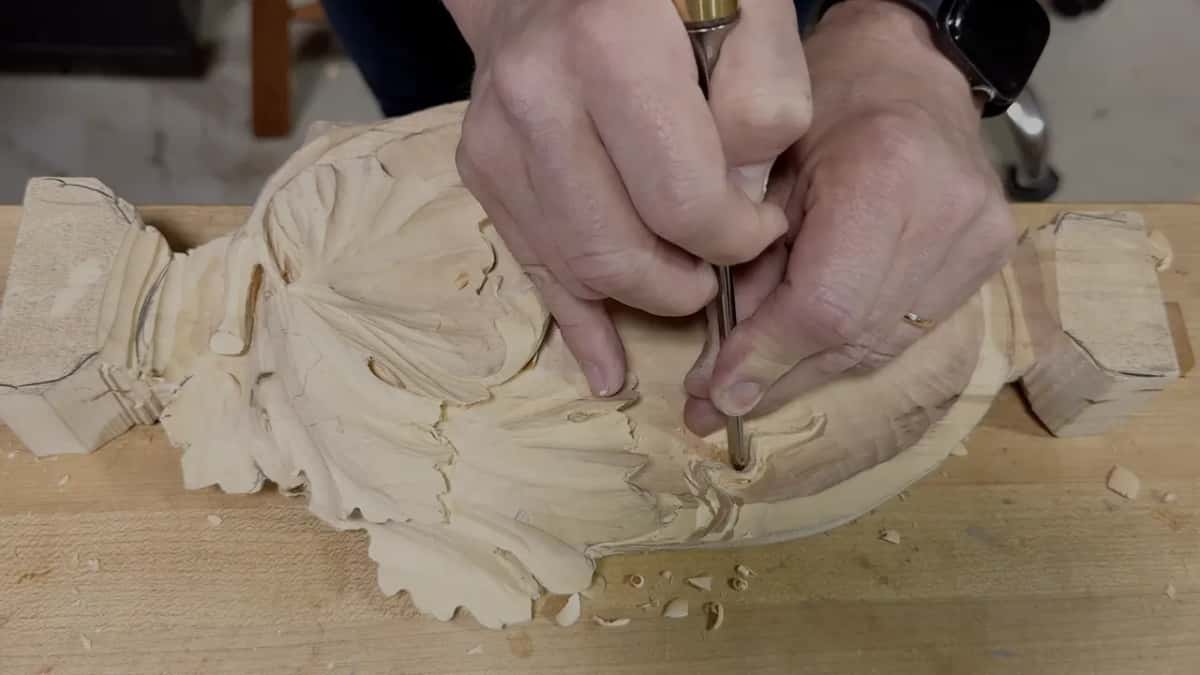
I won't try to get my hole from one side, I said. I carved from both sides, and on the other side the flute went to three o'clock. The main point is the middle finger. See how wonderful fingers you have.
It looks really thick, I said, don't worry about it, you can always make it thinner. The goal is about a sixteenth of an inch at the end, a millimeter and a half or so. A little later, still excavating, I said how cool that is. It's a wonderful project for micro carving.
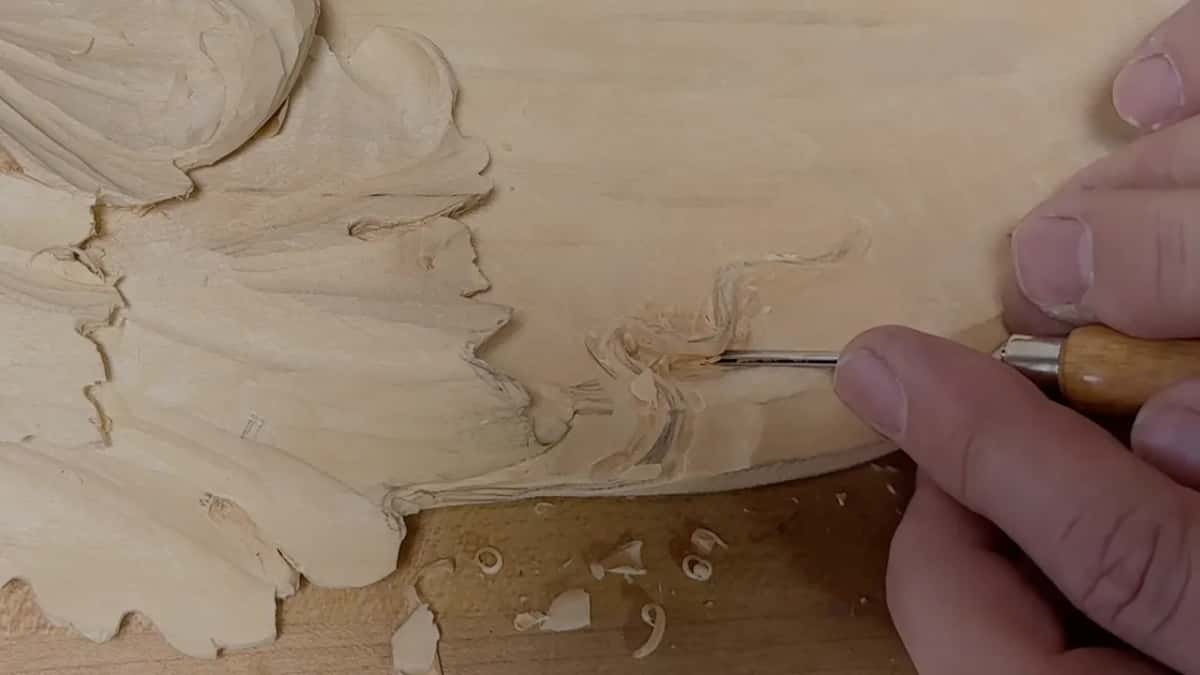
Once I could see the hole, I called it an important moment and picked up the 1 mm. I turned it upside down and excavated upward. Because I already knew there was a hole, I could make that light point by thinning it from underneath. Same idea as the undercutting we did, but on the micro level.
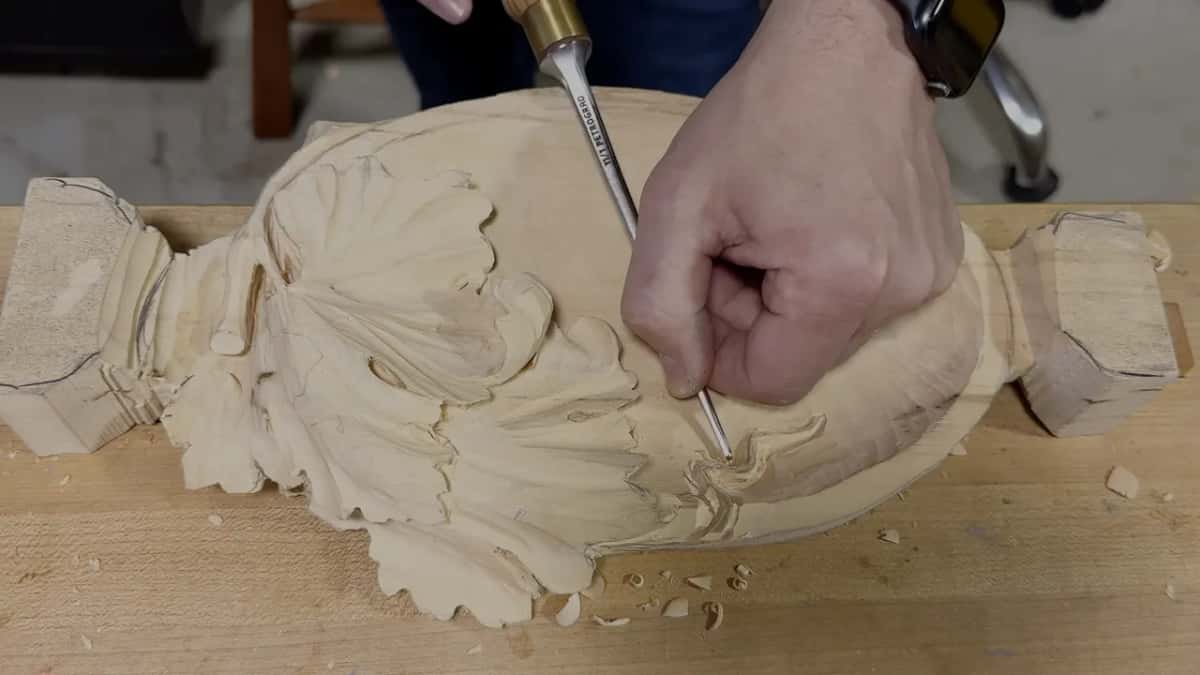
Later the 1 mm went back in for even more light, attacking from inside and going uphill. Get rid of all the junk, I said. That should be strong enough, I said, once the junk was out. It is all the way through. Can you see it?
What did I leave for the class to try at home?
A second wrap, in a spot much harder to clean. Since one part was already narrow, I said it was possible to connect the tendril by wrapping it around that area too. It would look nice, but it'll be much harder to clean in there. Much harder. You can challenge yourself at home.
Earlier I had weighed one more airborne spot. I had plenty of thickness and could make that part narrower, but then I'd have to narrow everything. Probably, maybe I do, maybe not. Someone in the class said I talk myself into things a lot. I know, I know, I said. That's what I do.
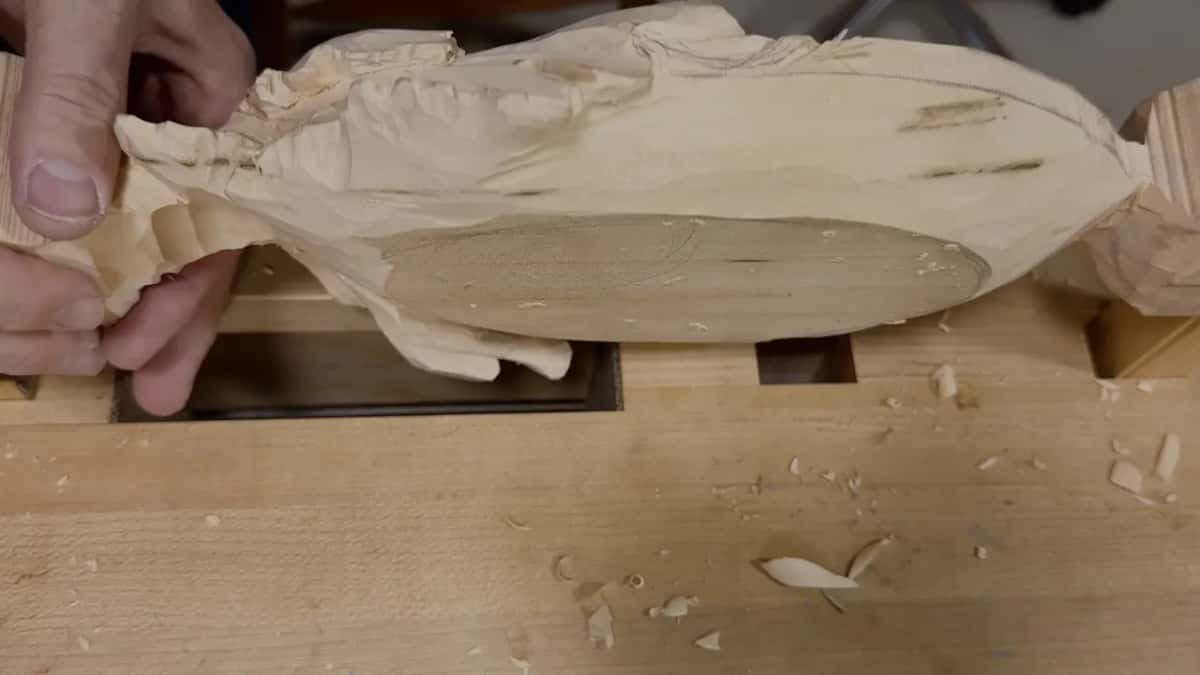
So I made it a little narrow, because it looks good when you look from above. Narrow one side, and you have to do the same on the other. At least now you know how I work, I told them, how I change stuff on the fly.
Near the end came the undercut. One millimeter or half a millimeter, in my case. I undercut slightly and went around, and you can see that shadow even from that small undercut. That is what you're after. Once you have the one 16th of an inch overall from above, I said, then you just undercut, but not extremely, or it'll pop out.
Is that clear, I asked, and not long after I said one word. Crickets.
How fast should you carve a detail like this?
As fast or as slow as you like, I told the class. There's nothing wrong with being fast, I said, and nothing wrong with slow. It's more about the technique than anything else.
What I did myself was slow. Be really careful, I said, and really slowly just work your way around. That is how you train your character to be patient. Partway through I wanted my magnifier for the tiniest strokes, which I told on a page about magnifiers.
What can you try with the tools you own?
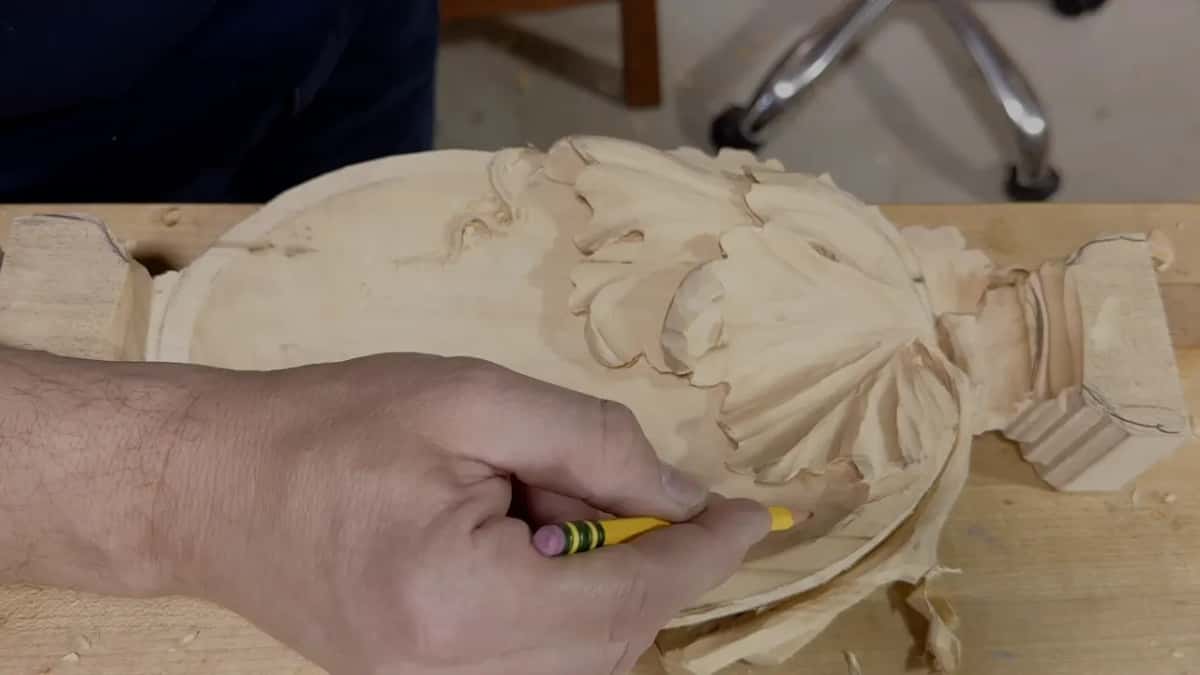
Make sure you understand how you're going to excavate it, and what tools you have. I told them that while the tendril was still a pencil line on the tray. In this lesson that one question cost one tendril and kept another. What each tiny gouge did on a different leaf is on my page about tiny gouges.
The tools themselves are covered in All about tools for Wood Carving, and keeping a 3 mm edge sharp is what Carving Tool Sharpening is for. First Cuts for Beginners is the course for someone who has never held a gouge. Grapes and their vines come back in Carving Grape Onlay and on the vase with grape leaves, each a grape vine carved by hand.
This tray grows out of a Cabernet Sauvignon leaf. Lesson 3 gave that leaf its classical rules, and lesson 4 laid the vine over it. Every lesson of the tray course is open with Access, and the lessons map shows where it sits among the others. Lesson 7 is the part of this wood carving where the tendril gets its hole.
Got a drawing with a curl on it, and a gouge you trust? Bring both to the bench.
How it's done
- Ask how you will undercut it. Before outlining, think how you are going to undercut the tendril on both of its sides with the tools you have. One option lost out on that question in my class.
- Leave room for the gouge. Mine got five eighths of an inch. Keep the tool clear, so it does not butt against.
- Outline it with the 3 mm. Number 11, flute a touch to the right, about a 16th deep. Draw it wide, because narrowing comes later.
- Blend with the corner of a number 7. Mine was a 14 mm, presented at 45 degrees, in small shallow passes with no hard pushing and the other hand solid on the bench.
- Open the hole two ways. The smallest number 11, its flute near 11 o'clock, then three o'clock from the far side. A 1 mm will do as well.
- Thin it from underneath. Turn the 1 mm upside down and excavate upward to let more light through, but don't overdo it.
- Finish from above. Back to the 3 mm. Attack from above, go downhill, stop at 1/16 inch, then undercut slightly.
Frequently asked questions
What size gouge outlines a carved tendril?
On my tray a number 11, 3 mm or an eighth inch wide, did the outline, carving along the side about 1/16 in (1.5 mm) deep with the flute a little to the right. I drew the curl wider than it would end, since narrowing it later is always possible.
What breaks a thin carved tendril?
Working along the grain, a gouge can catch the fibers and break the tendril, which is what I warned the class about. Short grain breaks too, so I kept the airborne part where the long grain was and came at the curl from different positions.
Do you need the tiniest gouge to carve a hole through a thin part?
For the hole on my tray I took my tiniest number 11, a half millimeter wide, and I told a student that a 1 mm would work too. Both sides got carved, never just one, with the flute near eleven o'clock and then near three.
What to carve next