
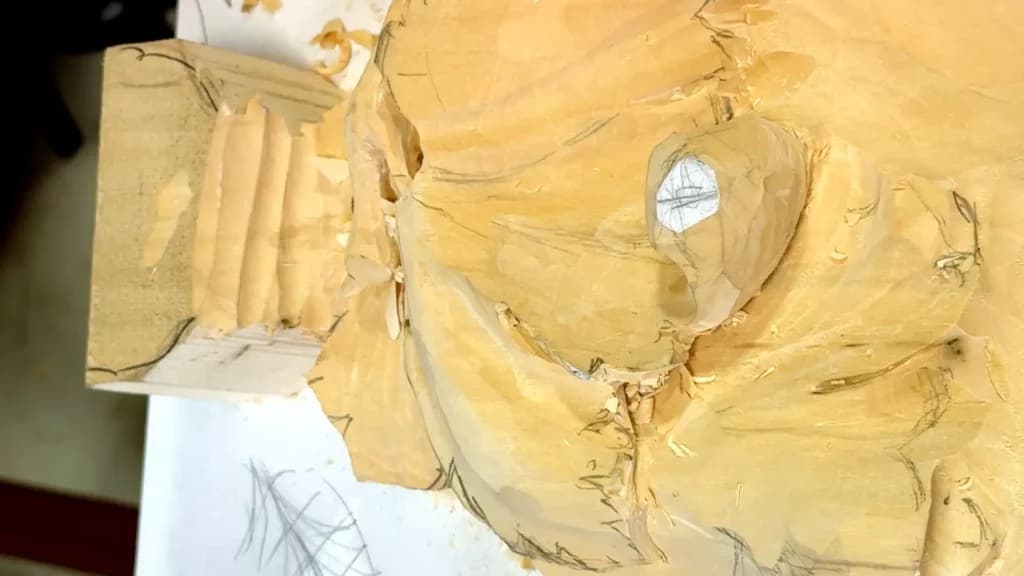
Alexander Grabovetskiy, woodcarver, School of Woodcarving · Published 2025
How do you carve where a stem joins a leaf?
Quick answer: The joint where a stem meets a carved leaf is a choice before any carving. On my grape leaf tray the stem could ride over the leaf as its main vein, or hook up into it from below. Both are legit, I said, and I brought it in a little from underneath, after asking which gave more shadow.
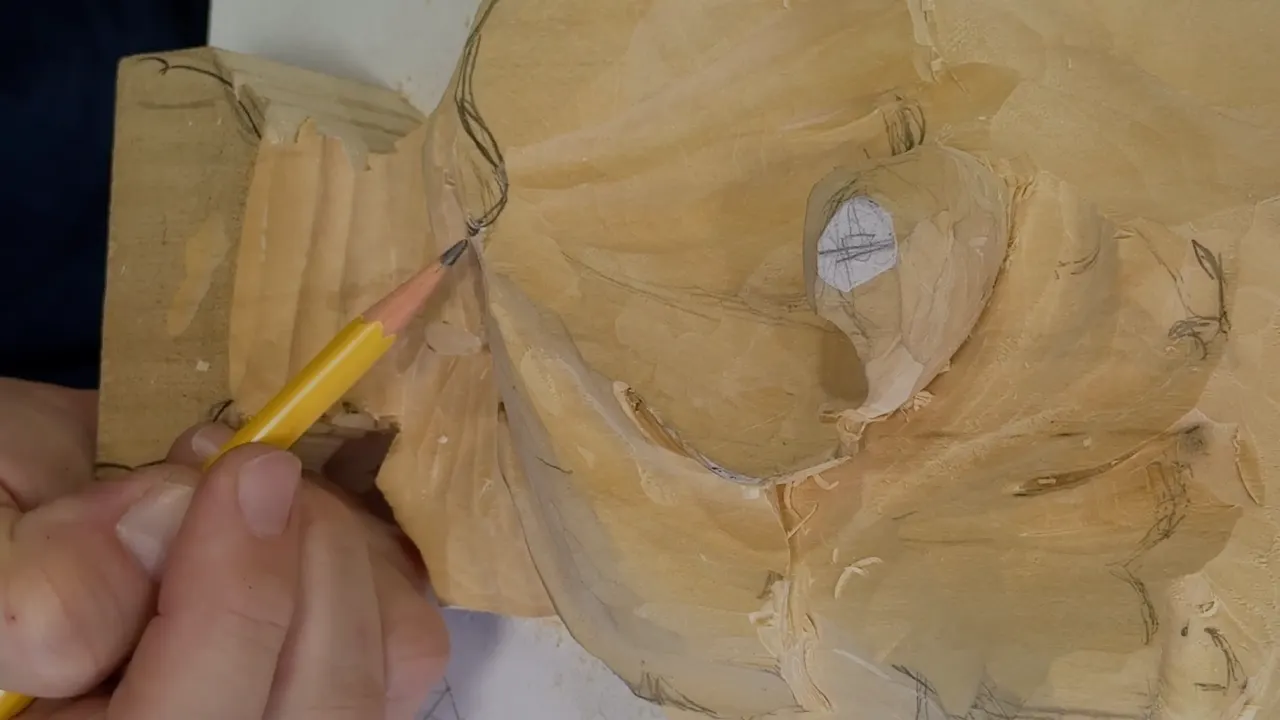
The place a stem meets its leaf is a decision before it is any carving at all. On my grape leaf tray, in lesson 5, the stem could run on top as the leaf's main vein, or hook up into the leaf from below. Both ways are legit, I told the class. I asked which one would give me more shadow, and I pulled the stem in slightly from below. It's one small spot on wood carving leaves, and I called it a danger zone, twice.
You drew the stem and the leaf as two lines that touch. In the wood you have to decide how they meet. I'll give you what I carved at that joint on the Cabernet Sauvignon leaf, in the order I carved it, plus the questions my class asked while they watched.
Got a leaf drawn on the wood with a stem coming into it from one side? See where the two lines touch? That small place is what this page is about, start to finish.
What I did at the stem in lesson 5
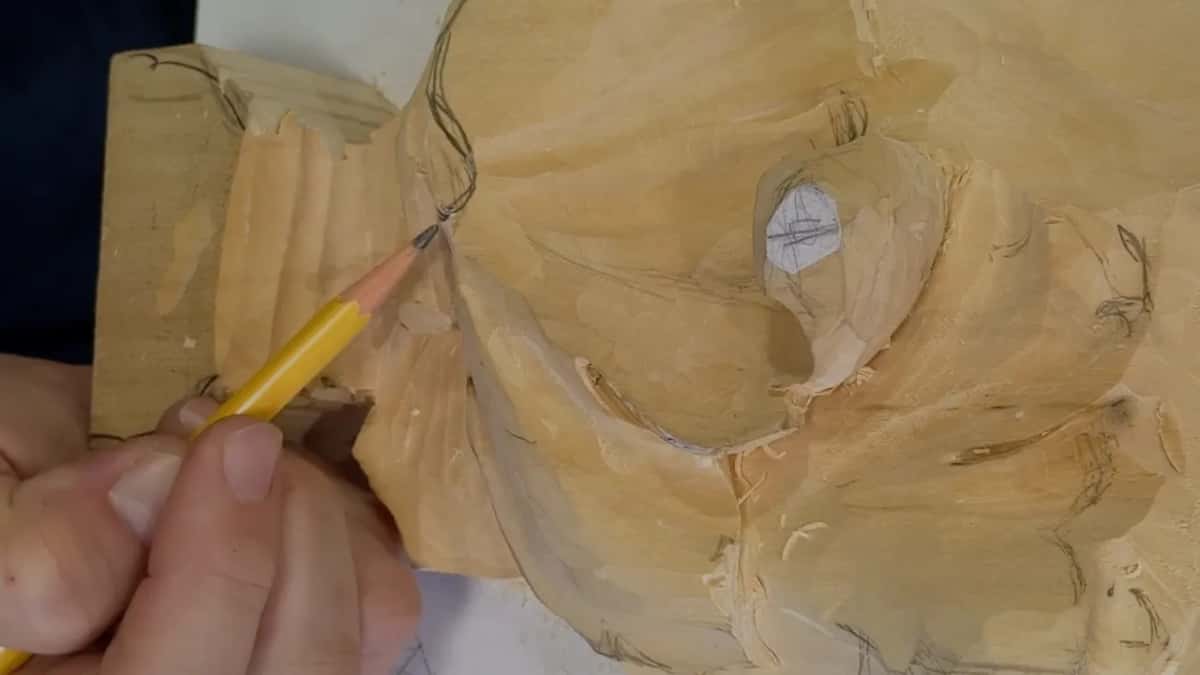
An opening each side of the joint, deep, for a beautiful shadow.
Eyes kept small on purpose, to widen later.
Two roads weighed out loud, the vein on top or a hook from underneath.
Below won, after I asked which way meant more shadow.
A concave carved so it goes down and then rises up.
Parts of the leaf lowered.
Where does the stem meet the leaf on this tray?
At an opening. Where the stem connects to the leaf, you'd like to create some kind of opening on both sides, I said, the way I'd shown the class on a picture. That's the excavation point. It goes deep, and it casts a really beautiful shadow. Five lobes, like a Cabernet.
That spot can be exaggerated a little more, too. Those two go only on the upper leaf, I said, because the other one is a hidden one.
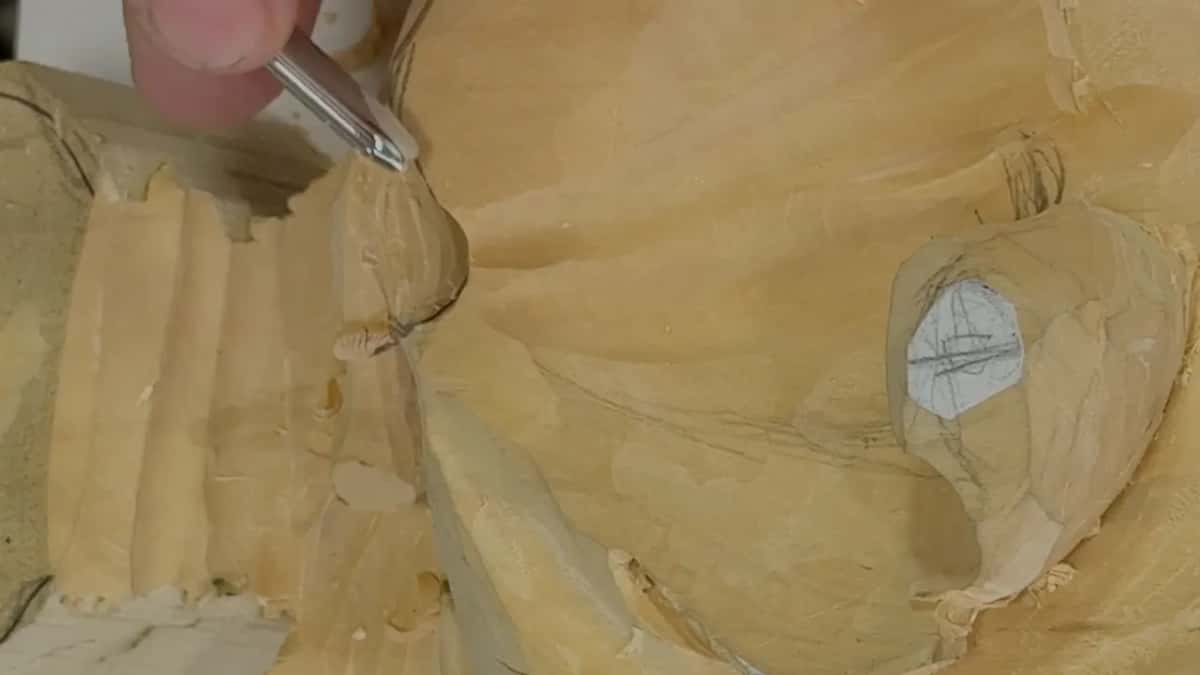
The eyes were a little smaller than they're supposed to be, and that was on purpose. You can always make them wider and bigger by cleaning up later, and I showed the class I can widen one from the point where the leaf connects to the stem.
Once that joint was open, I said, I could set the main outline, and I'd like to get it done that day.
Which tools opened the joint?
A number 11 at 3 mm, about 1/8 inch, did the excavating. A chunk could come out first with the big tool, I said, a 10 mm (3/8 in) number 9, like the beginning of a pass, then go in with the small one.
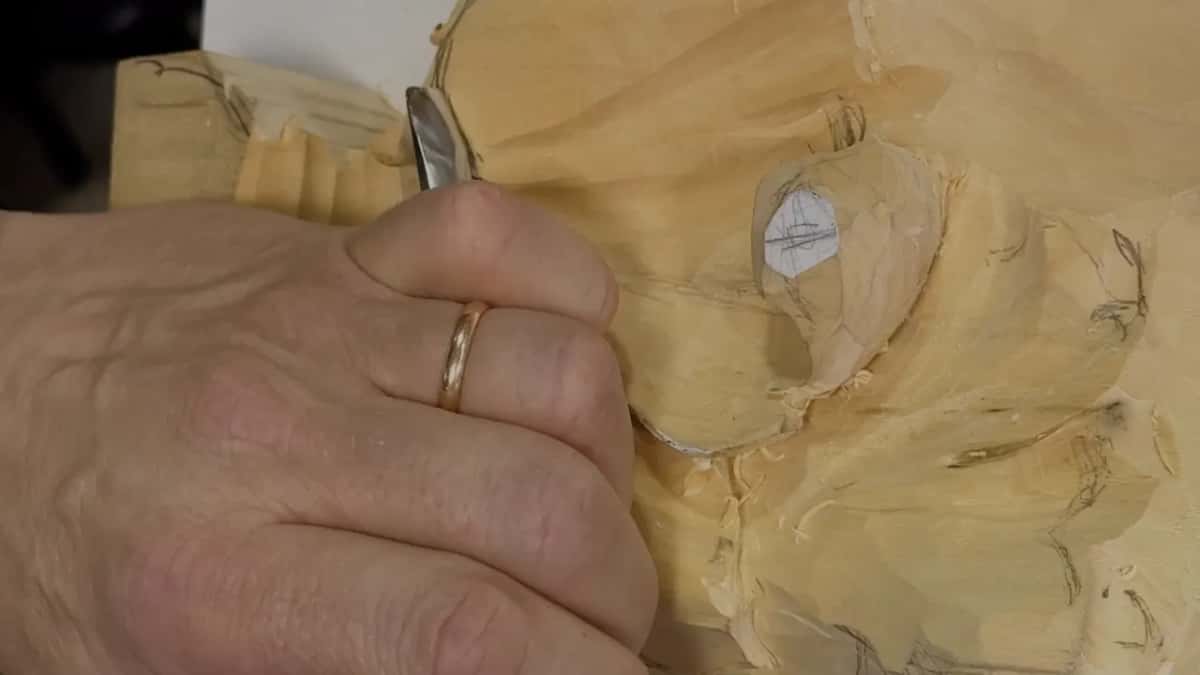
Next the flute went upside down. I dug in and excavated right underneath, moving the handle as I went, and that gave me a really deep excavation on the side. Take a look, I told them, twice.
Like I said the day before, on Monday, we're painting pretty much with the shadows and the light. Painters have a word for it, chiaroscuro.
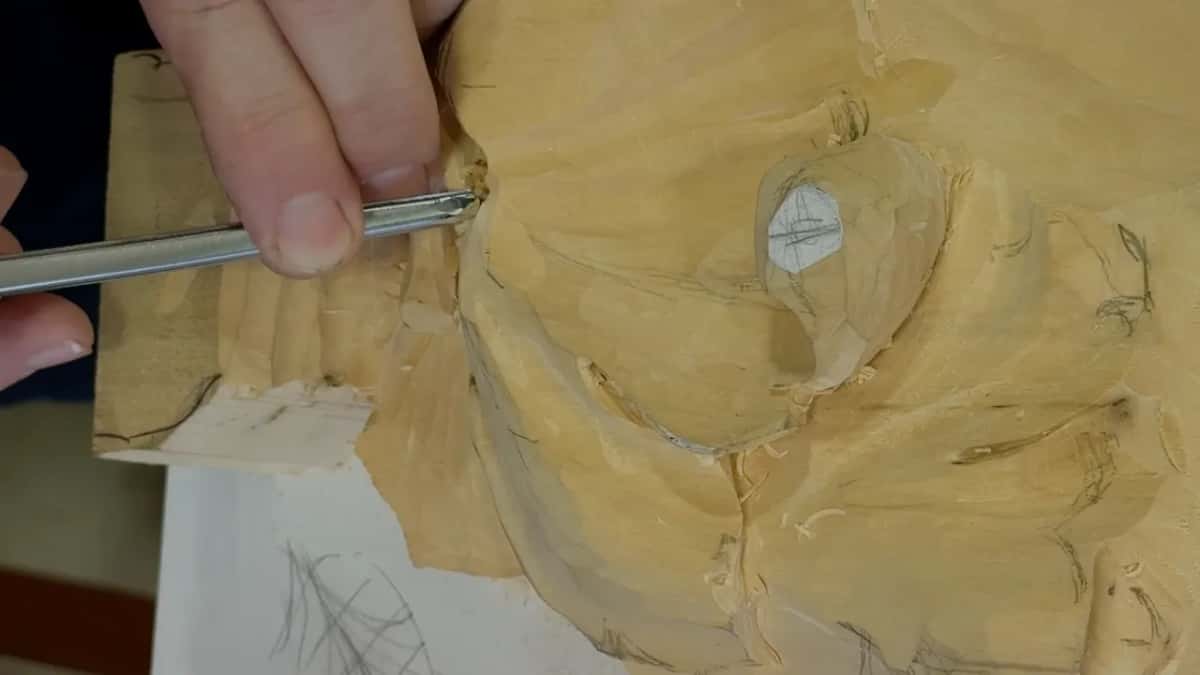
After that I excavated a little more on one side, because I wanted to make sure of the illusion that the stem is really thin. Earlier I'd said I would make it a little more narrow later. My number 7 came after that, straight down.
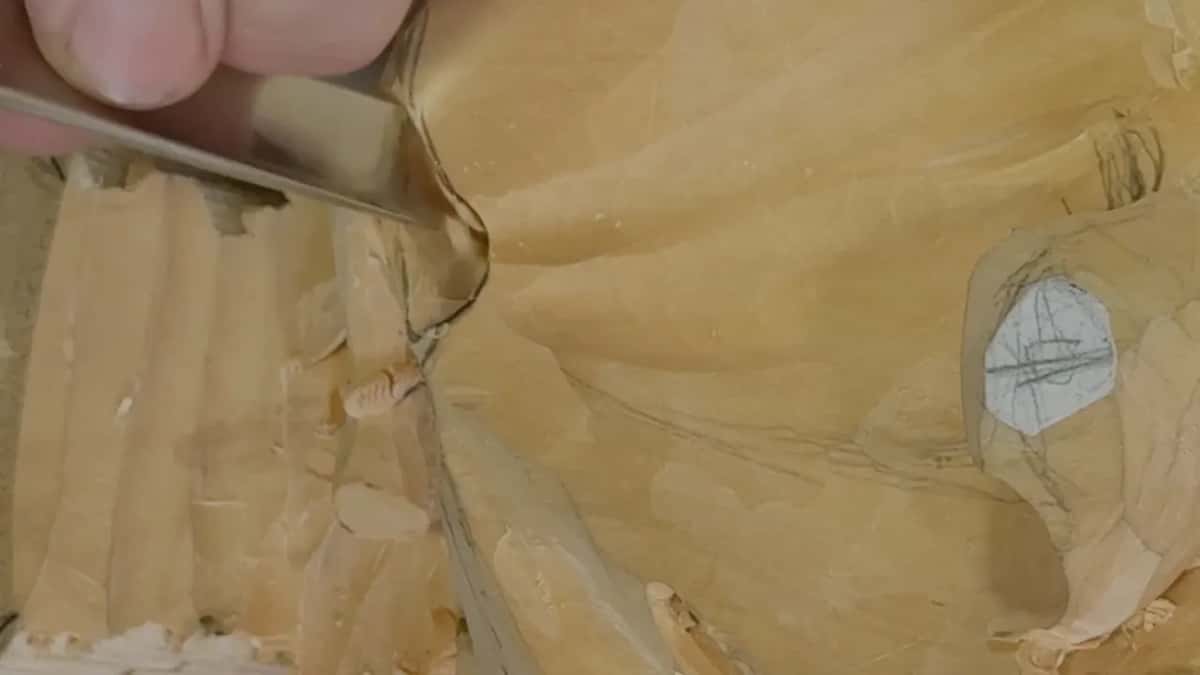
Should the stem ride over the leaf or come from below?
Either one was legit here, and I said so before I picked, laying out the couple of ways you can do with the stem. It can just continue the motion of the same movement on top of the leaf. Or it can connect from below, and then you have to excavate that part, lower it down and create the motion, like hooking from below. My stem is actually right here, I told them, and this part I'm going to take out too.
About five minutes later it was time. So now I have to make the decision, I said. Out loud, too. Do I want that stem as a continuation of my vein on top of the main vessel, the juice vessel of the leaf? Or do I want it lower, with almost a valley for a connecting point?
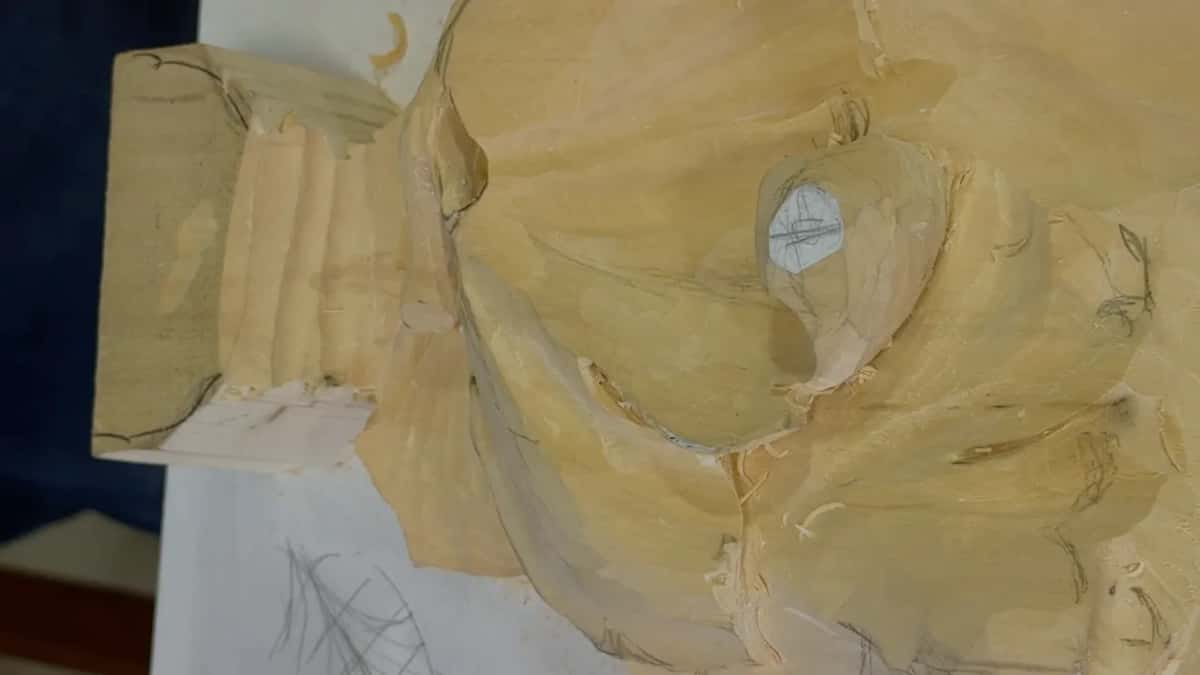
A real leaf does carry its water in vessels like that, the xylem. And a real grape leaf varies, too. If we look from the top, I said, it depends on the leaf itself, because some leaves have a connection that's almost like blending in.
Which way gave this leaf more shadow?
From below, the way I read it at the bench. I asked what's going to give me more shadow: this one excavated a little deeper, and that one going a little more underneath, slightly, am I right?
On top, you get just a subtle effect. Go inside instead and connect it from inside the leaf, and I have to carve some concaves right there, and I get extra shadow. So why don't we pull it slightly from below, I said. That was the choice.

Somebody lost track there and asked where the bottom stem would come in. No, I'm talking about the same stem, I said.
When is the stem really connected to the leaf?
Later than it looks. Someone in the class said it didn't look connected yet, and I agreed it wasn't done. It is connected, I said, but there's not a legit connection yet.
Then a student asked if I could still bring it up from below, with the wood under it already excavated and the stem free floating. I have plenty of space there, I said, and I'm not going to go crazy low.
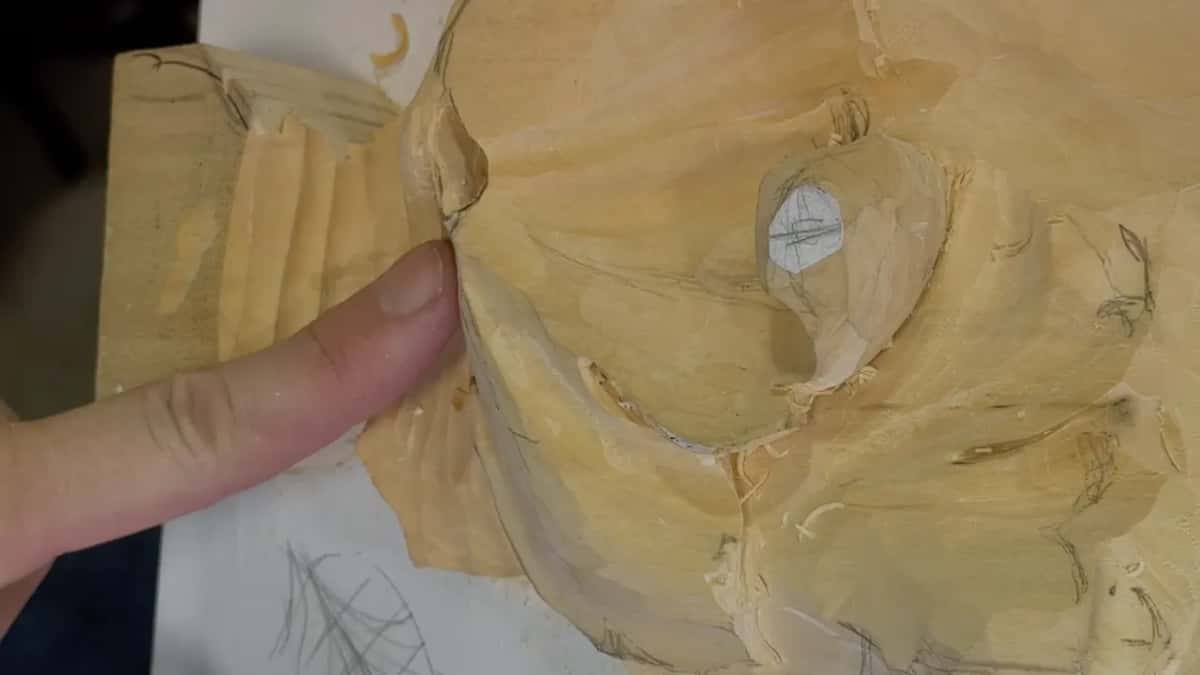
That daylight under the stem came earlier in the lesson, when I carved right through beneath it, the airborne idea, and showed the class a hint of light. Short grain like that can break. For a spot like it I named penetrating epoxy by TotalBoat, and said CA glue has a span of only about five years.
How do you carve a stem that hooks in from below?
With a concave that has to go upward. To pull the stem in from beneath, I said, I have to create the concave, and it rises. So it just goes down, and then it raises up and hooks somewhere right there. Can you see what I mean by that, I asked.
Sorry, I told the camera at that point, since I was covering it.
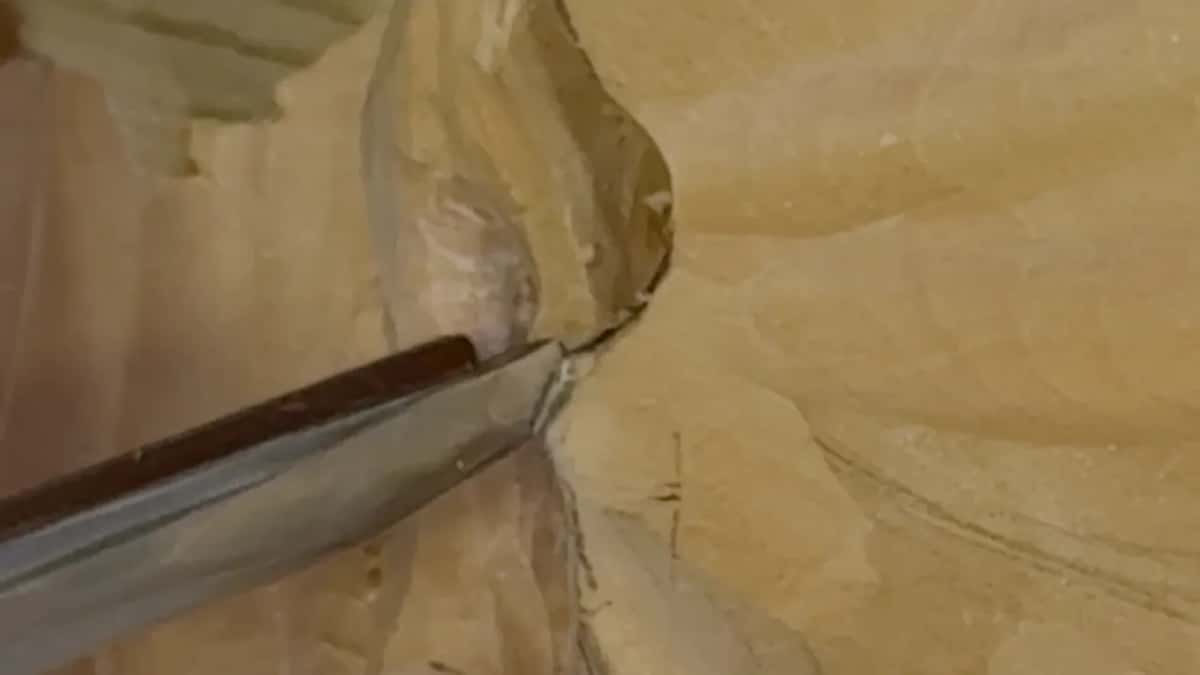
To make it more realistic, I sometimes make one pass with the gouge, not so deep. Then small, small, tiny ones like that, without forcing it.
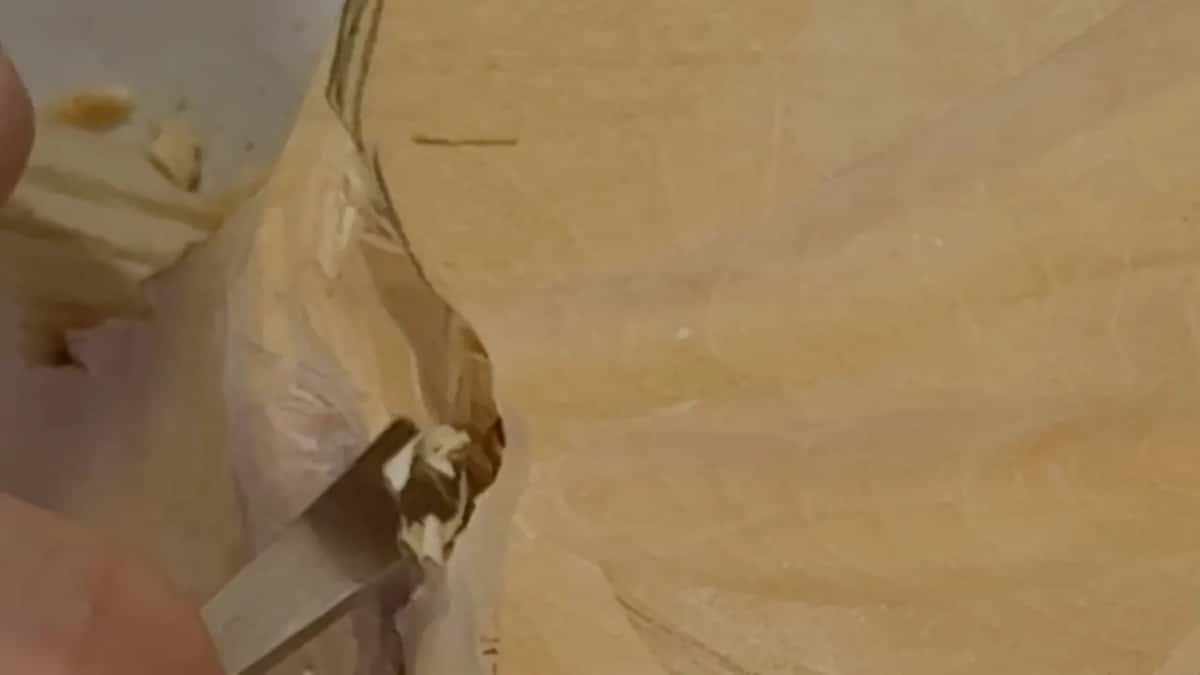
Danger zone, I said, and said it again. Maybe I should lower that even more, and then this part a little more after it.
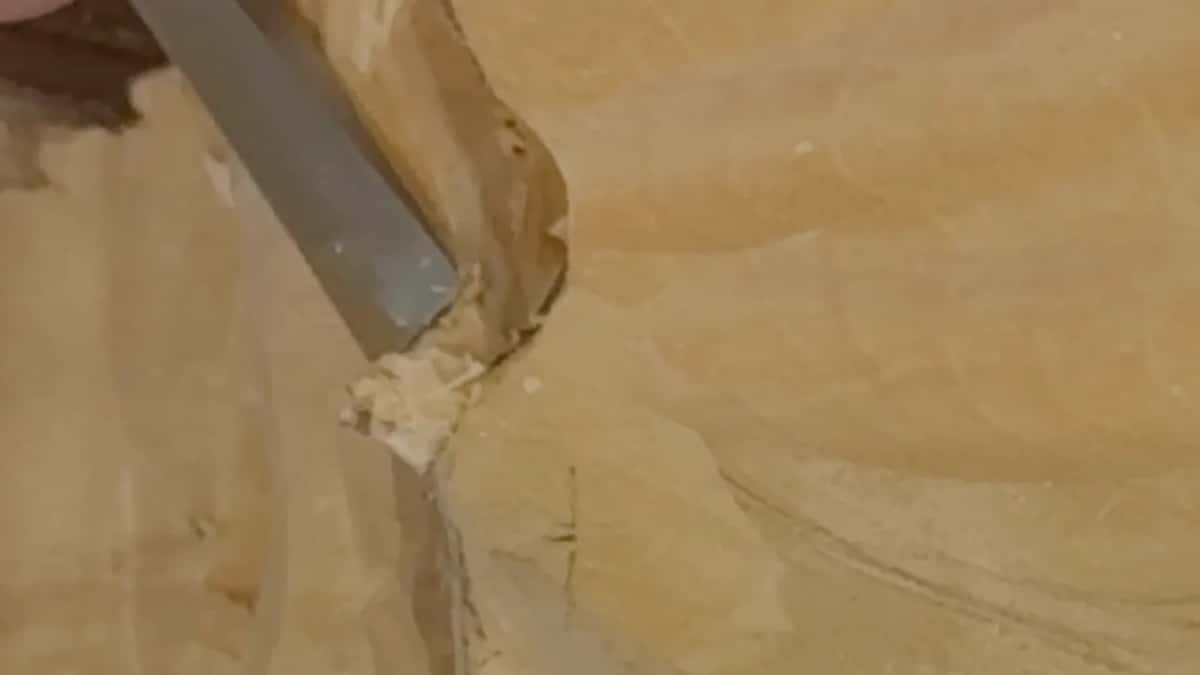
Why does the leaf get pulled down beside the stem?
Logic, as I put it to them. Logically, logically, it's supposed to pull. When the stem goes in from below, it kind of pulls everything down, if it makes sense.
So the concaves had to blend all together, and the undercut waited for that. The page on lesson 132 of the Venice Room tells more about holding one back. Some sections of the leaf would drop slightly, I said, and I had to be really careful how I did it.
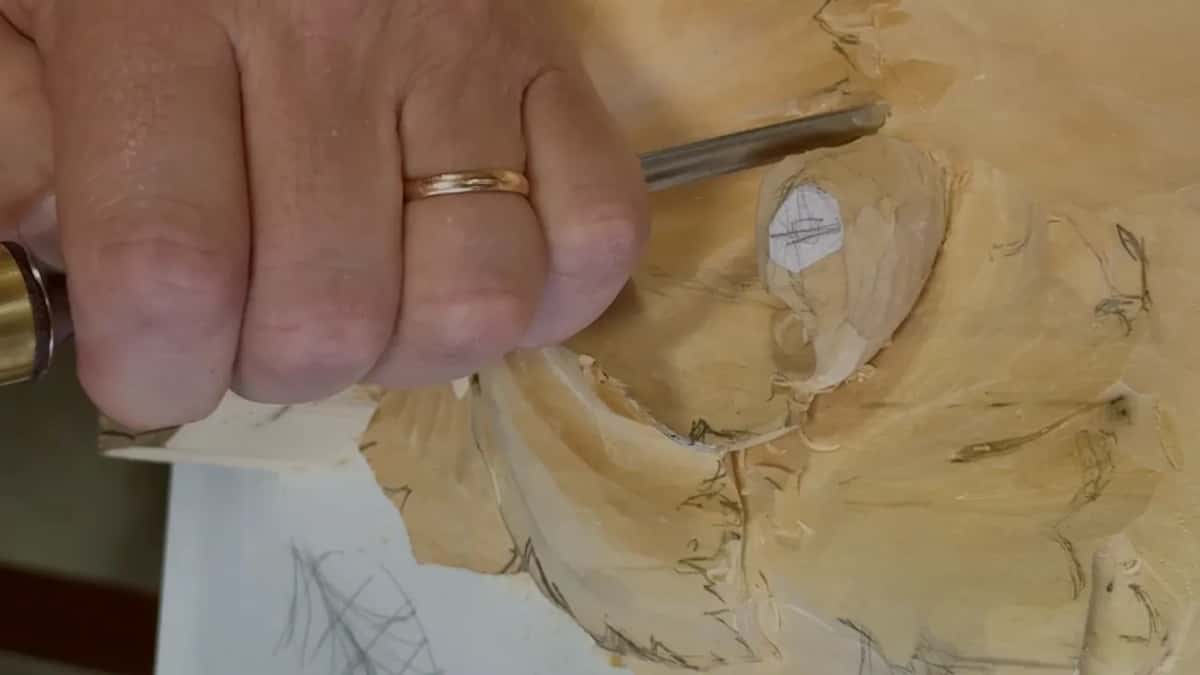
For the stem itself I said I wasn't going really, really deep. I'd leave just an indication of it, going from below. Just like that, I told them.
Does the leaf look like a grape leaf once the stem is in?
It does and it doesn't, I told them, because we still hadn't done all the separations. I said five eyes, counted out loud, one, two, three, four, and corrected myself. Five divisions. Like what you saw on the grape leaf right there on the Cabernet, I said, we still have some separations inside of the separations.
Doesn't look like one yet, right, I asked them before any of those went in. Just a start.
Why later, I asked, why not now? I put in some of the subdivisions right then, a start on the separations inside the lobes. You're going to know how the leaf is supposed to look, I said, once those are in. And now it looks like a grape, isn't it? That helps, one of them said. Why not, I said, you're already confused enough.
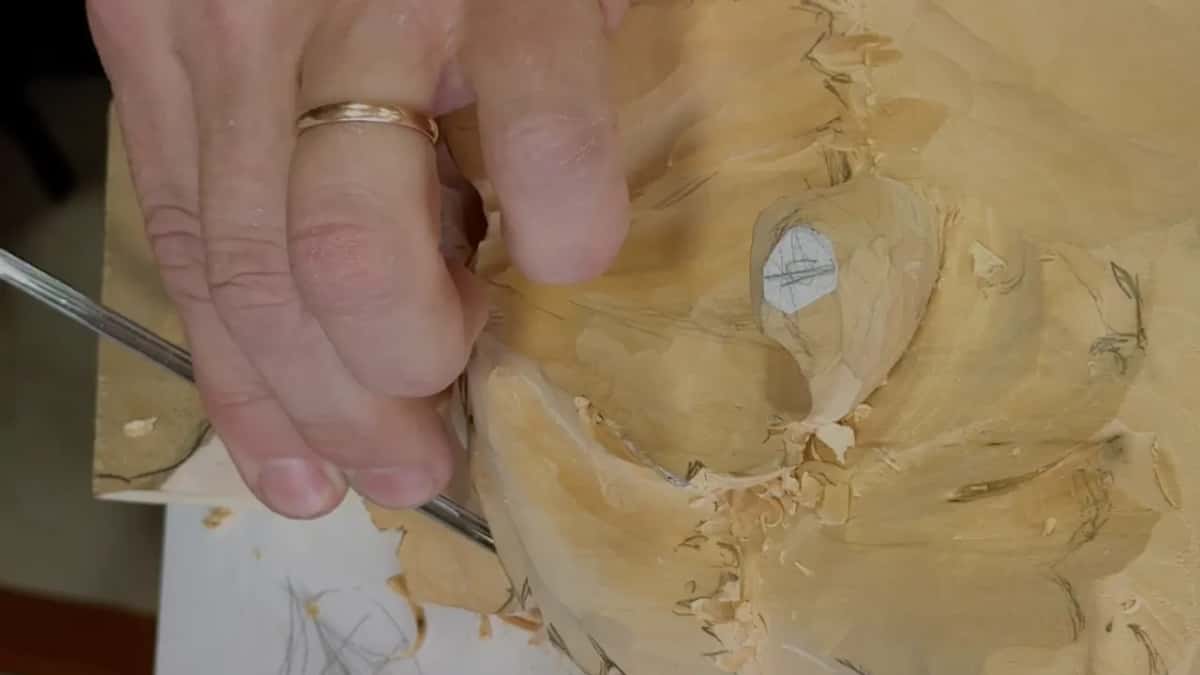
The relief cut went in first, my 3 mm eleven straight down, then I chopped down some areas with the 7. Doing it that way keeps the flow. Those small ones still point the same direction like everything else.
Never carve a separation from both sides with the flatter tool, I said, or you're going to break it. Even if you have to attack upside down, the relief cut goes first, and then the flatter tool. Big subdivisions don't have to be sharp. I don't want to see a saw tooth. Do you understand what I'm saying, I asked them, and said I hope so.
A student asked if you just put those in every once in a while, or if there's some particular number. I usually number it, I said, I usually just calculate, but I didn't this time, to make it more simple, because small notches still go inside those.
After that I counted the main lobes. Somebody wanted to know if I had counted one twice. No, I did not, I told them, and counted all five again.
You can't put too many. Some would go in randomly, on a small little scale. You could count, I said, but I'm not going to this time. I'm just going to express myself.
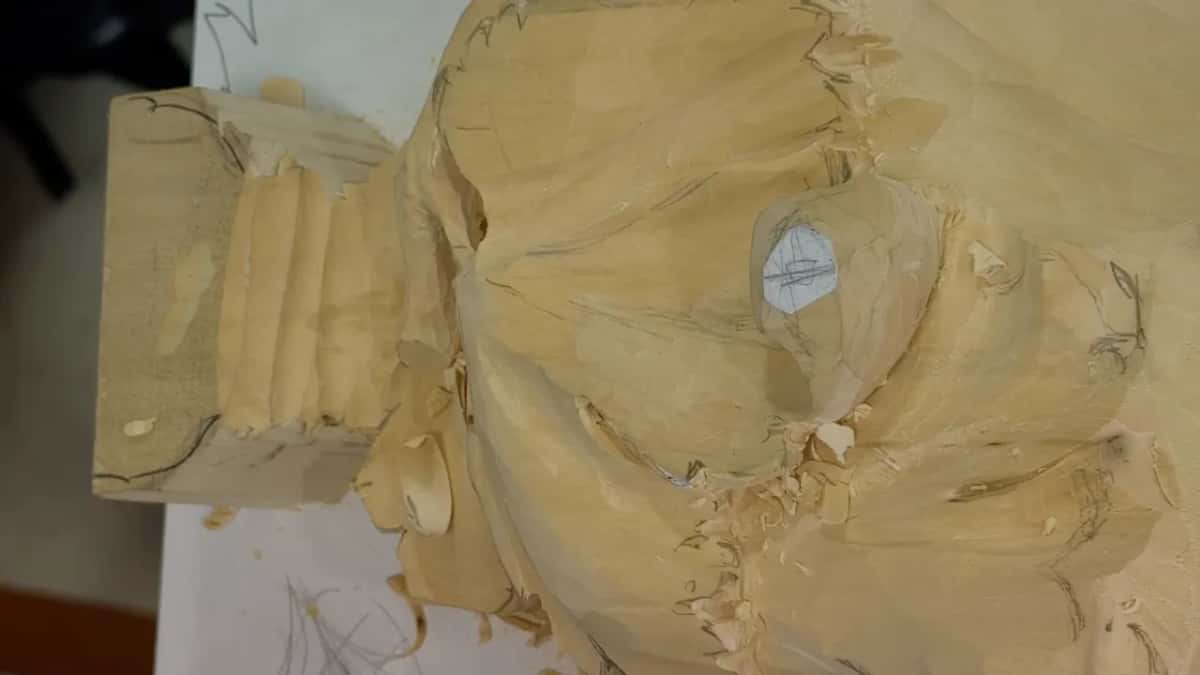
Those separations come only when you're happy with the overall movement and won't change anything on the edge. One pipe needed changing slightly right then, so it would run to approximately the same point as all the others.
What happened at the leaf edge after that?
Undercutting, with that 11 again. Next, I said, you place your tool with the flute out at about nine thirty, maybe 9:25 or so, and you start undercutting. You have to feel the grain direction, I said. If it fights you, flip the piece and attack from the other side.
At that point I'd leave about 5 or 6 mm of thickness, I said, three sixteenths or a quarter of an inch. Later on I'd take it to the knife edge, I told them.
How did other wood carving leaves of mine handle the stem?
The same joint shows up on furniture too. In lesson 31 of the furniture panel I didn't like how one leaf looked with its stem somewhat above, and I said there are a couple more ways, like carving a concave inside so the stem goes from underneath.
Earlier in that series, in lesson 20 of the panel, I couldn't go too deep in one spot because a stem was growing from underneath, and otherwise, I said, I'd have to lower that stem, which is still possible.
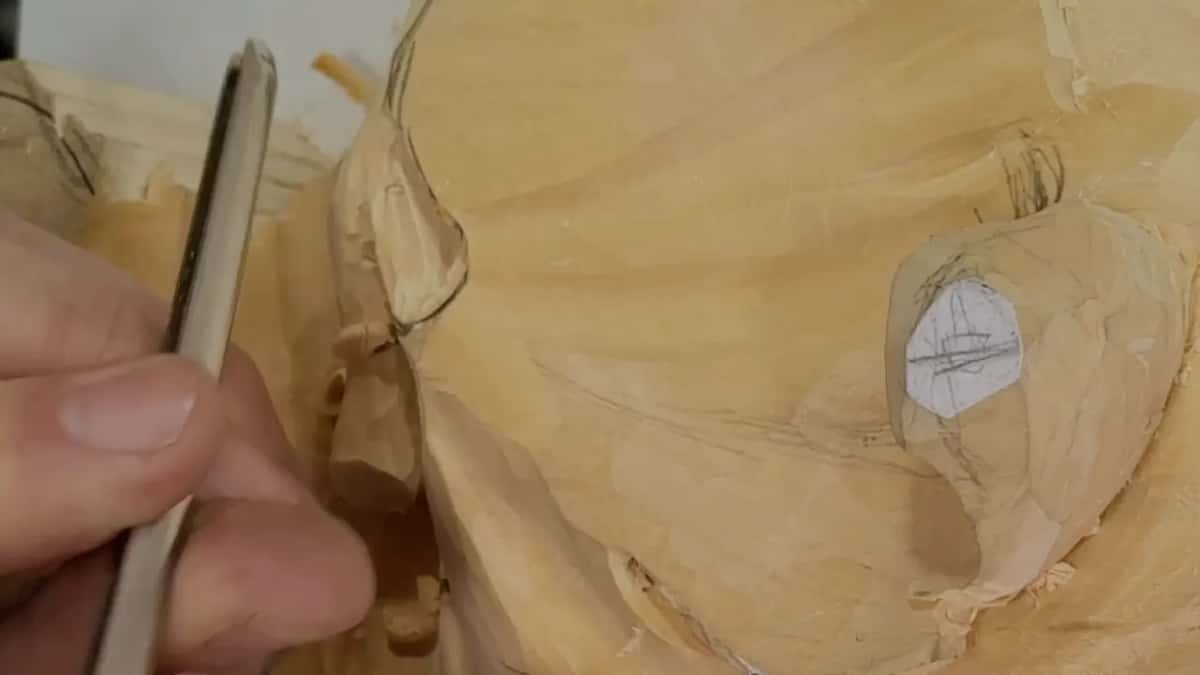
The stem on this tray started in lesson 4, which has a page of its own. The bowl is lesson 1 and the leaf over the rim is lesson 2, if you'd like the tray from the start.
What did each tool do at the joint?
Five tools, in the order they came up in the video.
Tool | What it did there | When |
|---|---|---|
A number 11, 3 mm (1/8 in) | Excavated beside the stem, deep enough to cast a beautiful shadow | First tool named |
Big number 9, 10 mm (3/8 in) | Named for a first chunk, like the beginning of a pass | Second minute |
That same 11, turned upside down | Dug in underneath while I moved the handle | About a minute later |
My number 7 | Went straight down, once I had excavated more on one side | Before the airborne |
One gouge, held shallow | A shallow pass first, then little ones without forcing | When it hooked up |
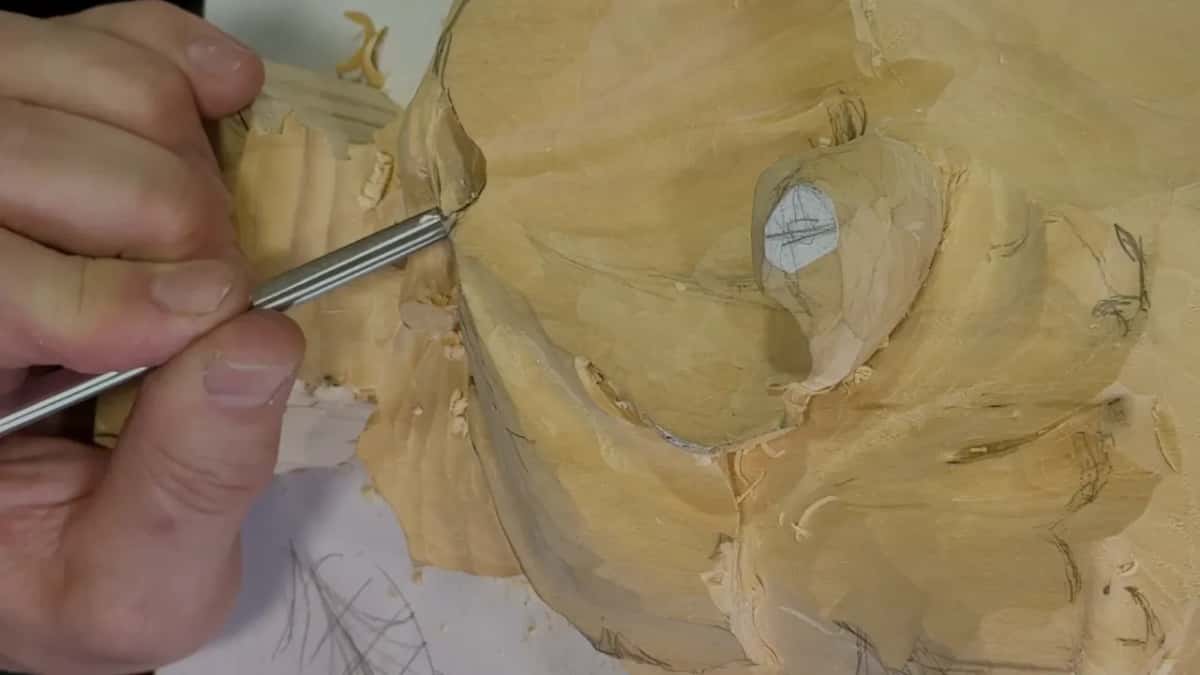
Near the end of the second video I placed a number 9 and ran it toward the central line in a few spots, and the course page has those veins. Right after the stem went in, I worked a little more on the details, using just the side of the small tool to make a shaving.
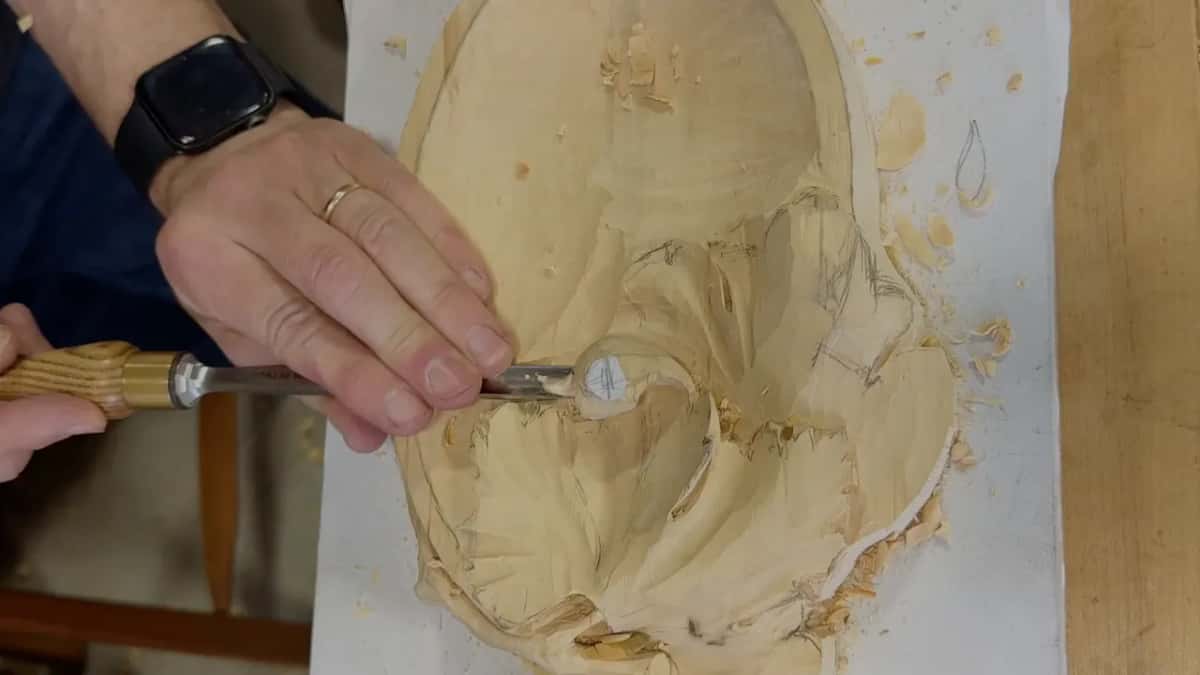
The last video of the lesson runs under a minute and has almost no words in it, mostly the tray, a hand and a gouge.
Grape leaves come back in Carving Grape Onlay and on the vase with grape leaves. If you've never held a gouge, First Cuts for Beginners is where to begin.
Have you got a leaf drawn on your wood? Does a stem touch it somewhere? Then that joint is the next thing your wood carving has to answer. The whole tray is in The Tray of Blessing, filmed at the bench with a class asking the questions you'd ask, and your Access comes with the Plan.
How it's done
- Open both sides of the joint. At the joint, excavate an opening on each side, deep enough to cast a shadow. Here that went on the upper leaf only, since the other one is hidden.
- Keep the eye a bit small. Leave the eye smaller than drawn, on purpose, so there is wood to widen it into when you clean up later.
- Choose top or below before you carve. Settle whether the stem rides on top as the leaf's vein, or comes up from underneath. Here I chose below, slightly, for the shadow it gave.
- Make the concave rise. For that lower route, carve a concave that dips and then climbs, so the stem hooks in.
- Finish without forcing. One light pass with the gouge first, not so deep, and then the tiny ones without forcing them.
- Lower the leaf beside it. Lower parts of the leaf next to the stem, slightly and with real care. That came before any undercut on this tray.
Frequently asked questions
What gouge did you start the stem opening with?
The 3 mm number 11, about 1/8 inch, after I said the 10 mm number 9 could get a chunk out first. Next that same 11 went in with its flute upside down, digging right underneath while the handle moved, and gave a really deep excavation on the side.
Can the stem still come up from below once the wood under it is gone?
On this tray, yes. A student asked me exactly that while the stem was already free floating, with the area beneath it carved away, and I said I had plenty of space there. I wasn't about to go crazy low. A concave dipped and rose again, and the stem hooked in.
Why lower the leaf near a stem that comes from below?
Logically it's supposed to pull. In lesson 5 I said a stem going in from beneath kind of drags the whole area down with it, so I'd drop a bit of the leaf around it slightly at that spot, and be really careful about how I did it.
What to carve next