
Alexander Grabovetskiy, woodcarver, School of Woodcarving · Published 2025
What is classical wood carving?
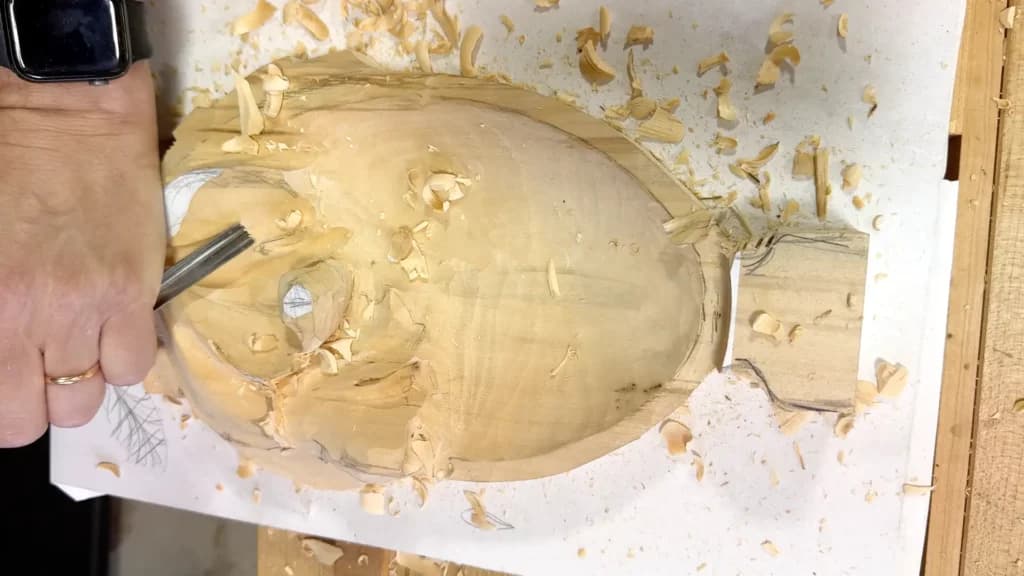
Quick answer: Classical carving is carving that sticks to certain rules, the answer I gave a student while carving a grape leaf on the Tray of Blessing. The flow gets exaggerated until the whole leaf bends one way. Hold the same traditional tools, skip the rules, and the result stops being classical.
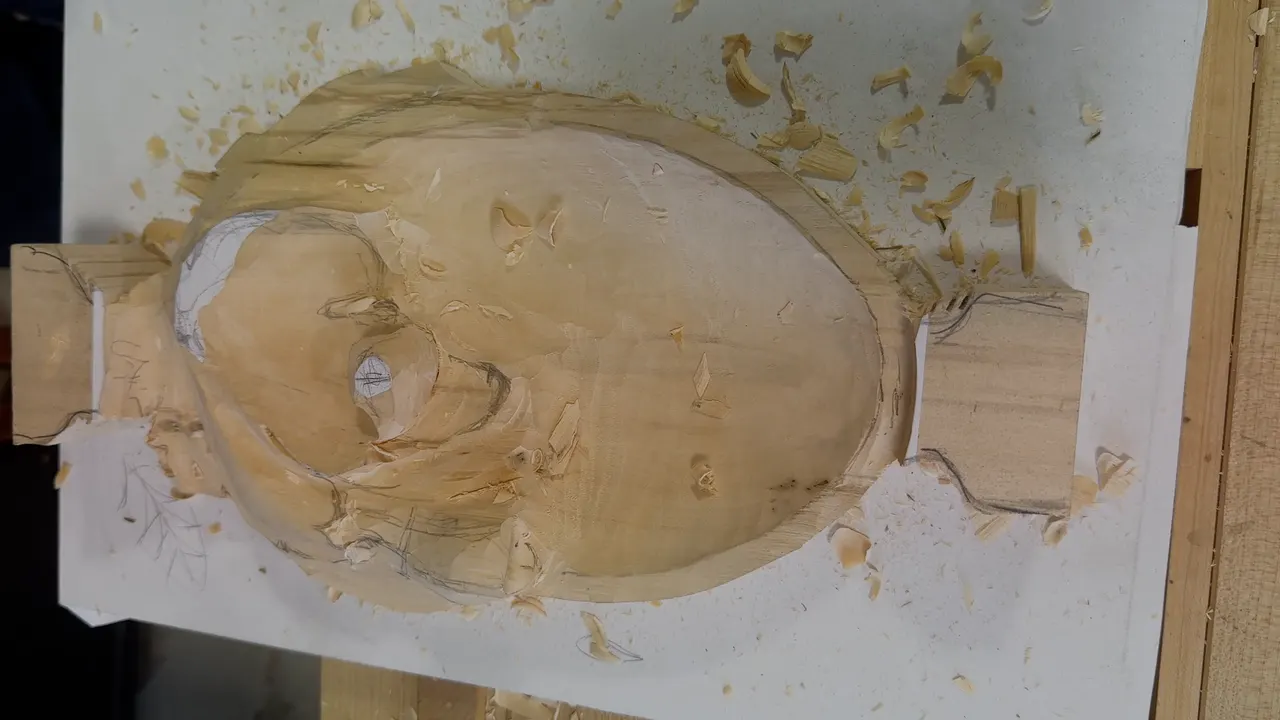
Classical wood carving is carving that keeps a set of design rules, the way I explained it to a student in this lesson, and the tools by themselves don't make a carving classical. I called the other way a traditional approach. You still use traditional tools, but design-wise you can do whatever you want and skip those rules. So the gouges of traditional wood carving can be the same ones I had in my hands that day.
Have you ever looked at an old carved leaf on a piece of furniture and felt it move, even though it's wood? Would you like your own leaf to do that? In this lesson of The Tray of Blessing I carved those rules into a Cabernet Sauvignon grape leaf, with the class watching and asking questions out loud.
You'll see each rule as it showed up on the wood, with the gouge that did the work and the words I used. One lobe looked dull to me, and I changed my plan for it right there.
The rules on one grape leaf, short version
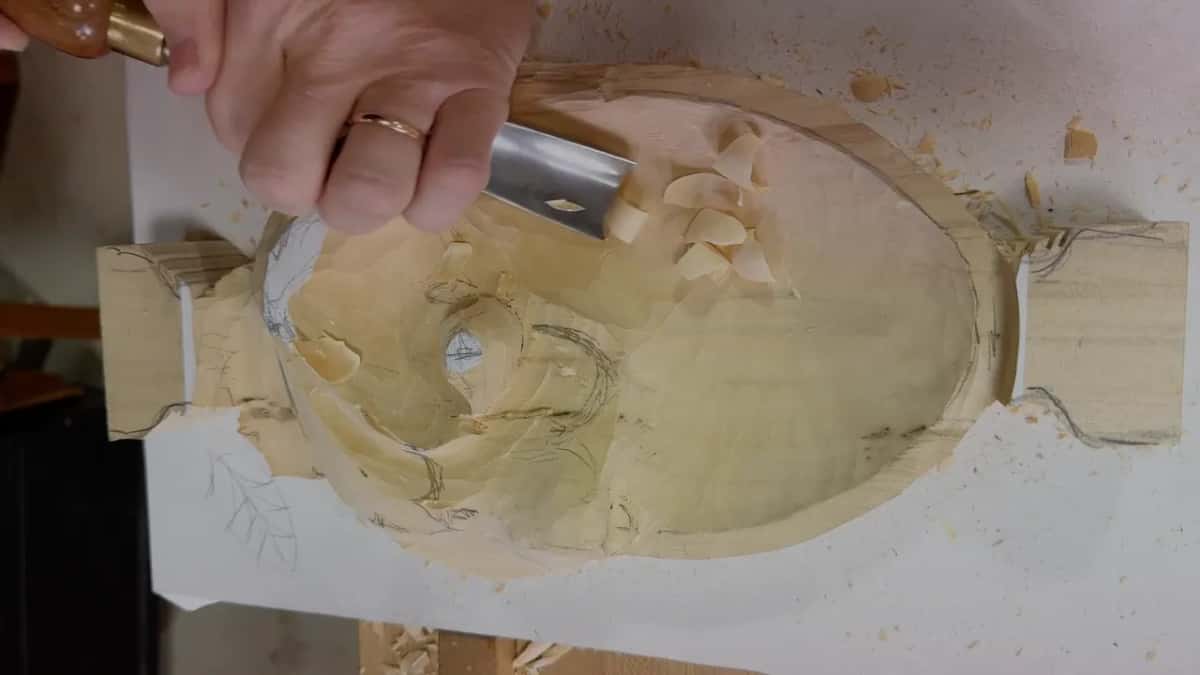
Everything on the leaf connects, and the flow gets pushed further than a real leaf would push it.
Straight lines don't belong anywhere on it.
Each concave leaves from about the same spot, and every pipe and line ties back to one center point on the leaf.
On this leaf a lobe's middle line went off center, near 60 and 40.
One lobe repeats the movement of another.
The tools are ordinary gouges, and a carver who ignores every rule could hold the same ones.
What did I tell the student who asked about it?
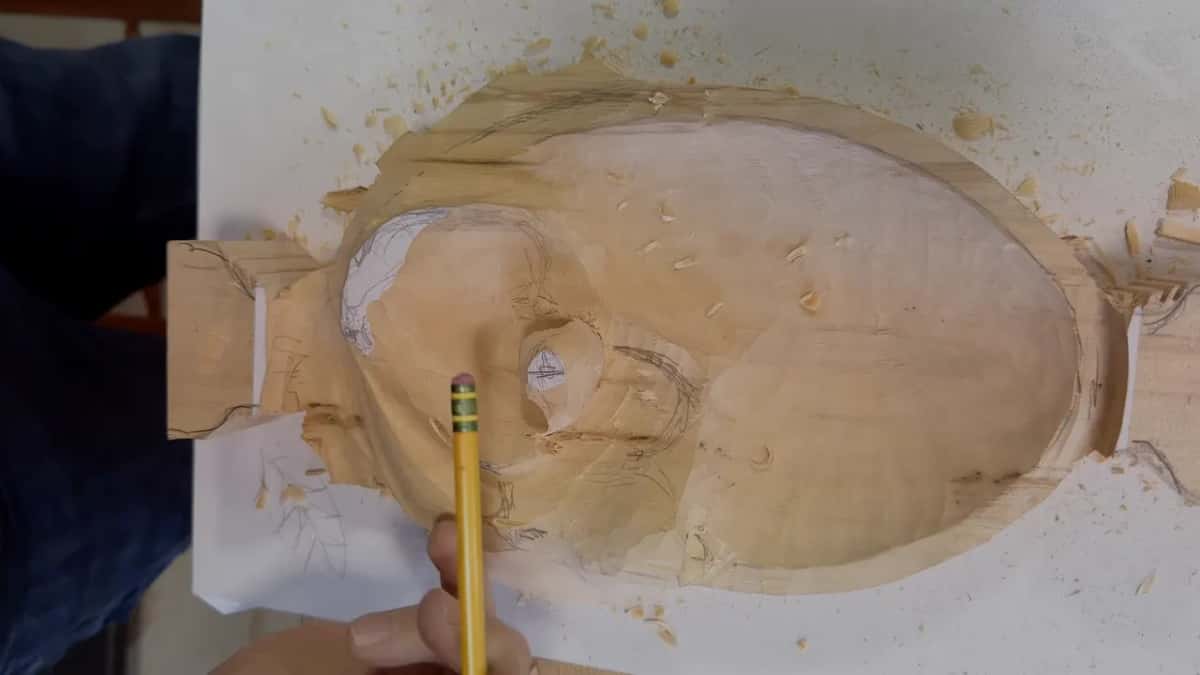
I said the classical approach has particular rules, and I brought up a leaf I'd shown them the day before.
In nature you do sometimes see a leaf with separations like that. In wood that would look really dumb. It would not look nice, and it's not connected, I said.
Next I gave one rule its name. You have certain rules, like a rule of flow, so you exaggerate that flow, and everything curves to the same motion.
That student had asked what the other approach was, and the full answer came a minute later.
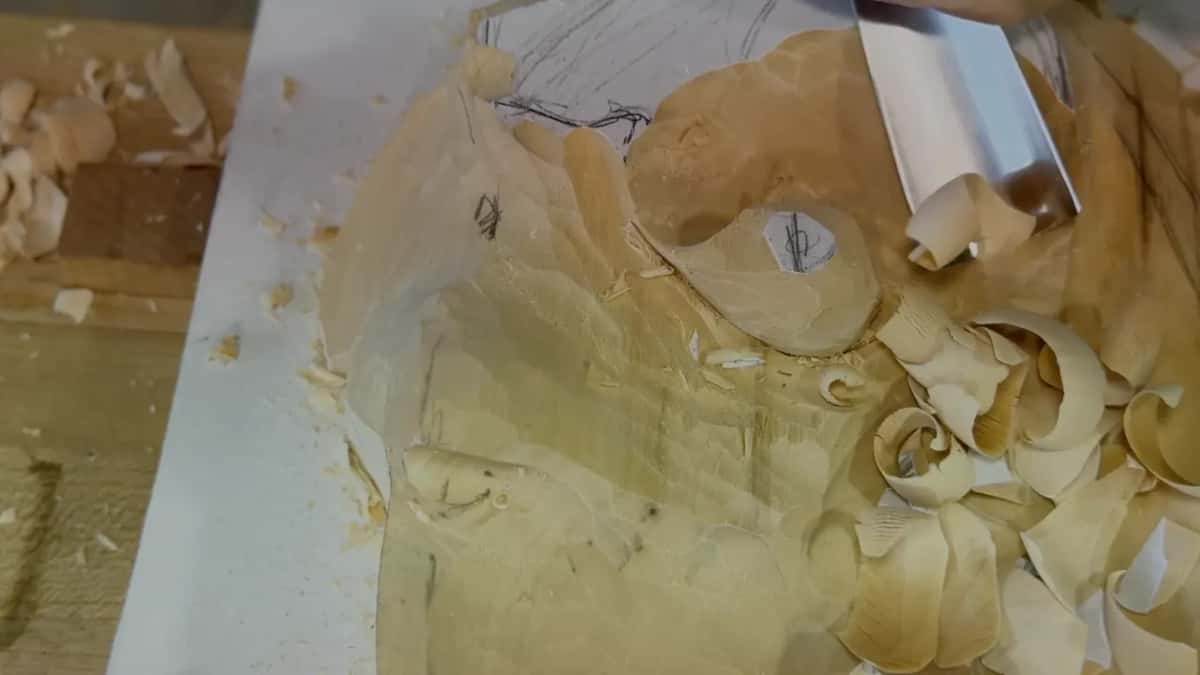
Is traditional wood carving the same as classical?
The student's next question came close to that. Is there a non-classical approach to wood carving, or is it always classical?
You could say no, I answered. Stick with those rules and it's classical. There's also a traditional approach, where you still use traditional tools, but design-wise you can do whatever and you don't follow those rules.
I reached for a comparison after that. Classical, I said, "is more like a classical music versus just the music." It sticks to certain rules, and in my opinion that kind of thing never goes out of date.
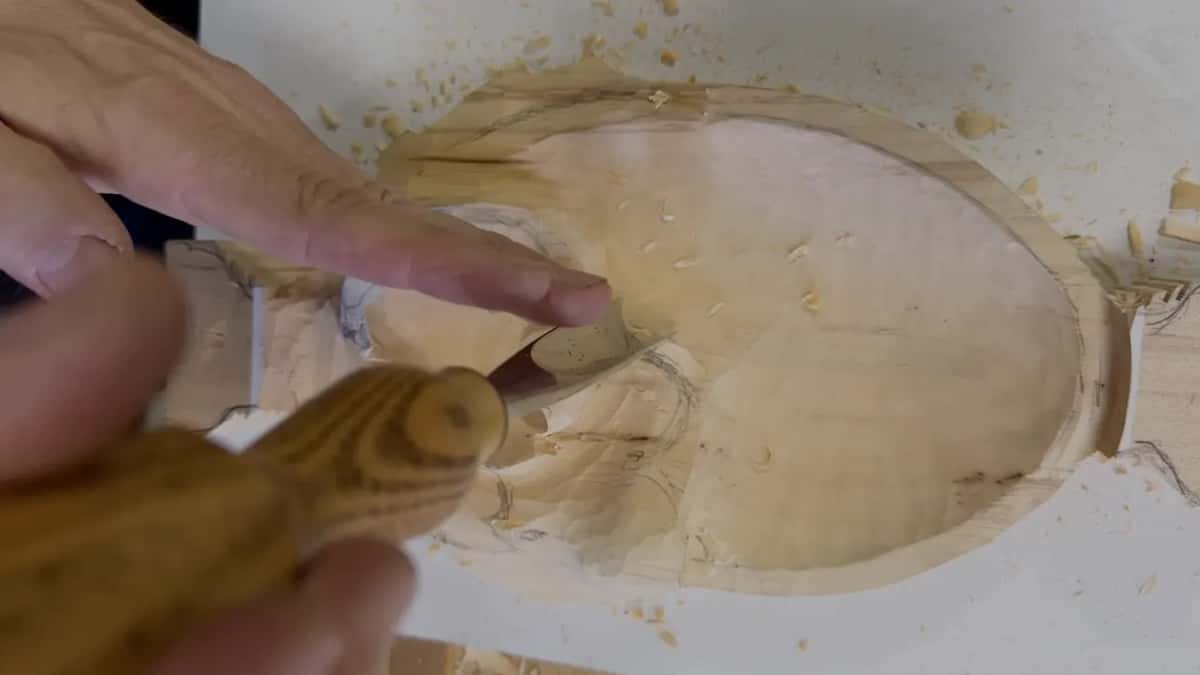
My ten design rules live in my course Principles of Design in Wood Carving, and I won't copy the list out here. What you get here is how a few rules looked on one grape leaf, gouge by gouge. When to break a carving rule on purpose is a different question, and it has a page of its own.
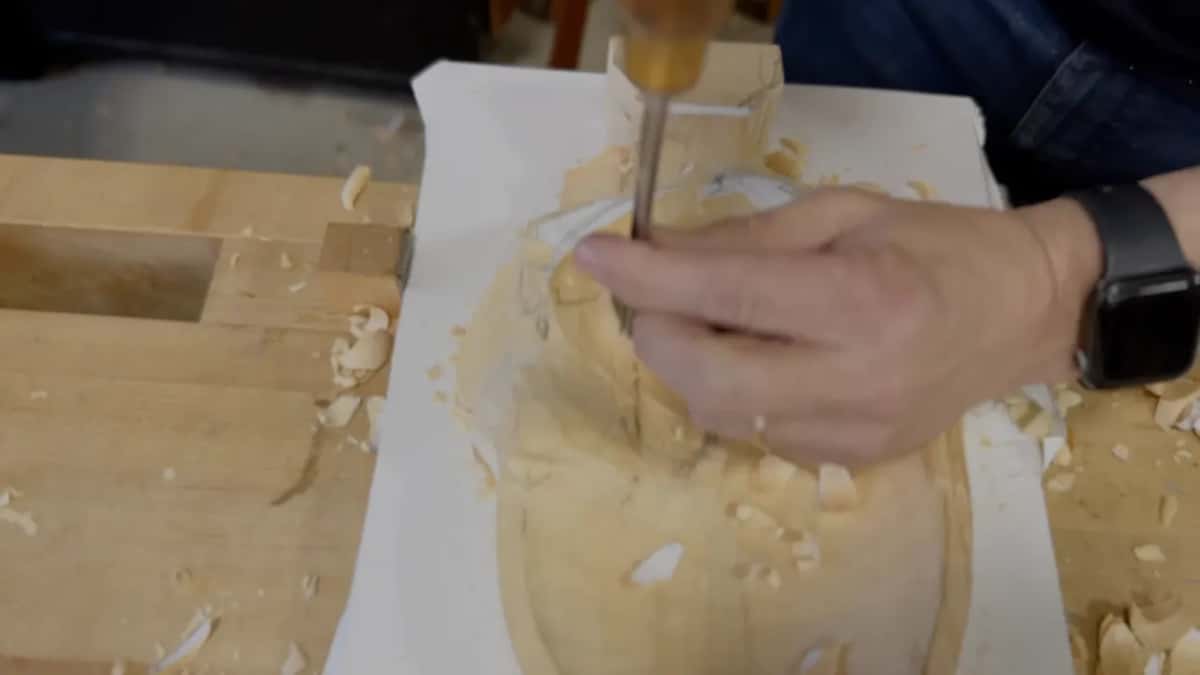
How much of a real grape leaf ends up in the wood?
Five main subdivisions stay on the carved leaf, and I told everyone "it does not exist in real life" before saying we'd subdivide each one even more.
First you pre-establish the pipes, I said, and the subdivisions come later. They're going to look awesome, I told them, and then I added, I mean, at least I hope so.
Near the end of the lesson I came back to it. You really don't see huge pipes like that on a real leaf, I said, but they look natural on a wood carving, in the classical approach.
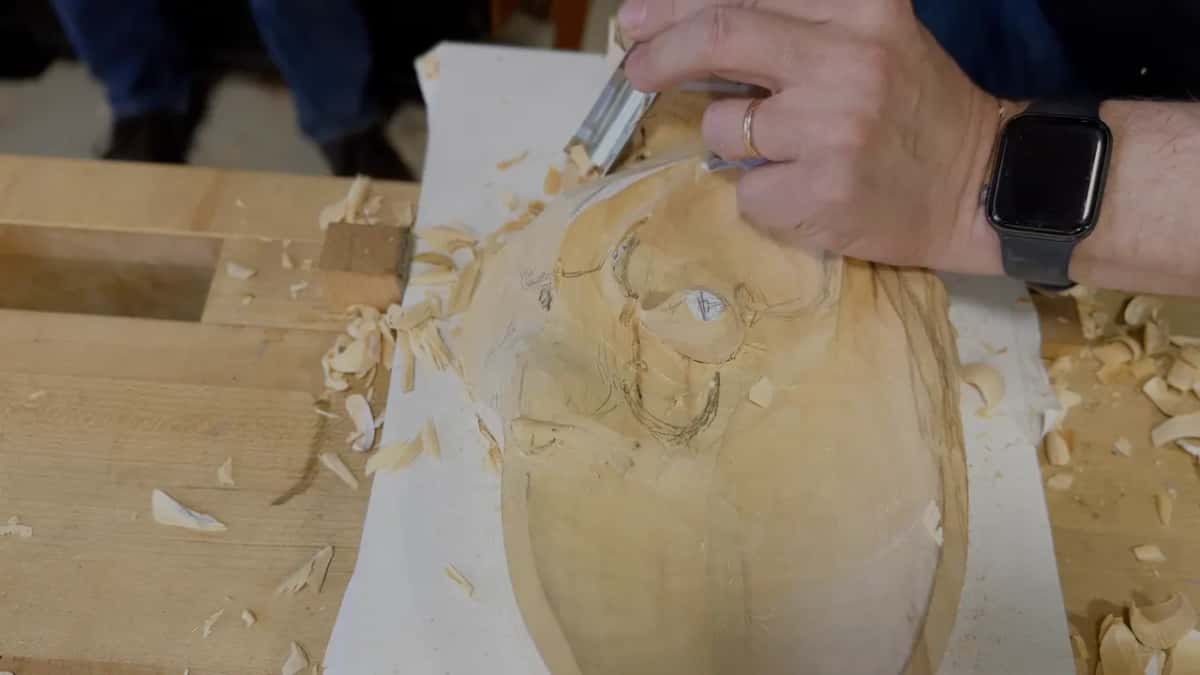
A flower runs into the same question, and I answered whether a carved flower has to look realistic in my Hashemi flowers course. How far to exaggerate a shape has a page from my grape onlay course, too.
What does connected look like on a grape leaf?
One point that everything answers to. Before I let the class go again, I showed them the center point and said you have to connect everything to that center point. This, I said, is the direction of the pipe.
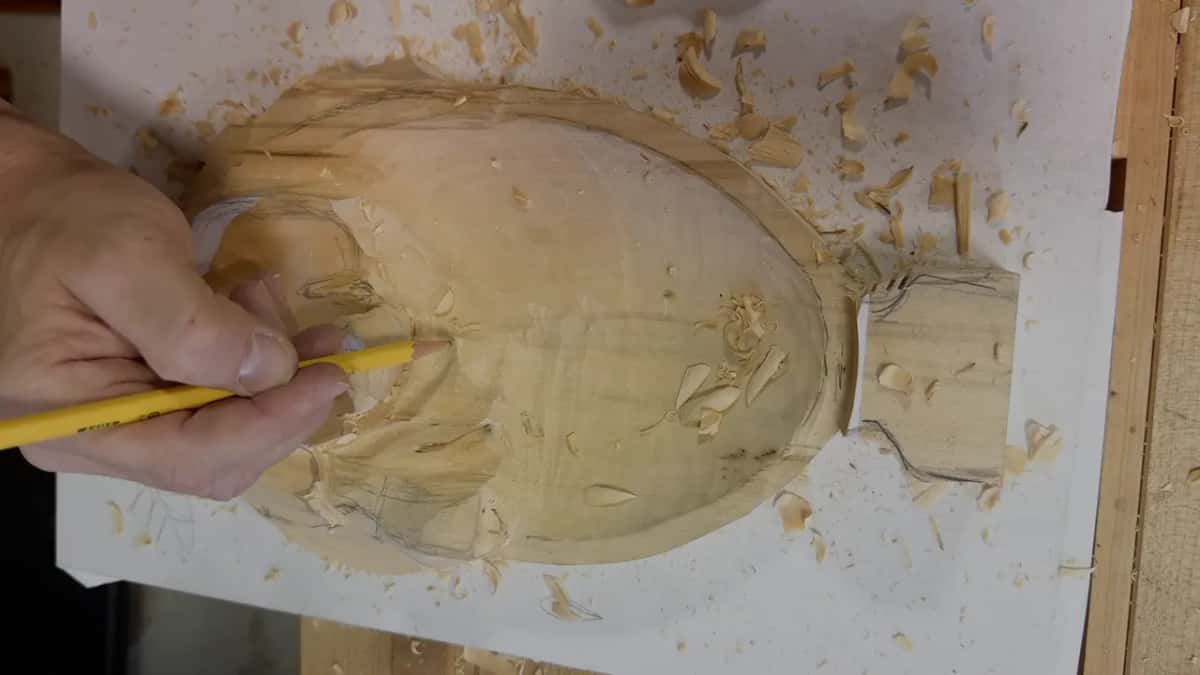
The concaves follow the same idea. With a number 9 on the left side of one eye, I told them all the concaves have to go from that same spot, approximately, and each pass gets more accurate as you go. See how I'm using the full body of the tool, I asked them.
On another eye later in the lesson it happened again. The concave there was supposed to go to the same starting point, and a second concave beside it left the pipe standing.
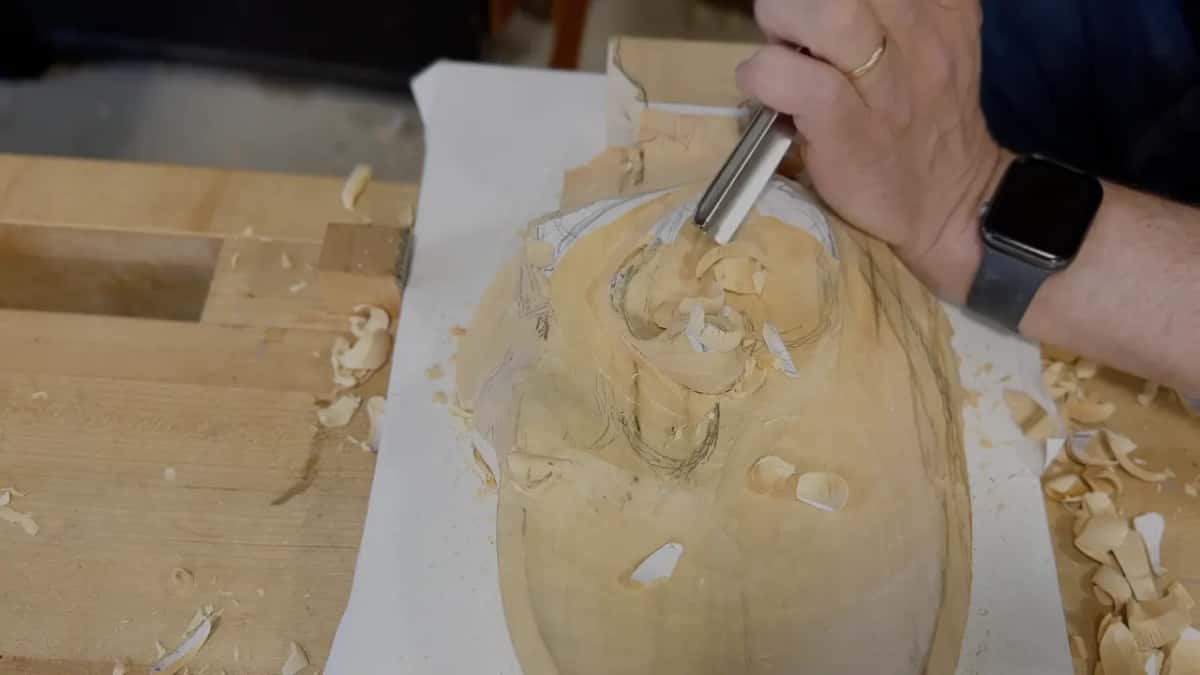
Pencil can help you here, as long as you go light. When you feel lost, I warned, don't put too many pencil marks on the wood. I showed them how dirty that gets. Mark where the point is going to be and put the movement in roughly. Back in the first video I had pulled some of the paper off the leaf. You don't need that anymore, I said.
Everything is supposed to blend into the same motion, and that, I said, is how it's going to look organic. A beginner's kitchen board course has a lesson of its own on lines that look organic instead of stiff.
Why can't a line on a carved leaf run straight?
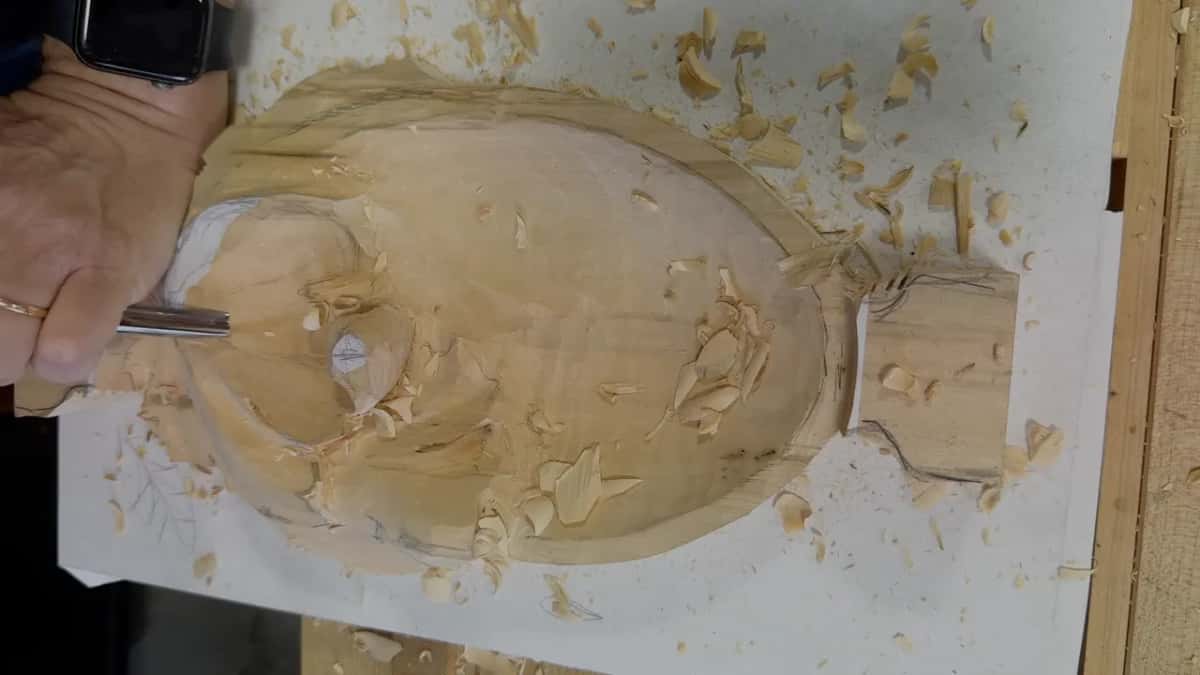
A straight line is one of the mistakes I see when people carve leaves, and I said it to the room in about those words. Please do not put any straight line, I told them, not even a level one like this.
Run it this direction or that direction, but never straight, and I said "never straight line" twice in a row.
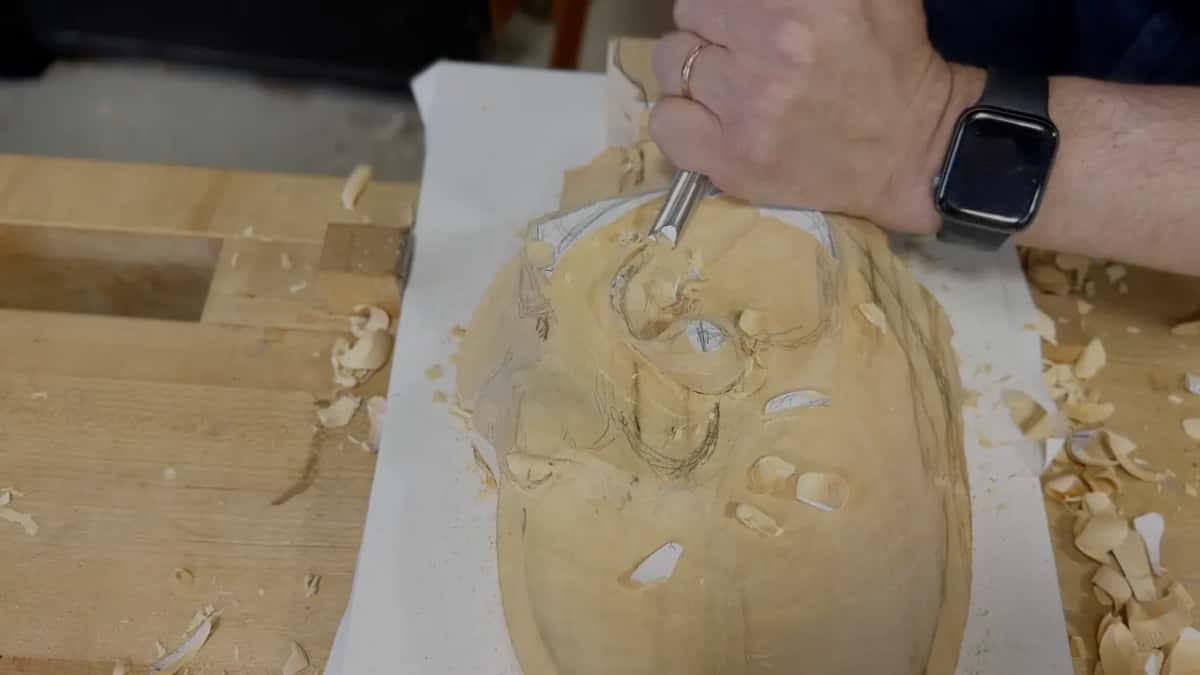
In the next video I put it another way. It cannot be a straight line, it has to bend in a curve to the same motion, and then I gave the central line of the next lobe a curve as well. My design course has a whole lesson on lines that never run straight.
When a student asked why the spots for the eyes were obvious to me, I said it was the shape of the leaf, a perpendicular line in 3D space set off its central movement.
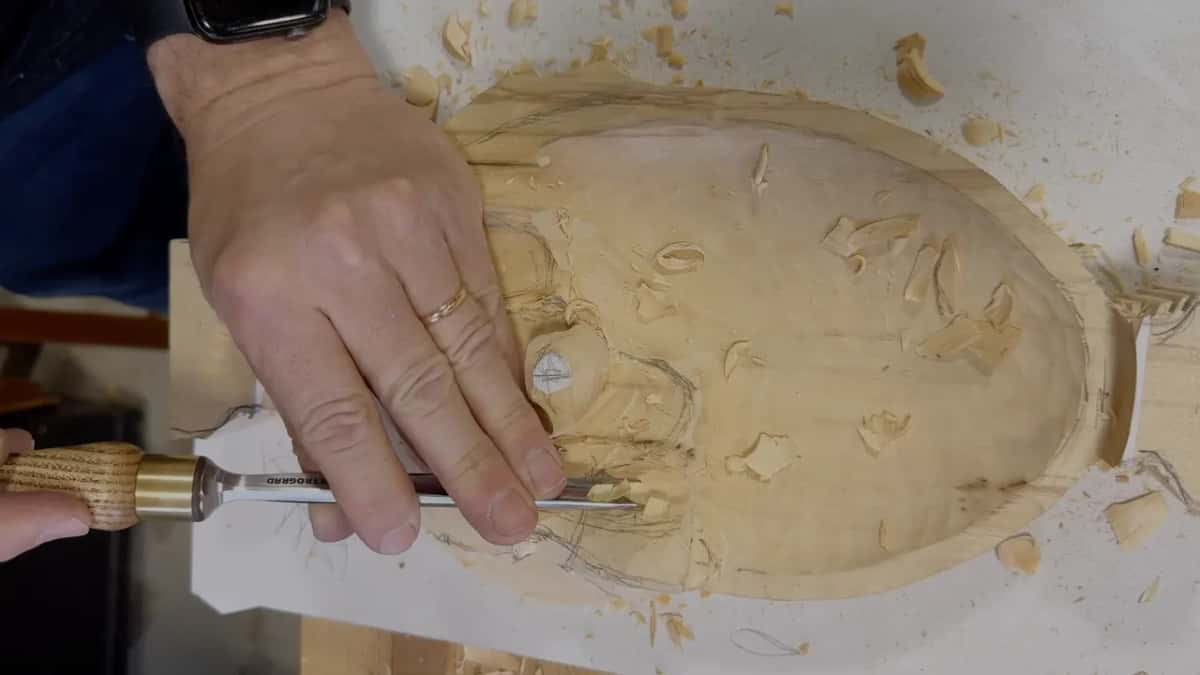
How far past nature does a carved pipe go?
Well past a real leaf. Exaggerating that pipe is really important, I told the group, and if you want to see the shadows, and you paint with the shadow and the light, then you really have to do it.
On one eye I took a number 11 deeper, went in toward the eye, then flipped it and took a little more out. See how deep a shadow that gets me, I said.
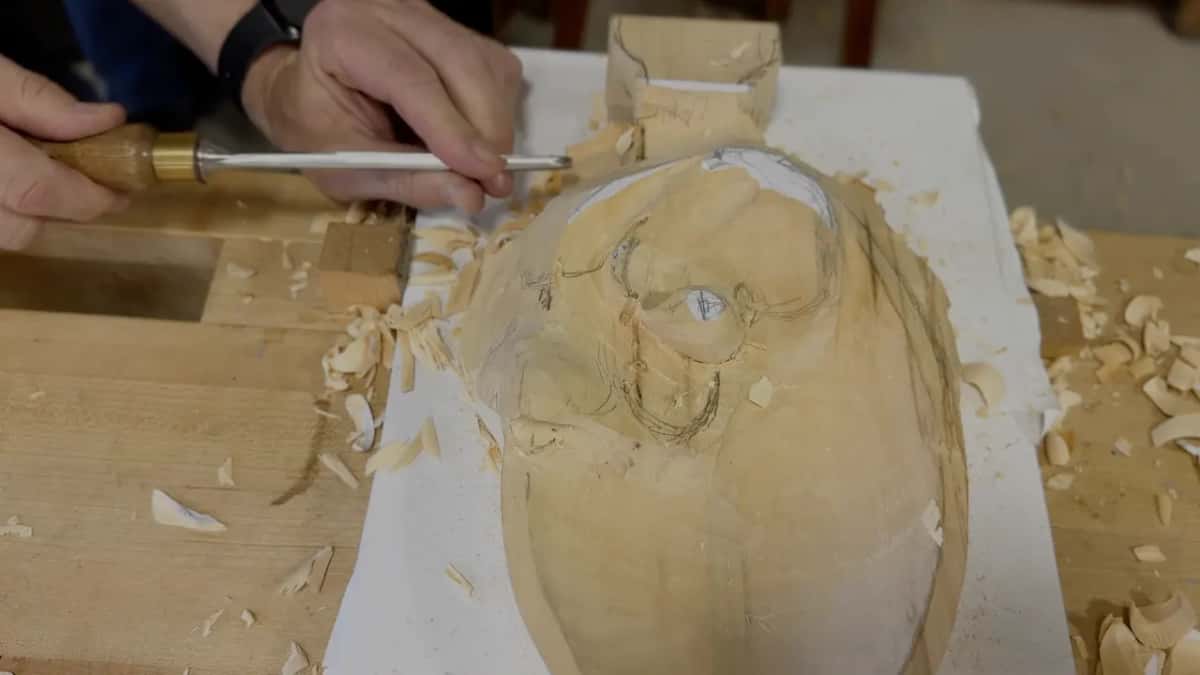
On the next lobe I said this ridge has to be a high spot, and the pipe has to wrap around it the same way it did on the first. Raising it mattered, because every concave gives a shadow line, and that's what makes it beautiful.
Working with the grain helps, I'd told them in the first video. Partway along this pipe I was catching it on that side anyway. It was kind of a danger zone for me, but I carved it from there because I didn't want to block the view.
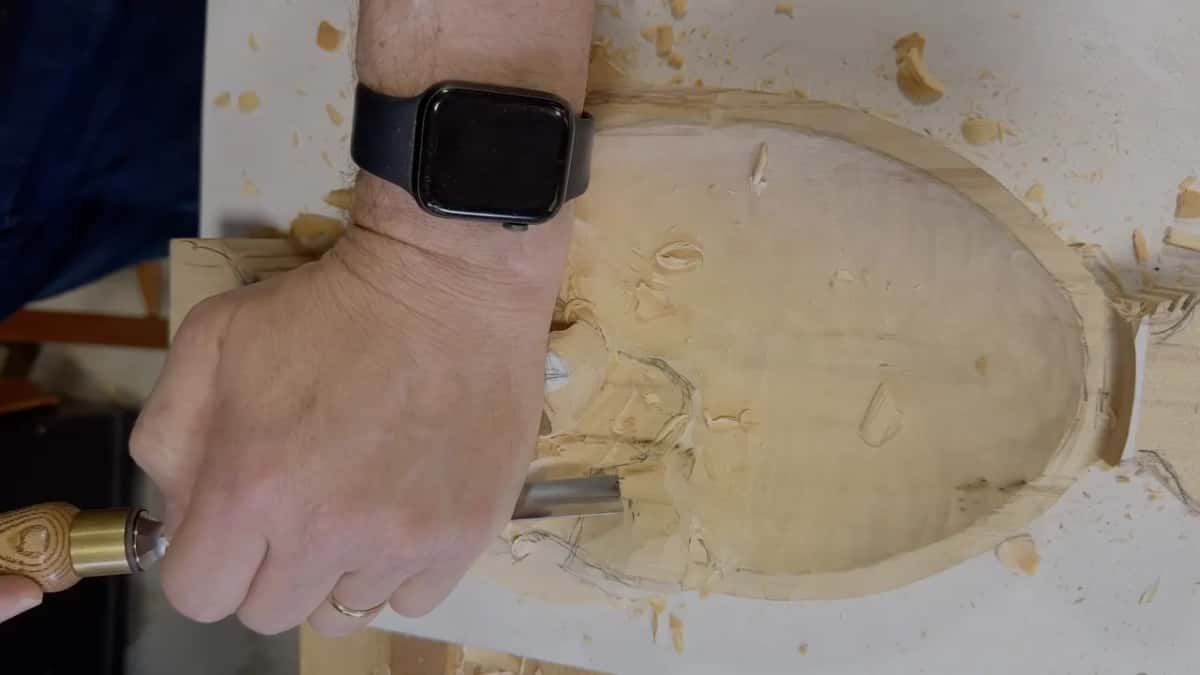
Concave, convex and concave is what I'm after, I reminded them. What I was after on this pipe was a pronounced one, so I put a number 7 upside down and carefully carved the convex. Before one deeper concave I made a small pass first. I wanted to see that pipe exaggerated, and then I cleaned the hollow with a number 9 of 10 mm (3/8 in).
In the middle of one pipe I told them that tomorrow I'd show them how to sharpen the tools, and that with sharp tools you get a much better pipe. Then I added, well, my tool is sharp, but still.
Where does the golden ratio go on one lobe?
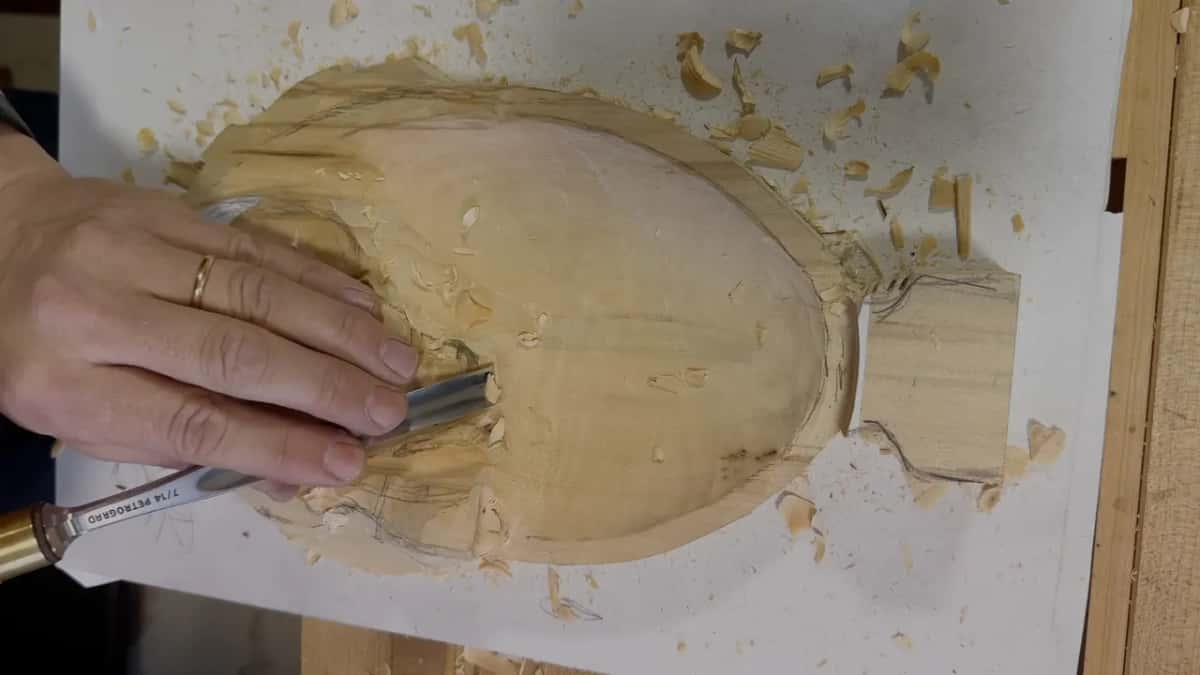
Off the middle of the lobe, about 60 and 40, and you judge it from above, where you're going to see it.
On one lobe I set the main concave a little closer to one side. Even if it isn't logical when you look from the side, I said, from above it reads as 40 on one part and 60 on the other.
Now I have to think about the logic again, I said, and I asked them if I was right about where that lobe's center line went. After that I showed the class how much space sat on each side of the line. It was kind of in the middle, so I could move the line a little closer and get my sixty-forty. One edge I didn't want to touch. The other one I could work with, and that's where the 60 ended up.
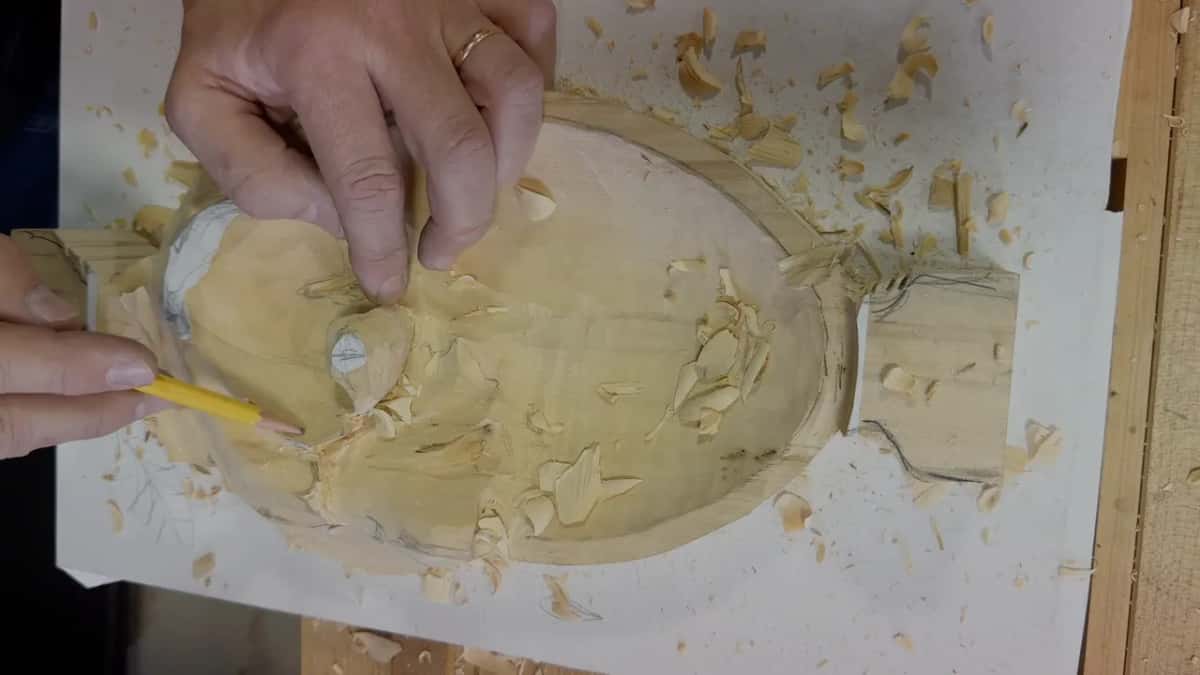
Last came the plain version. If you don't feel comfortable with the golden ratio, don't overcomplicate stuff, and I mean, most of the people don't. How the golden ratio works in a design has its own lesson.
Does a classical leaf repeat itself?
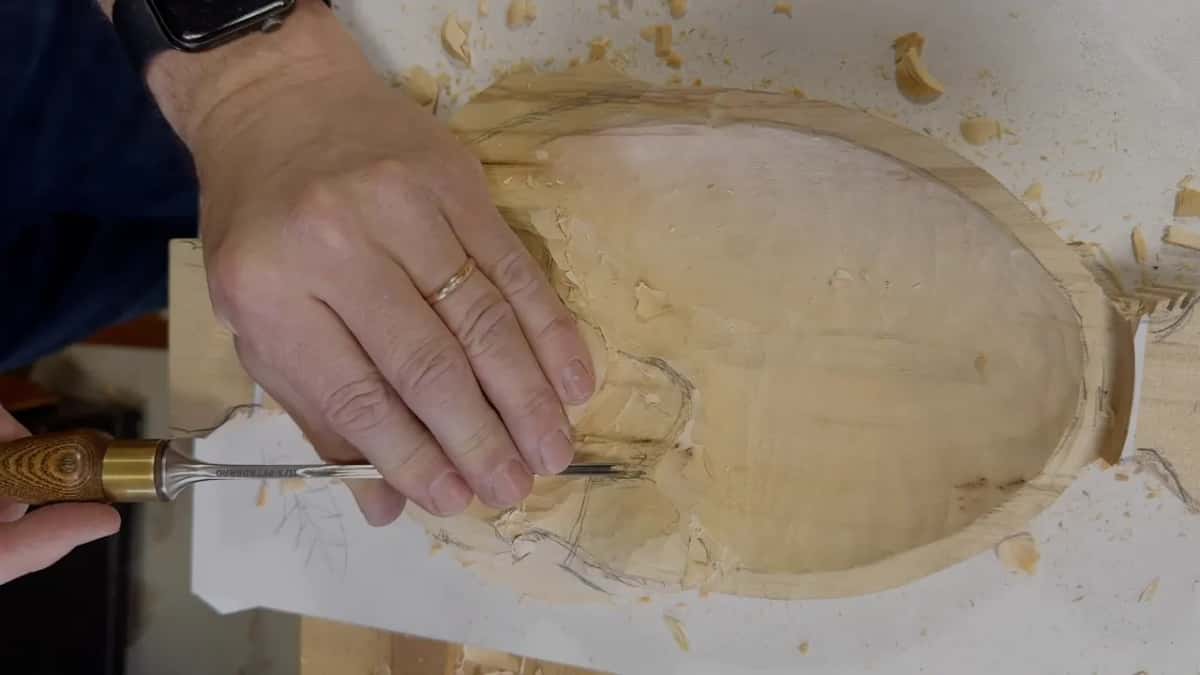
The movement does. I curved the central line of one lobe even more than I'd drawn it, because, as I explained, I have a curl this way, and I have to do something to show the same movement.
Then I put the edge of that lobe where it would carry the move on, and said I'm going to replicate this movement. The middle of a lobe also has to bulge up, I reminded them. So I had to make another one on that side.
I carved a second eye right away for them, because it was the same operation at the same stage, only in a different position. Its edge has to be raised exactly the same as the first one, I said. I went into why carvers repeat the same shape in the Venice Room.
Which traditional tools carved this leaf?
Plain gouges did nearly all of it. I was sixteen when a fine-art master in Russia took me as his only apprentice, and he taught me to think like a tool. Here is what each gouge did on this leaf, with my own words beside it.
Gouge | What it did on the leaf | What I said |
|---|---|---|
Number 9, 20 mm (3/4 in) | Went in straight down at 90 degrees, then sliced down and back again until it hit the design line | Somewhat like a stabbing cut, but not really. |
The 3 mm (1/8 in) number 11 | Opened each division with a relief cut, and later started an eye with its flute up | It's always better to start with the number 11. |
A number 7 | Chopped one eye into a water drop, then went upside down for a convex | Like a water drop. |
My number 2 | Rolled one lobe a bit further | Roll it a little more. |
Spoon gouge | Kept going where the other tool hit its limit, with my finger down as the leverage point | It's like cranking against it almost. |
Half millimeter number 11 | Made a first separation and dug in somewhat deep | Still my middle finger. |
The 10 mm (3/8 in) number 9 | Cleaned a concave after a small first pass | Clean that thing. |
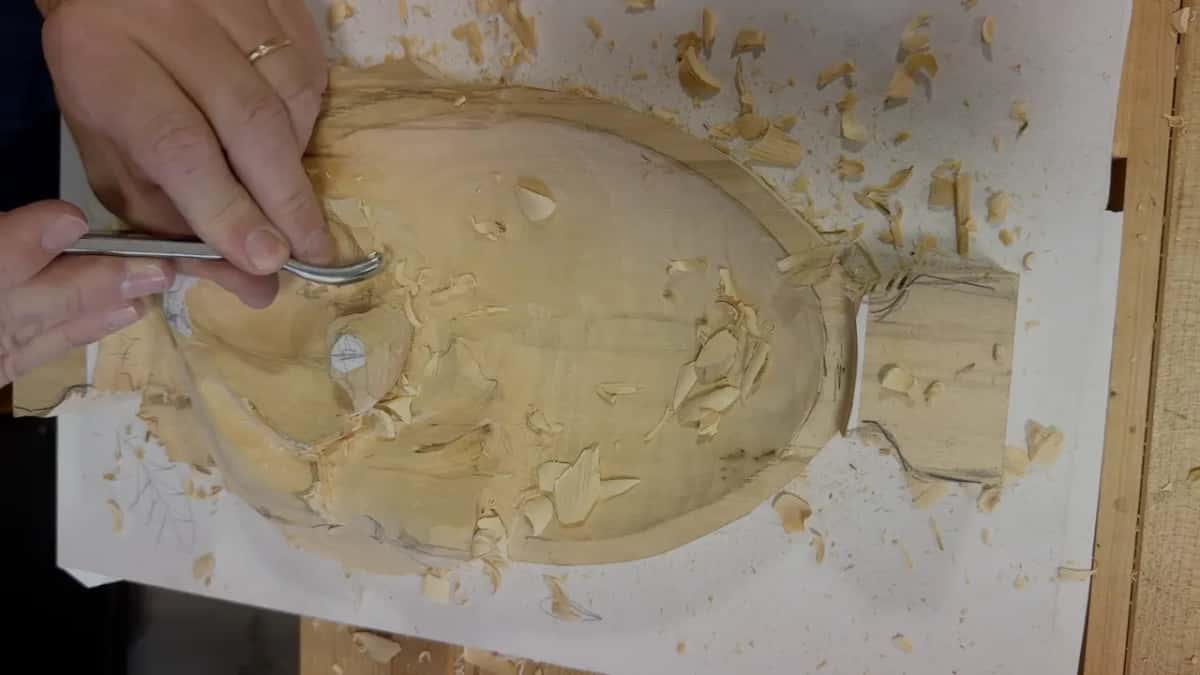
The half millimeter number 11 got the strongest words from me. For the furniture makers, I said, it's a must have tool, and when somebody asked me to say it again, I did. The spoon gouge is on the list I give the class, and All About Tools for Wood Carving goes through what to buy.
Should the leaf look right while you carve it?
For a good while it won't. Don't worry about how it looks as of now, I told everyone. A minute later I said that isn't the final shape yet, maybe the final 3D form, but not the final look of it, and we're going to refine it.
At the start of the second video one lobe already rolled nicely, really beautiful, and I still said it wasn't the final destination. Its edge could end up there or there, in different positions, and we'd refine it later. Early in that video I also warned them not to take too much material, because you need that for the leaf.
If you dig a little too deep somewhere, don't worry about it. I did, right there on that lobe, and I was after the 3D shape more than anything else.
Because we left a lot of material, I said, there's no limit to what we can create and recreate. I wrote more about why a carving looks messy halfway through from the Venice Room. And I closed one video by telling the class I hoped they weren't lost yet.
Can you carve a leaf by these rules yourself?
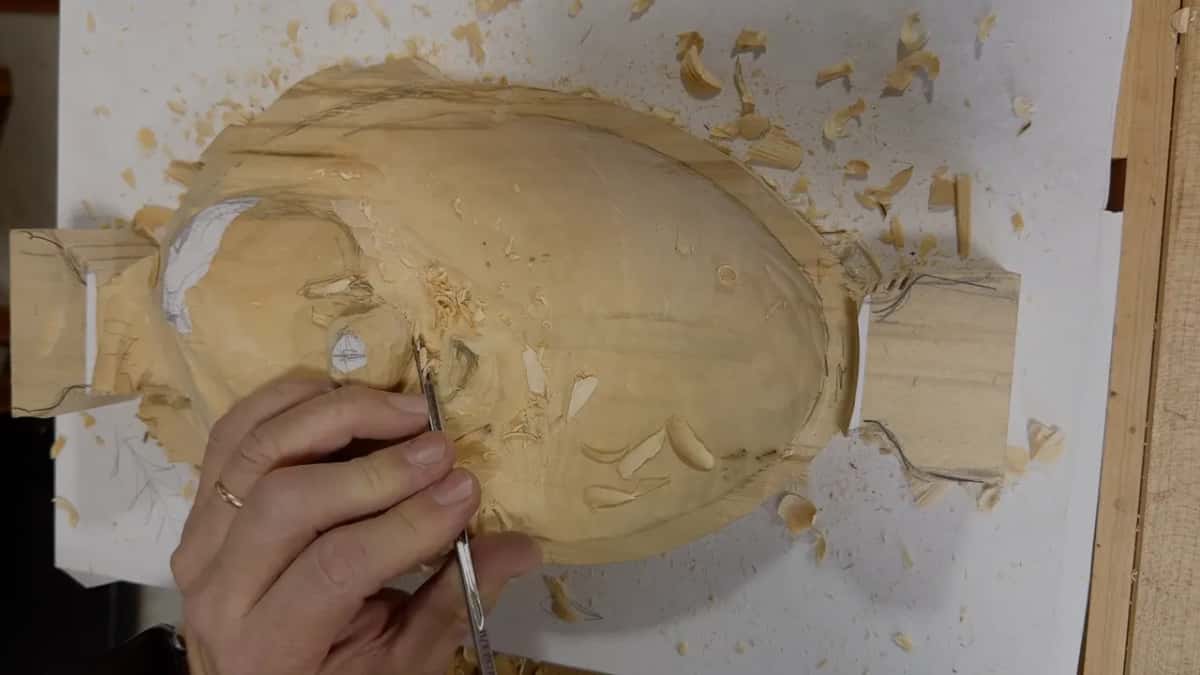
You can start with one lobe. Have a pencil nearby? Then put one pencil dot for the point, the way I did, and sketch the movement in roughly.
Every lesson of the tray course is open with Access, and this is the one where the leaf gets its eyes and its pipes.
How it's done
- One pencil dot is enough. Mark where the point will be, then sketch the movement roughly. A leaf covered in pencil lines only gets dirty.
- Start each hollow at the eye. Set a number 9 beside the eye and run every concave from about that one spot.
- Keep every line curved. Bend each line one way or the other, and leave no straight run anywhere on the leaf, a level one included.
- Push the eye past nature. Take a number 11 deeper, go in toward the eye, flip it and lift a bit more out so the eye holds a dark shadow.
- Raise the ridge for the pipe. Keep that ridge as the high spot and let the pipe wrap around it. Then turn a number 7 upside down for the convex.
- Shift the middle line off center. Look down on the lobe, compare the room on each side, and move its middle line closer to one of them.
- Leave the final look for later. Get the 3D form first. A spot dug a little deep can wait, because the extra wood lets you recreate it.
Frequently asked questions
Which gouges do you need for a classical leaf?
Ordinary ones. In this lesson a 20 mm (3/4 in) number 9, number 11s of 3 mm and half a millimeter, a number 7, a number 2 and a spoon gouge shaped the grape leaf, plus a smaller number 9 for cleaning.
Do you have to understand the golden ratio to carve a classical leaf?
Comfort with it is optional. I told my class not to overcomplicate stuff if they don't feel comfortable with the golden ratio, and most people don't. On the grape leaf in this lesson I moved a lobe's middle line toward a sixty-forty split by looking at it from above.
What mistake do you see on carved leaves?
Straight lines, for one. I named them as a mistake I see when people carve leaves, and I said it while carving this one. Every line on the grape leaf bends one way or the other and ties back toward a center point.
What to carve next